Article Name: Manage Counselling
Category/Module: Administration, Institution
Tags: Counselling, Student
Version: 3.10.8
Date Updated: 28 Jul 2017
This Manage Counselor feature allows you to:
- As an Individual, able to add the Counselling sessions to their Records.
- As an Employer, able to identify/track which Student has attended/visited the Counselor.
- As a Administrator, able to setup the Guidance Type, and permissions for the user to access Counselor feature.
- Setup Guidance Type (Administration)
- Manage Counselling (Institution)
- Enable Security Role Permission (Administration)
Setup Guidance Type
Create Guidance Type

1) Go to Administration > Field Options > Dropdown list (Guidance Types)
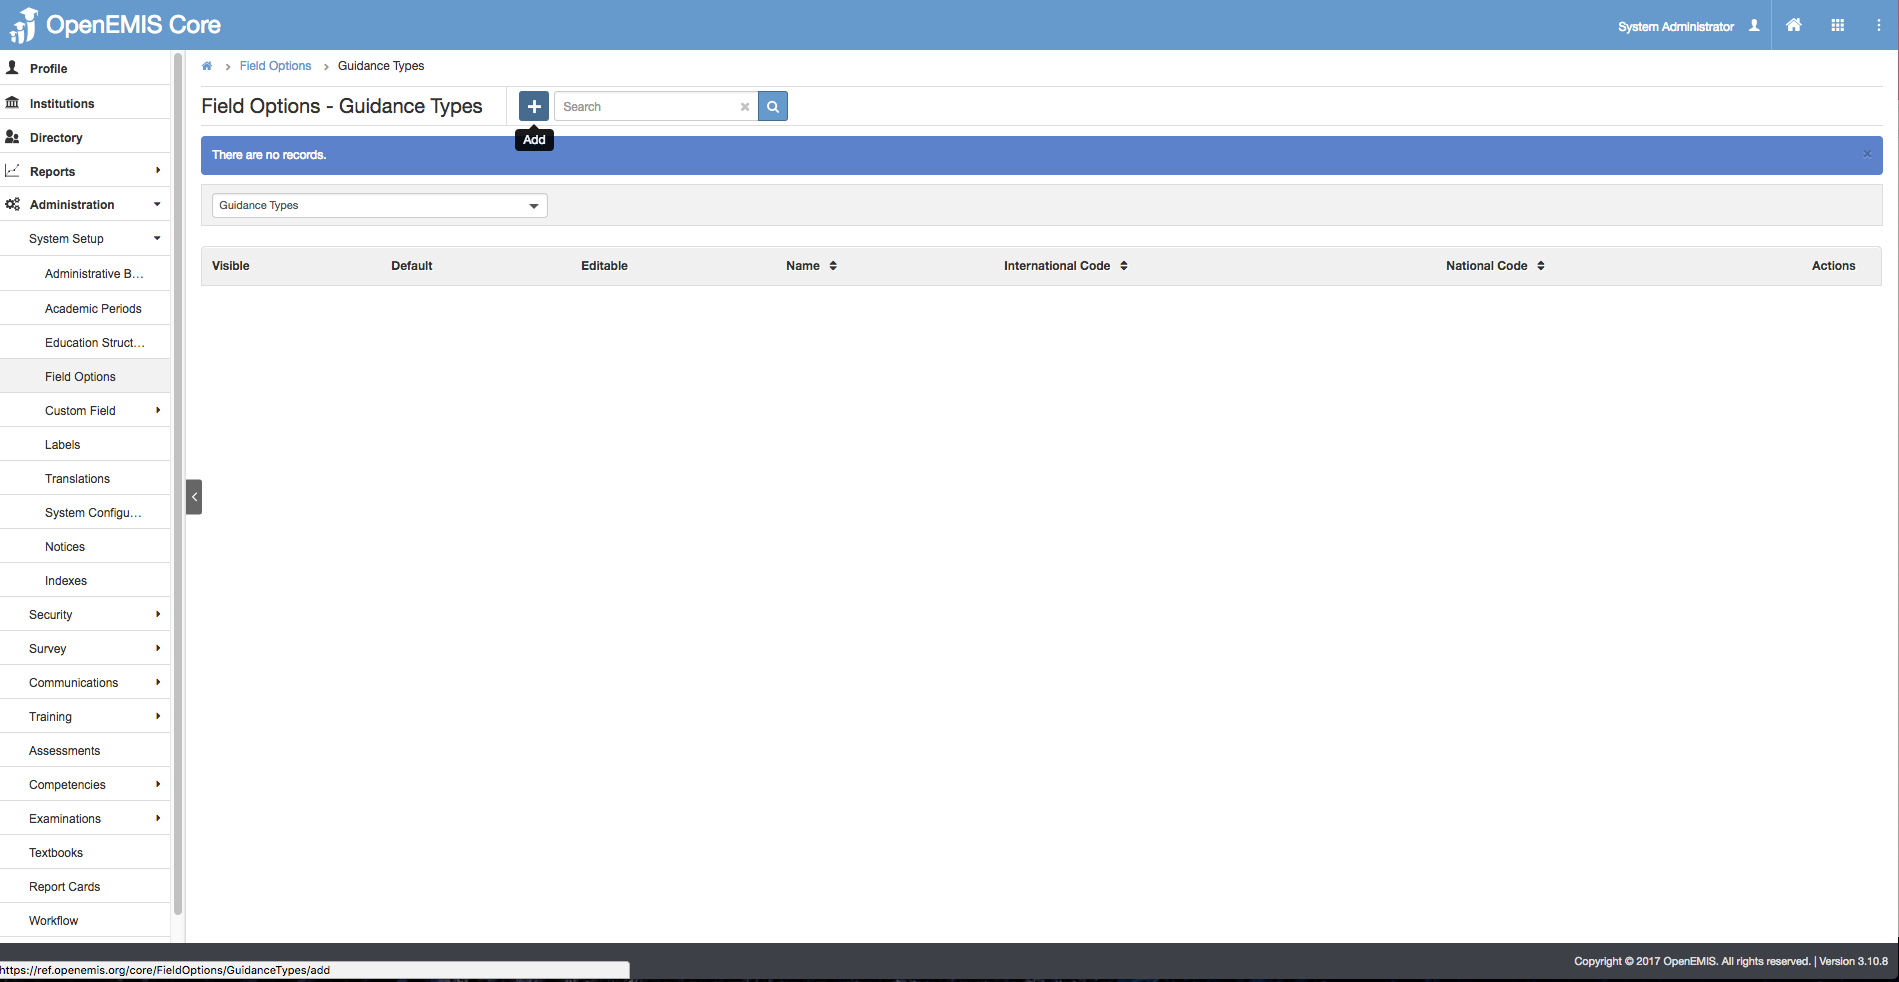
2) Select Add.
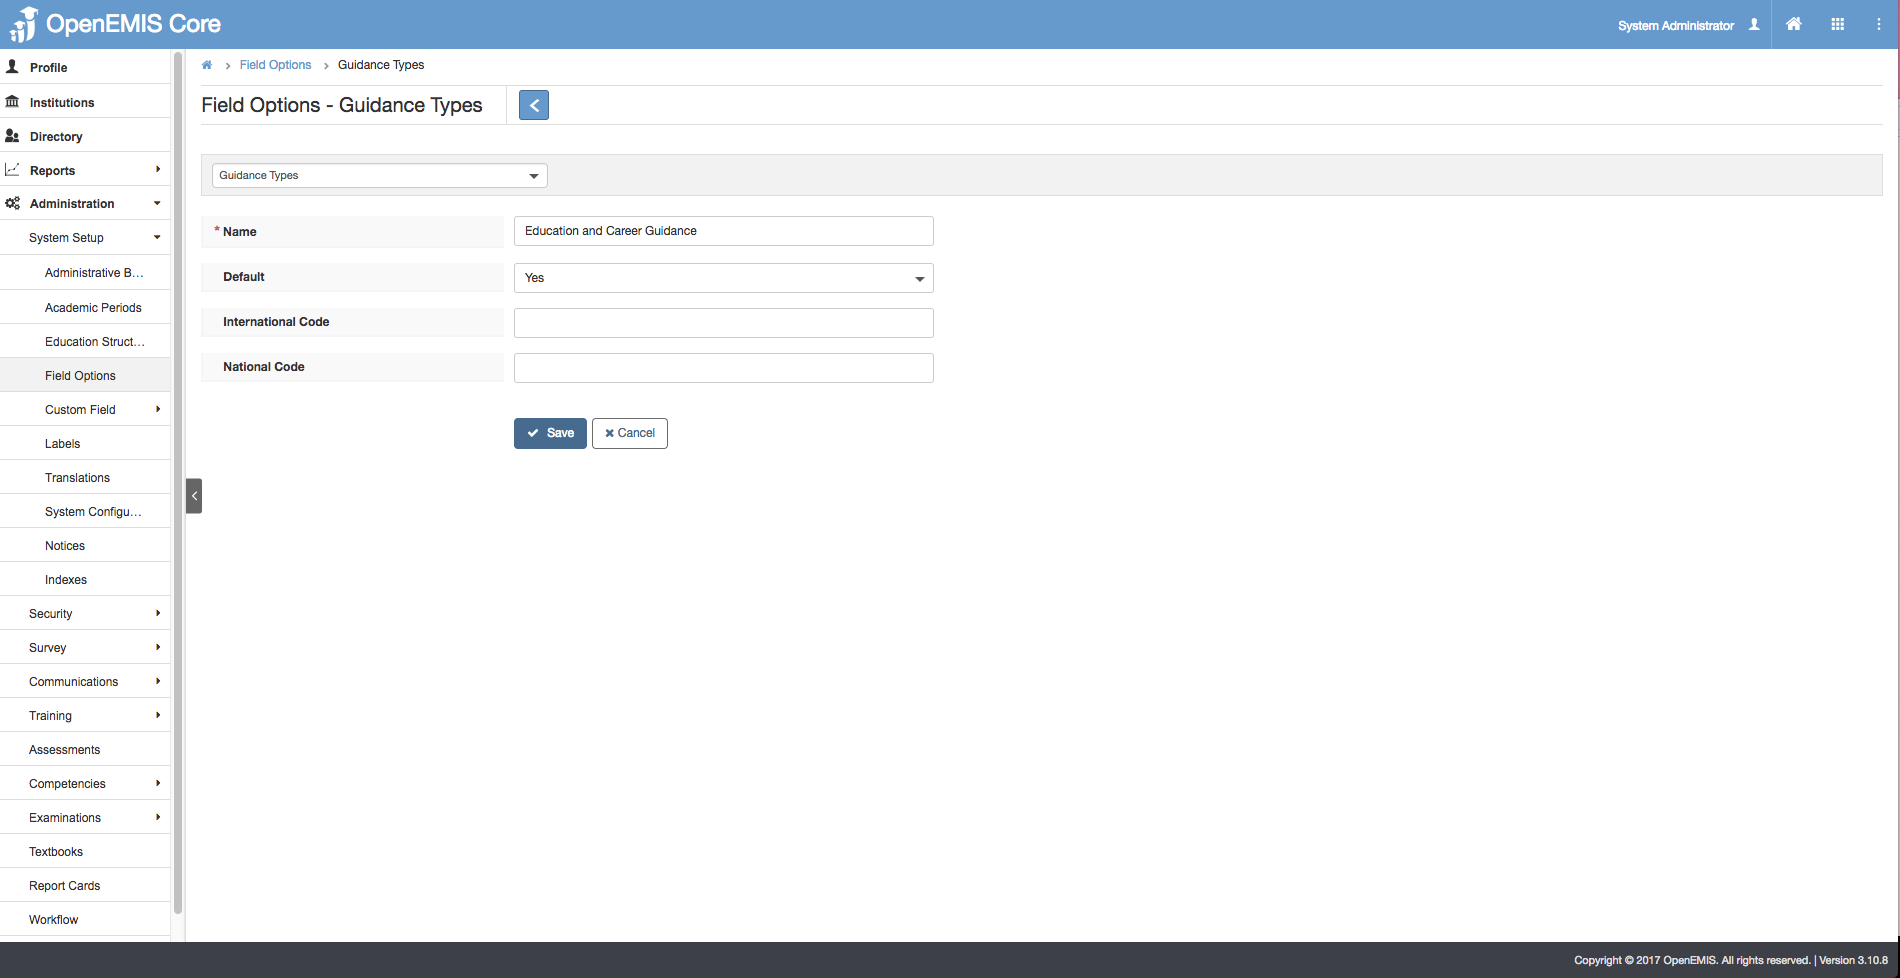
3) Enter the Name field > Save.
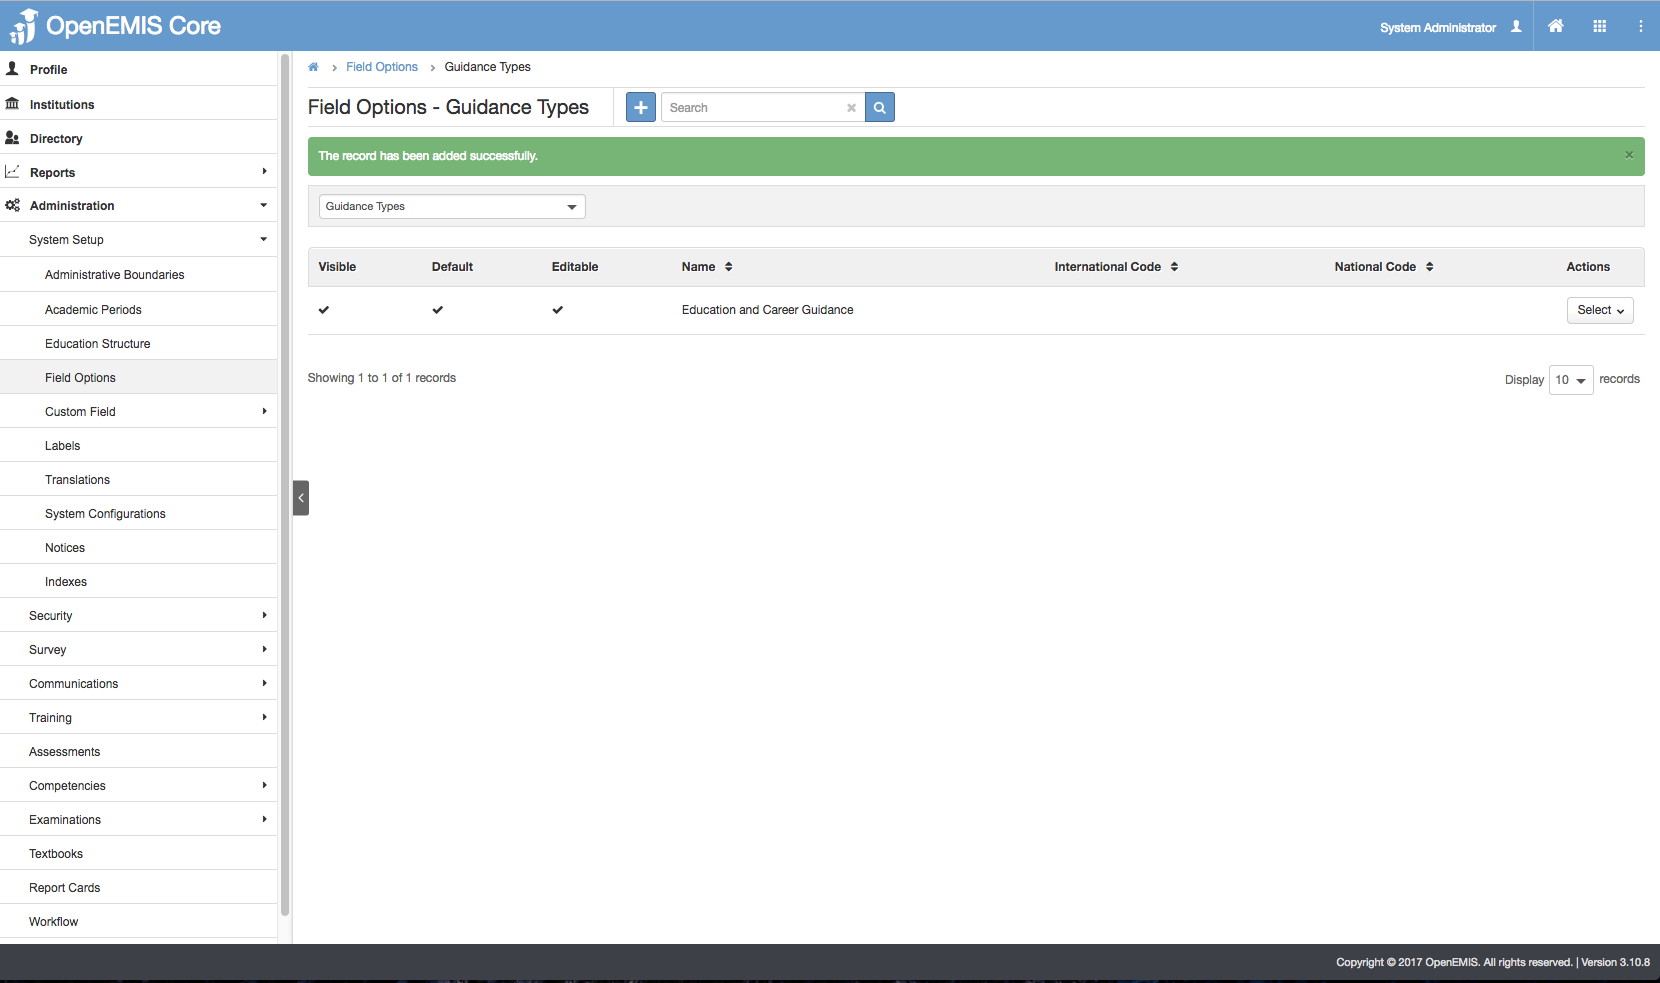
4) The message will be displayed upon adding successfully.
Edit Guidance Type
1) Go to Administration > Field Options > Dropdown list (Guidance Types)
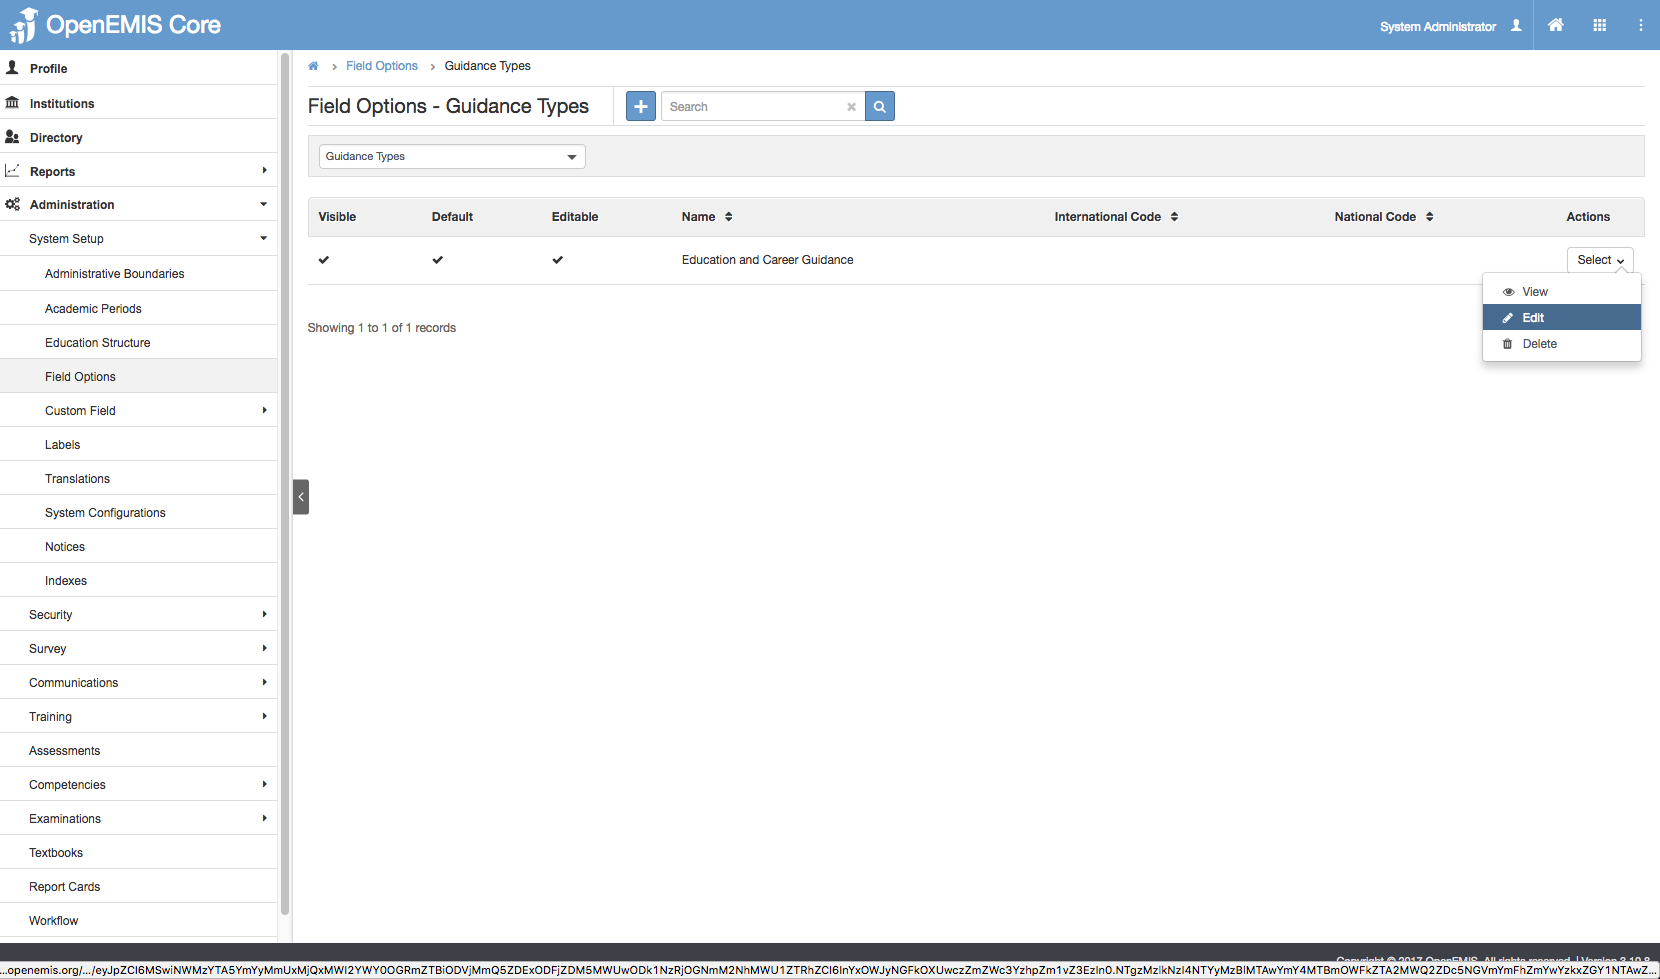
2) You will be able to see all the Guidance Types being created
3) Select Action Bar > Edit.
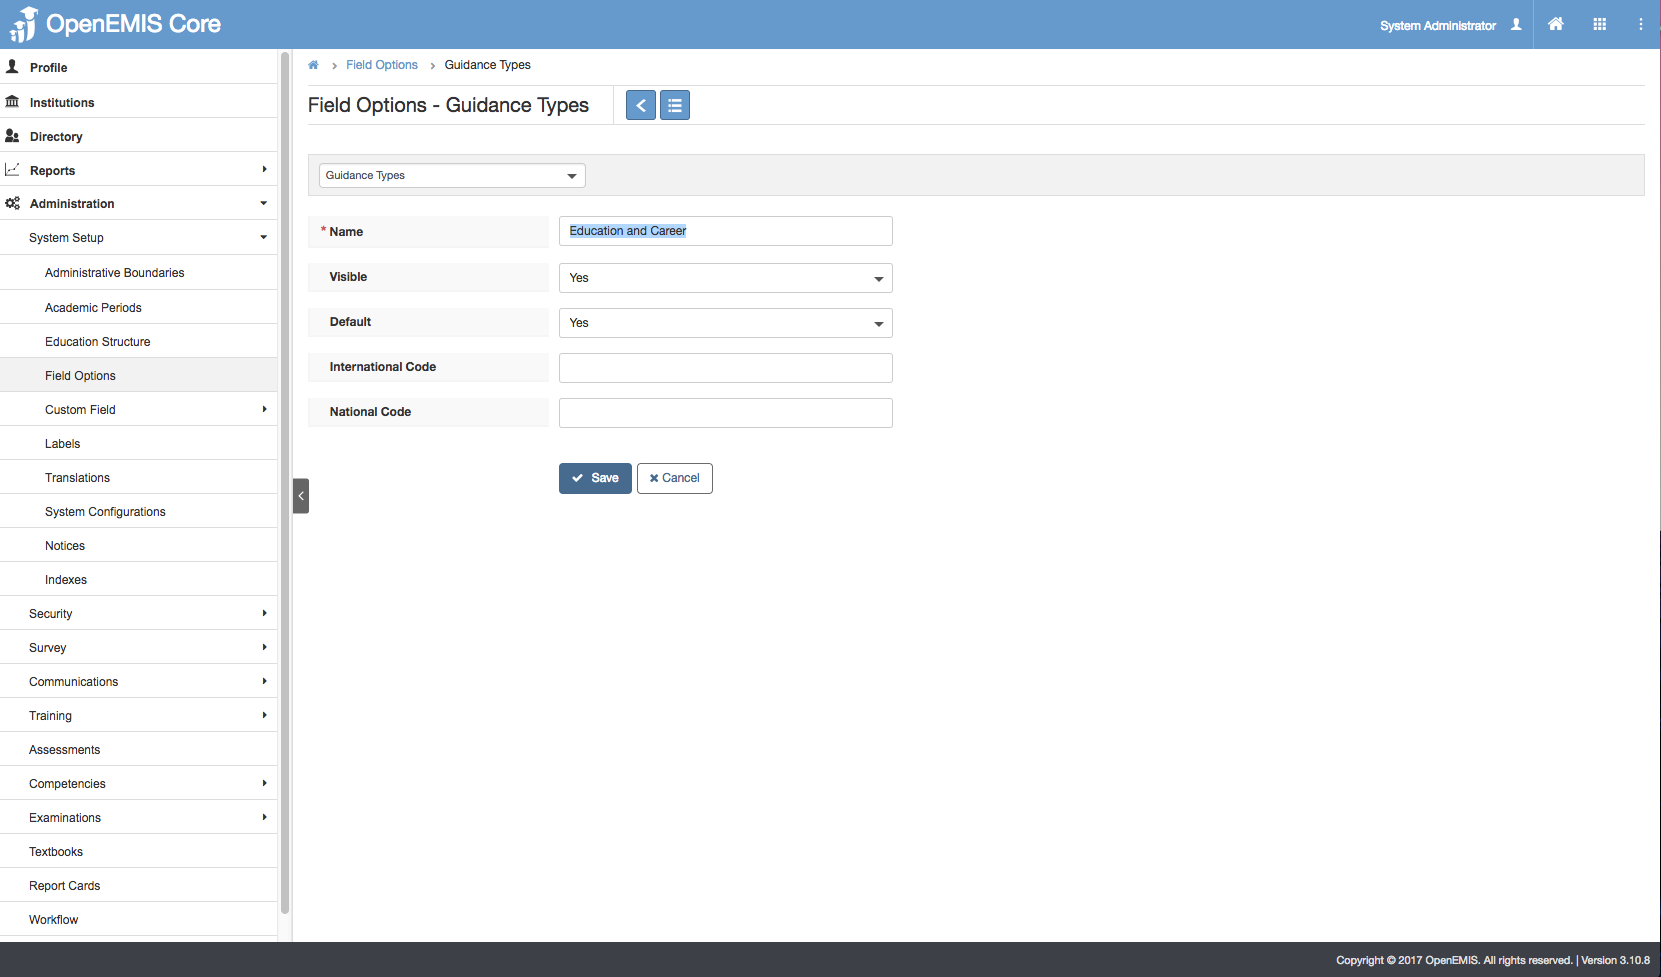
4) Update the Name >Save.
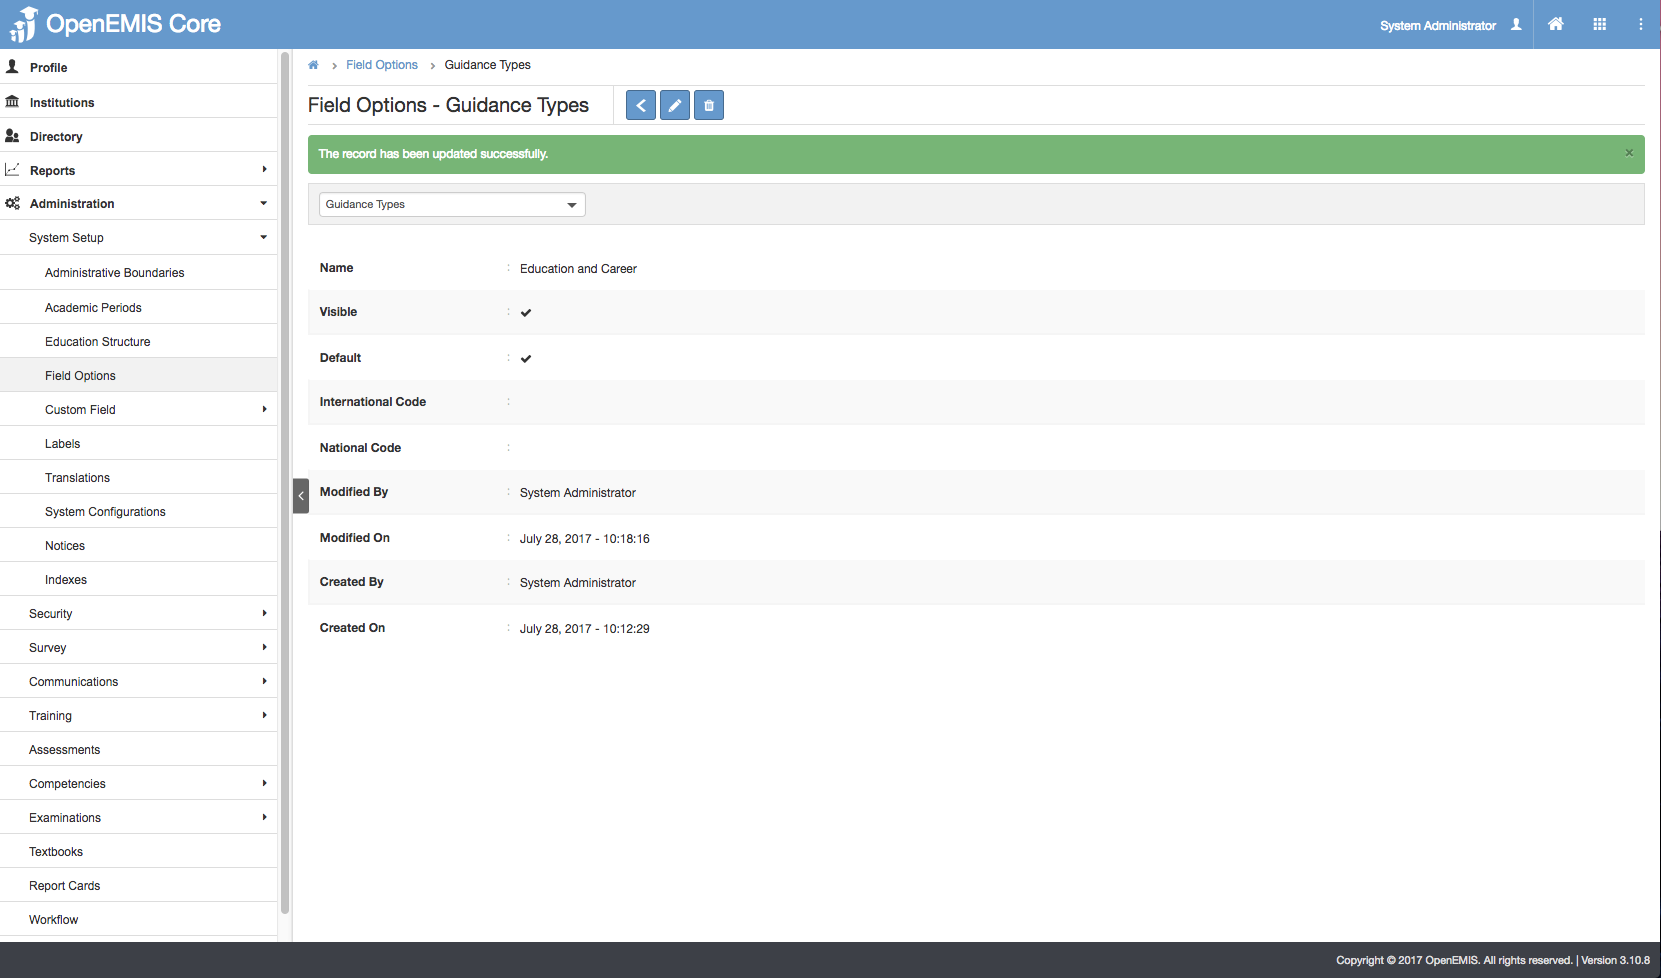
5) The message will be displayed upon updating successfully.
View Guidance Type
1) Go to Administration > Field Options > Dropdown list (Guidance Types)
2) You will be able to see all the Guidance Types being created.
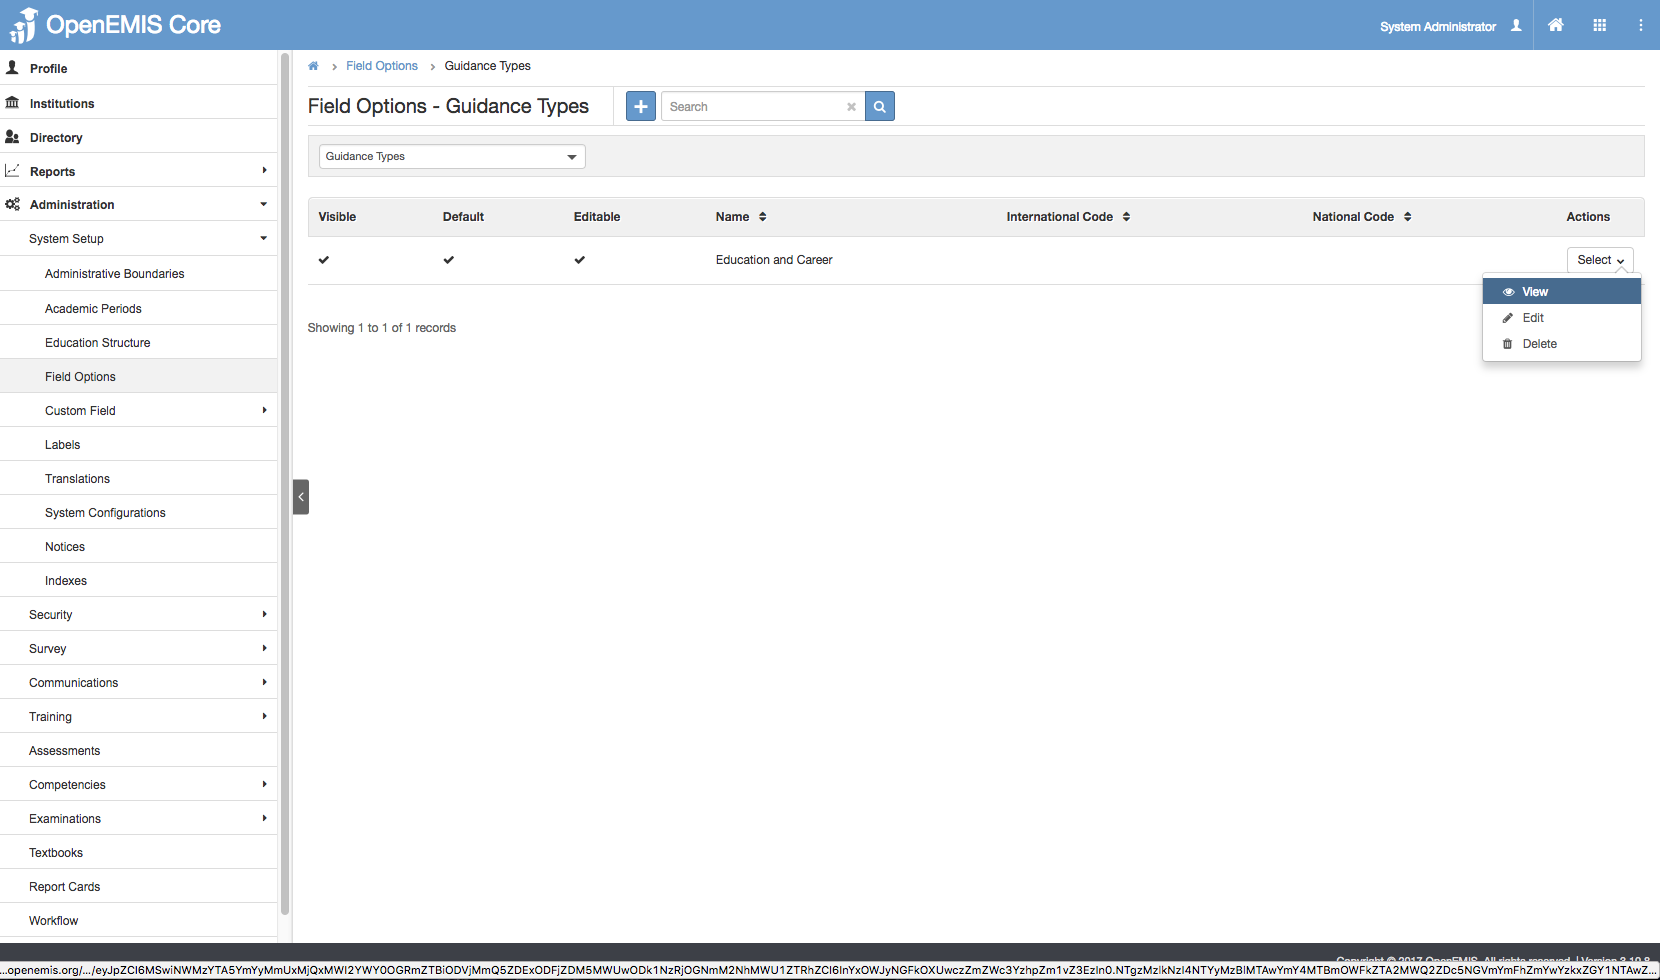
3) Select Action Bar > View.
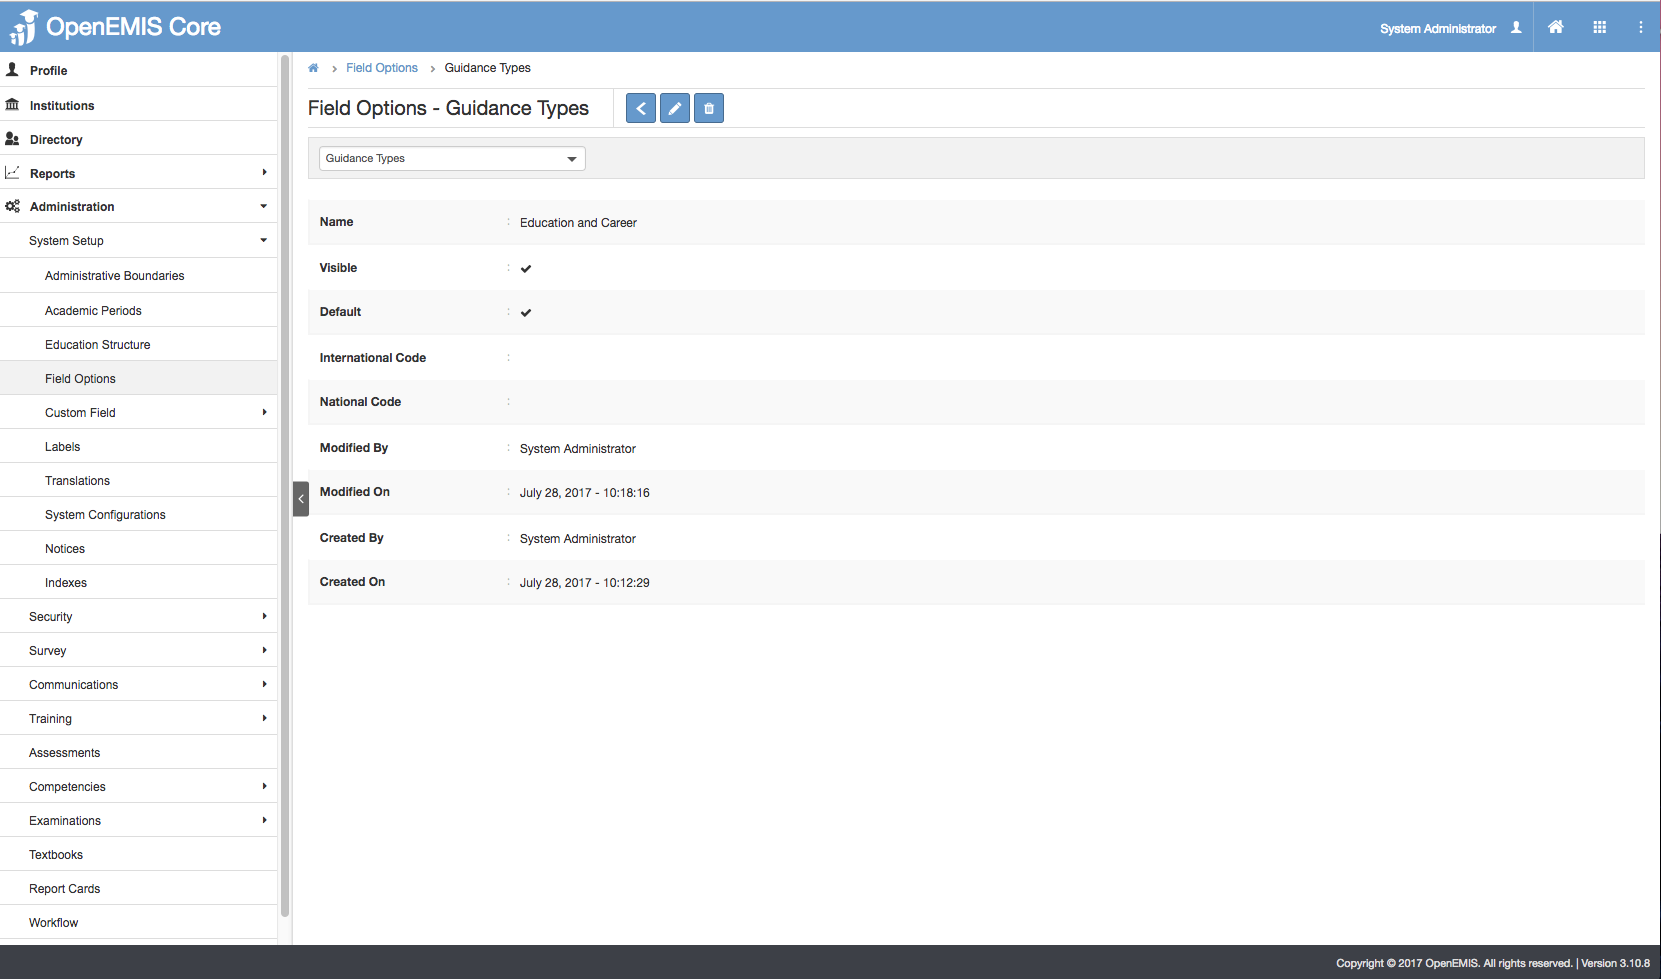
4) You will be able to see Additional details of Guidance Types record
5) Similarly, you will be able to update or delete the record.
Delete Guidance Type
1) Go to Administration > Field Options > Dropdown list (Guidance Types)
2) You will be able to see all the Guidance Types being created.

3) Select Action Bar > Delete.
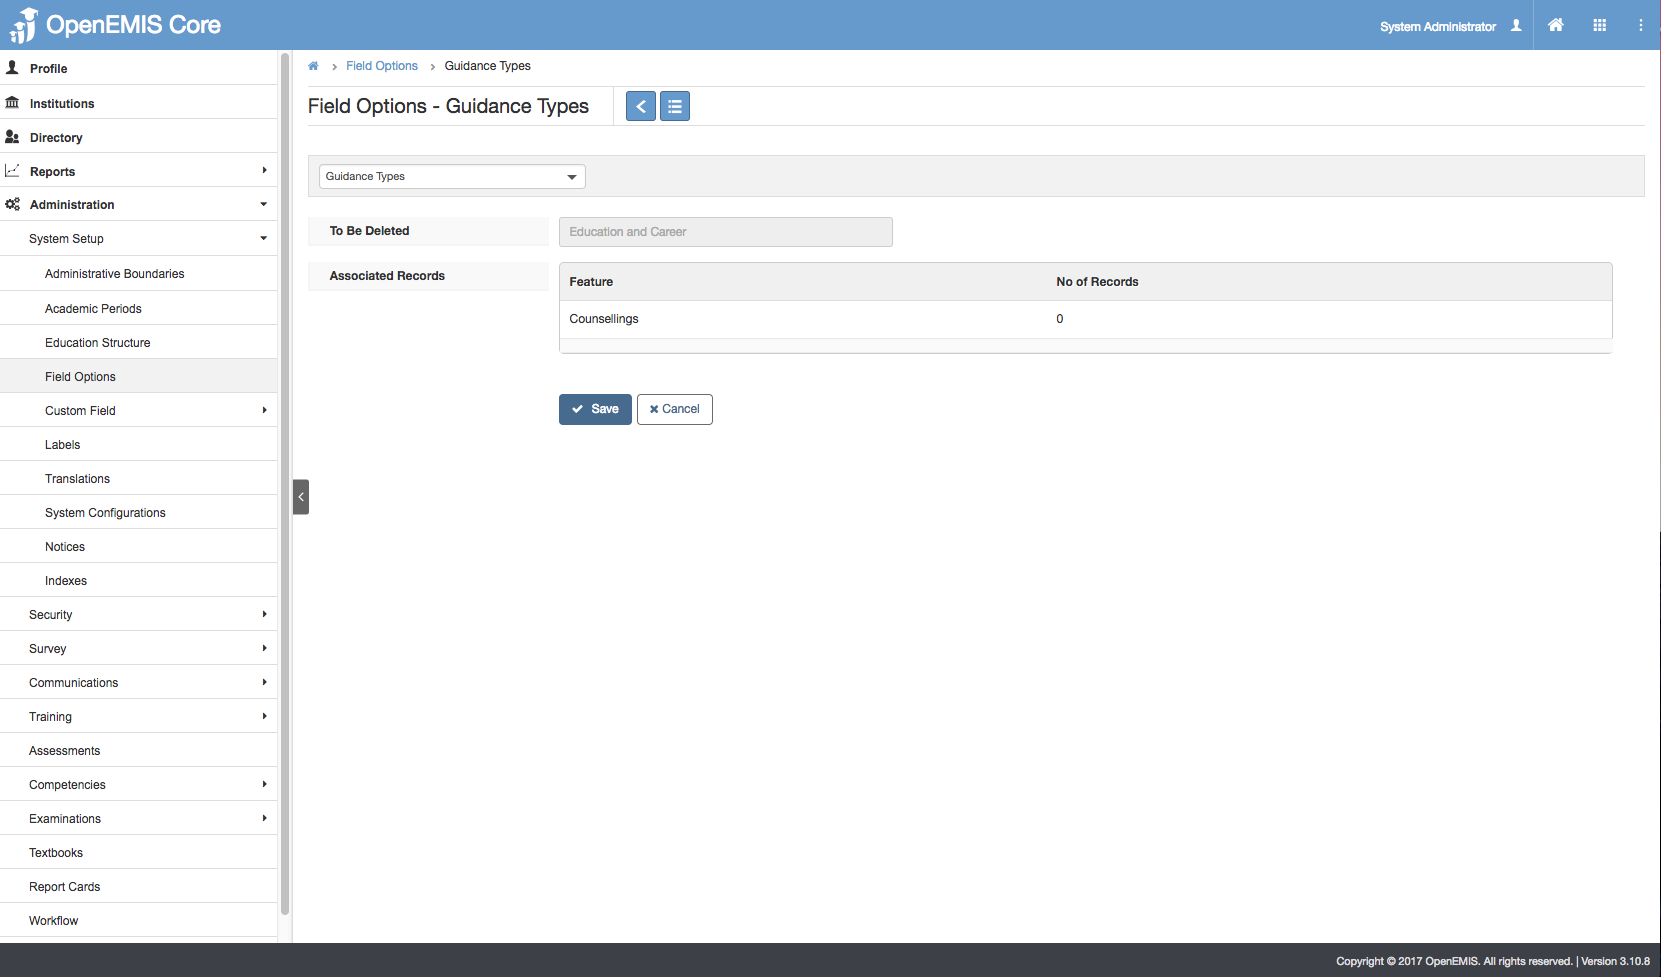
4) You will not be able to delete if the report card have associated records.
5) Else, if there are no associated record > Save.
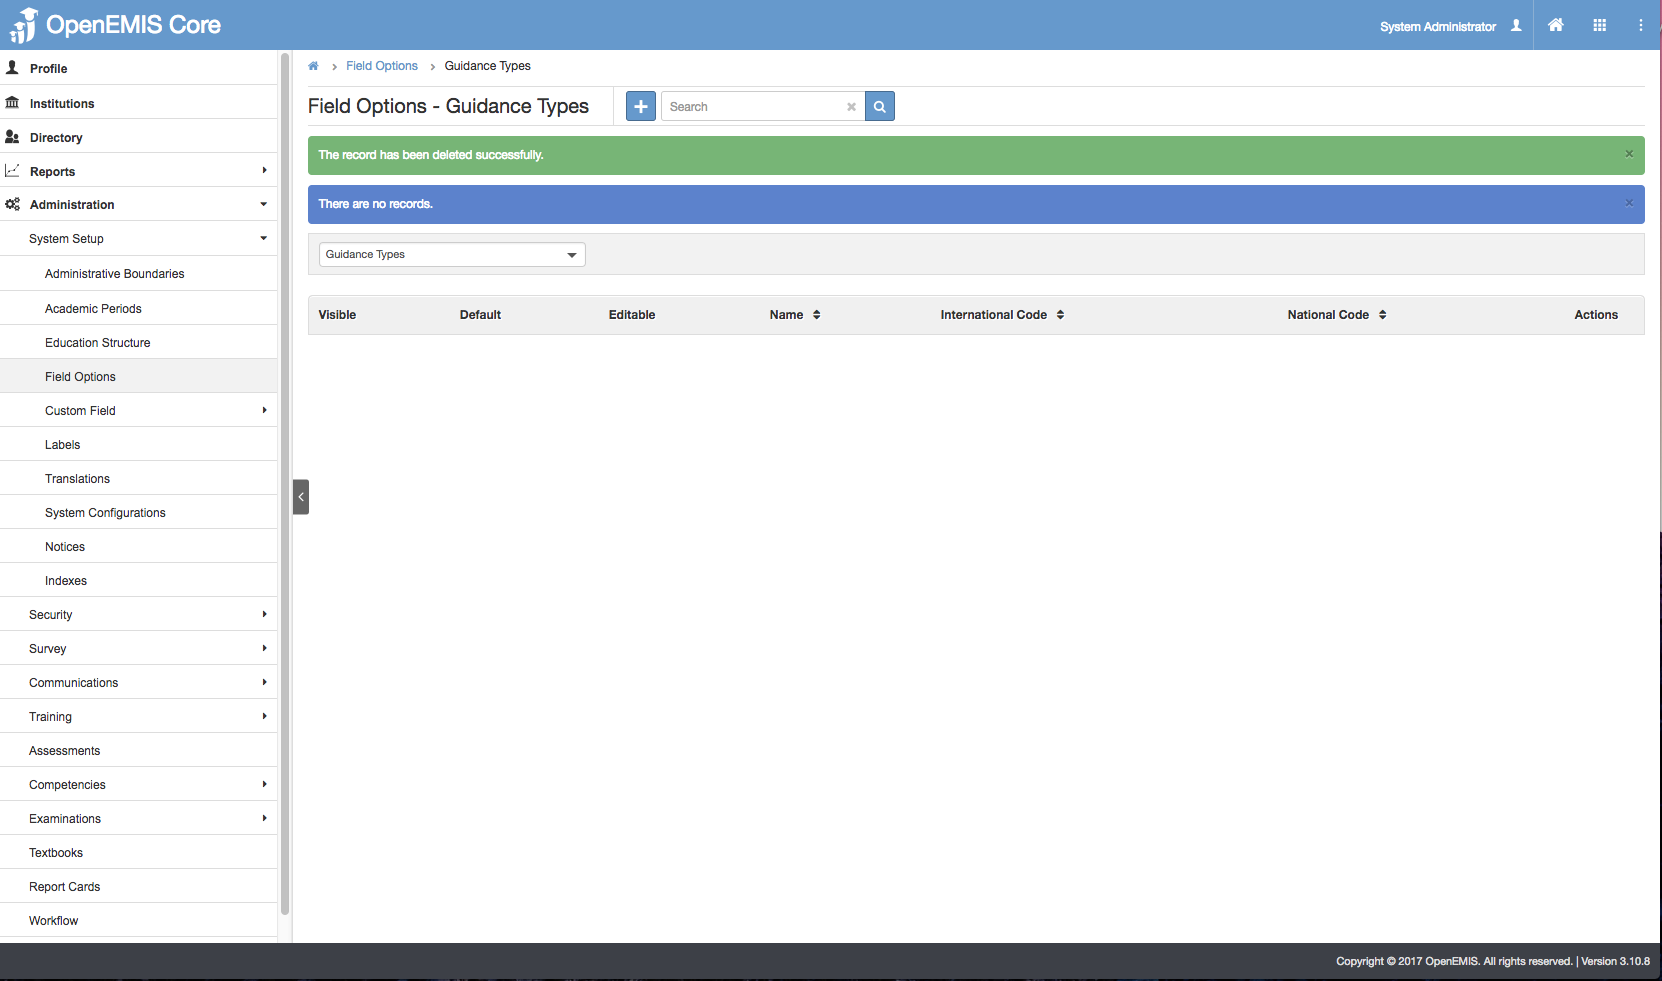
6) You will be able to delete successfully.
Manage Student Counselling Session
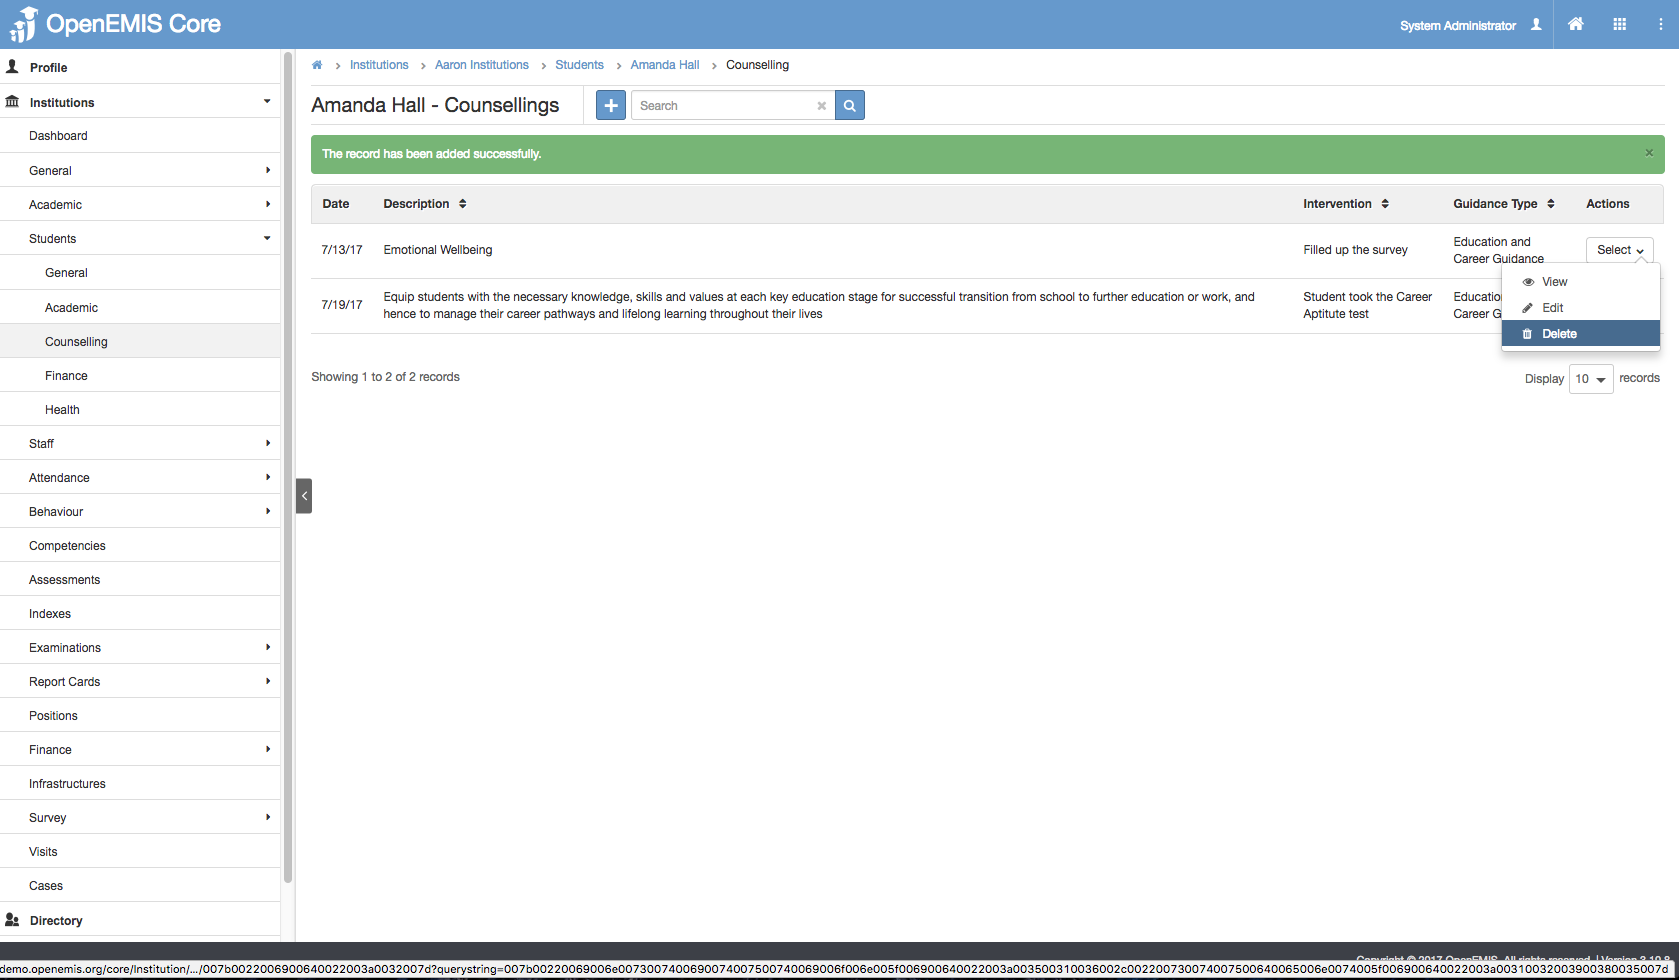
Add Student Counselling Session
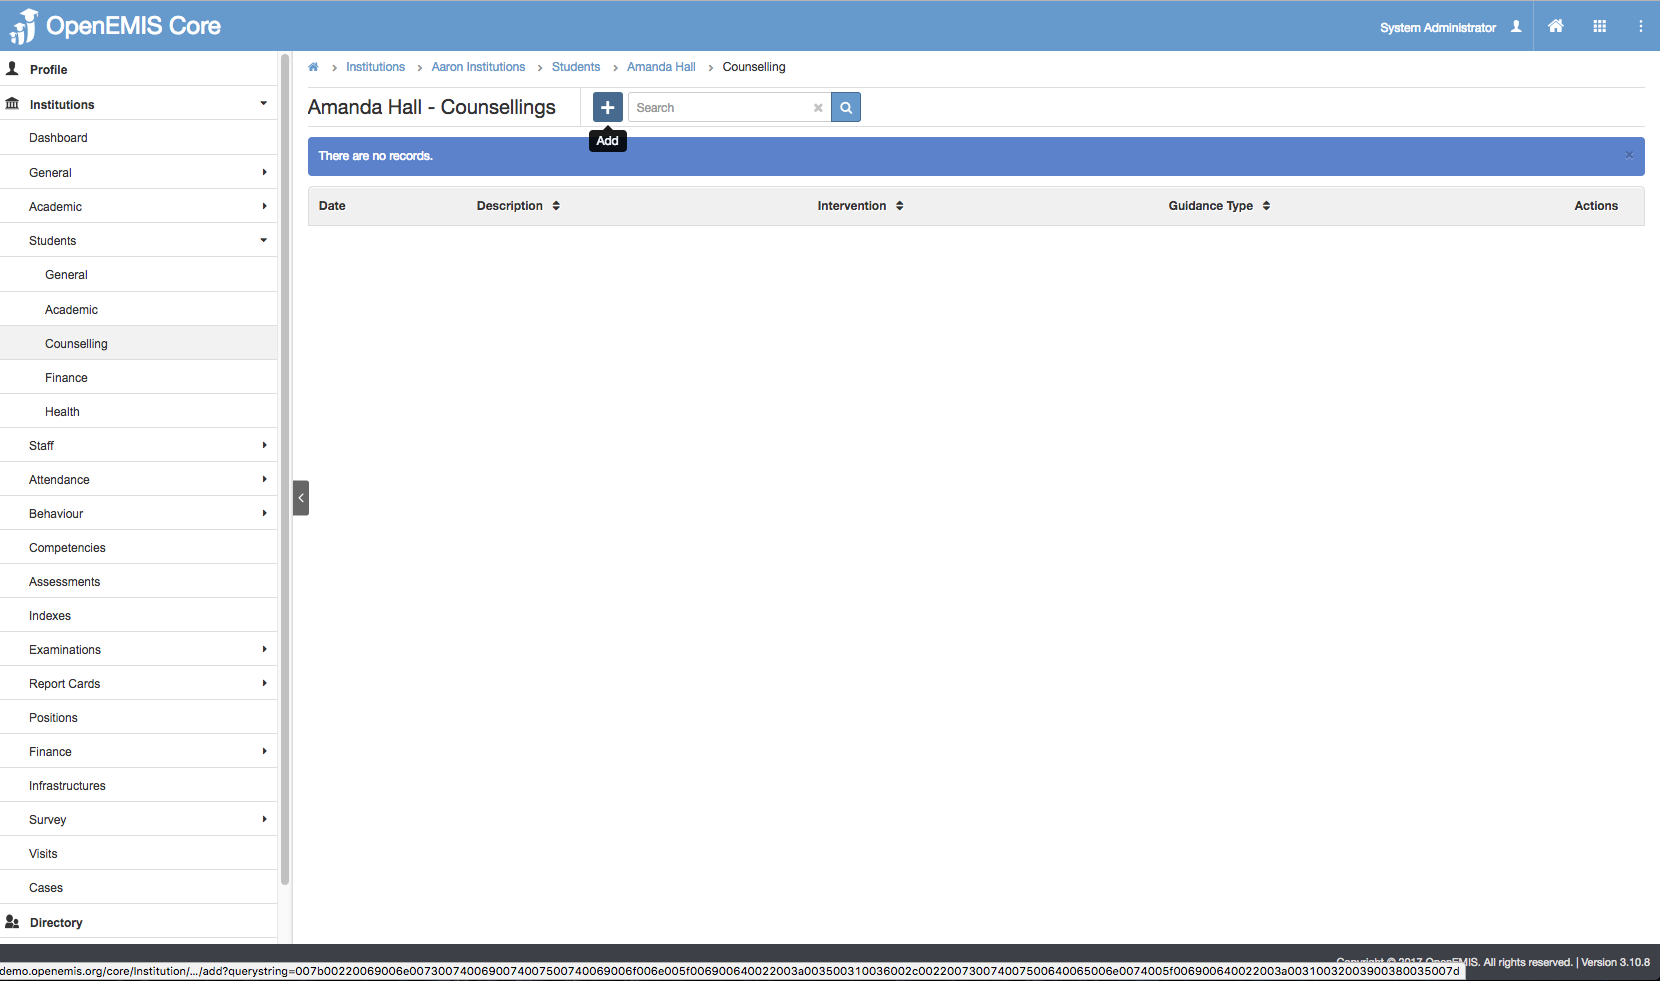
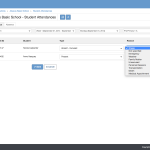
1) Go to Institutions > Students > Counselling
2) Select Add.
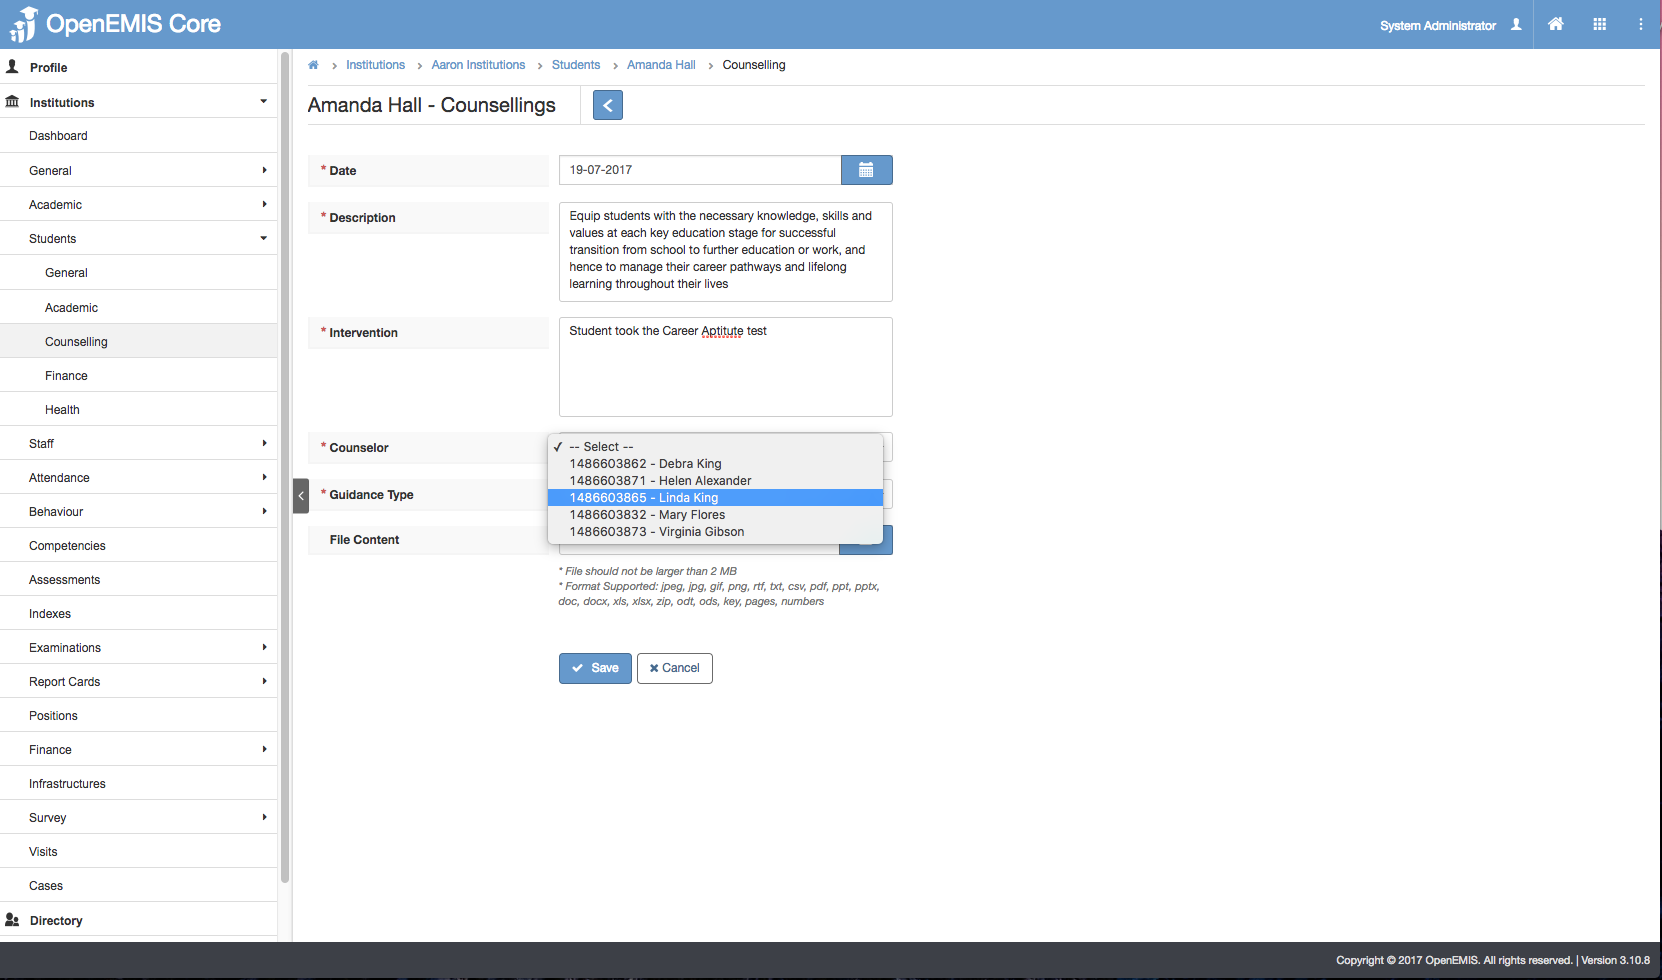
3) Enter all the required fields such as (Date, Counselor, Guidance Type). You will only be able to view all Assigned Staff in the Institution in the Counselor dropdown list.
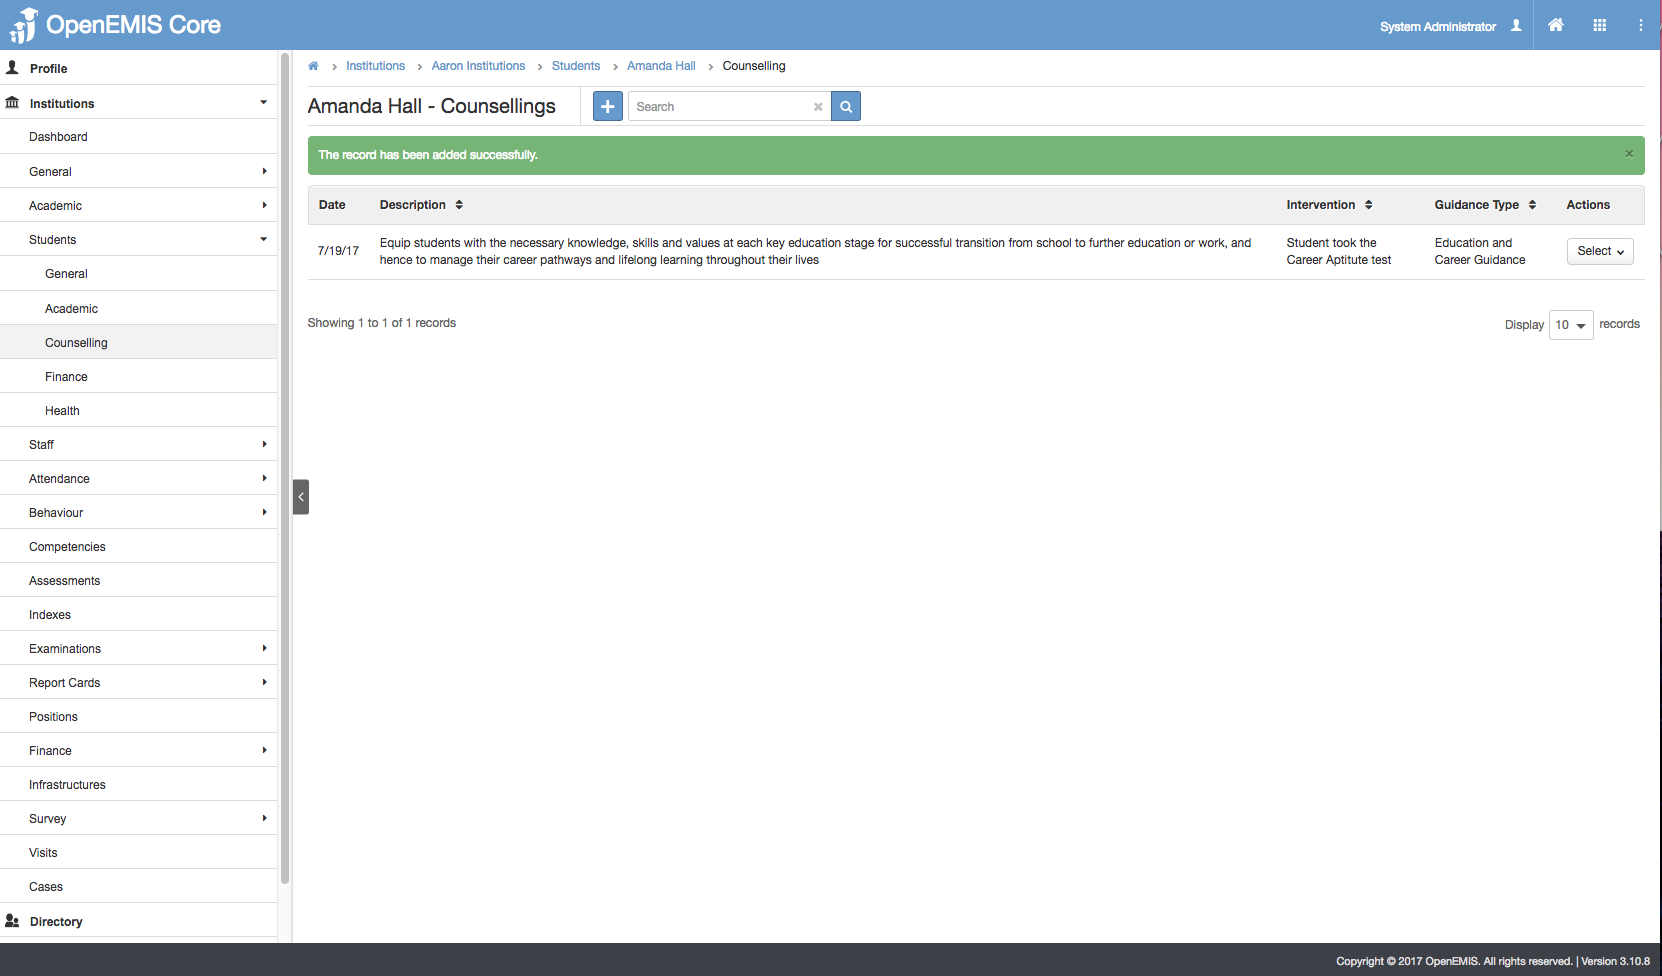
4) Select Save, System will display a successful message.
Edit Student Counselling Session

1) Go to Institutions > Students > Counselling
2) Select Actions Bar > Edit
3) You will be able to edit all the fields/add attachments > Save.
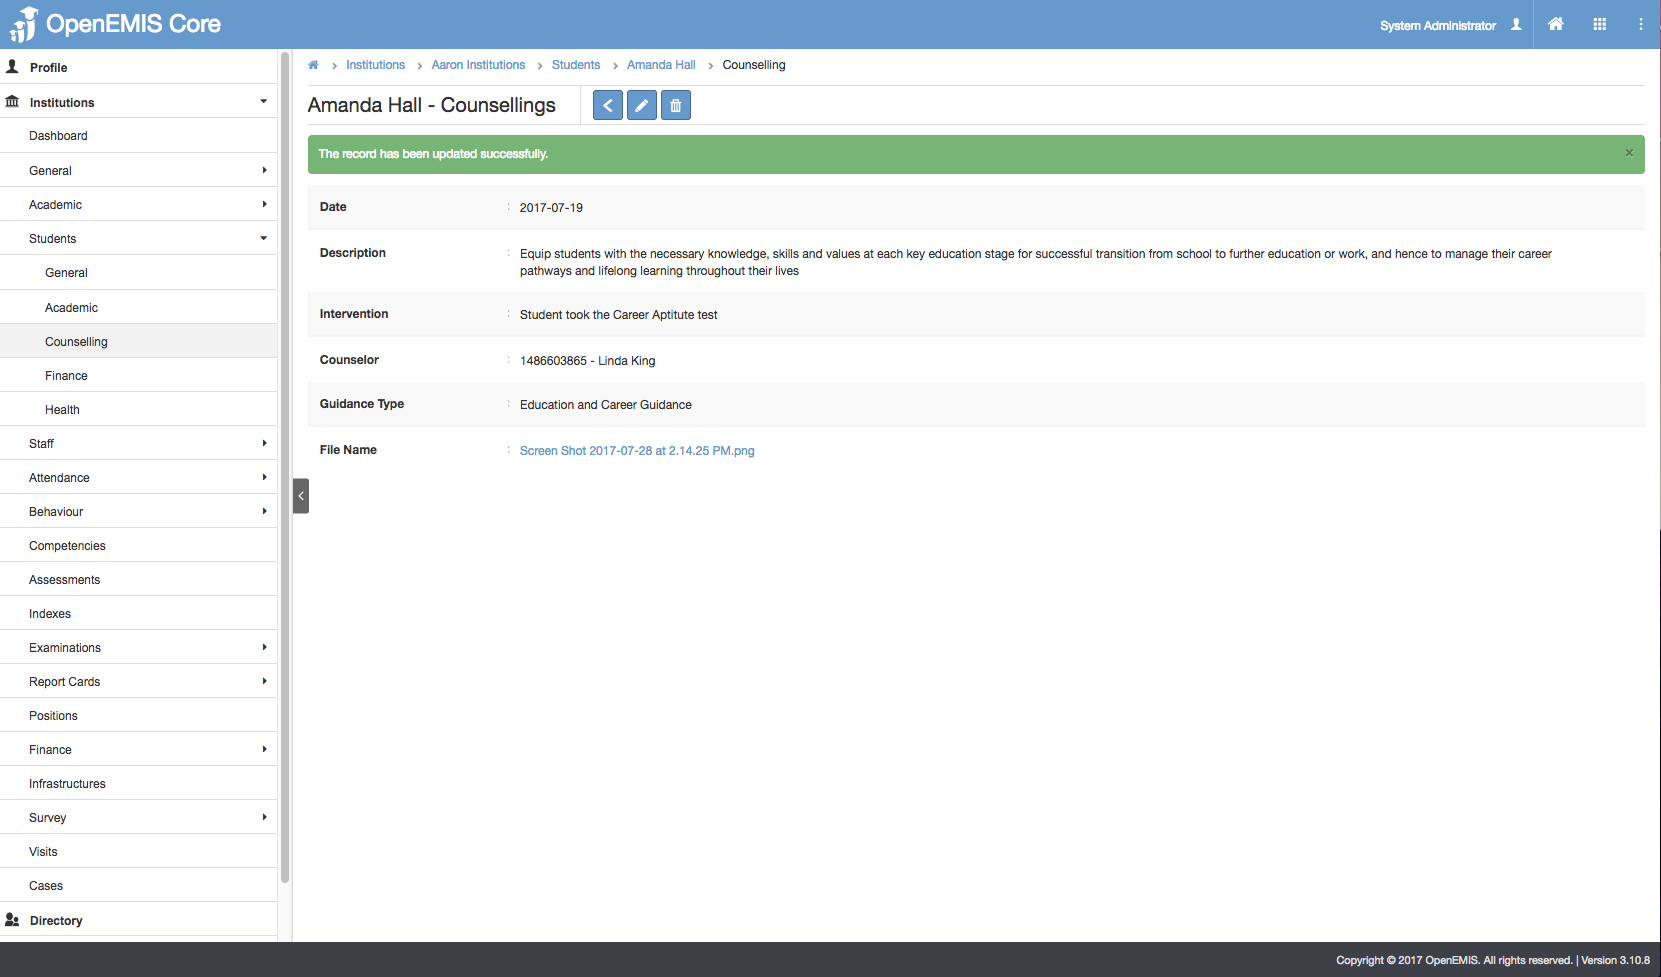
4) Successful message will be displayed upon selecting Save.
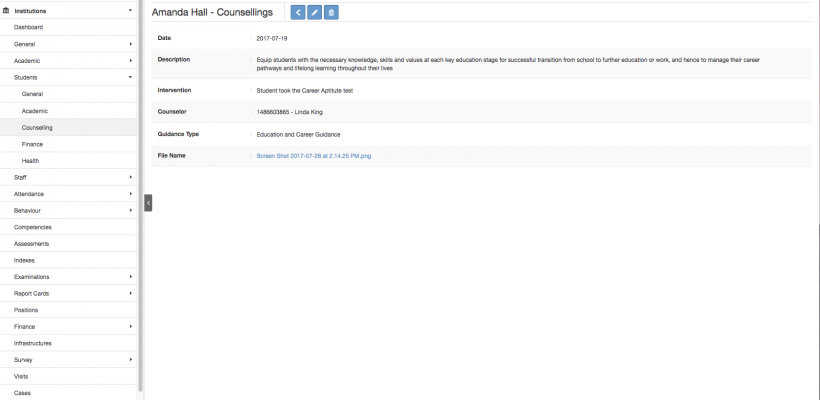
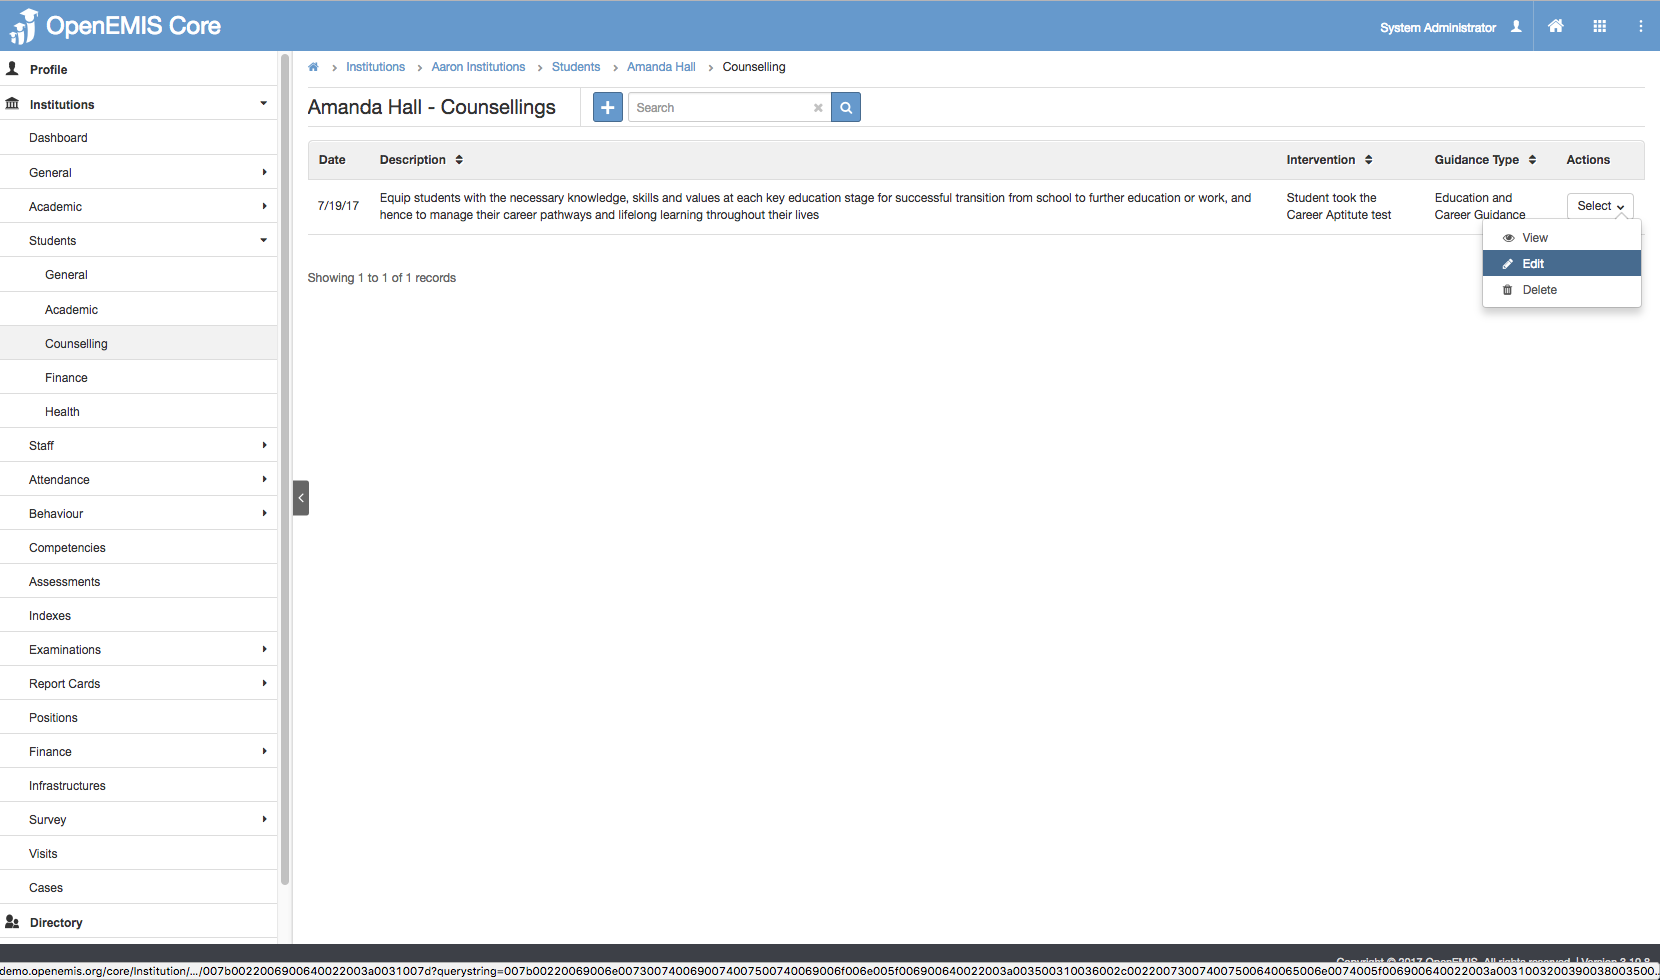
View Student Counselling Session
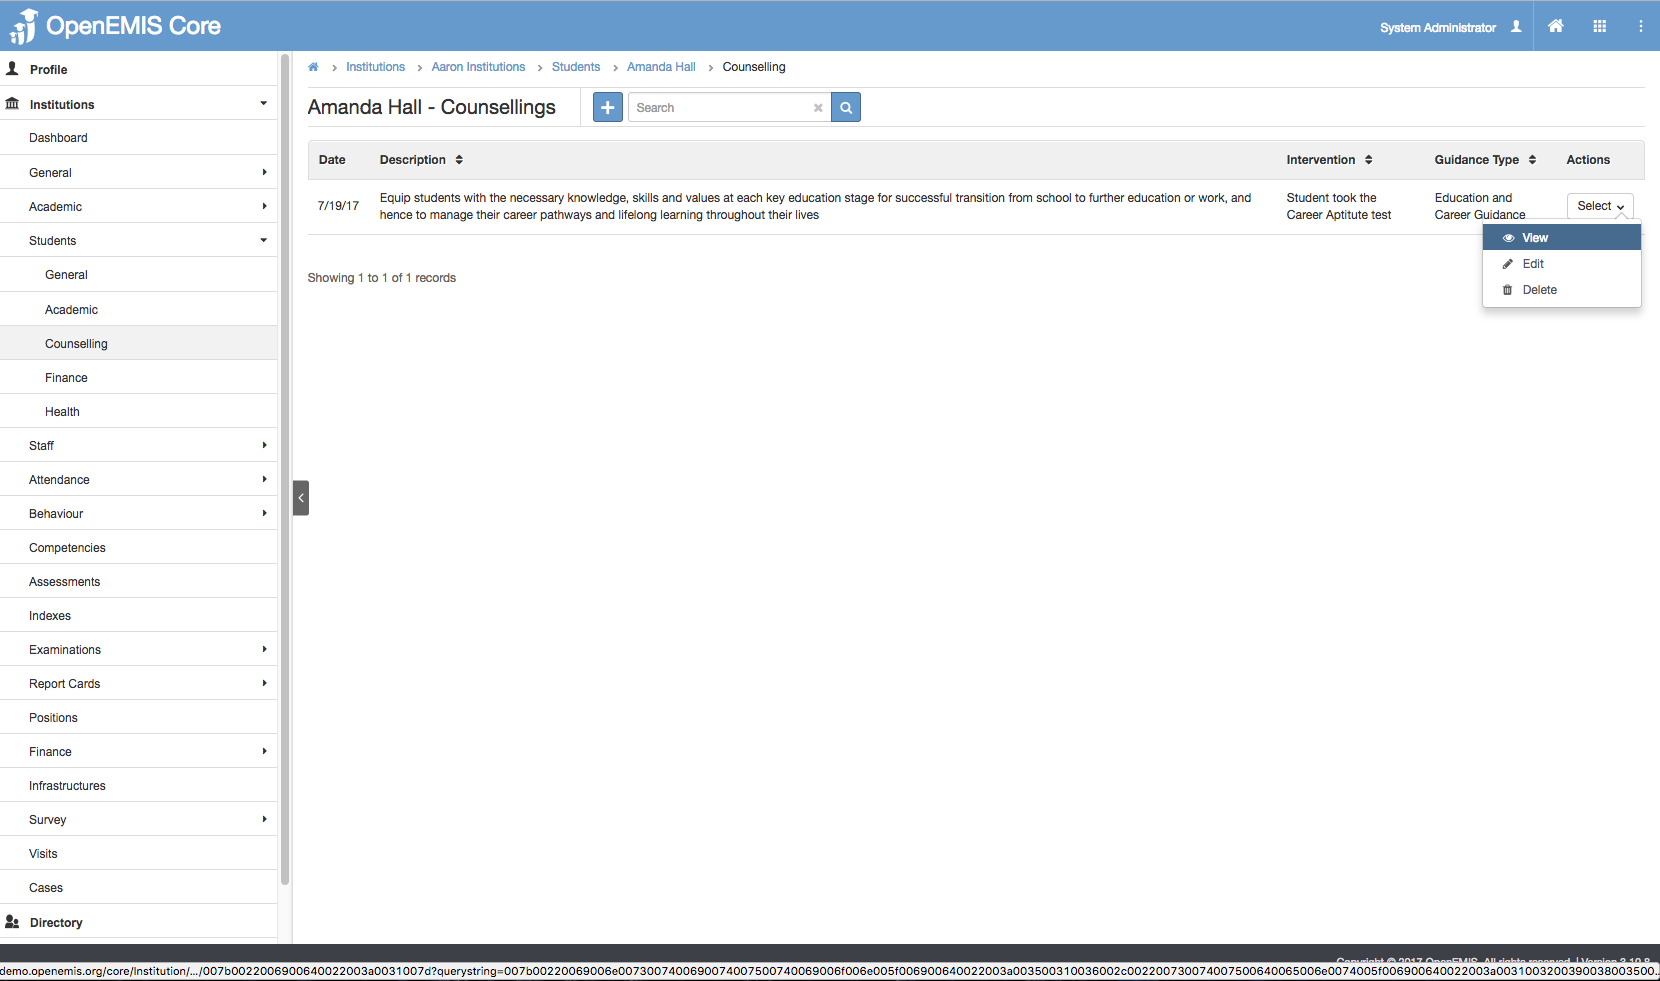
1) Go to Institutions > Students > Counselling
2) Select Actions Bar > View.
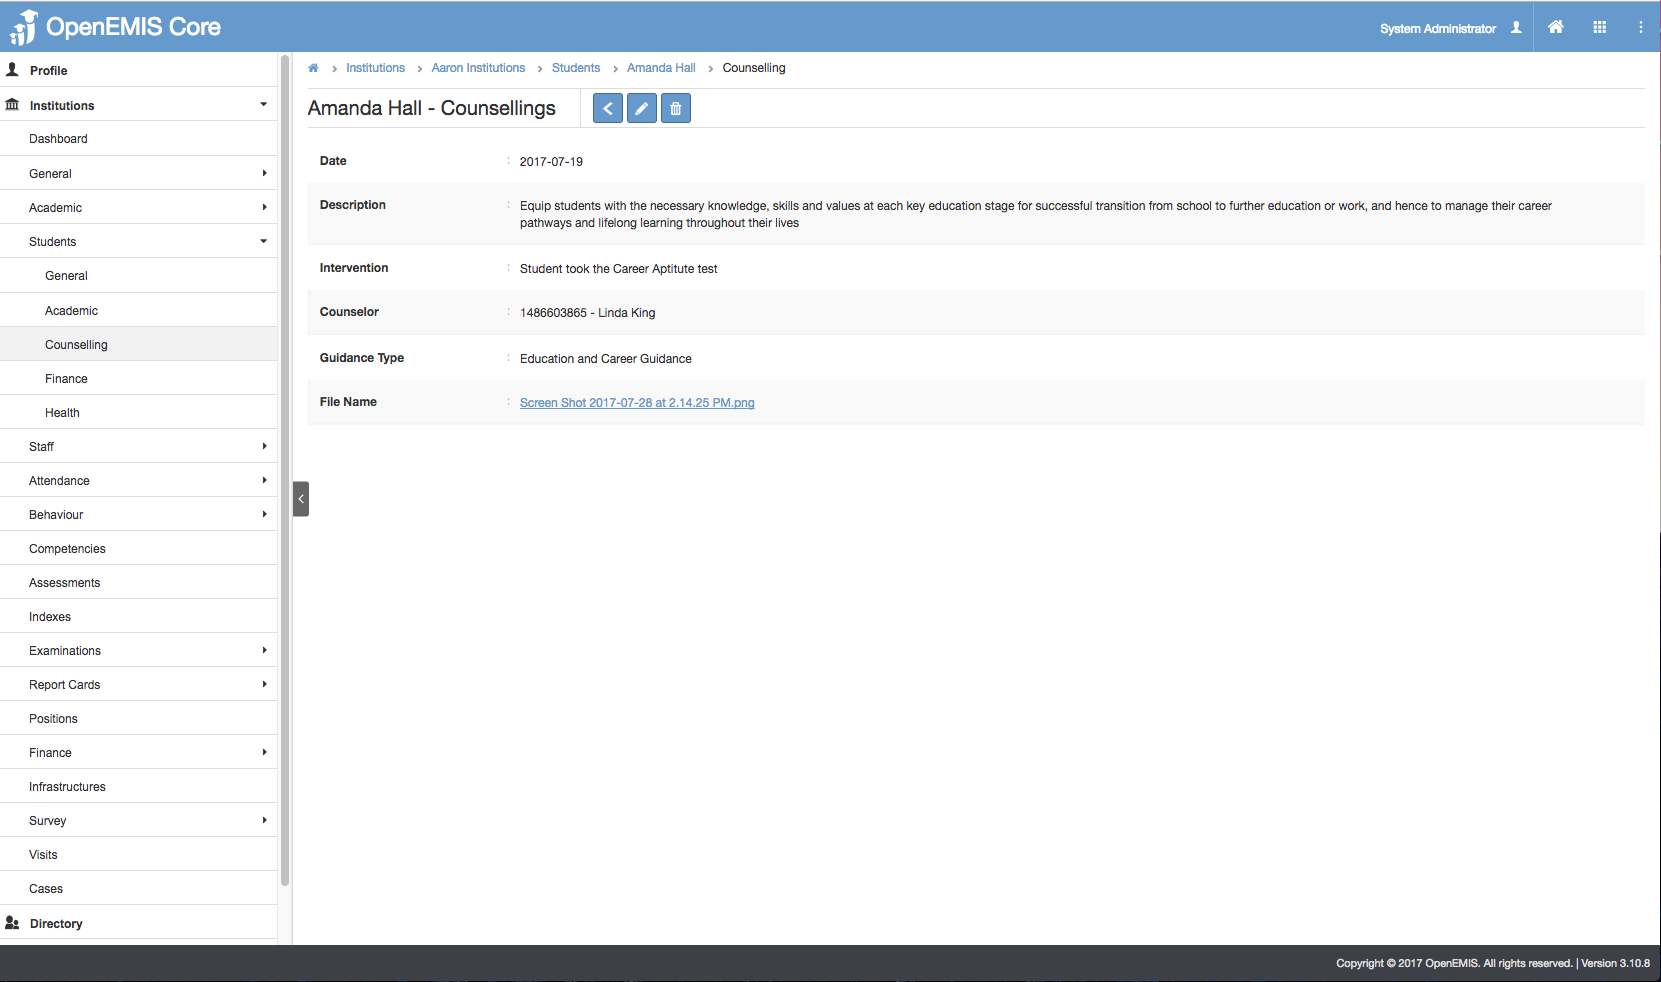
3) You will be able to see Additional details of Staff Qualification record and Download the Attachment, by selecting on the link.
4) Similarly, you will be able to update or delete the record.
Delete Student Counselling Session
1) Go to Institutions > Students > Counselling
2) Select Actions Bar > Delete.
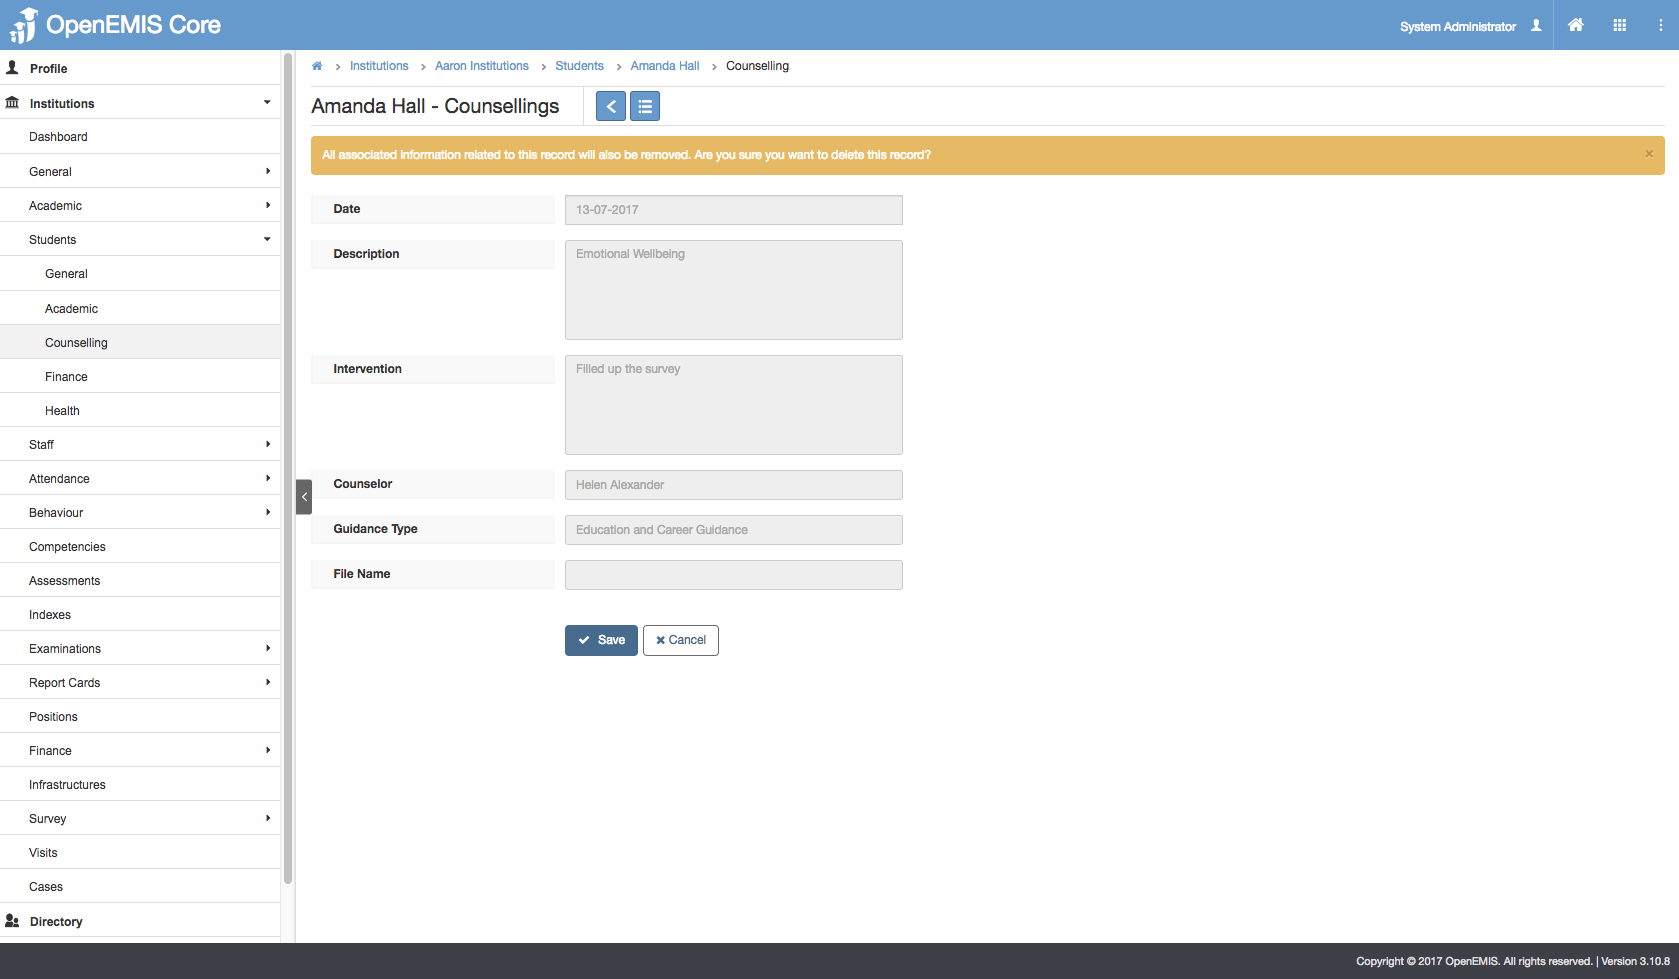
3) System will display a confirmation box that all associated records will be removed.
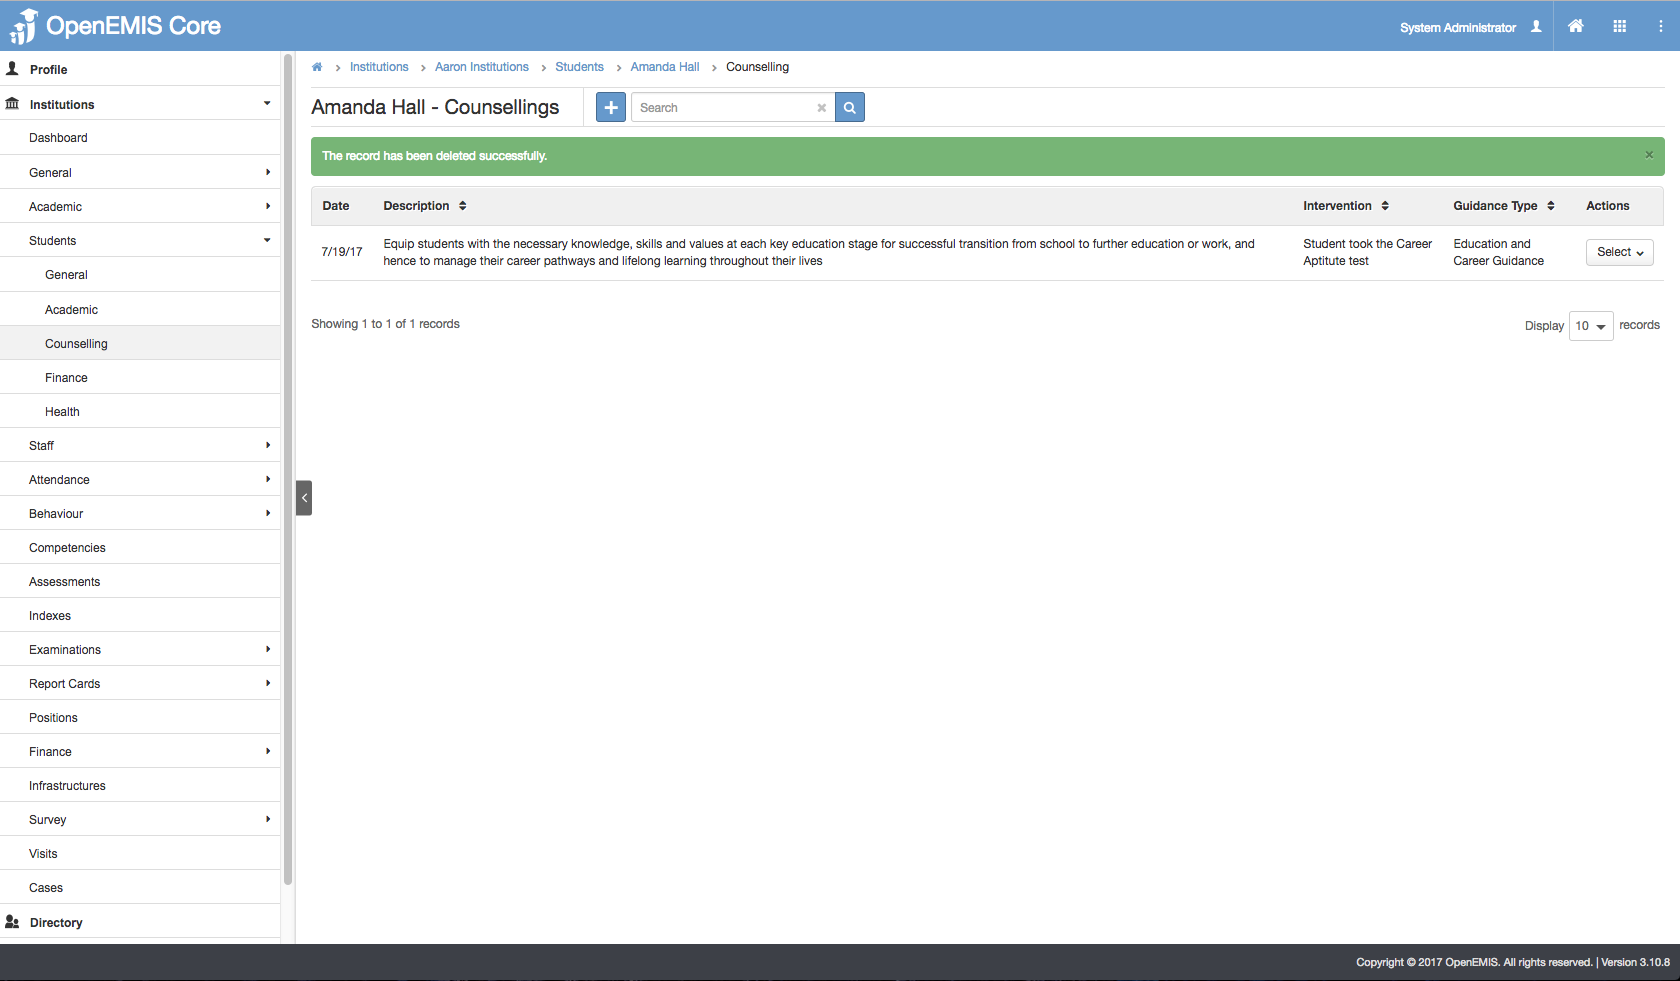
4) System will display a message upon removing successfully.
Enable Permission for Student Counselling Session
Enable Security Role Permissions for Student Counselling Session
1) Go to Administration > Security Roles
2) Select on the Security Role and Allow all the Permission for the following actions.