Article Name: Security for file attachments
Category/Module: Directory, Institutions
Tags: Security, File Attachments
Version: 3.9.7
Date Updated: 31 Mar 2017
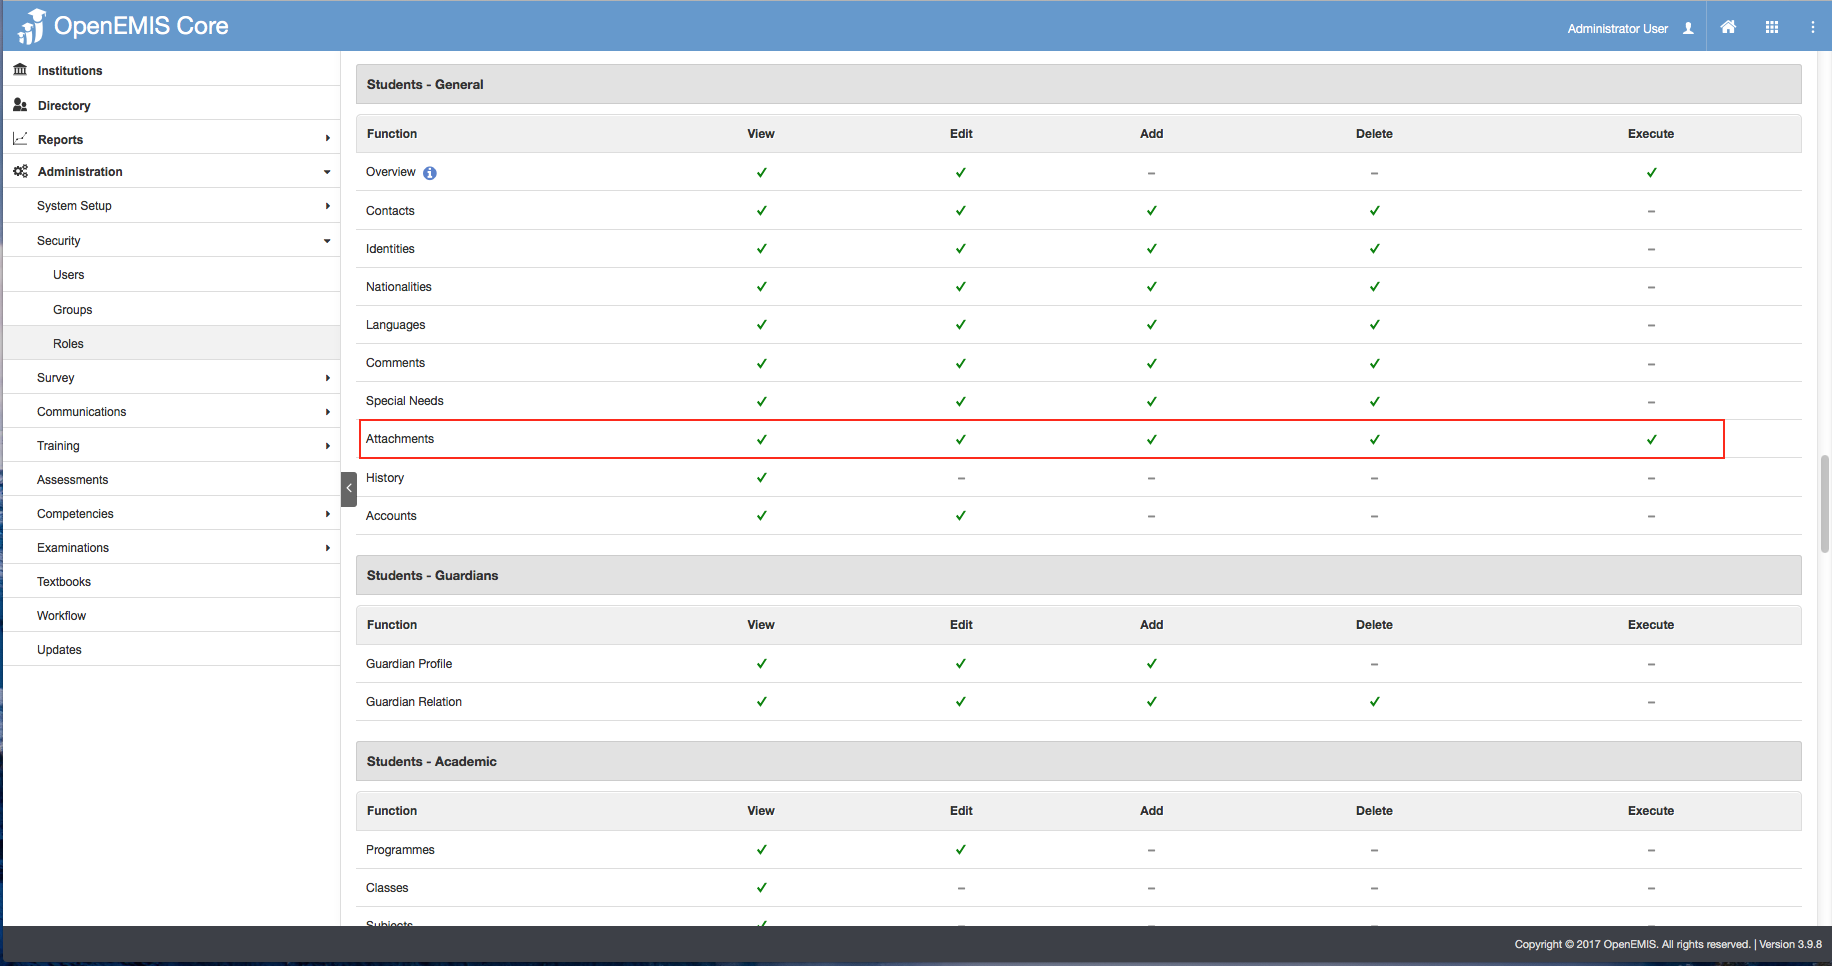
This Security feature for file attachments can be found in the ‘Attachment’ tab when viewing user’s profile. Currently, you will be able to upload files for the user, and specify who you would like to share the attachment with, if the attachments contains confidential data. However, the system will label the Attachment as public access if the security role was not specified for the attachment. This also determines if the role/user has permissions or access to view user profiles or attachments.
- File Attachments with Security Permissions (Directory)
File Attachments with Security Permissions
Create Attachments
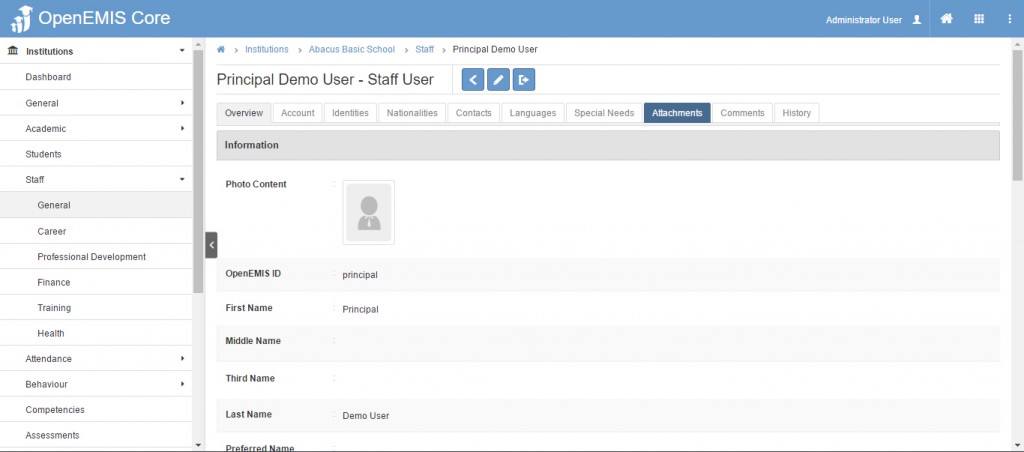
1) Under institution, choose menu item of your preference (Student or Staff). Click on a user from the list. In this example staff is chosen and a principal user will be used to demonstrate. After choosing a user, click the attachments tab in the content area.
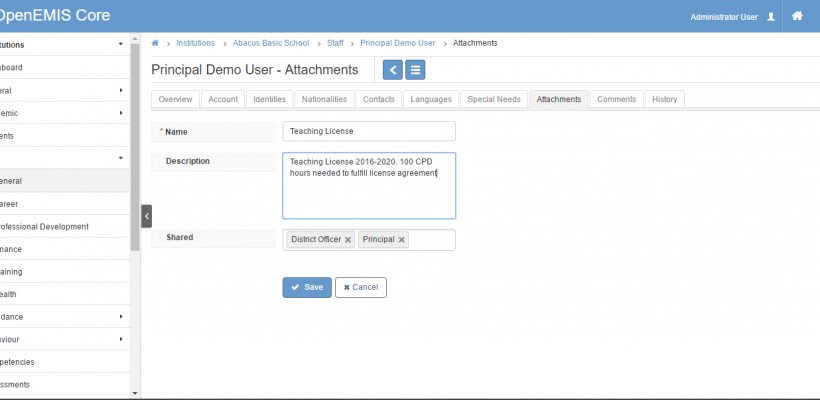
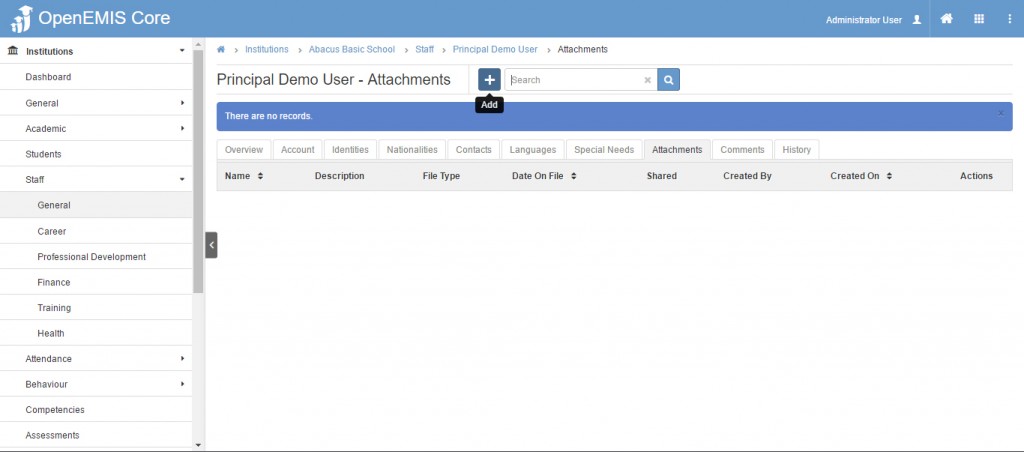
2) Inside the attachment view, click the add (+) icon.
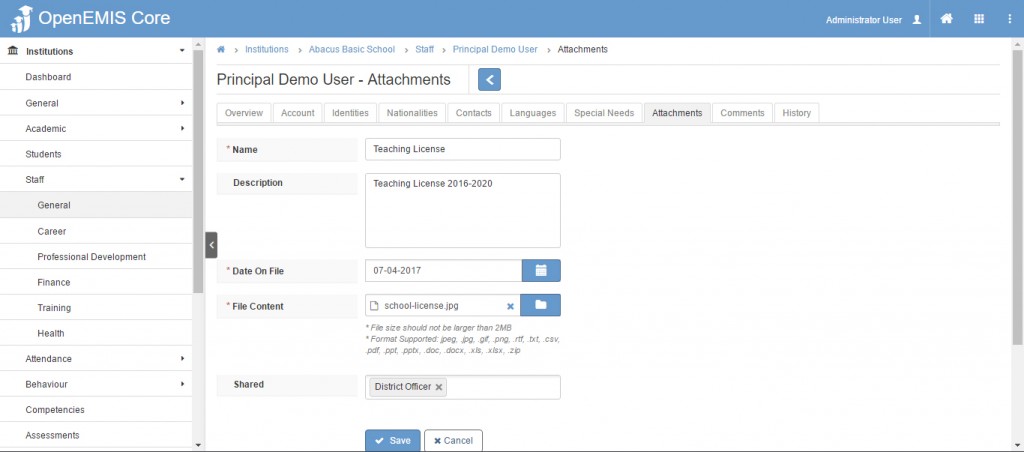
3) Enter details for attachment such as name, description and date into the form fields. Use the file icon for file content to upload the attachment. It is important to specify share options for privacy of attachments. Click save when finished.
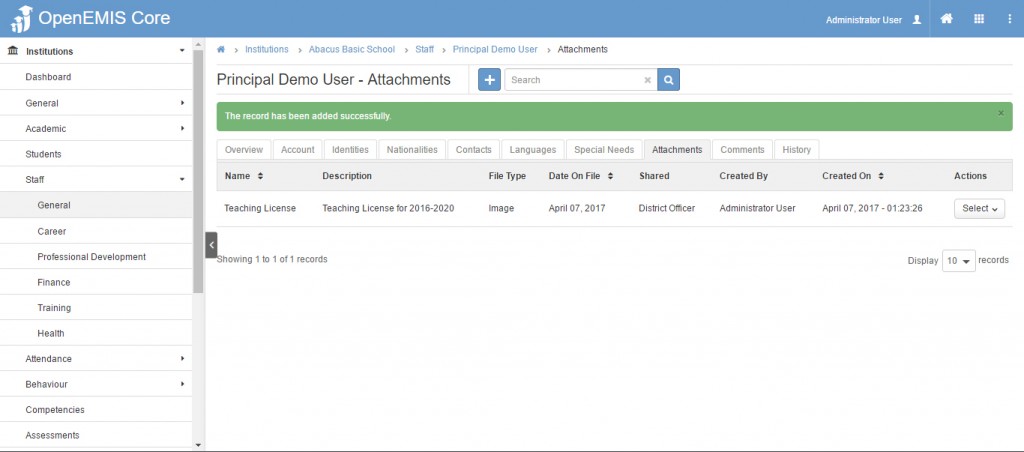
4) The green success screen will display and the attachment will be listed with the details you entered.
Edit Attachments
1) Under institution, choose menu item of your preference (Student or Staff). Click on a user from the list. In this example staff is chosen and a principal user will be used to demonstrate. After choosing a user, click the attachments tab in the content area. Any attachments that have been added should be listed.
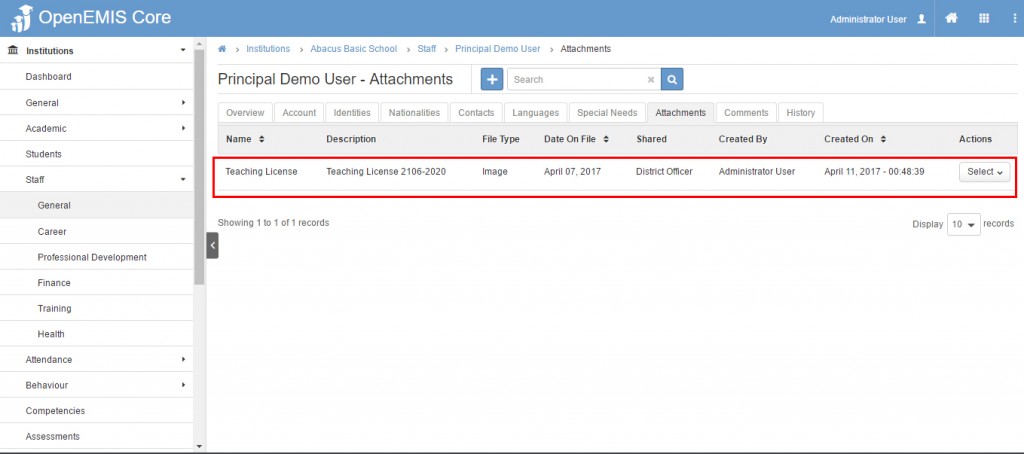
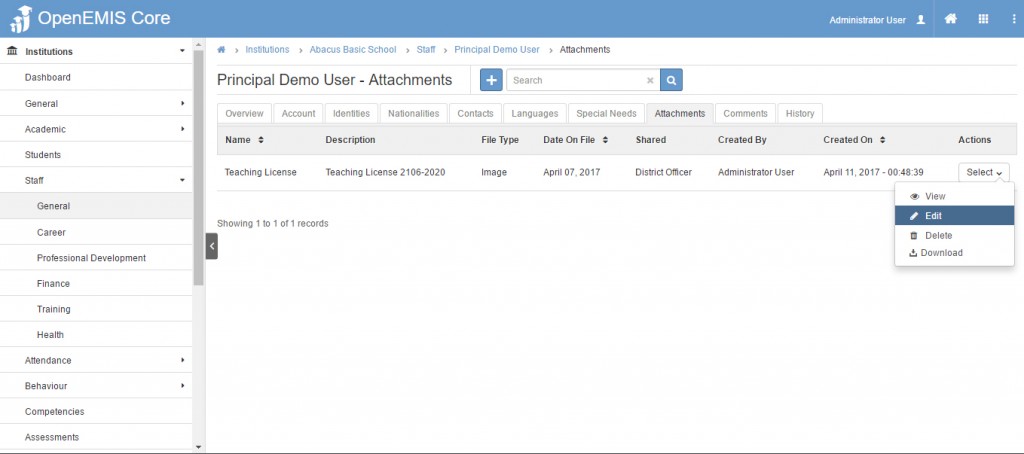
2) Click the select button and choose edit to make changes to an existing attachment.
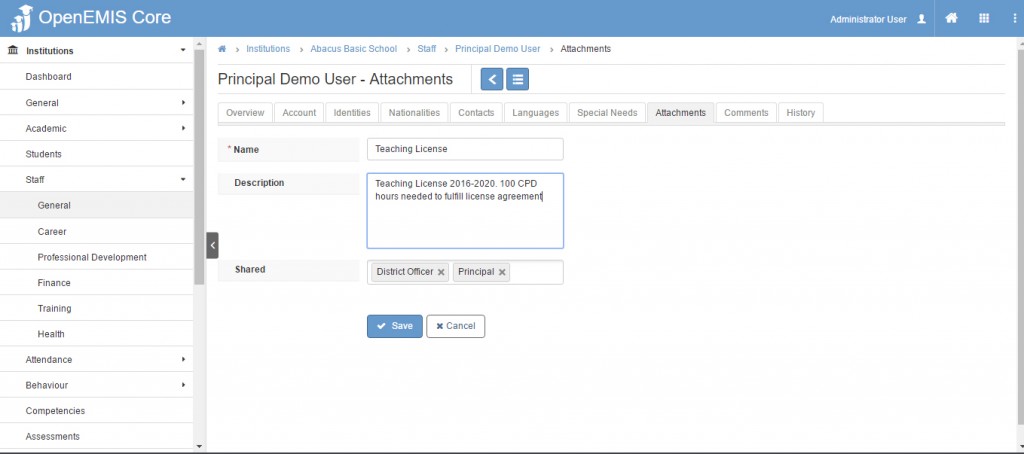
3) In the edit screen you are able to make changes to the name, description and shared option of the attachment. After making necessary changes, click the save button to keep changes.
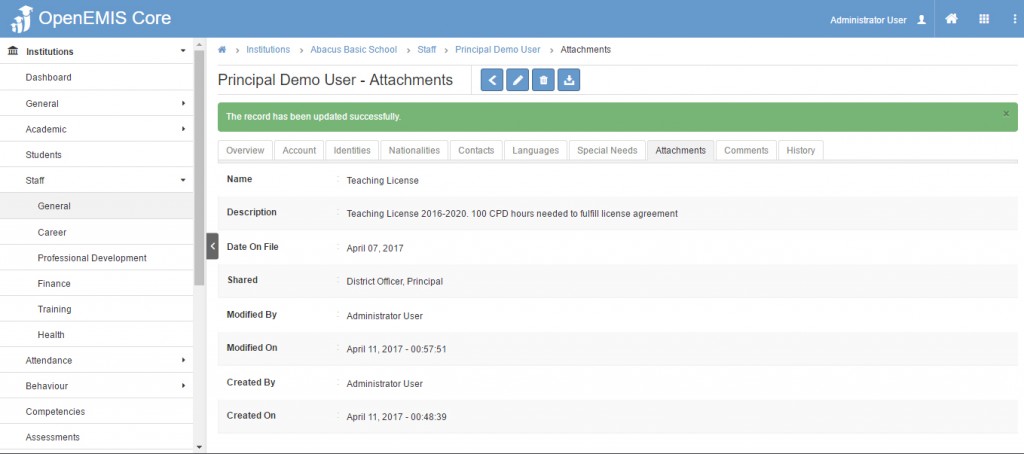
4) The green success screen will display to indicate completed changes.
View Attachments
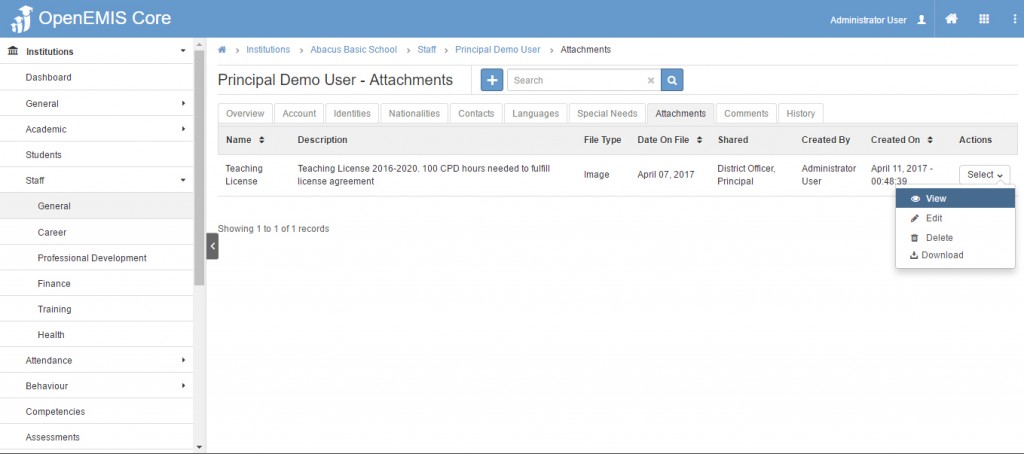
1) Under institution, choose menu item of your preference (Student or Staff). Click on a user from the list. In this example staff is chosen and a principal user will be used to demonstrate. After choosing a user, click the attachments tab in the content area. Any attachments that have been added should be listed.
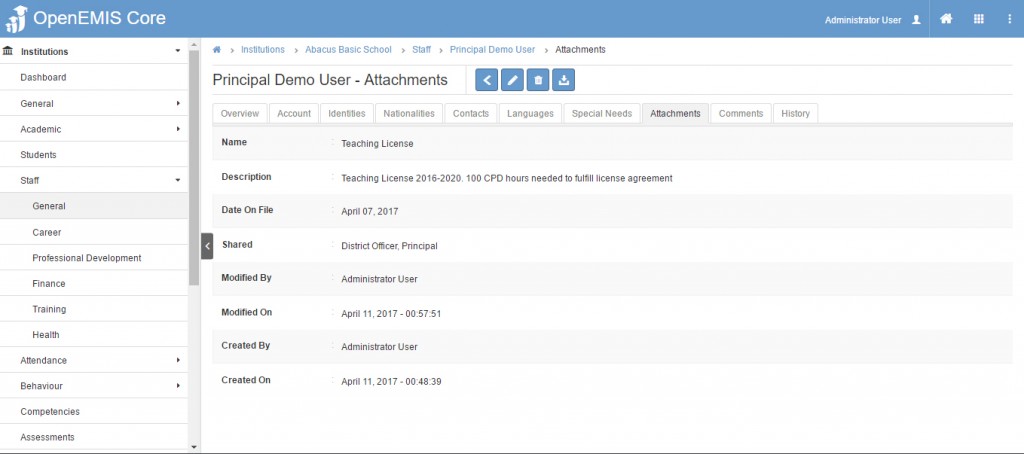
2) Click the select button and choose view to open the attachment.
3) In the view screen, the details of the attachment will be displayed.
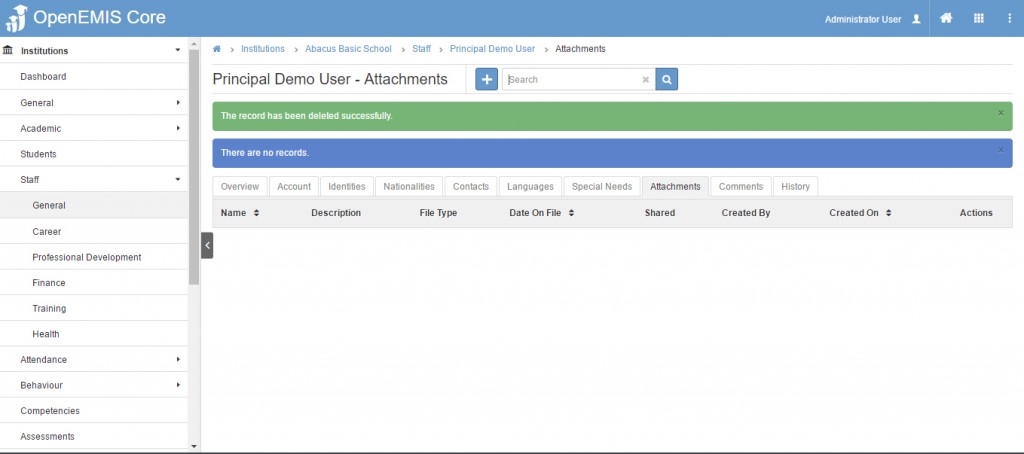
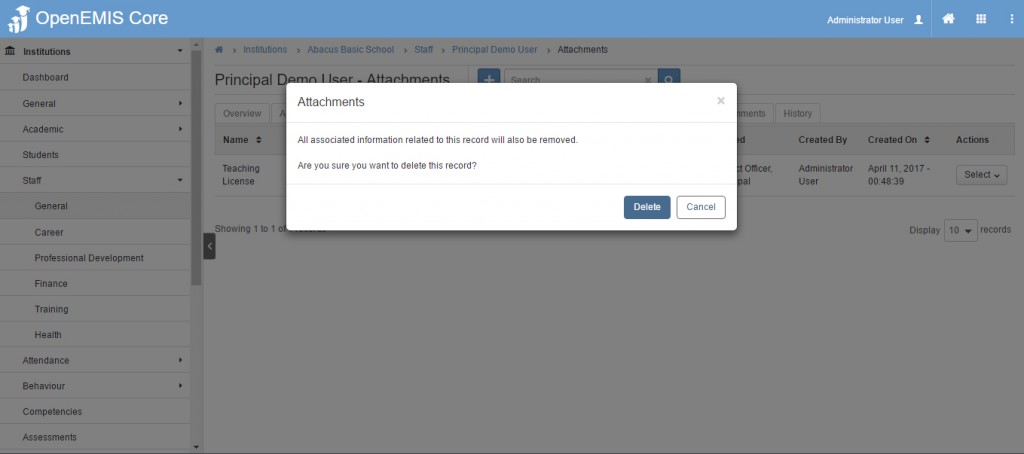
Delete Attachments
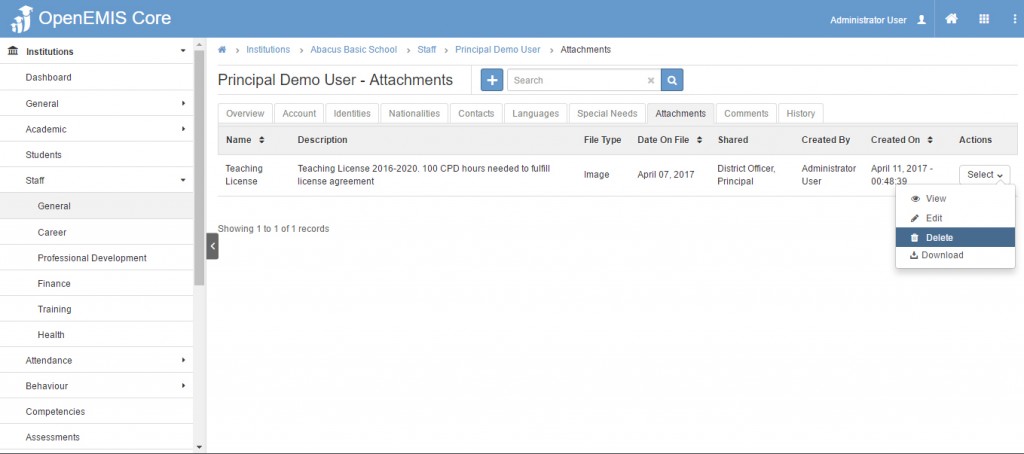
1) Under institution, choose menu item of your preference (Student or Staff). Click on a user from the list. In this example staff is chosen and a principal user will be used to demonstrate. After choosing a user, click the attachments tab in the content area. Any attachments that have been added should be listed. You can also download an attachment, depending on your security permission.
2) Click the select button and choose delete to remove an existing attachment.
3) The pop up screen will be displayed. Choose delete to confirm your choice. Cancel if you do not want to continue to remove the attachment file.
4) After you choose delete, the green success screen will be displayed to confirm your choice.