Article Name: Scholarships
Category/Module: Administration, Institutions
Tags: Scholarship
Version: 3.27.0
Date Updated: 04 June 2018
This Scholarship feature allows students/staffs to be placed on a Scholarship, under a scholarship or loan financial assistance.
- Pre-Setup
- Setup Scholarship – Scholarship/Loan
- Scholarship Application
Pre-Setup
Setup Field Options
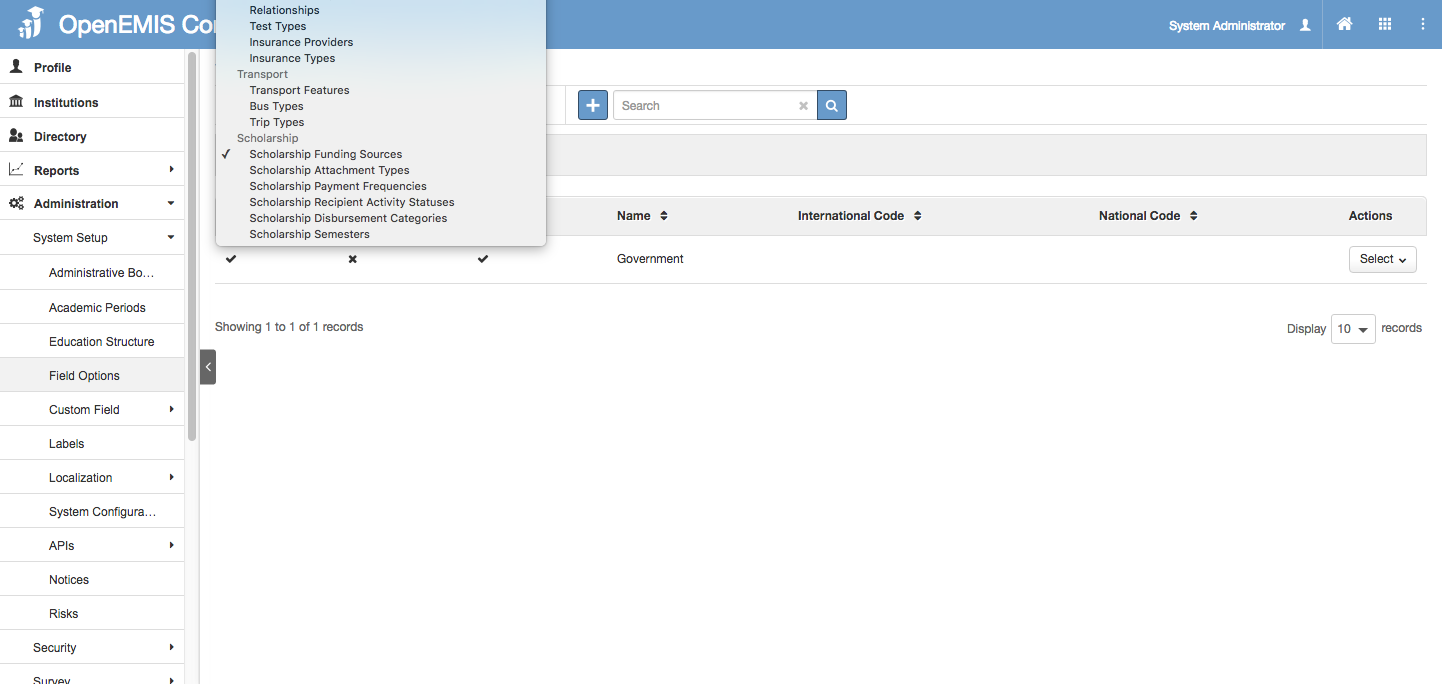
1) Go to Administration > System Setup > Field Options > Scholarship .
2) You will see a list of fields used in the Scholarship setup page. You can add in the necessary field options.
Setup Currency
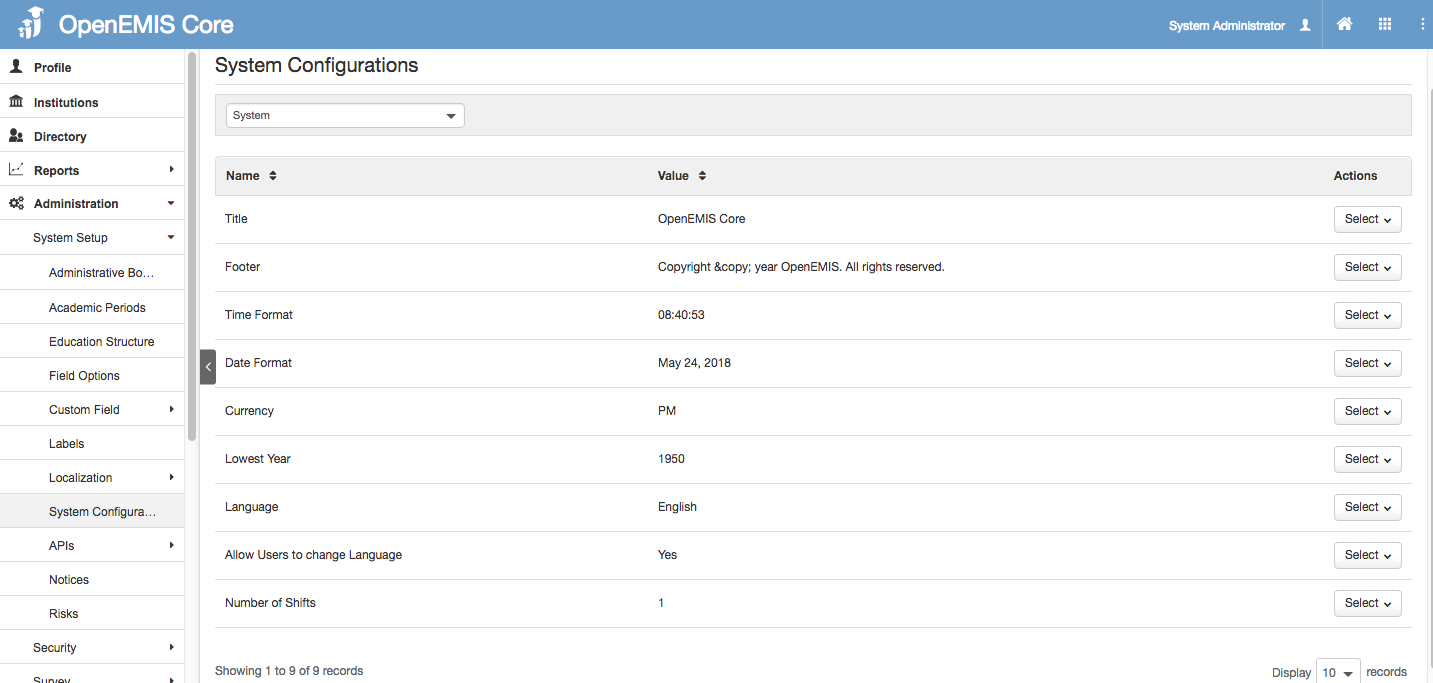
1) Go to Administration > System Setup > System Configurations > System .
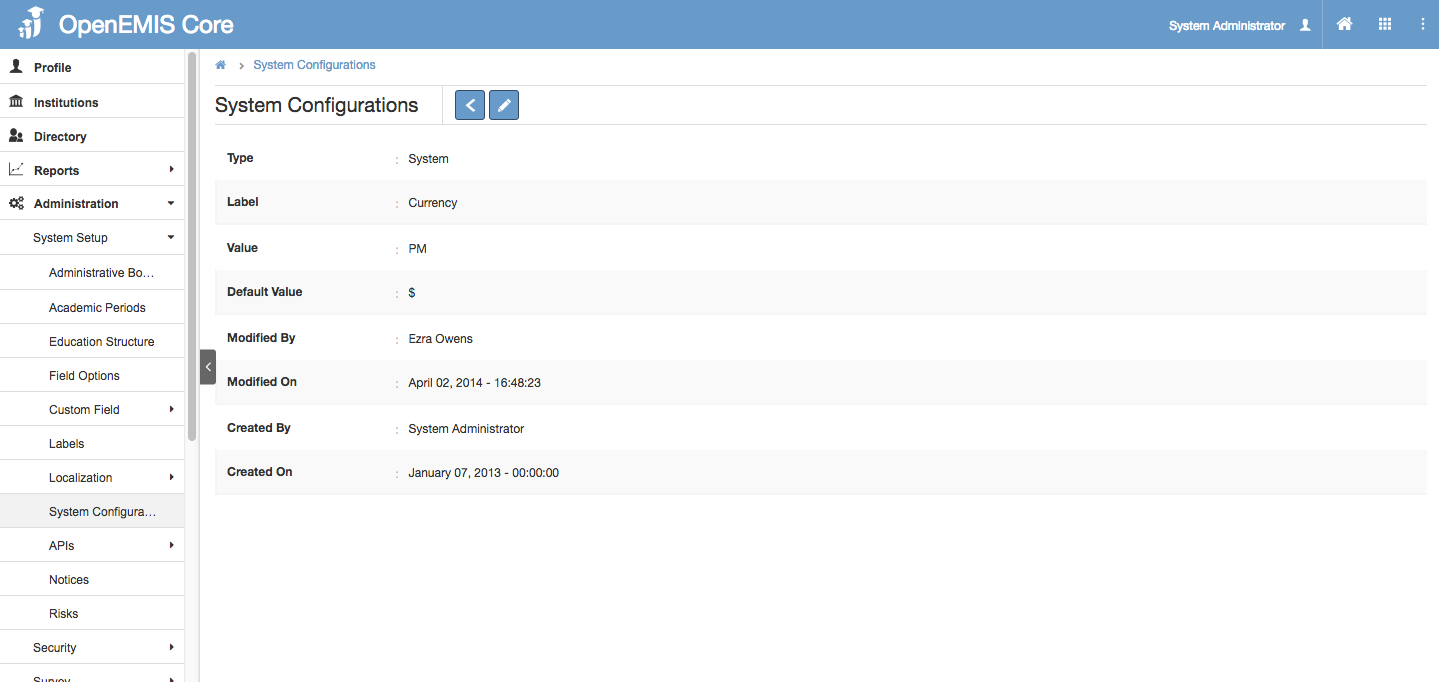
2) Edit the currency value accordingly.
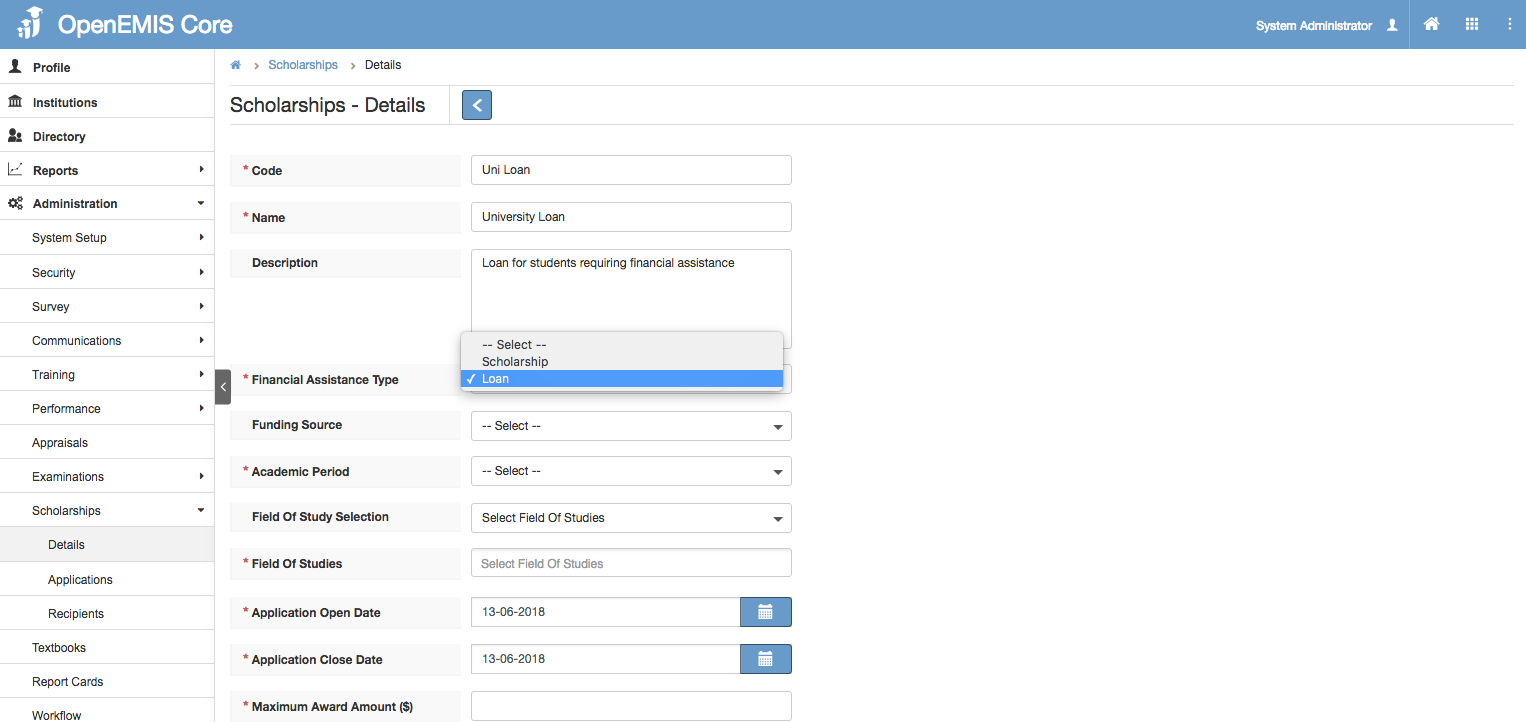
Setup Scholarship – Scholarship/Loan
Setup Scholarship
This is to setup a Scholarship Financial Assistance Type. To setup a Loan Financial Assistance type, go to: Setup Loan.
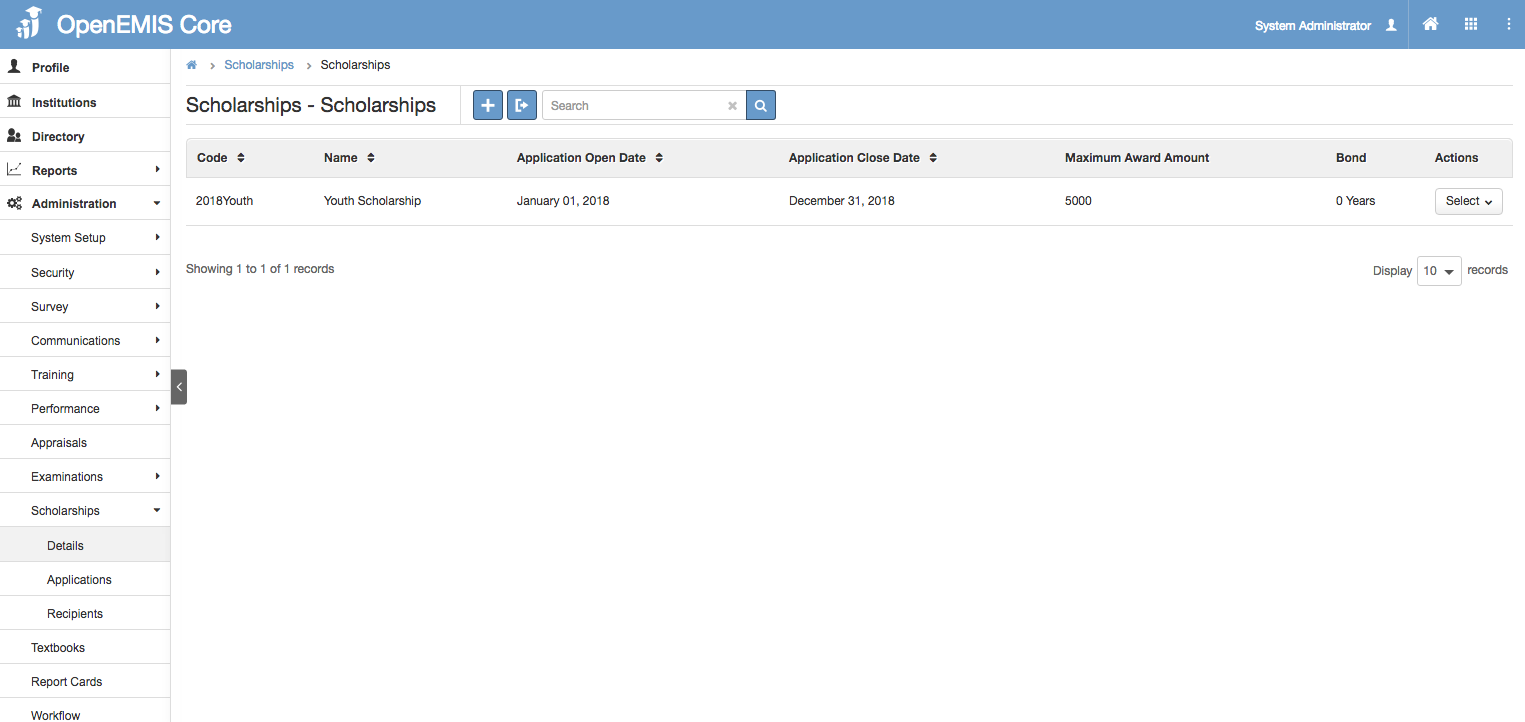
1) Go to Administration > Scholarships > Details > Add.
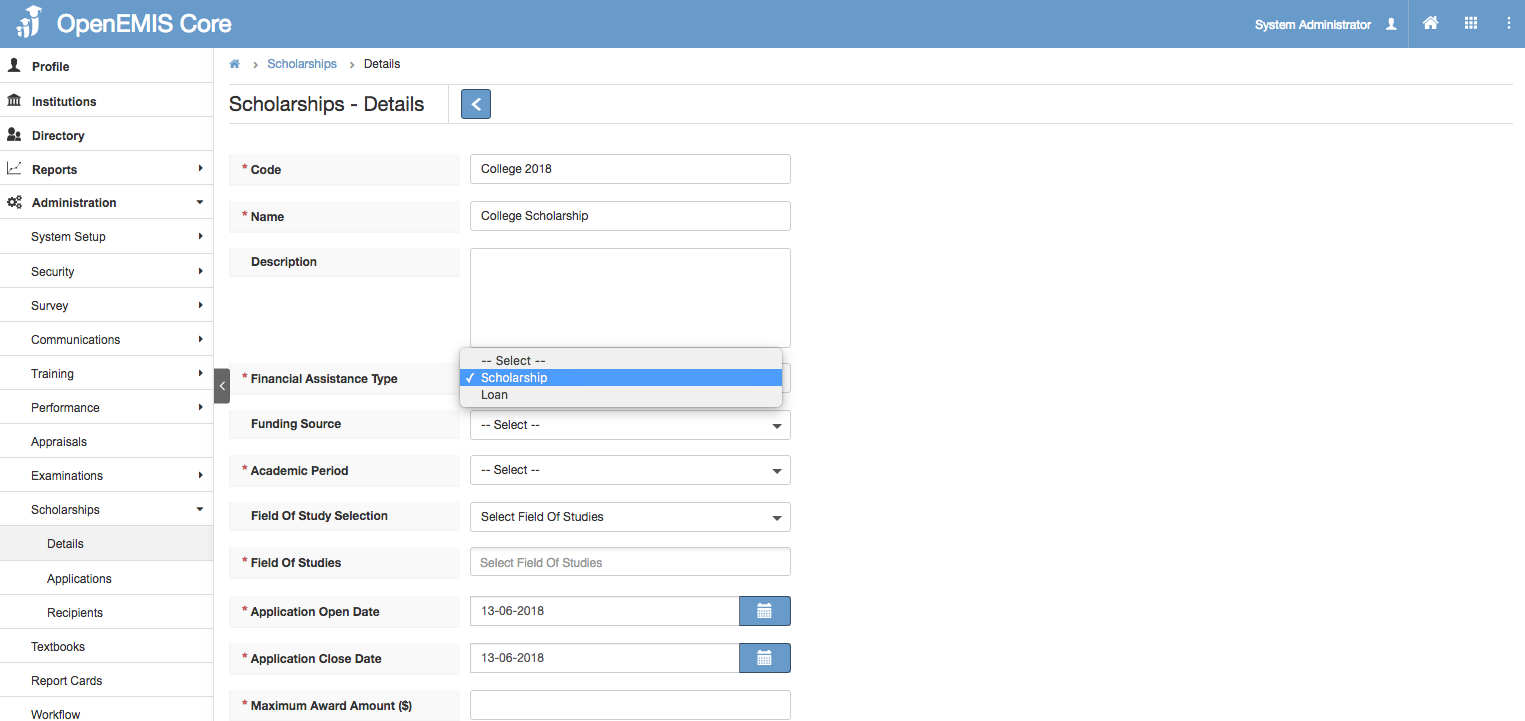
2) Under Financial Assistance Type, select Scholarship.
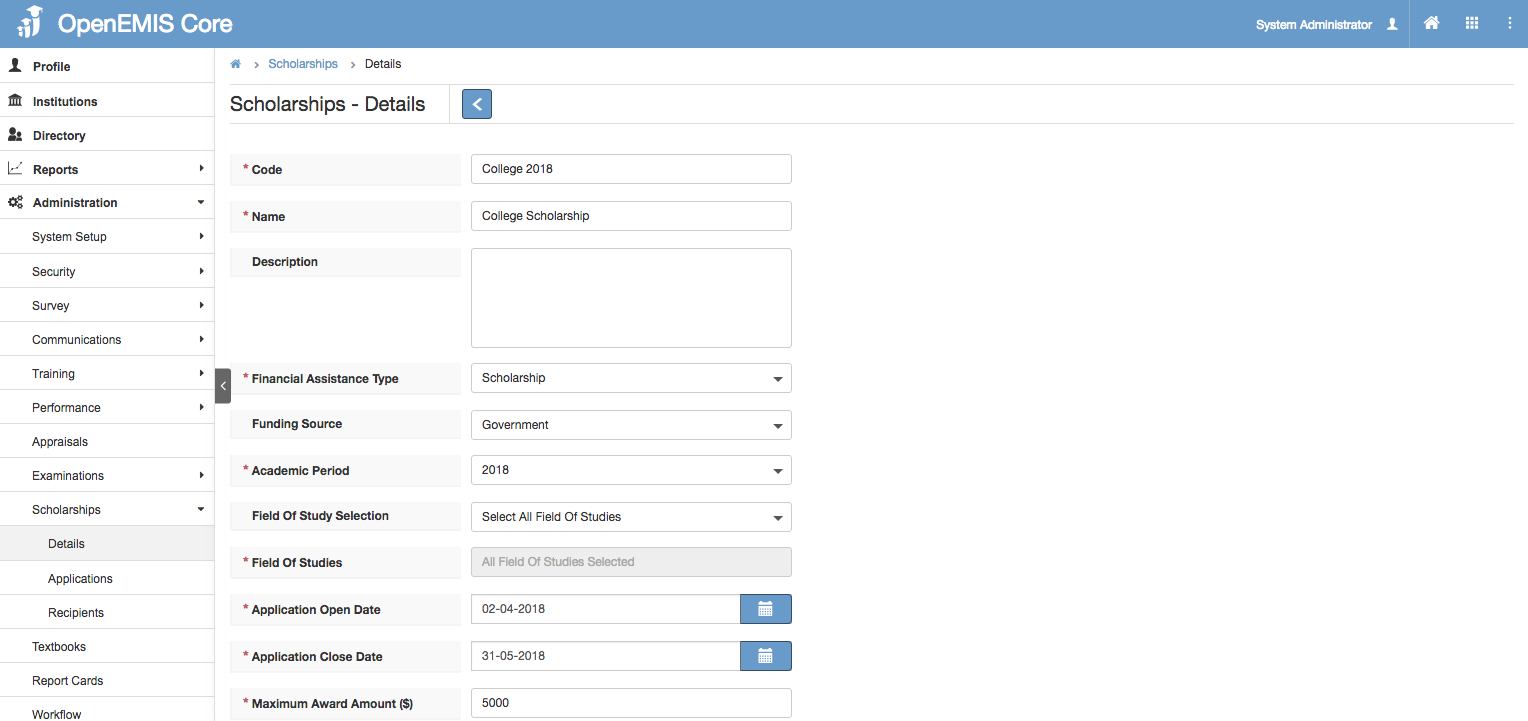
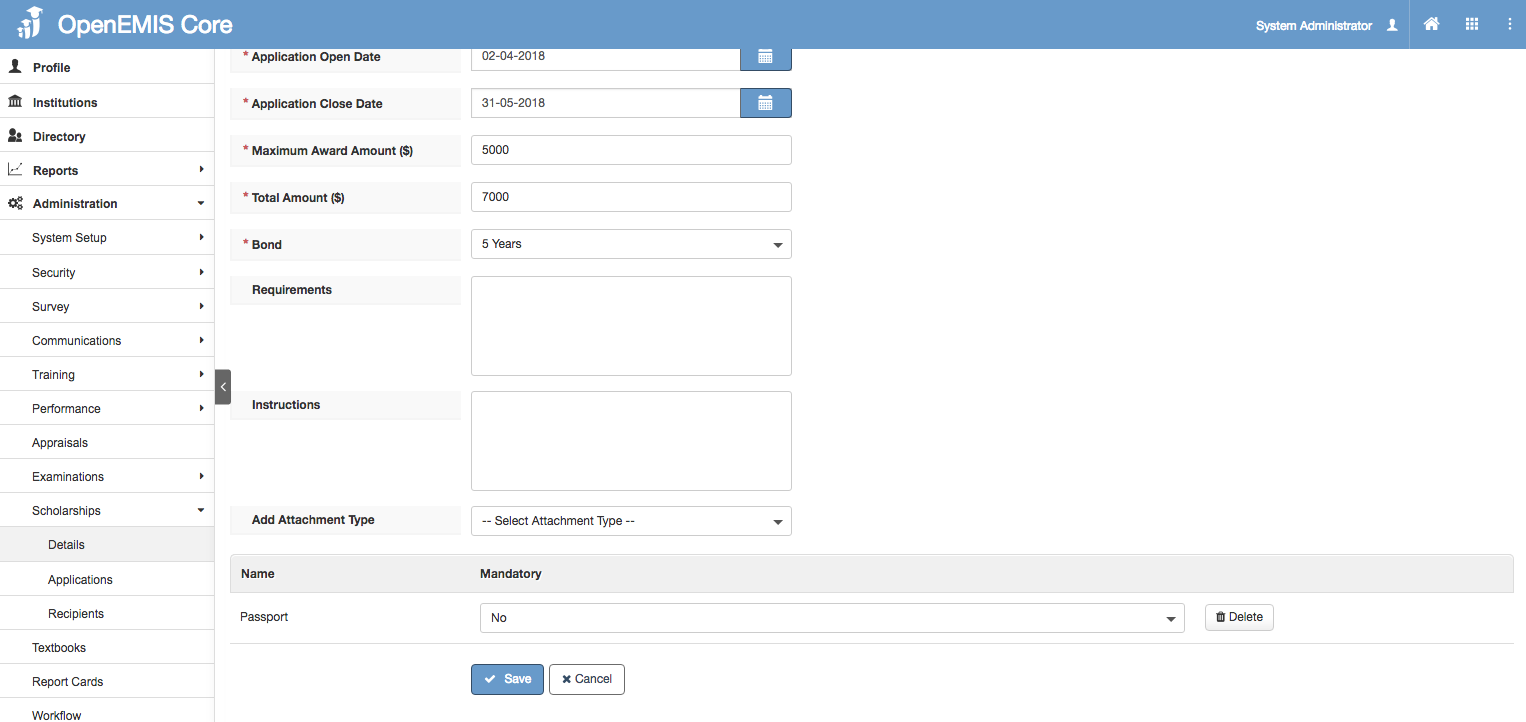
3) Fill in the details accordingly.
4) Click on ‘Save’.
Setup Loan
This is to setup a Loan Financial Assistance Type. To setup a Scholarship Financial Assistance type, go to: Setup Scholarship.
1) Go to Administration > Scholarships > Details > Add.
2) Under Financial Assistance Type, select Loan.

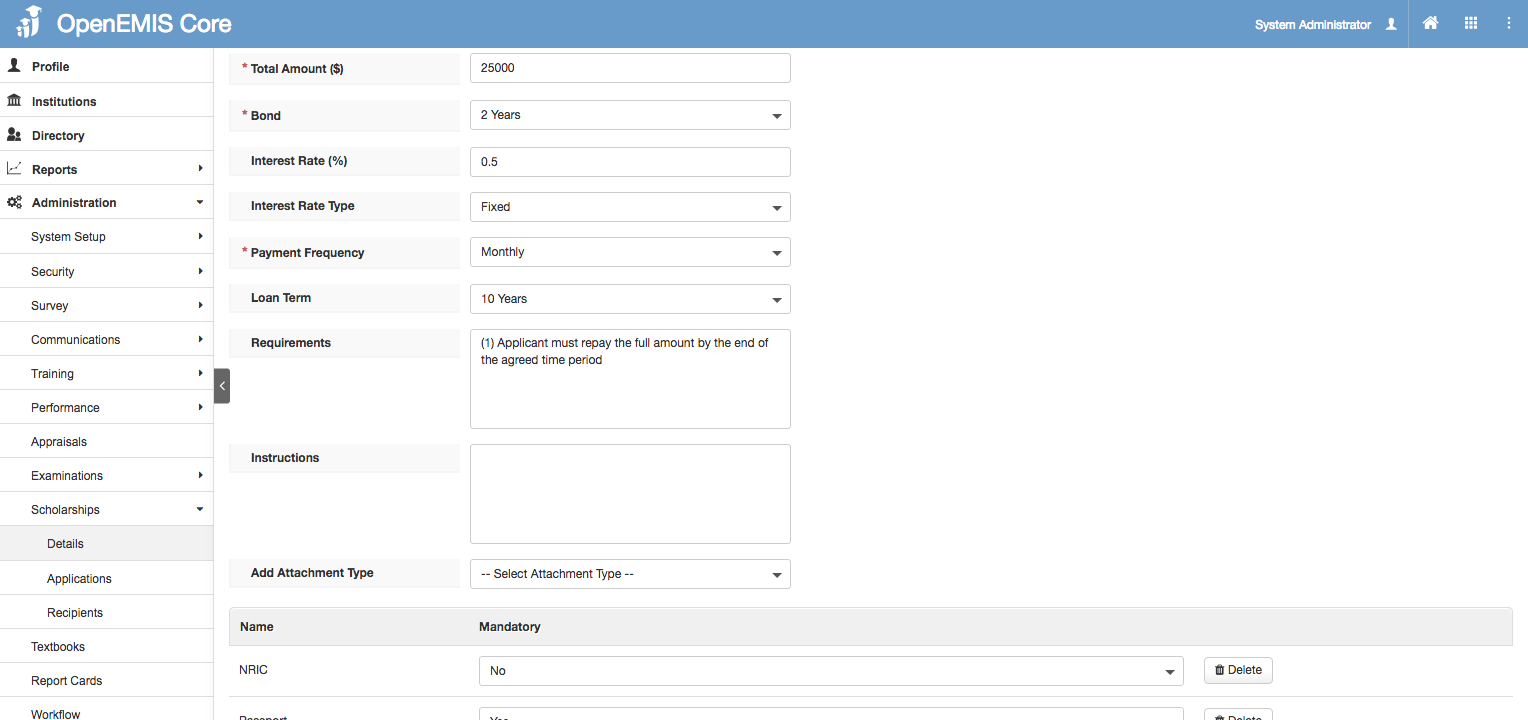
3) Fill in the details accordingly.
4) Click on ‘Save’
Scholarship Application
Scholarship Application
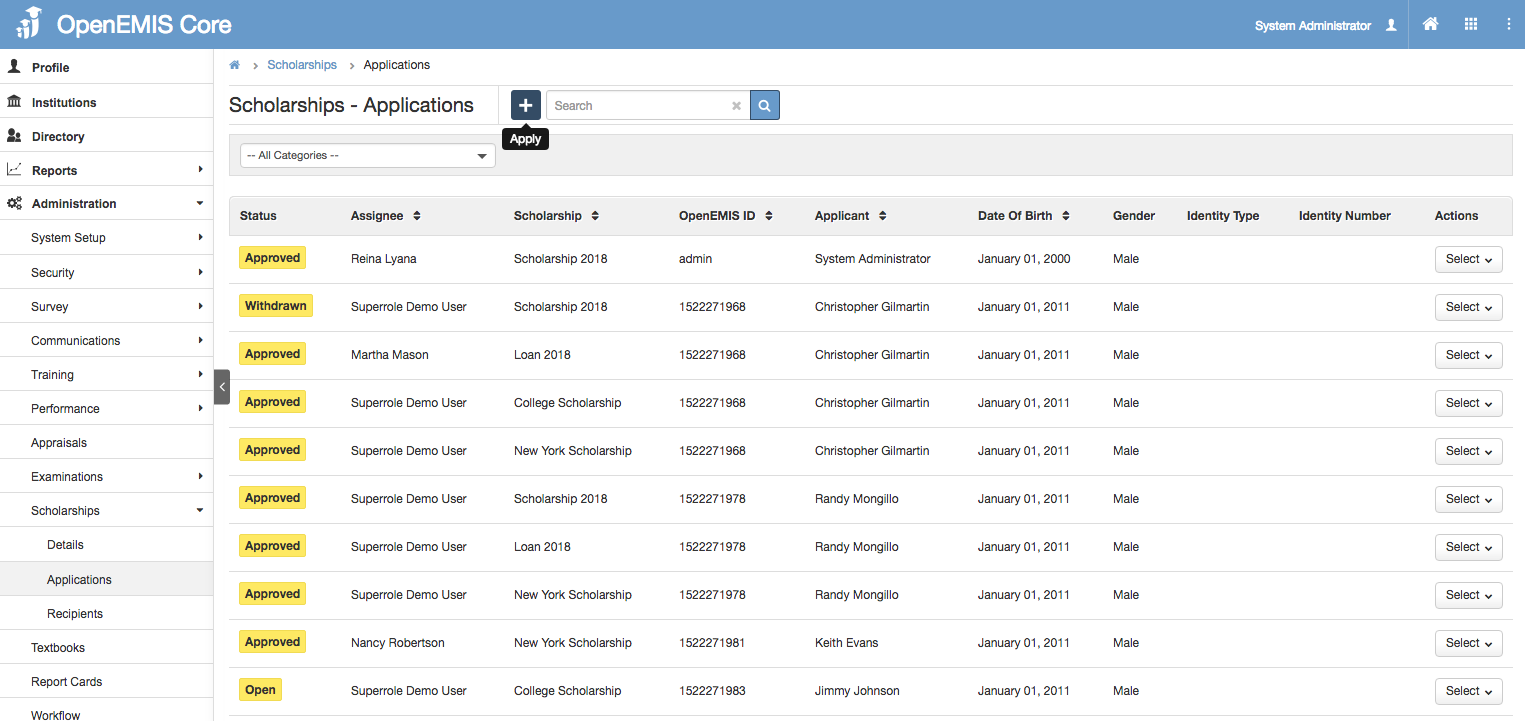
1) Go to Administration > Scholarships > Applications > Apply.
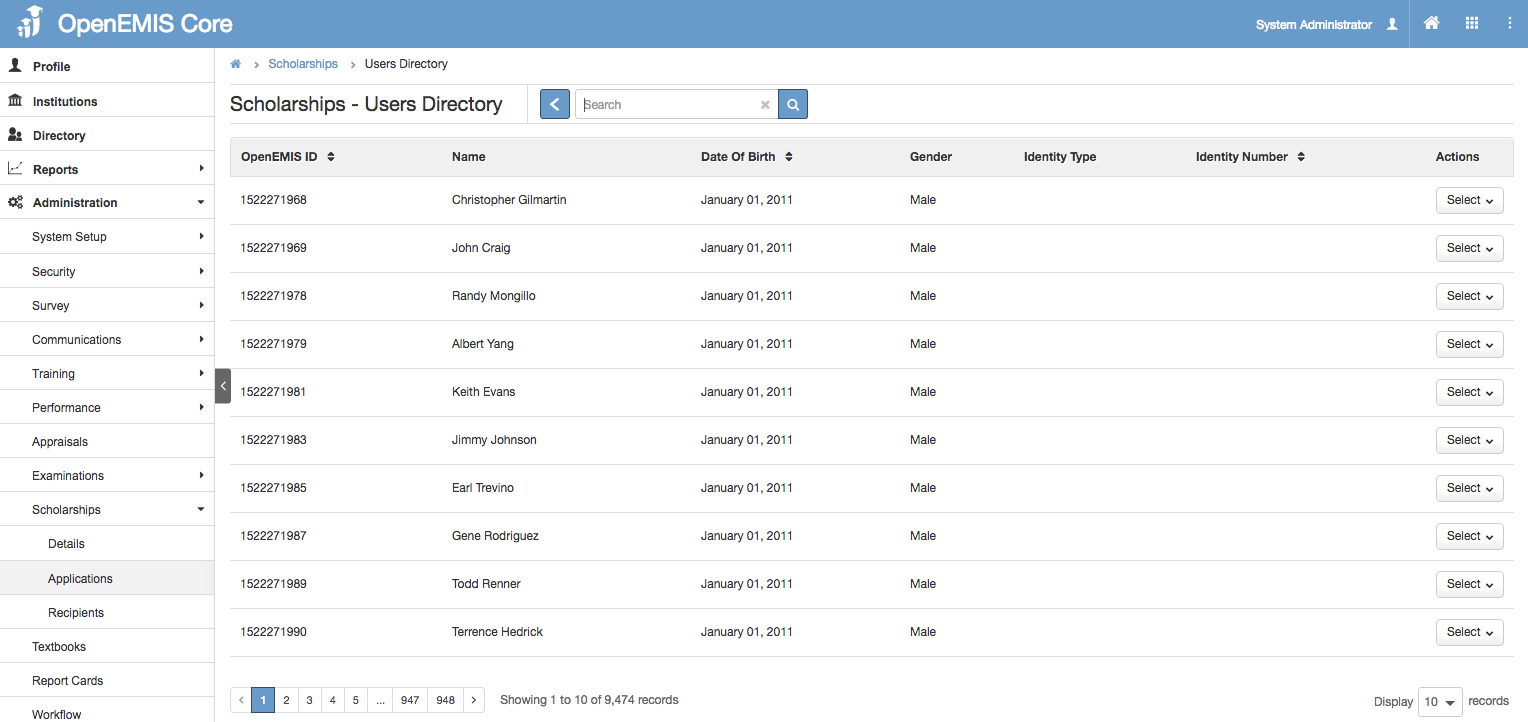
2) You will see the list of Users in the Directory. Search by the OpenEMIS Number/name for the student/staff you are applying for.
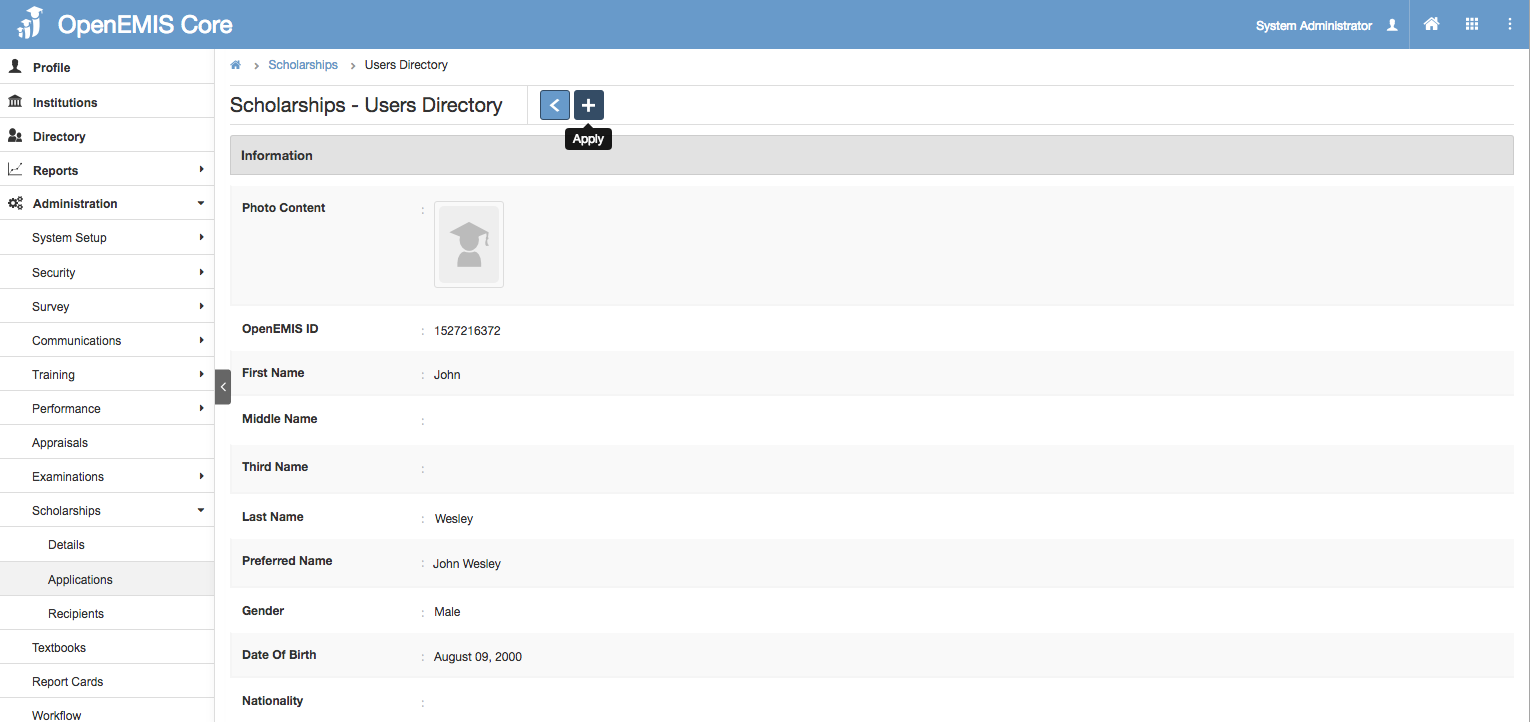
3) Click on the Apply button.
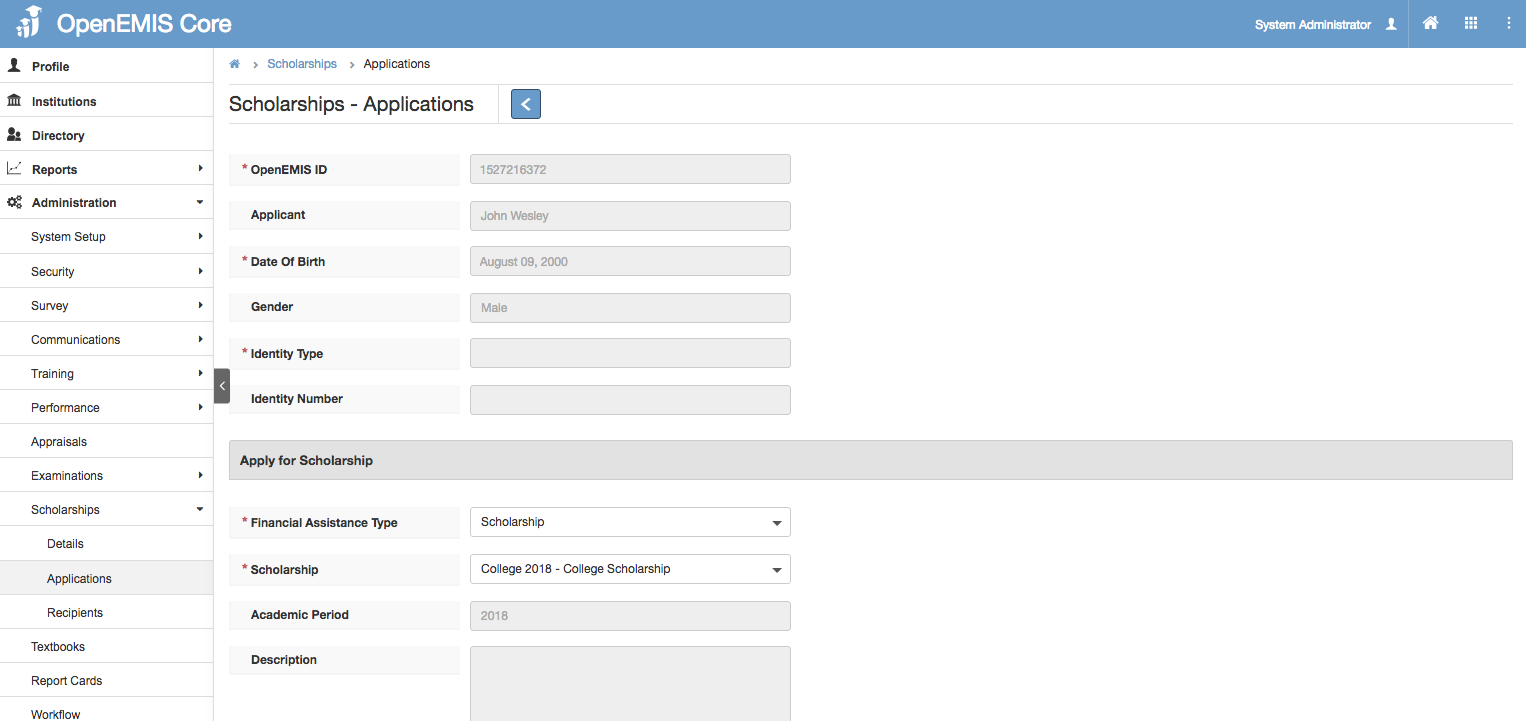
4) Select the Financial Assistance Type that the student/staff is applying for.
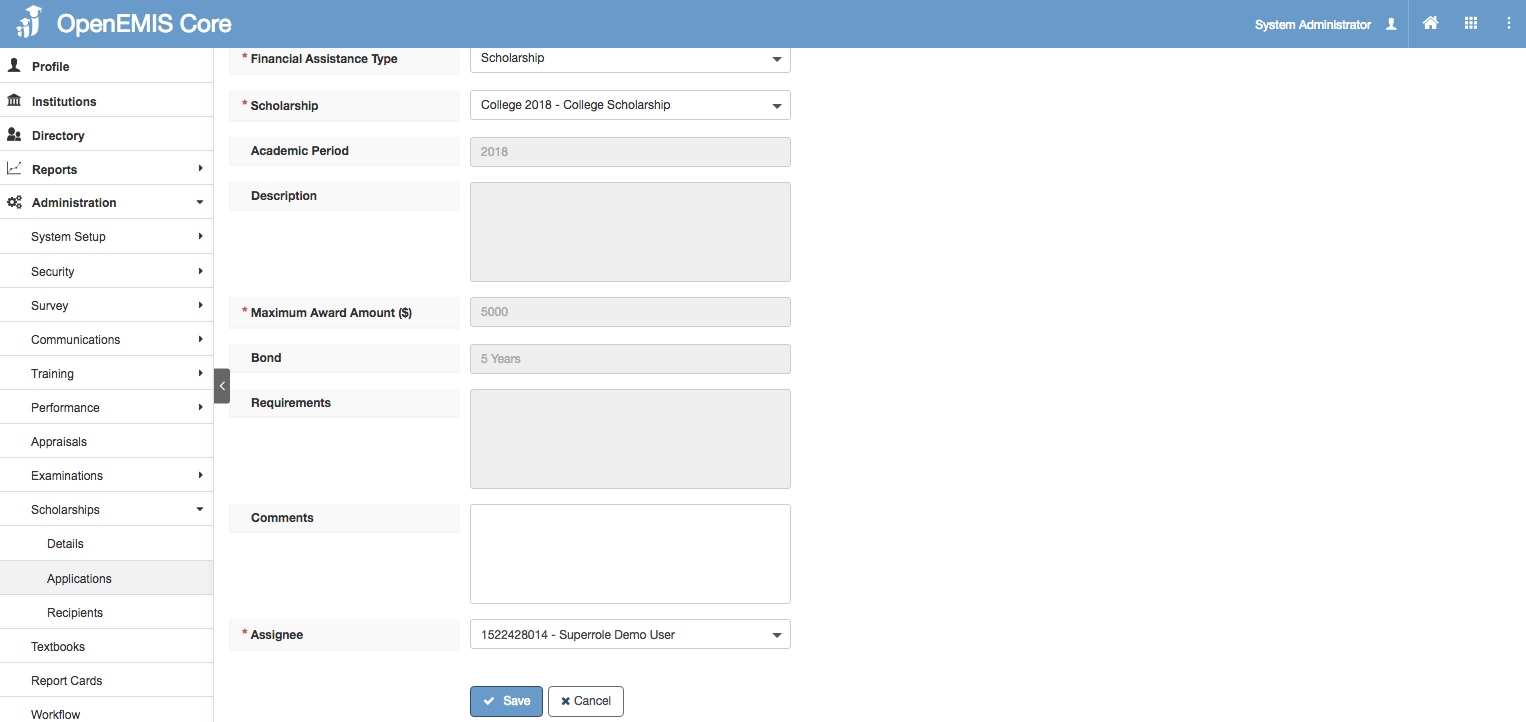
5) Select the Assignee accordingly. Click on ‘Save’.
Scholarship History
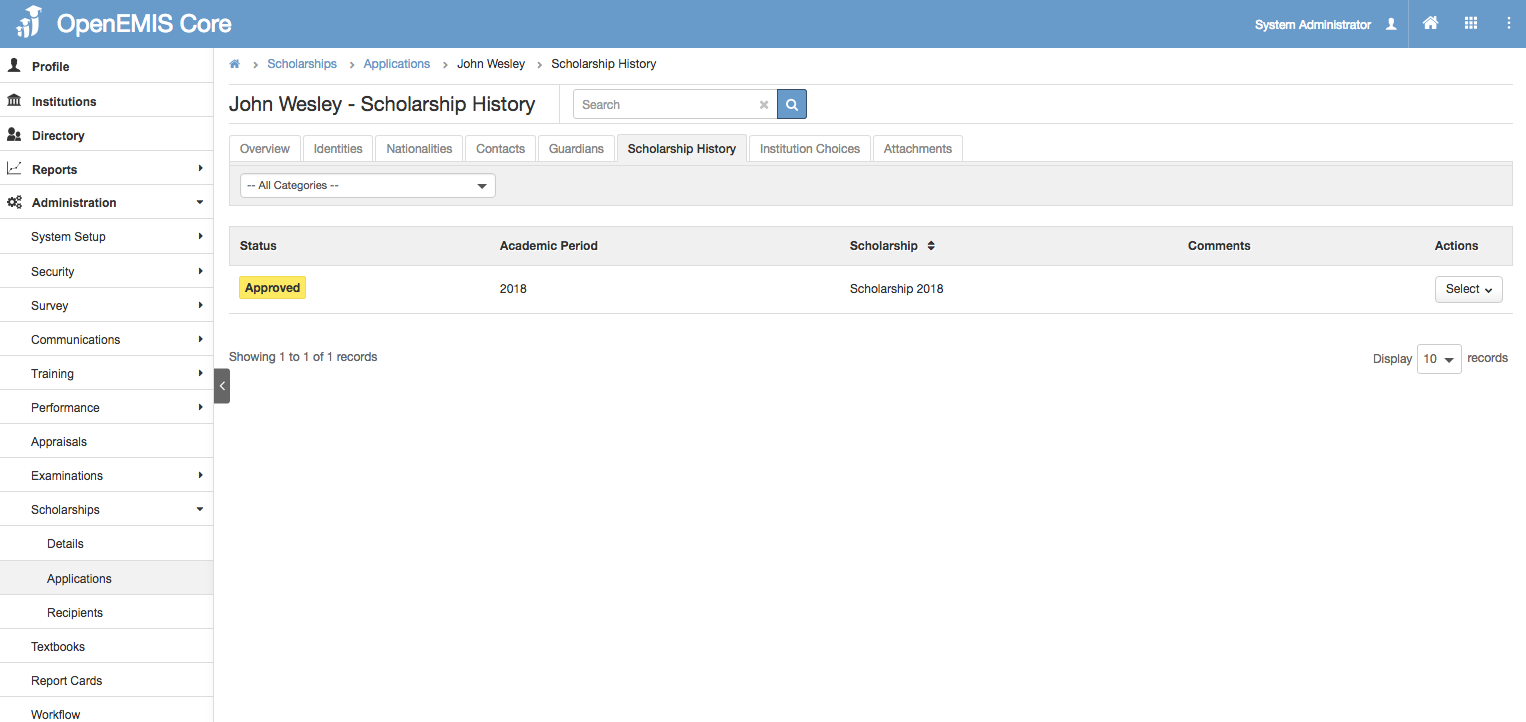
1) You can view the Scholarship History of the student/staff. It will only reflect the scholarships other than the current application.
Institution Choices
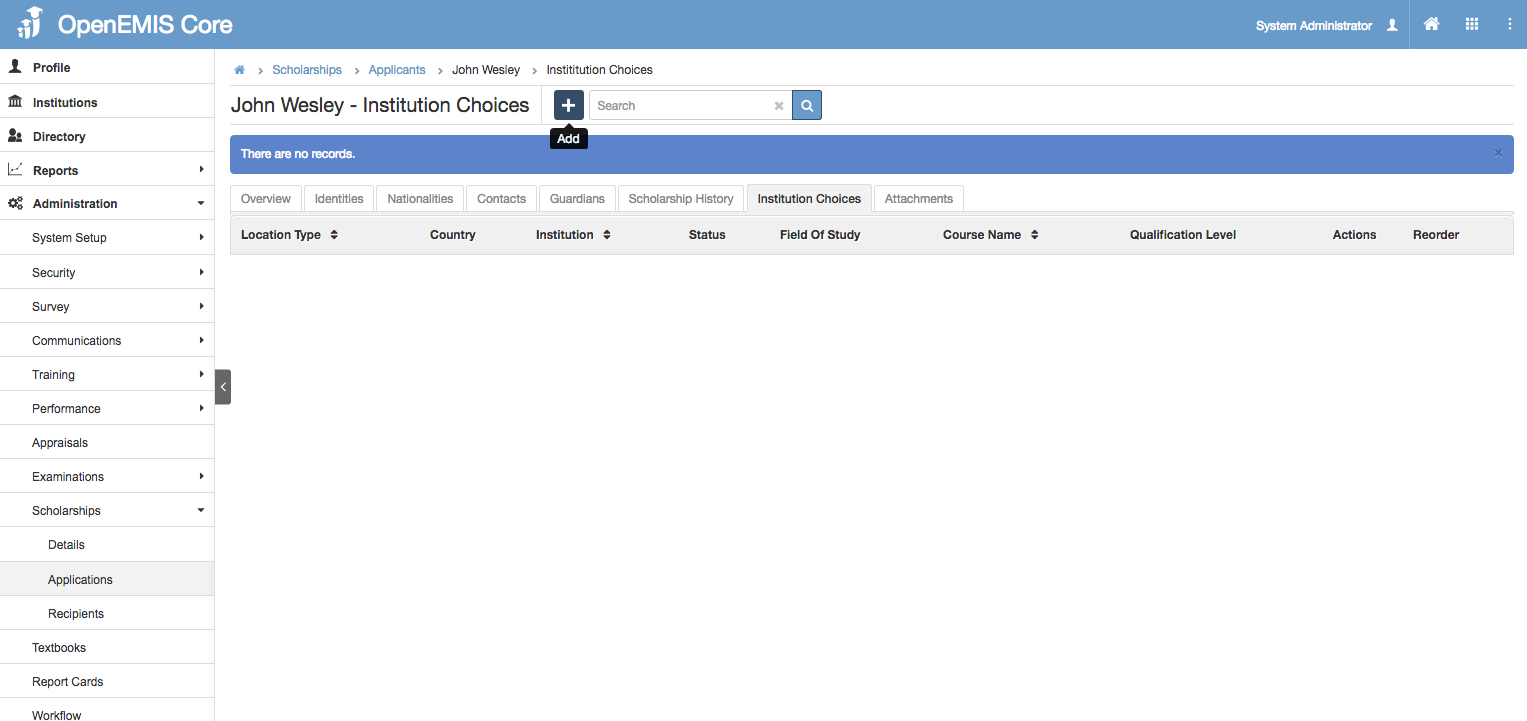
1) Click on the Applicant, select Institution Choices > Add.

2) Fill in the necessary information.
3) Click ‘Save’.
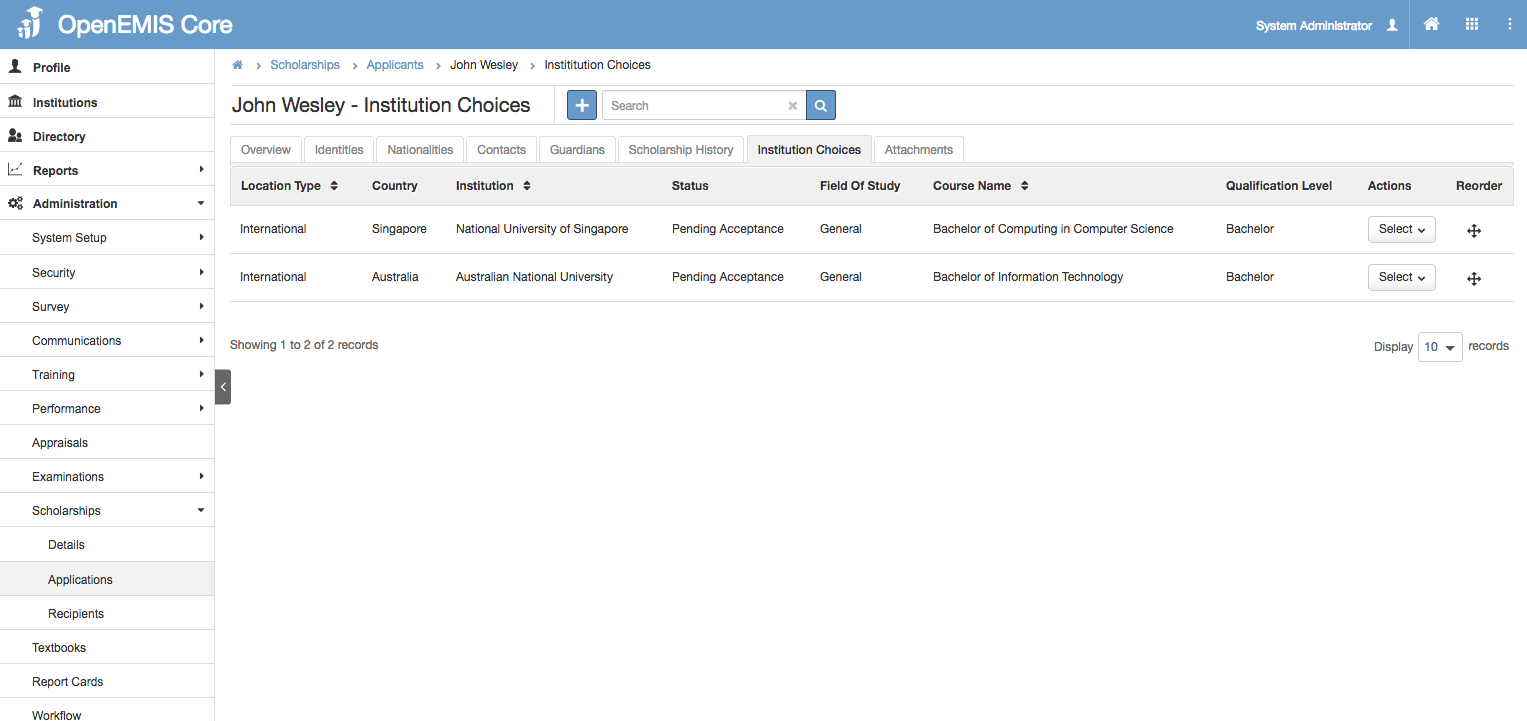
If there are more than 1 institution choices, you can reorder to indicate your choice of institution.
Add Attachments
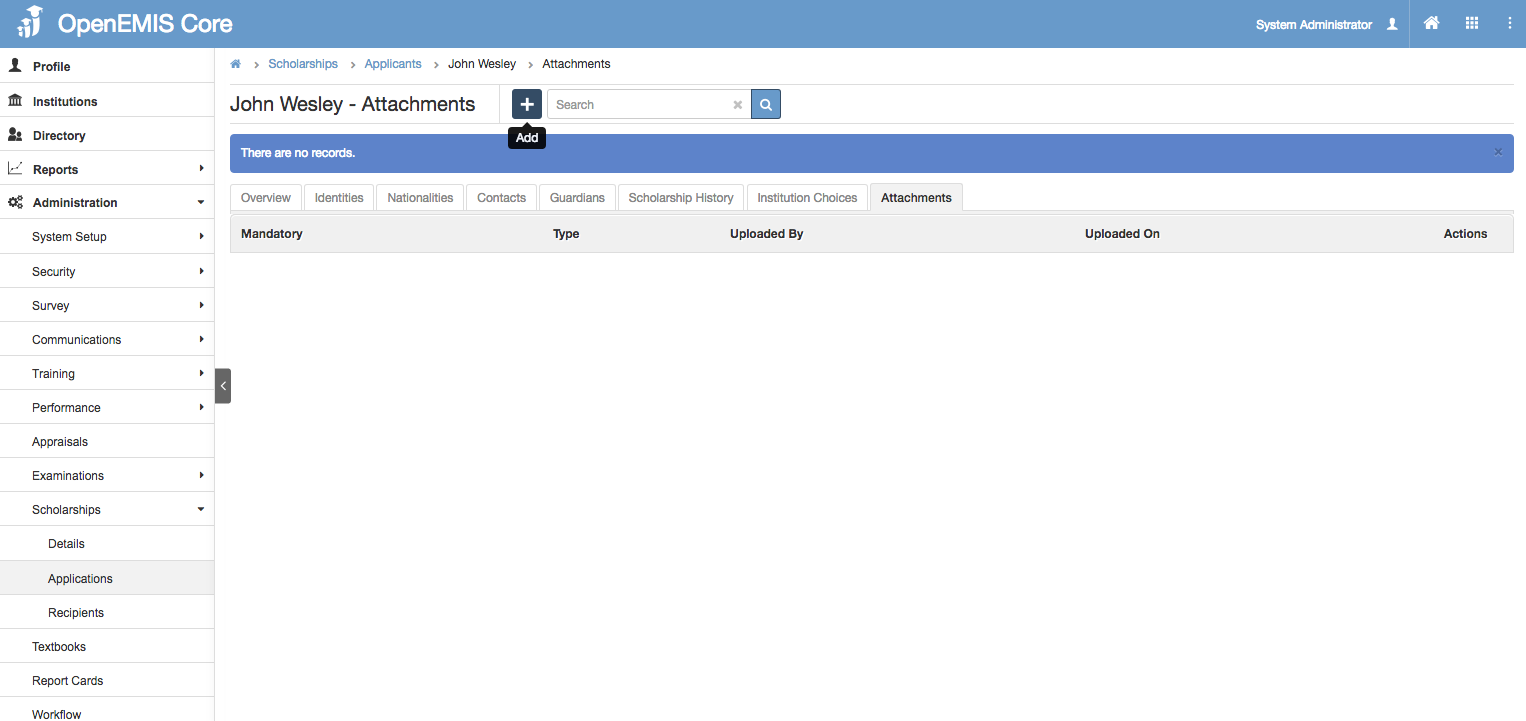
1) Click on the Applicant, select Attachments > Add.

2) Upload the necessary documents.
3) Click ‘Save’. Once all the attachments are uploaded, you may proceed to submit for review.
Submit for Review
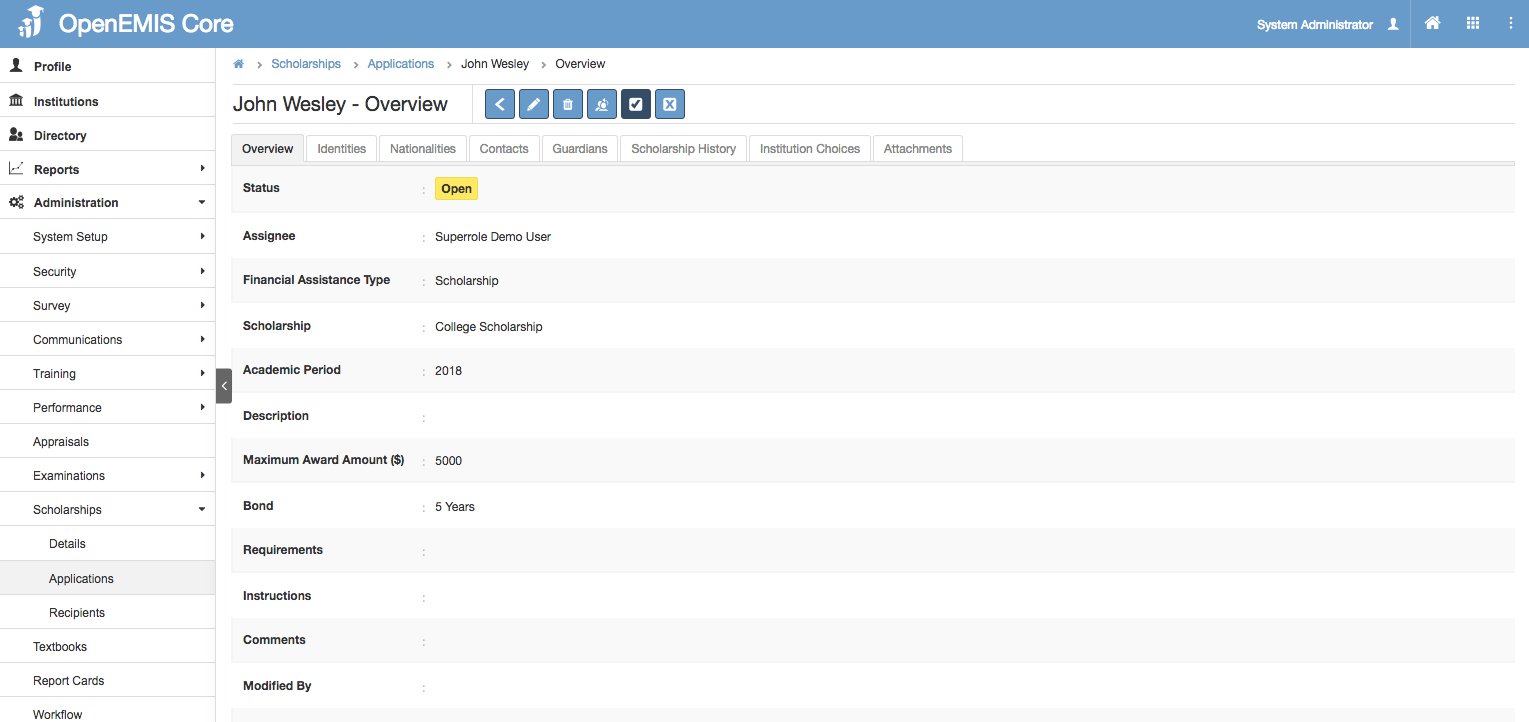
1) Go to Overview tab.
2) Click on Submit For Review button.
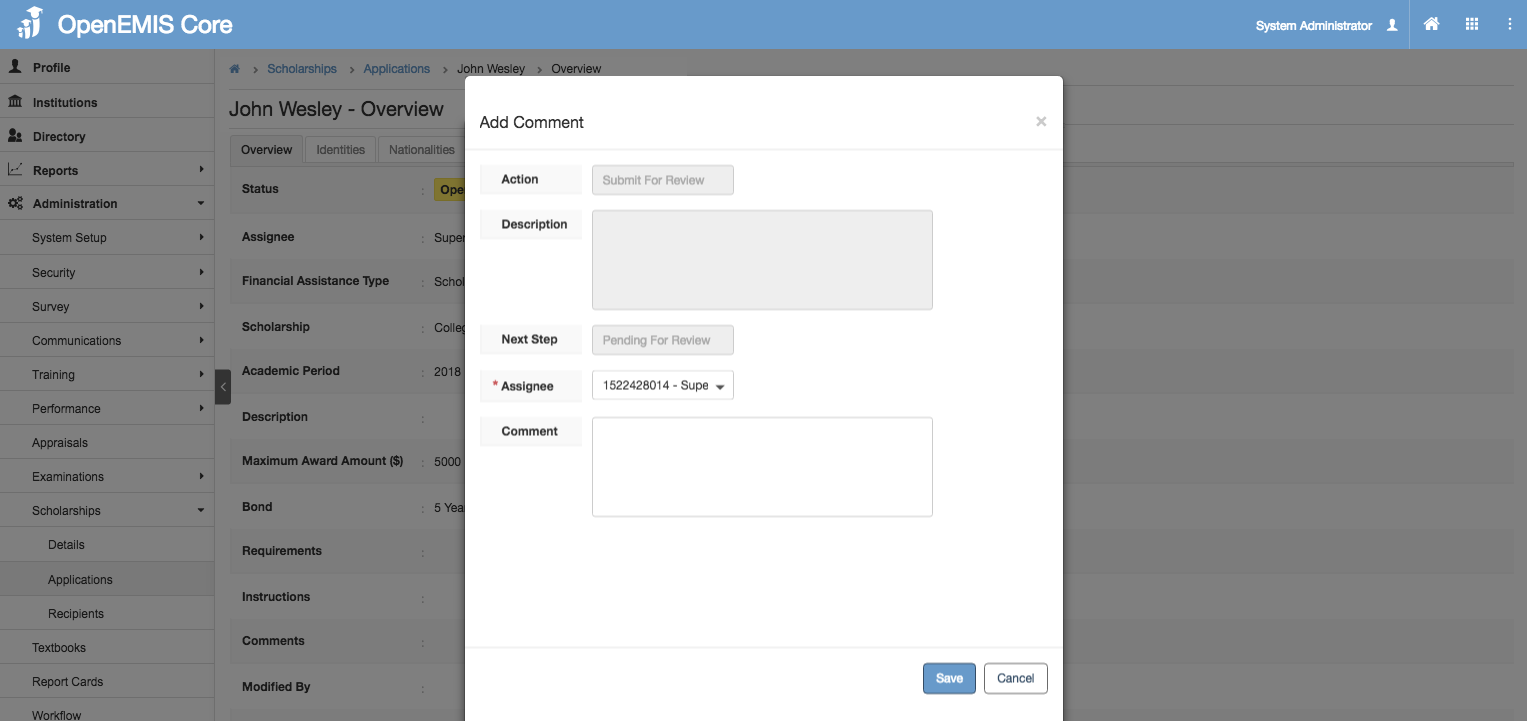
3) Select the Assignee accordingly. Click on ‘Save’.

4) The status will change to “Pending For Review”.
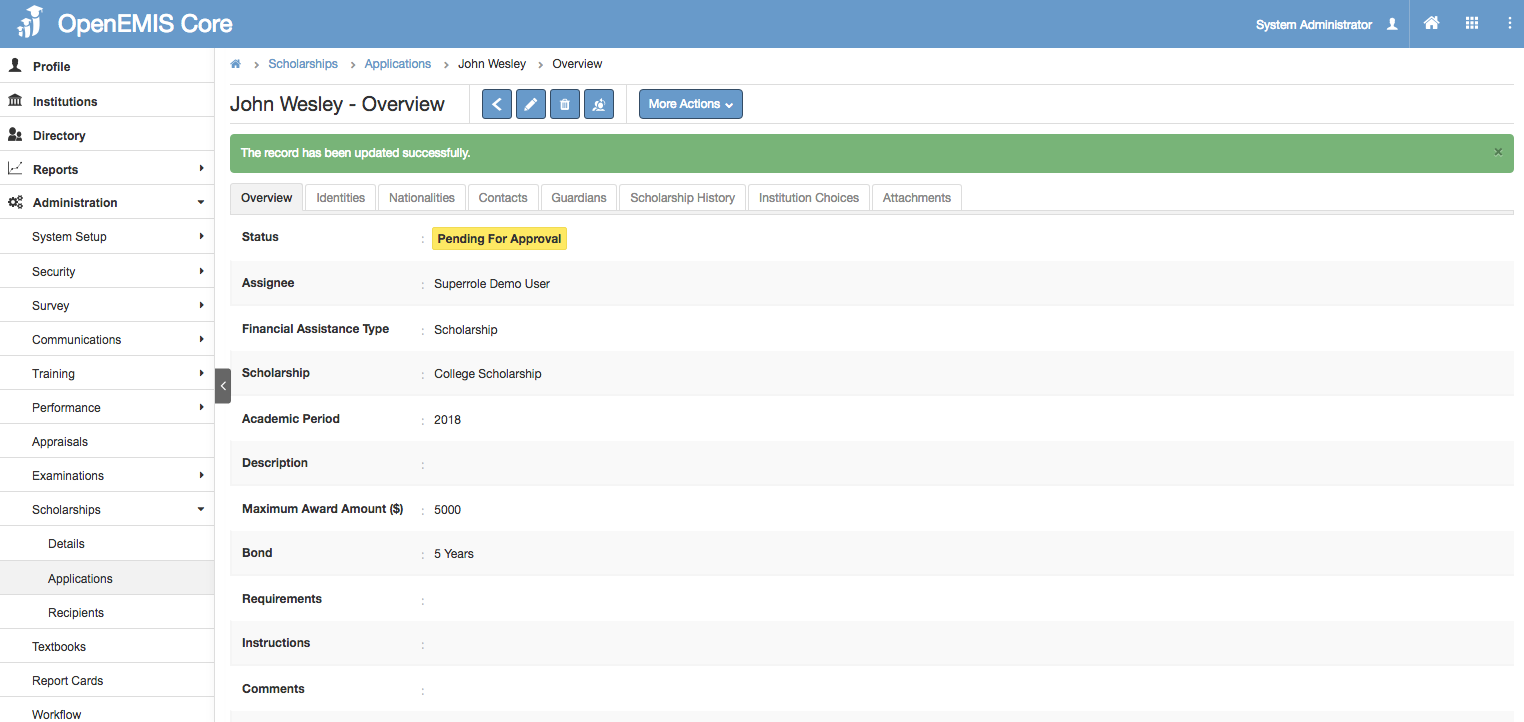
5) The respective Assignee will approve and the status will change to “Pending For Approval”.
6) At the “Pending For Approval” page, Assignee can either approve or reject the application.
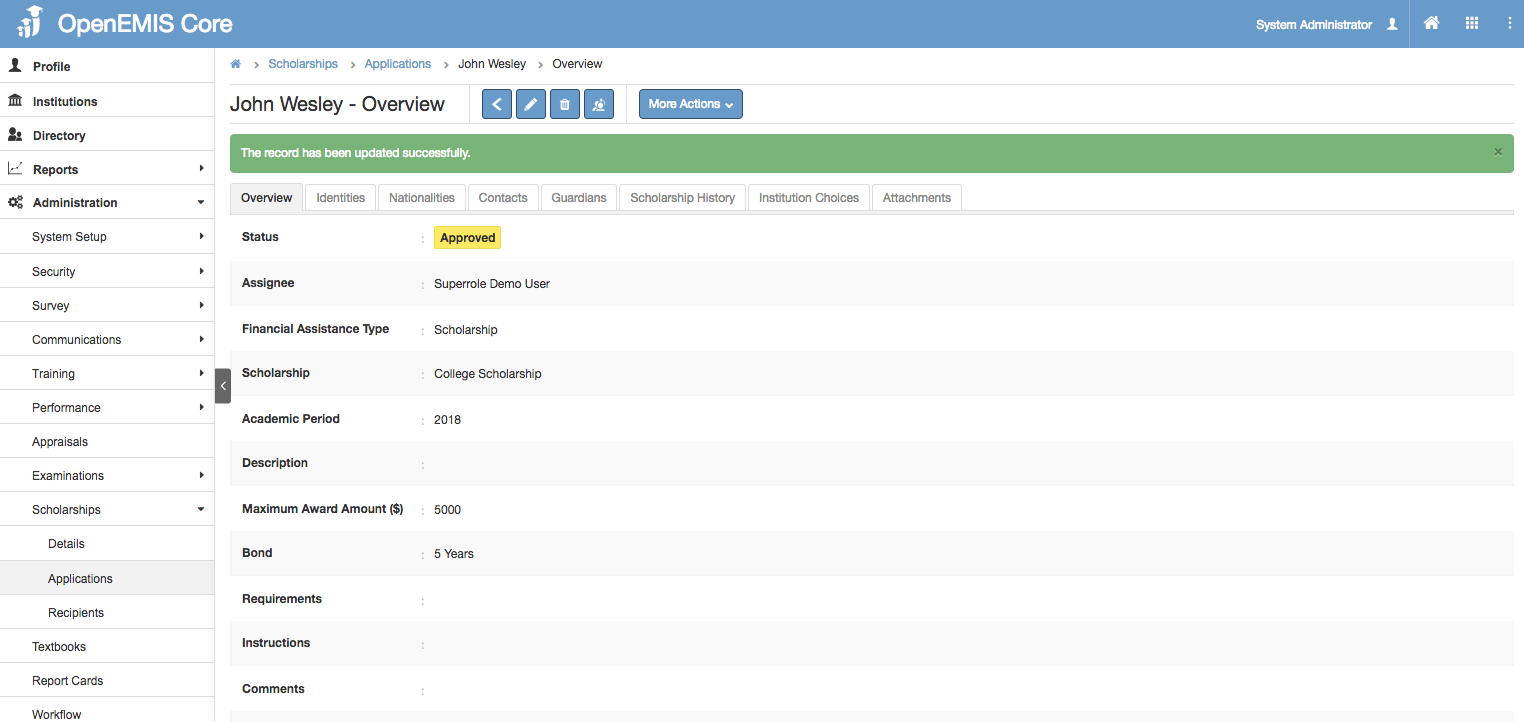
7) Once approved, the application will be “Approved”.

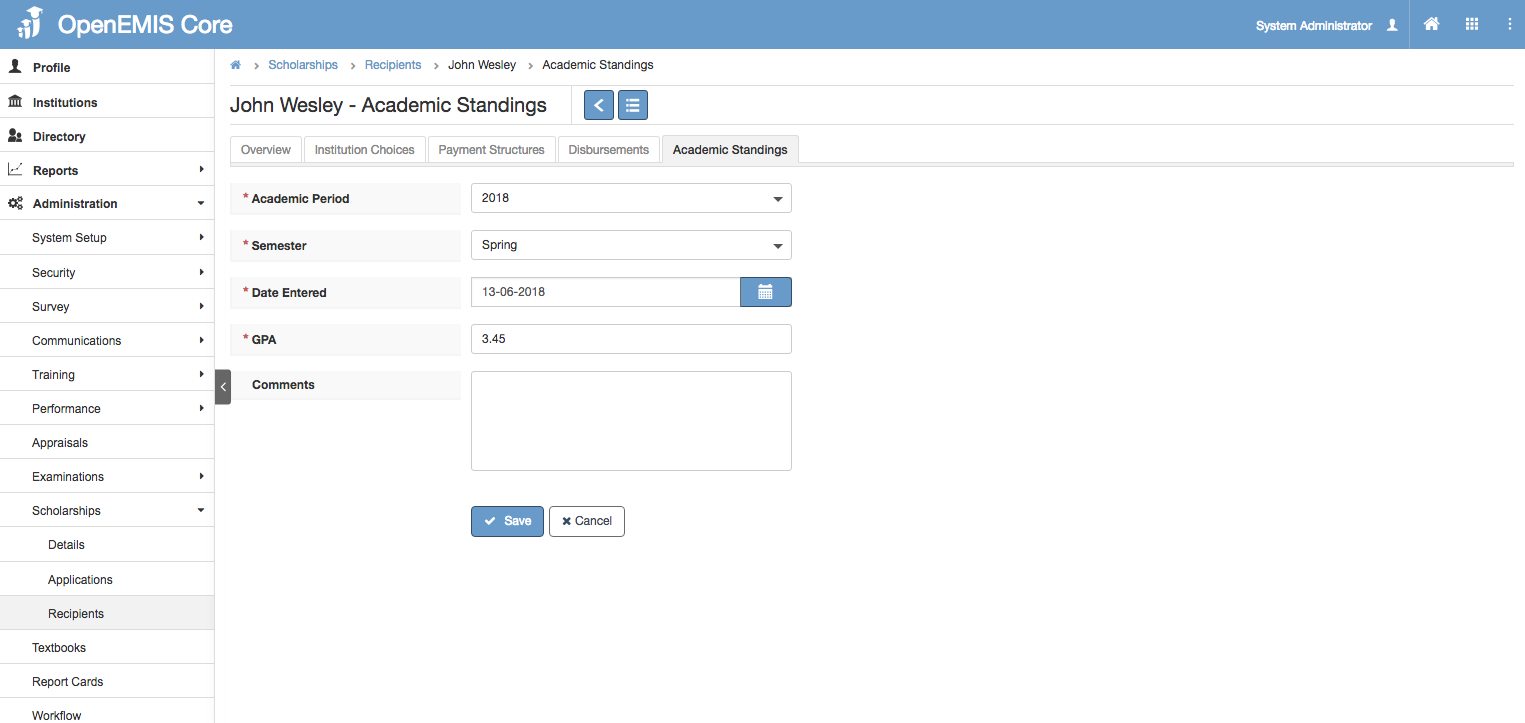
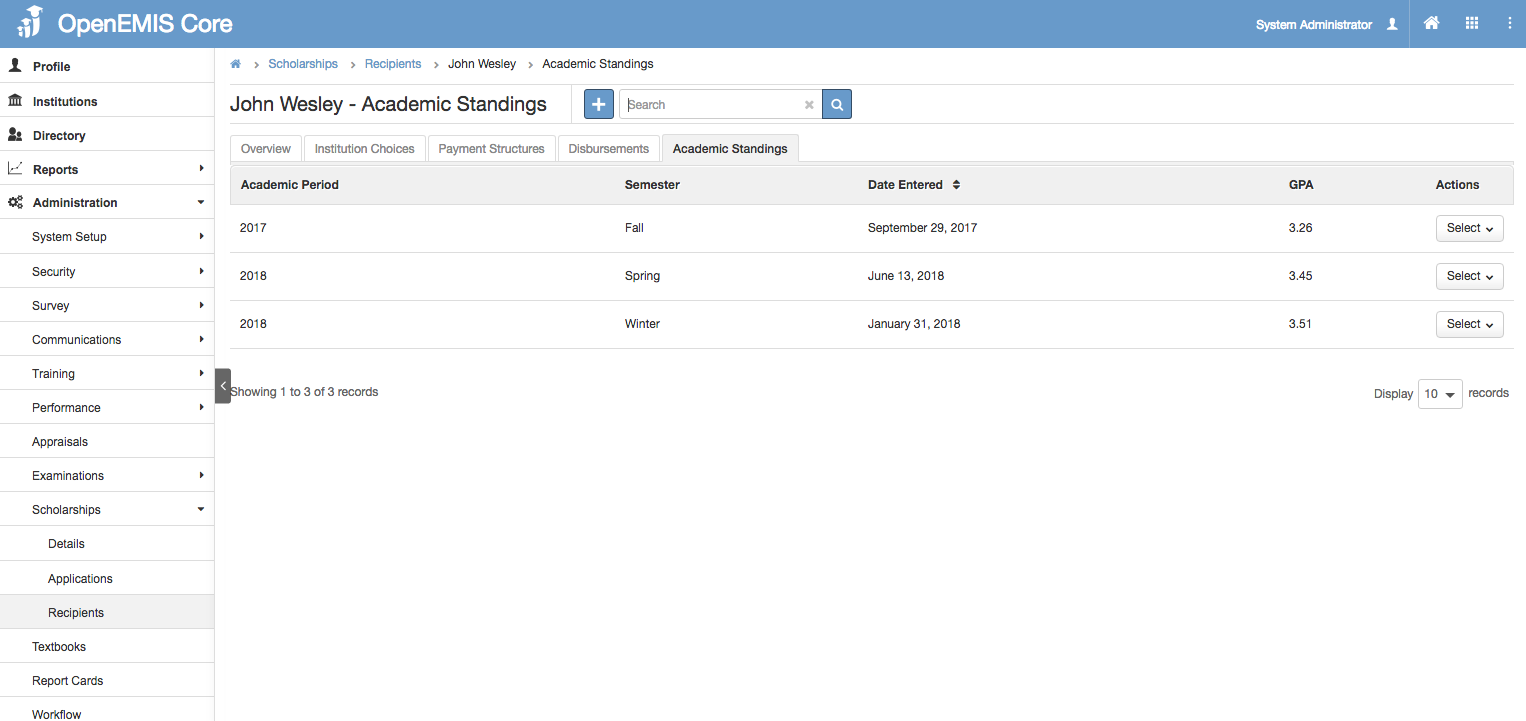
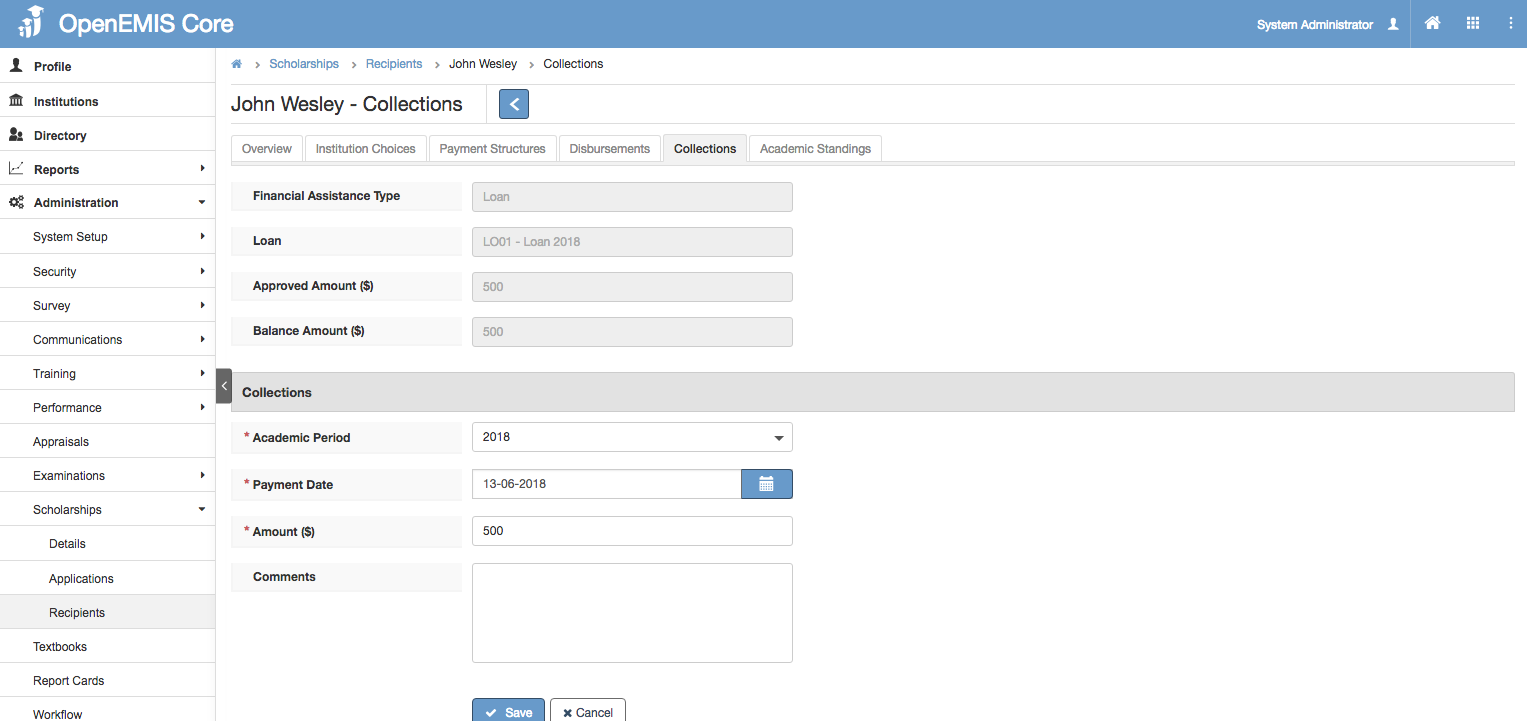
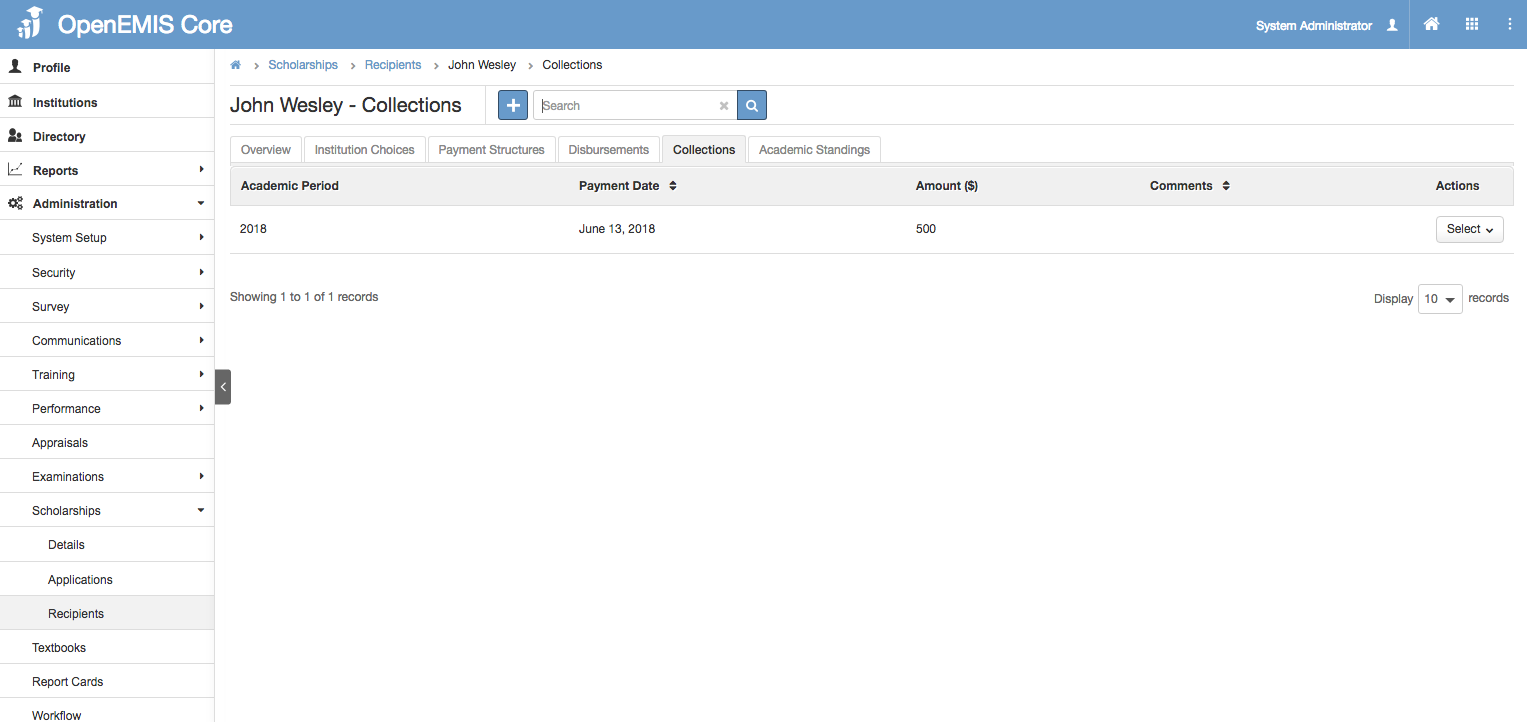
Scholarship Recipients
Scholarship Recipients
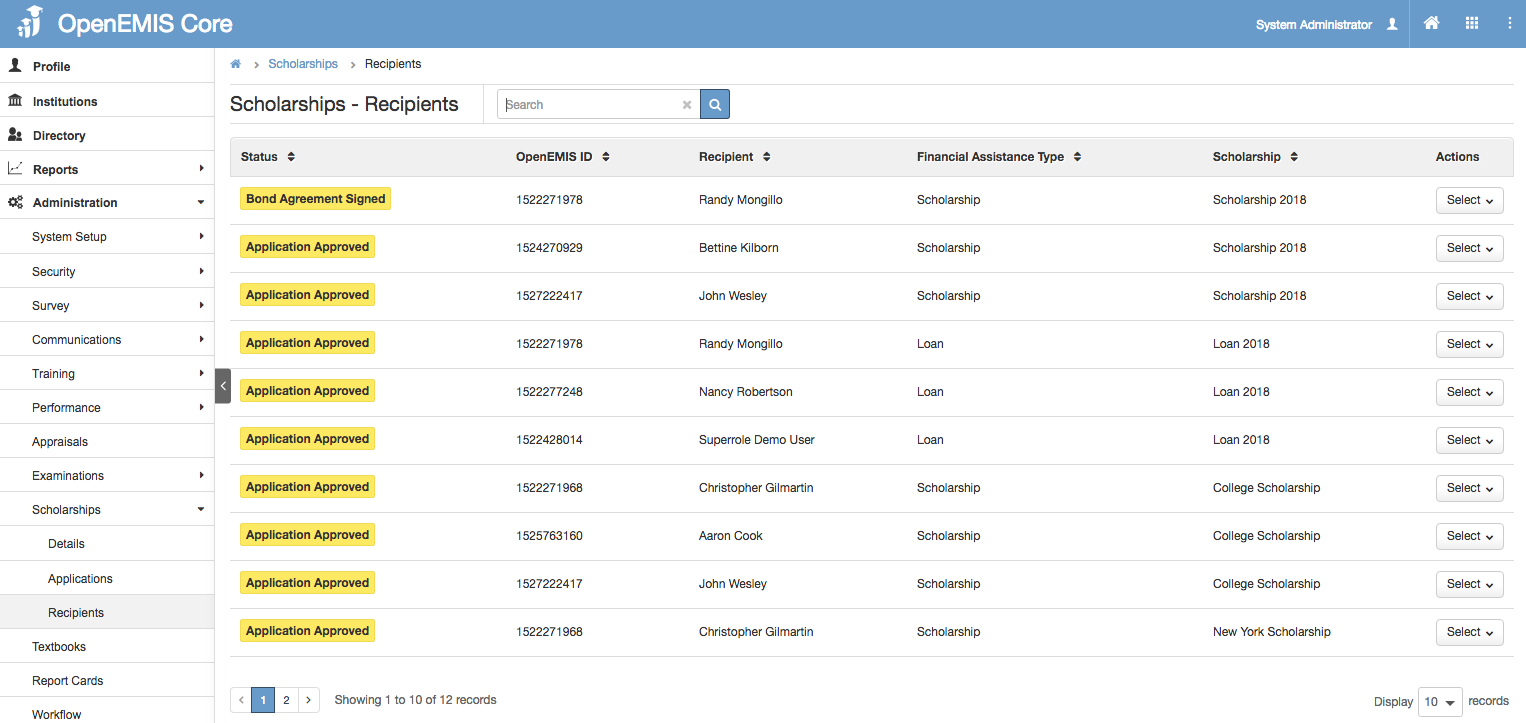
1) Go to Administration > Scholarships > Recipients .

2) You may search the recipient by the OpenEMIS Number/name. Only recipients of the approved application will be shown.
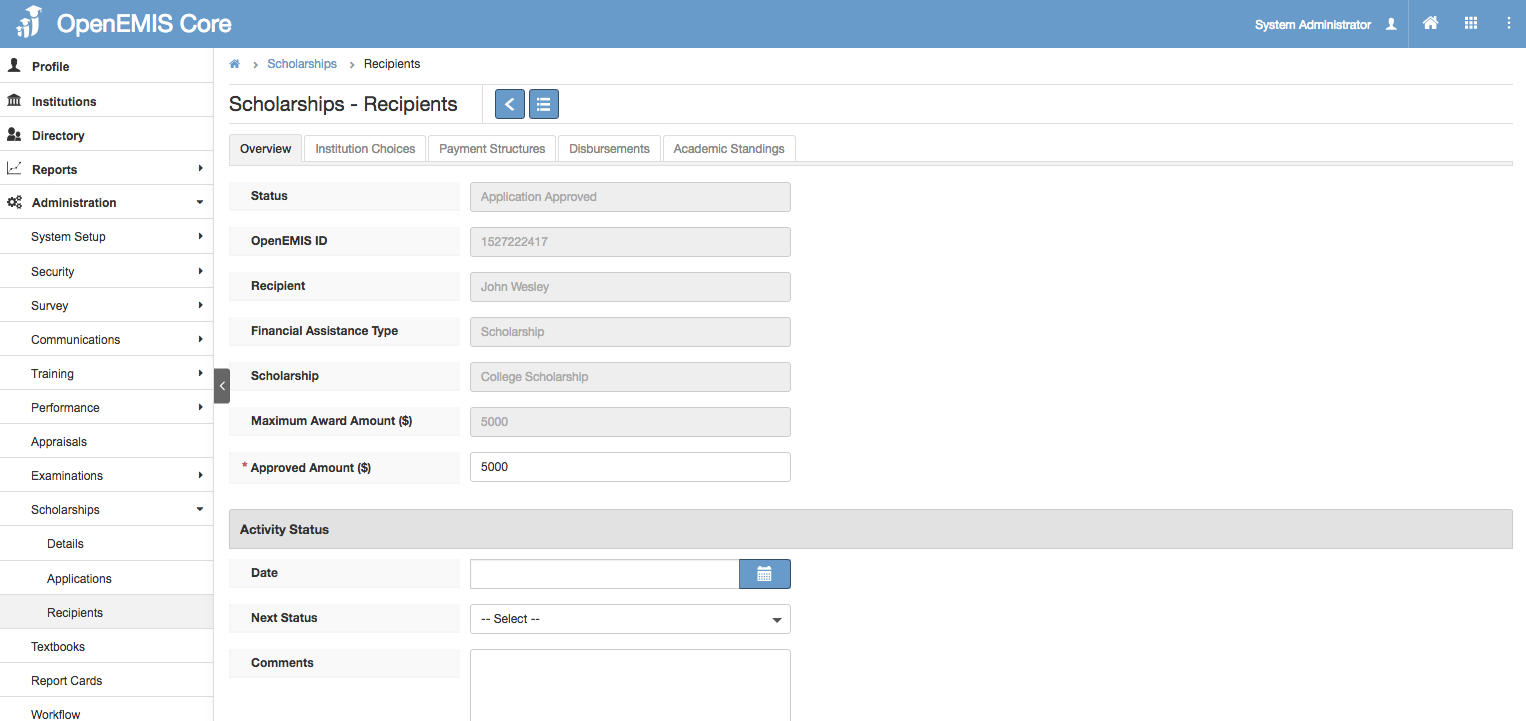
3) Fill in the approved amount. Click ‘Save’.
Scholarship Recipients
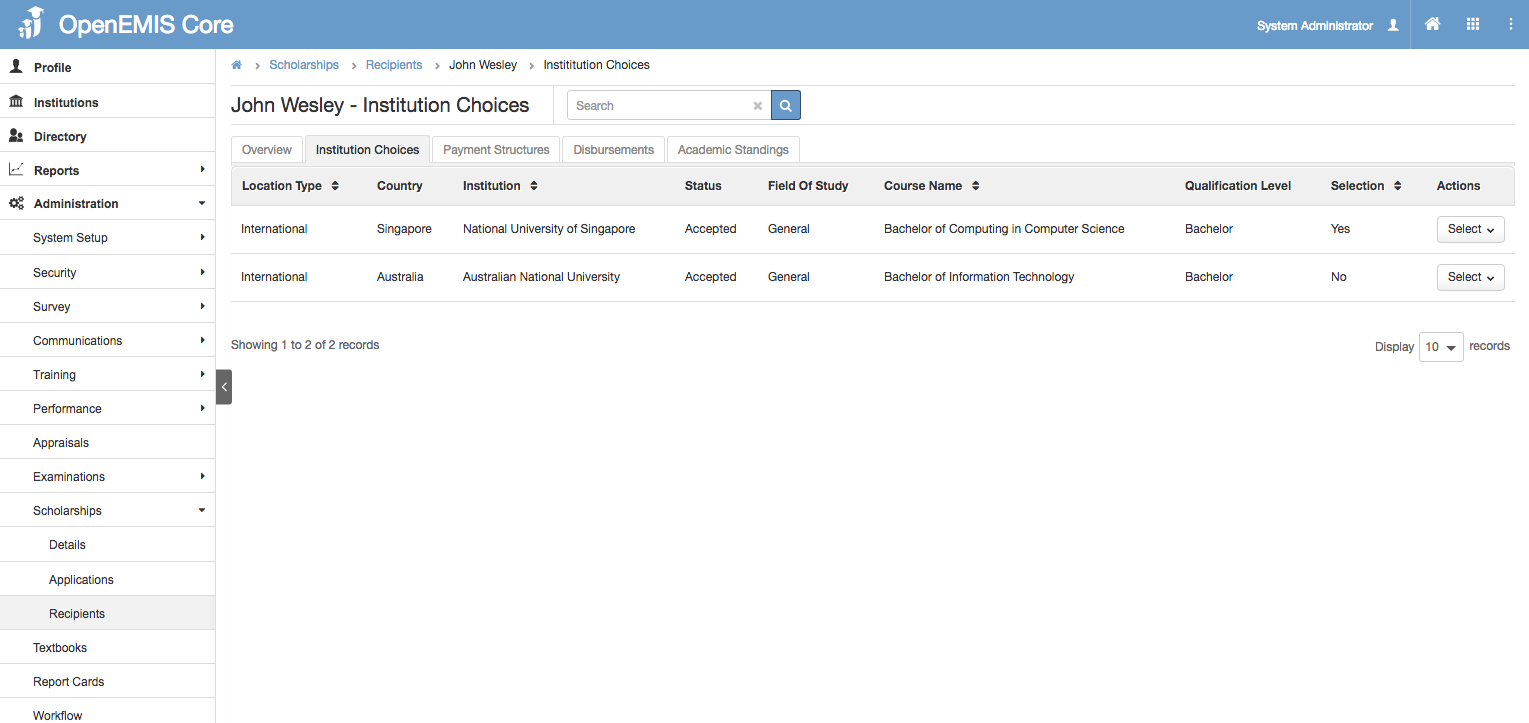
Institution Choices
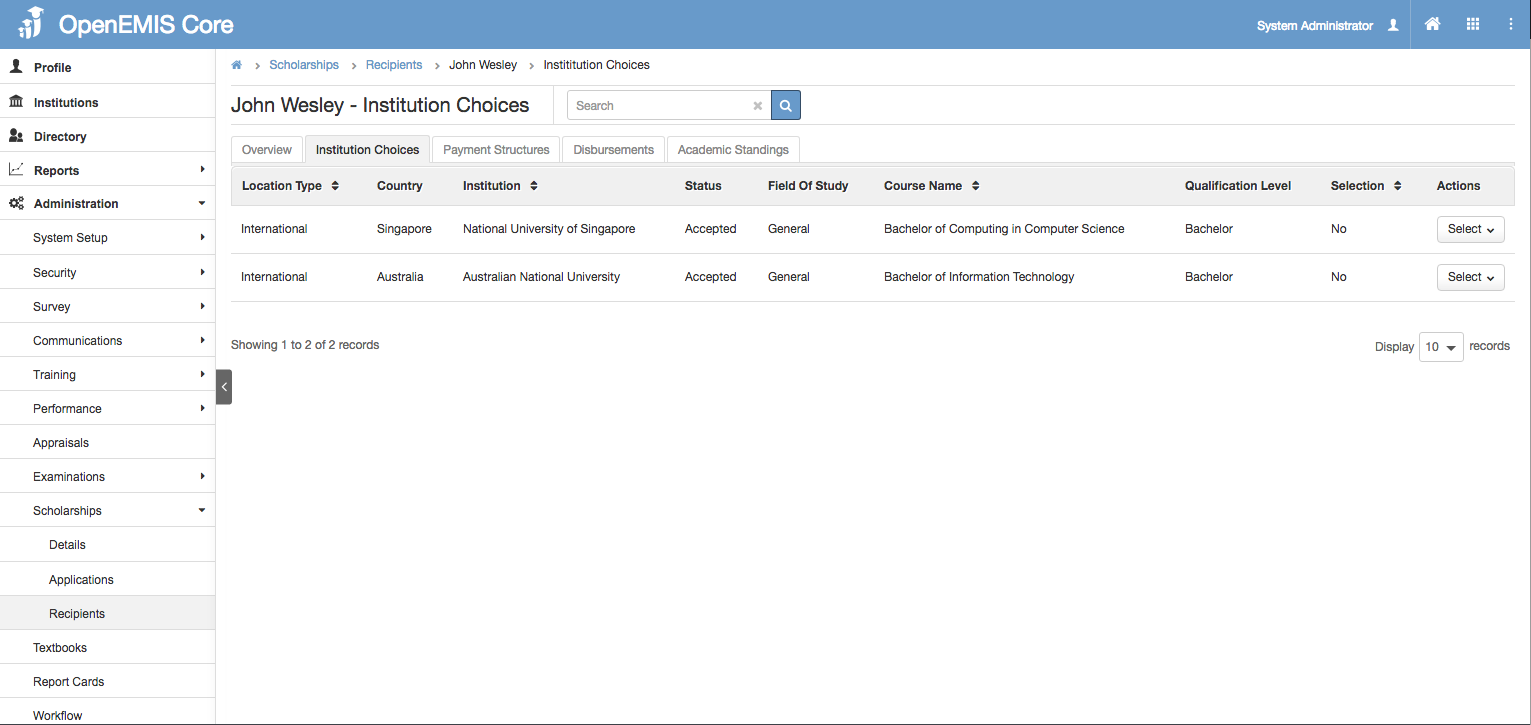
1) Click on the Recipient, select Institution Choices.
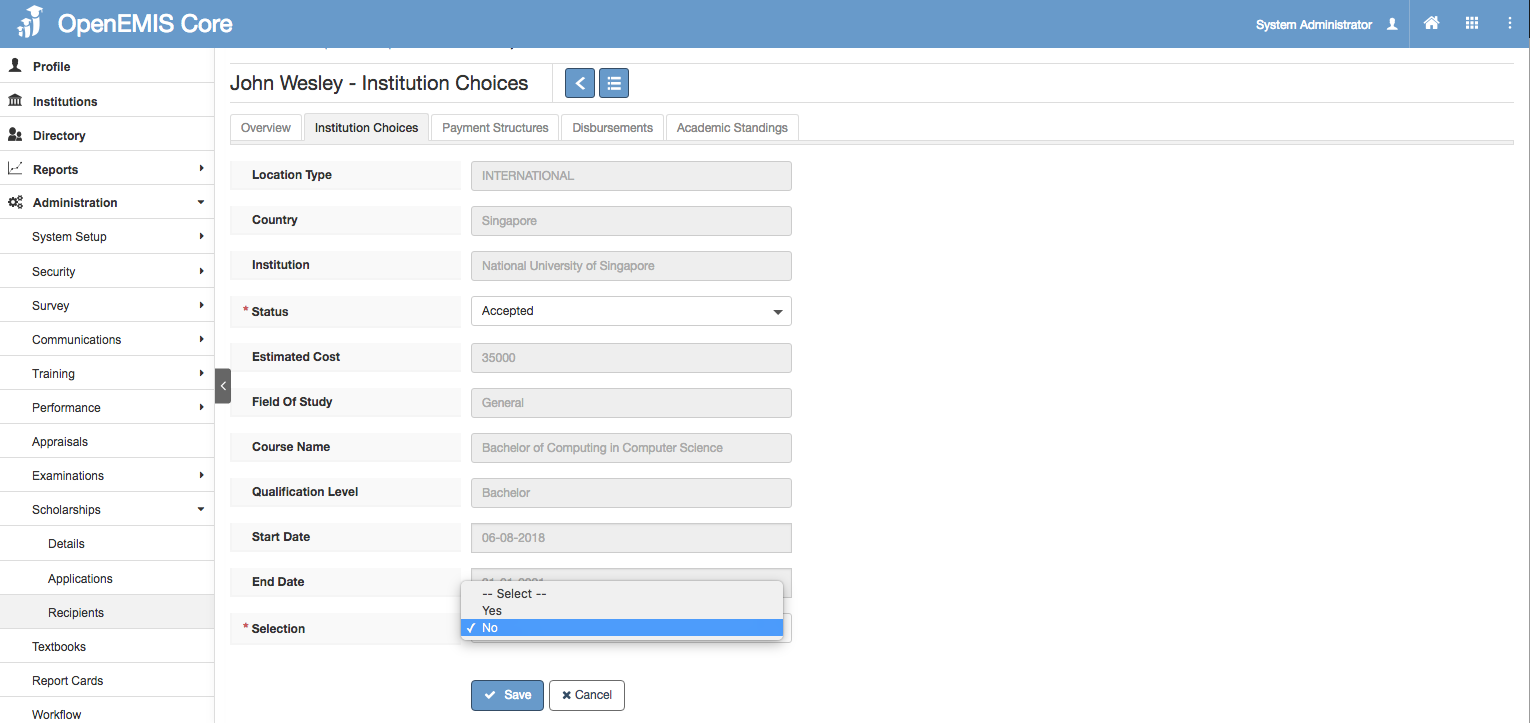
2) Selection field will appear only if the Institution status is “Accepted”.
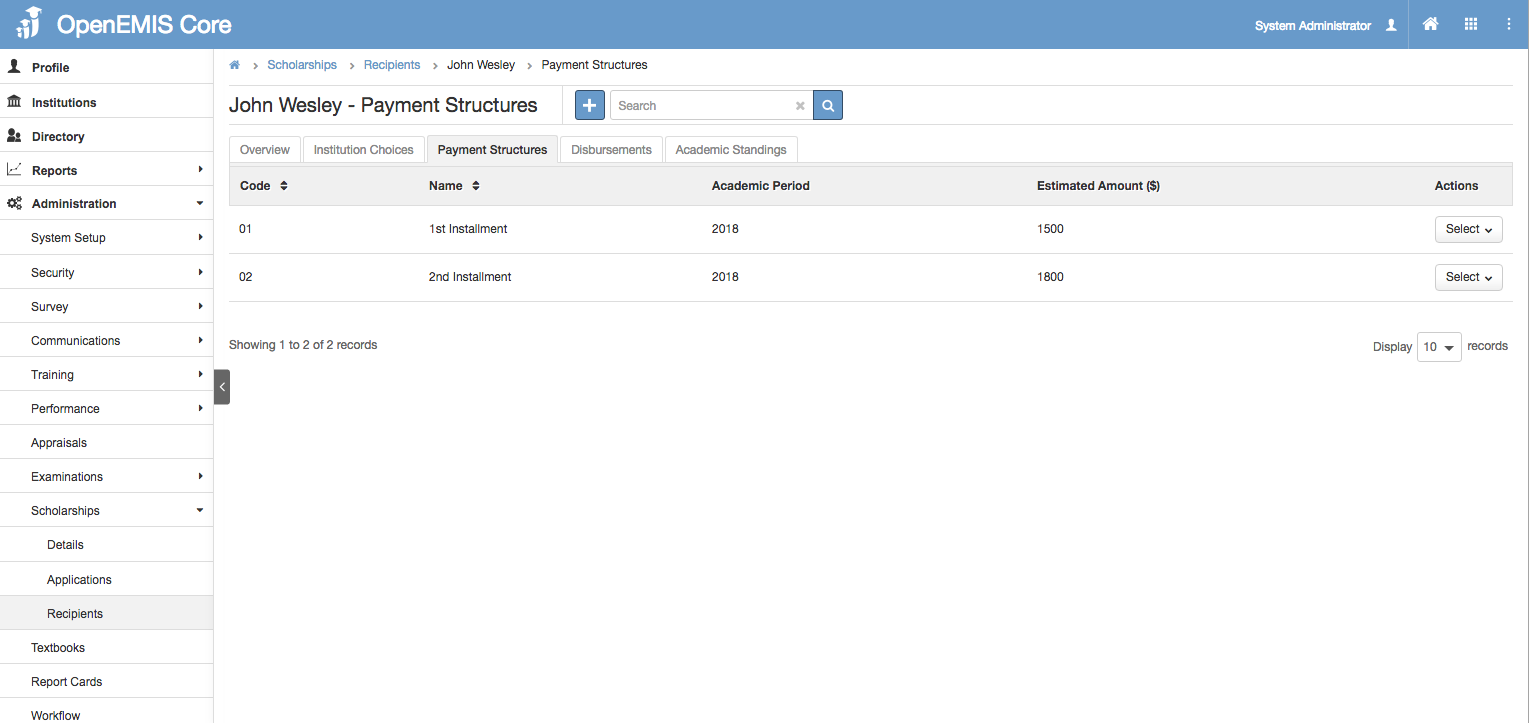
Payment Structures
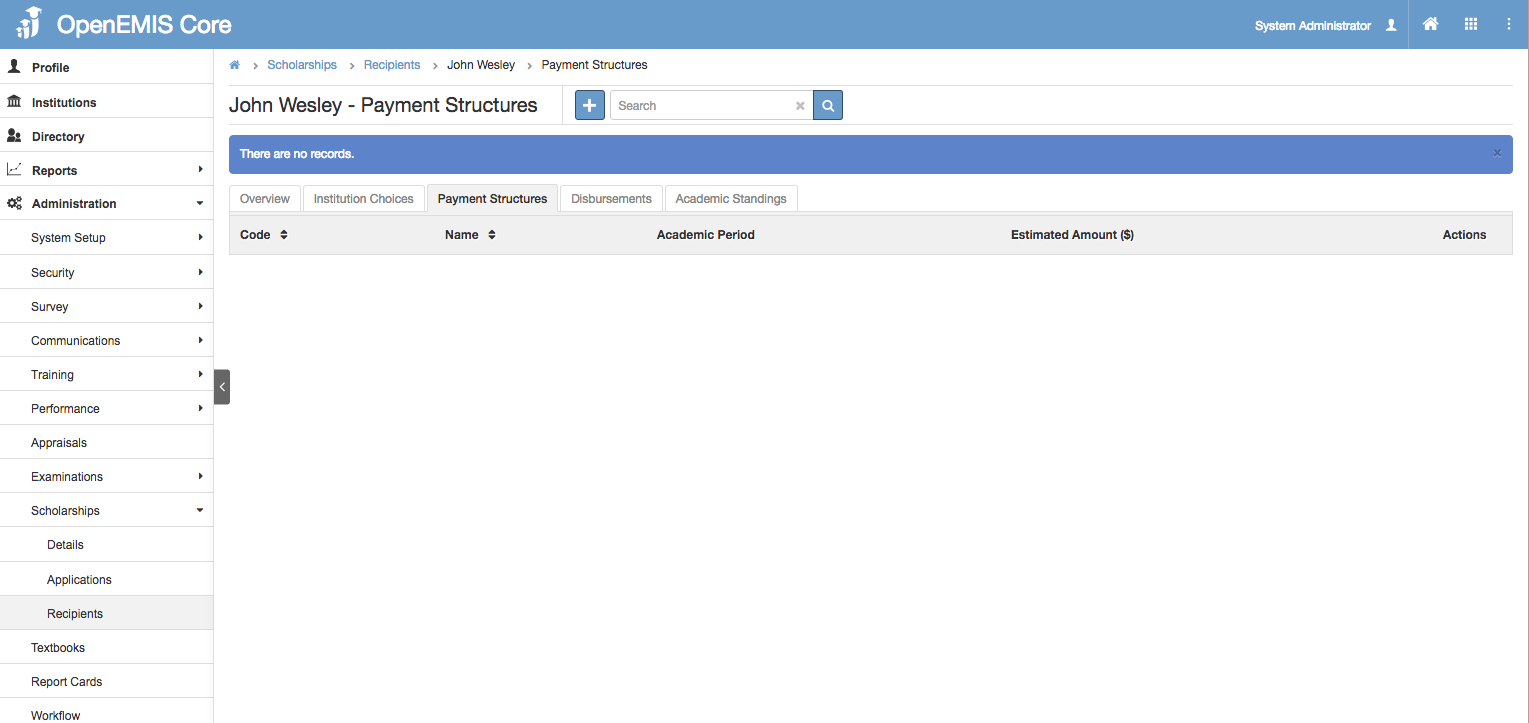
1) Click on the Recipient, select Payment Structures.
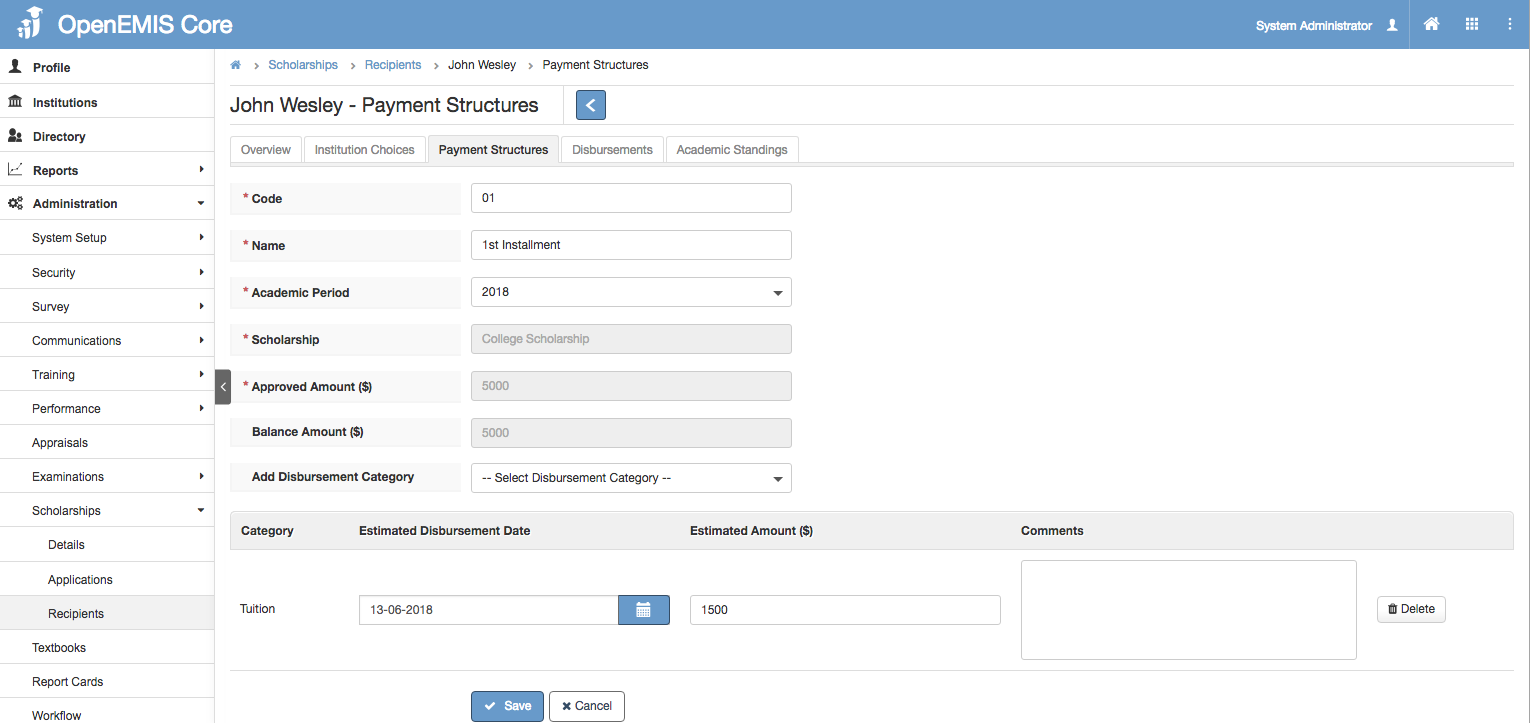
2) Fill in the Payment Structure accordingly.
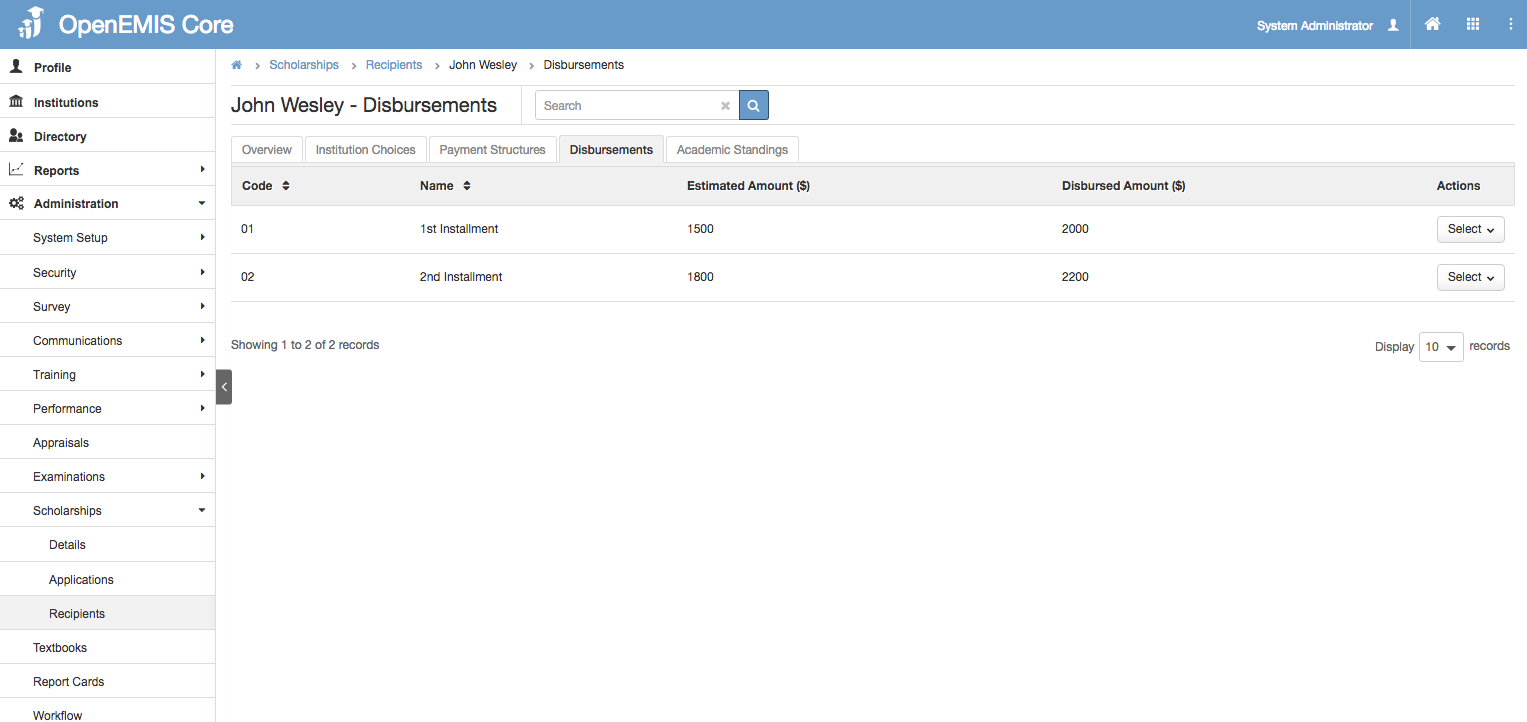
Disbursements
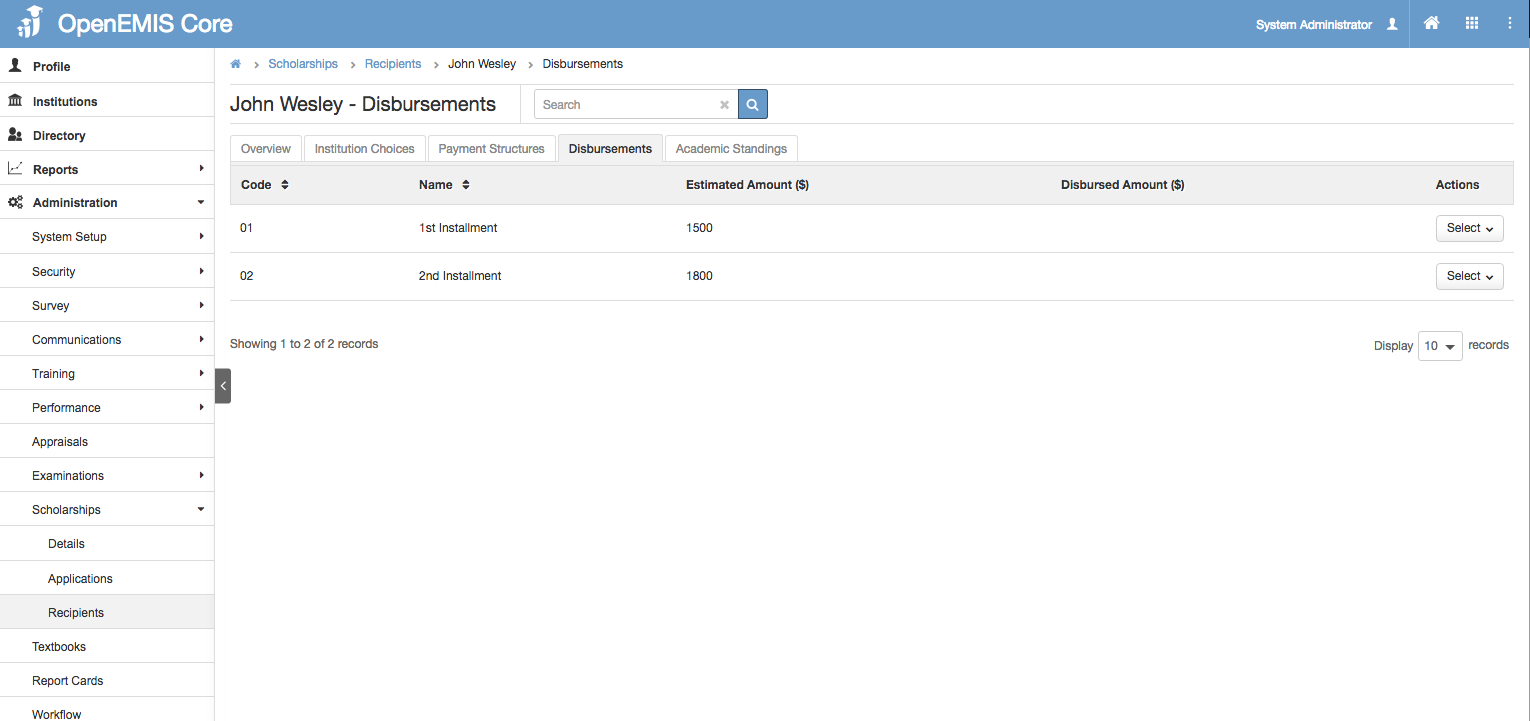
1) Click on the Recipient, select Disbursements.
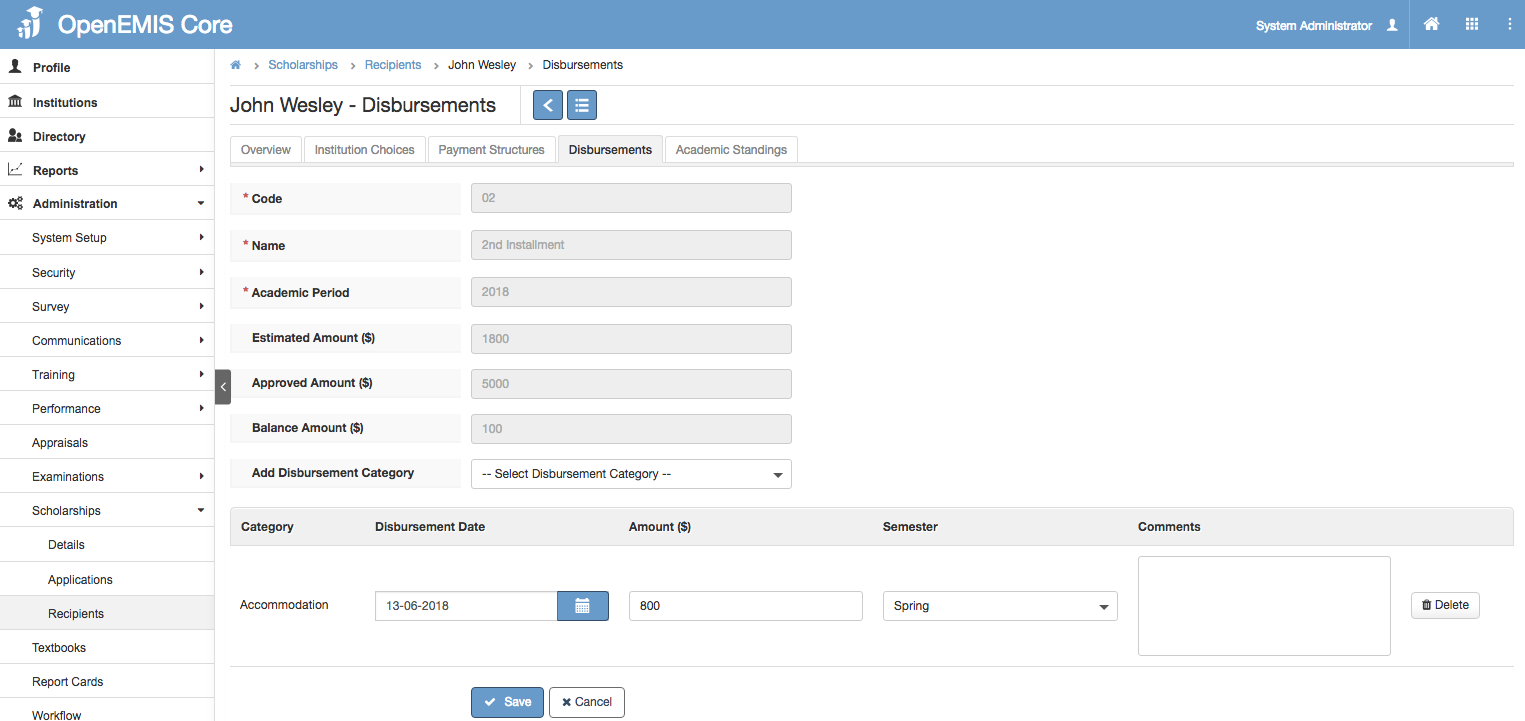
2) Fill in the Disbursement accordingly.