Article Name: Manage Nationalities and Identities
Category/Module: Students, Staff, Institutions
Tags: Add Students, Add Staff
Date Updated: 13 March 2024
Purpose:
Inform about improved management of Nationalities:
- Overview page displays the list of all captured identities.
- External Validation feature is added if the user wants to change the preferred nationality.
- Verification of corresponding Identity number enabled whenever a nationality is changed.
- Configuring Identity Types in Field Options
- Adding Identity Types for users
Features:
Students/Staff/Guardian/Others Nationalities
Students/Staff/Guardian/Others Identity
Overview Pages Display
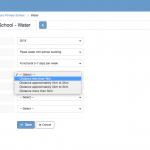
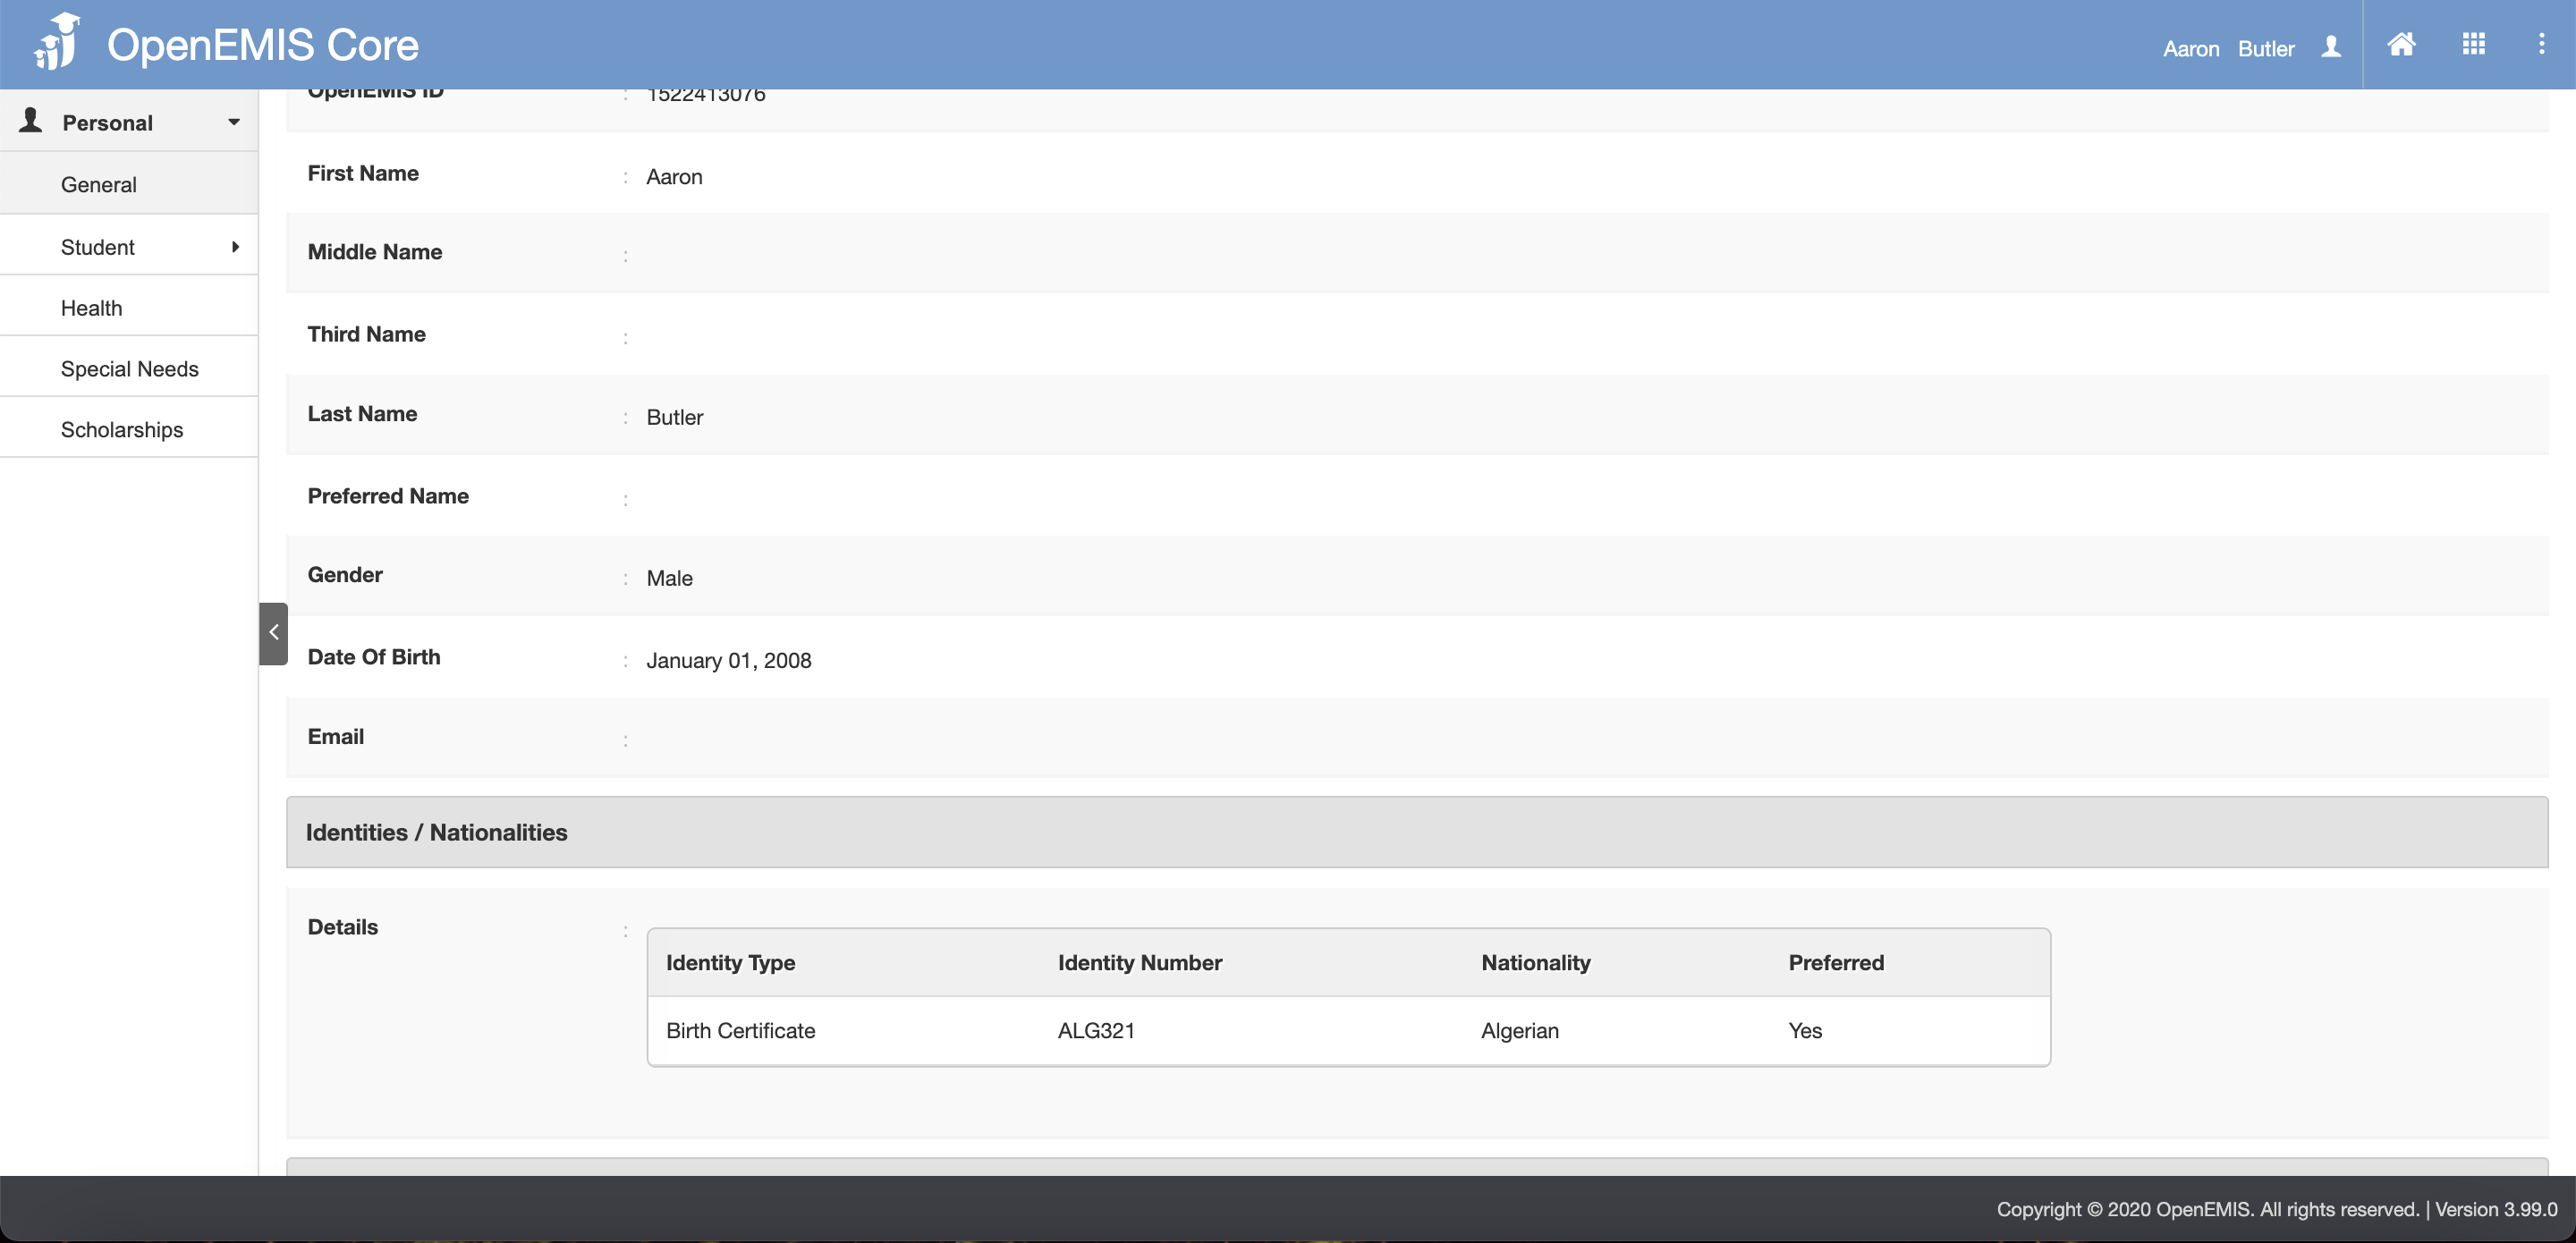
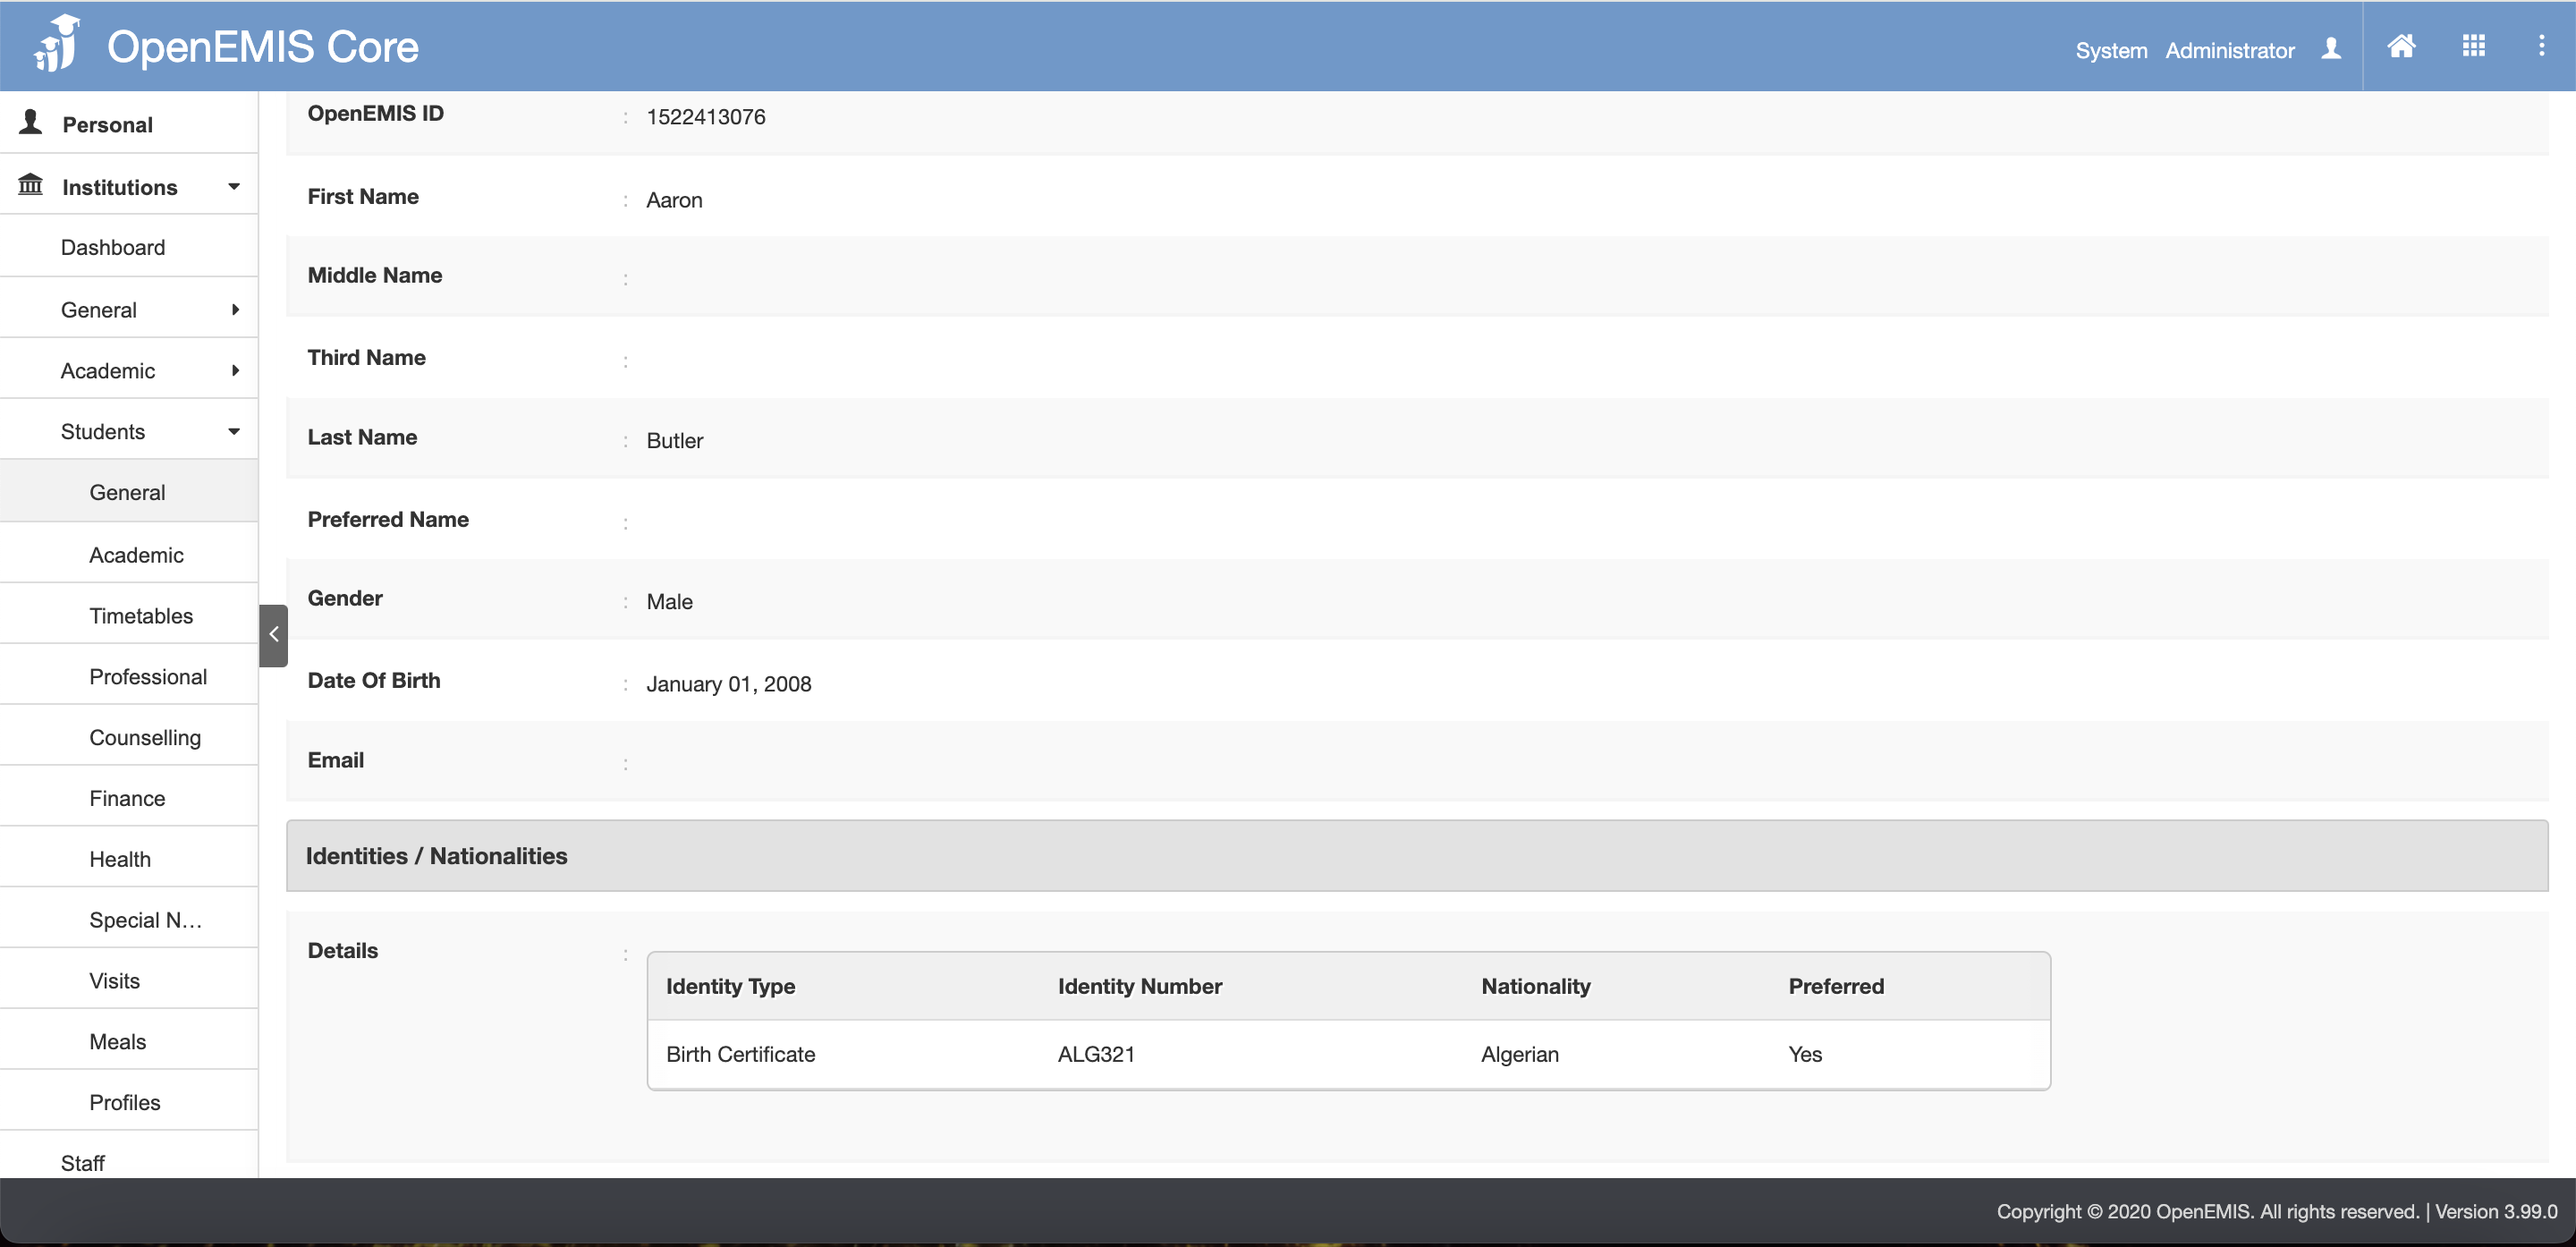
On the Overview pages, it is now possible to see not only the default identity (as it was before) but also the list of all identities that were captured.
Page 1: Personal > General > Overview
Page 2: Institutions > Students/Staff > General > Overview
Page 3: Directory > Students/Staff/Guardian/Others > General > Overview

External Validation
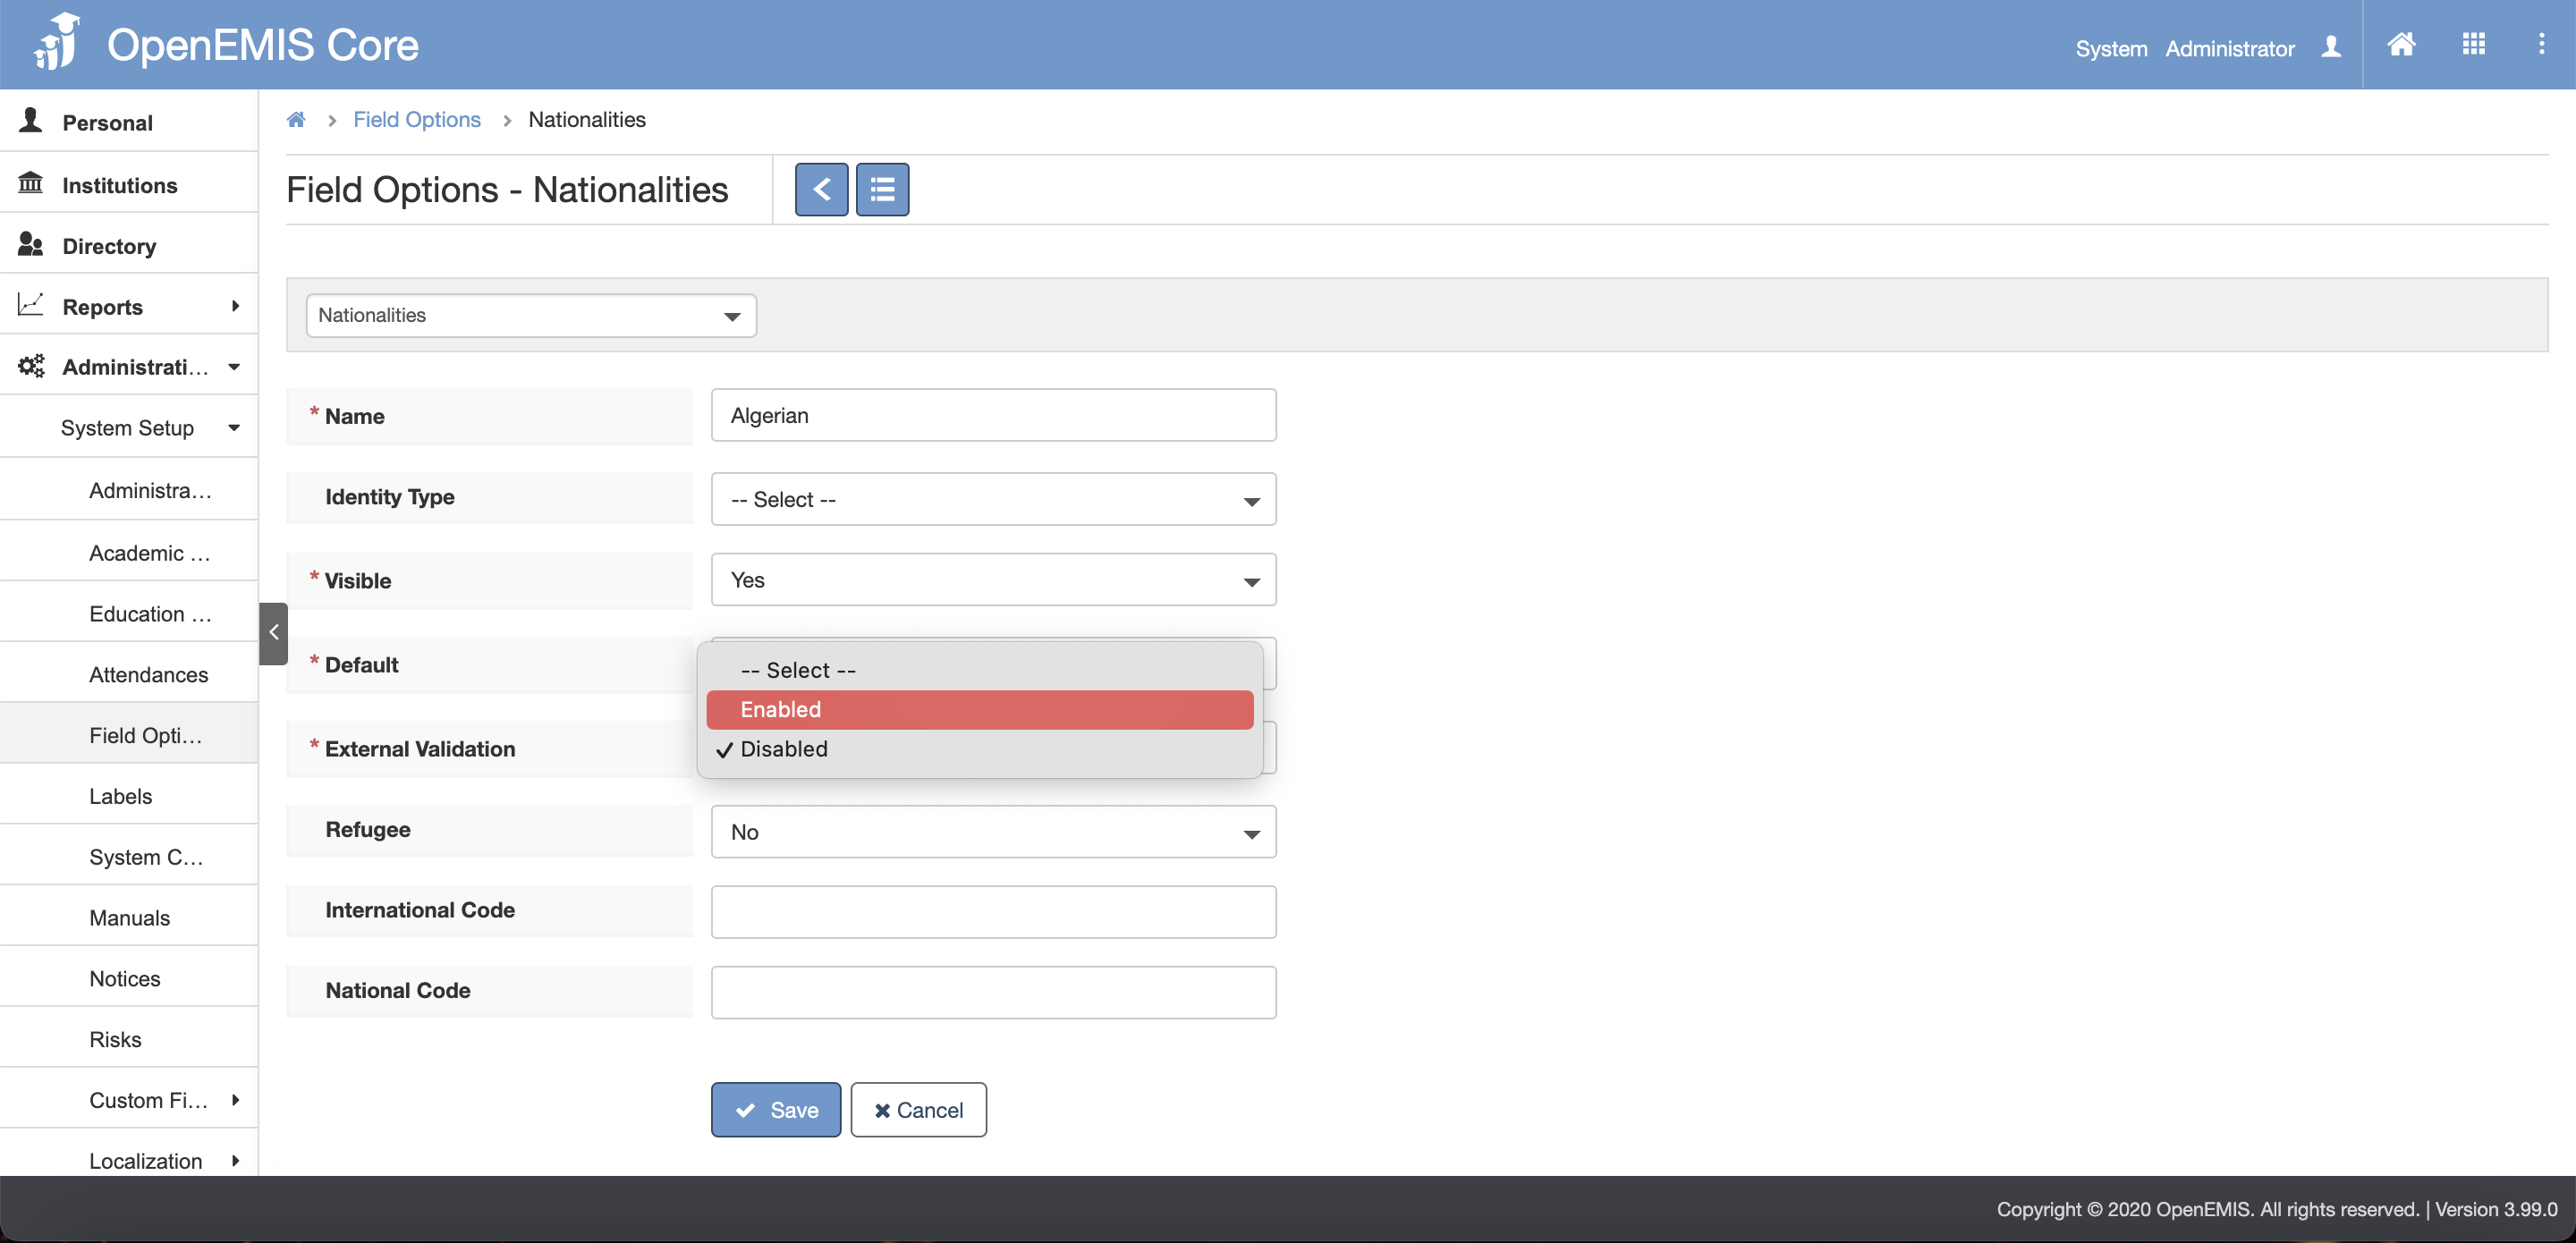
Step 1: Go to Administrations > System Setup > Field Options > Nationalities and enable External Validation
If the user wants to change the preferred nationality he should get the information from the external data source otherwise change should not be accepted.
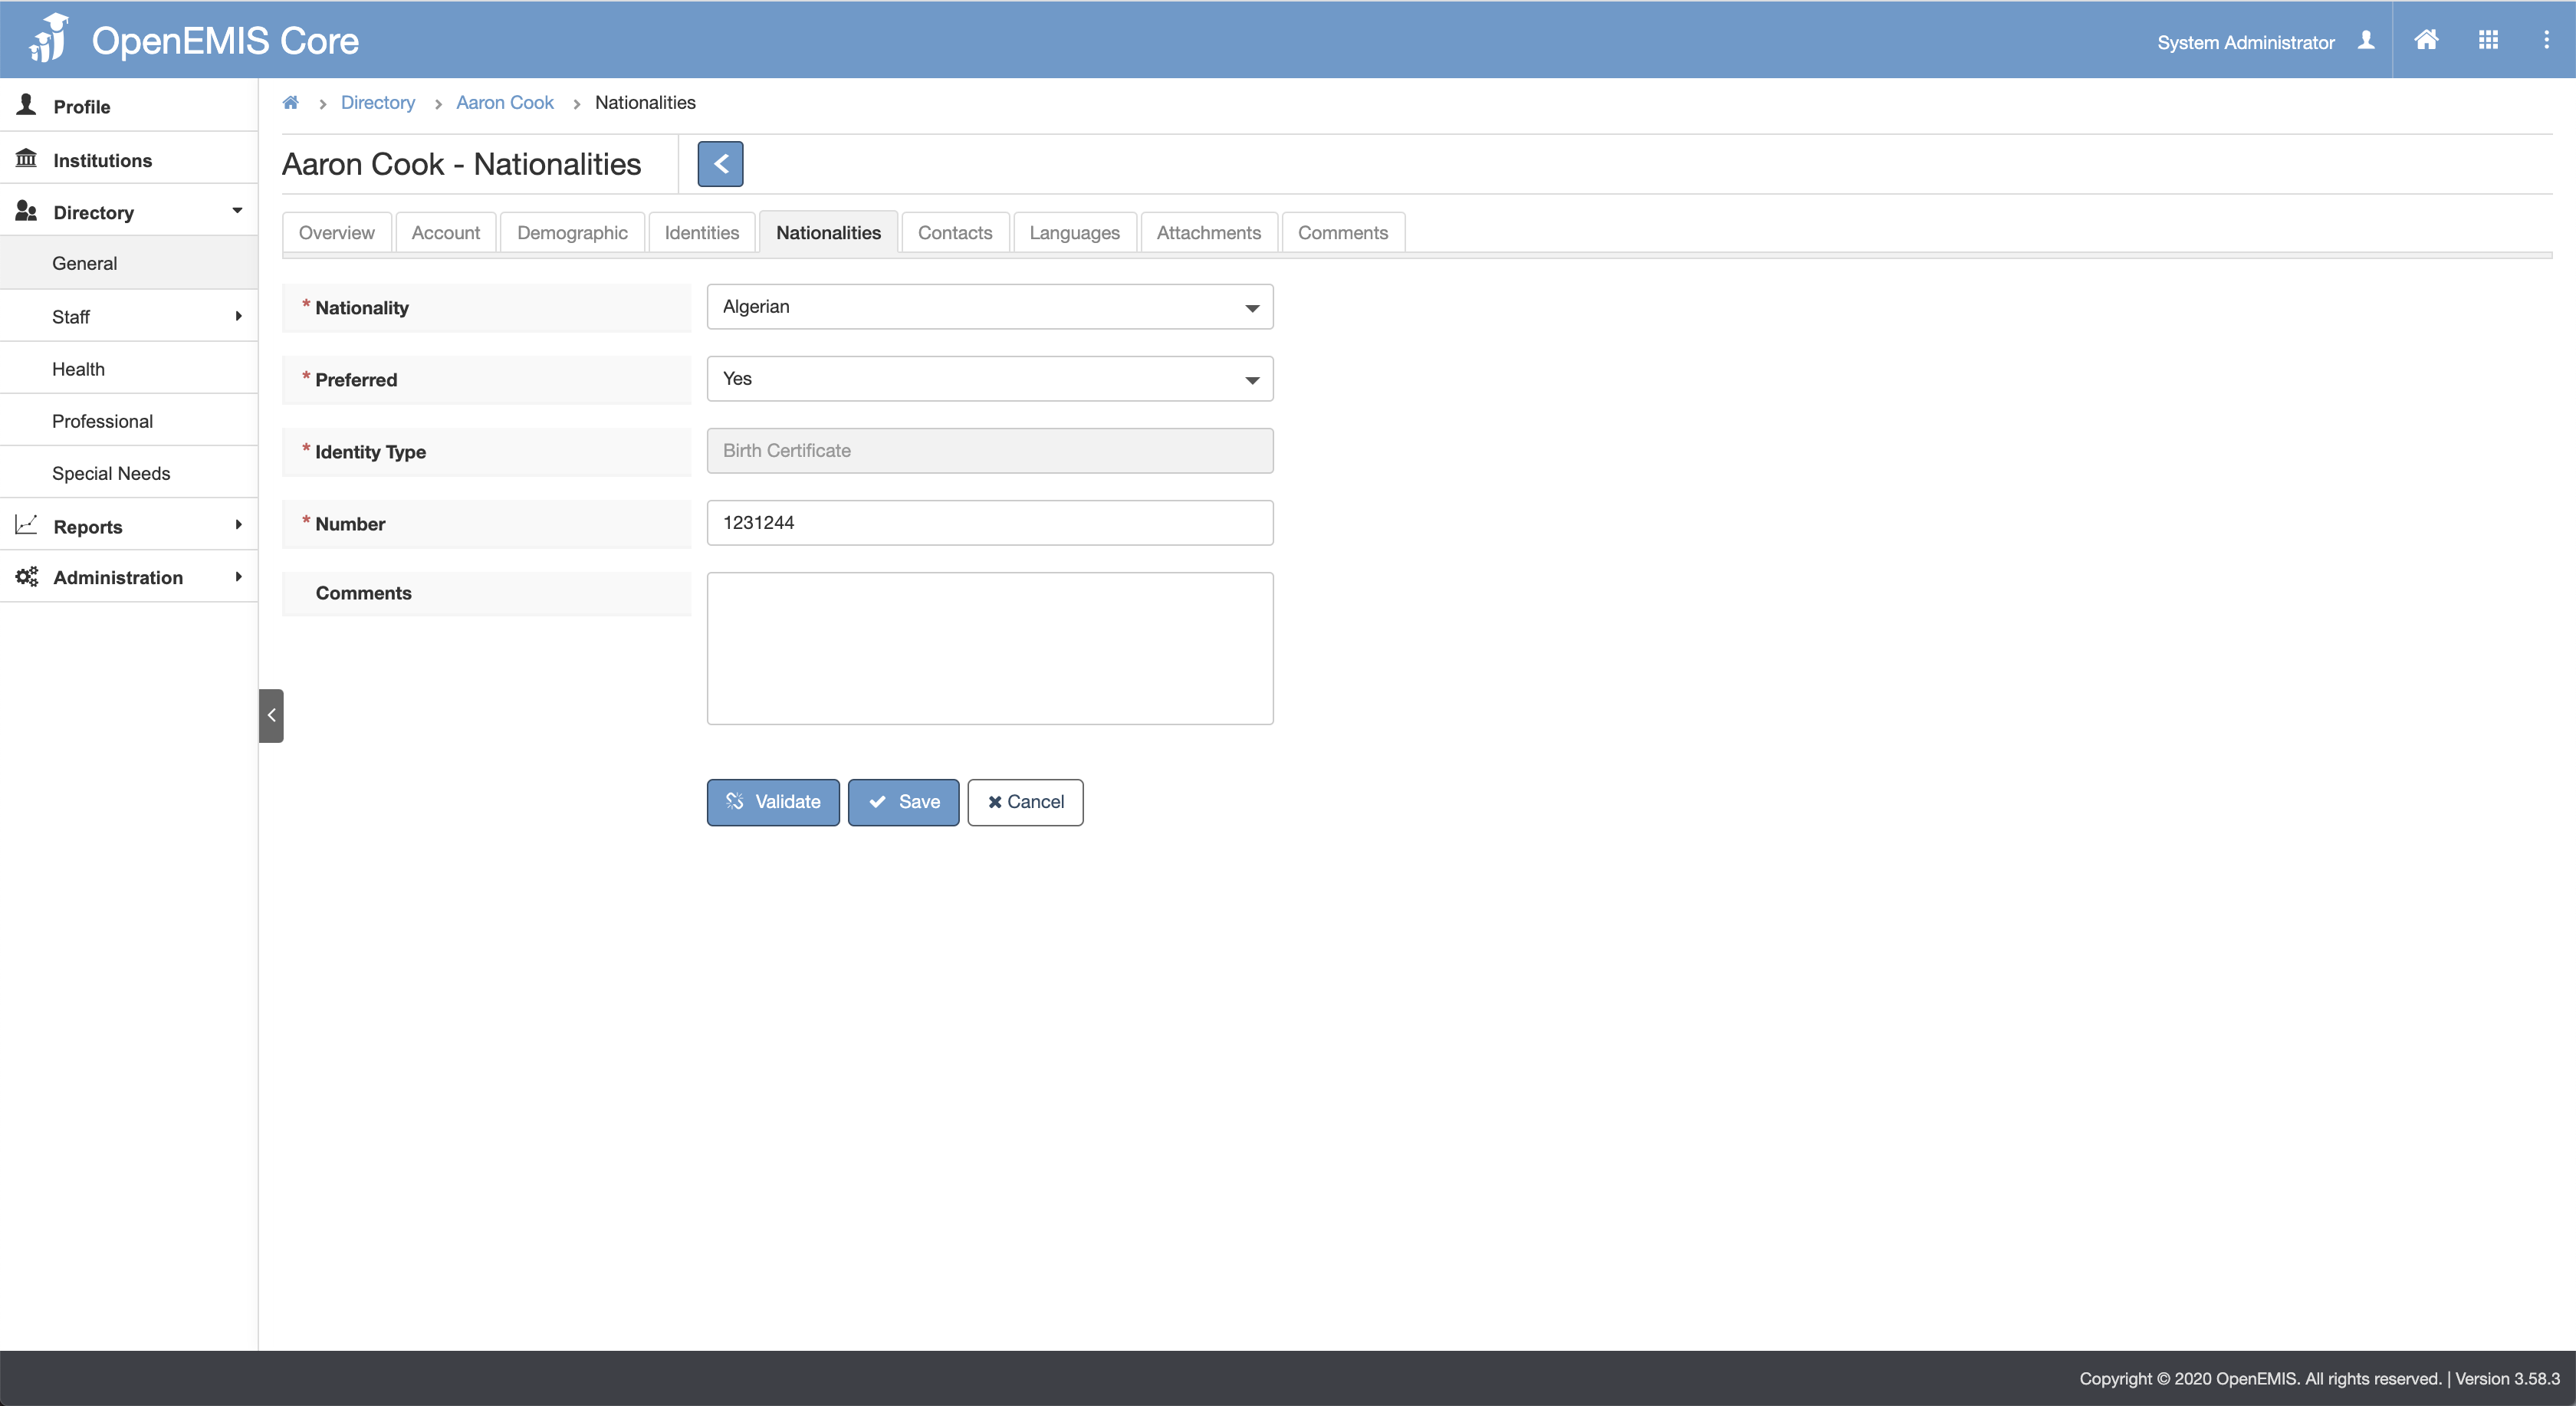
Step 2: When editing Preferred Nationality, the preselected Identity Type cannot be changed
Page 1: Institutions > Students/Staff > General > Nationalities > Add page

Page 2: Directory > Students/Staff/Guardian/Others > General > Nationalities > Add page
Identity Verification
Whenever a Nationality is changed, the corresponding Identity number requirements should be requested and checked.
Page 1: Institutions > Students/Staff > General > Nationalities Edit page
Page 2: Directory > User > General > Nationalities > Edit page
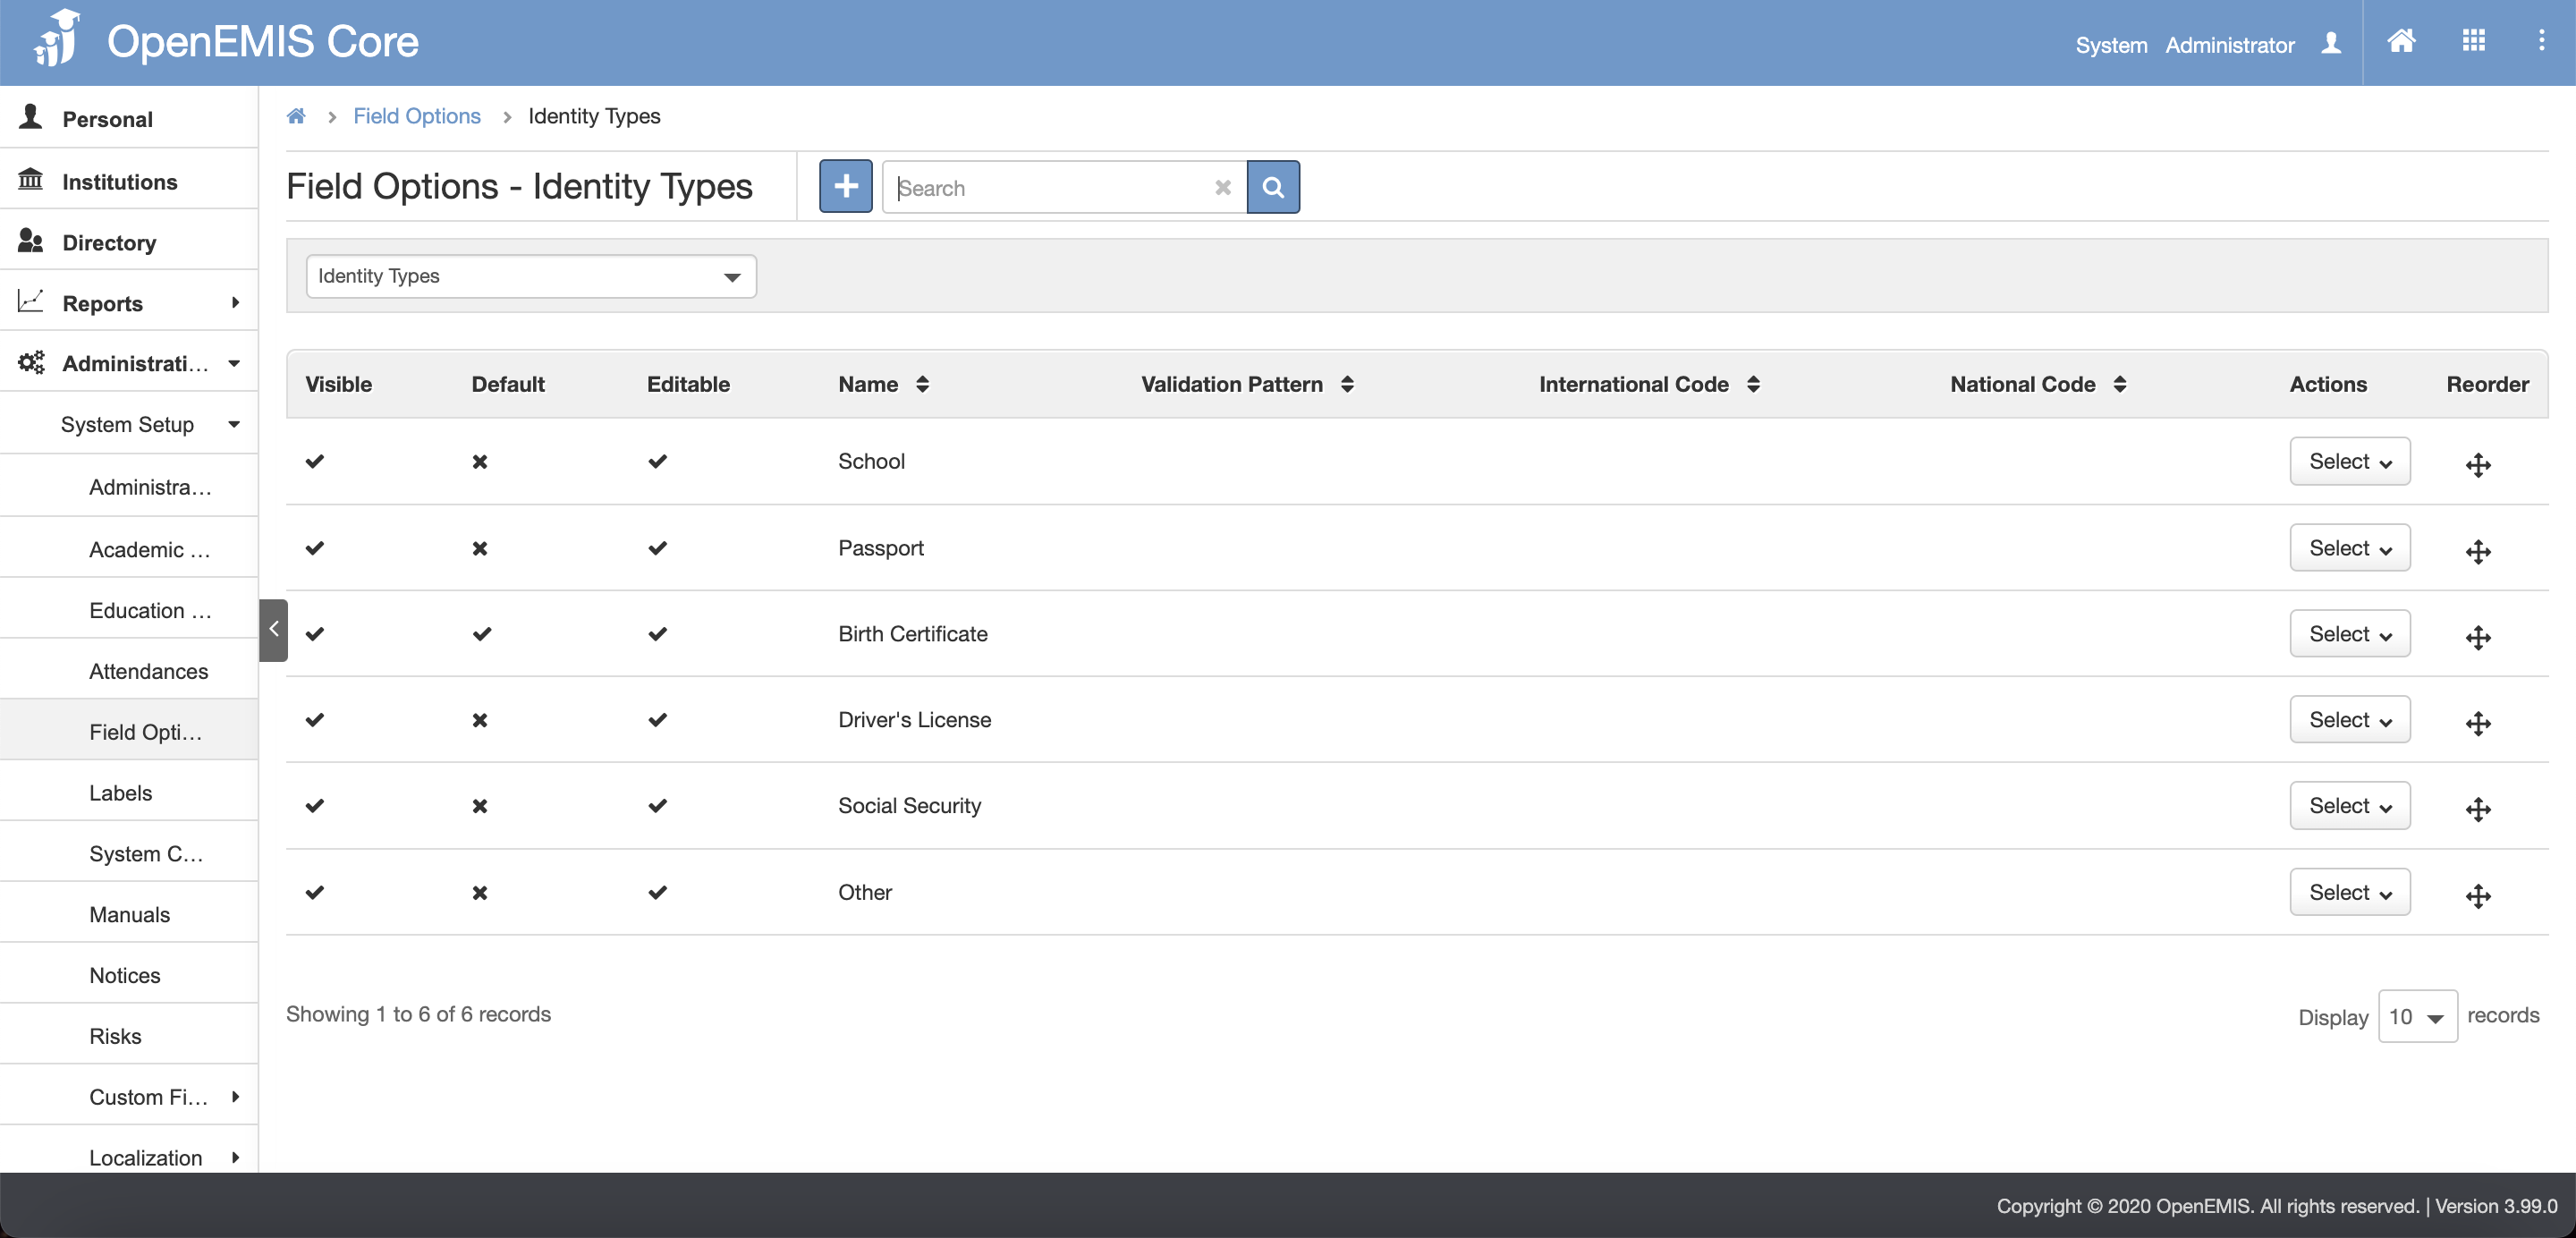
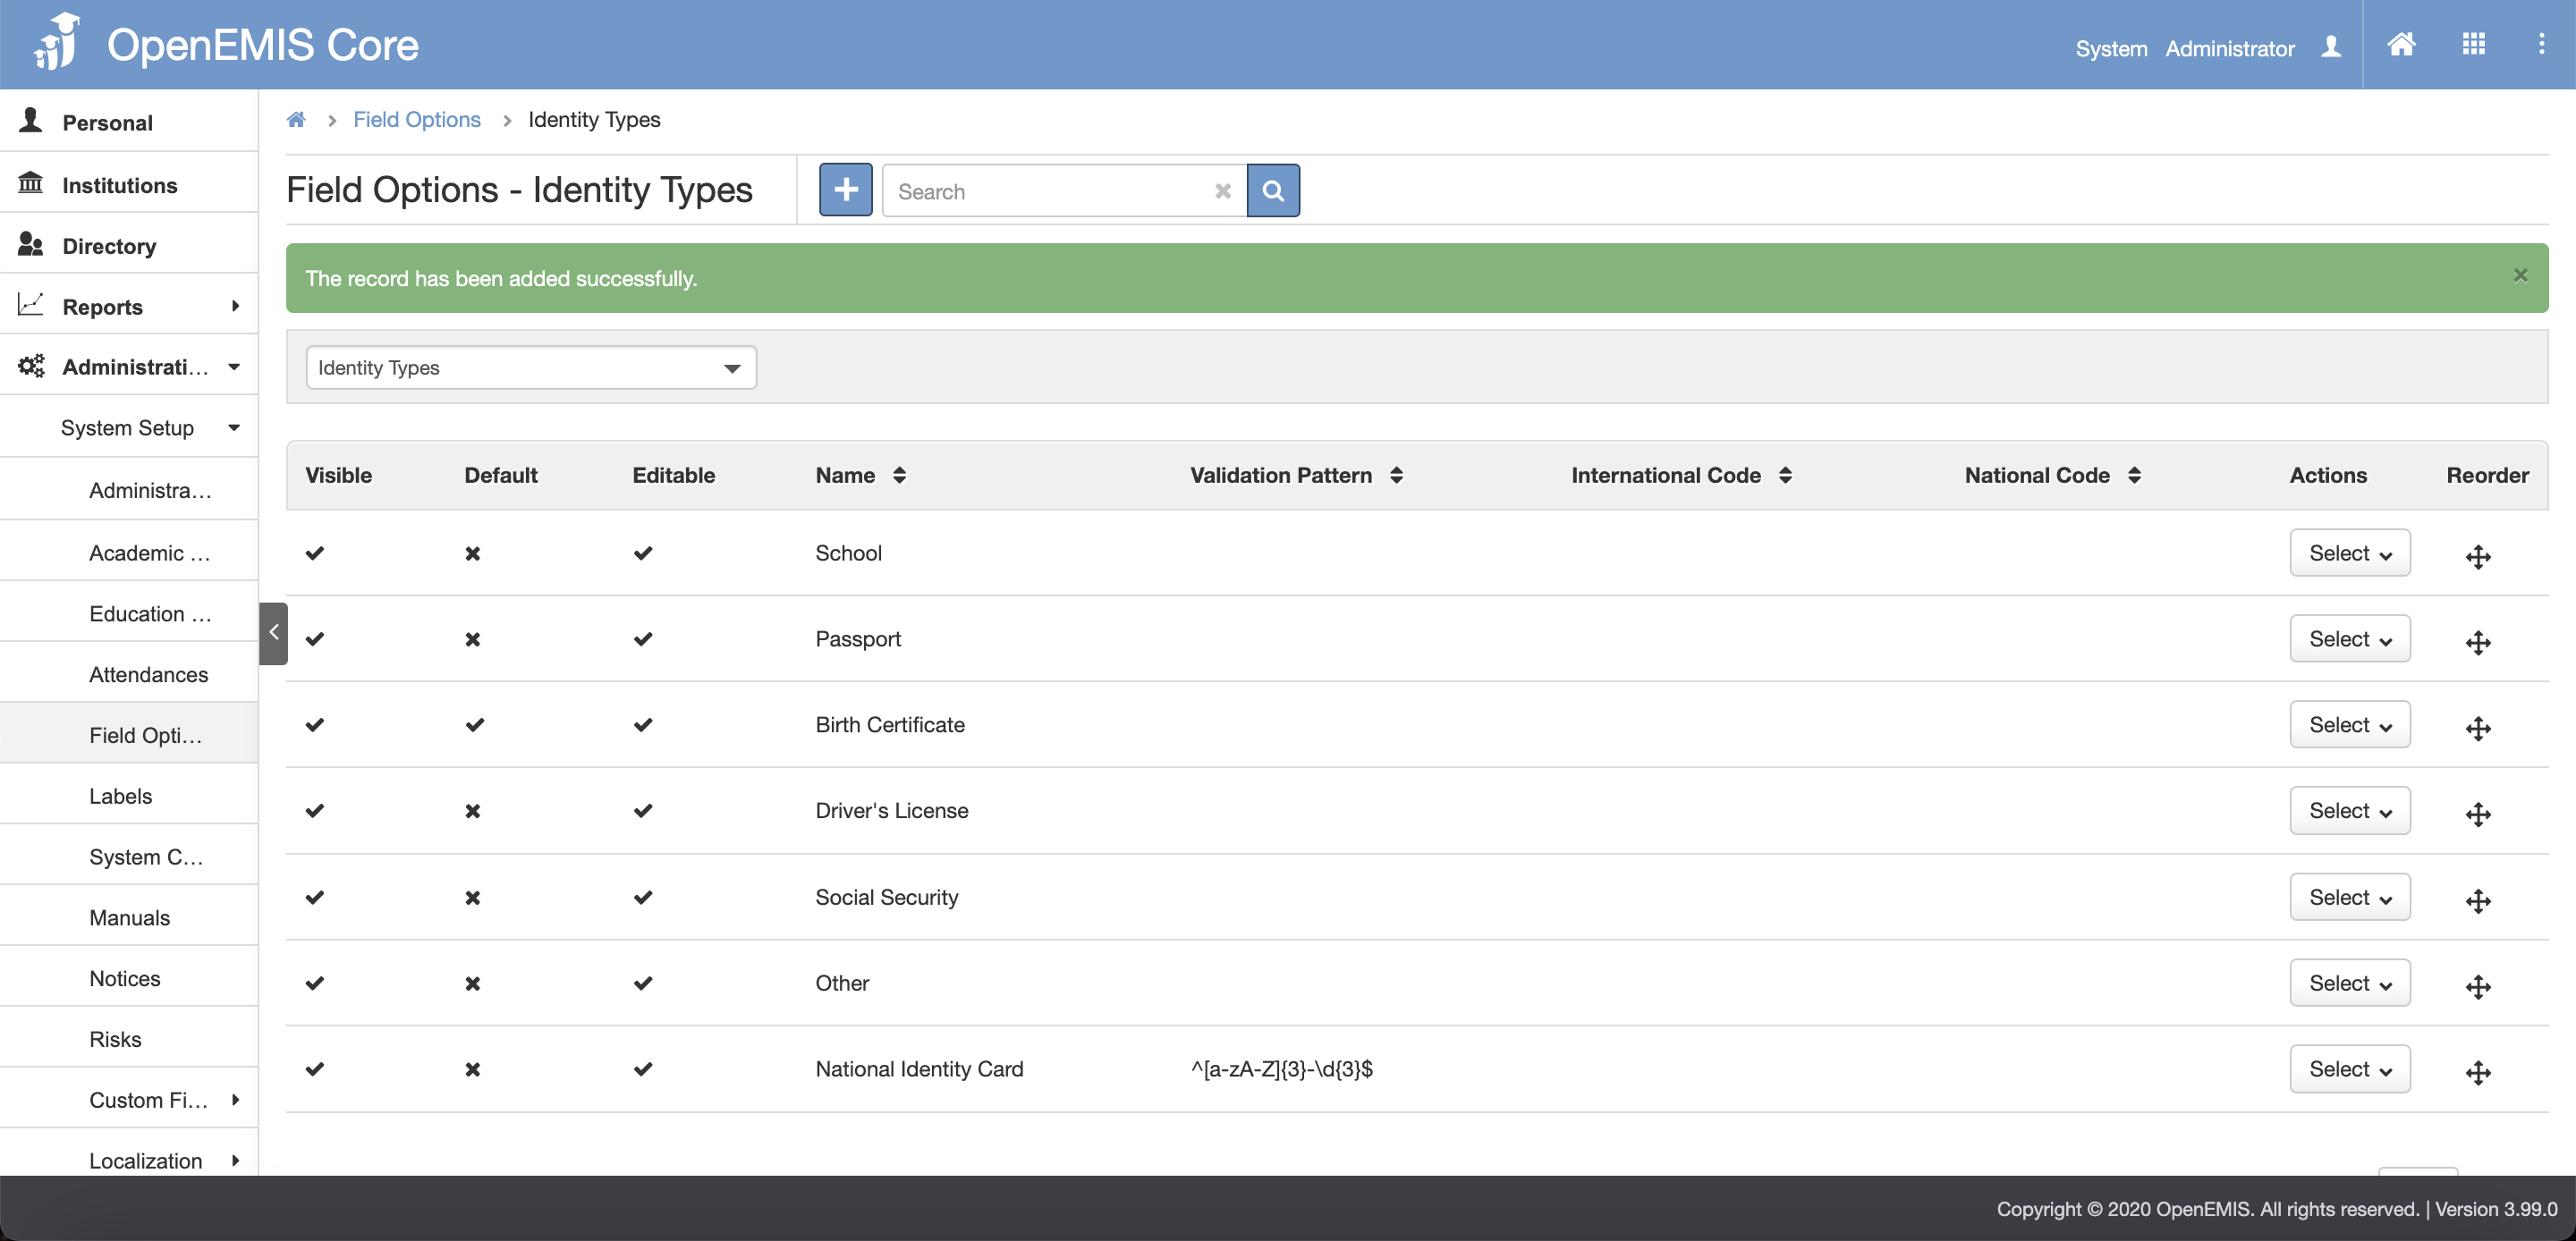
Identity Types
Step 1: Go to Administrations > System Setup > Field Options > Identity Type to configure the Identity Type
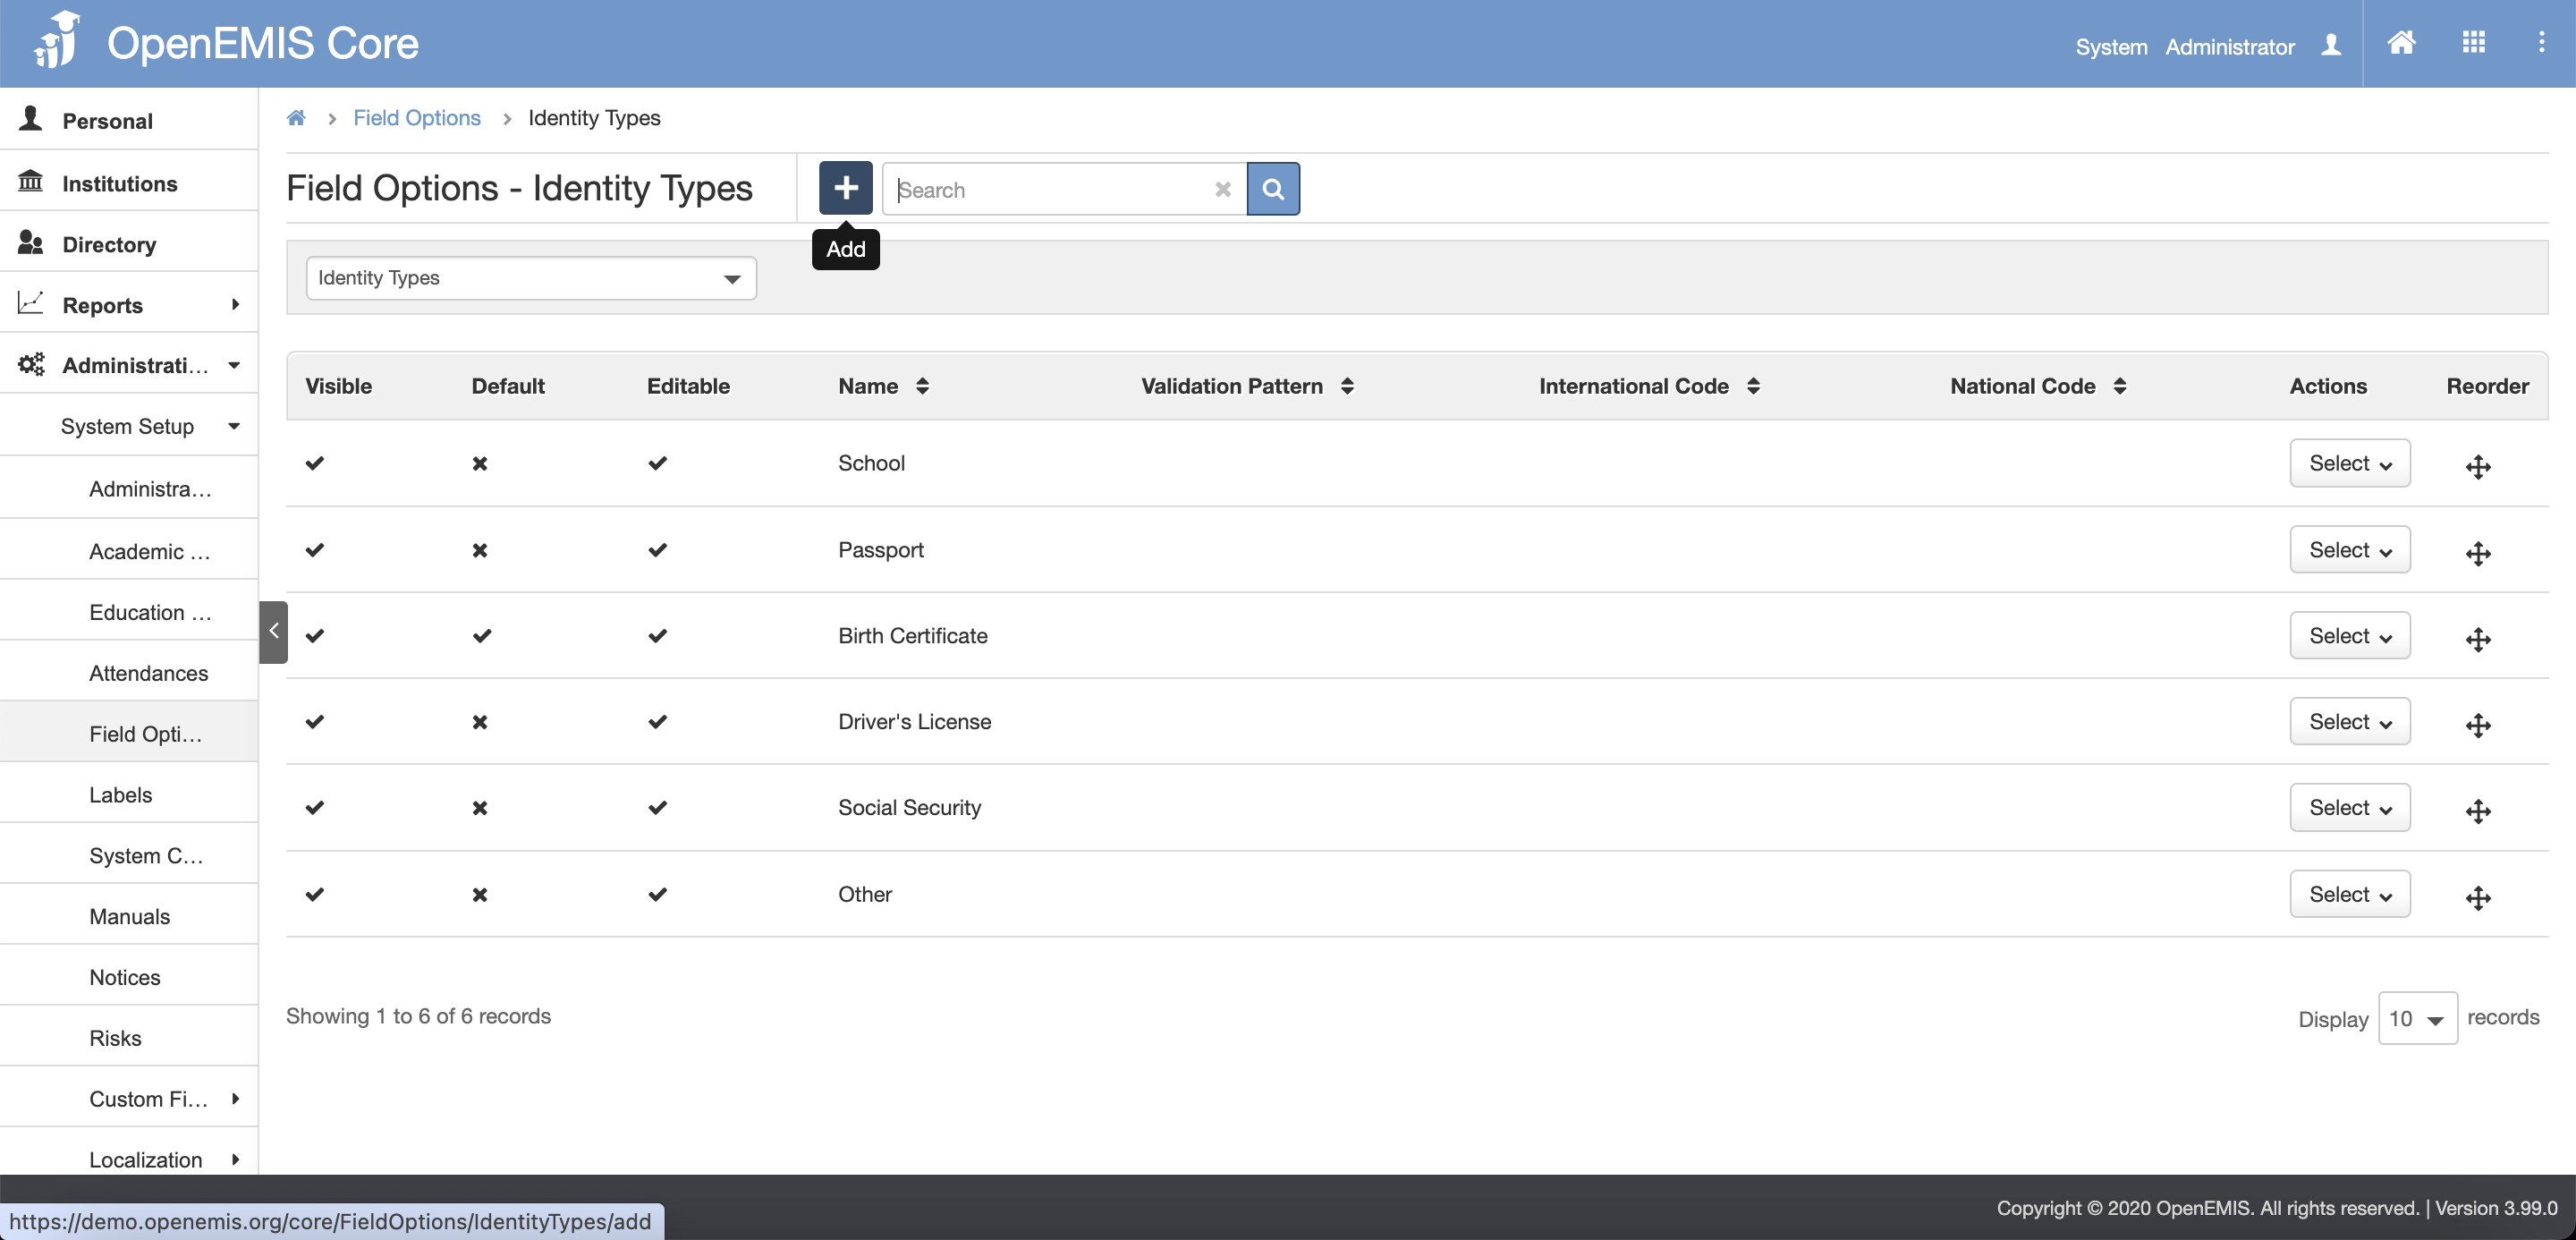
Step 2: To add an Identity Type, click on the Add button
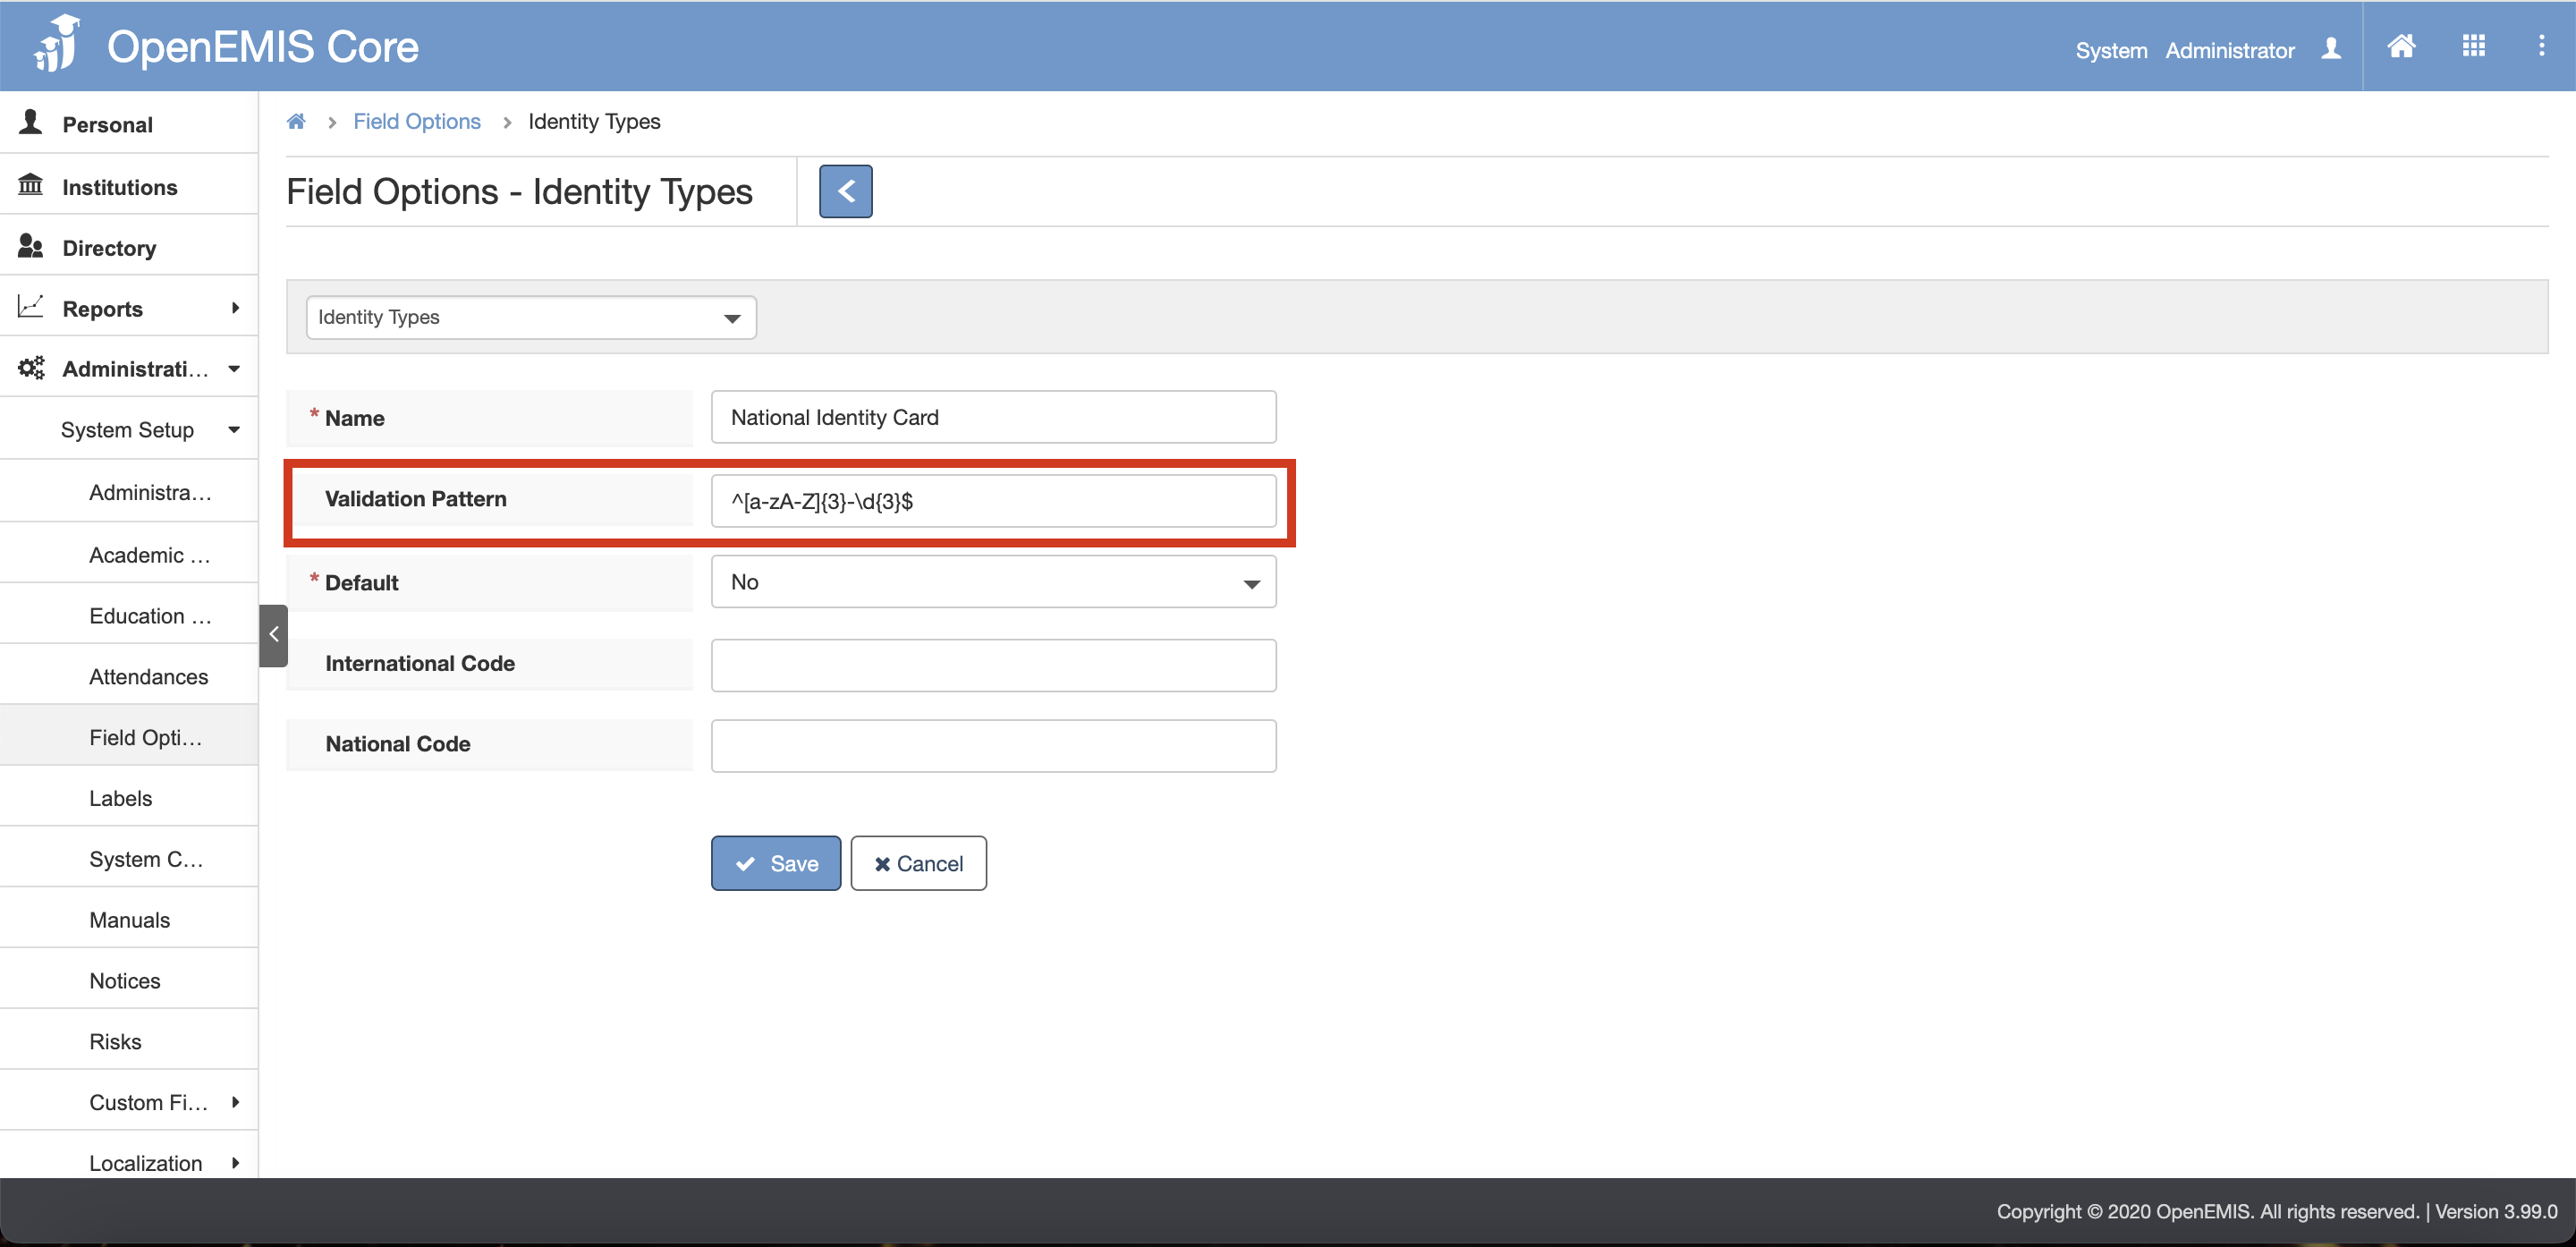
If user wants to add a Validation Pattern for the Identity Type, here are the explanation of what validation type can be used:
| Regular Expression | Description |
| . | Matches any character |
| [abc] | Match the letter a or b or c |
| [^abc] | Match any character except a, b and c |
| ^abc | Match any string that starts with abc |
| abc$ | Match any string that ends with abc |
| \d | Match any digits |
| \s | Match a whitespace character |
| \w | Match a word |
| \D | Don’t match any digits |
| \S | Don’t match whitespace character |
| \W | Don’t match a word |
| \n | New line |
| Sample Regex Expressions | Description |
| ^[89]\d{7}$ | 8 digit phone number with the 1st number starting with 8 or 9 E.g 91234567 / 81234567 |
| ^[a-zA-Z]{3}-\d{3}$ | 3 alphabets, followed by a dash and 3 digits E.g ABC-123 |
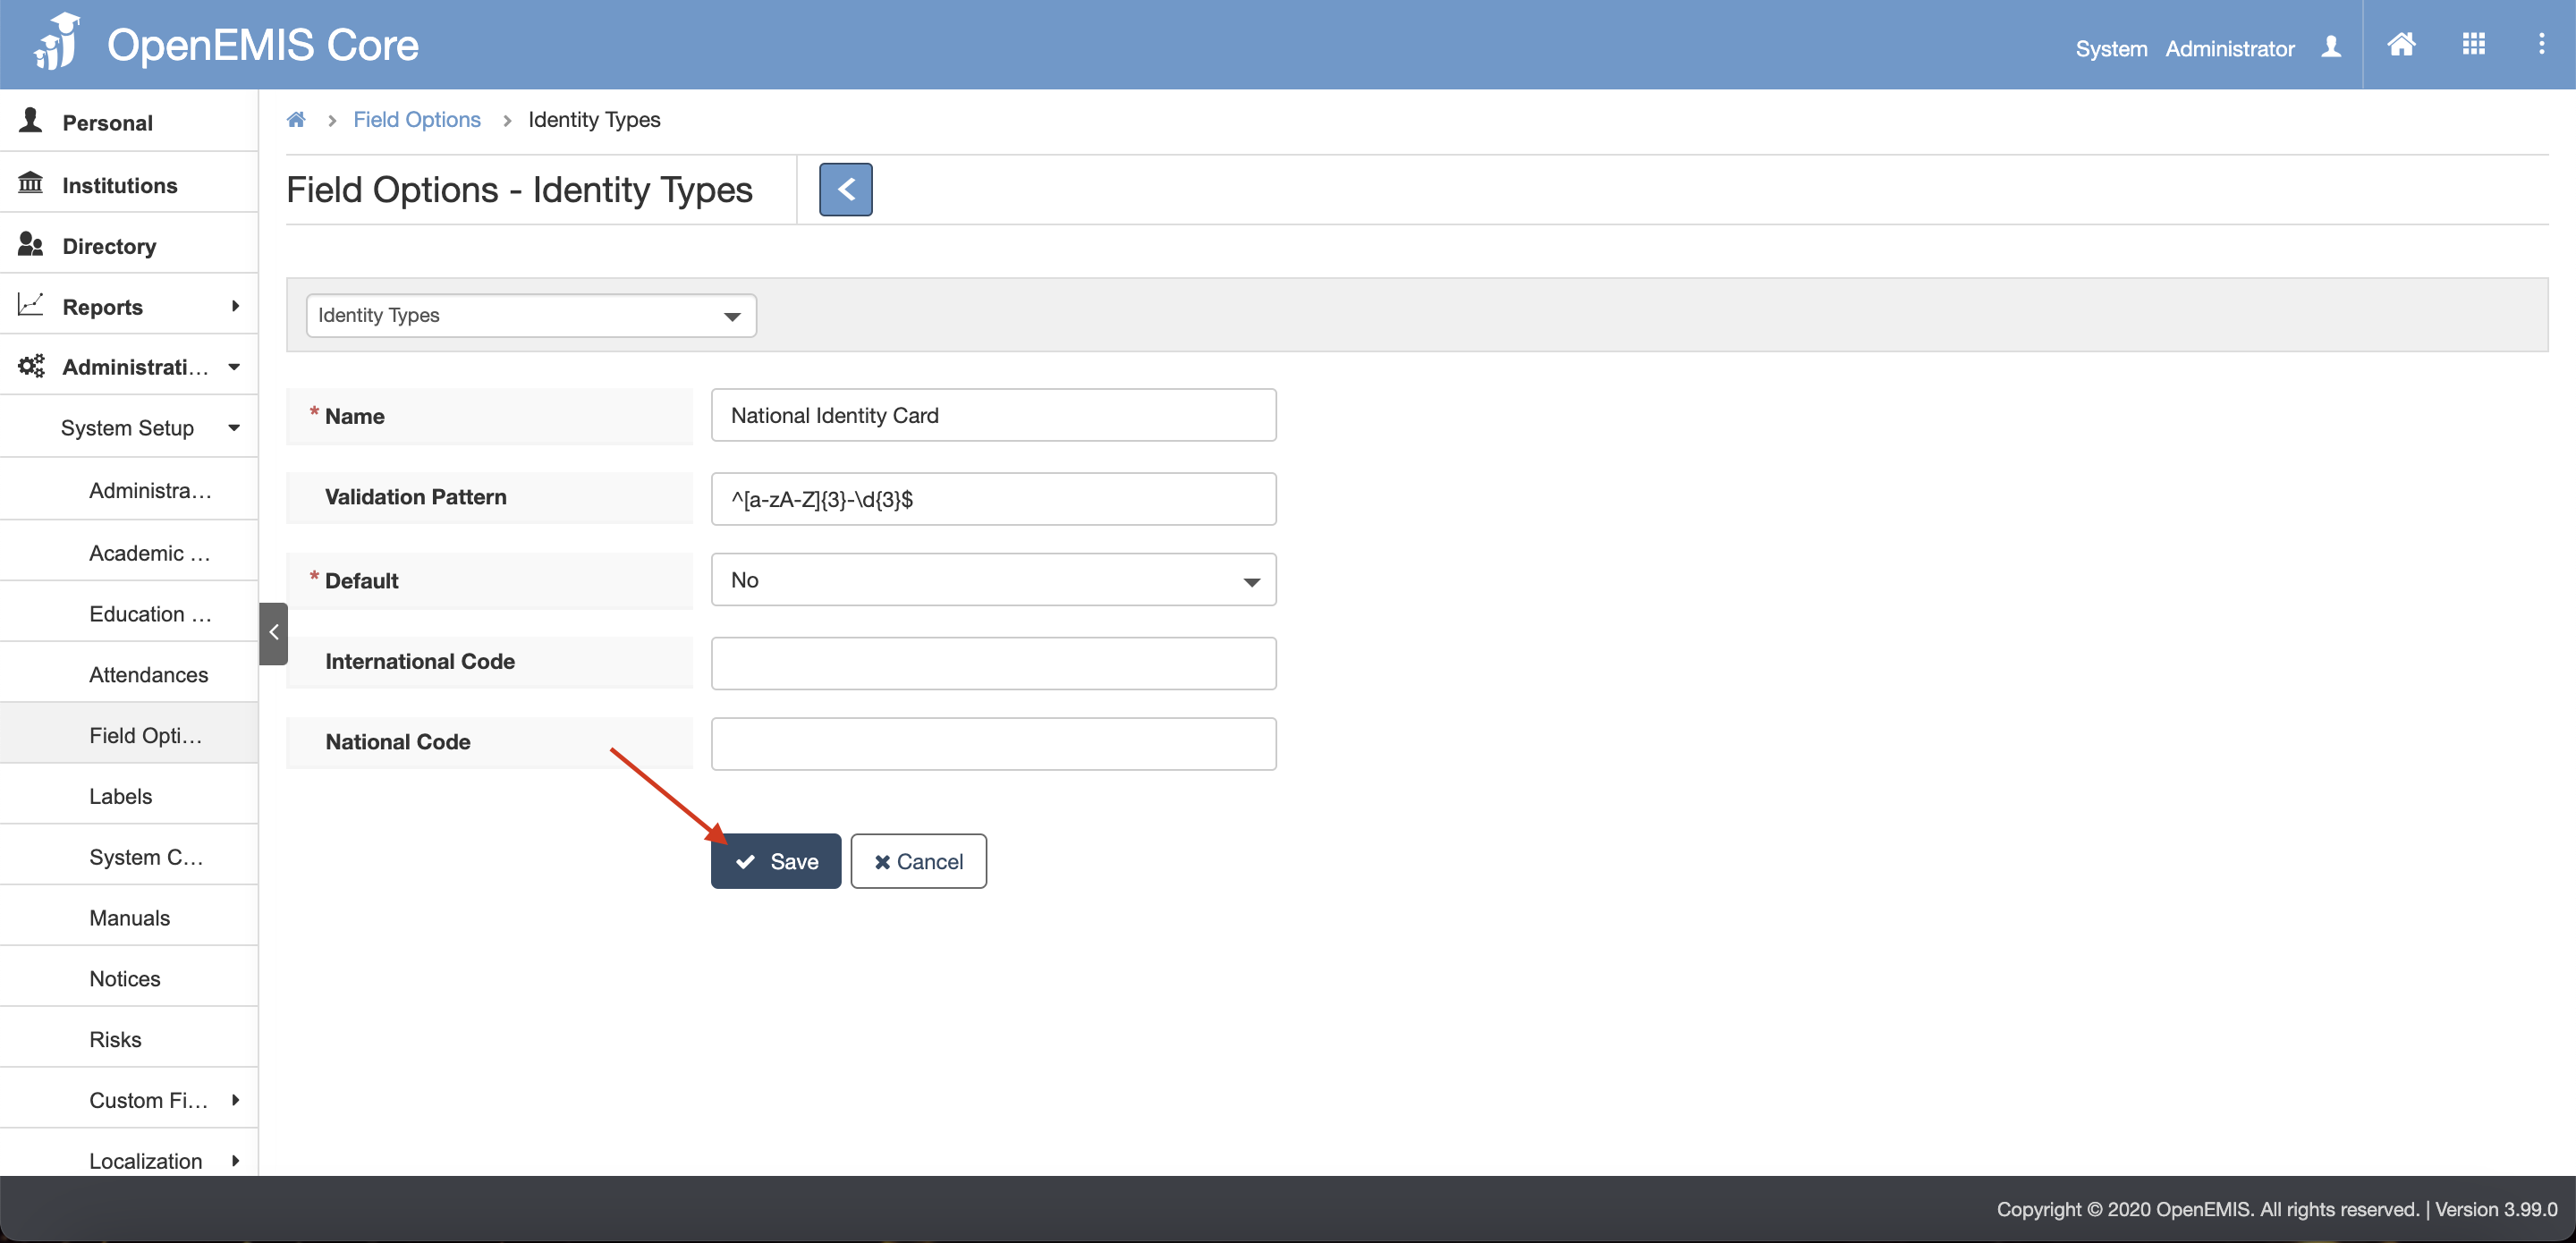
Step 3: Click the Save button
Step 4: A successful message will display
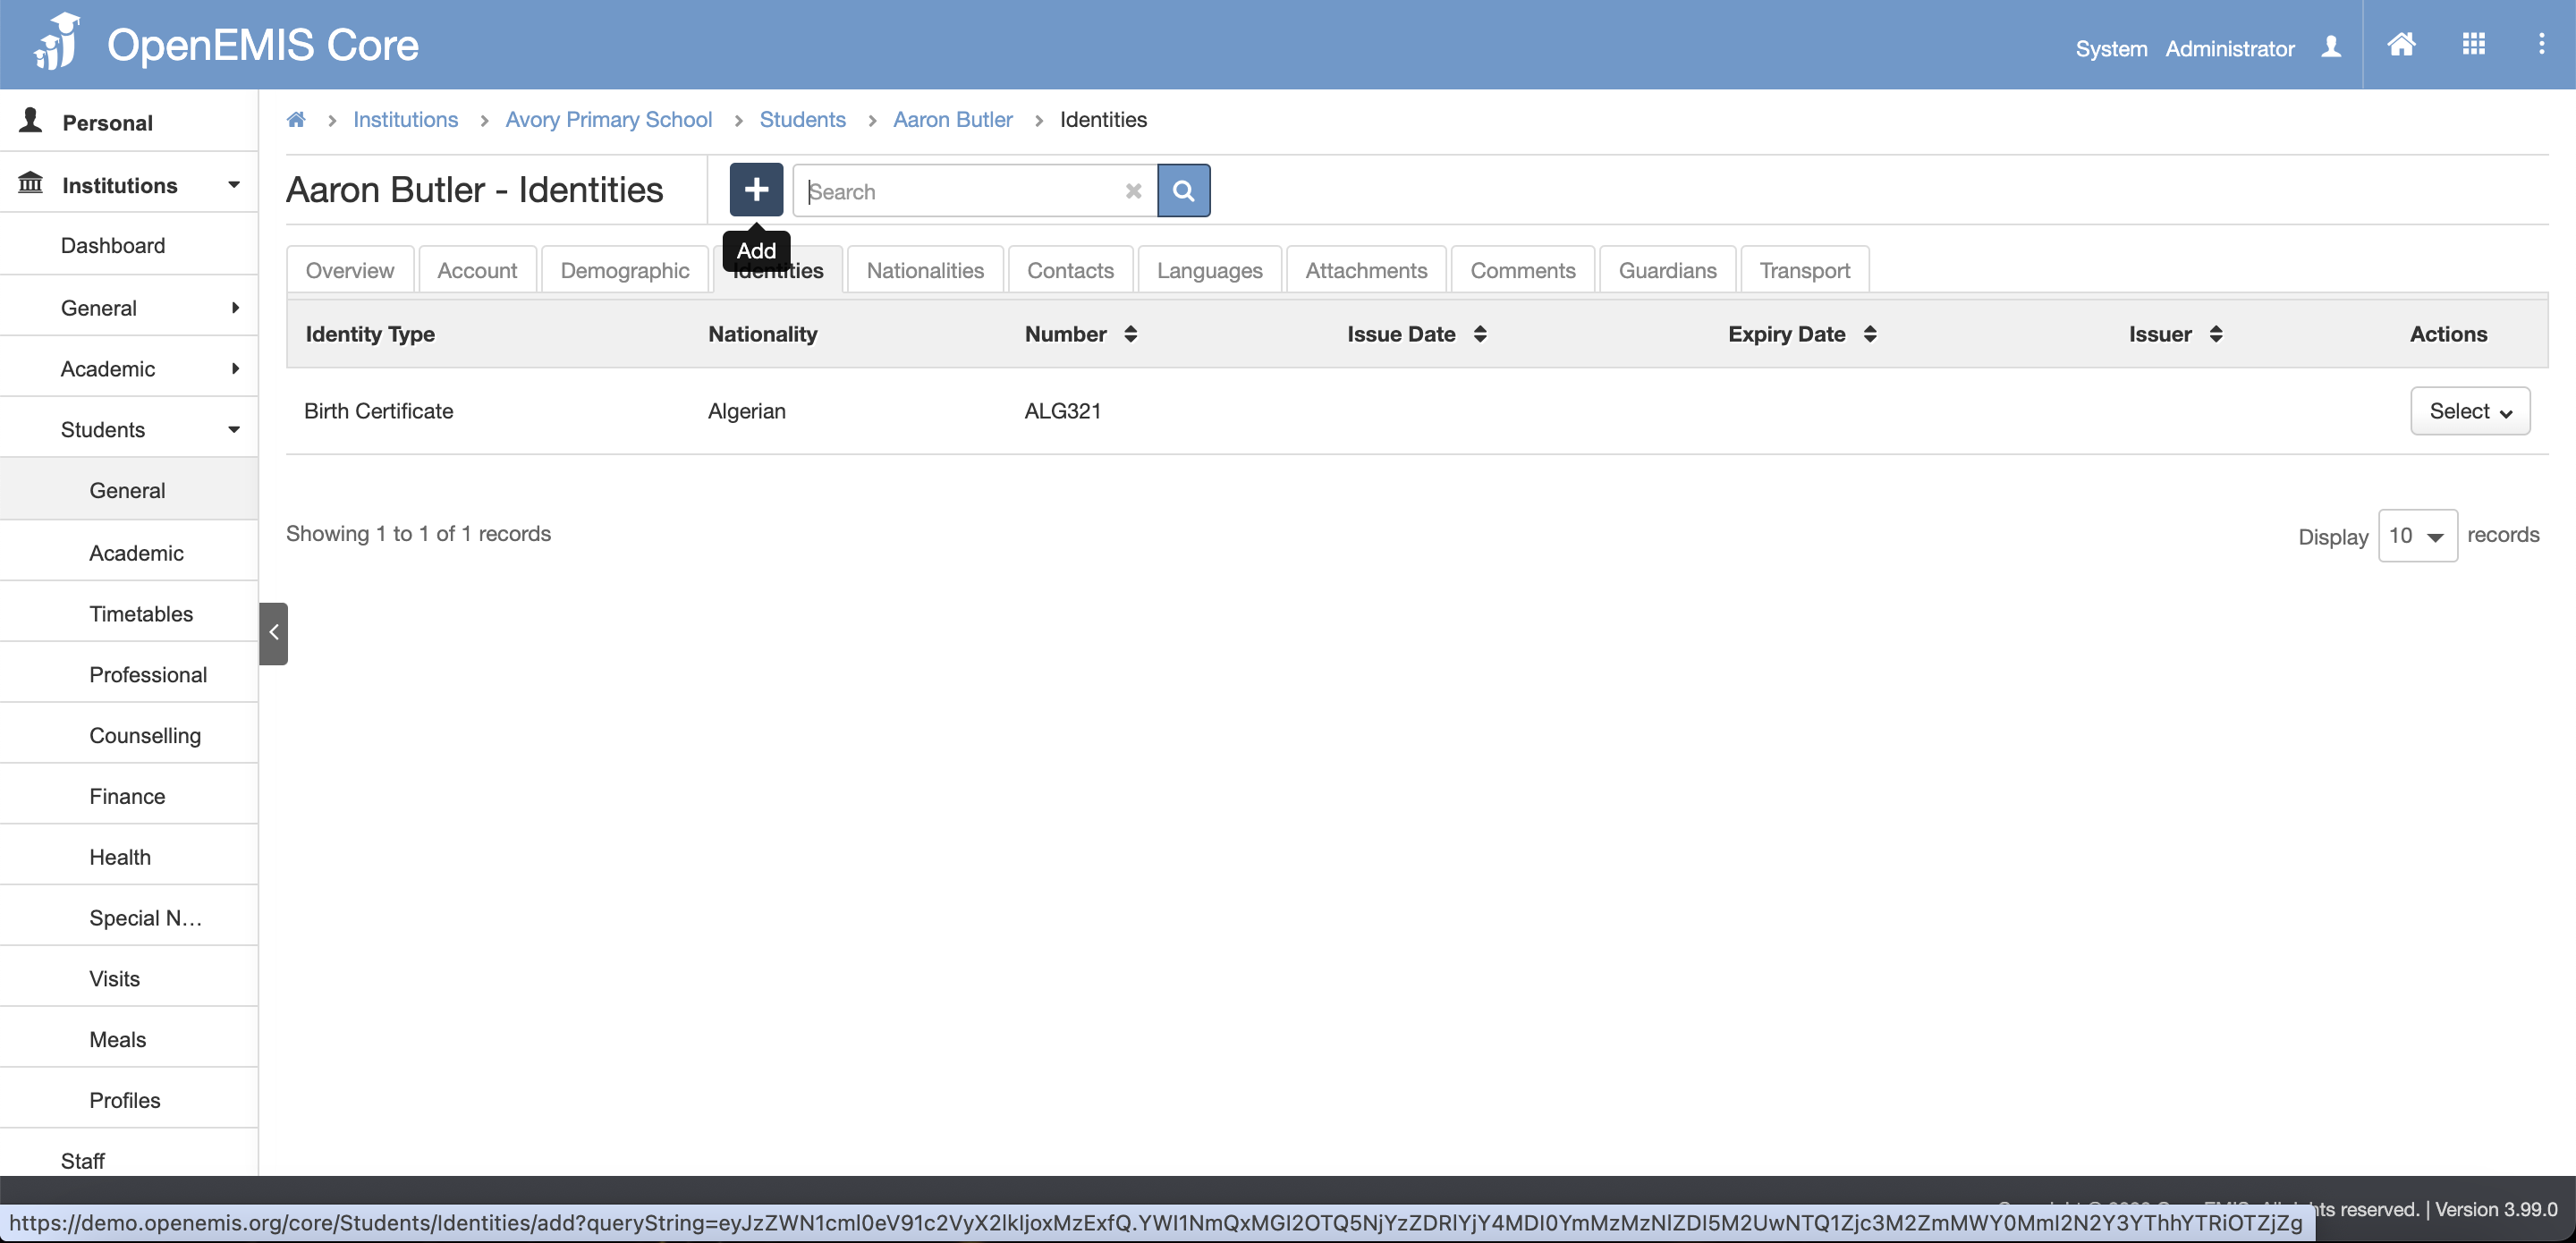
Adding Identities
Step 1: Go to Identities Page. There are 3 pages user can navigate to add Identities
- Page 1: Profile > General > Overview > Identities > Add page
- Page 2: Institutions > Students/Staff > General > Overview > Identities > Add page
- Page 3: Directory > Students/Staff/Guardian/Others > General > Overview > Identities > Add page
Step 2: Fill in the fields
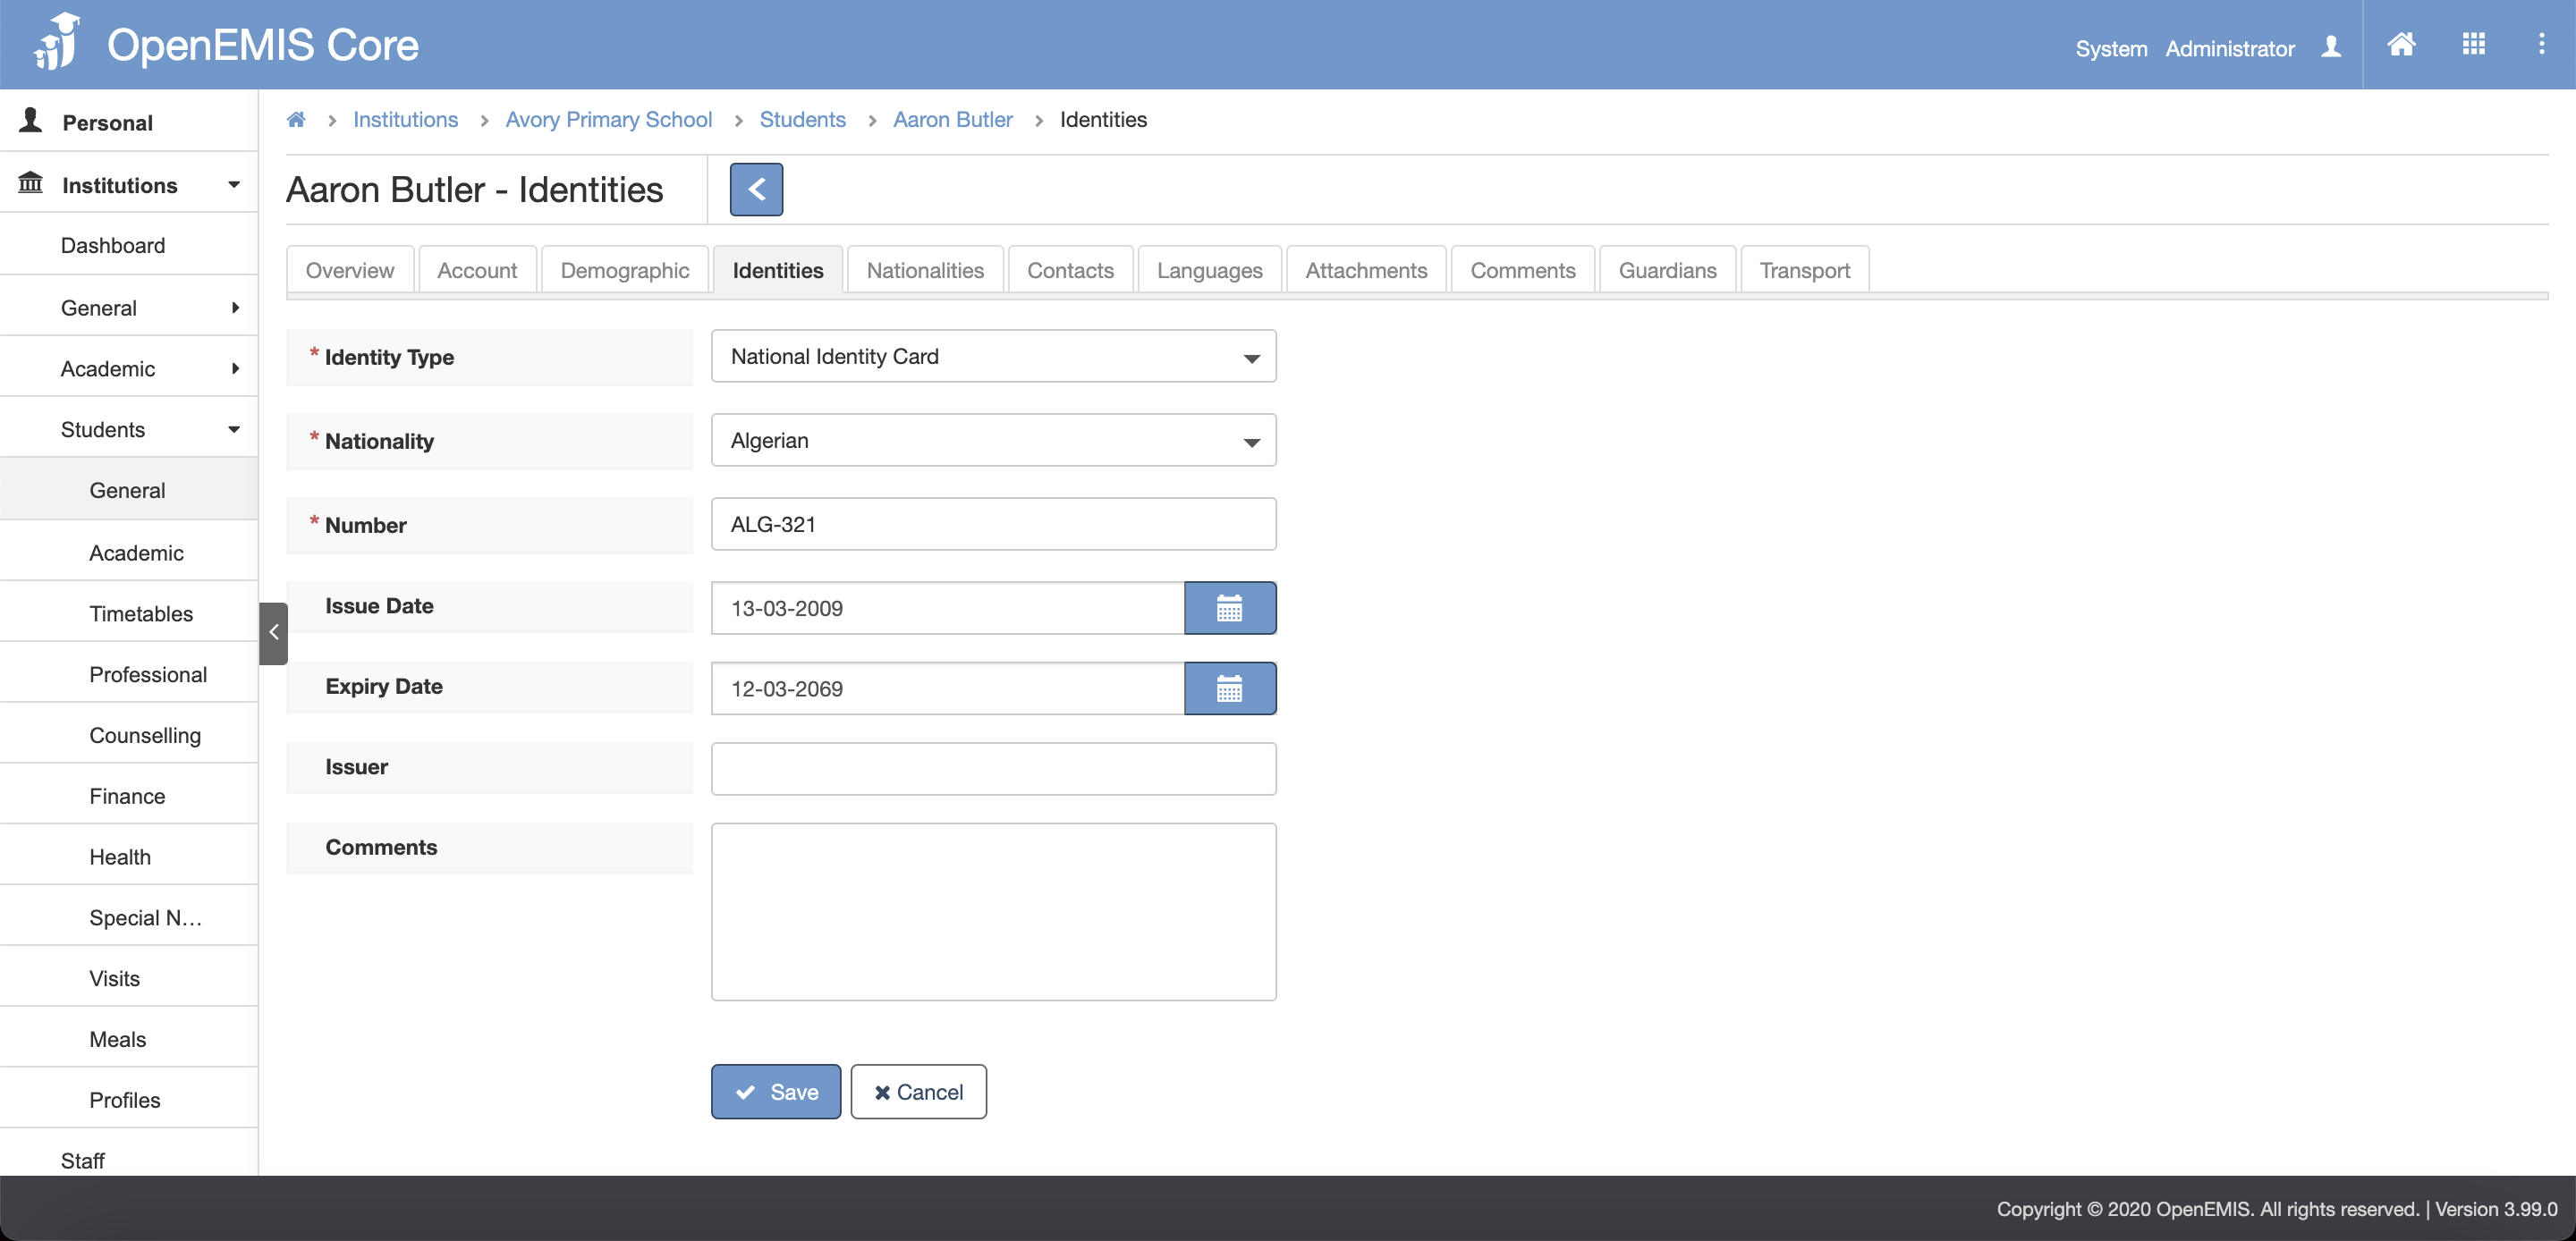
Step 3: Click the Save button
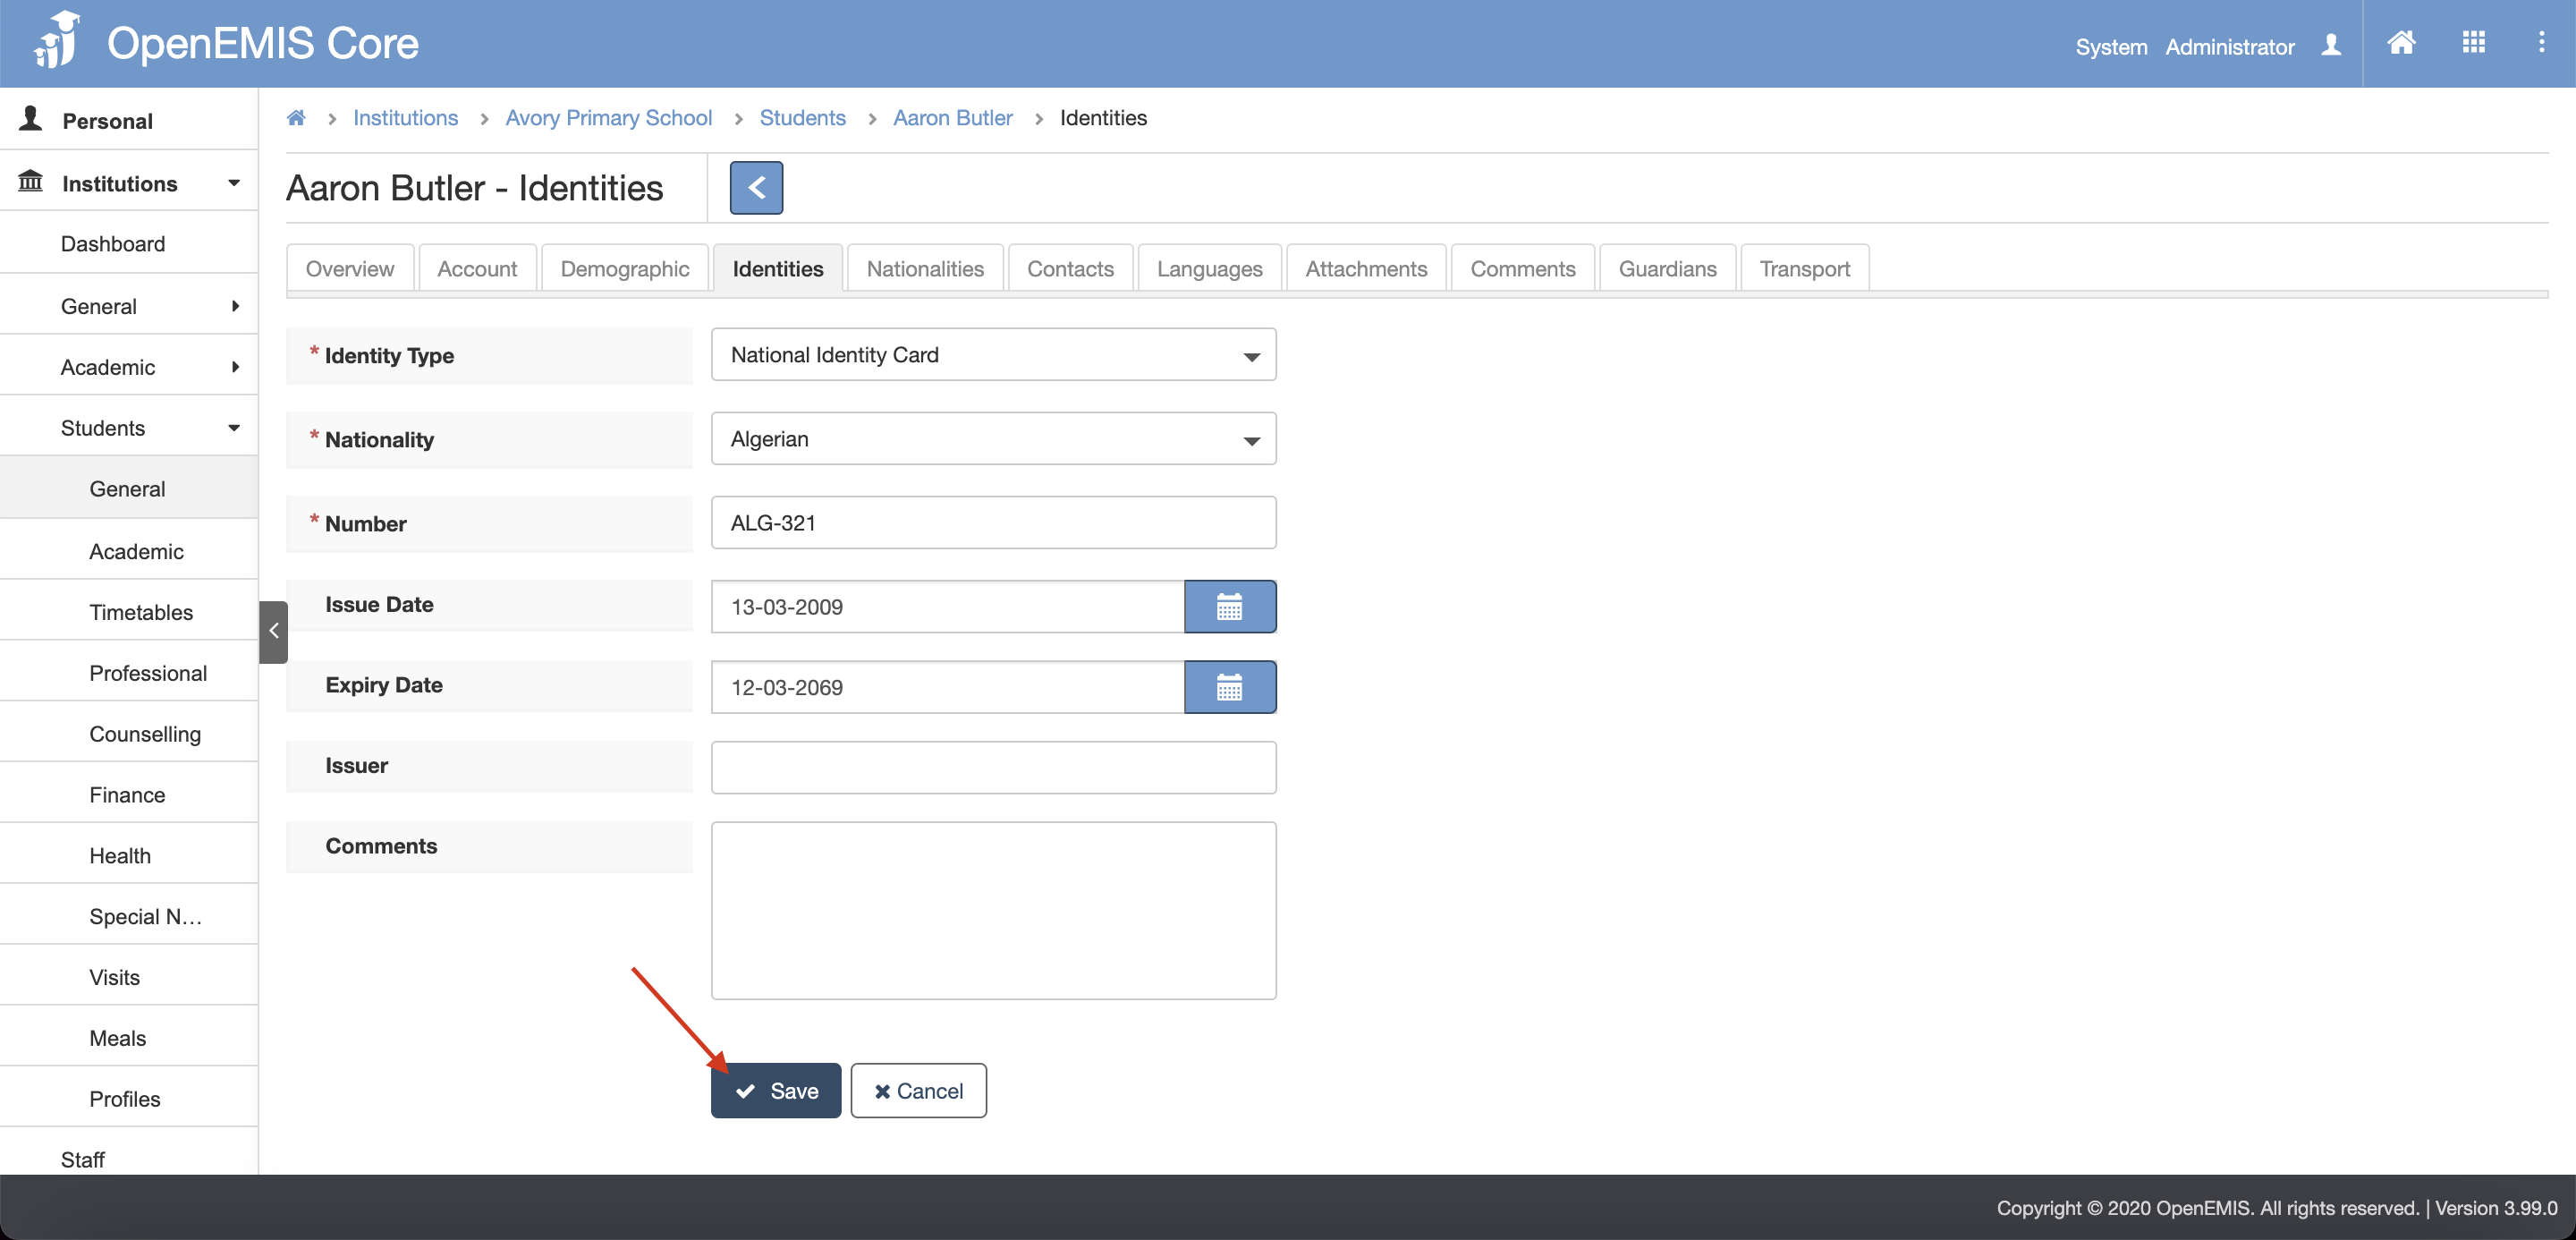
Step 4: A successful message will display