Article Name: Adding Students to Institutions
Category/Module: Institutions
Version: 3.80.5
Date Updated: 6 Feb 24
- Easily add new entrants to current academic period using the Add feature.
- The system performs a system search before allowing creation of new records.
Features:
1. Adding Students to Institutions
- Adding new user
- Via Identity
- Via Basic Information
- Adding existing user
- Via Identity
- Via Basic Information
2. Adding Students to Institutions with Adding Guardian features
- Adding new user
- Via Identity
- Via Basic Information
- Adding existing user
- Via Identity
- Via Basic Information
Adding Students to Institutions – Adding New User
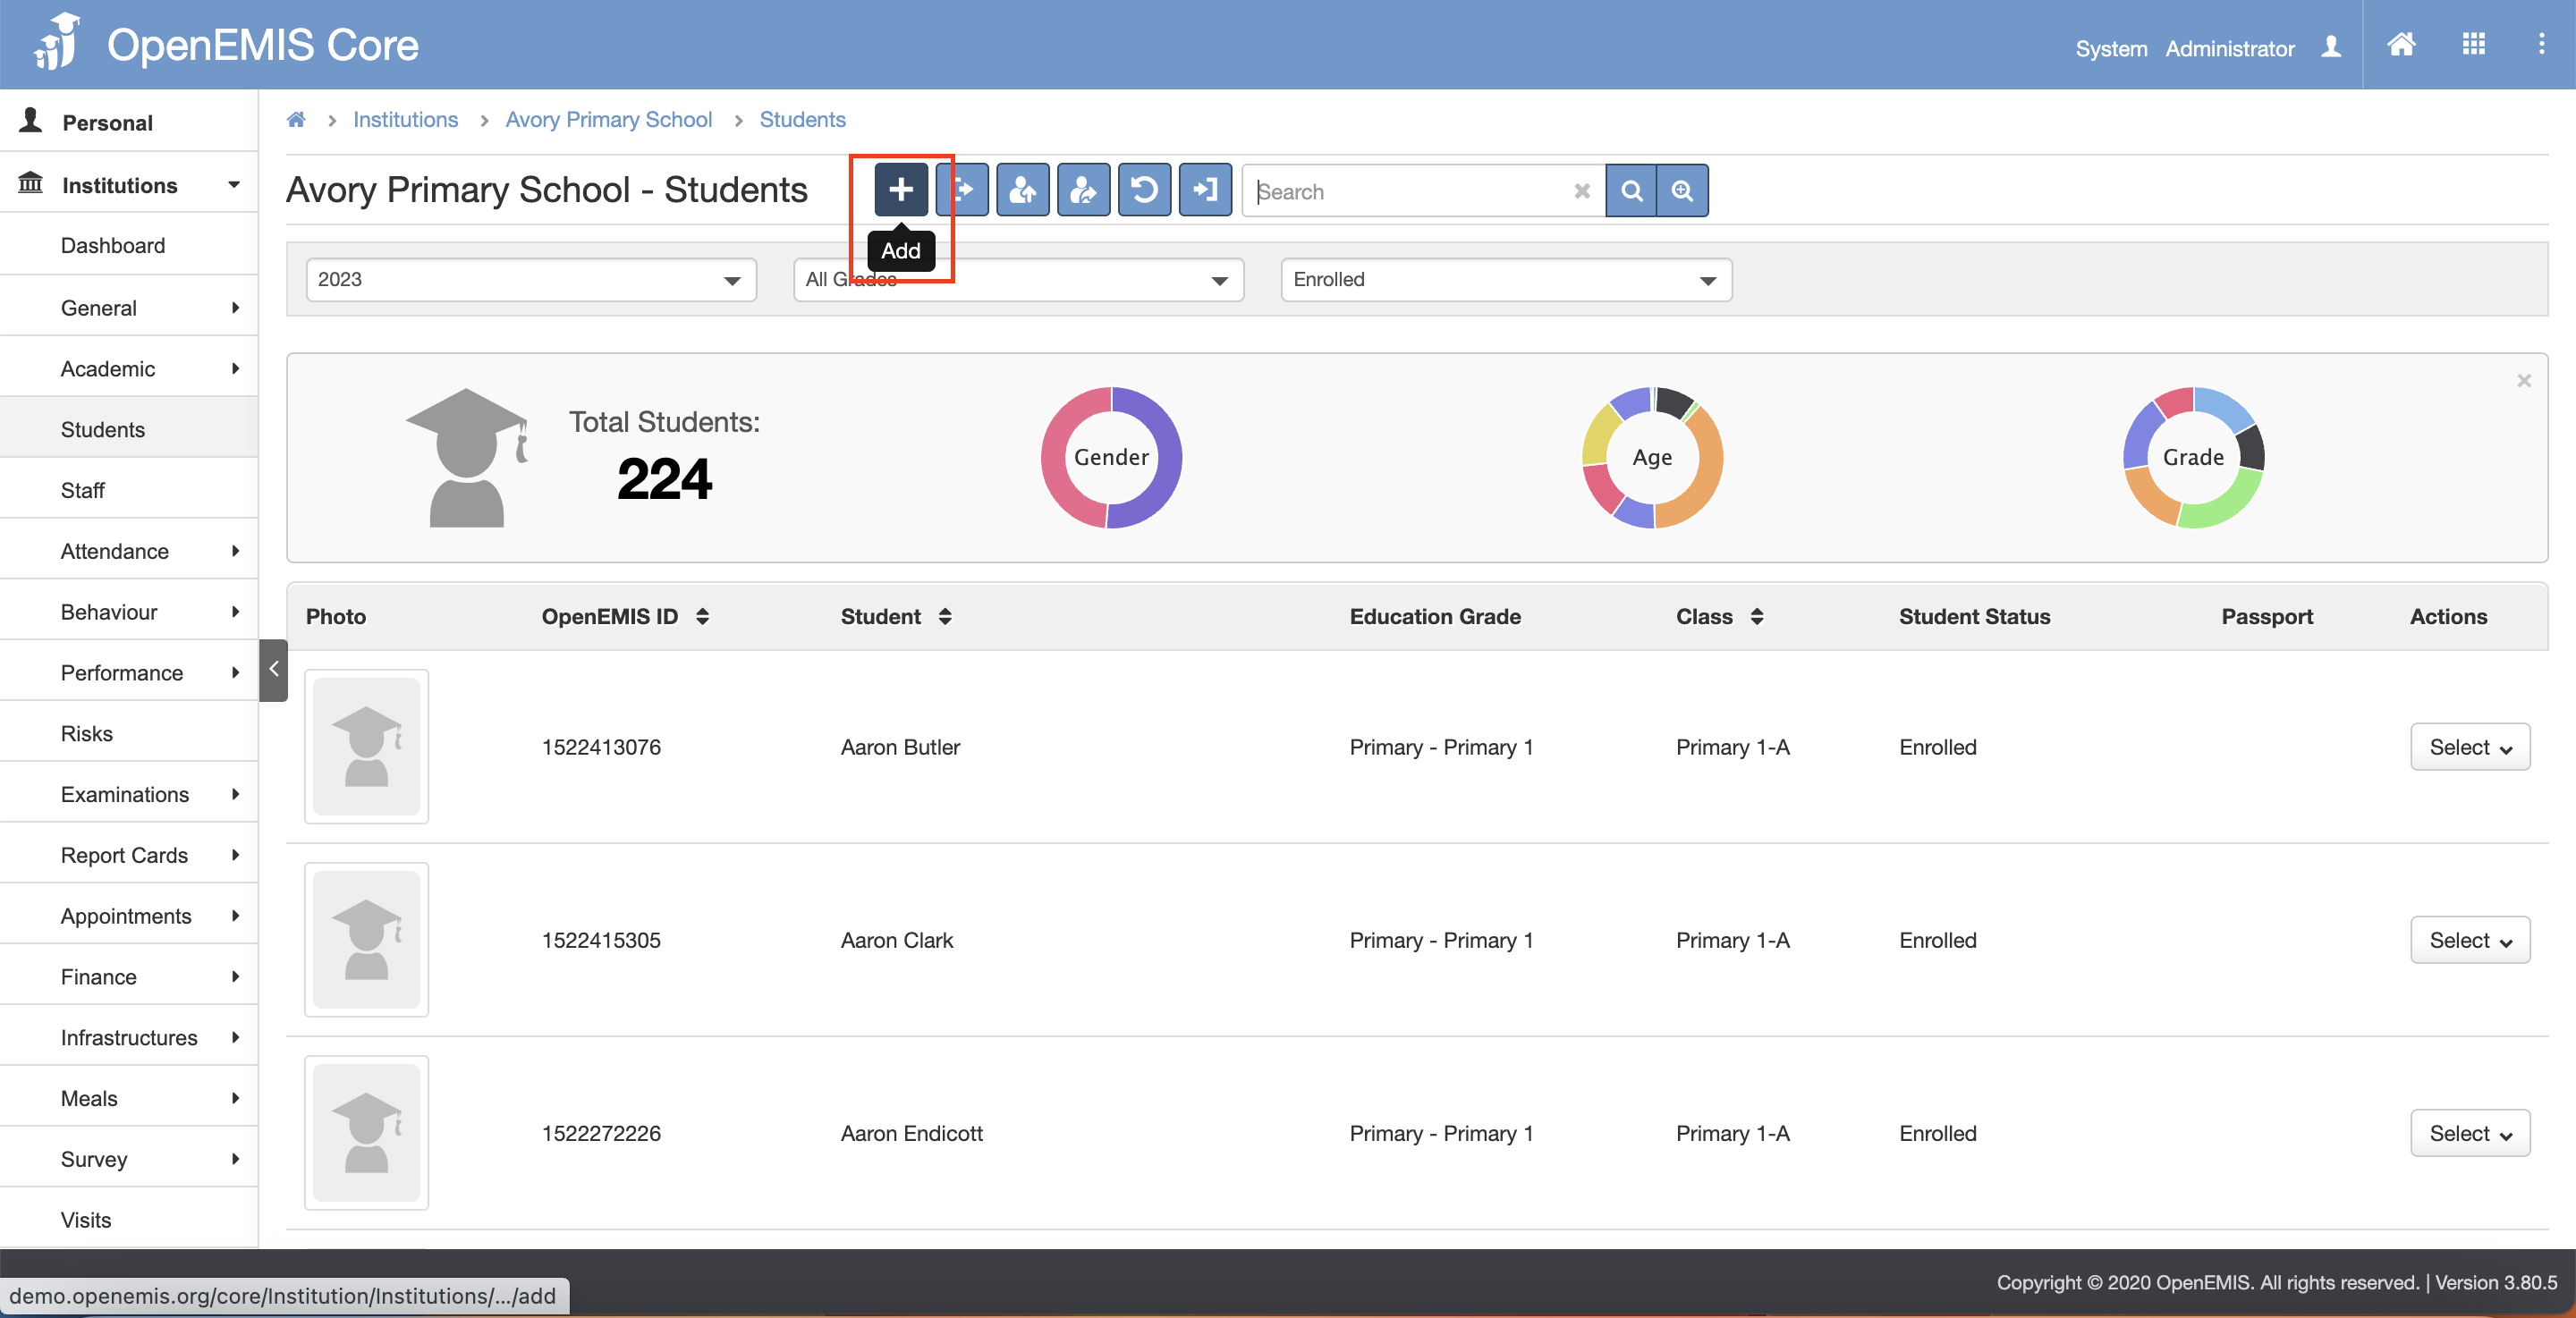
1) Navigate to Institutions > Students page.
2) Click on the “Add” button.
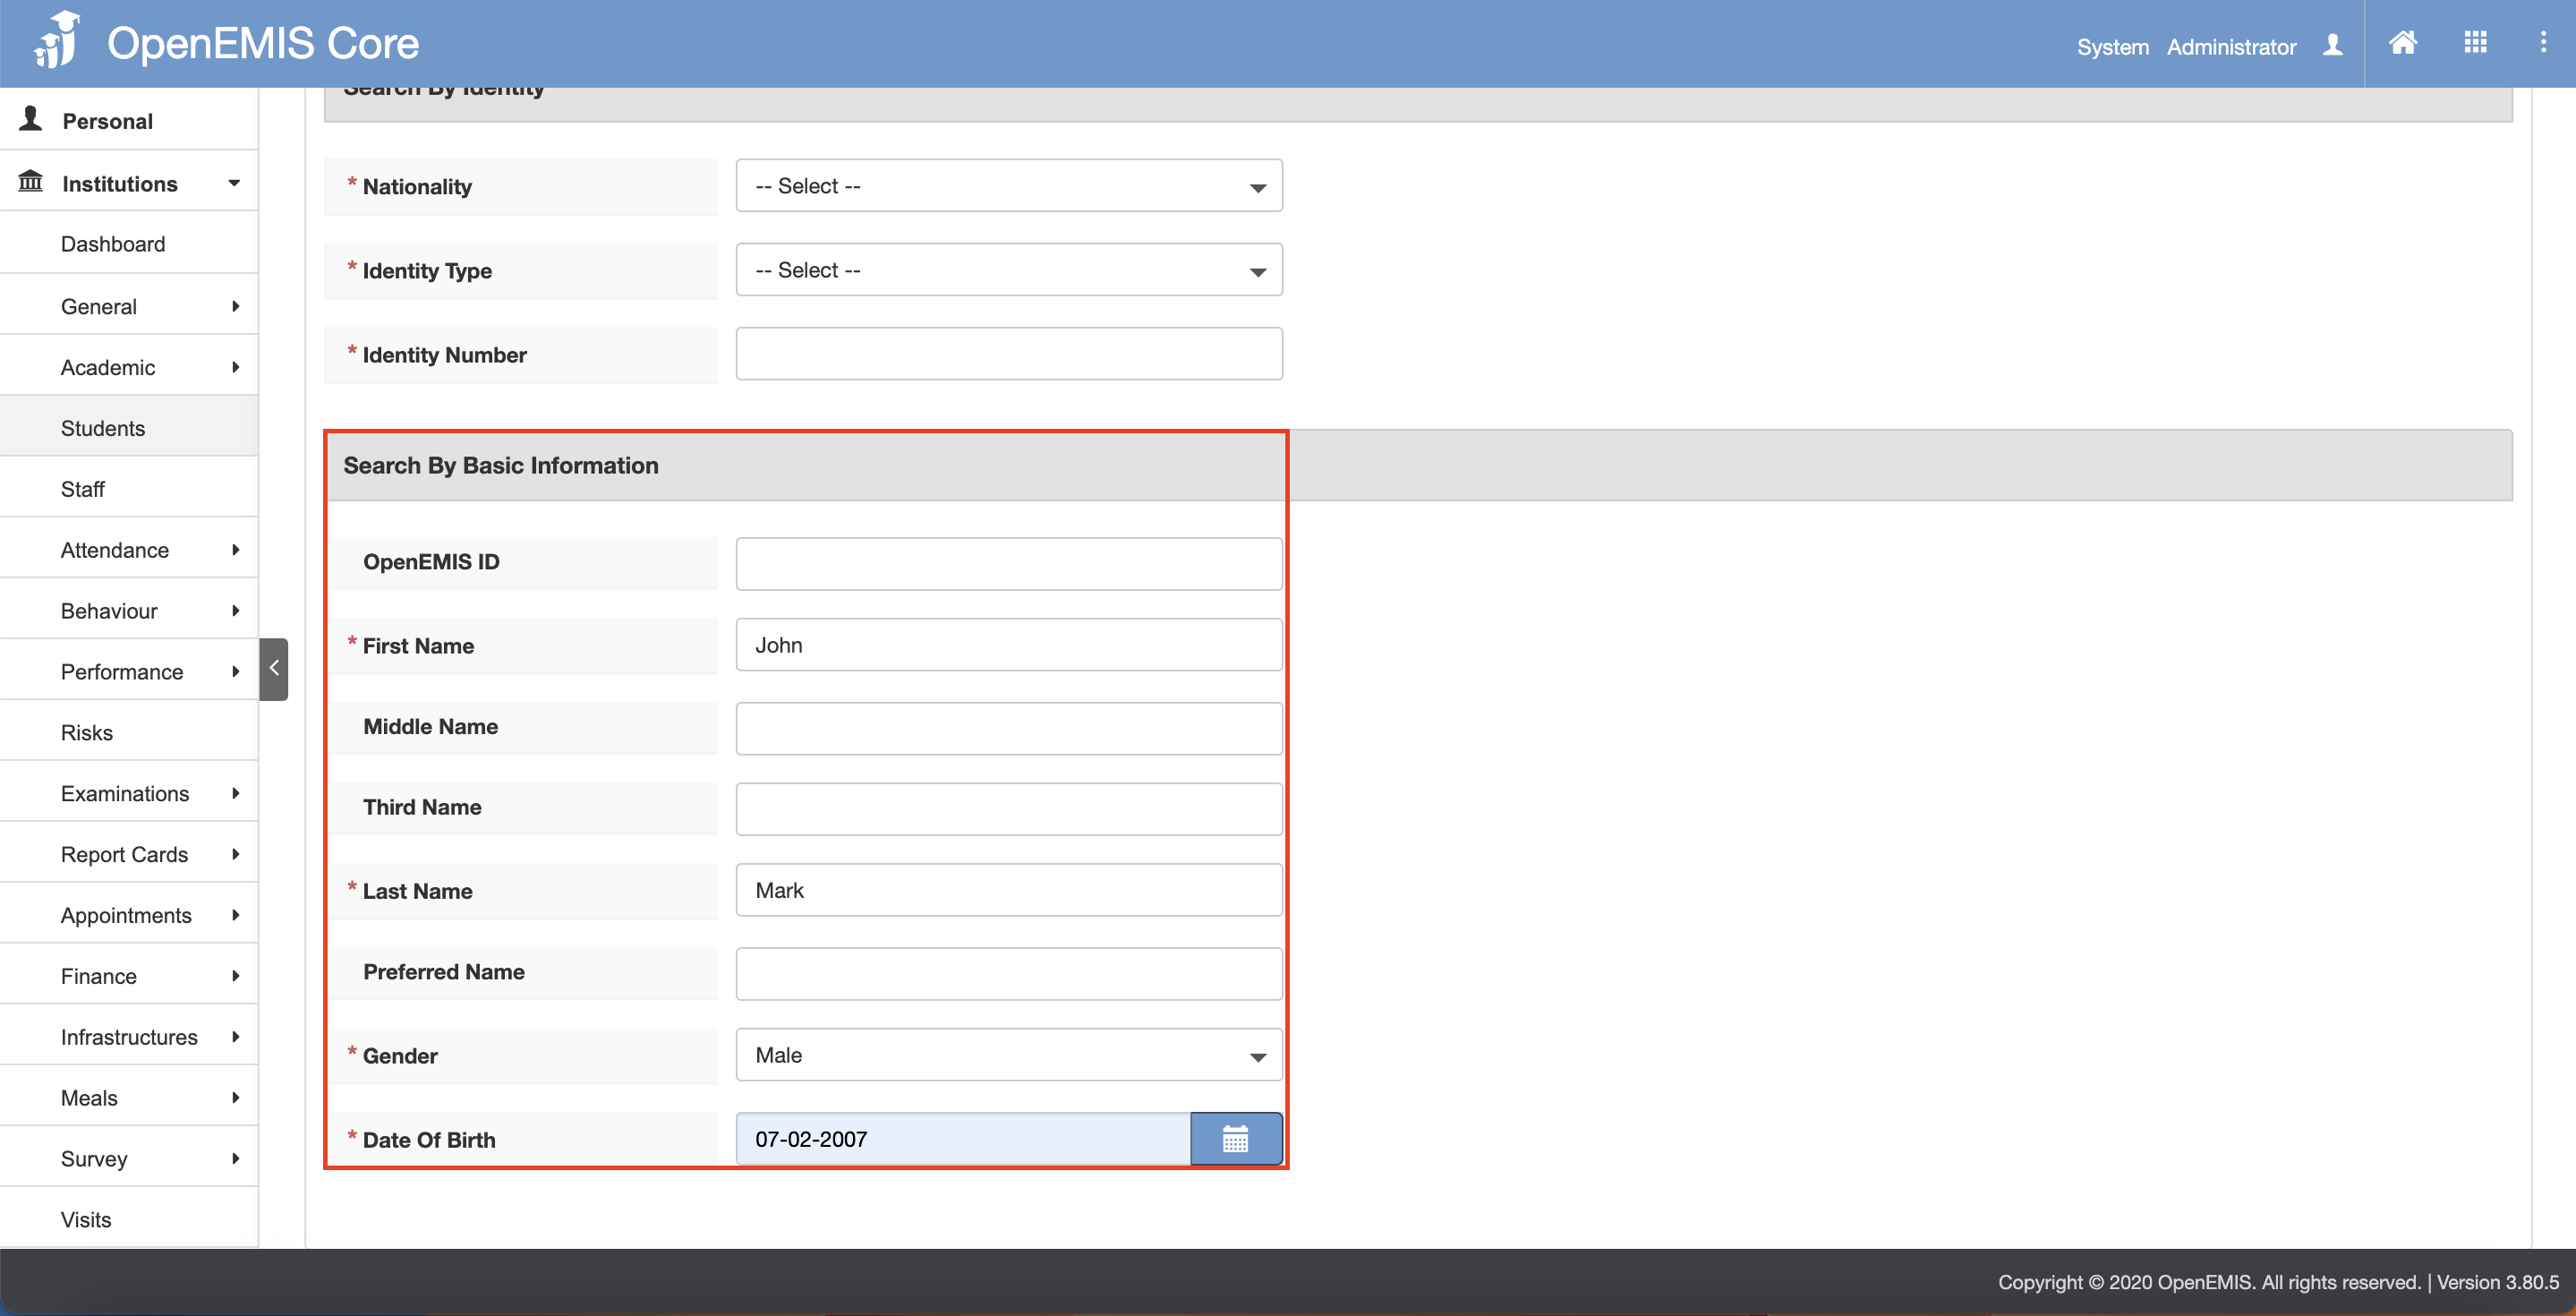
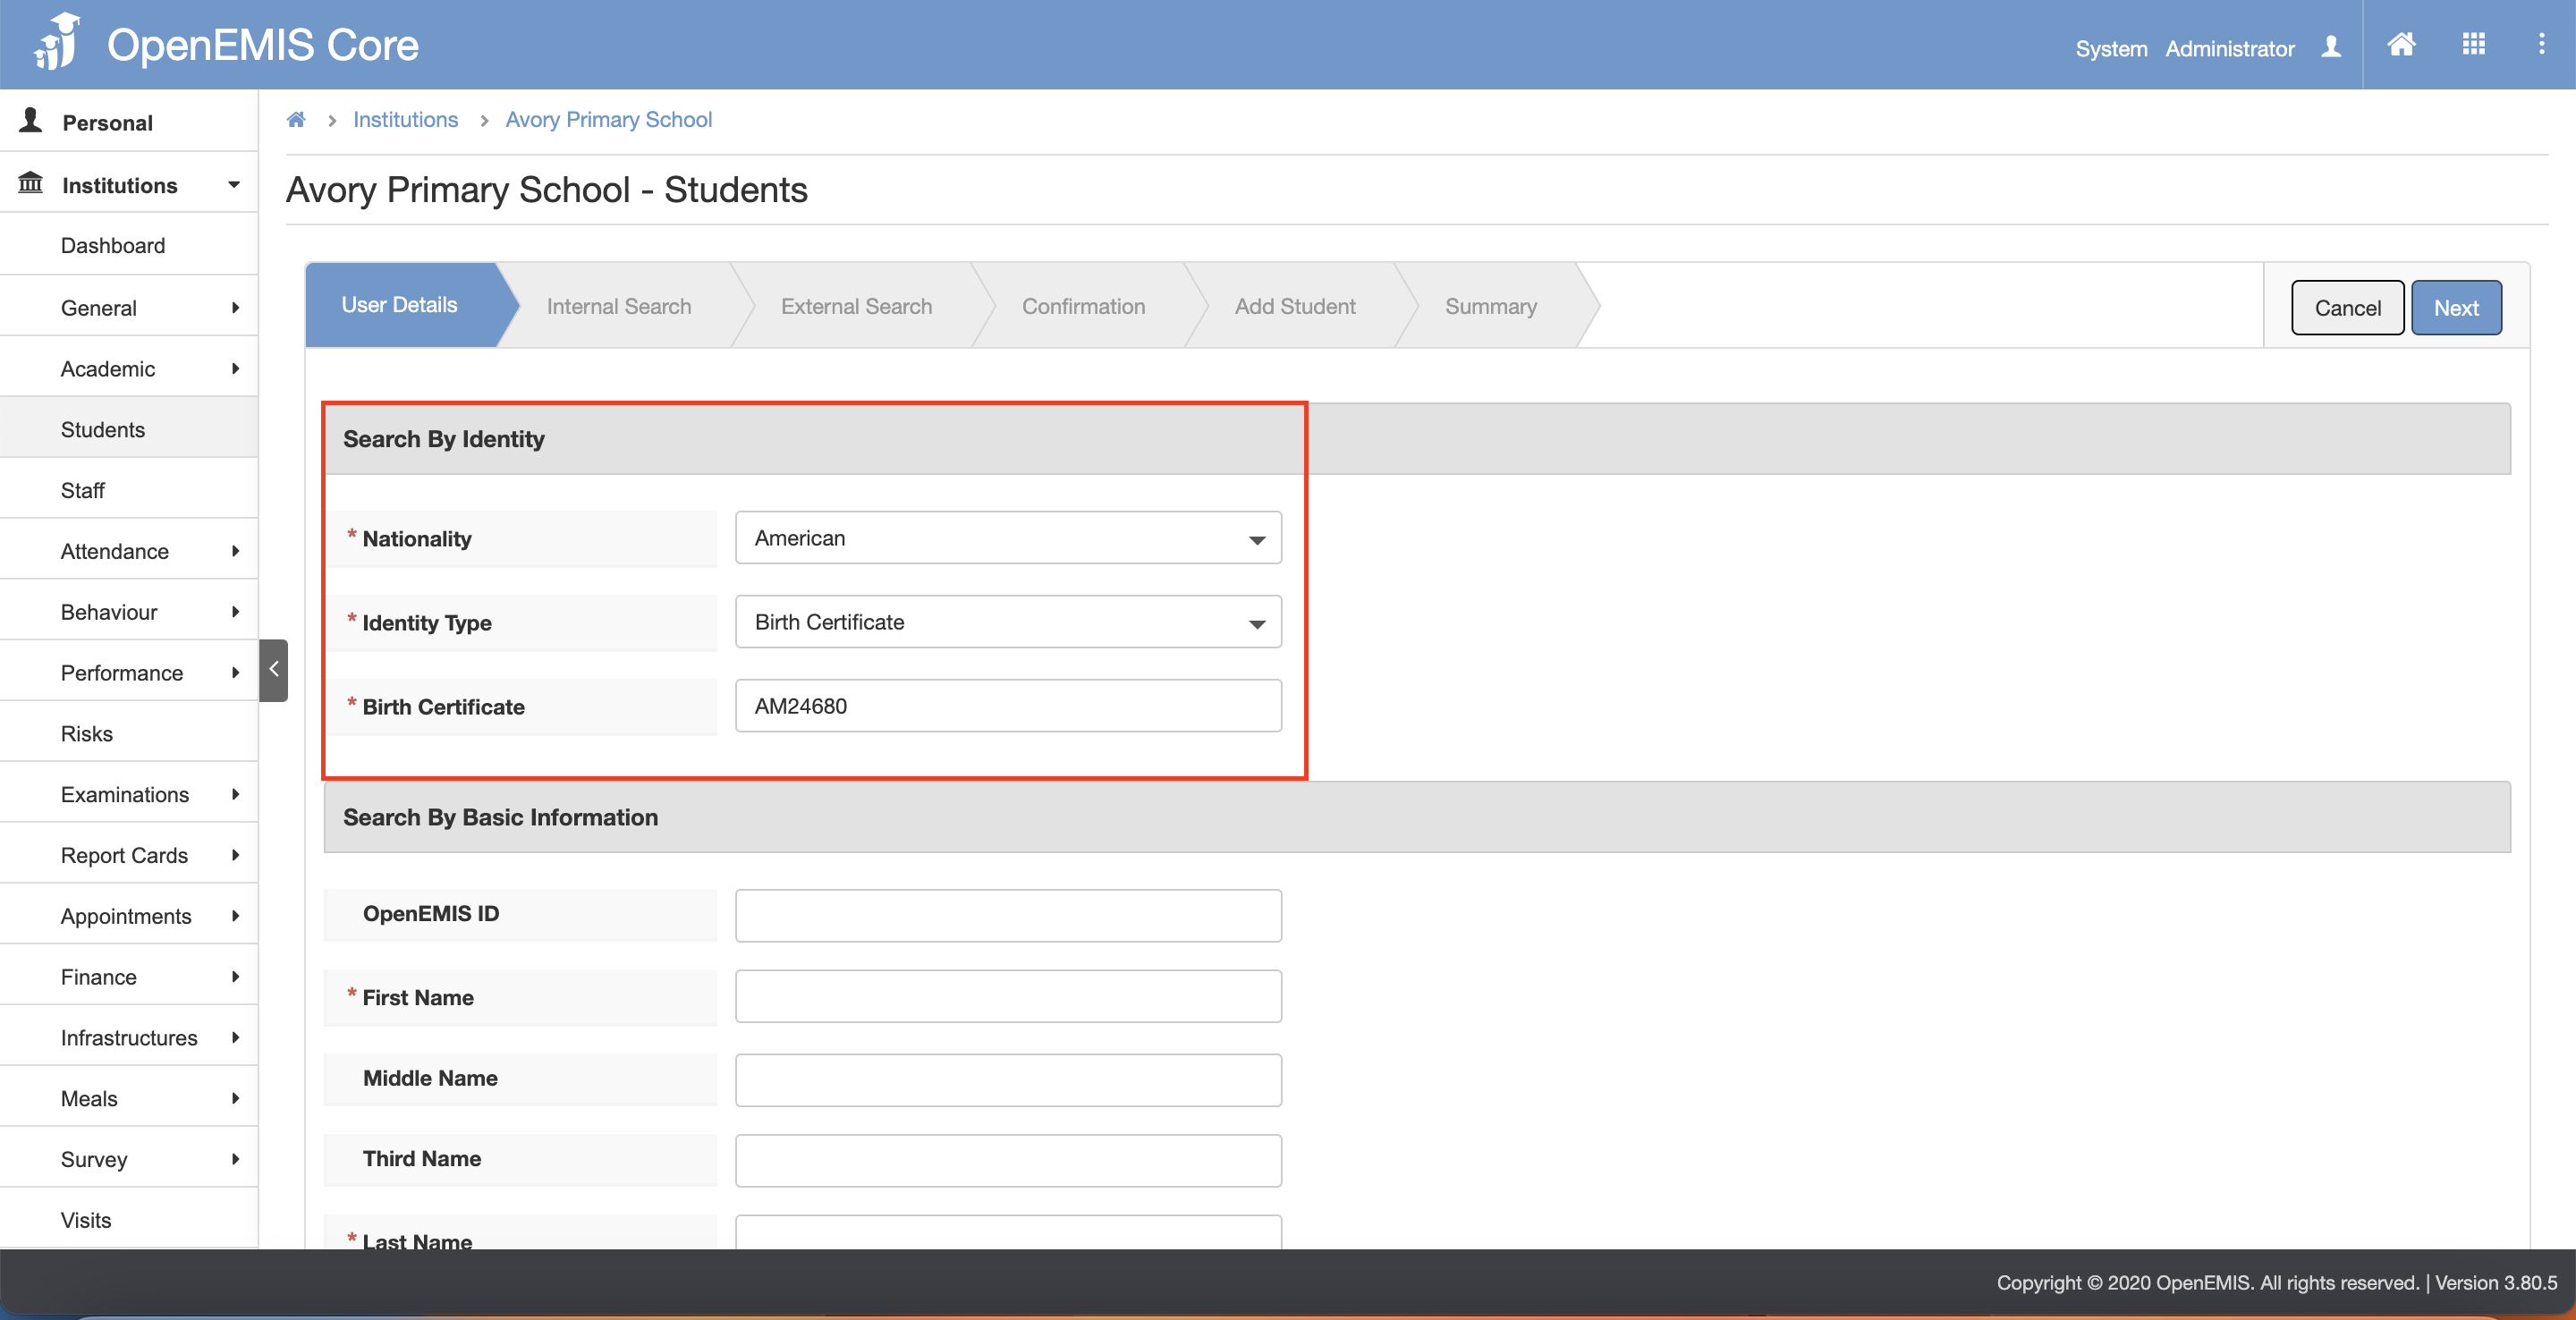
3) To add student, fill in the Search by Identity OR Fill in the Search by Basic Information.
- Adding via Identity – select the Nationality and Identity Type and fill in the Identity Number.
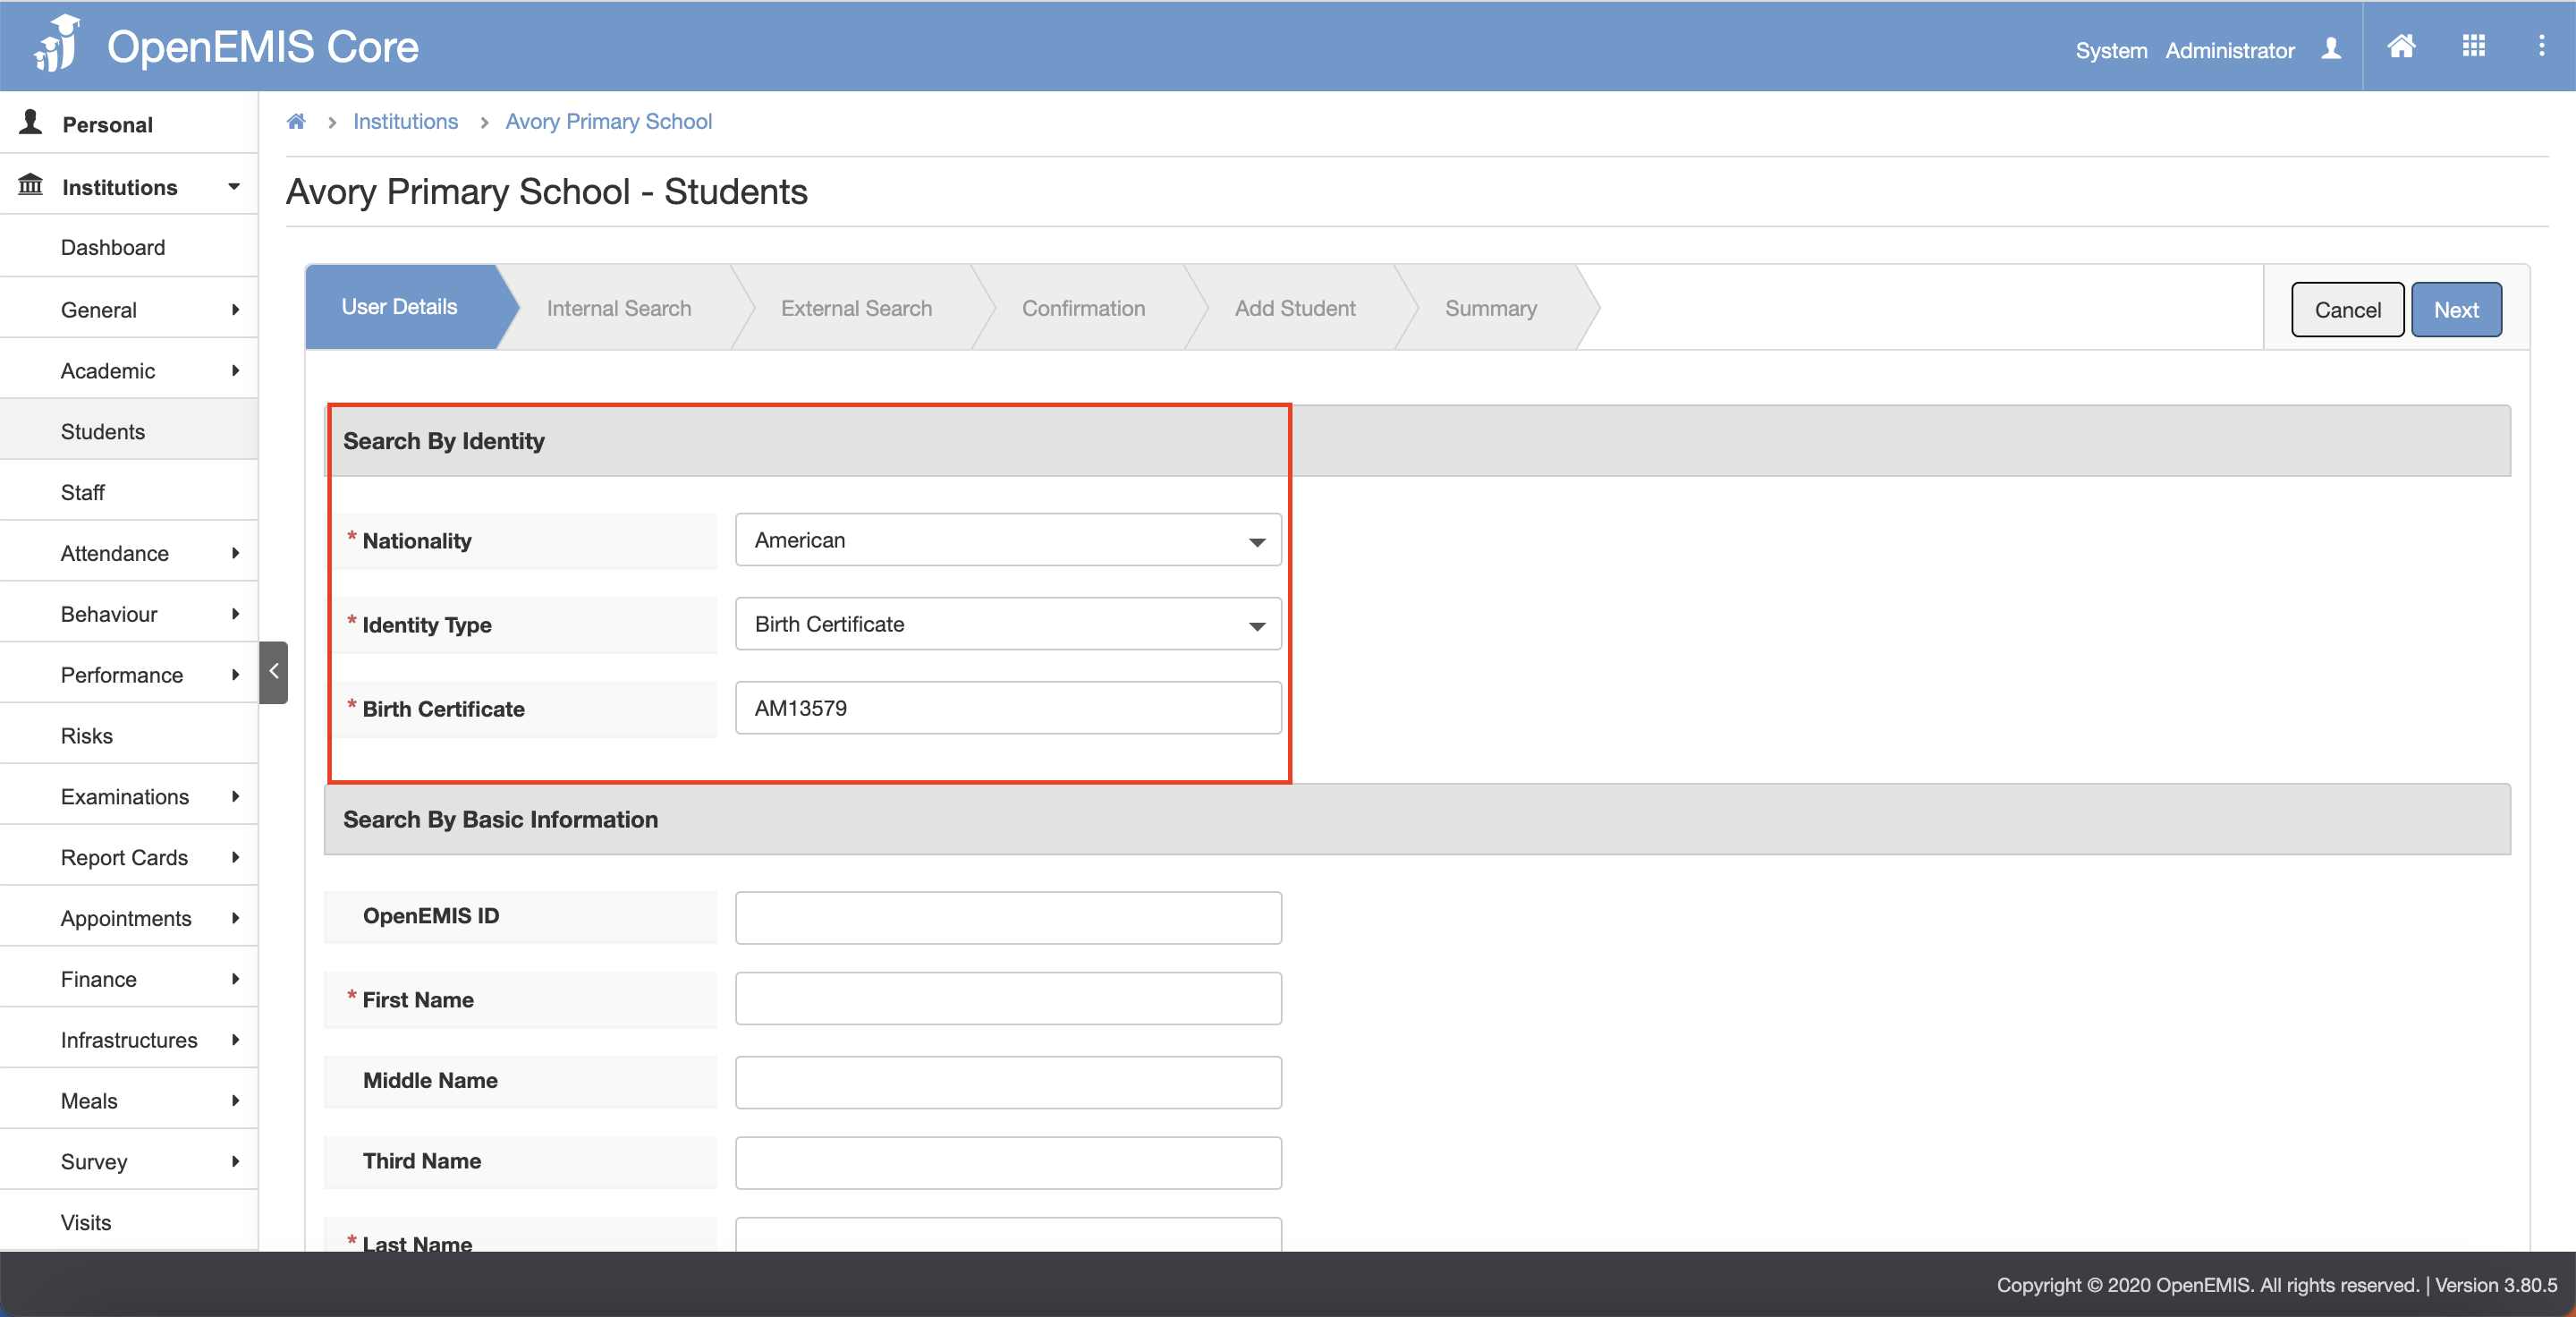
- Adding via Basic Information – fill in the First Name and Last Name and select the Gender and Date Of Birth.
4) Click on the “Next” button.
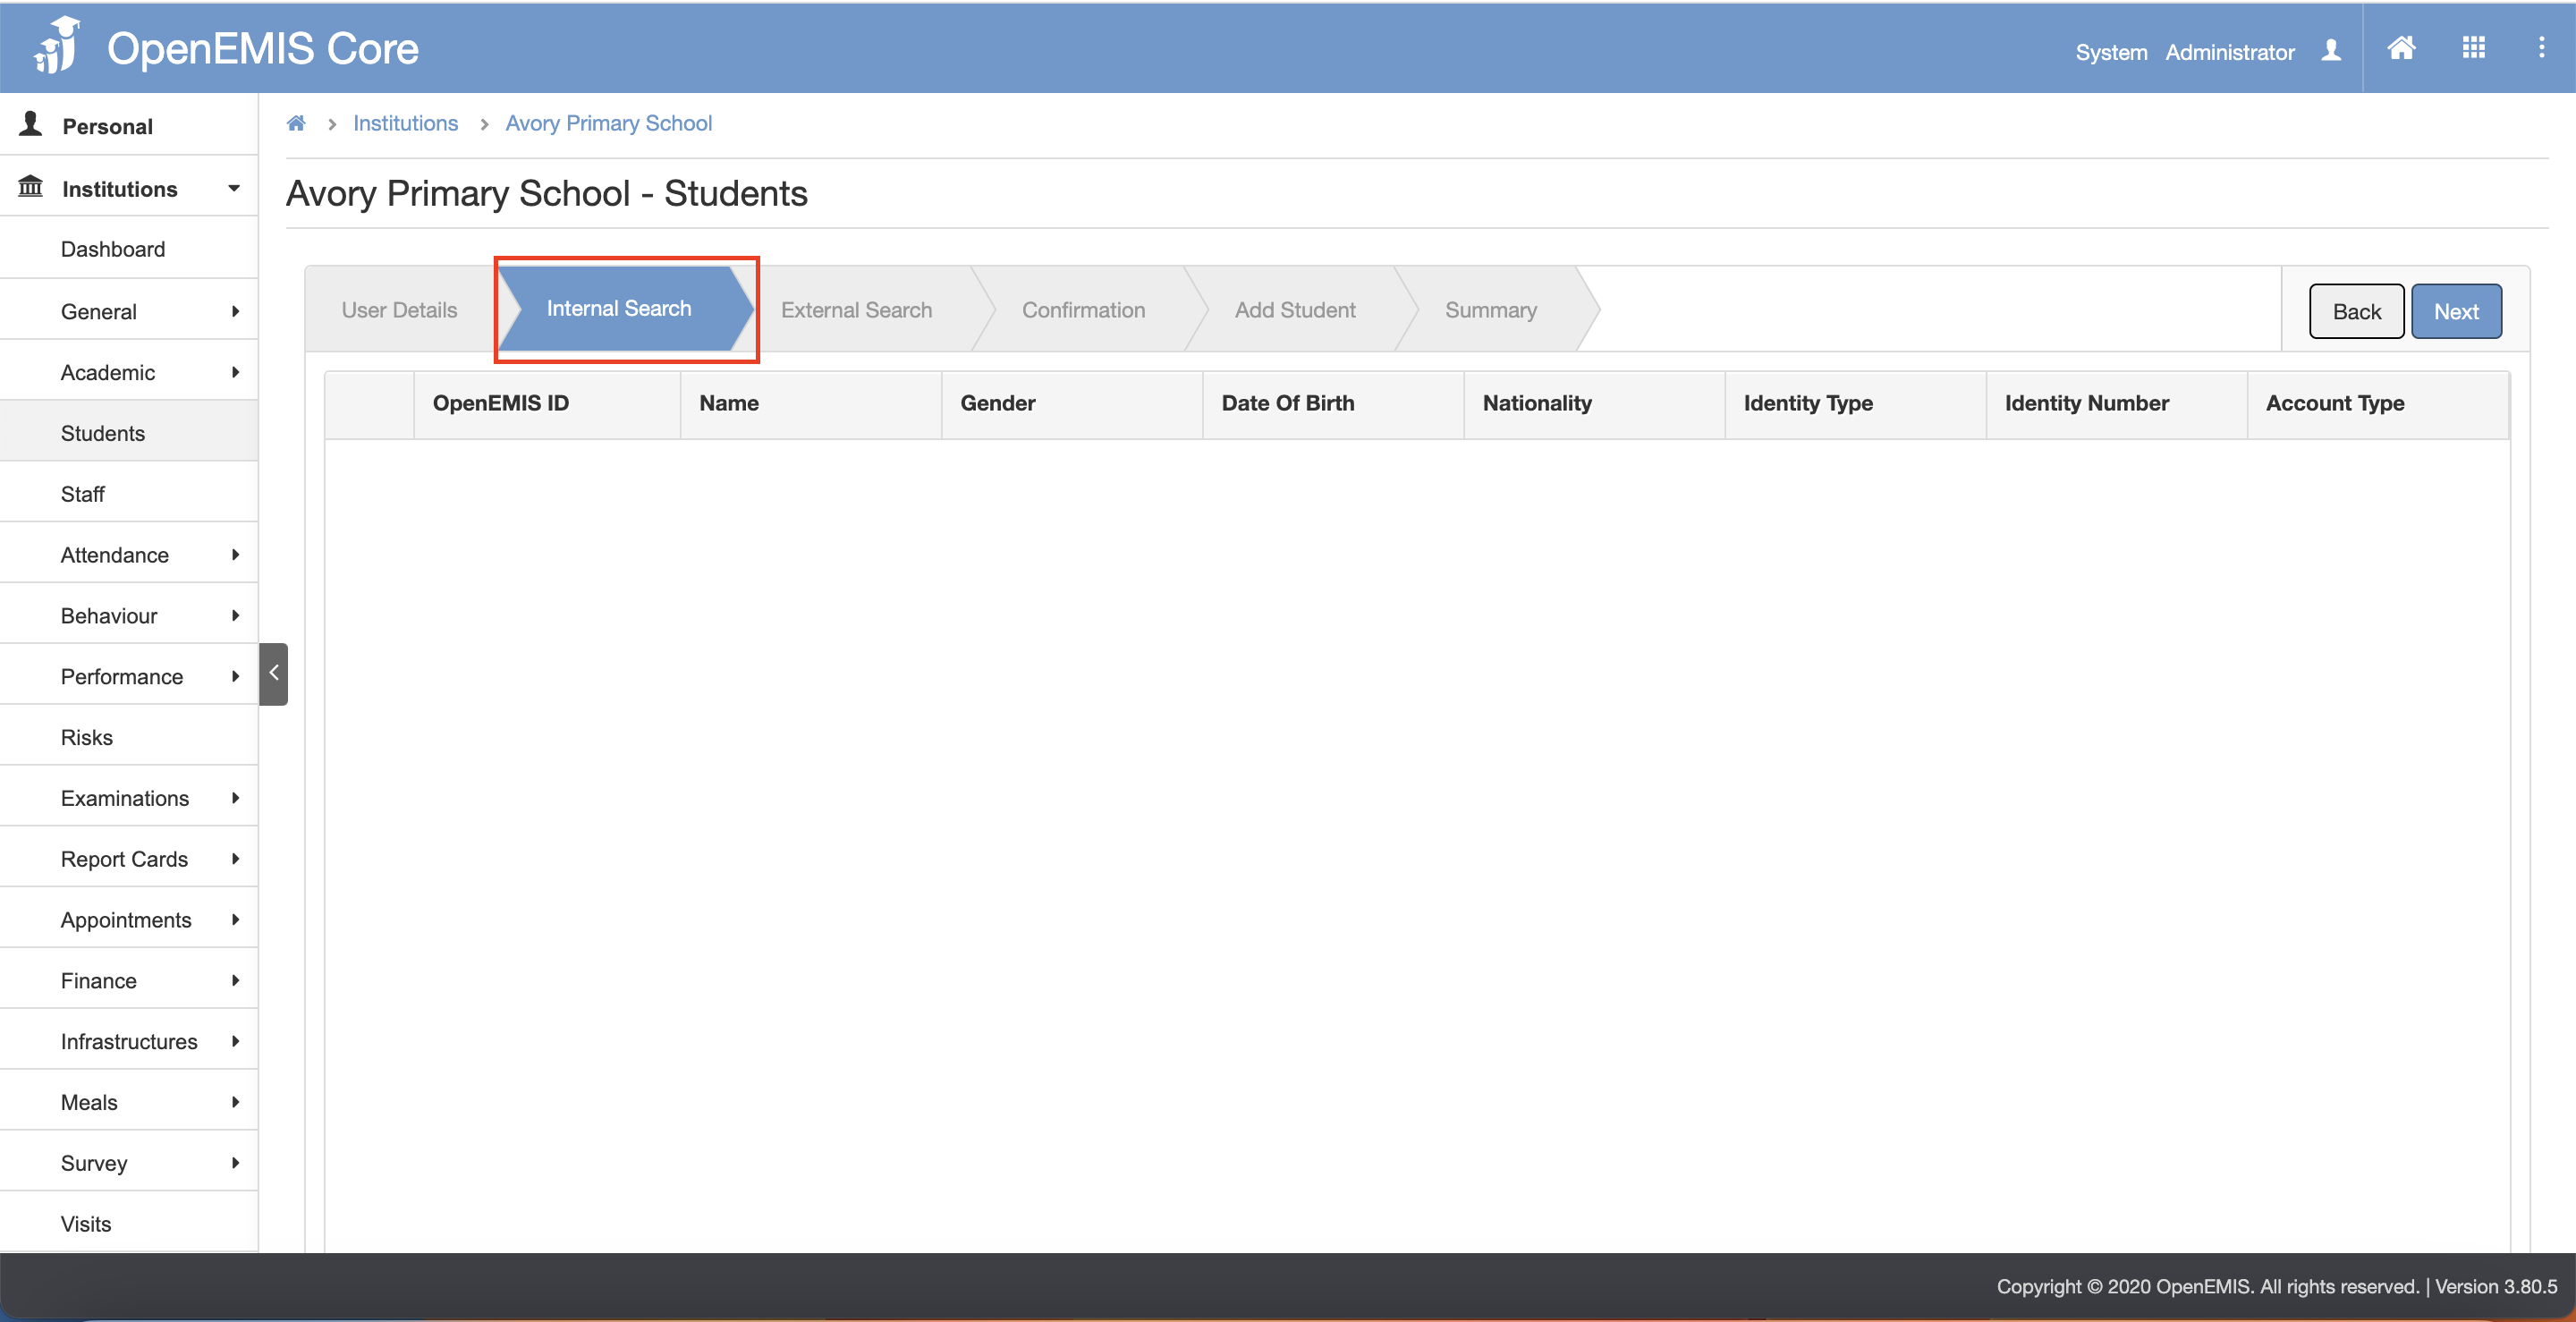
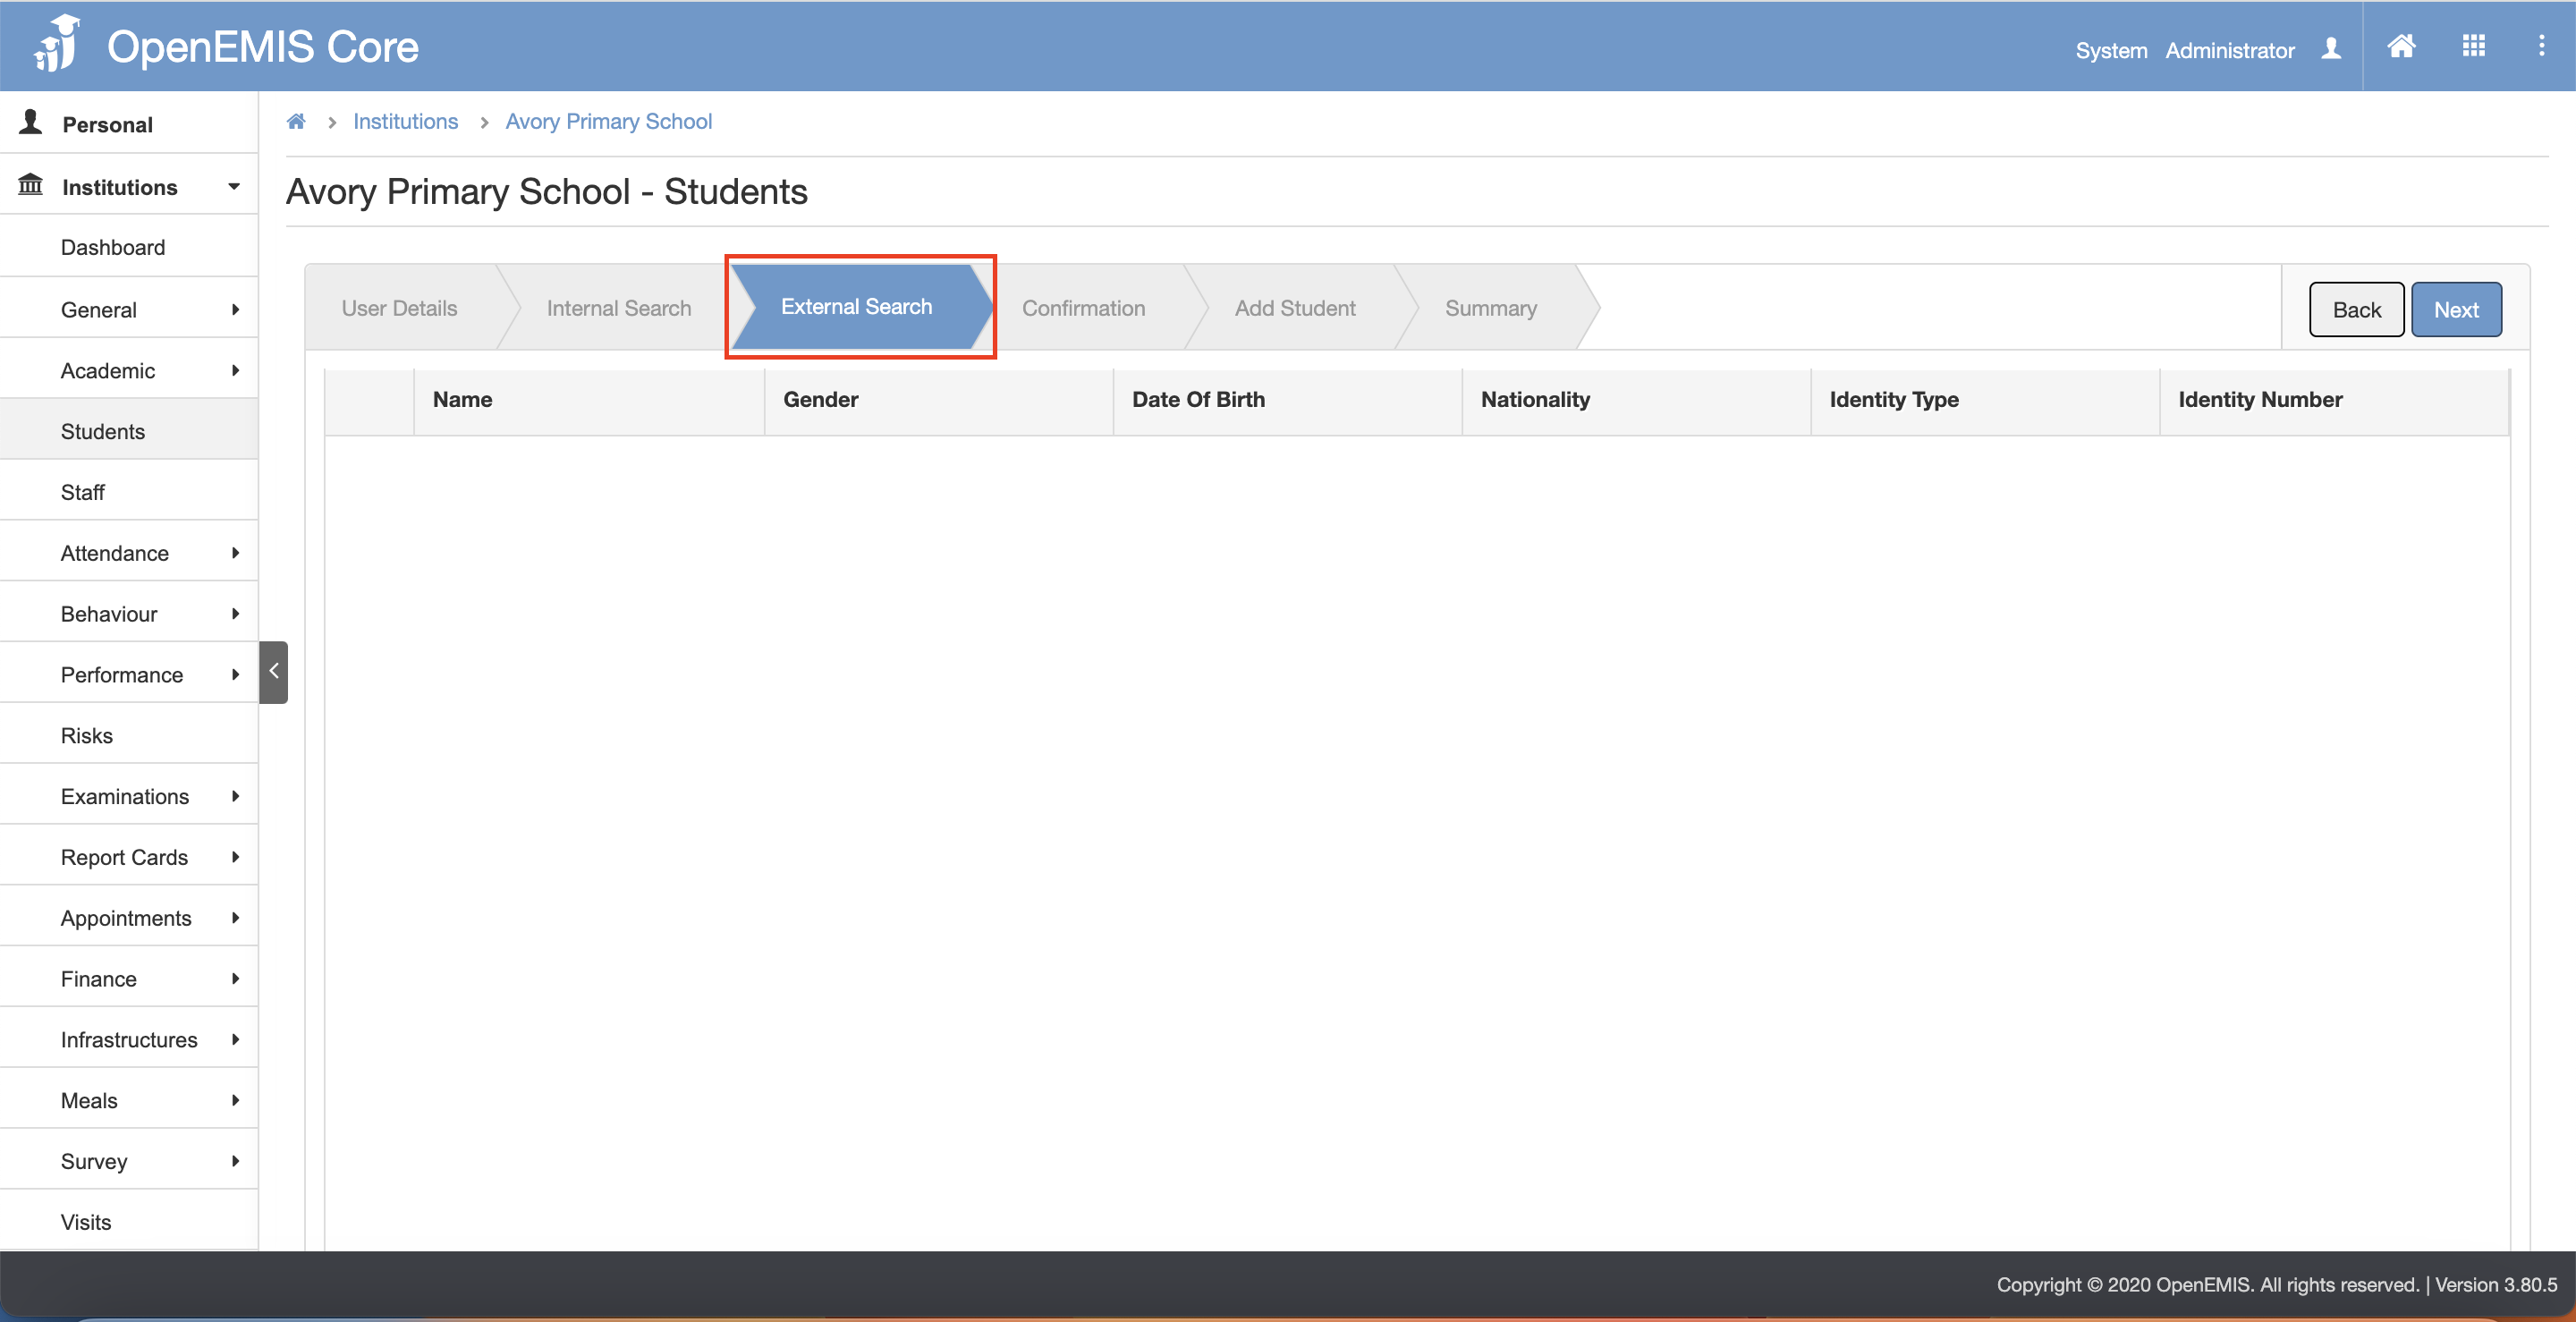
5) The page will go through Internal Search tab and External Search tab.
6) Click on the “Next” button after going through the Internal Search and External Search tab.
- Internal Search tab page
- External Search tab page
7) The page will navigate to the Confirmation tab page.
8) Click on the “Next” button.

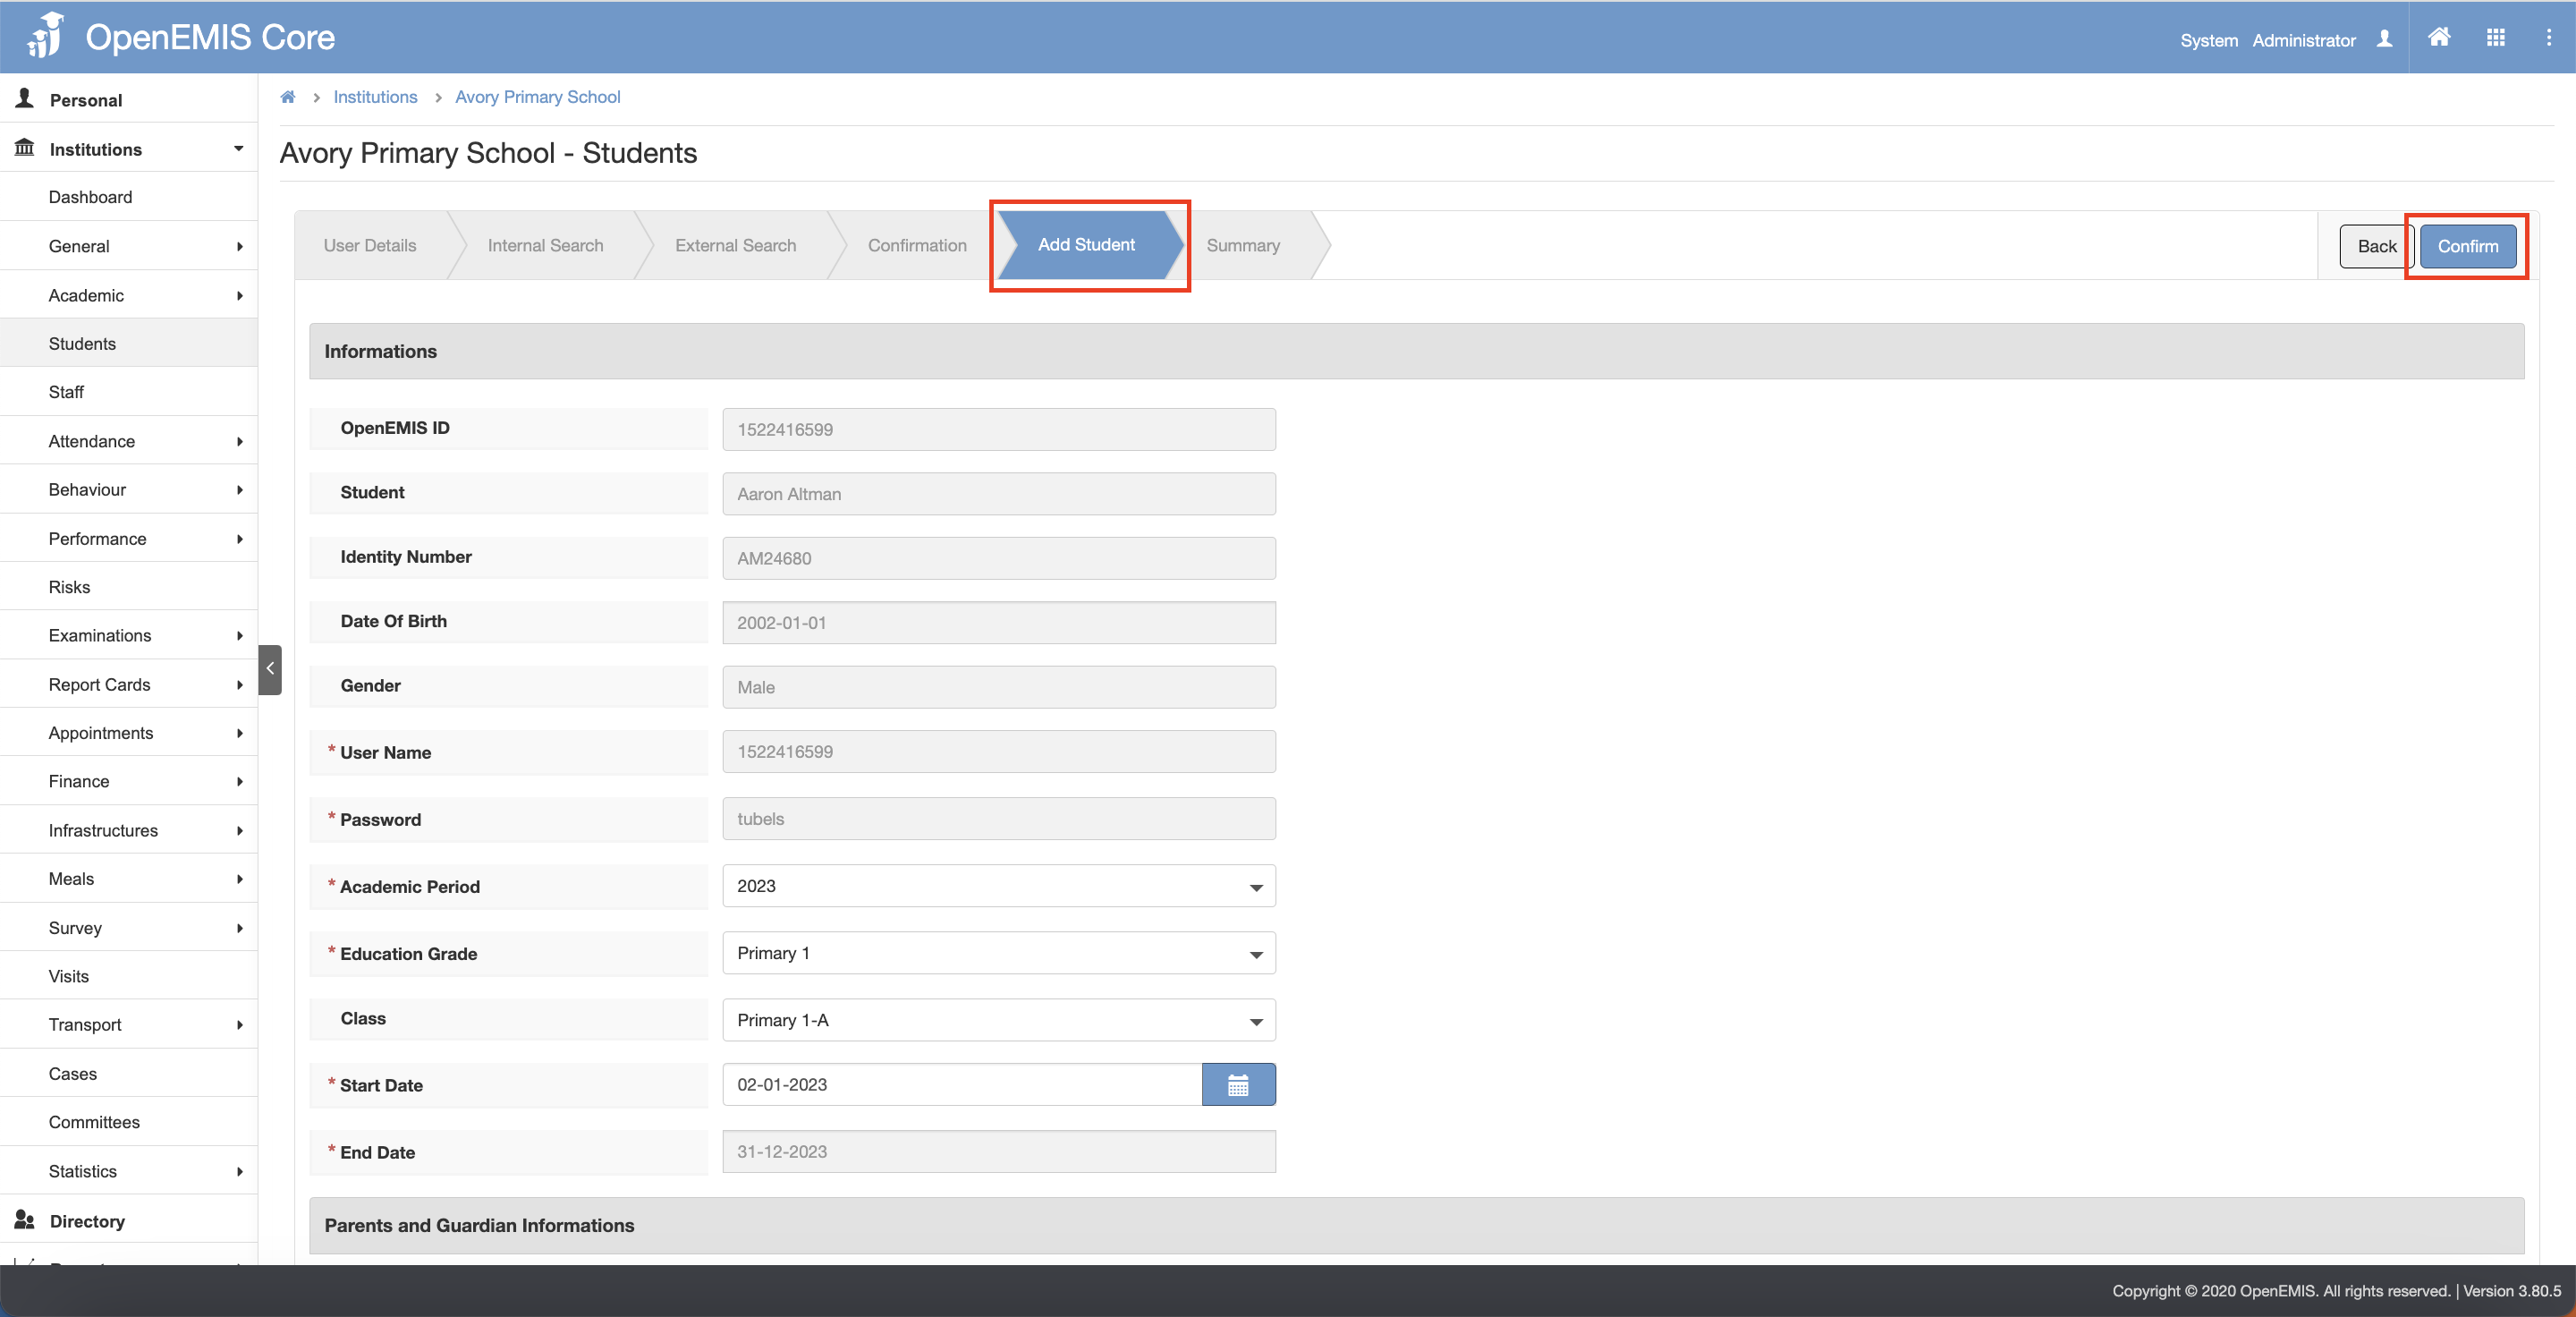
9) The page will navigate to the Add Student tab page.
10) Click on the “Confirm” button.
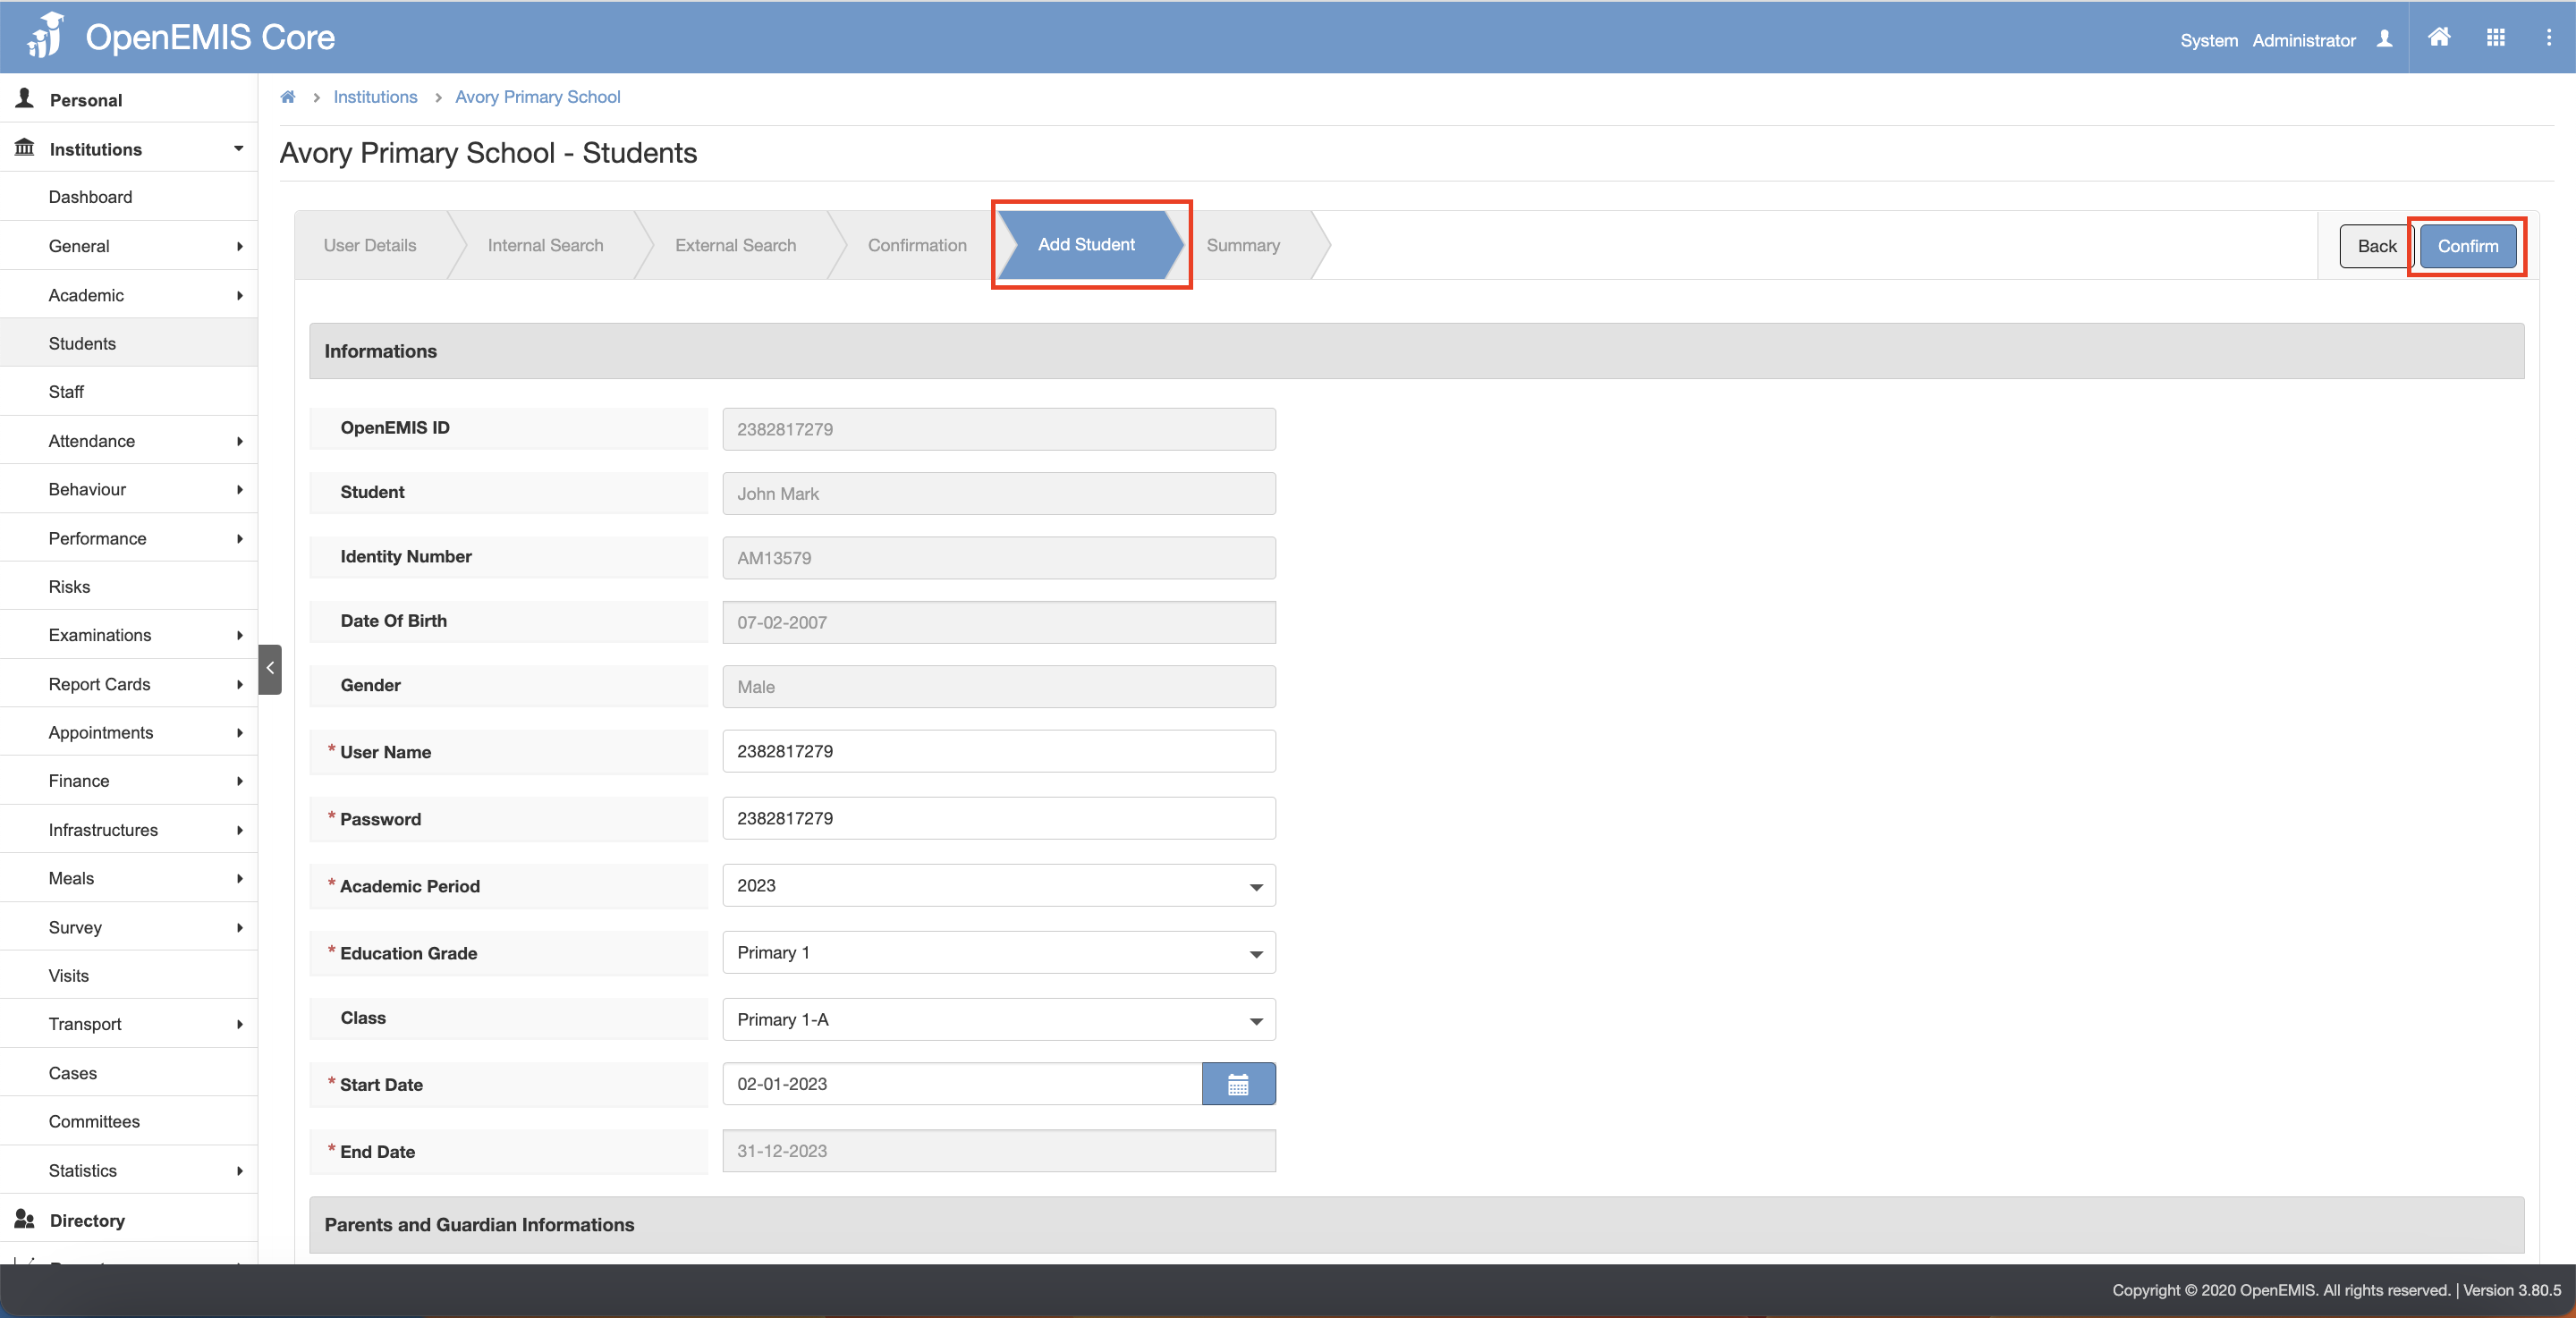
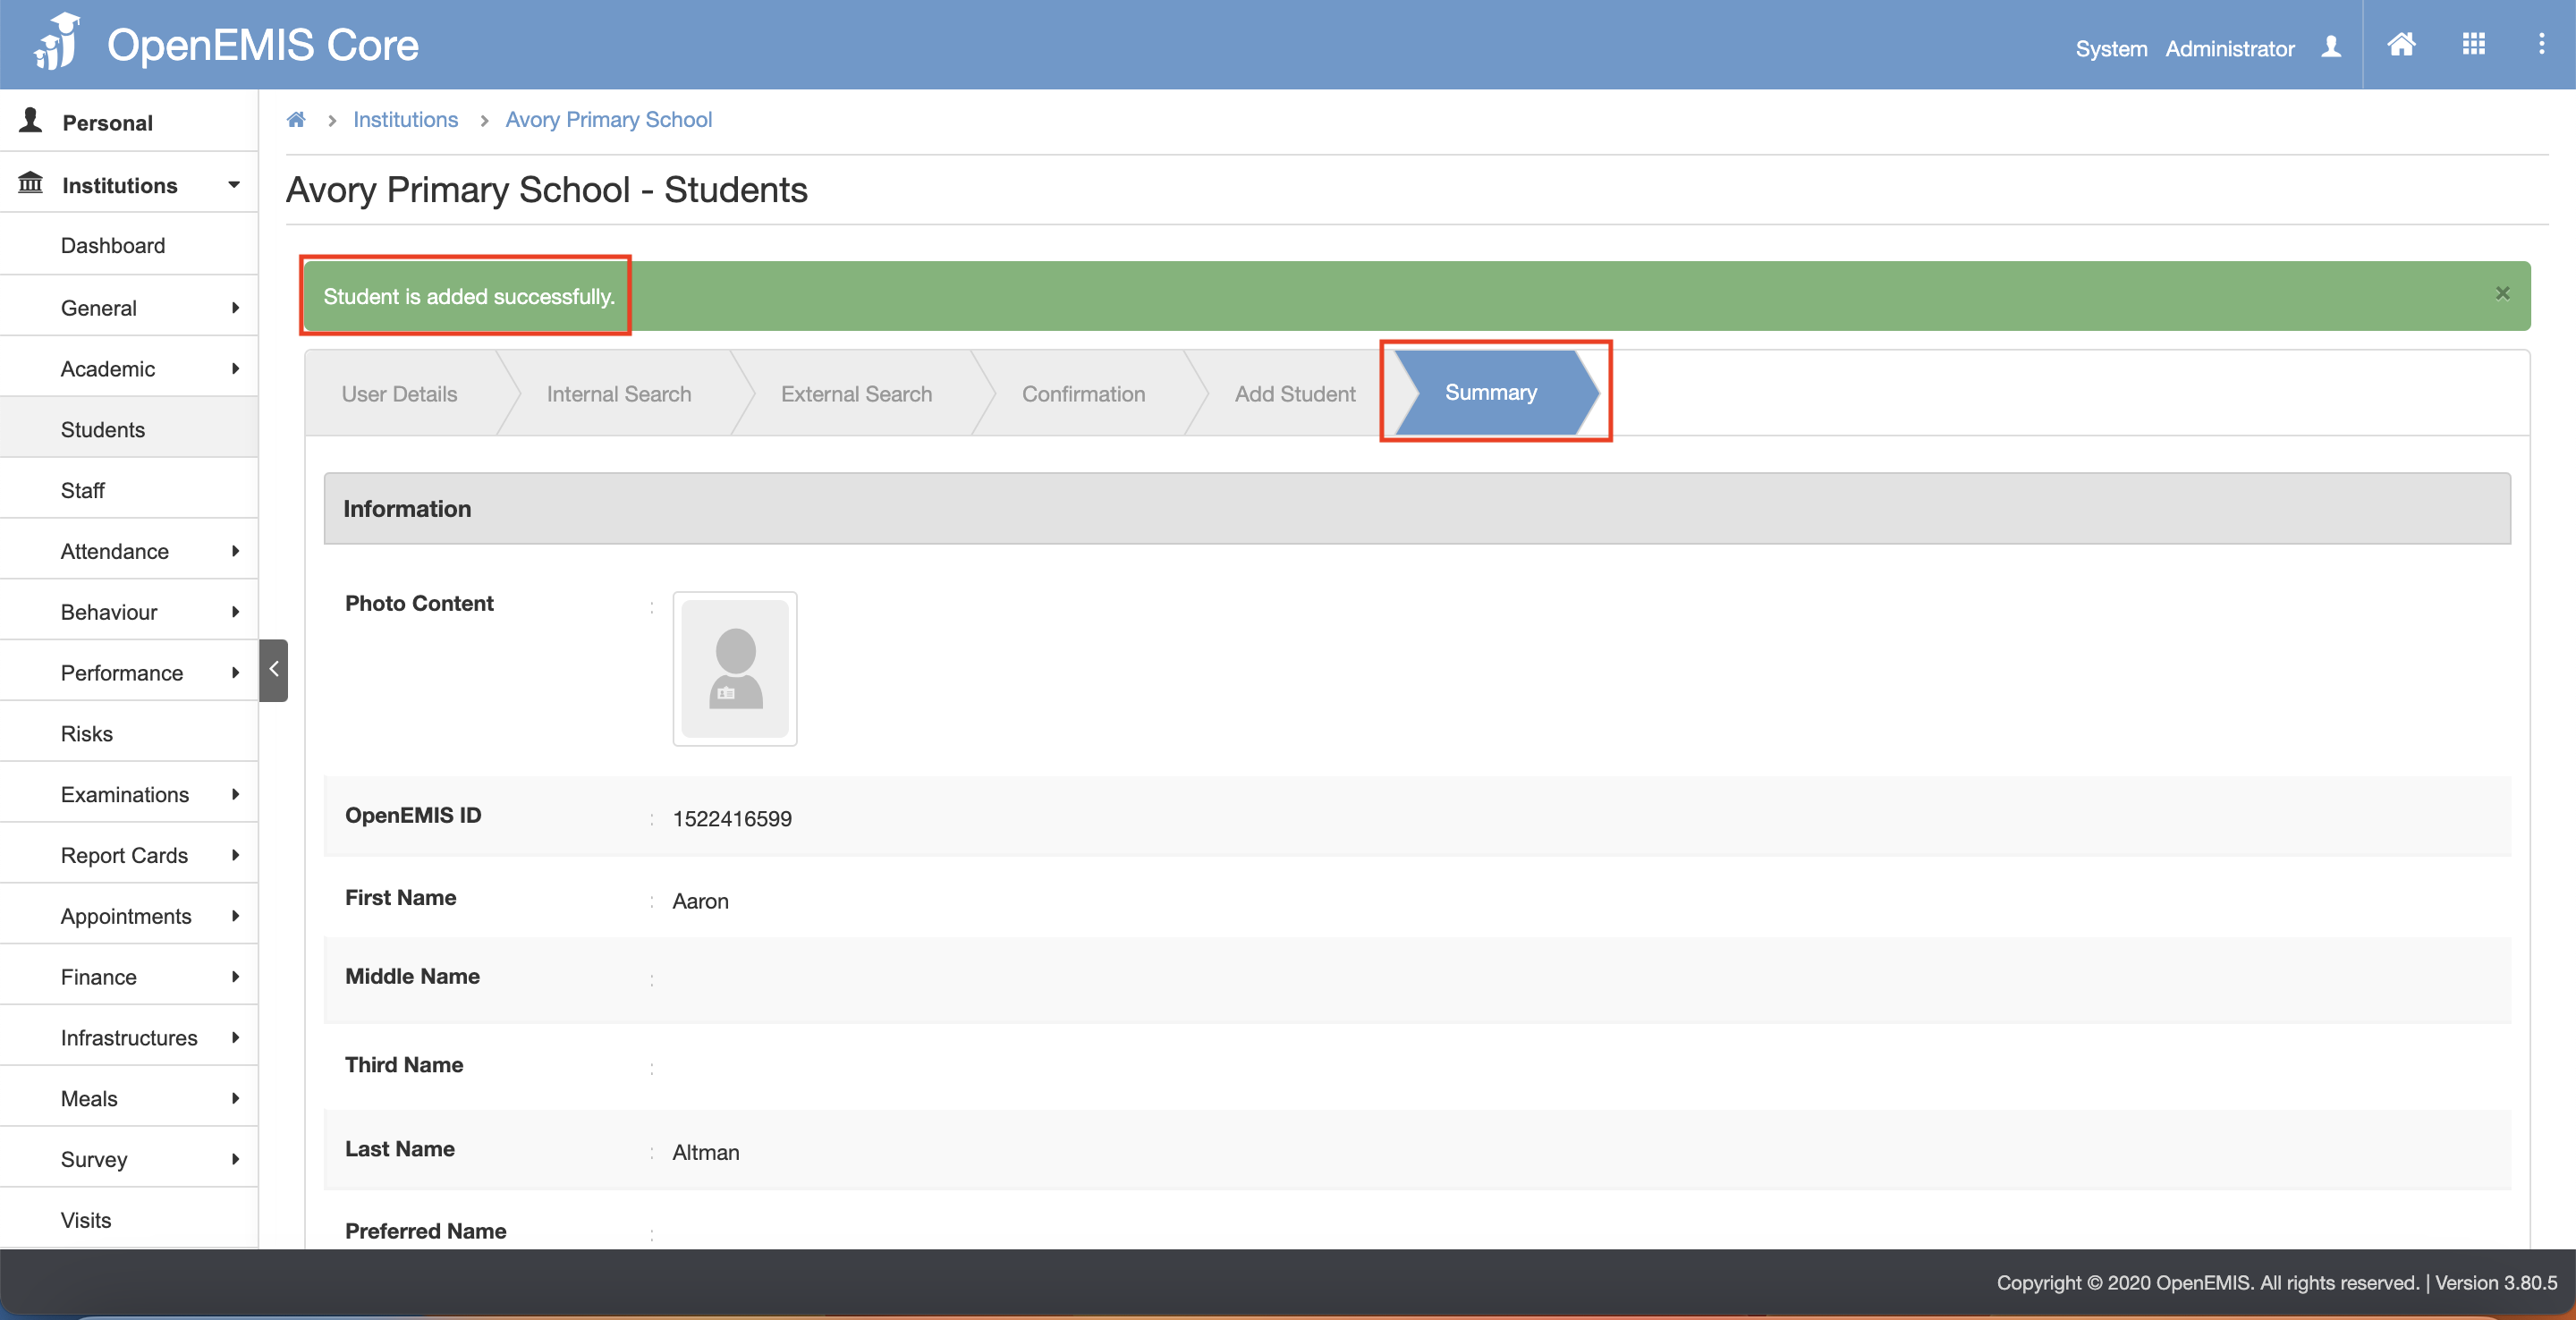
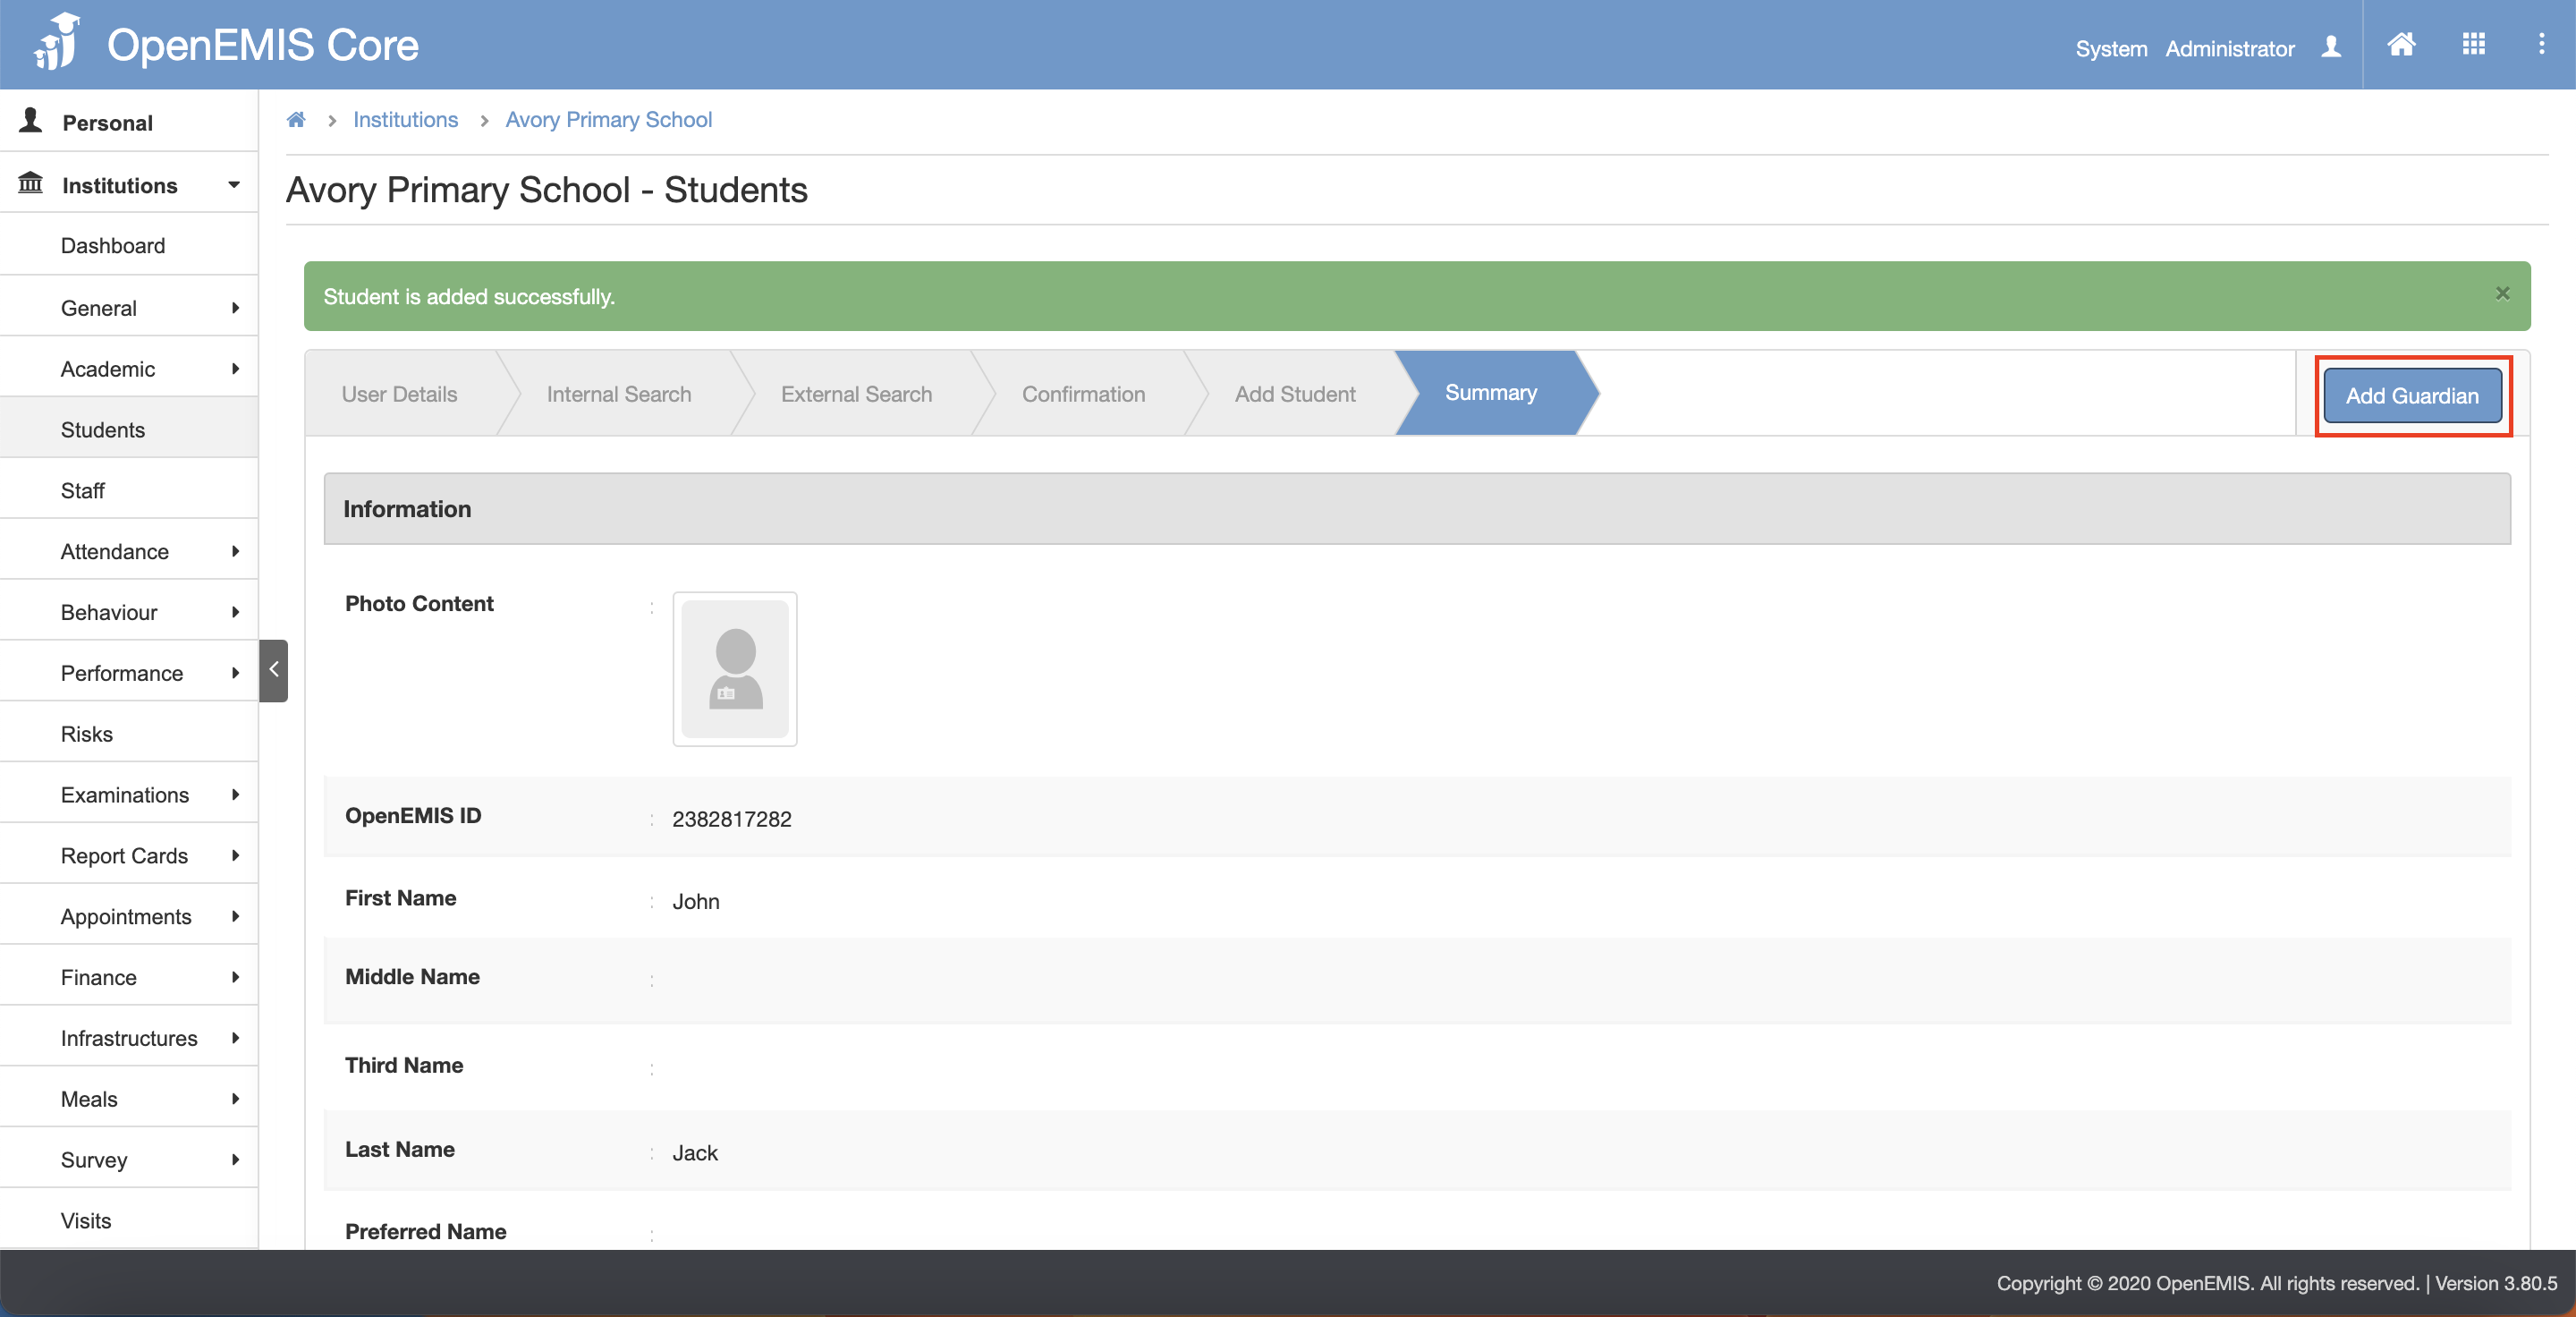
11) The page will navigate to the Summary tab page. There will be a message displaying that “Student is added successfully”

Adding Students to Institutions – Adding Existing User
1) Navigate to Institutions > Students page.
2) Click on the “Add” button.
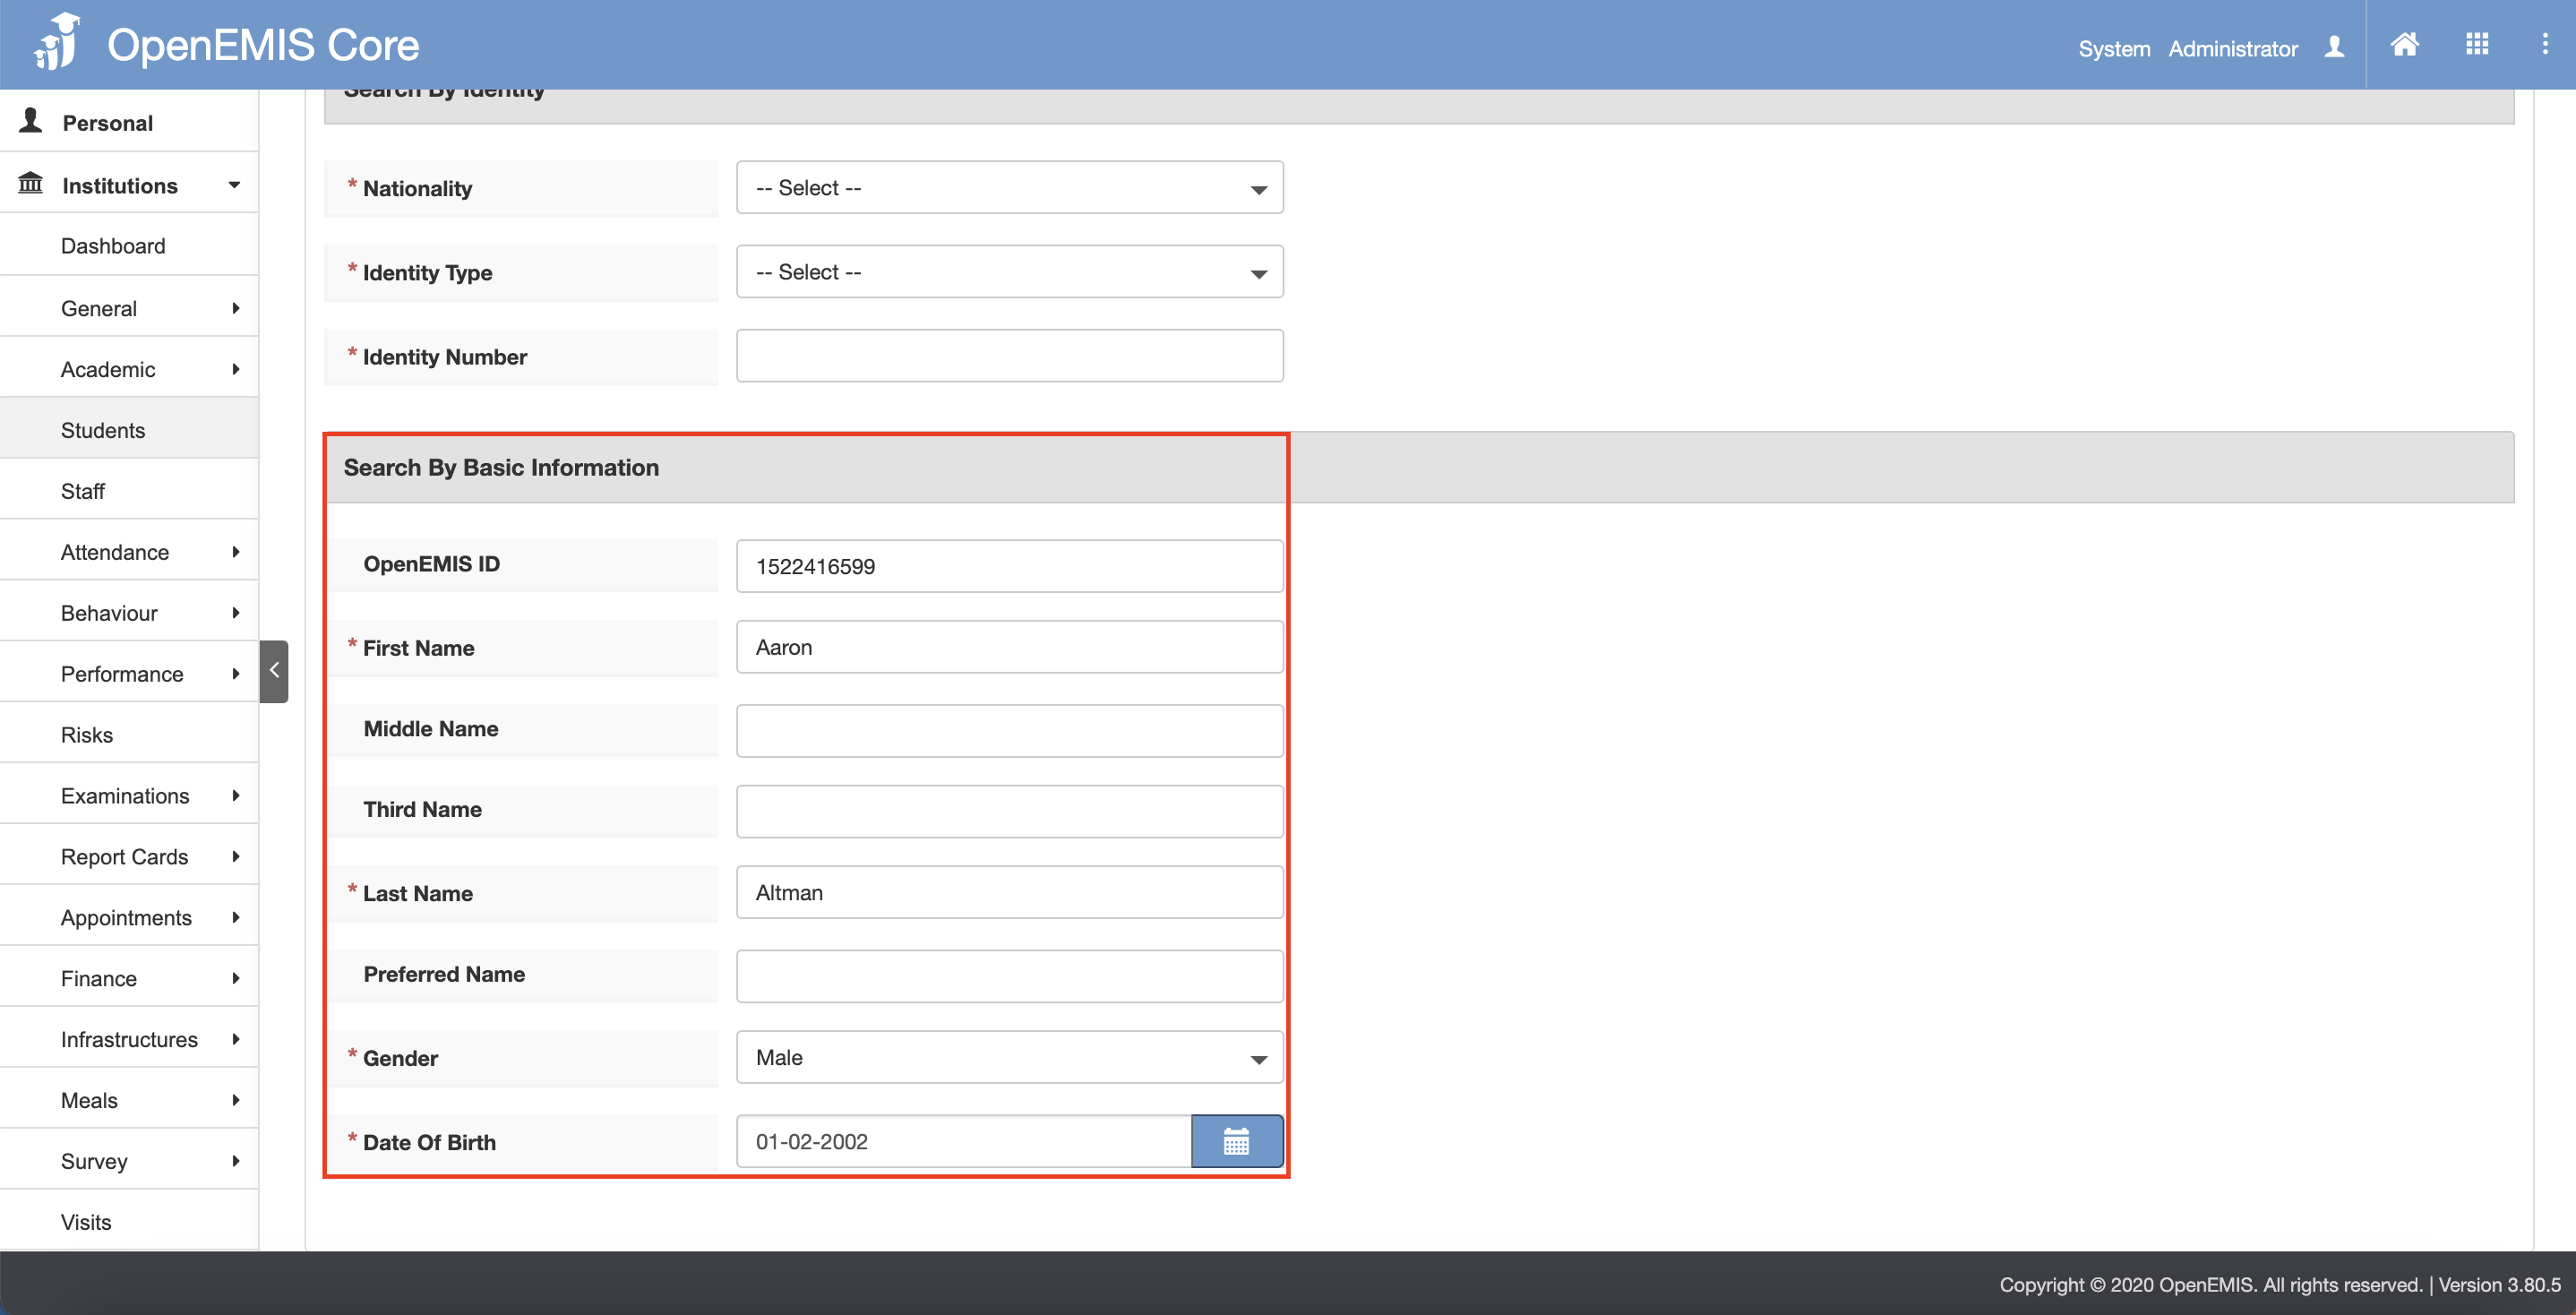
3) To add student, fill in the Search by Identity OR Fill in the Search by Basic Information.
- Adding via Identity – select the Nationality and Identity Type and fill in the Identity Number.
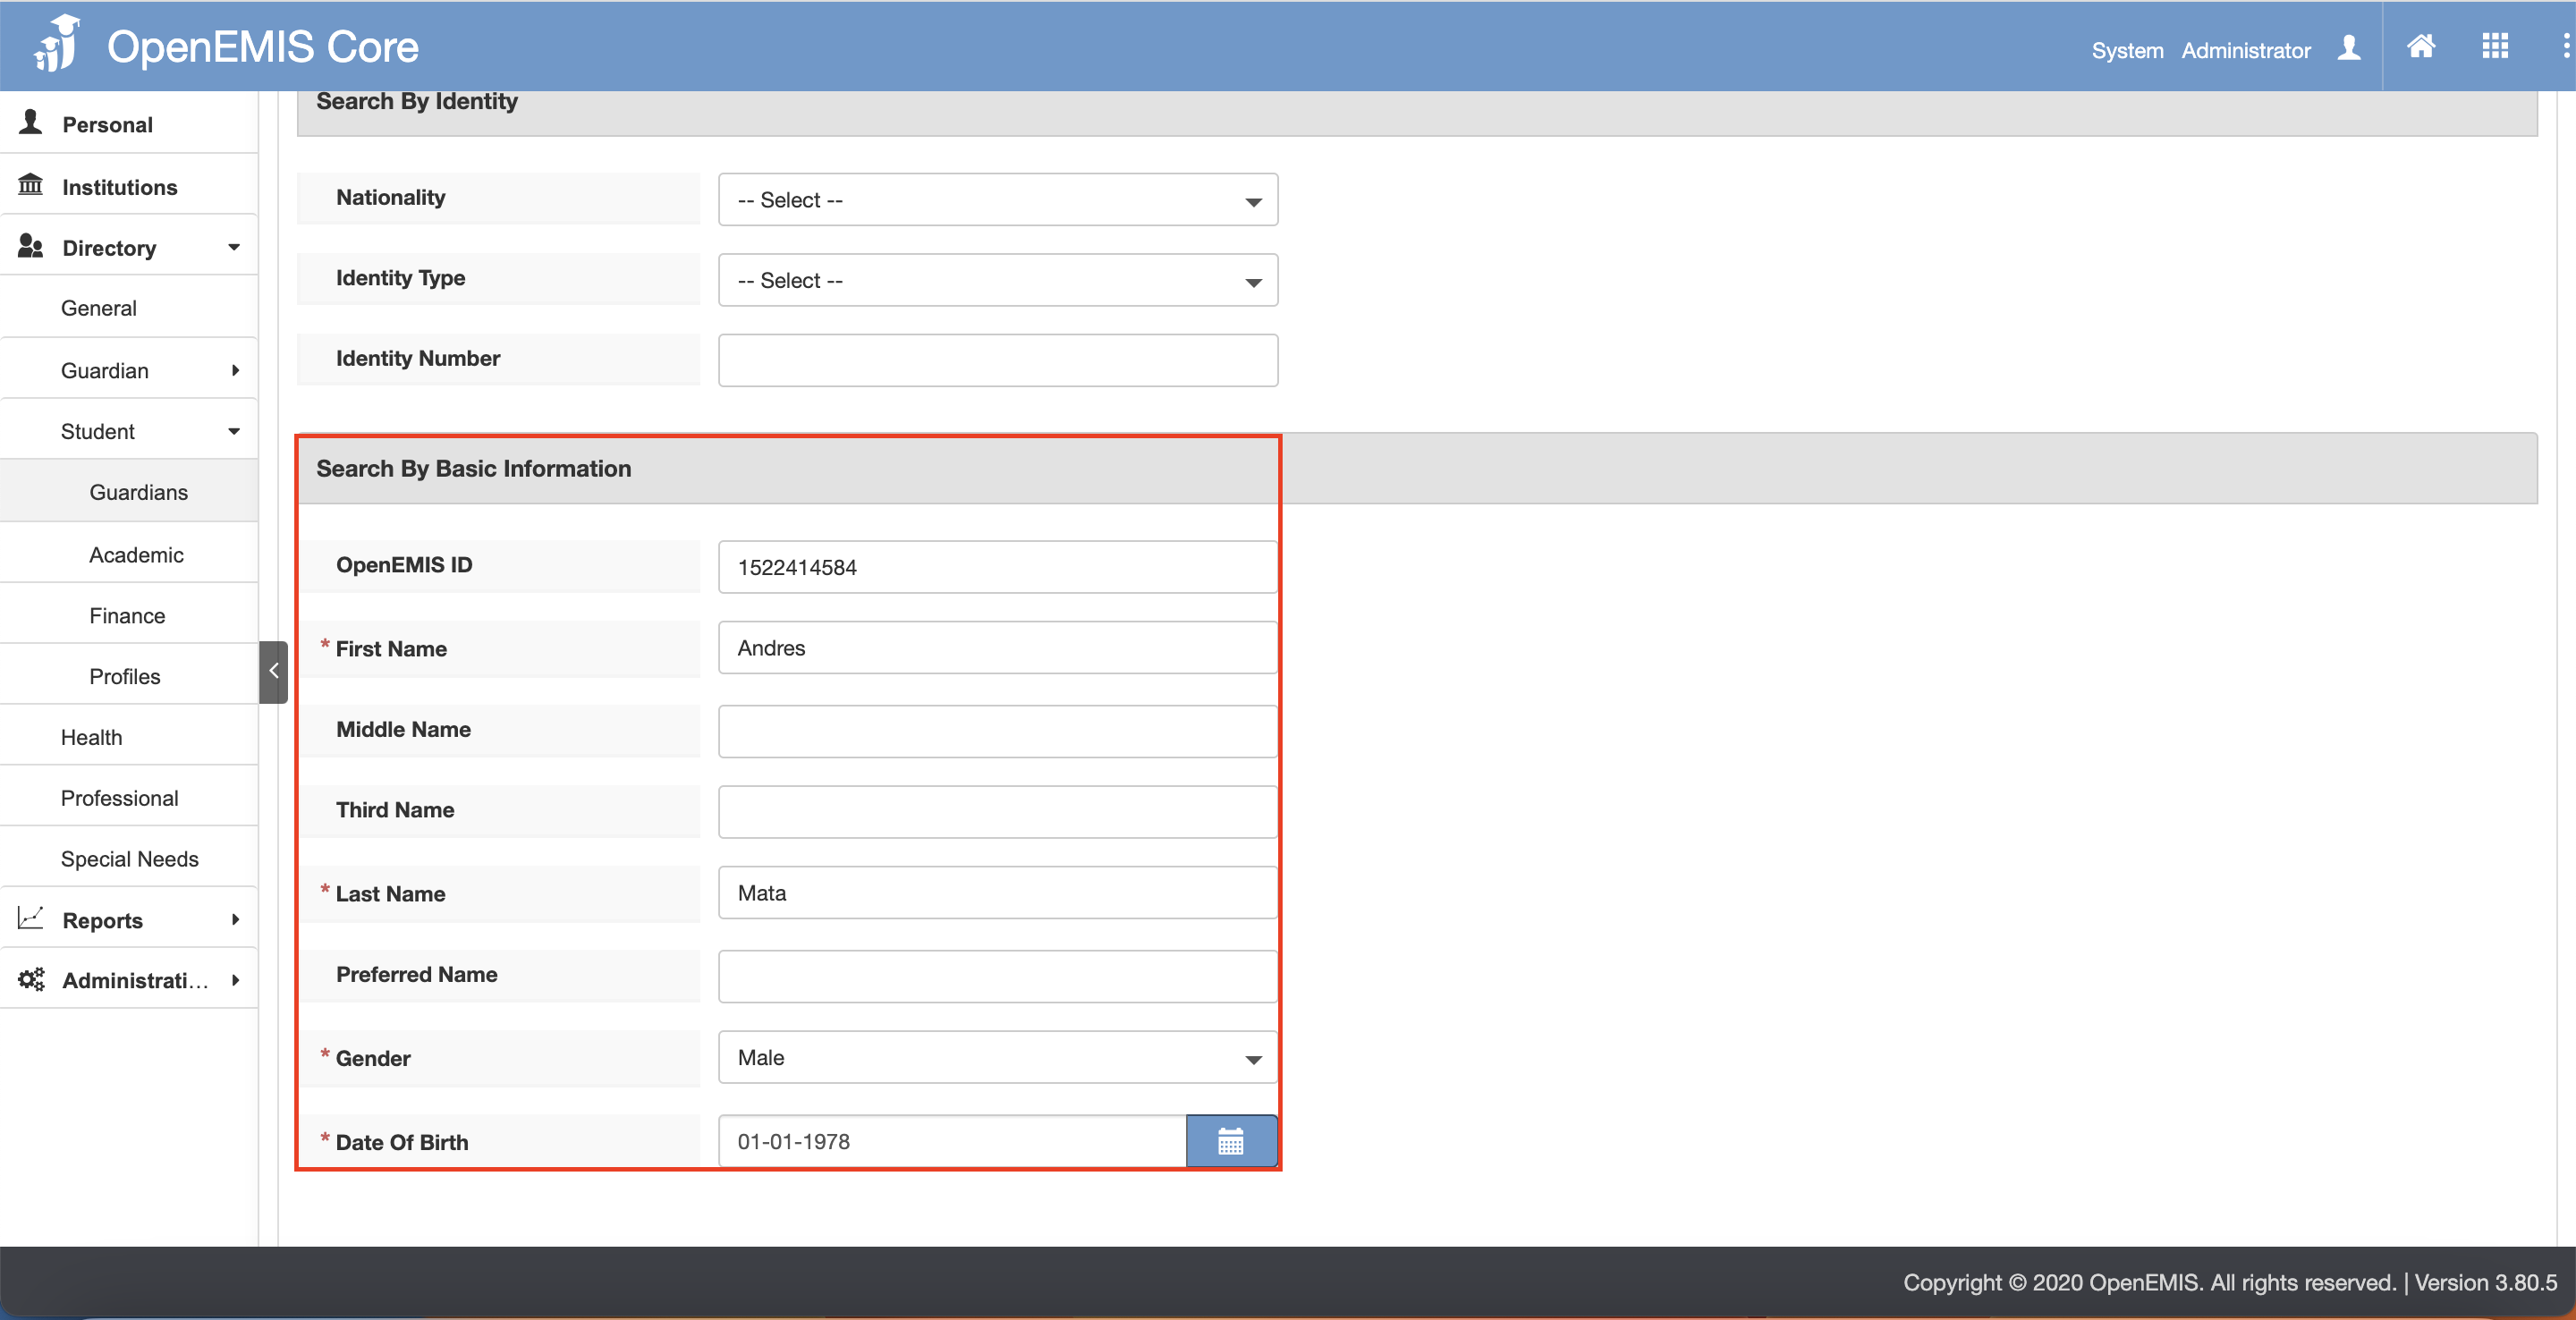
- Adding via Basic Information – fill in the OpenEMIS ID OR fill in the First Name and Last Name and select the Gender and Date Of Birth.
4) Click on the “Next” button.
5) The page will go through Internal Search tab and External Search tab.
6) Click on the “Next” button after going through the Internal Search and External Search tab.
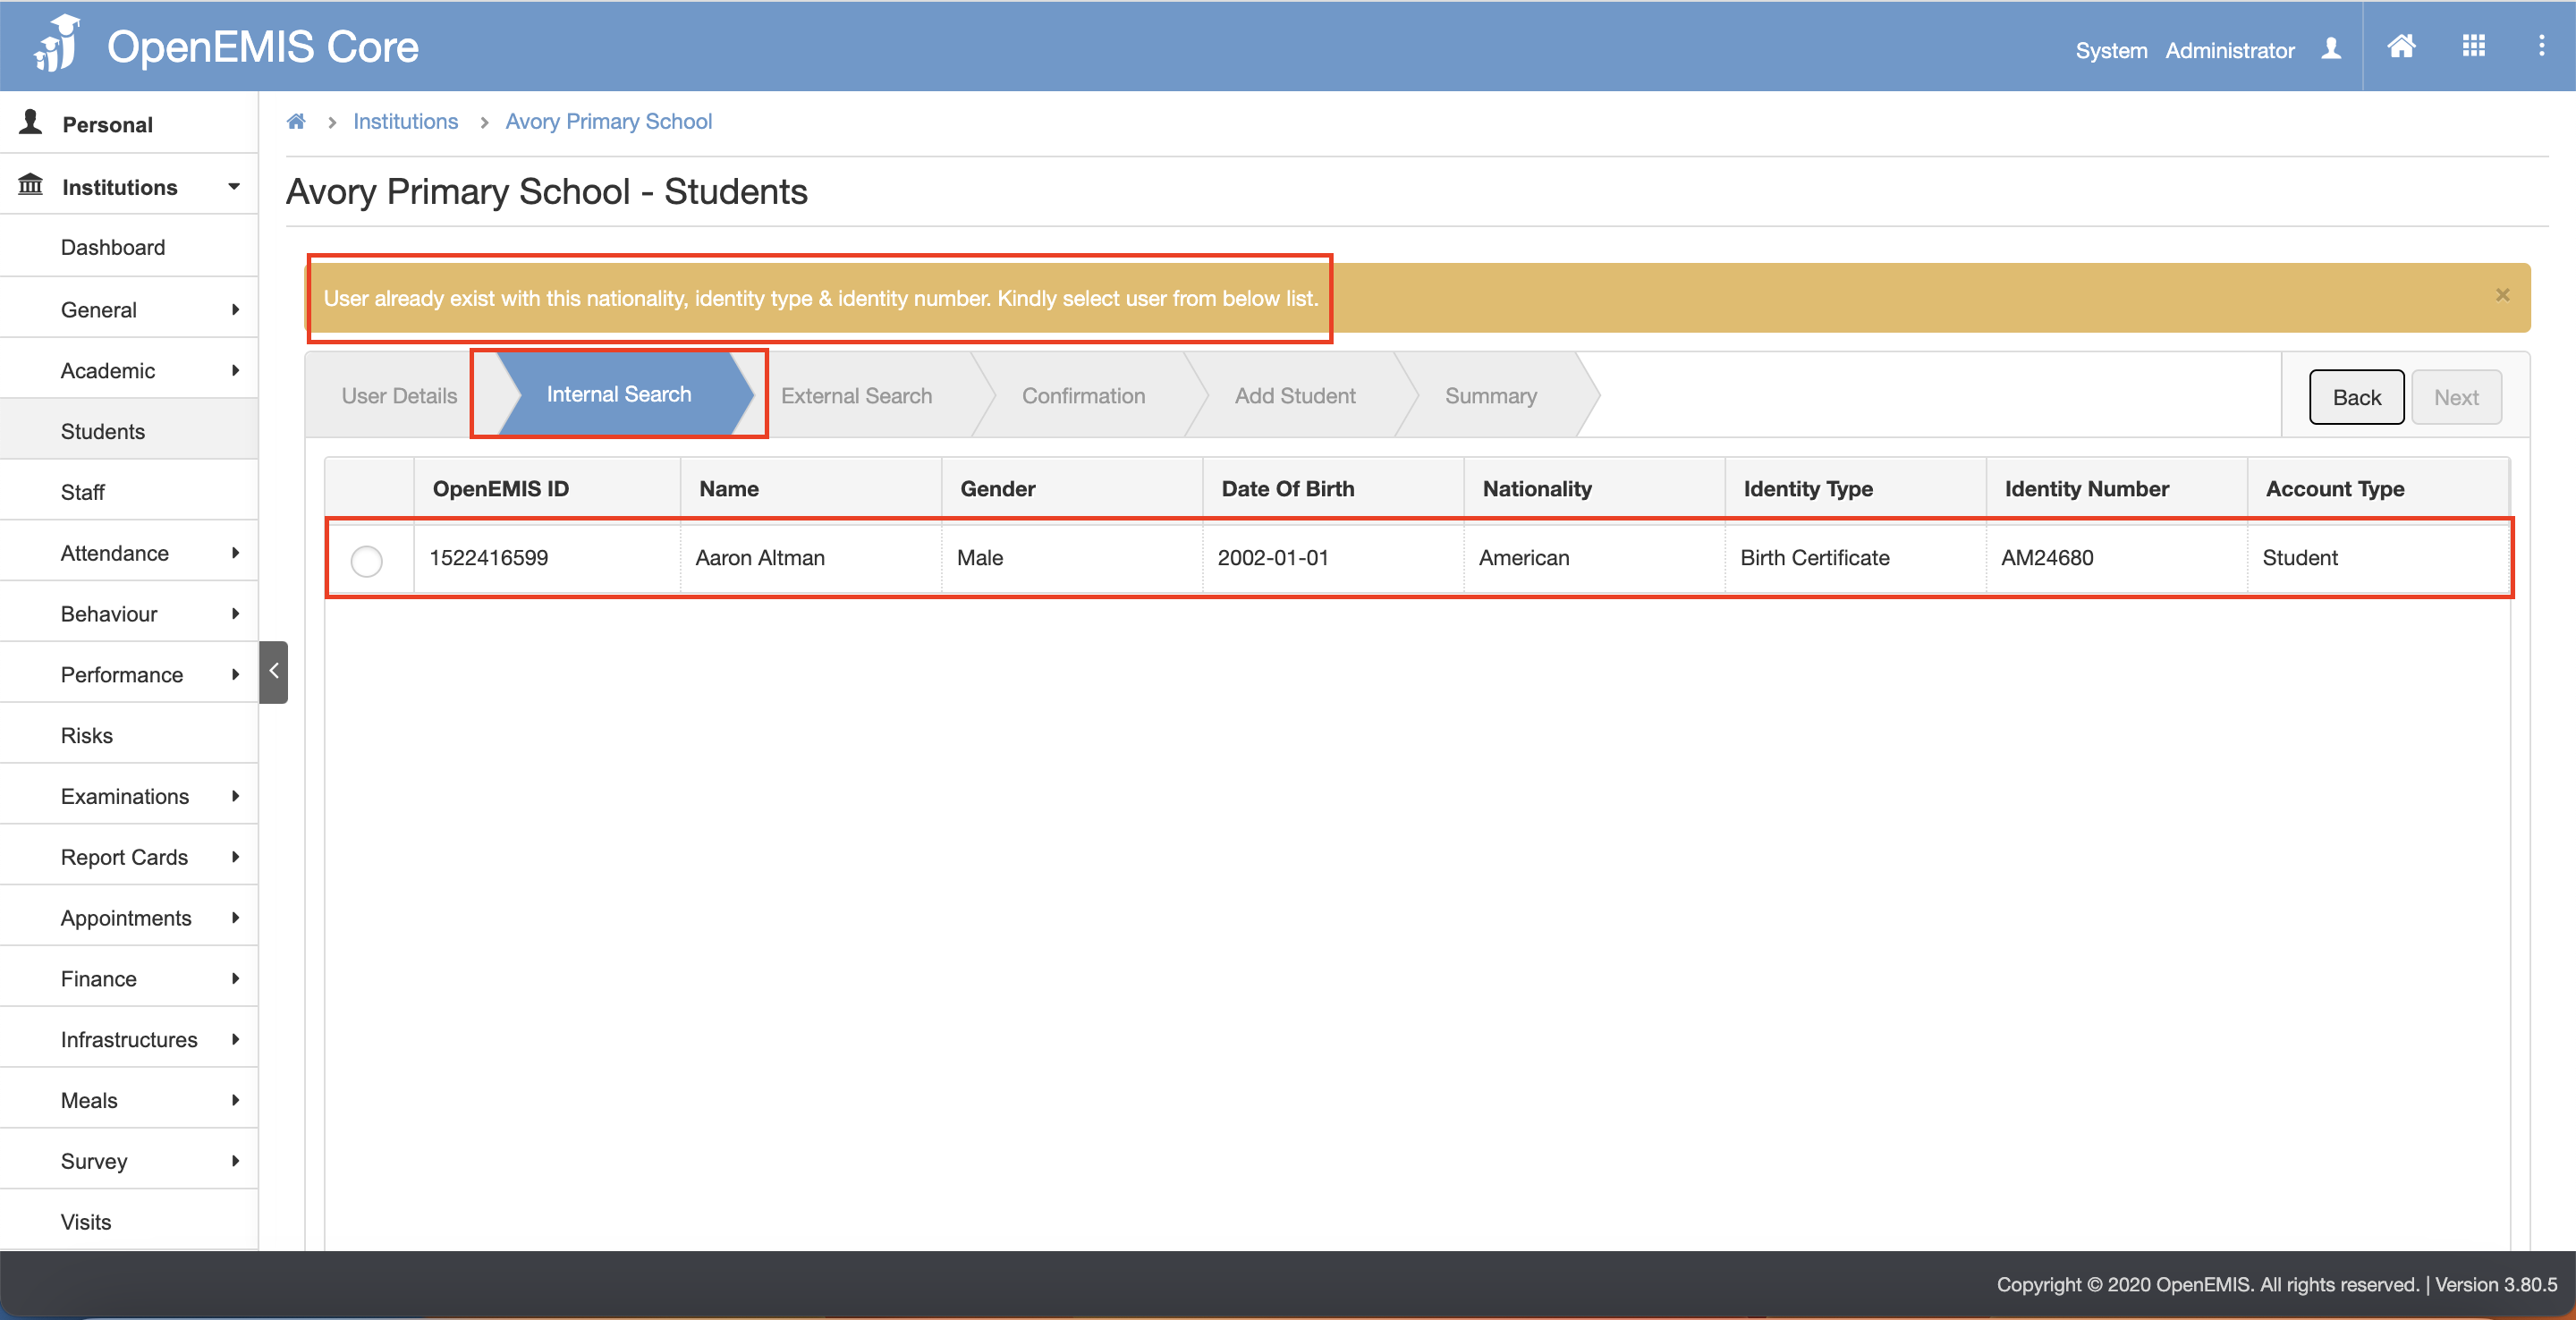
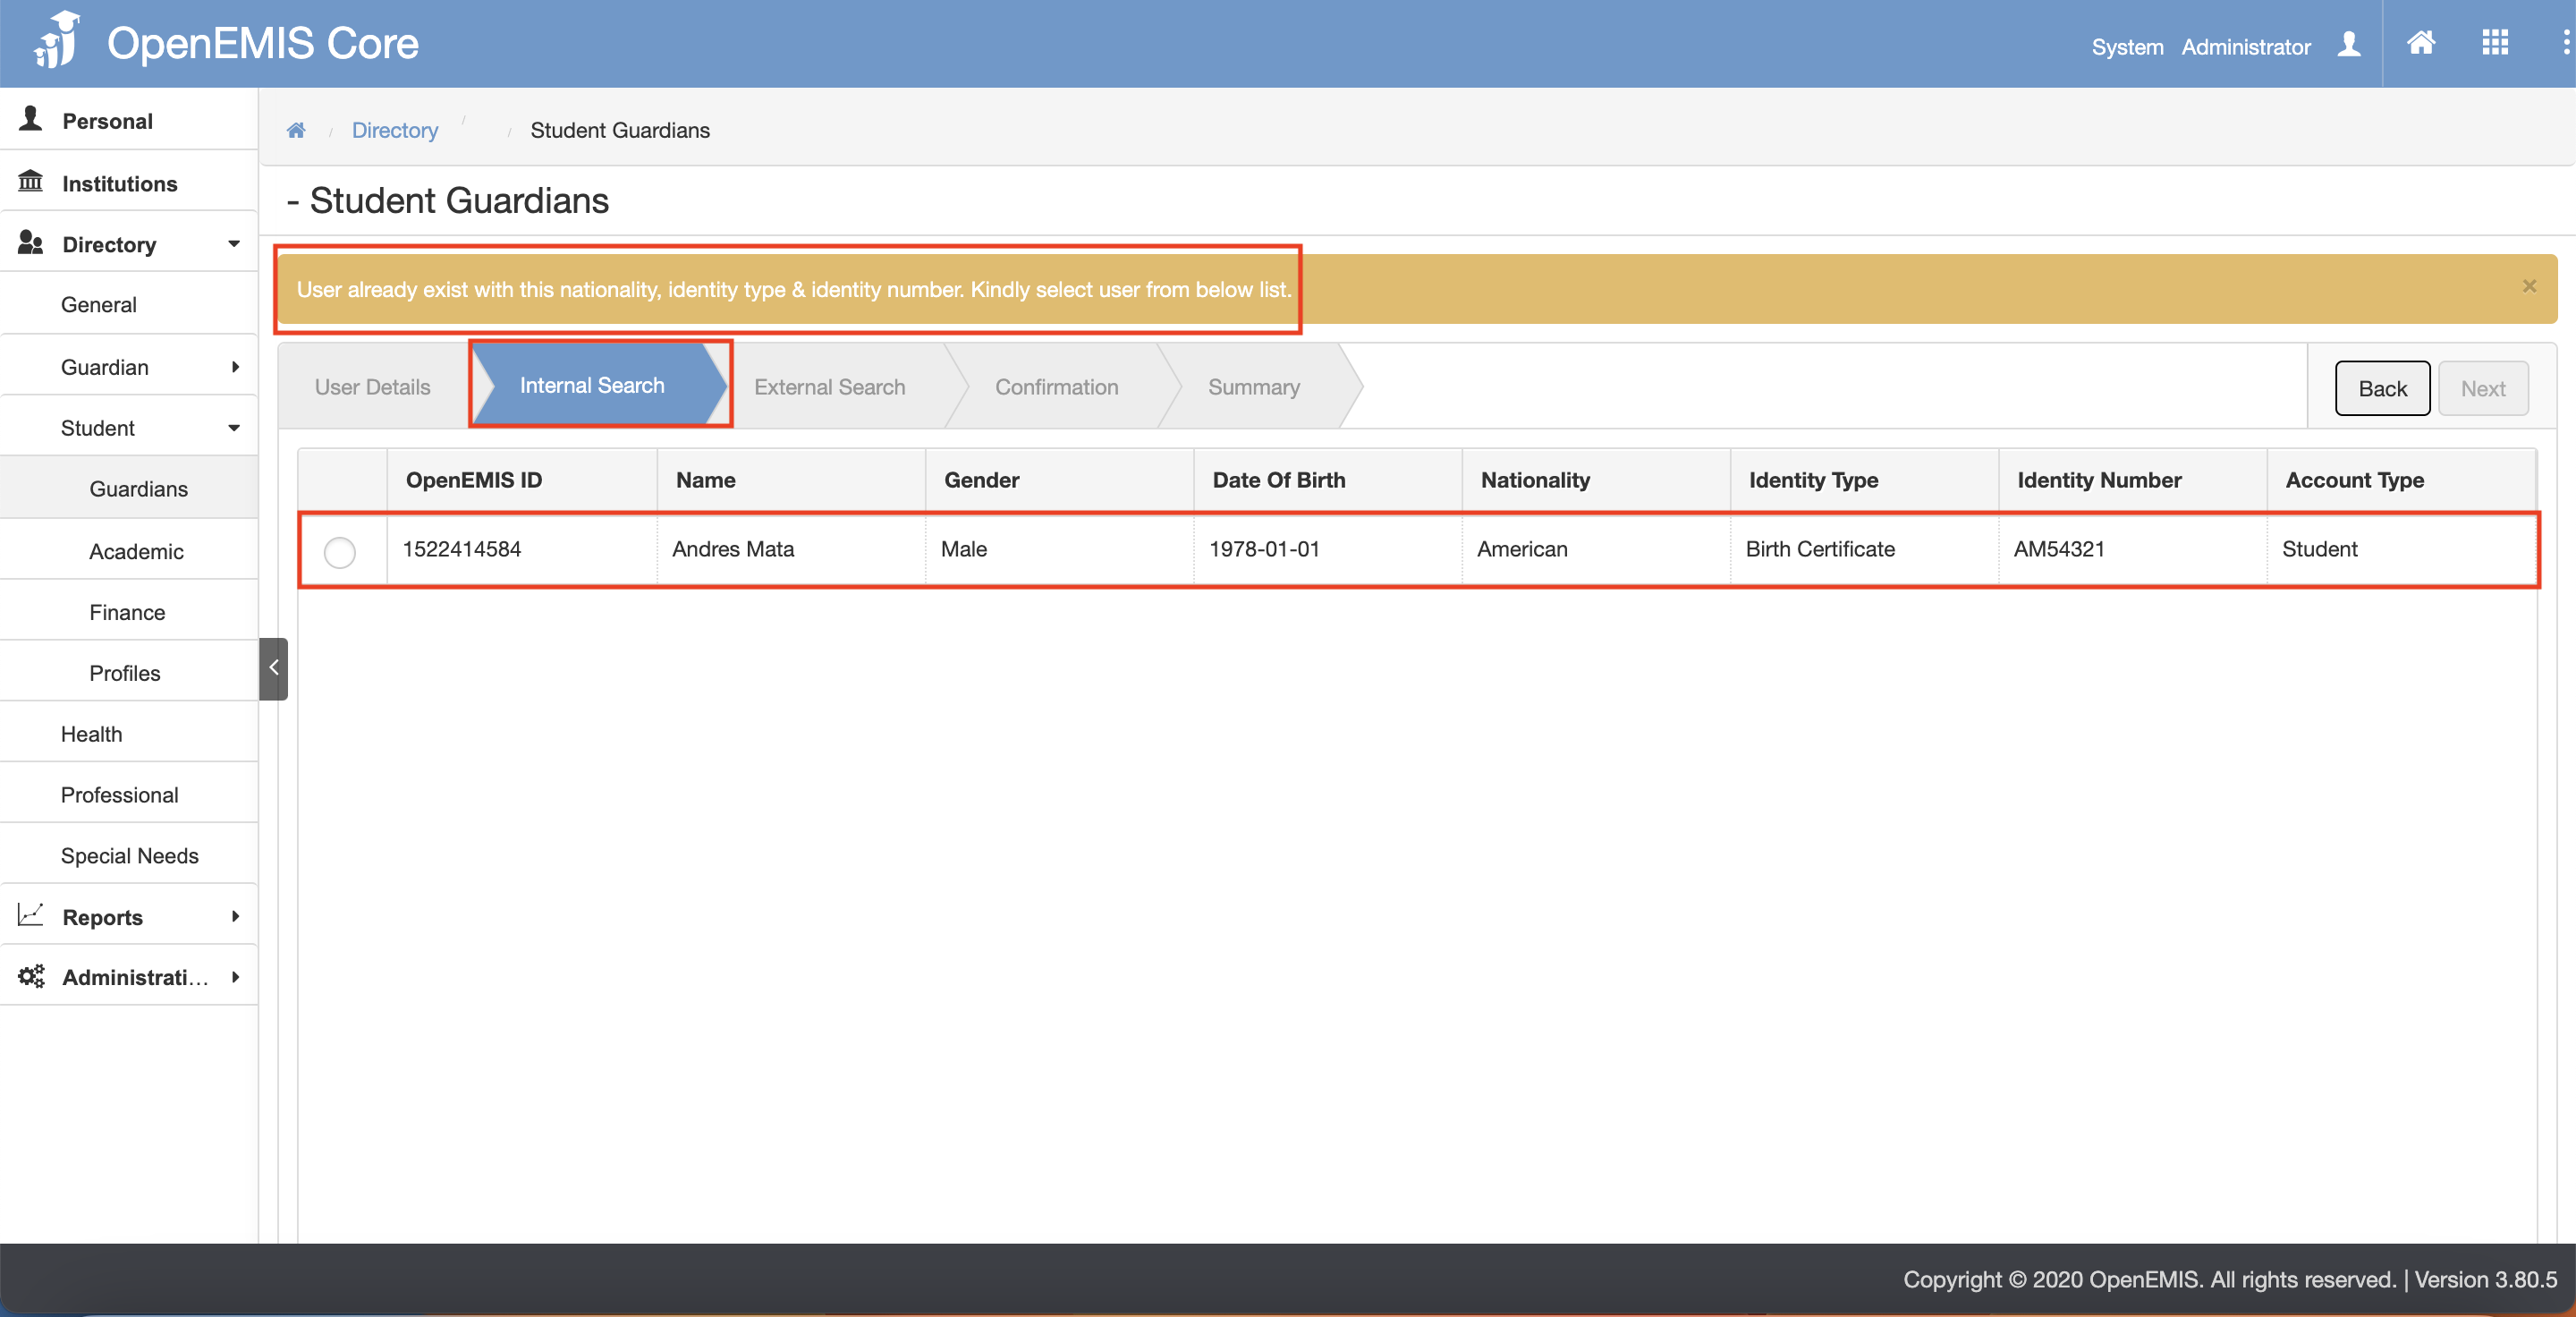
- Internal Search tab page – if system found similar users in the records, there will be a message displaying:
- External Search tab page
7) The page will navigate to the Confirmation tab page.
8) Click on the “Next” button.

9) The page will navigate to the Add Student tab page.
10) Click on the “Confirm” button.
11) The page will navigate to the Summary tab page. There will be a message displaying that “Student is added successfully”.
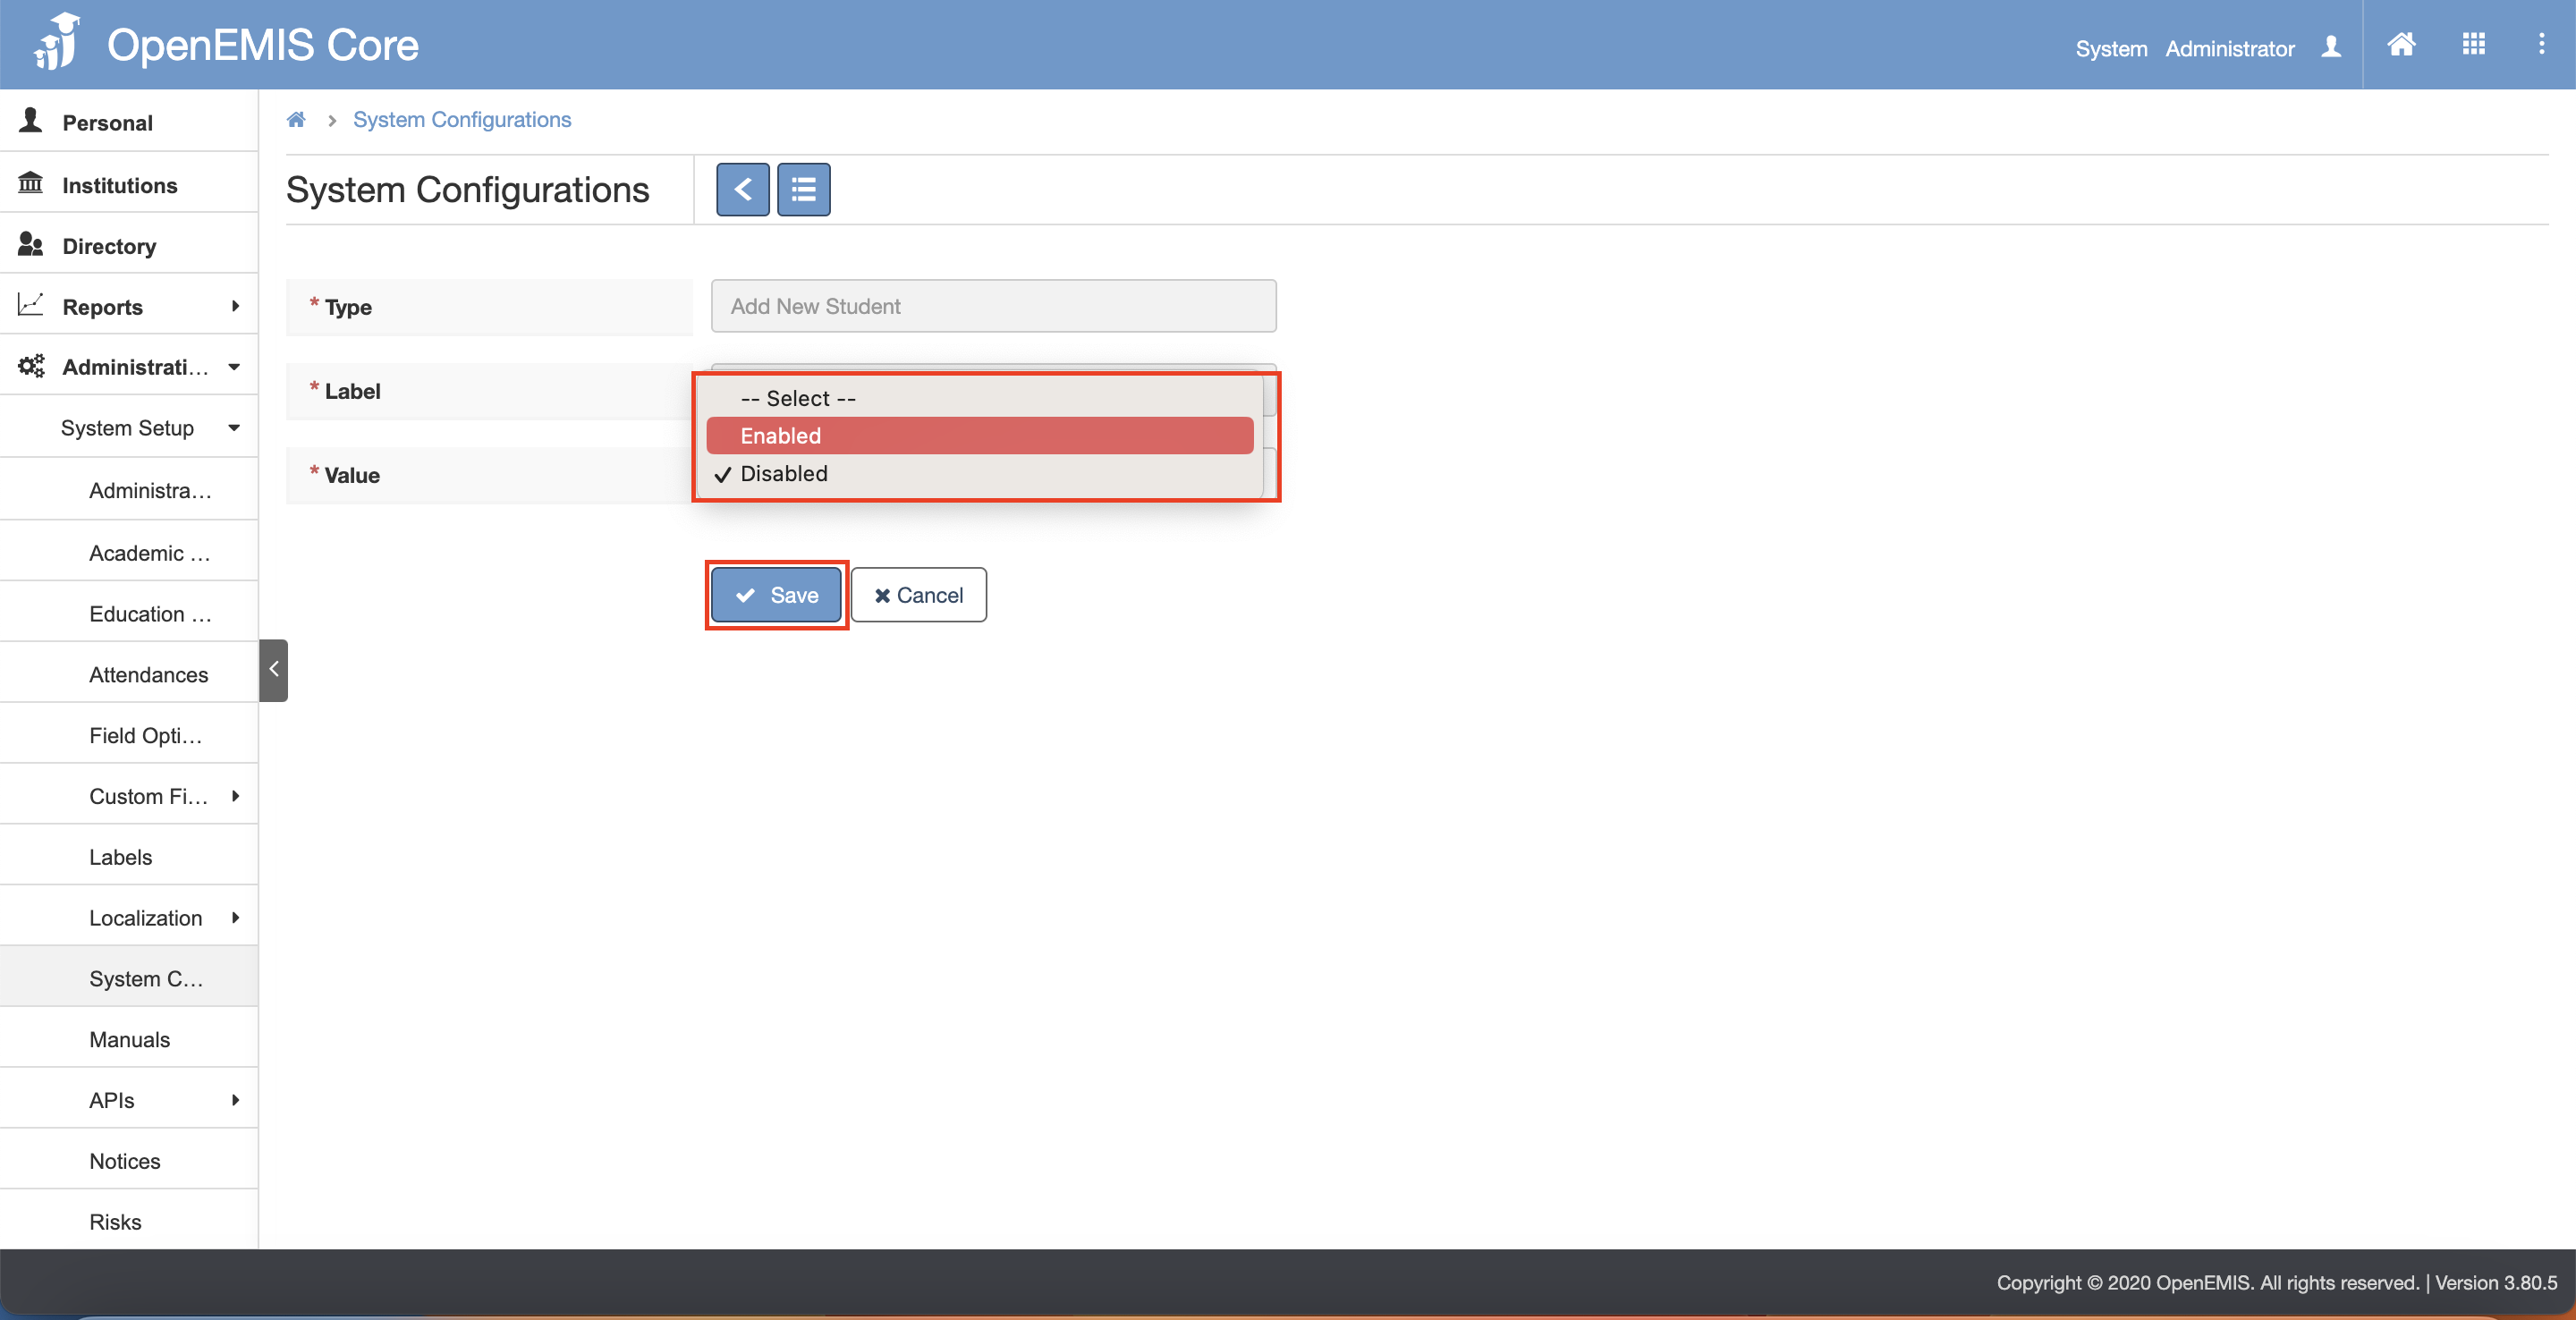
Adding Students to Institutions with Adding Guardian Features
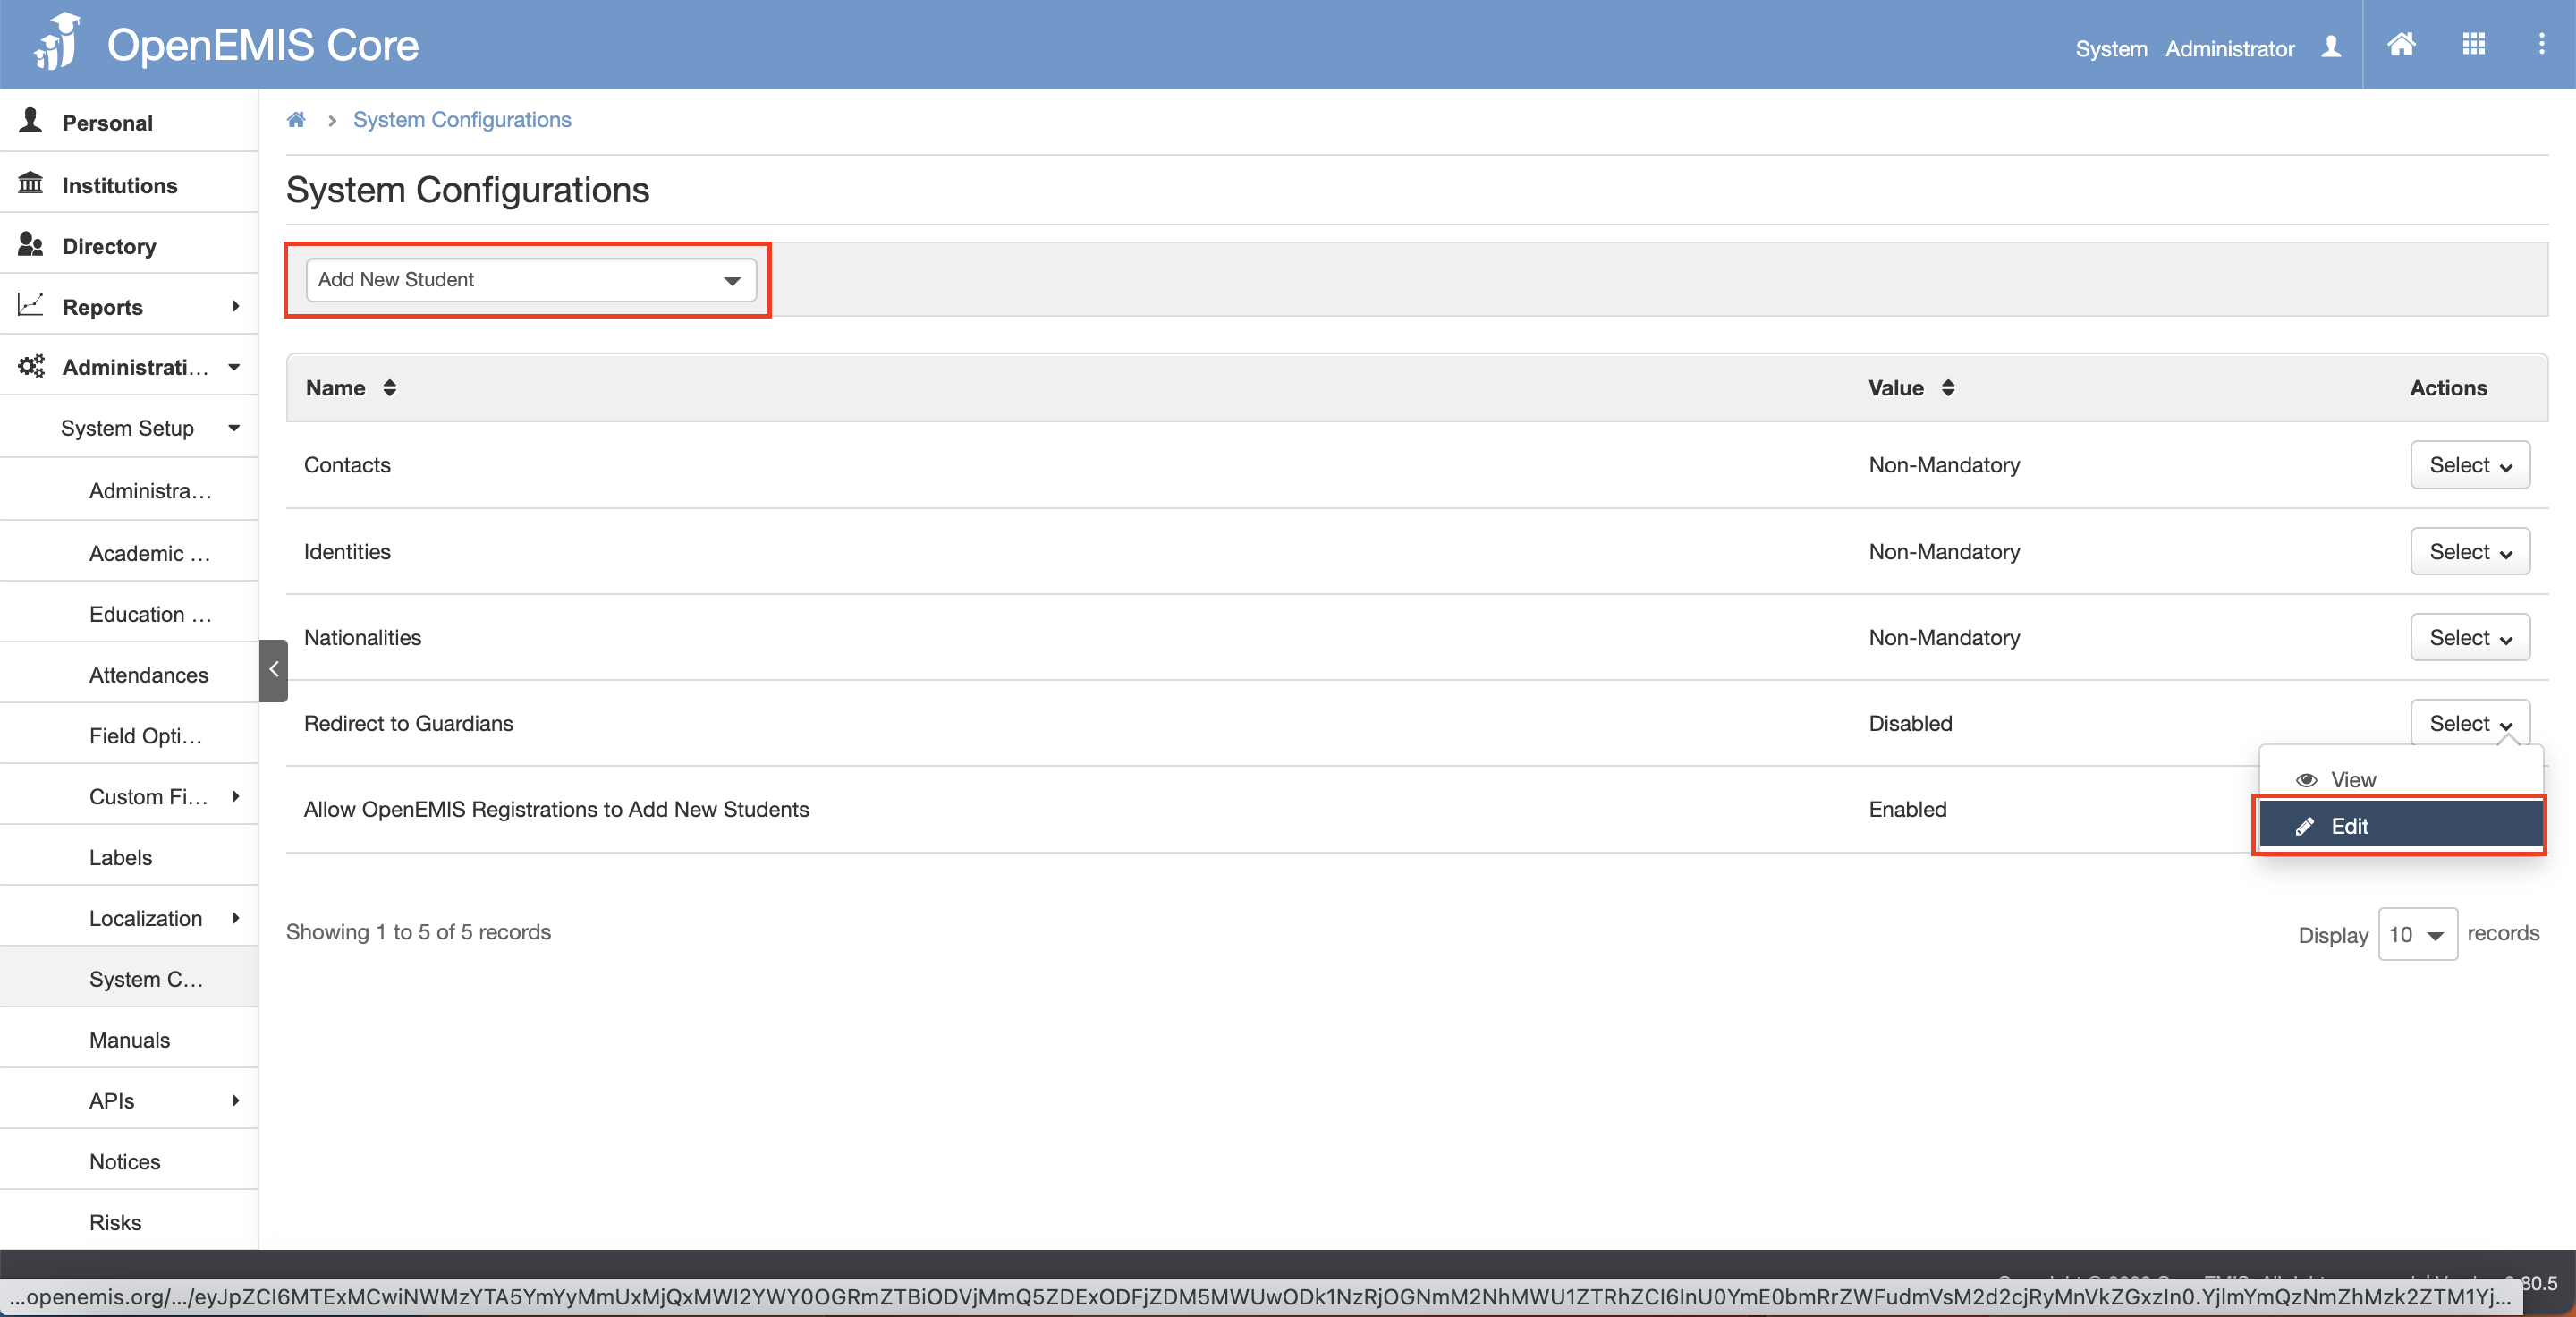
- To enable/disable adding guardians with adding students, Navigate to Administration > System Configuration > Add New Students > Edit (Please note that the default is set to disabled)
Adding New User
1) After adding student successfully, there will be a “Add Guardian” button.

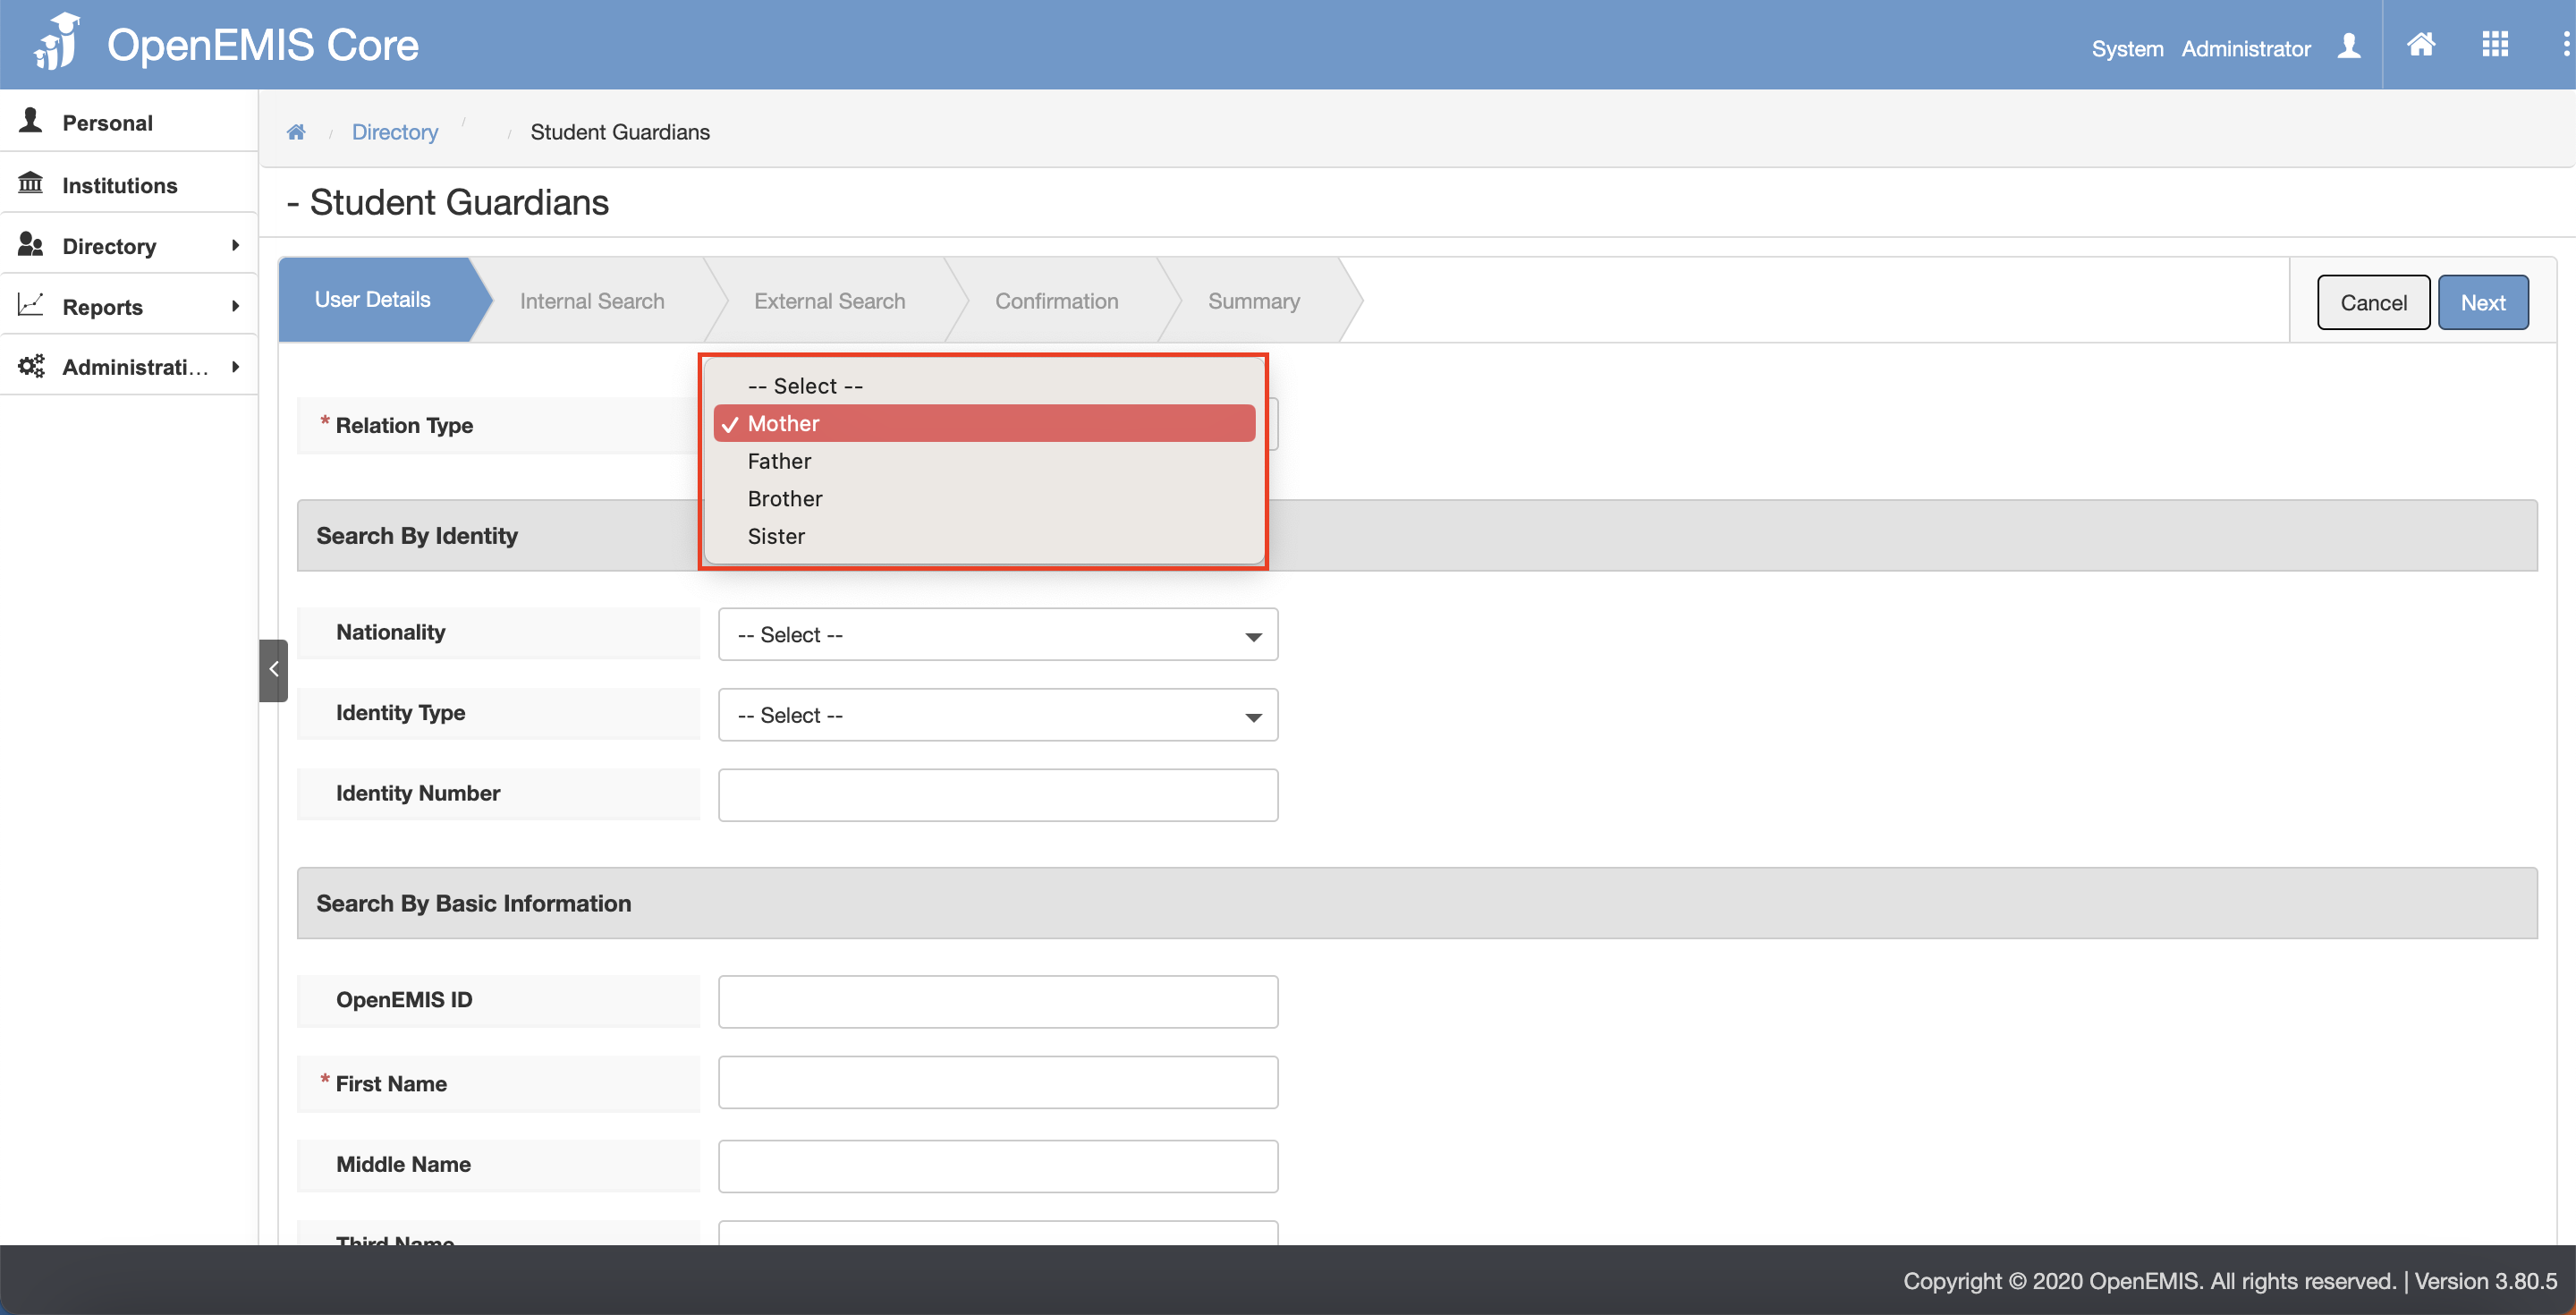
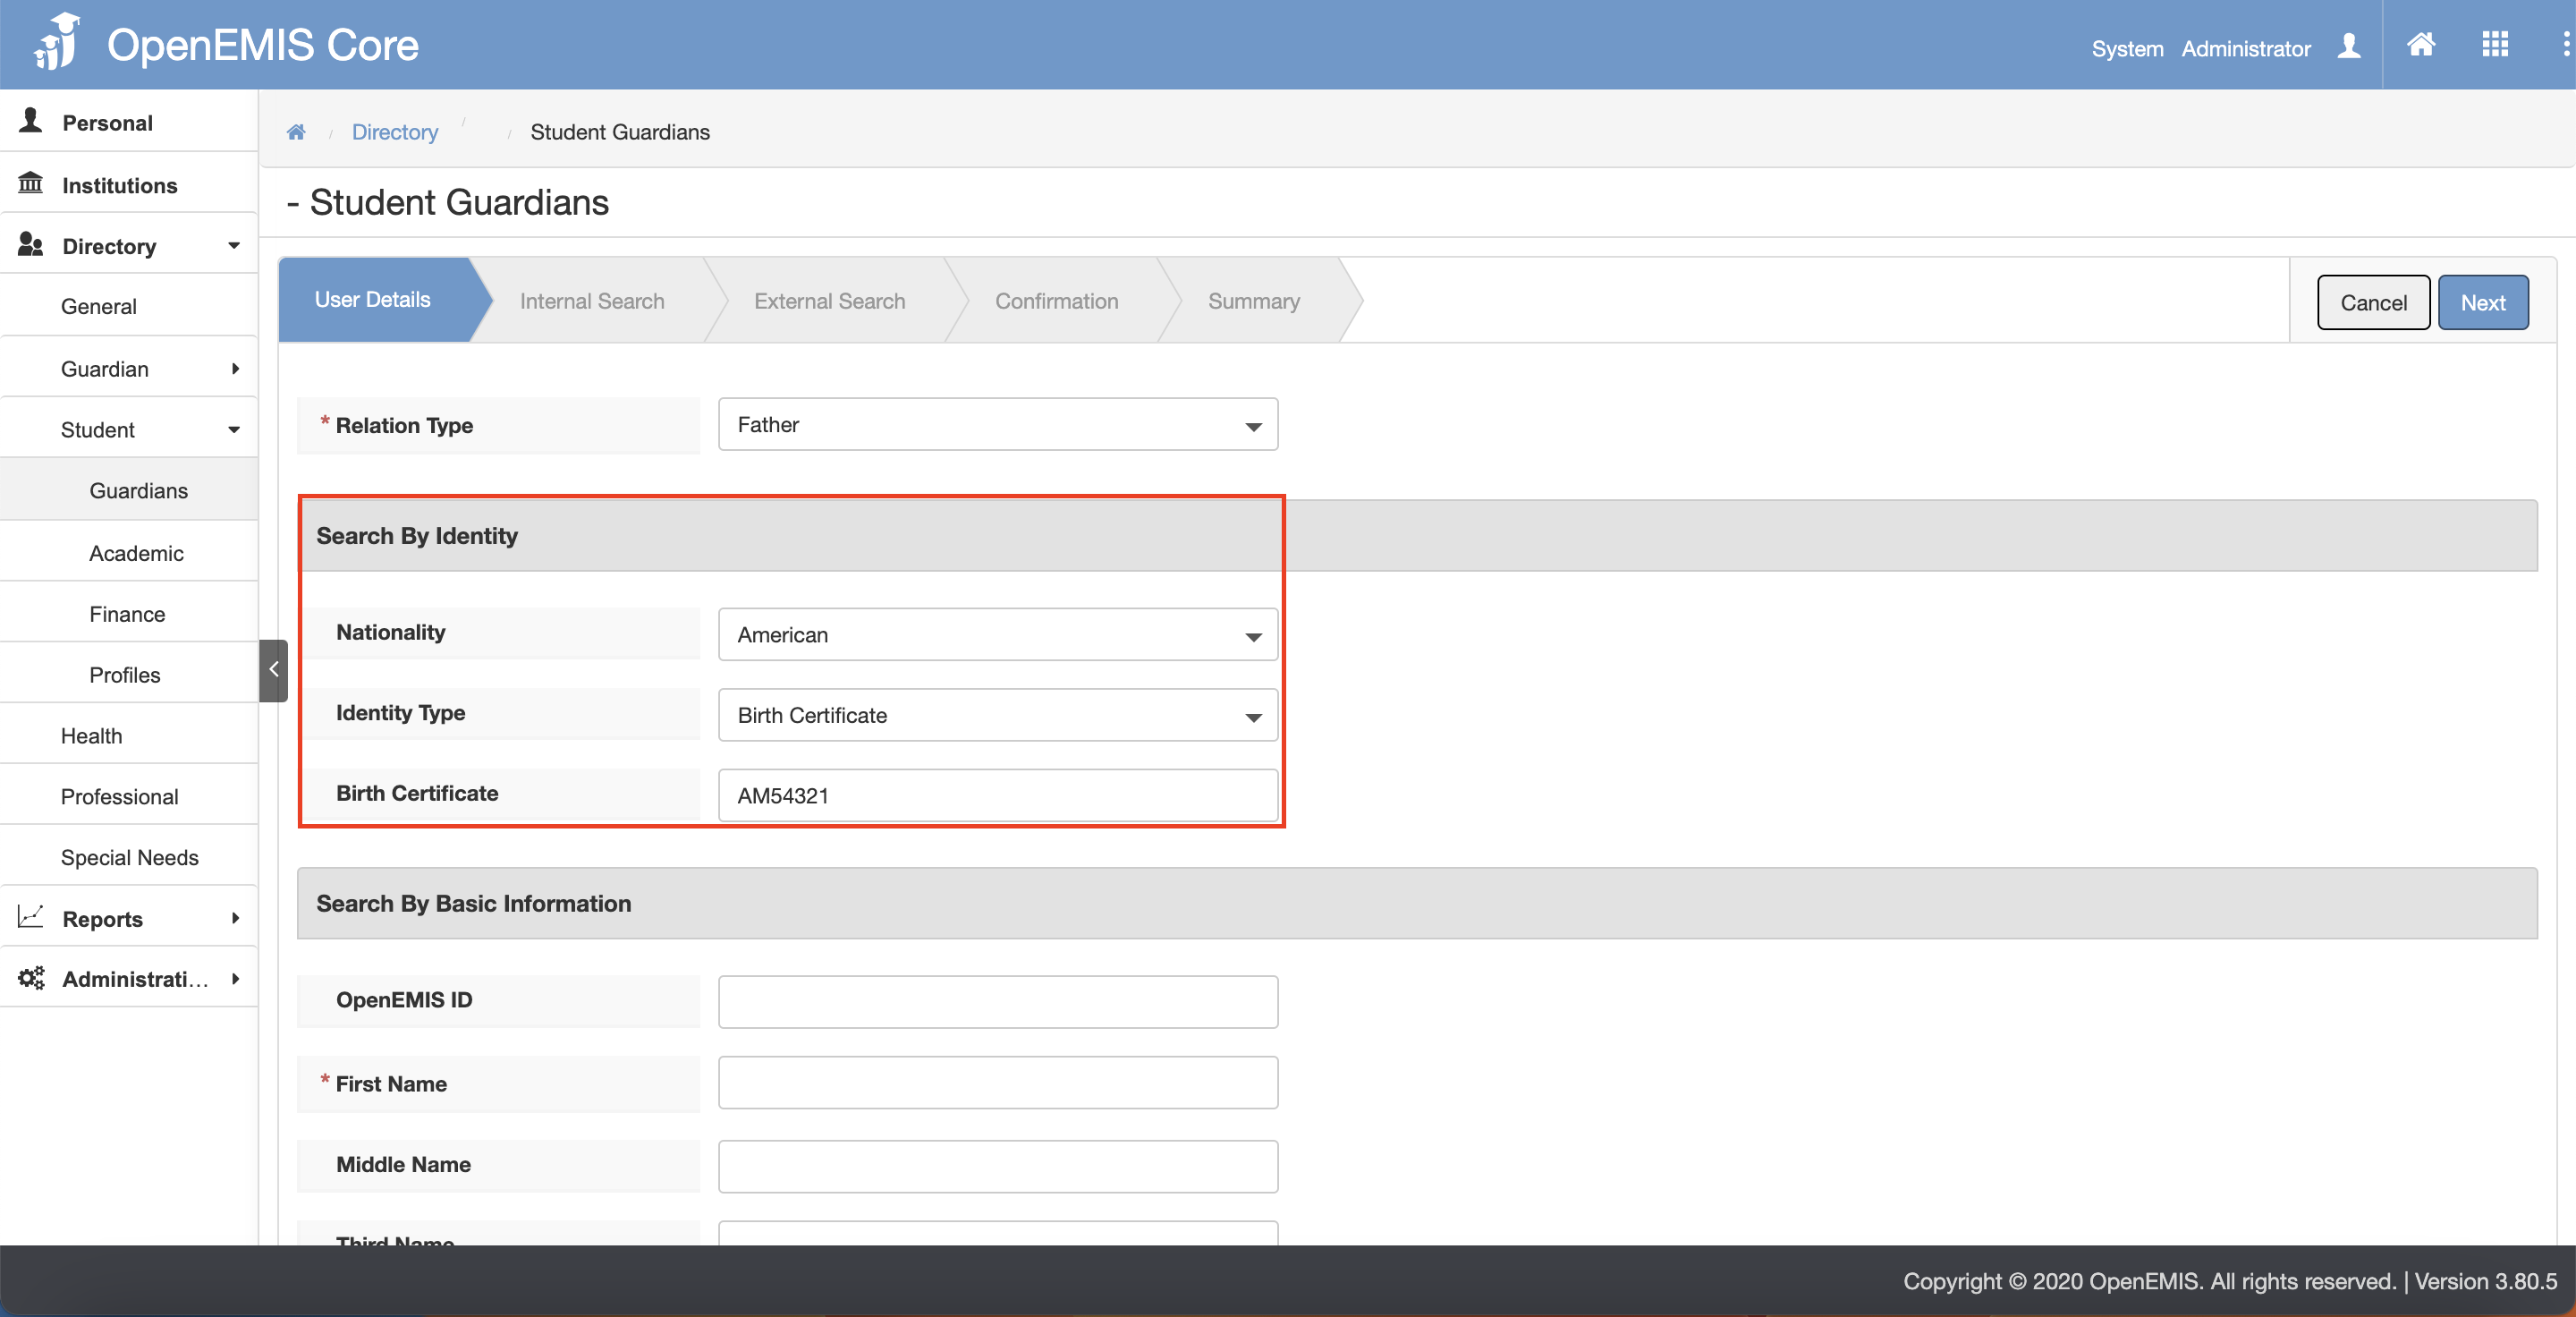
2) Select the Relation Type.
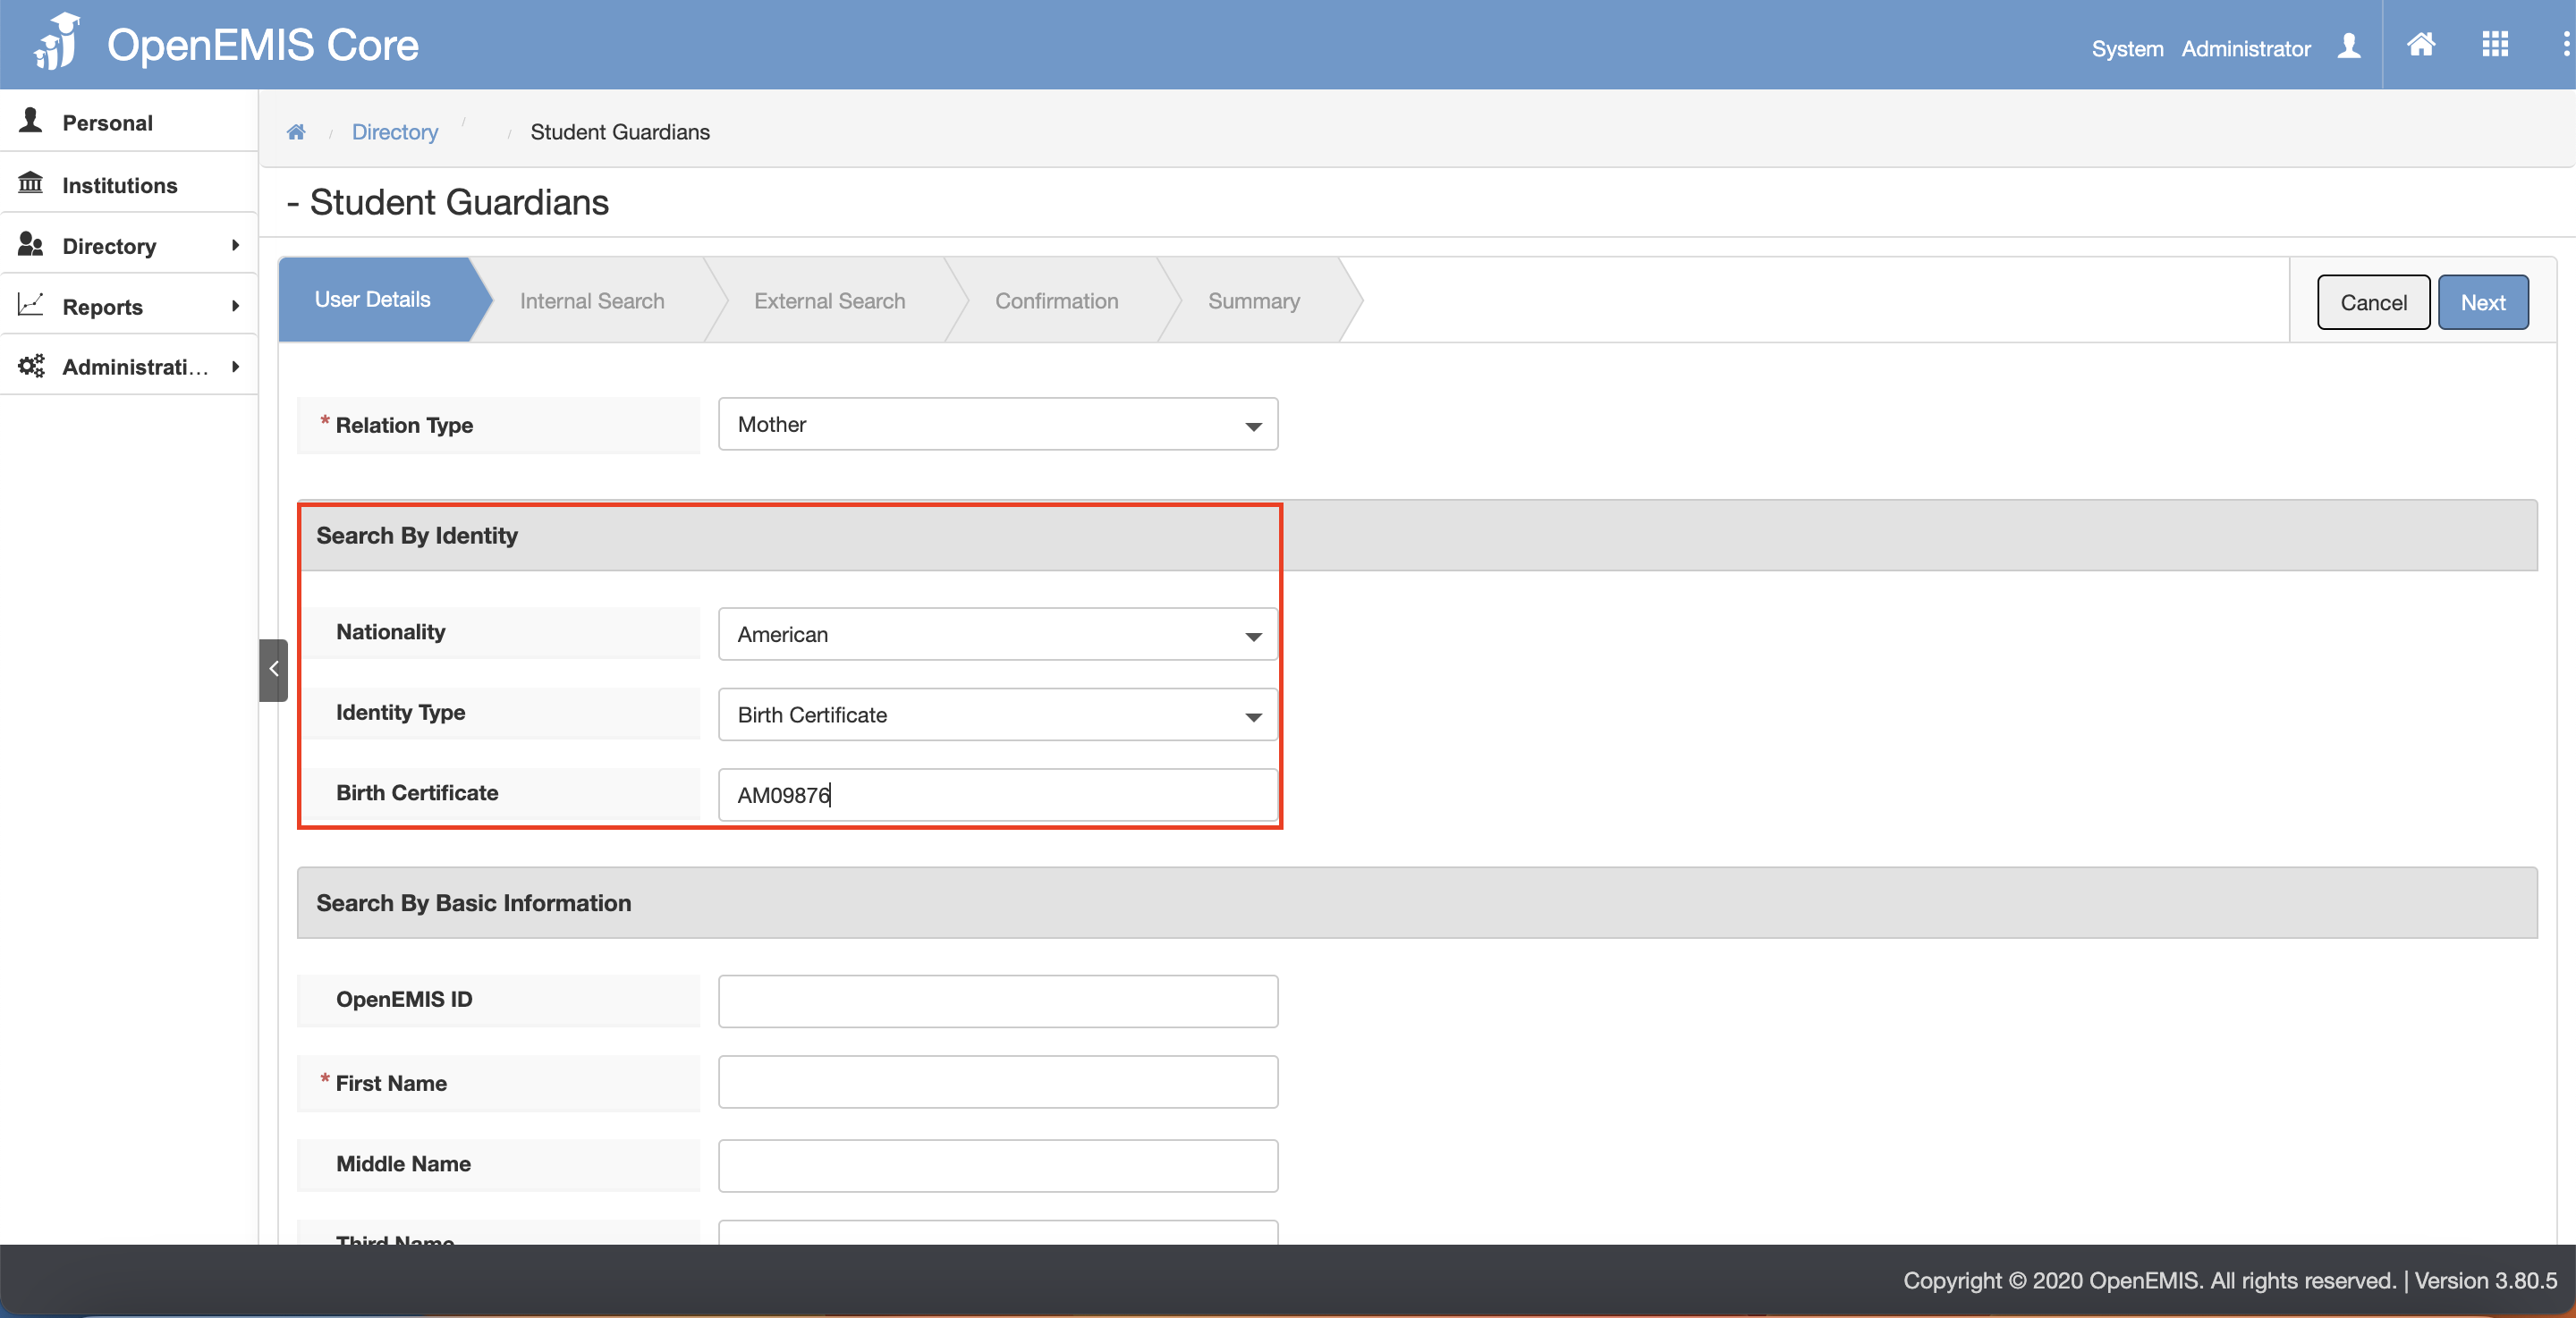
3) To add Guardian, fill in the Search by Identity OR Fill in the Search by Basic Information.
- Adding via Identity – select the Nationality and Identity Type and fill in the Identity Number.
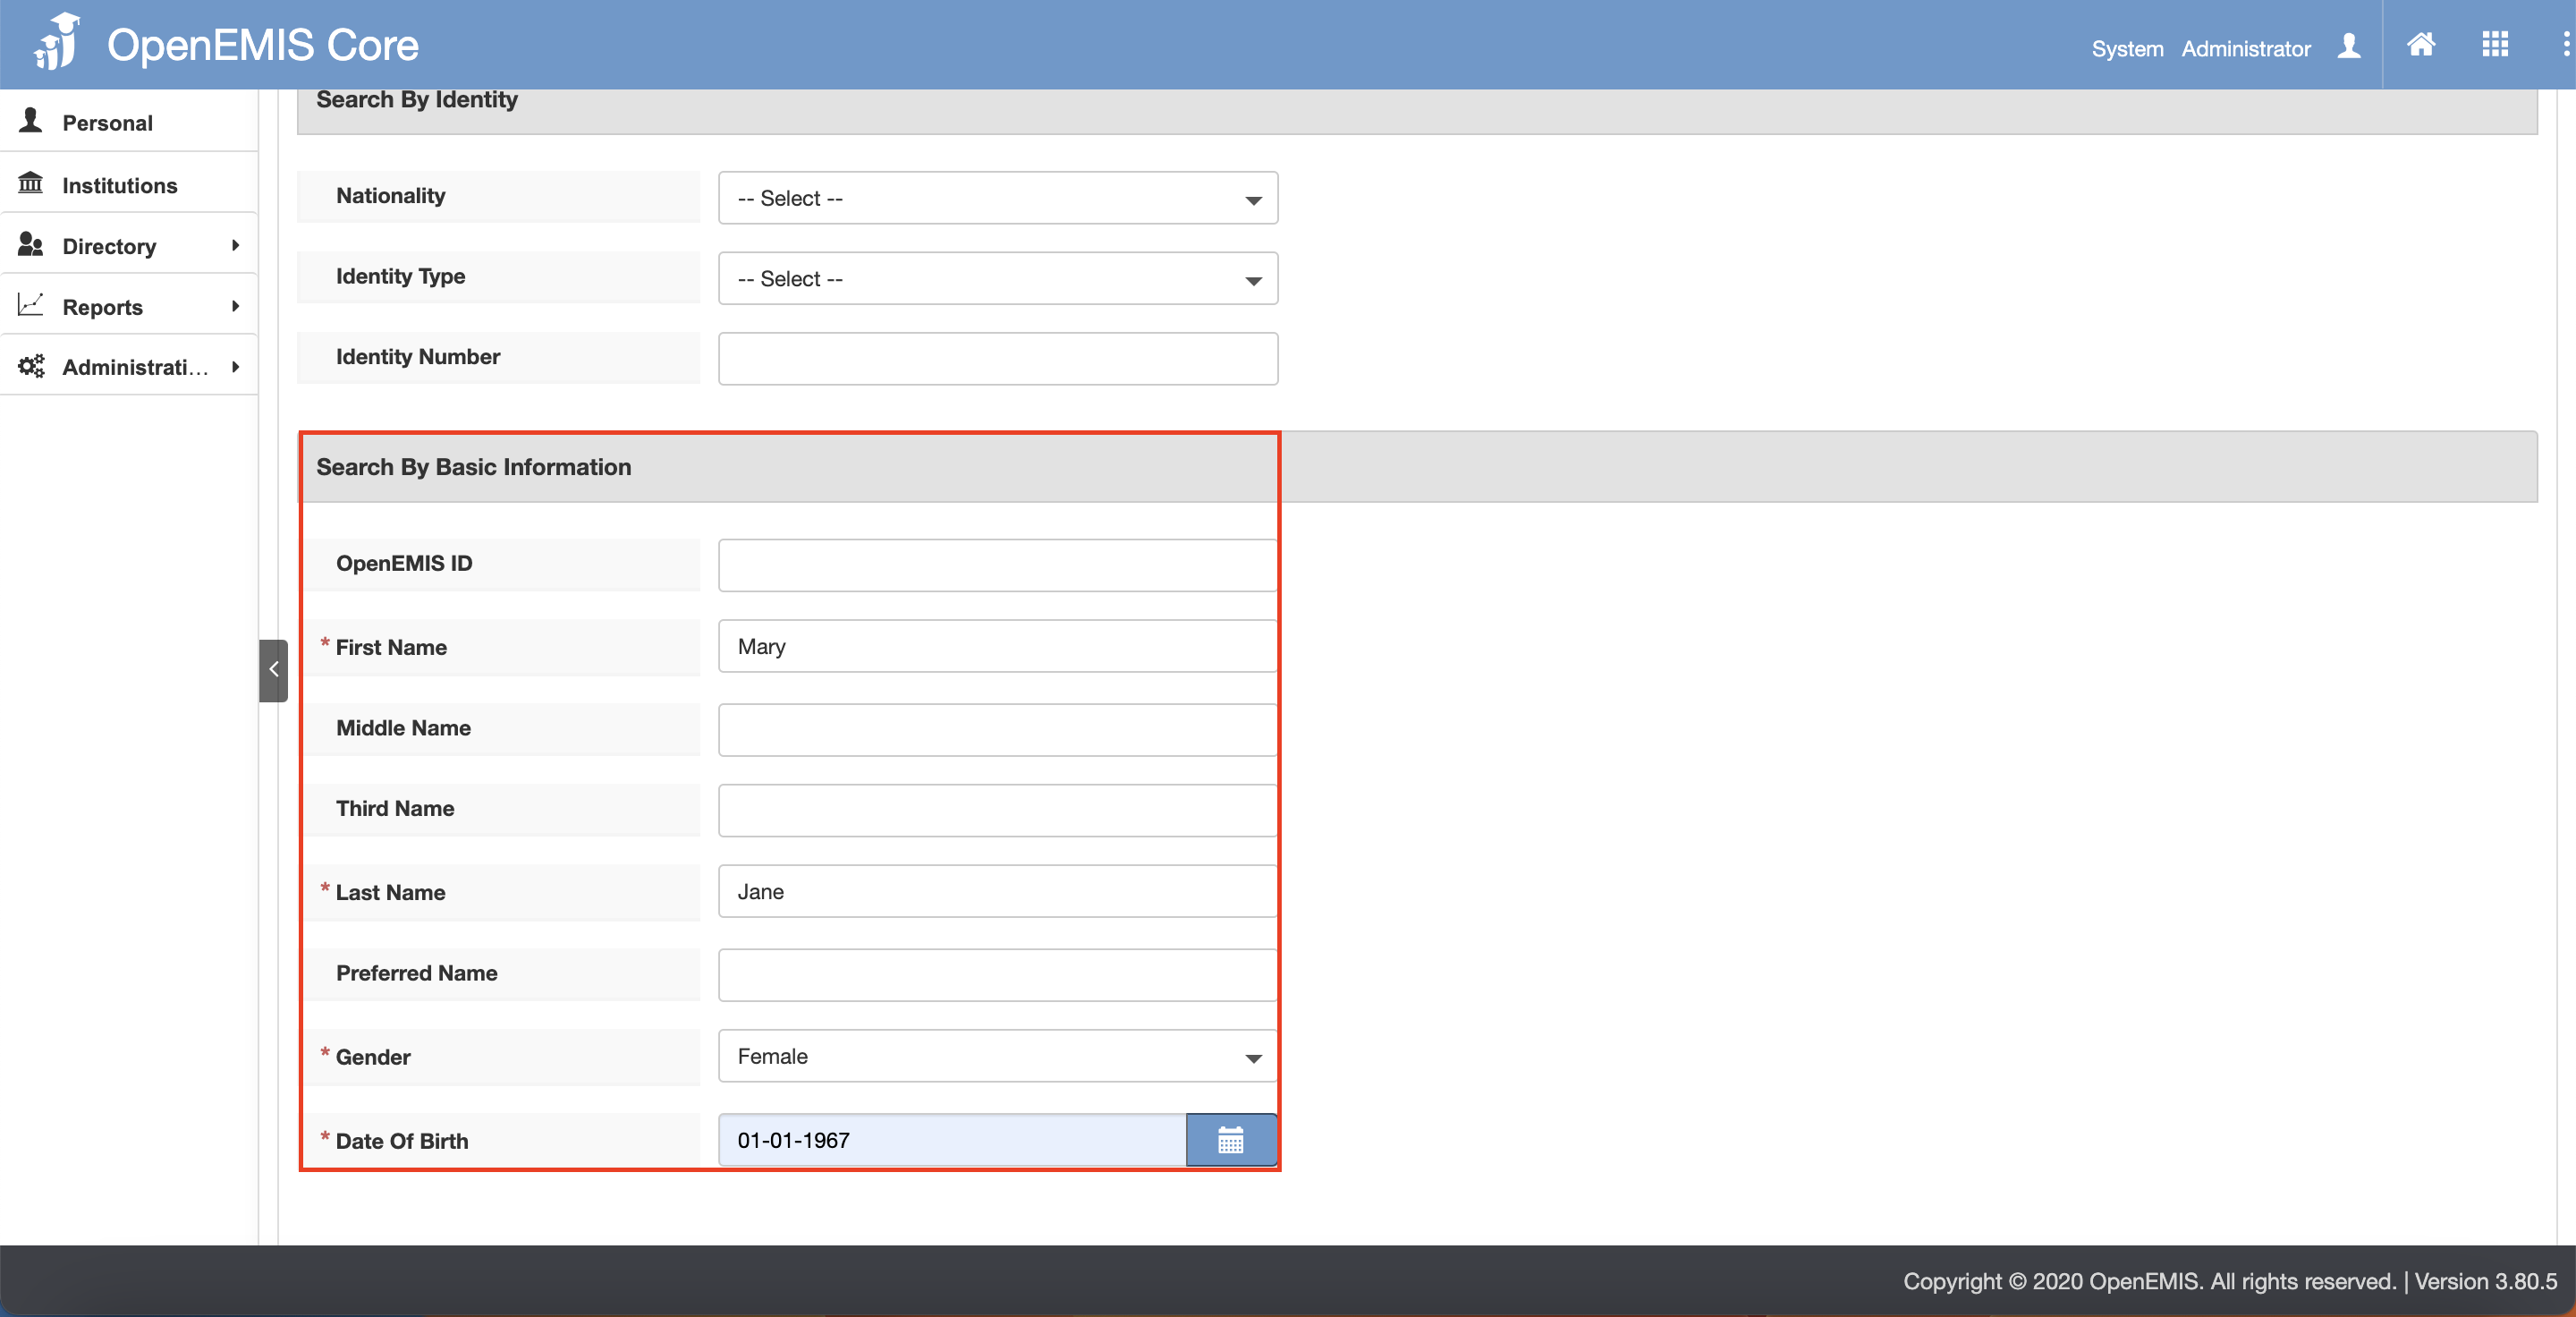
- Adding via Basic Information – fill in the First Name and Last Name and select the Gender and Date Of Birth.
4) Click on the “Next” button.
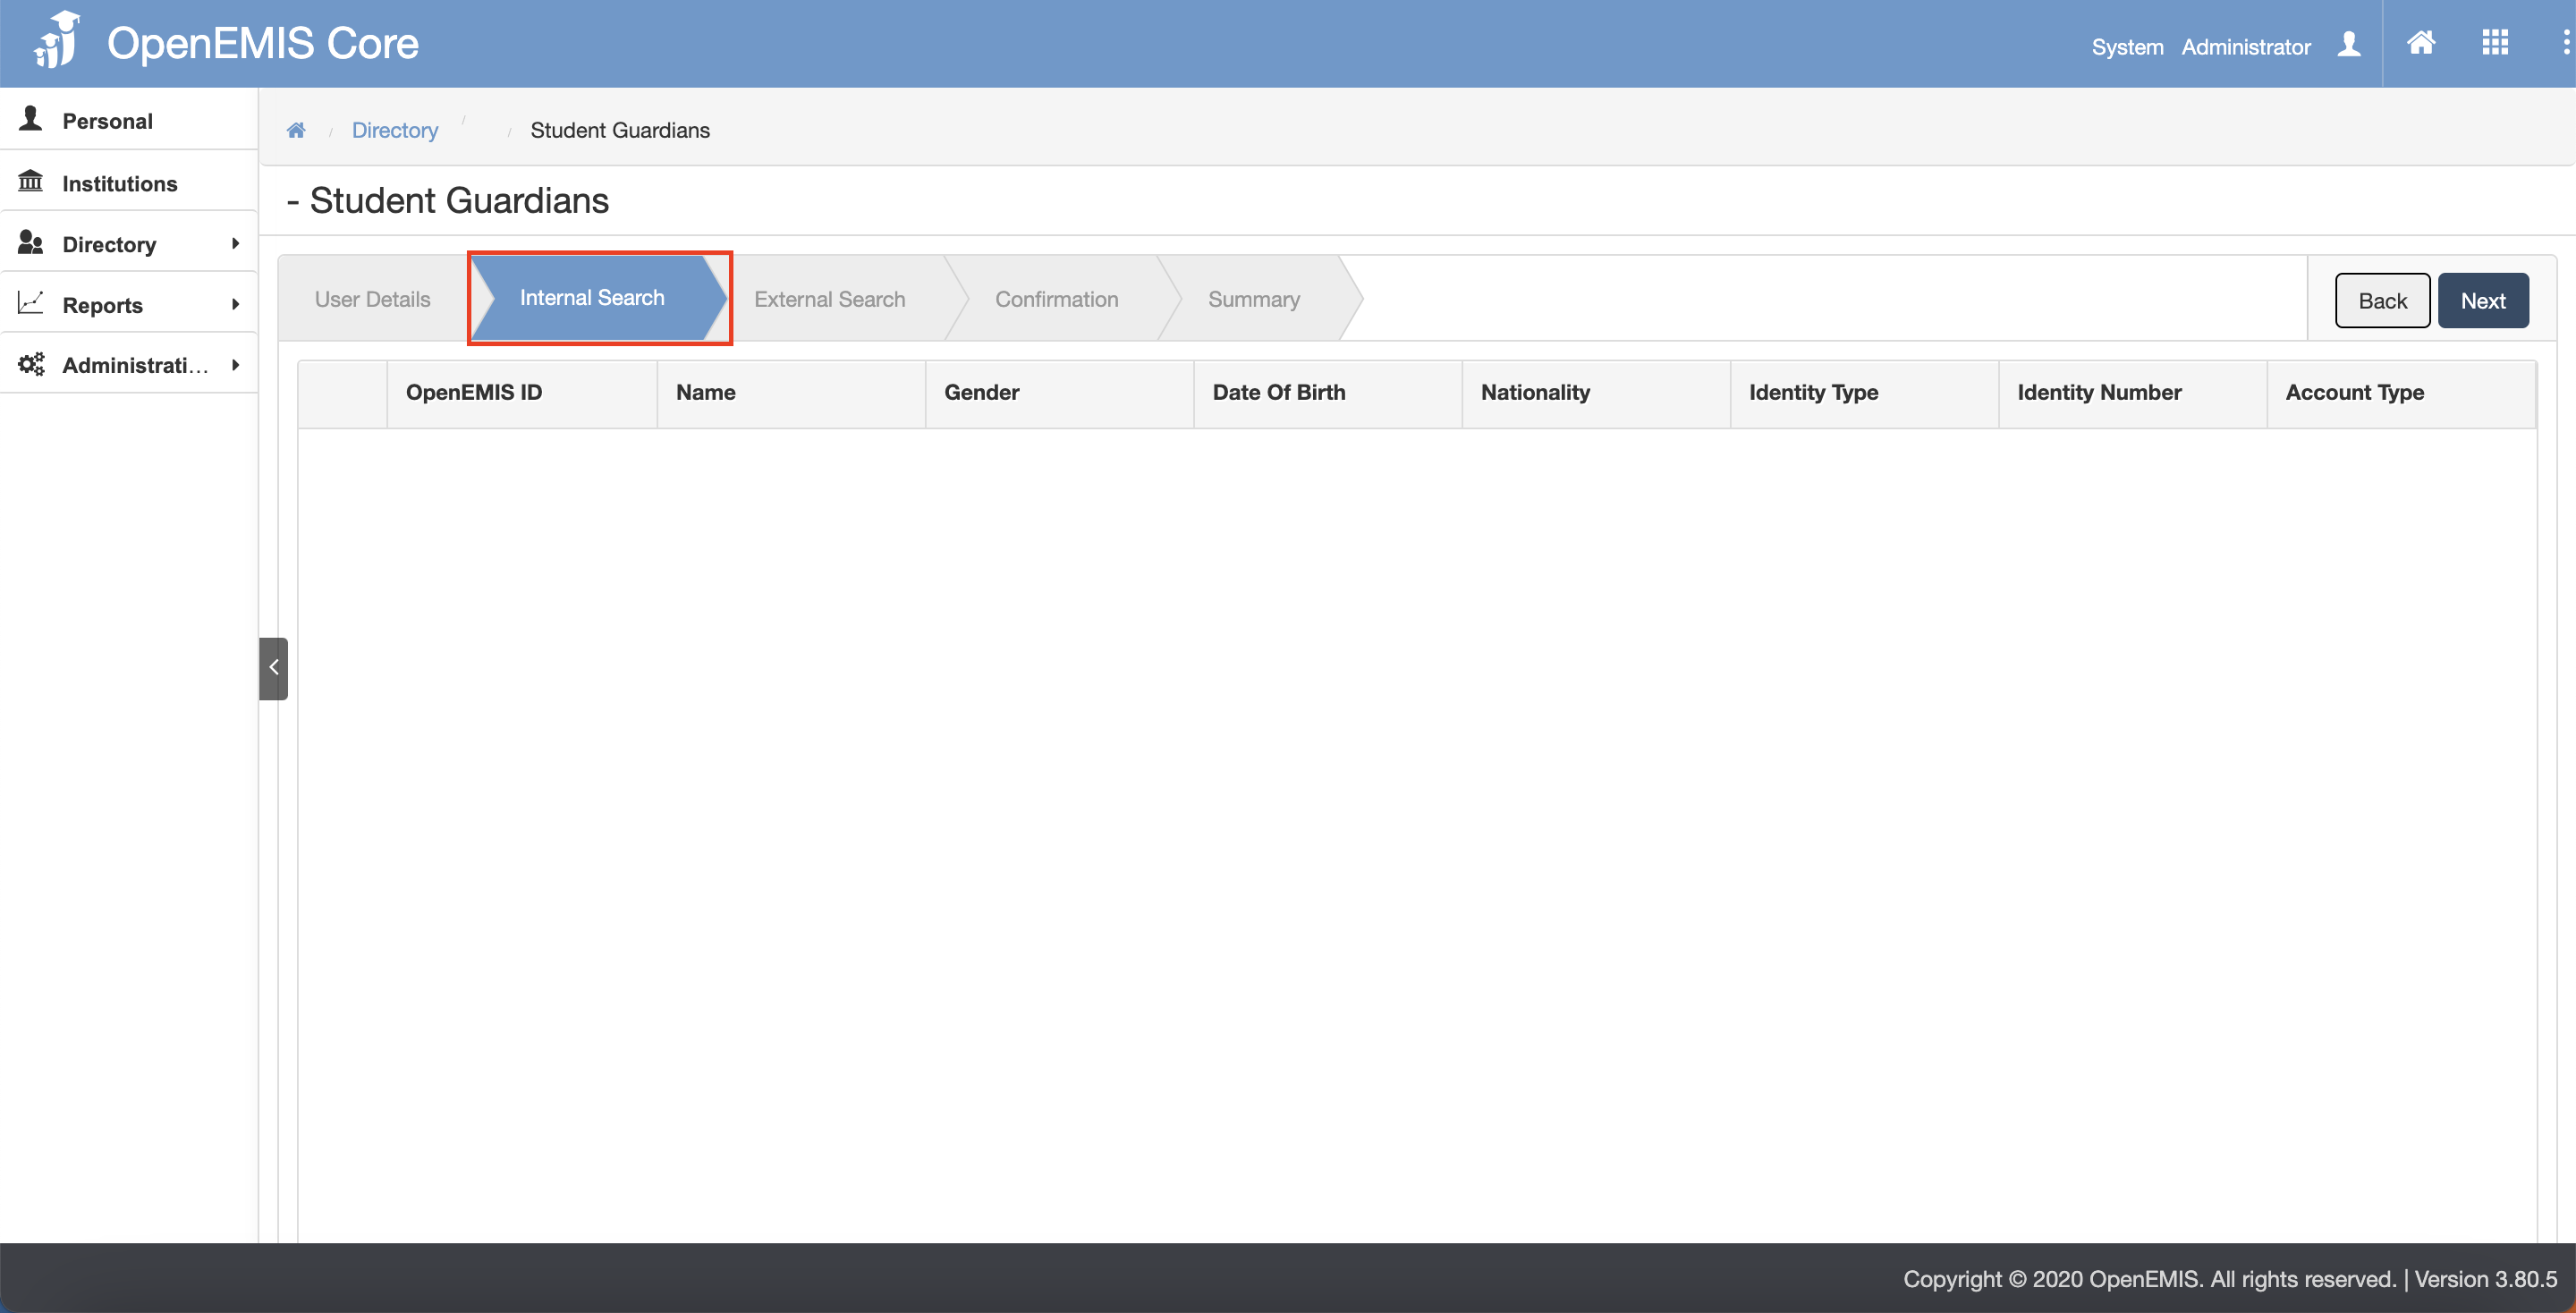
5) The page will go through Internal Search tab and External Search tab.
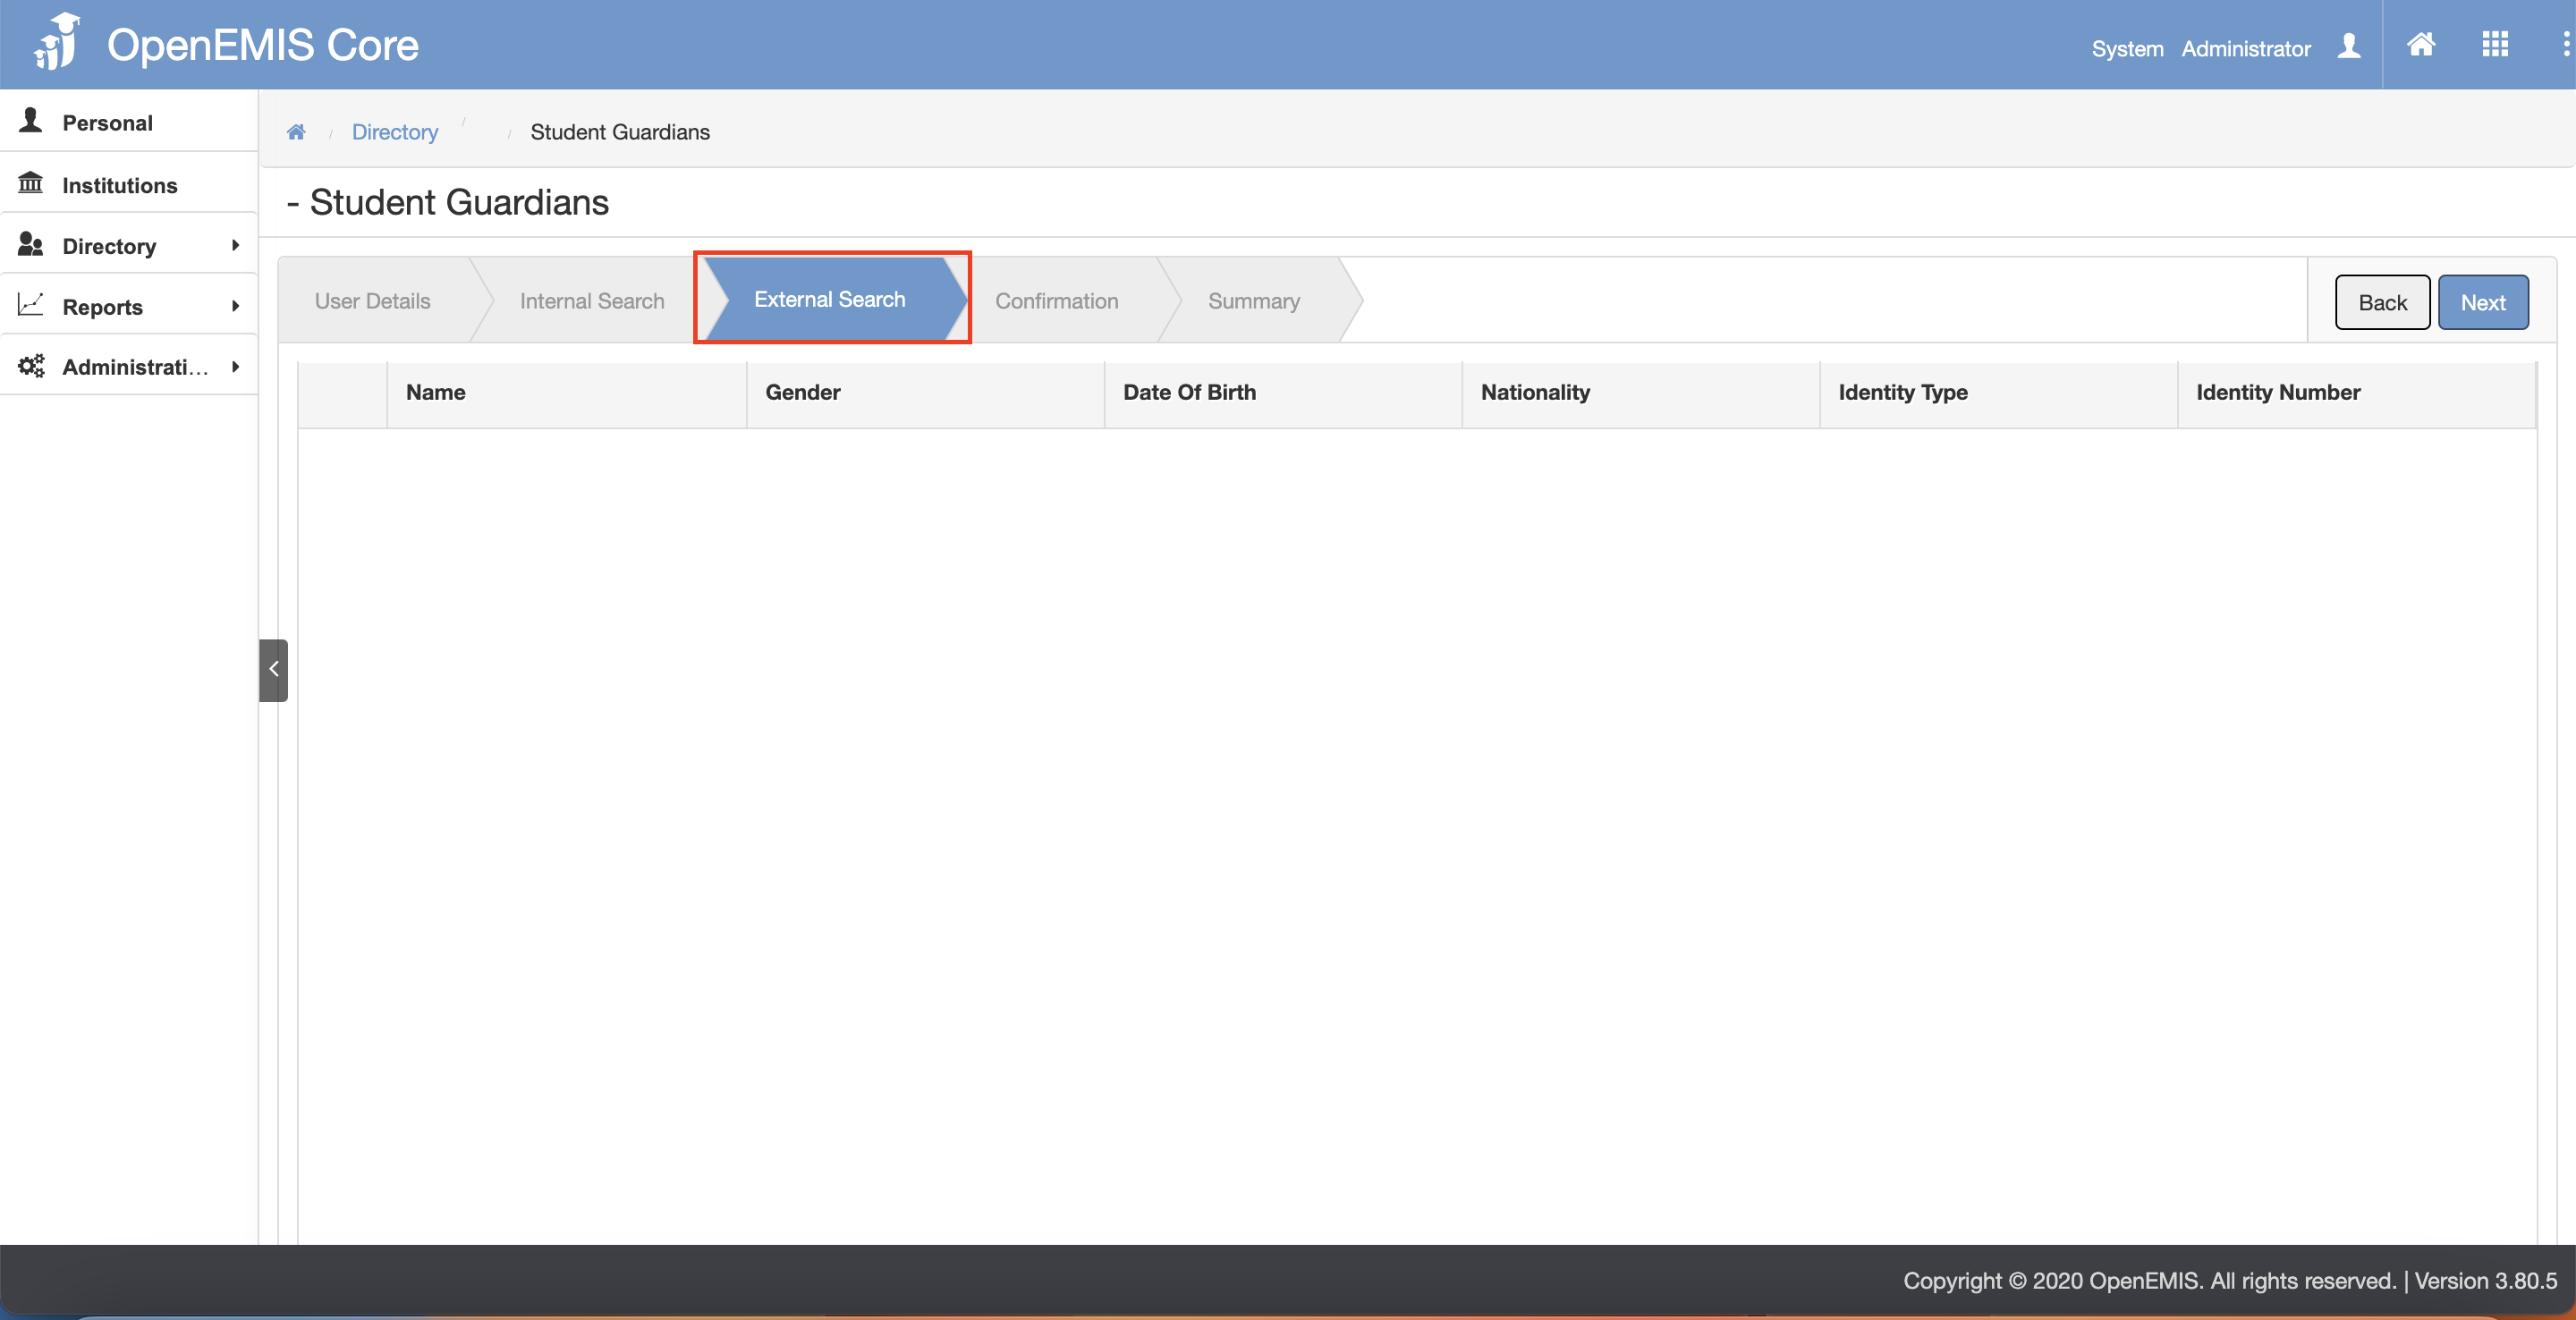
6) Click on the “Next” button after going through the Internal Search and External Search tab.
- Internal Search tab page
- External Search tab page
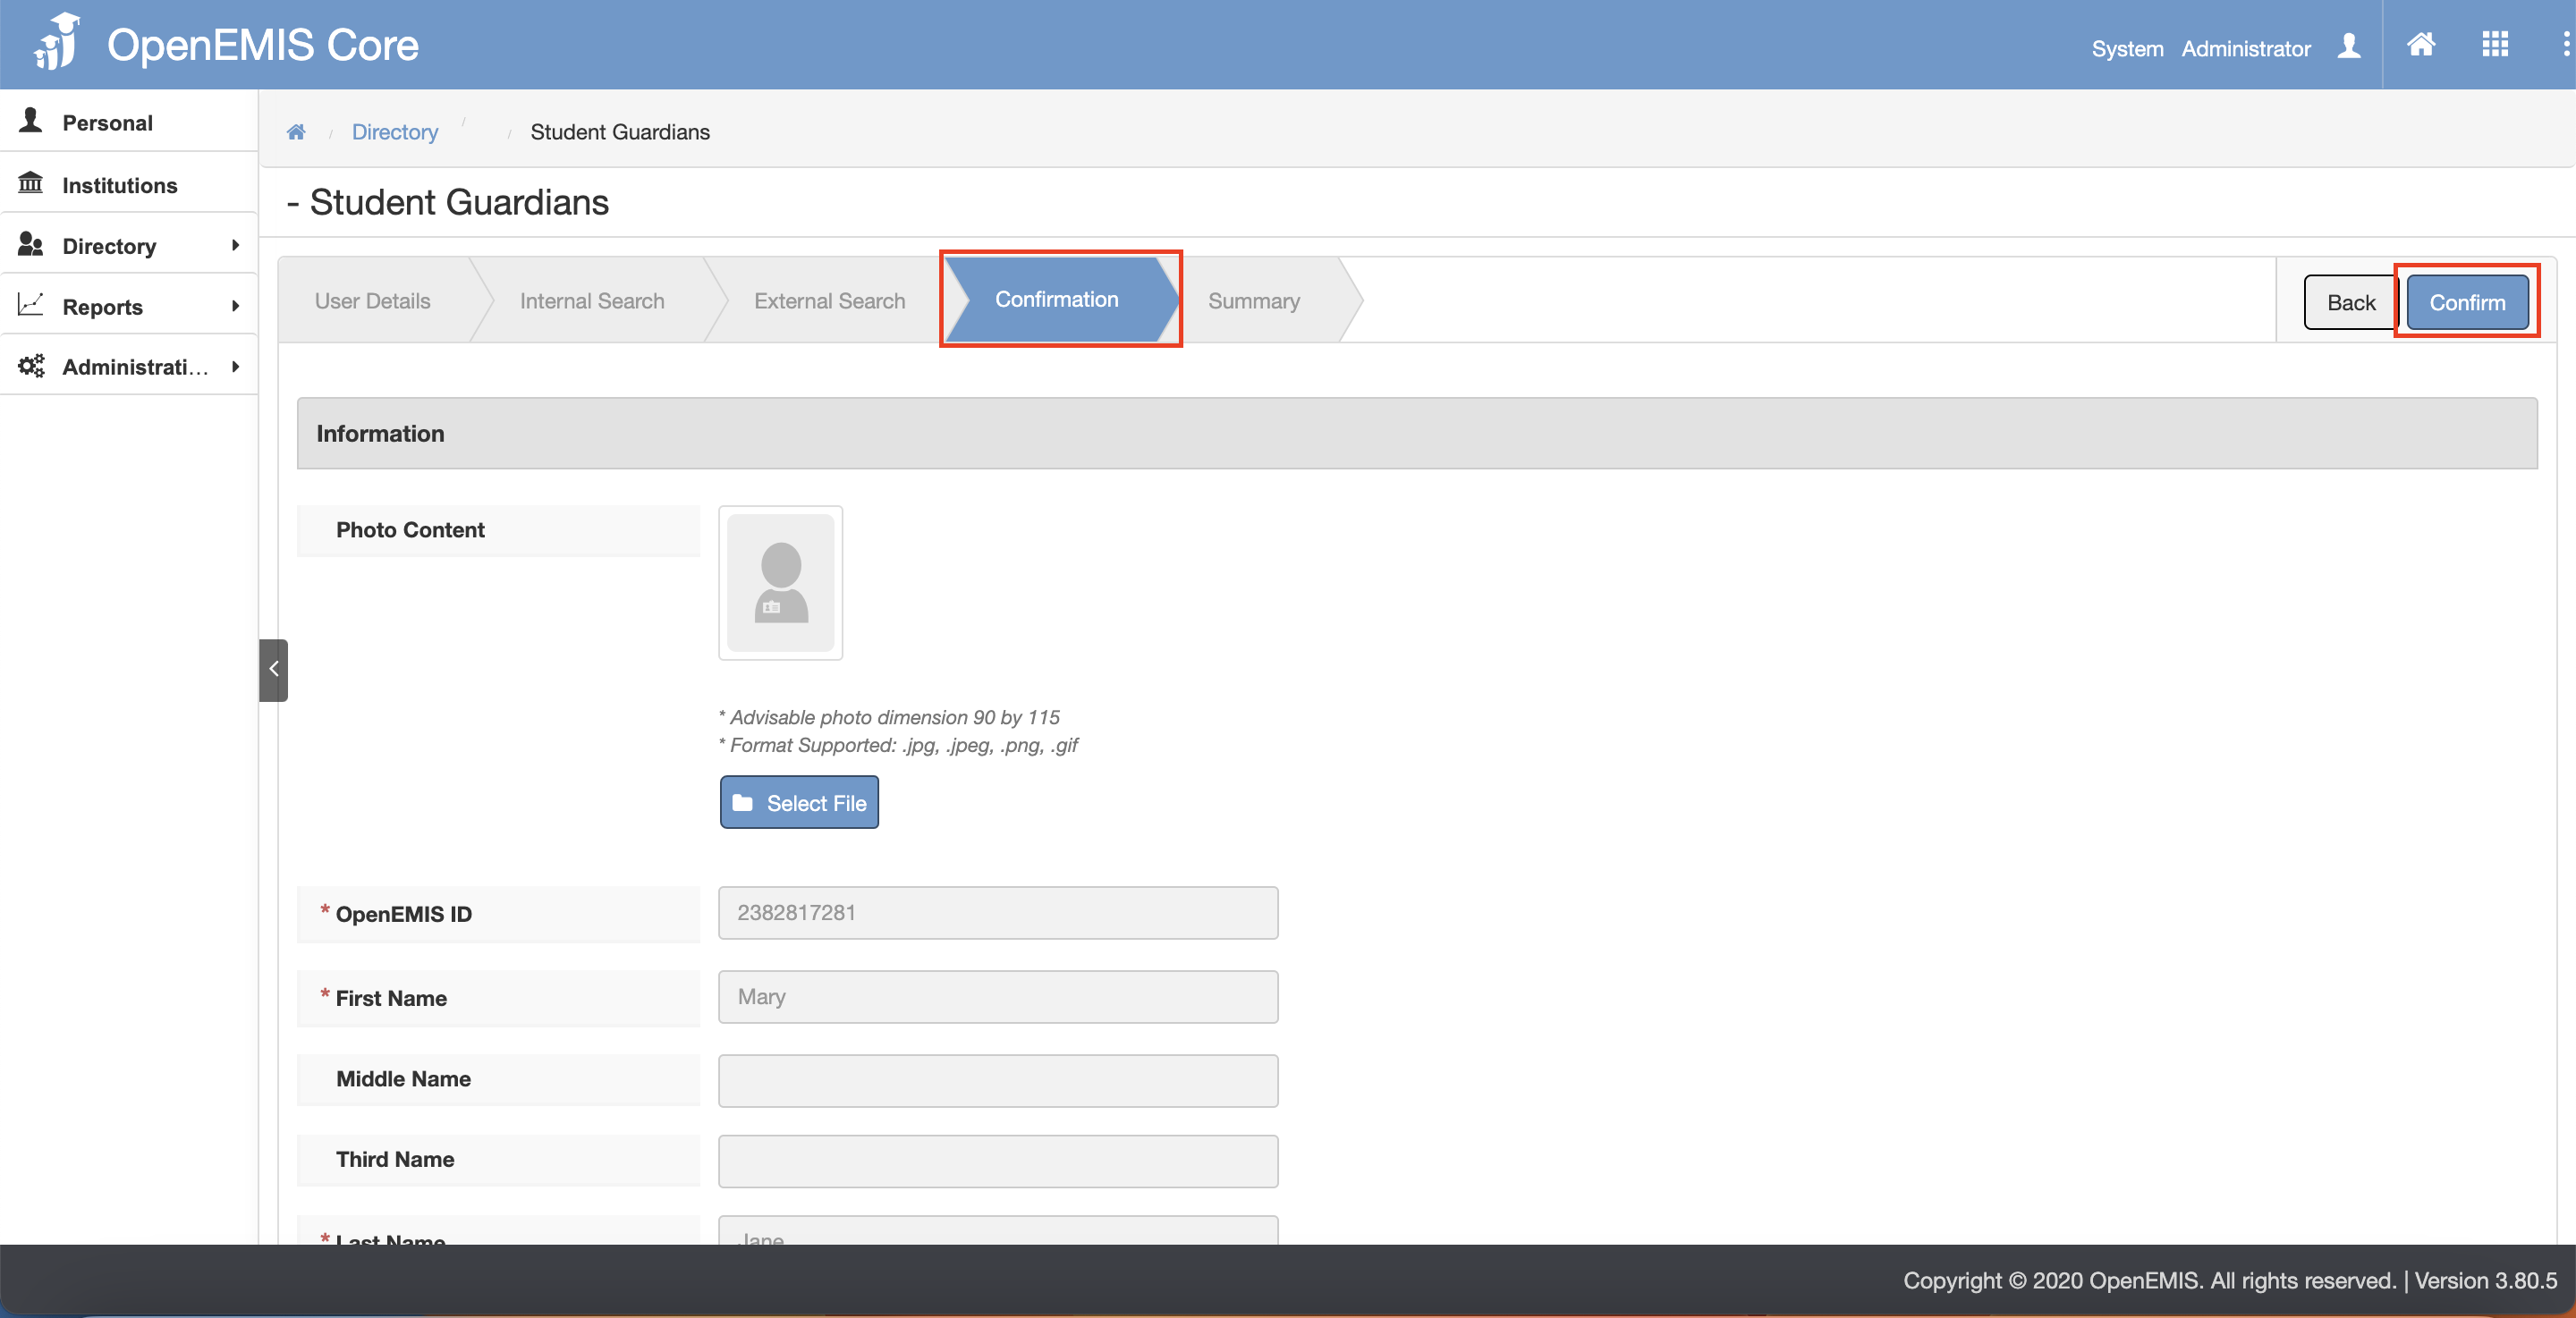
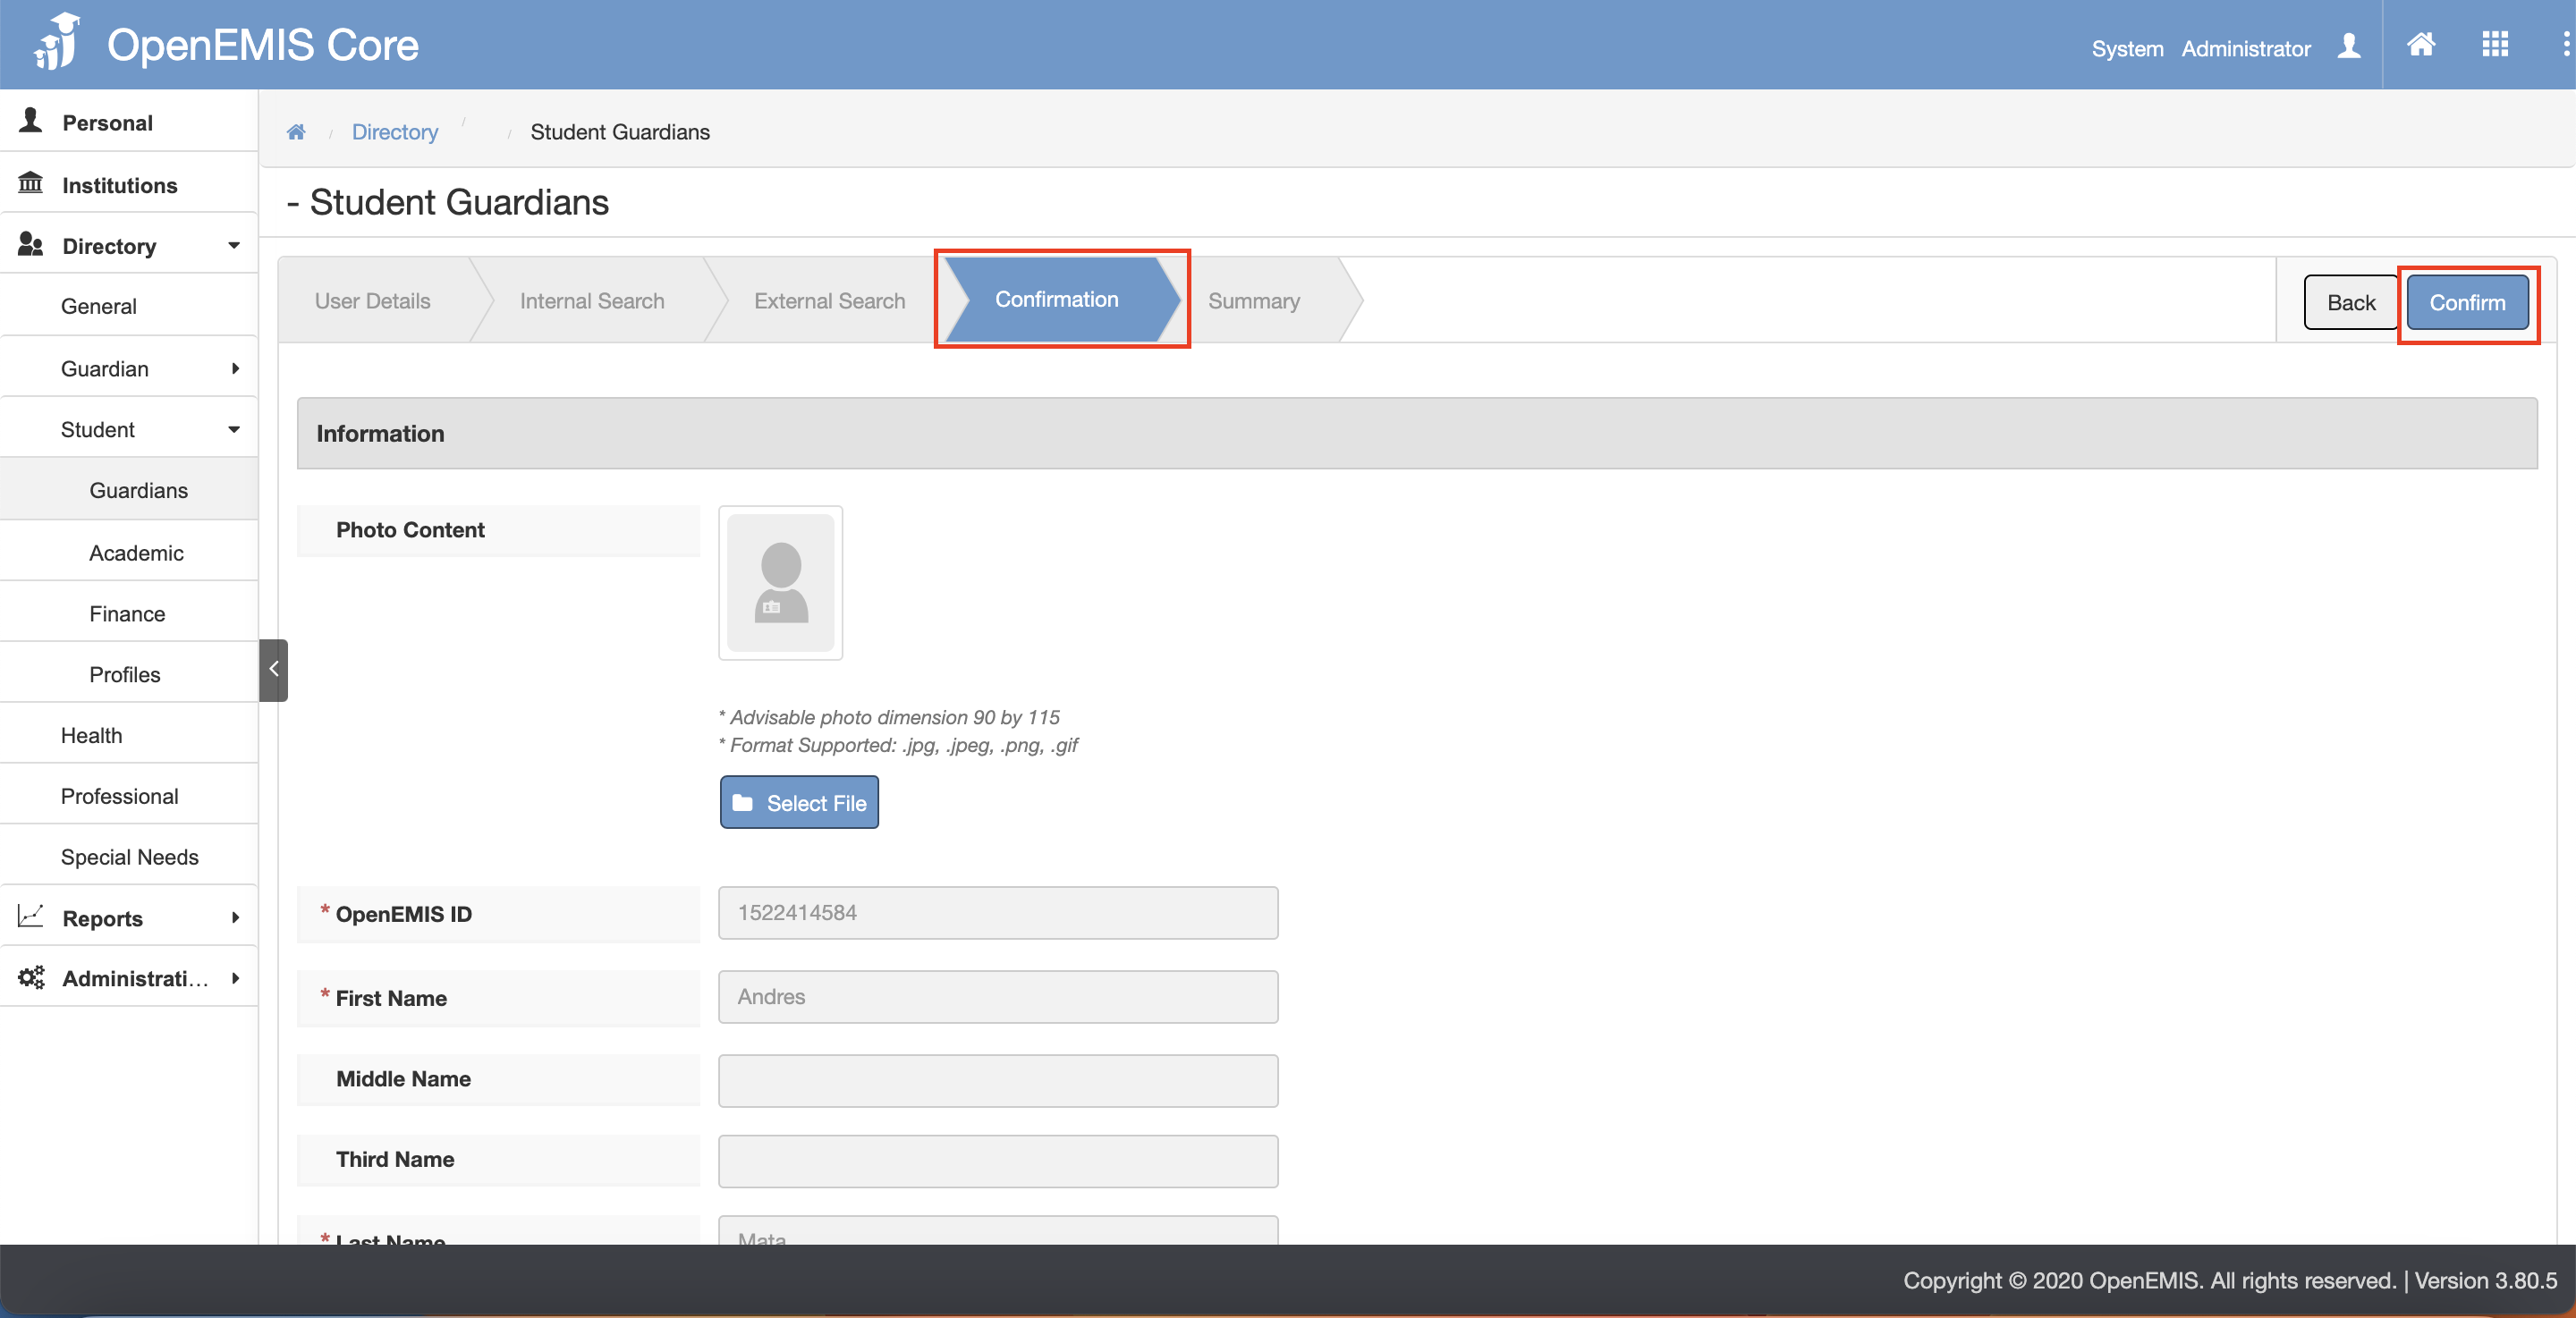
7) The page will navigate to the Confirmation tab page.
8) Click on the “Confirm” button.
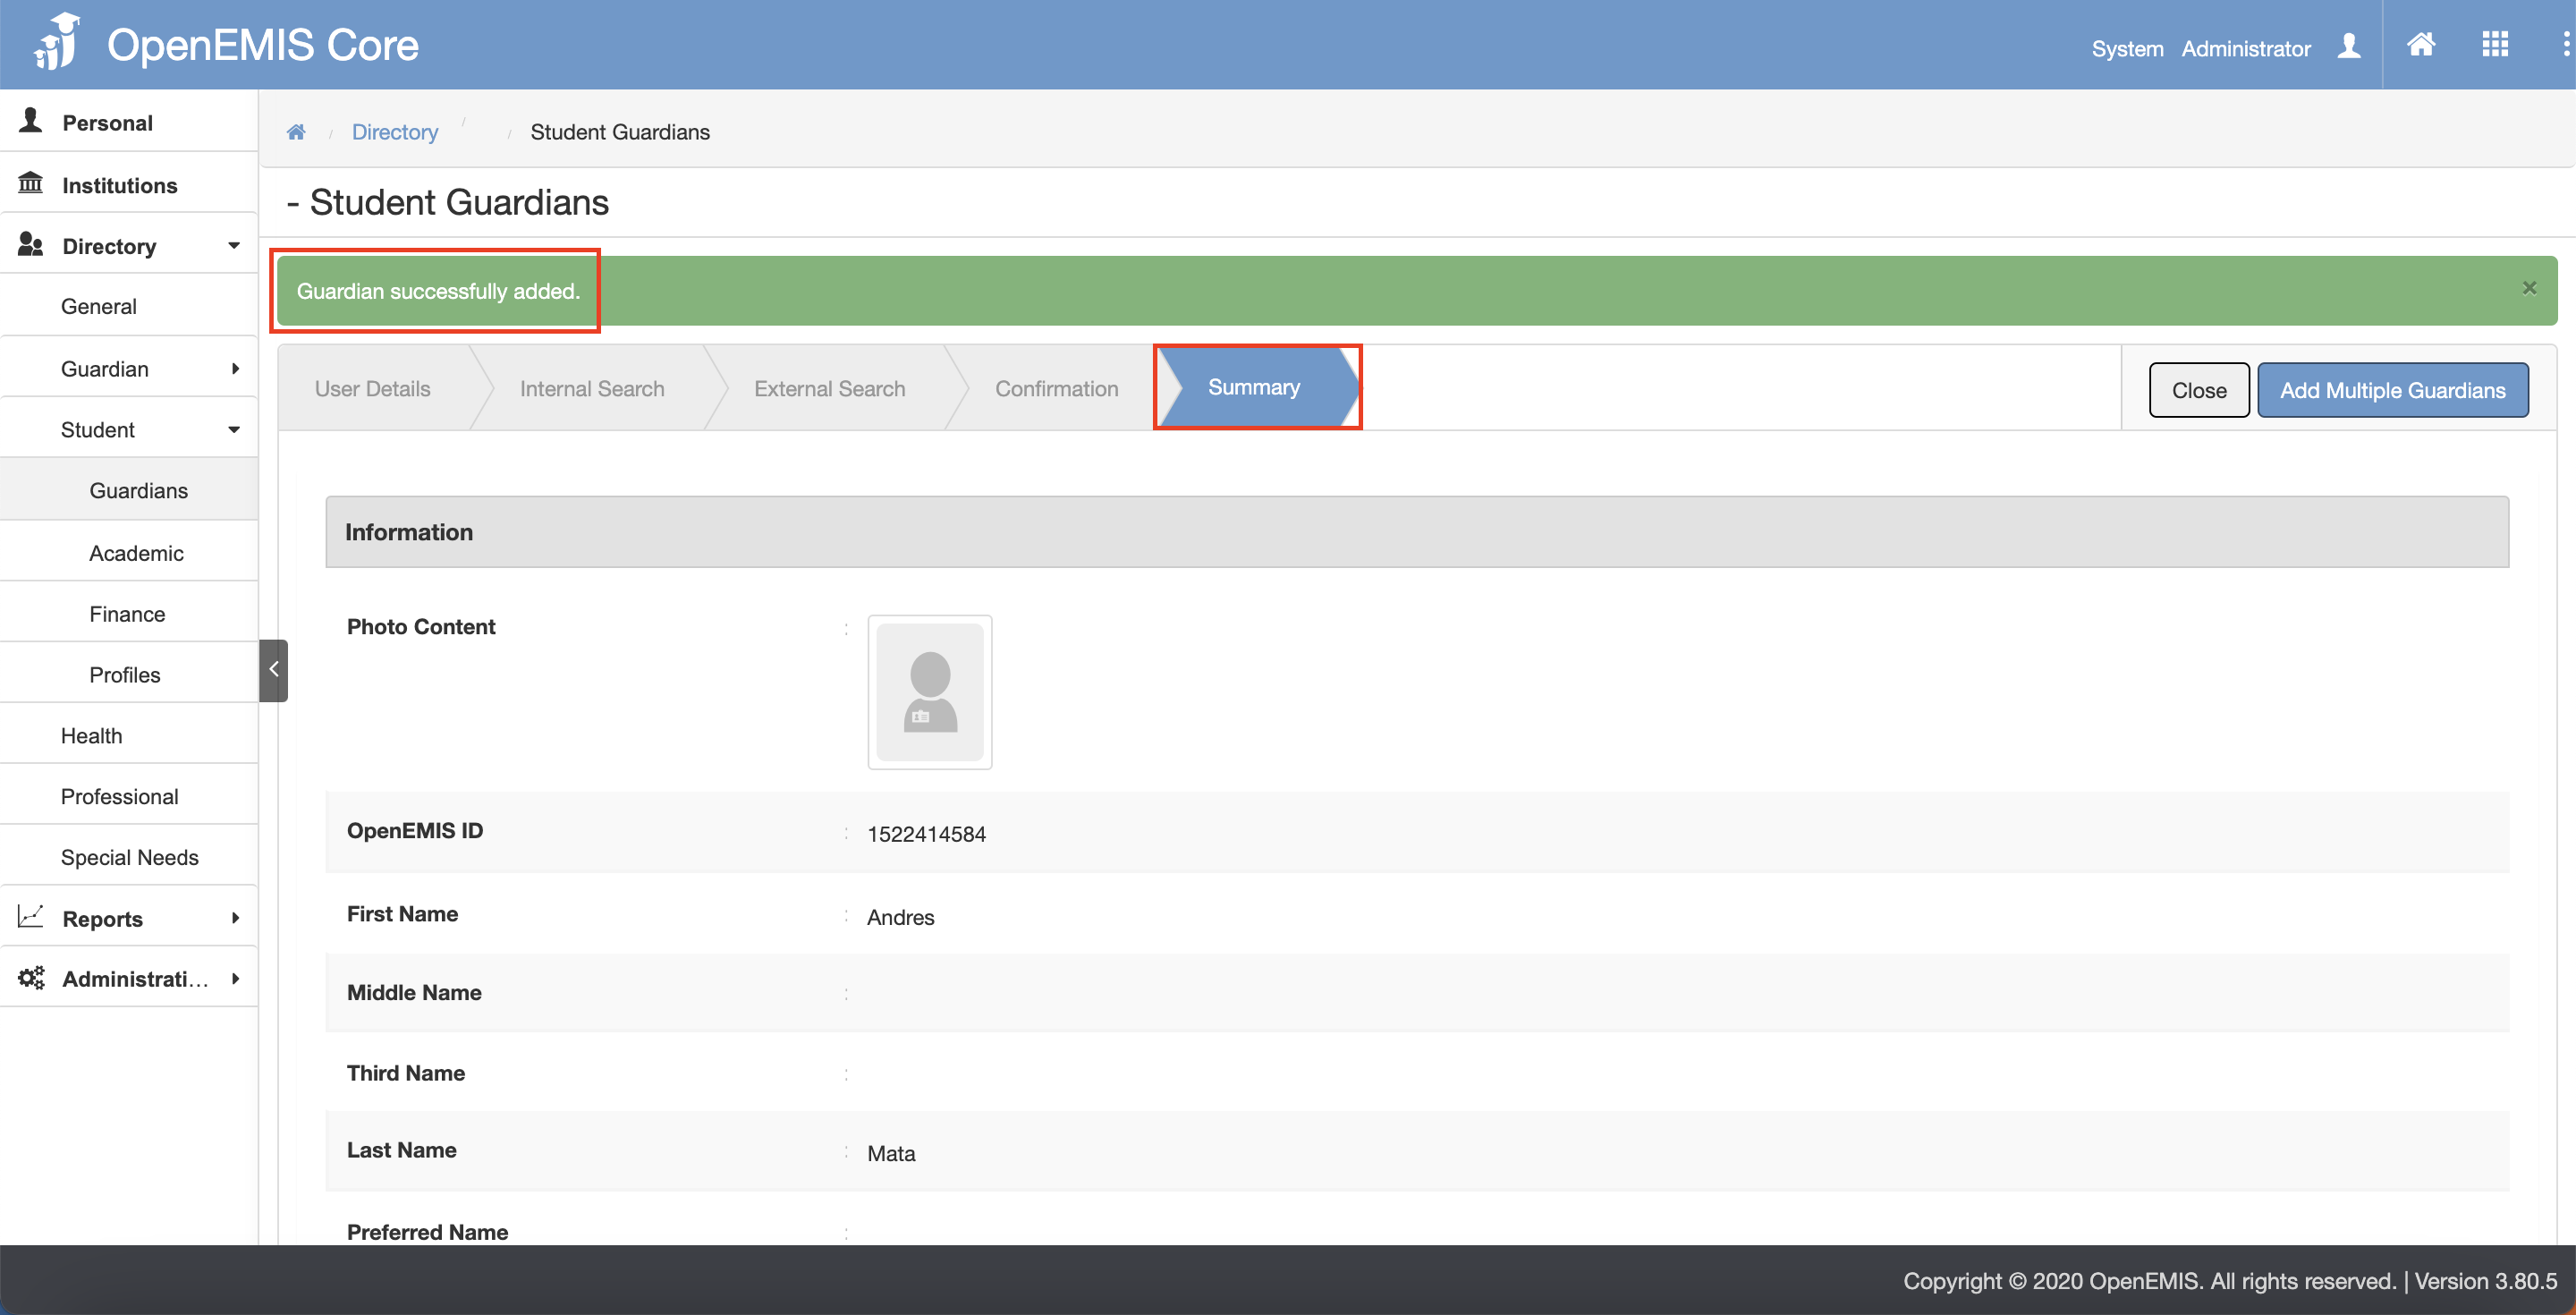
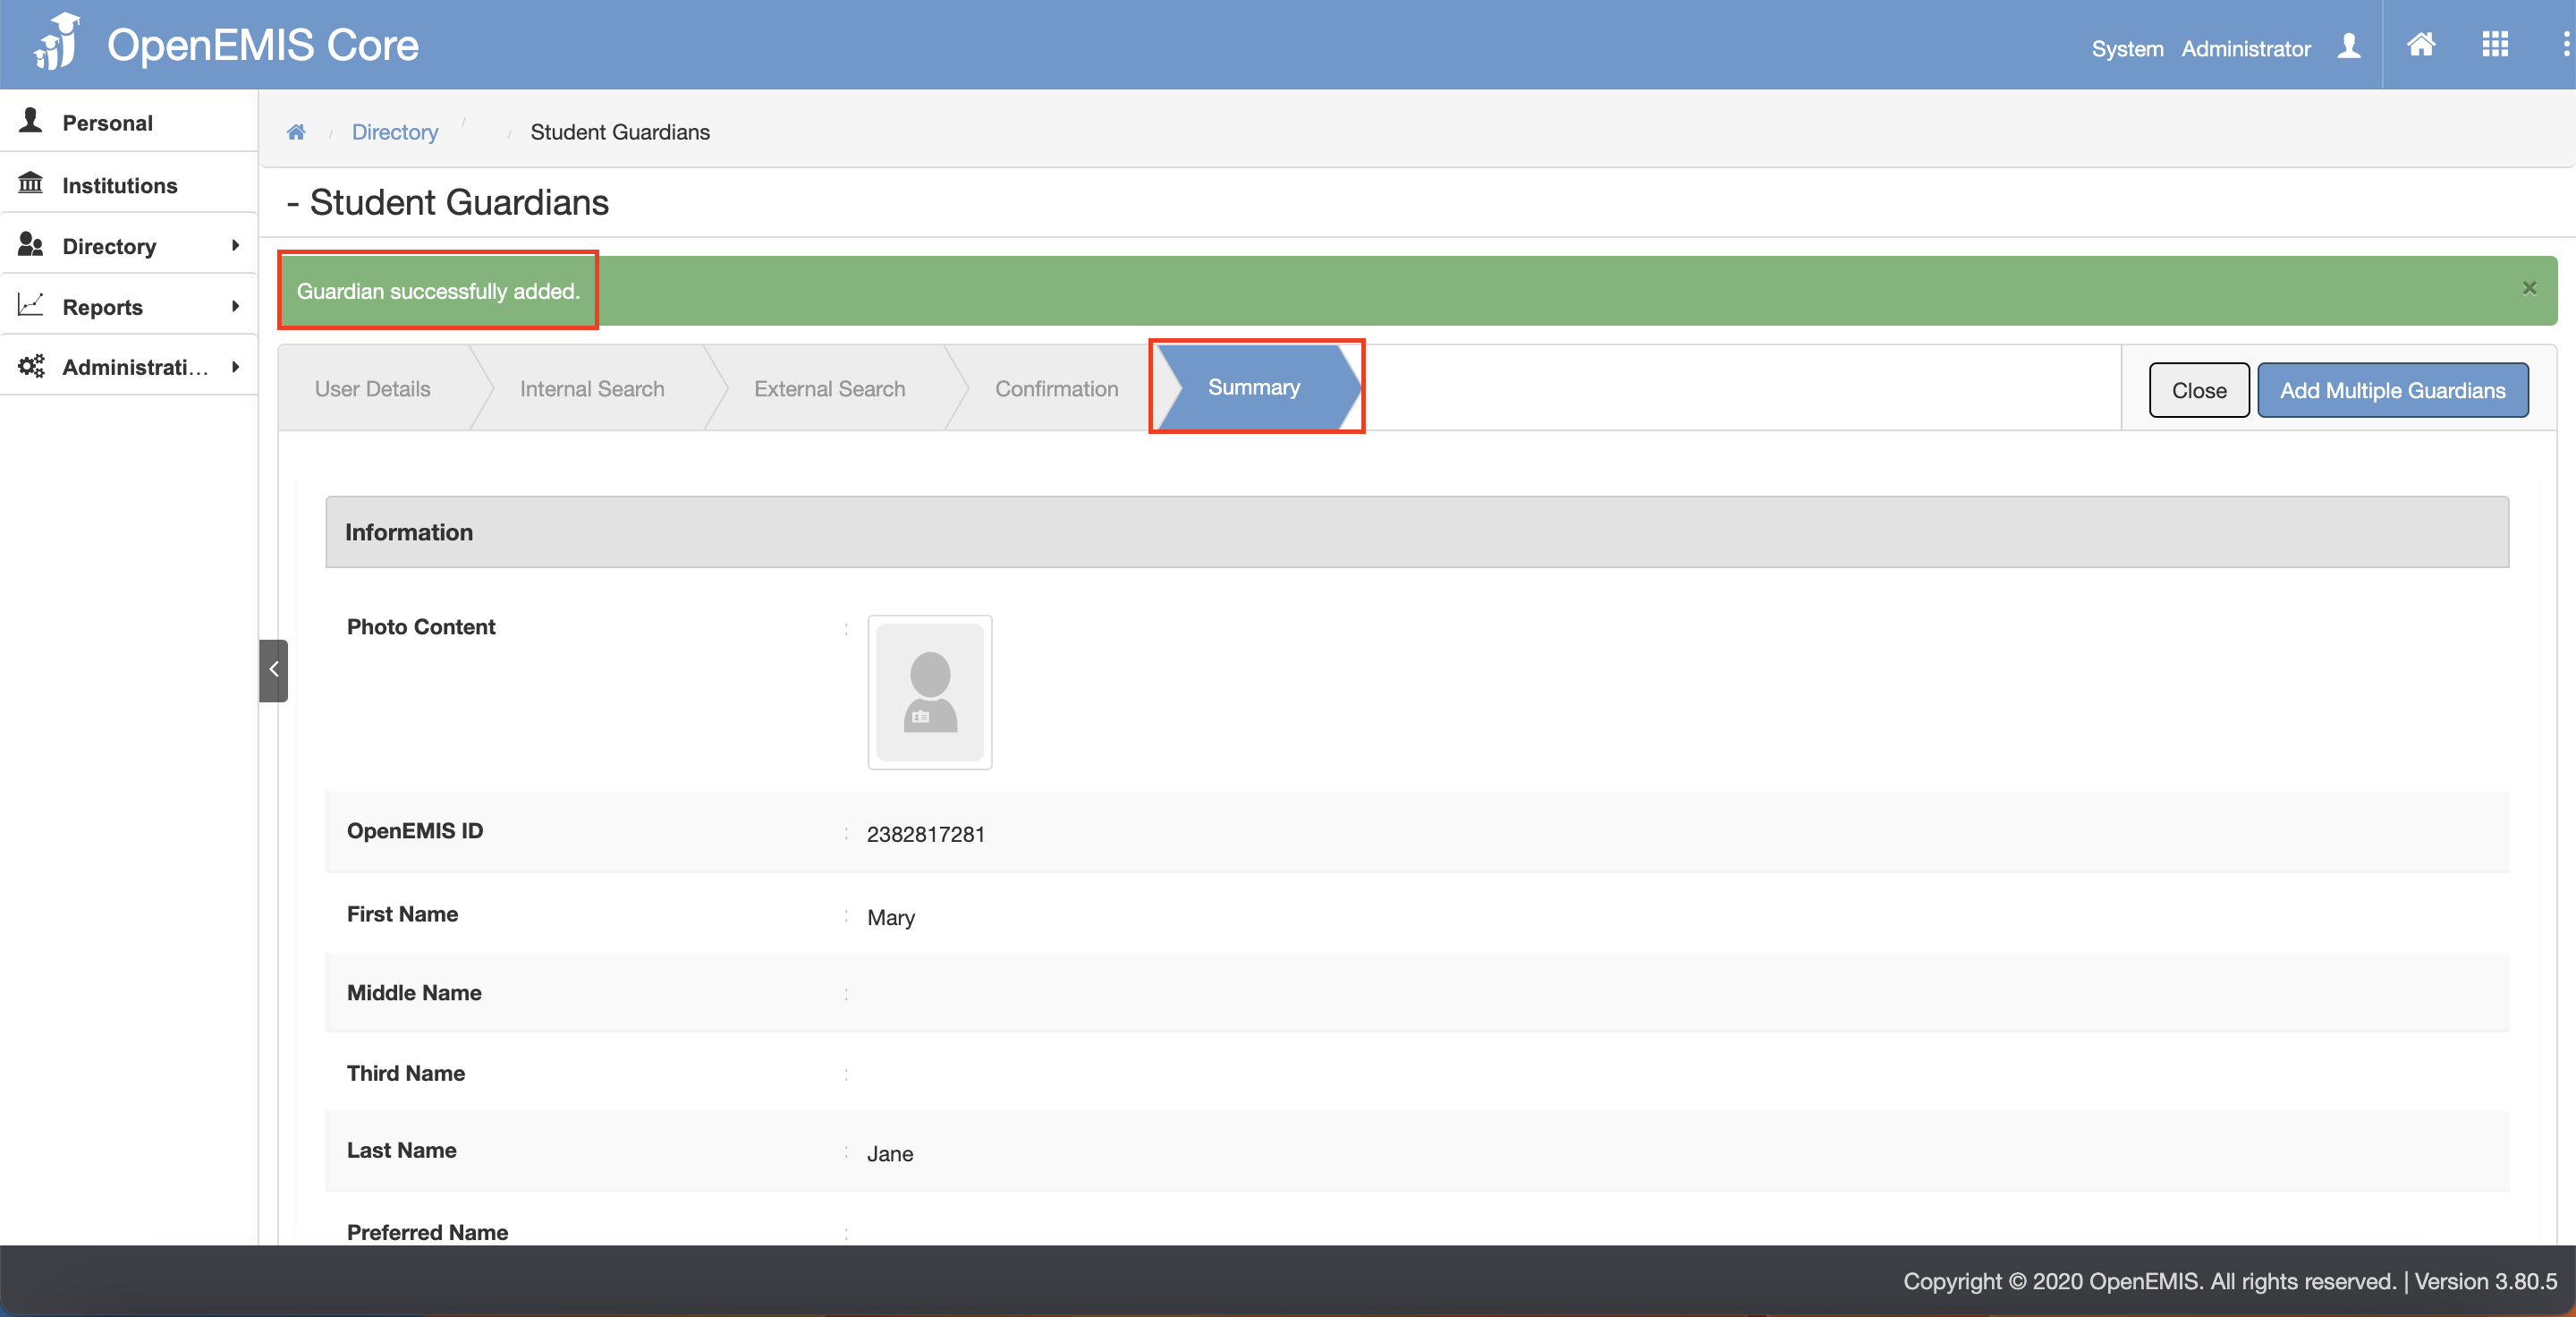
10) The page will navigate to the Summary tab page. There will be a message displaying that “Guardian successfully added”
11) There is also a button option to add multiple guardians.
Adding Existing User
1) After adding student successfully, there will be a “Add Guardian” button.
2) Select the Relation Type.
3) To add Guardian, fill in the Search by Identity OR Fill in the Search by Basic Information.
- Adding via Identity – select the Nationality and Identity Type and fill in the Identity Number.
- Adding via Basic Information – fill in the OpenEMIS ID OR fill in the First Name and Last Name and select the Gender and Date Of Birth.
4) Click on the “Next” button.
5) The page will go through Internal Search tab and External Search tab. (This is to avoid any duplicate records)
6) Click on the “Next” button after going through the Internal Search and External Search tab.
- Internal Search tab page – if system found similar users in the records, there will be a message displaying:
- External Search tab page
8) The page will navigate to the Confirmation tab page.
9) Click on the “Confirm” button.
10) The page will navigate to the Summary tab page. There will be a message displaying that “Guardian successfully added”
11) There is also a button option to add multiple guardians.