Name: OpenEMIS DataManager
Article Name: Time period
Category/Module: DataManager Data Entry
Tags: Time Period, Data Entry
Version: 1.9.1
Date Updated: 12 June 2017
Article Name: Time period
Category/Module: DataManager Data Entry
Tags: Time Period, Data Entry
Version: 1.9.1
Date Updated: 12 June 2017
Purpose: From this page of DataManager you can add or edit the possible time – periods for your data values.
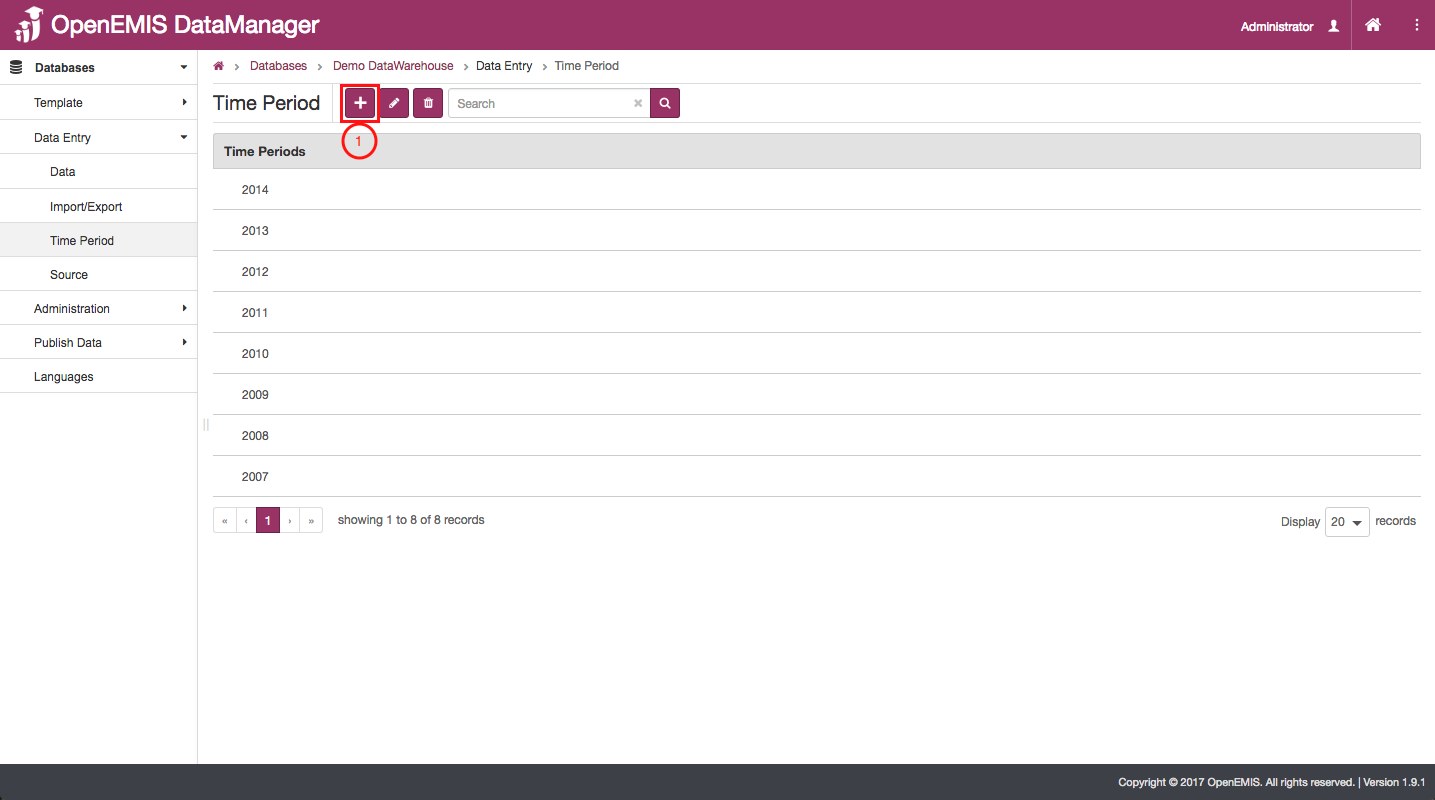
Add a Time Period:
- To add a time period to your list of time periods, click on the “Add” icon.
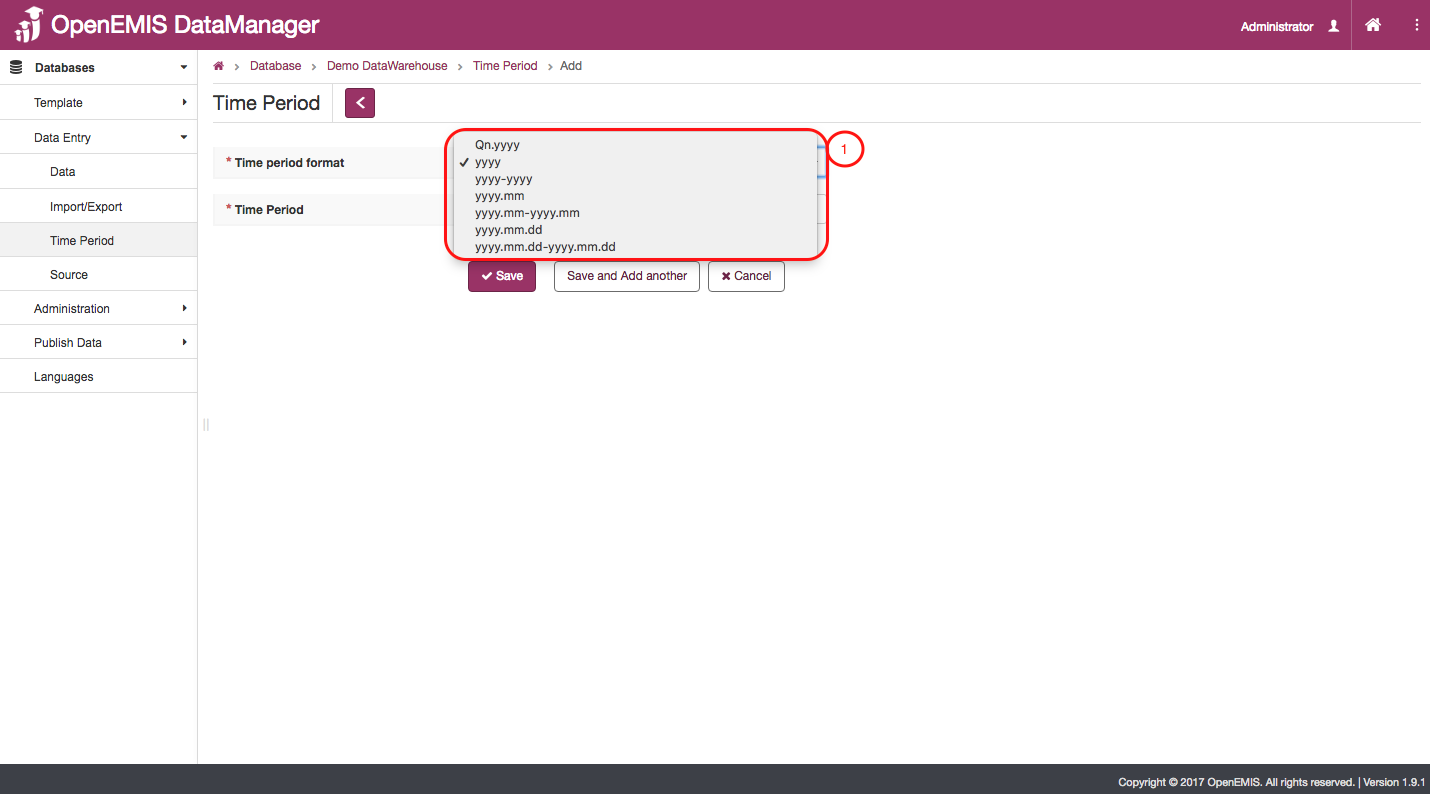
- Once you have been brought to this page, select the time period format that you will use to enter the time period into the software. You will have to follow this formatting exactly to properly input the new time period into the software.
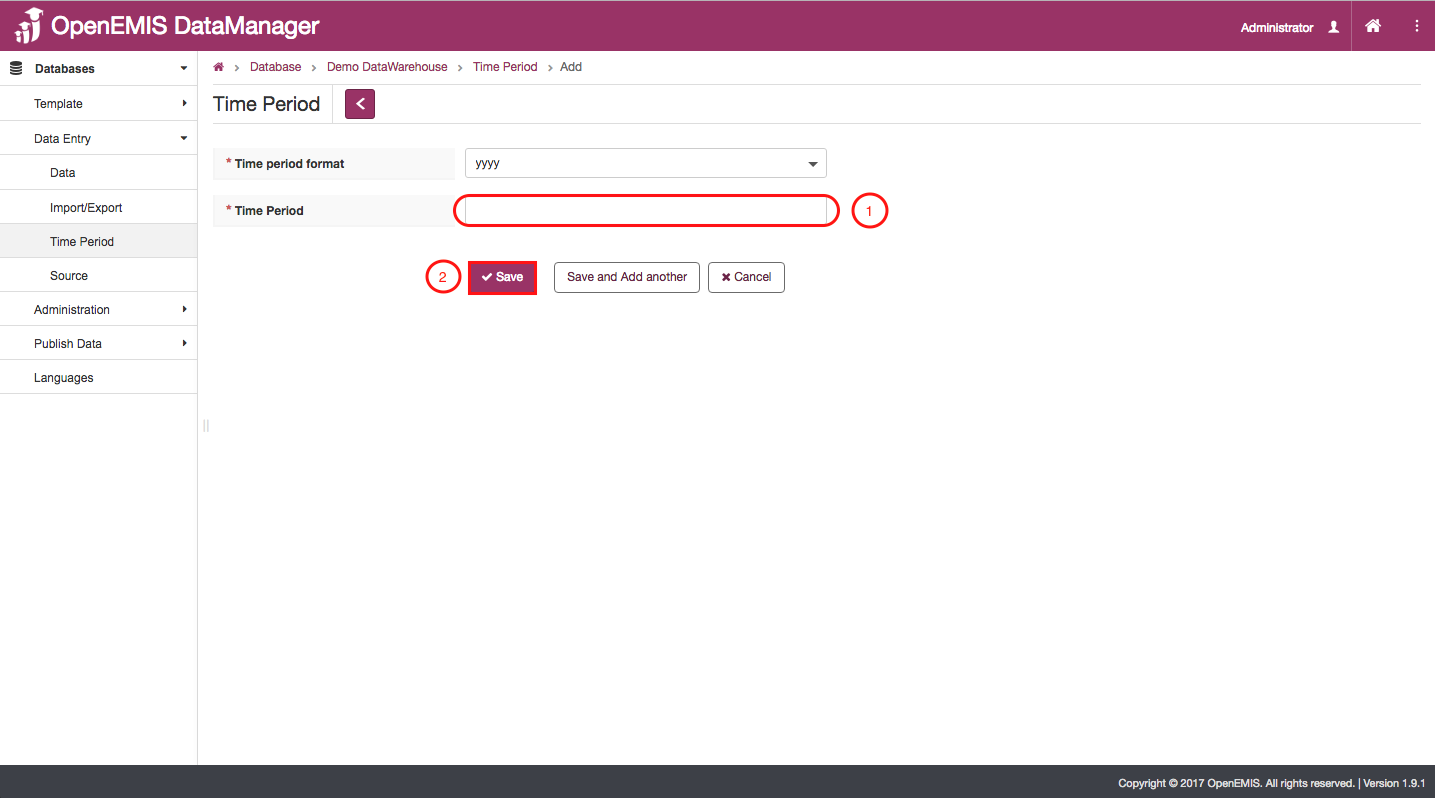
- Input the time period into this box using the exact format you selected in the previous step.
- Click “Save” to permanently save your work.
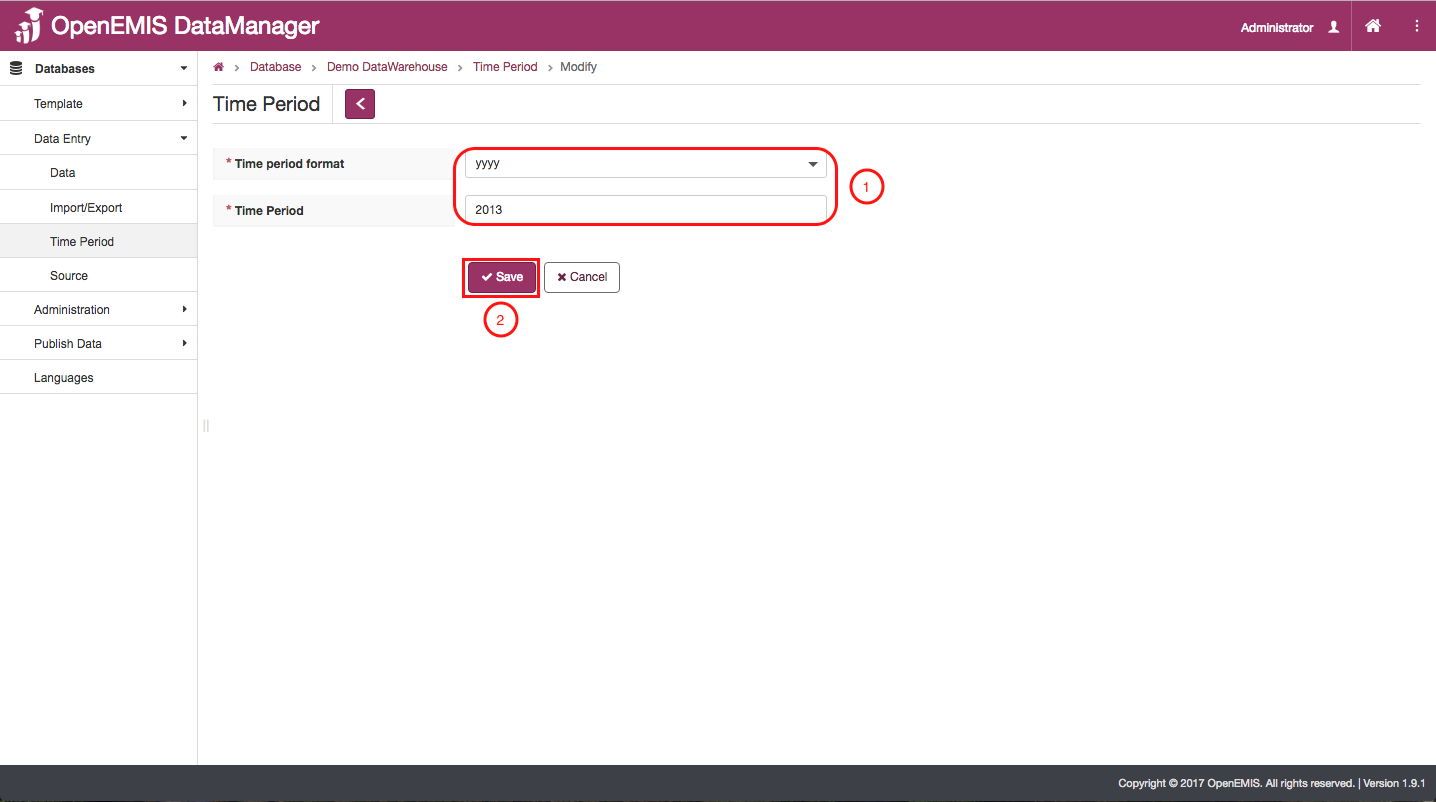
Edit a Time Period:
- If you want to edit an already existing time period, first select the time period you wish to edit.
- Then, click on the “Edit” icon.
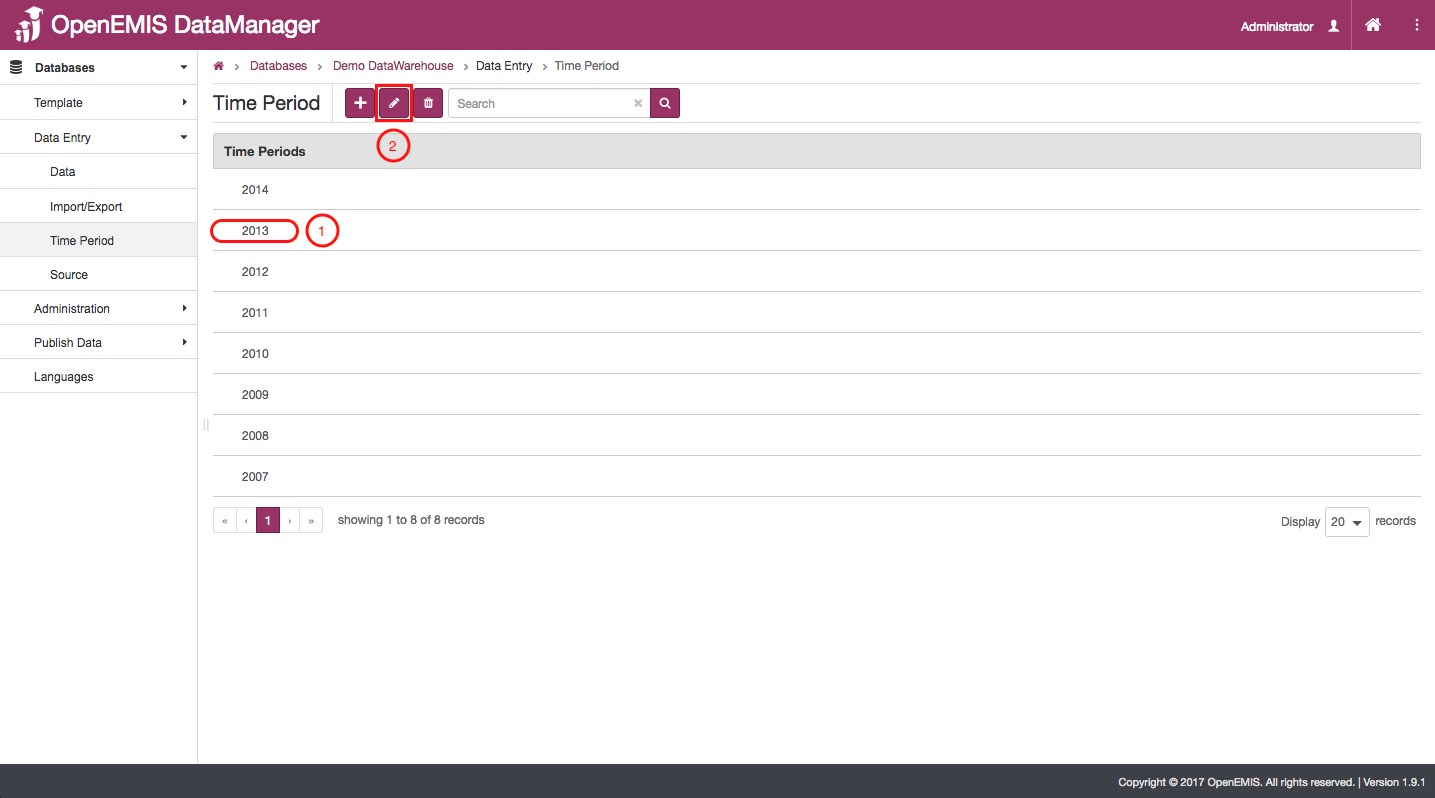
- You will be brought to a page that looks just like the “Add” page. From here you can adjust the format of your time period and the time period itself.
- Once you have edited the information properly, click on the “Save” icon.