Name: OpenEMIS DataManager
Article Name: Language
Category/Module: DataManager Administration
Tags: Language, Administration
Version: 1.9.1
Date Updated: 12 June 2017
Article Name: Language
Category/Module: DataManager Administration
Tags: Language, Administration
Version: 1.9.1
Date Updated: 12 June 2017
Purpose: From the Languages section of the software you can set the default language, export translation files in various languages, and import translation files into the software.
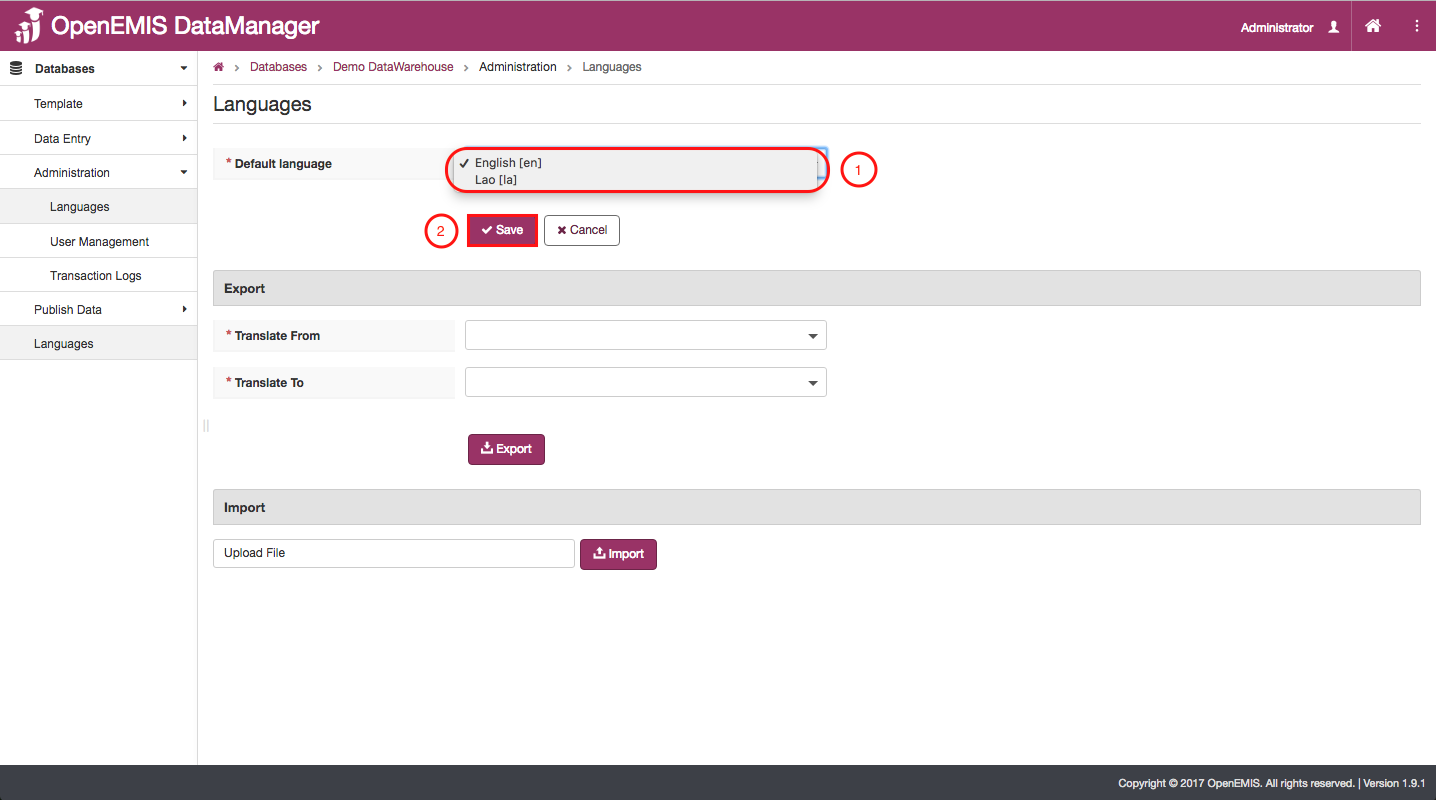
Setting Default Language
- This section of the Languages page is for setting the default language for the software. Pick one of the possible default languages.
- Once you have selected the correct default language, click on “Save” to permanently save your changes
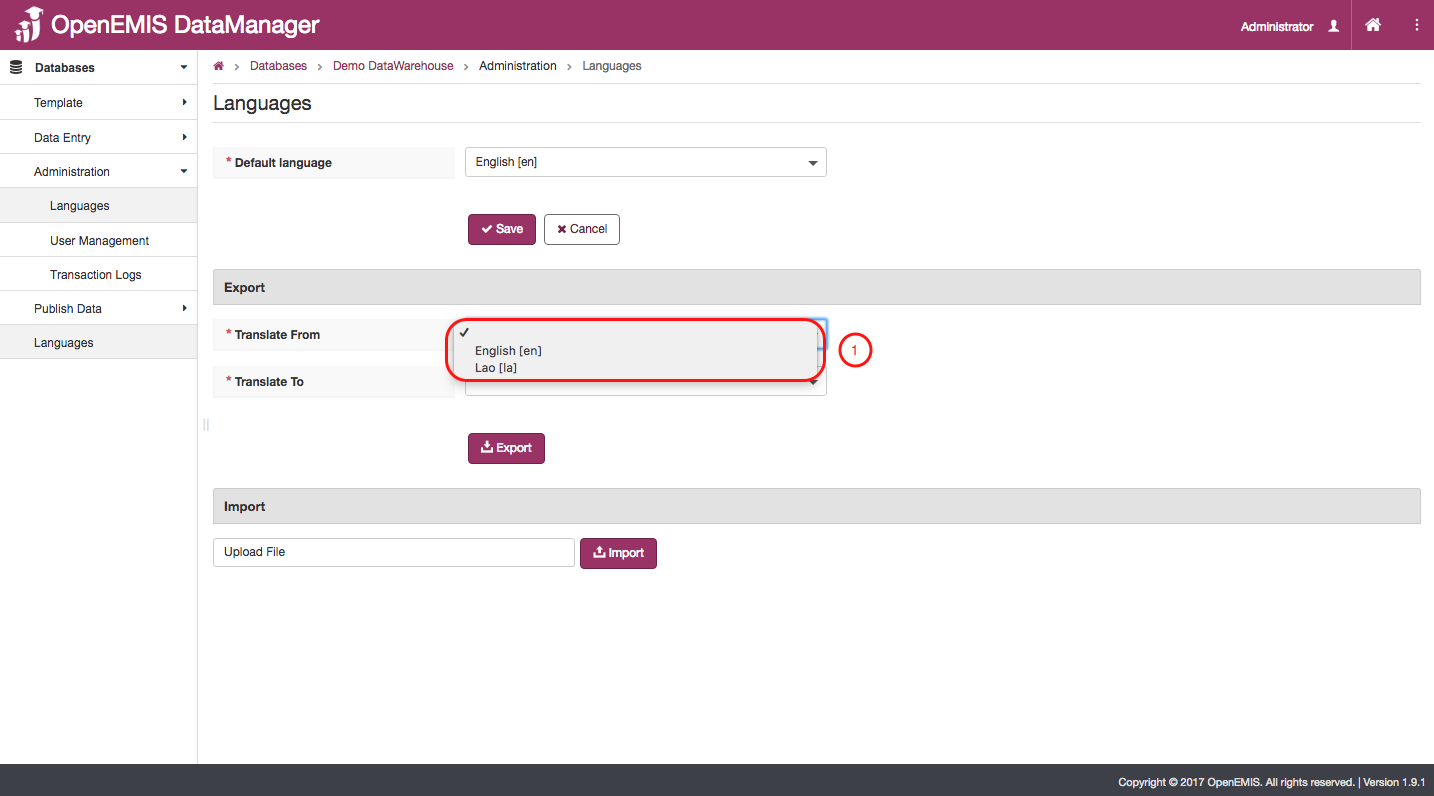
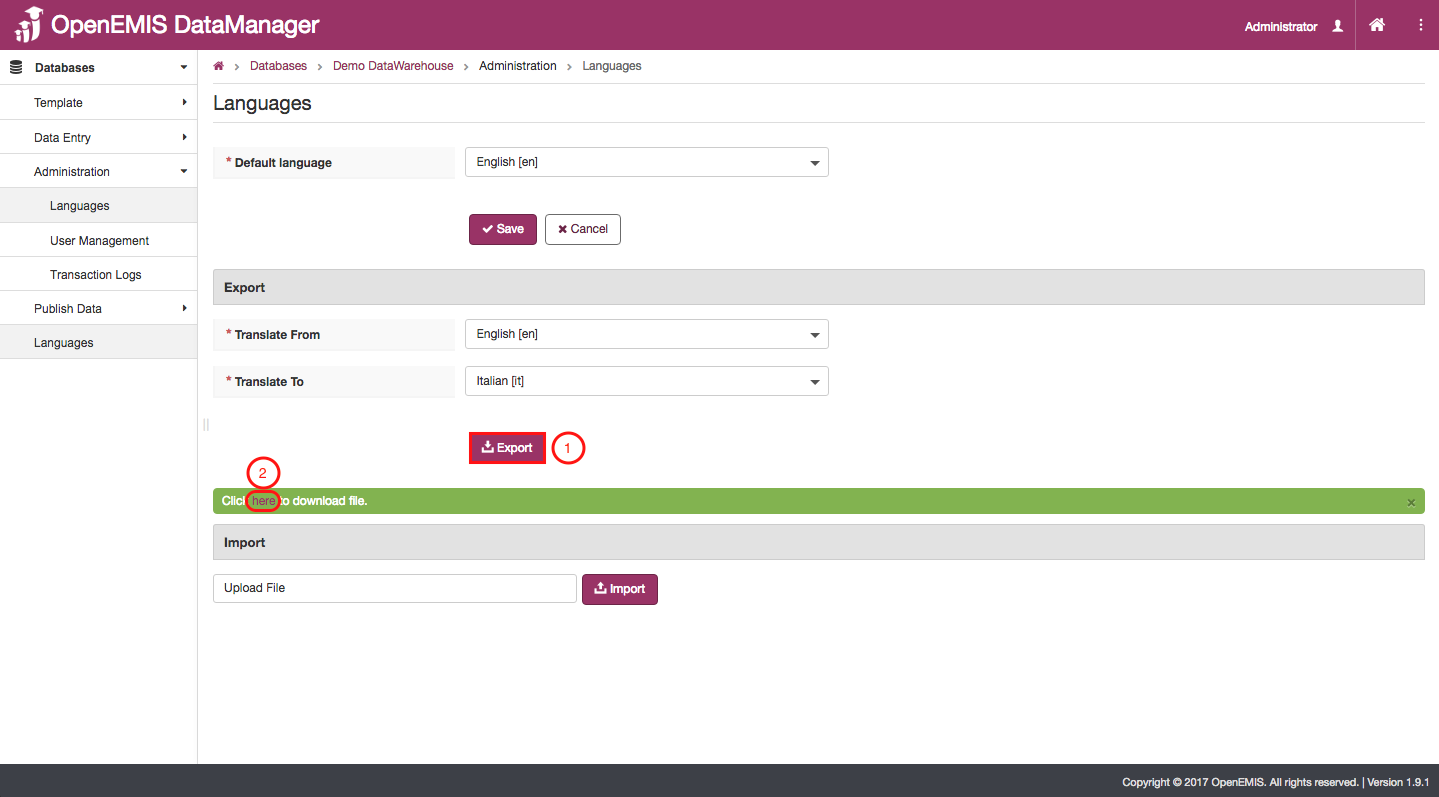
Export:
- To export a translation file to your computer, first, select the language that the information is currently in.
- Then, select the language that you would like to translate the information to.
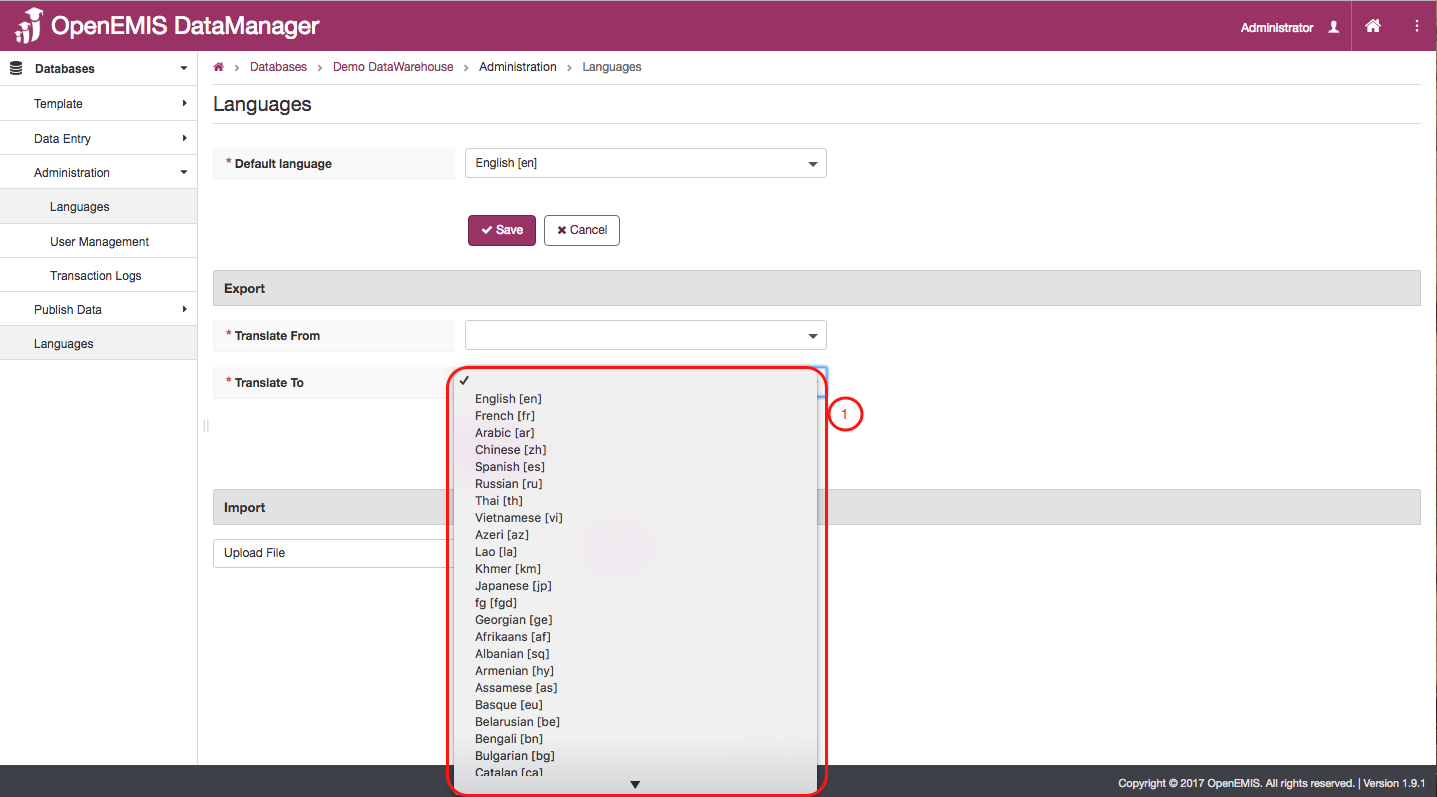
- Once you have properly selected the language that you are translating the information from and the language you are translating your information to, then click on the “Export” icon.
- When your file is ready to be exported a message will appear with a link to download your file. Click on “here” and the file will be downloaded to your computer.
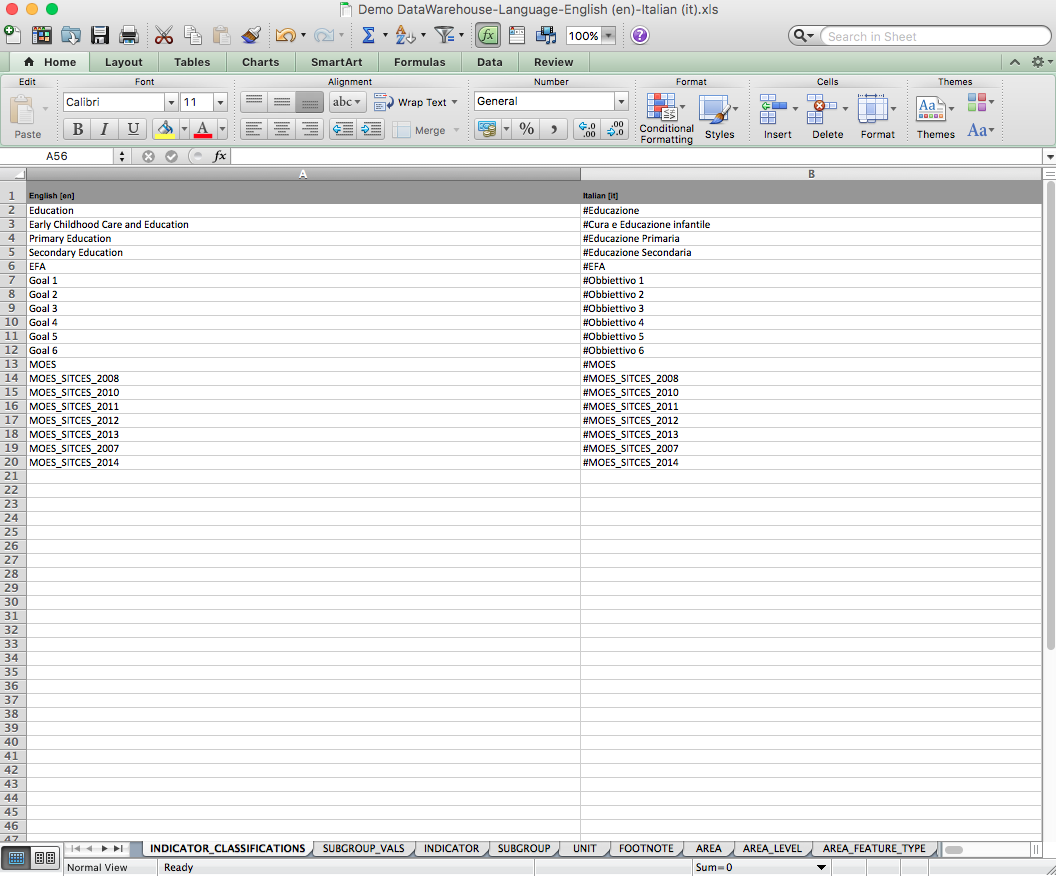
The file that you have exported will look like the file below. In one column there will be the language you have translated the information from, and in the other column, there will be the language you have translated the information to.
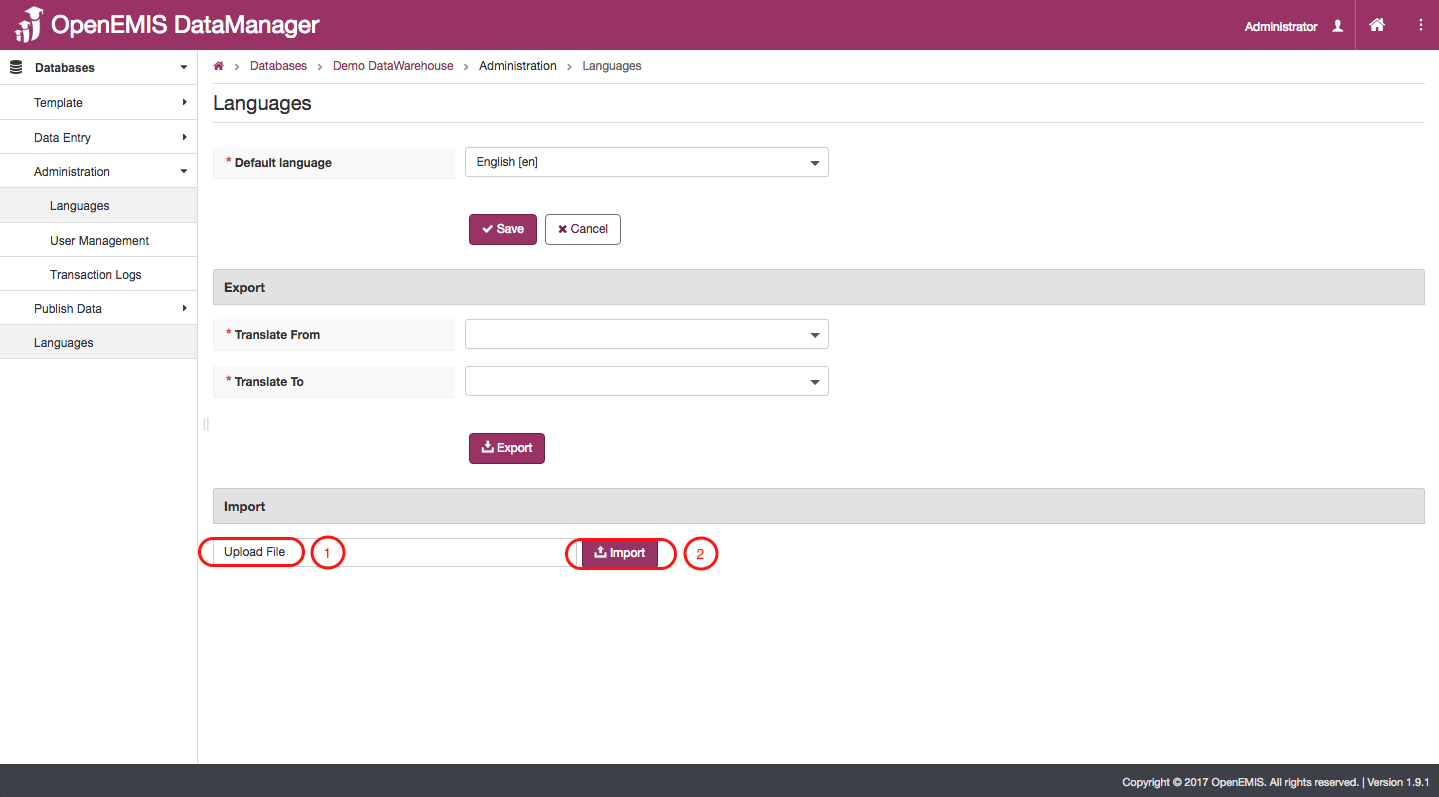
Import:
- To import a language translation file, first, click on the “Upload File” icon. The file that you select must be in the same format as a file that has been exported or else it will not upload.
- Once you have selected an appropriately formatted file, click on the “Import” icon.