Purpose: Managing Dashboard by adding, designing and configuring.
Features:
- Adding Dashboard
- Designing Dashboard
- Configuring Dashboard
- Uploading Media File
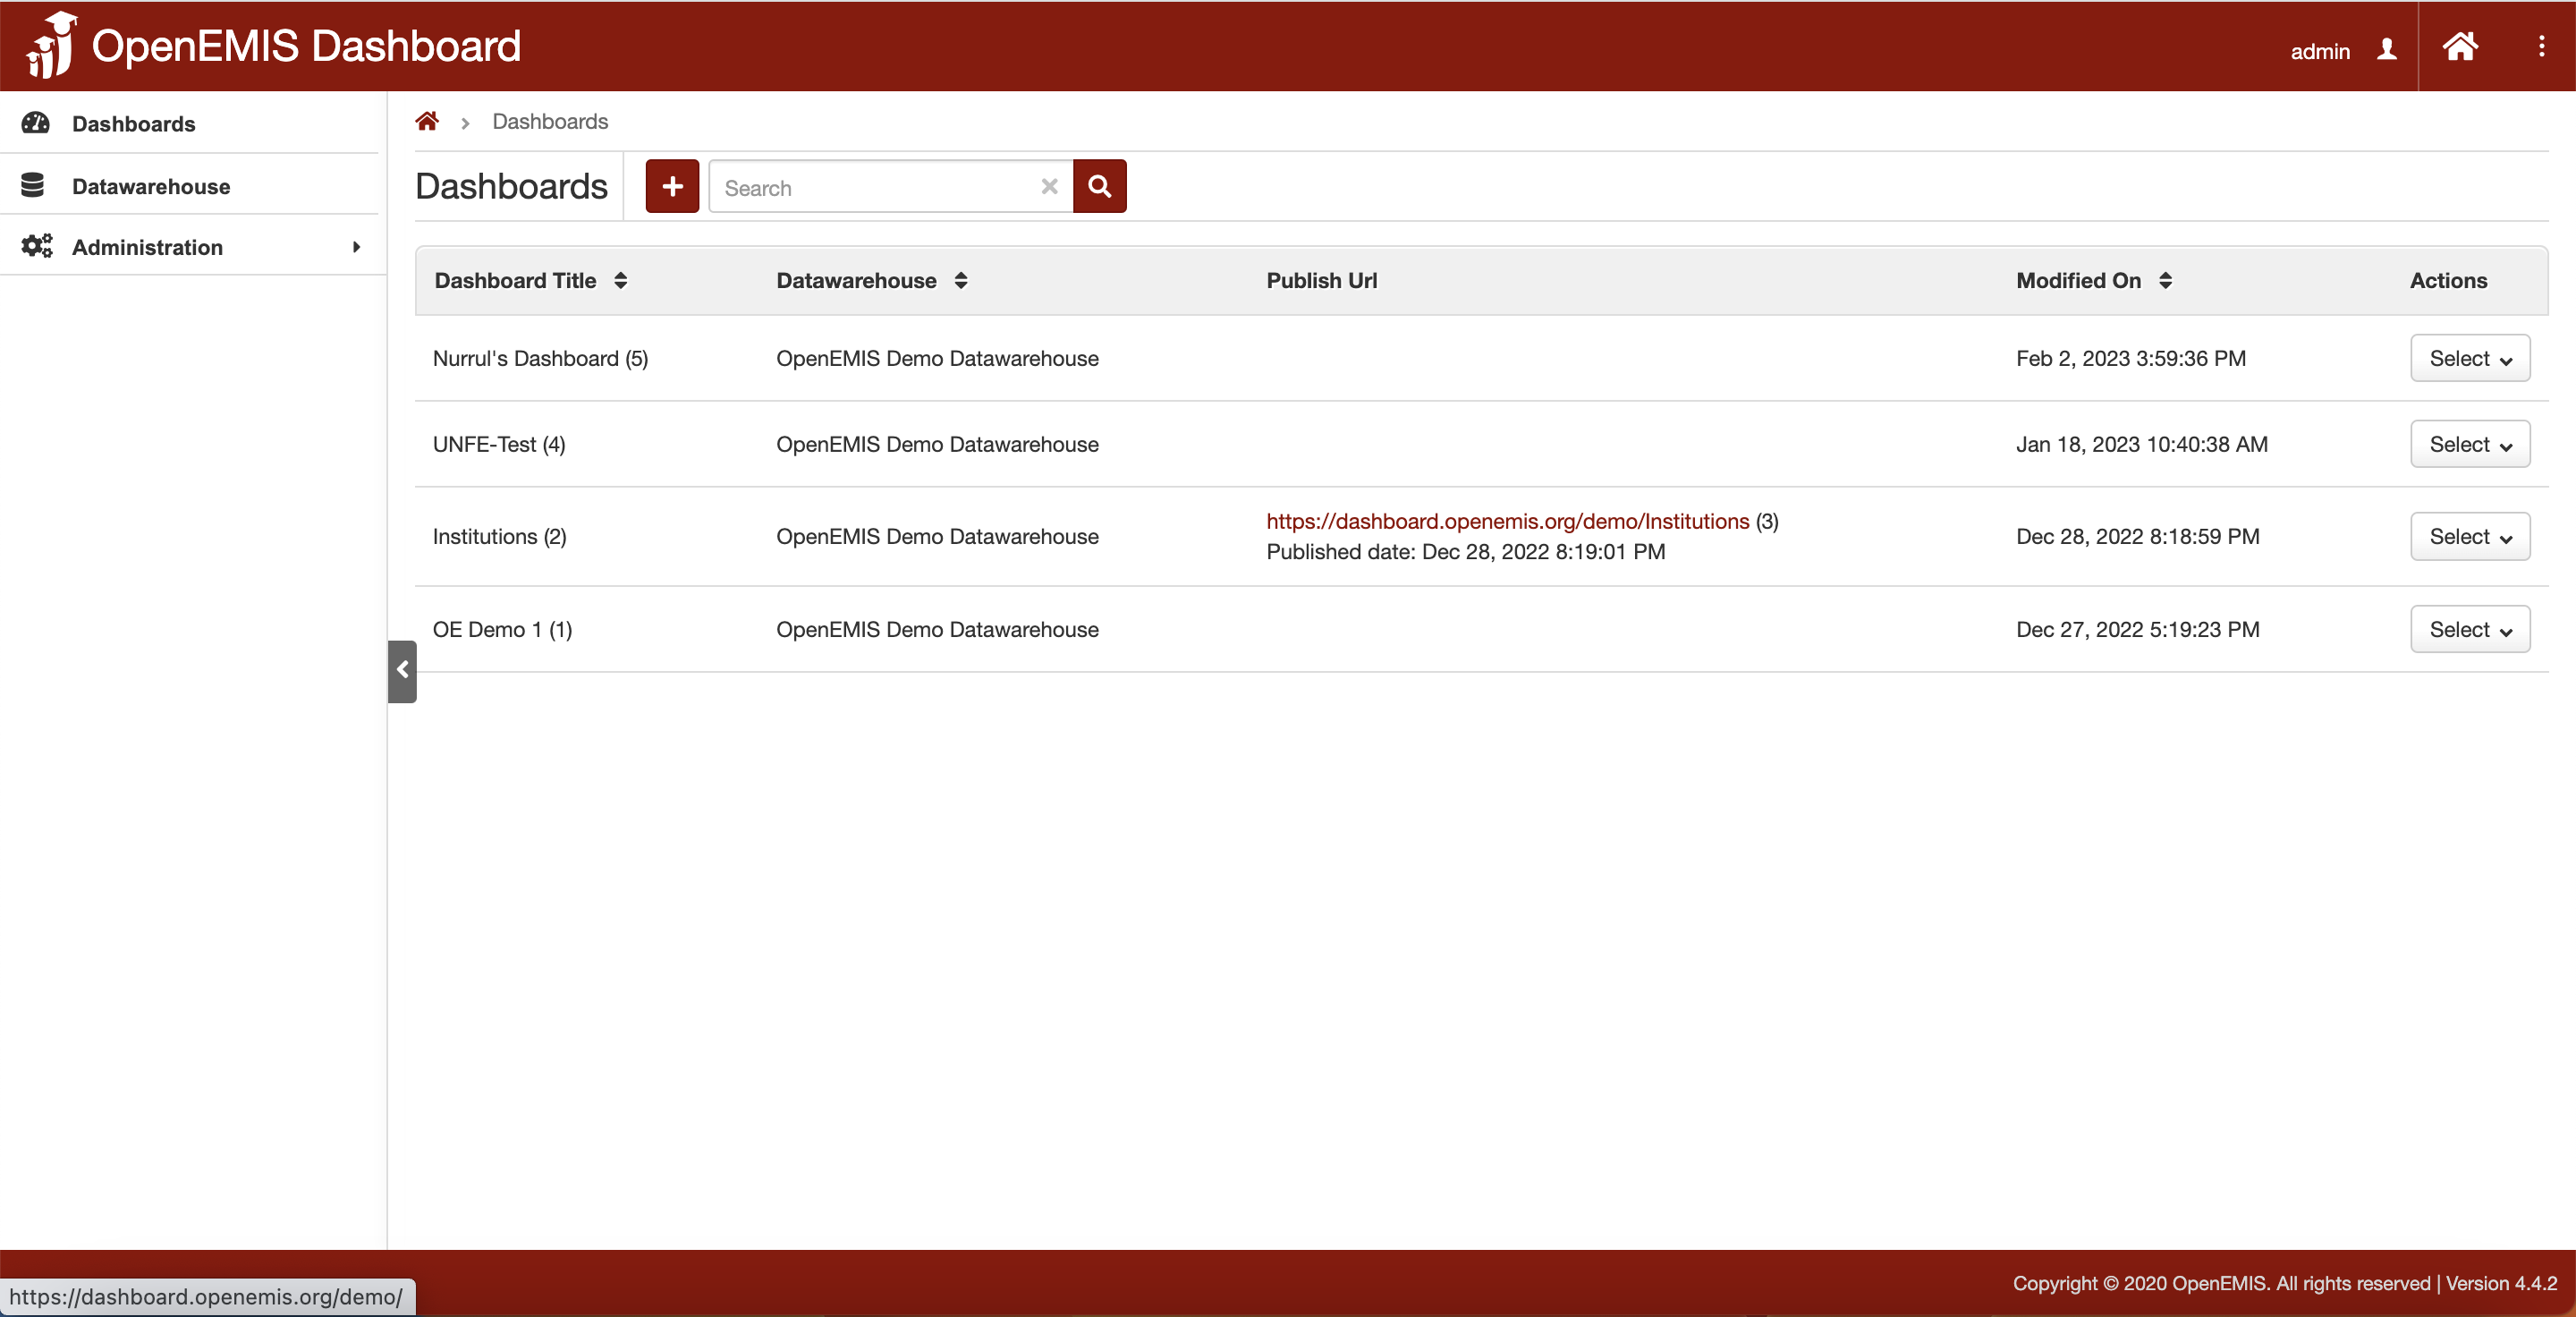
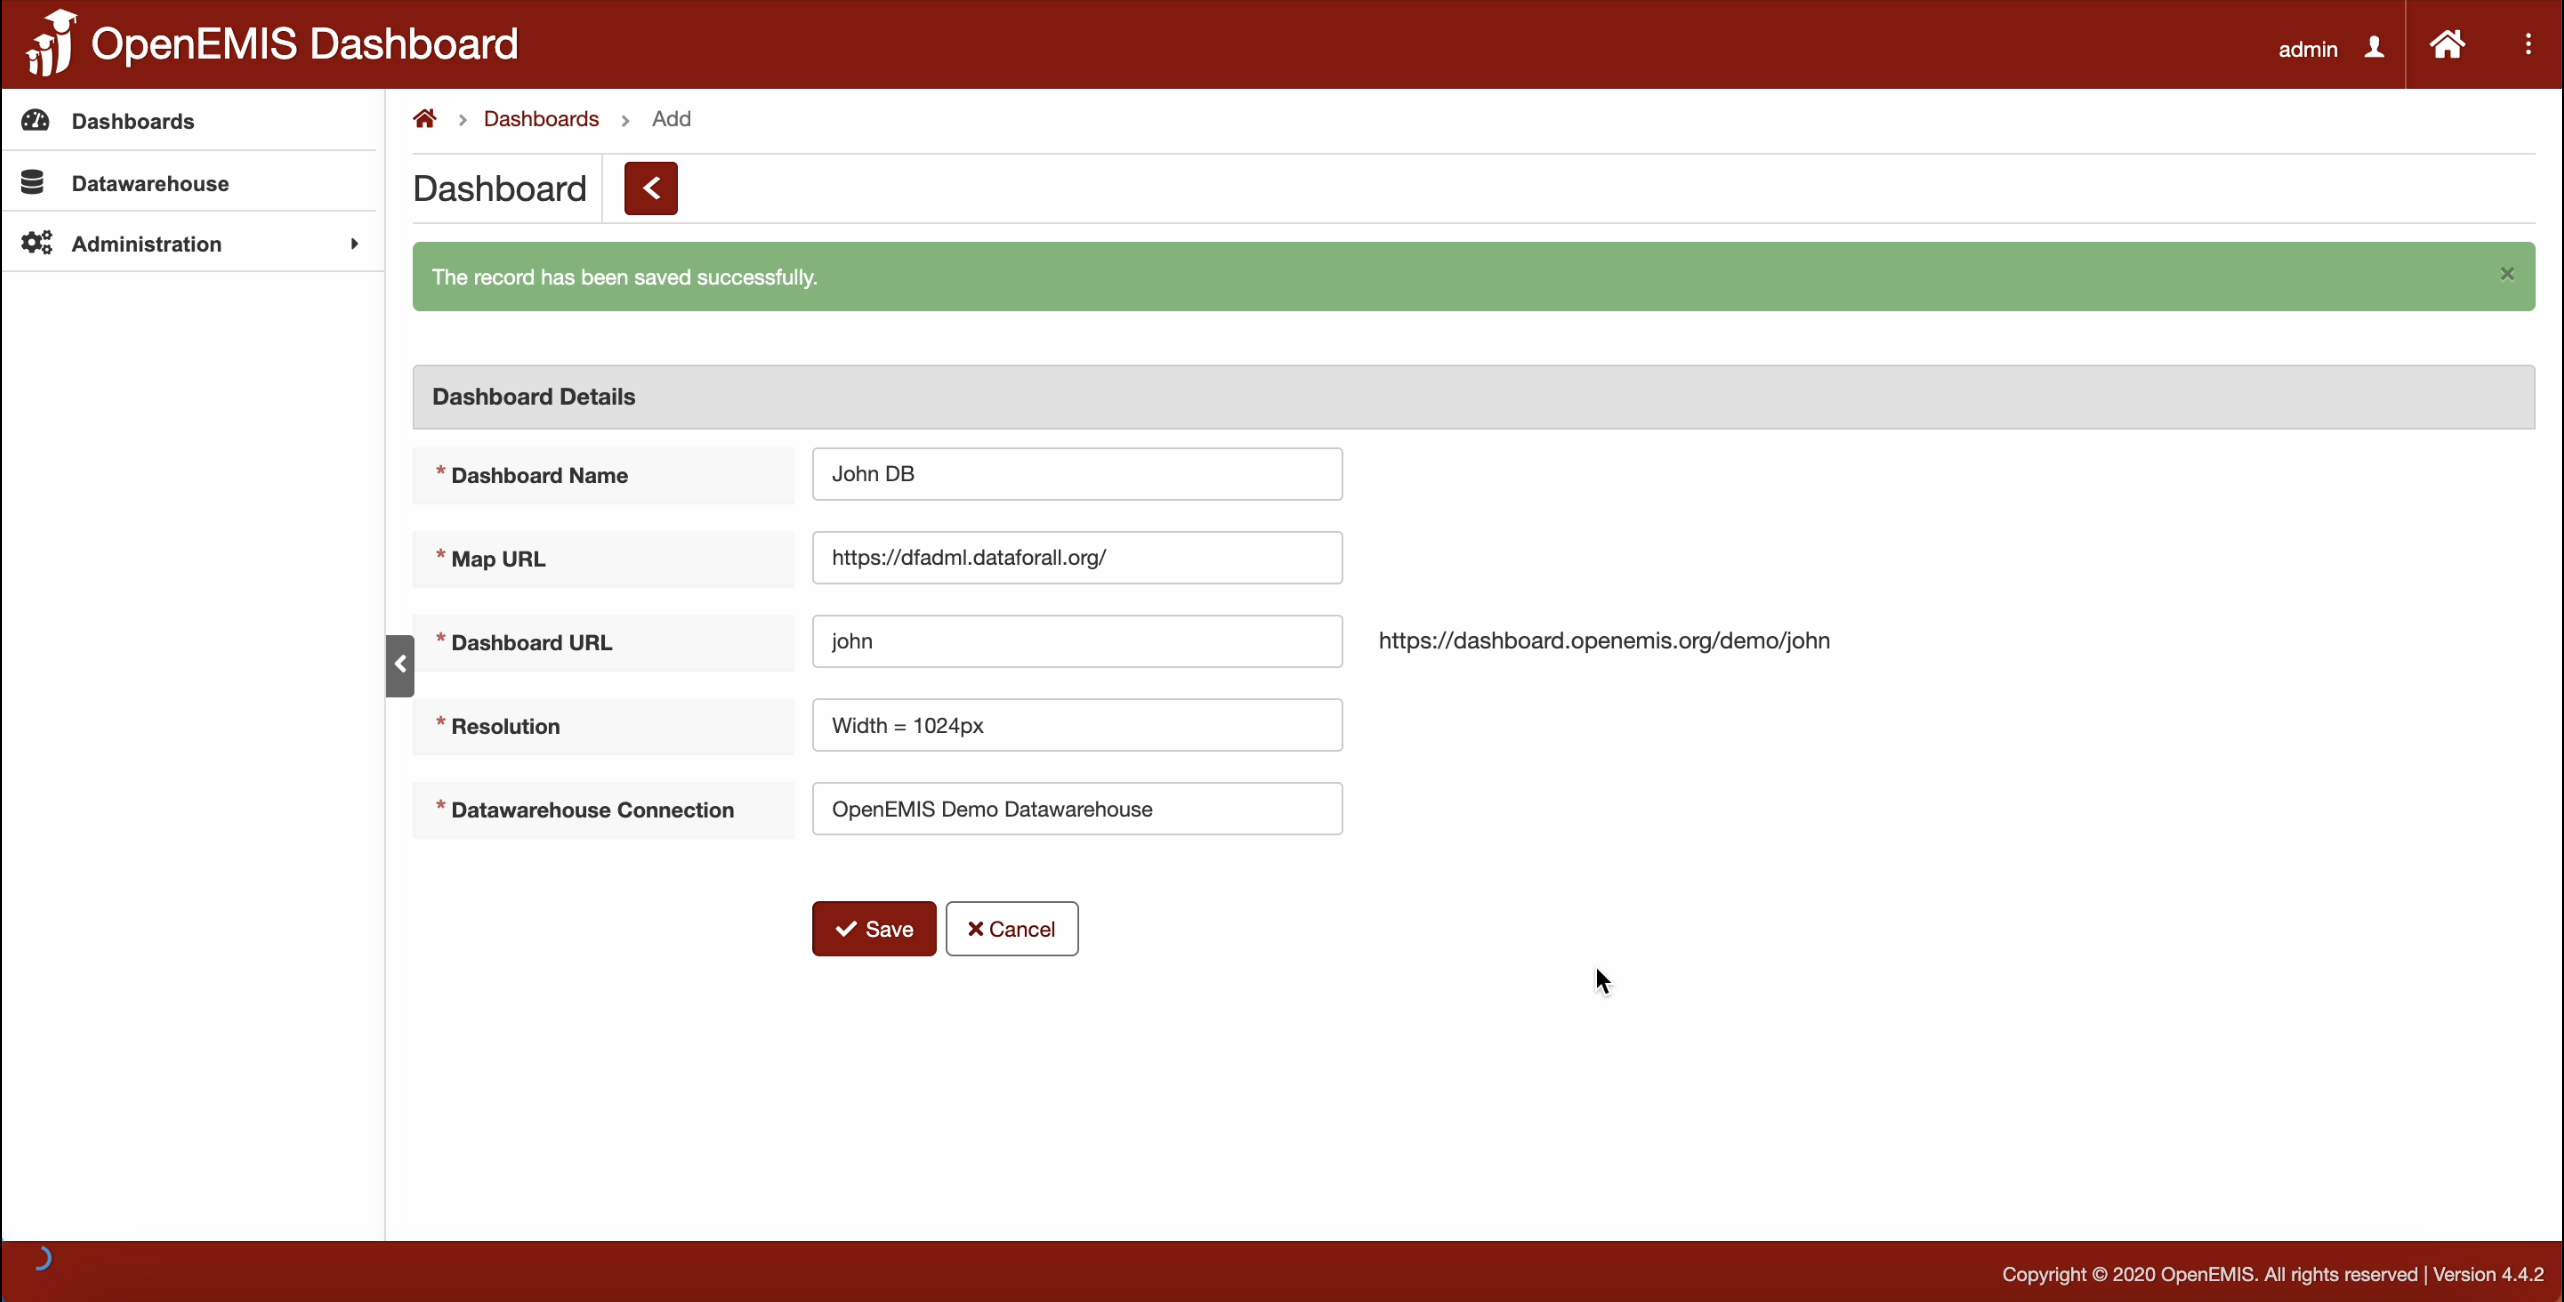
Adding Dashboard
1. Navigate to the Dashboard page.
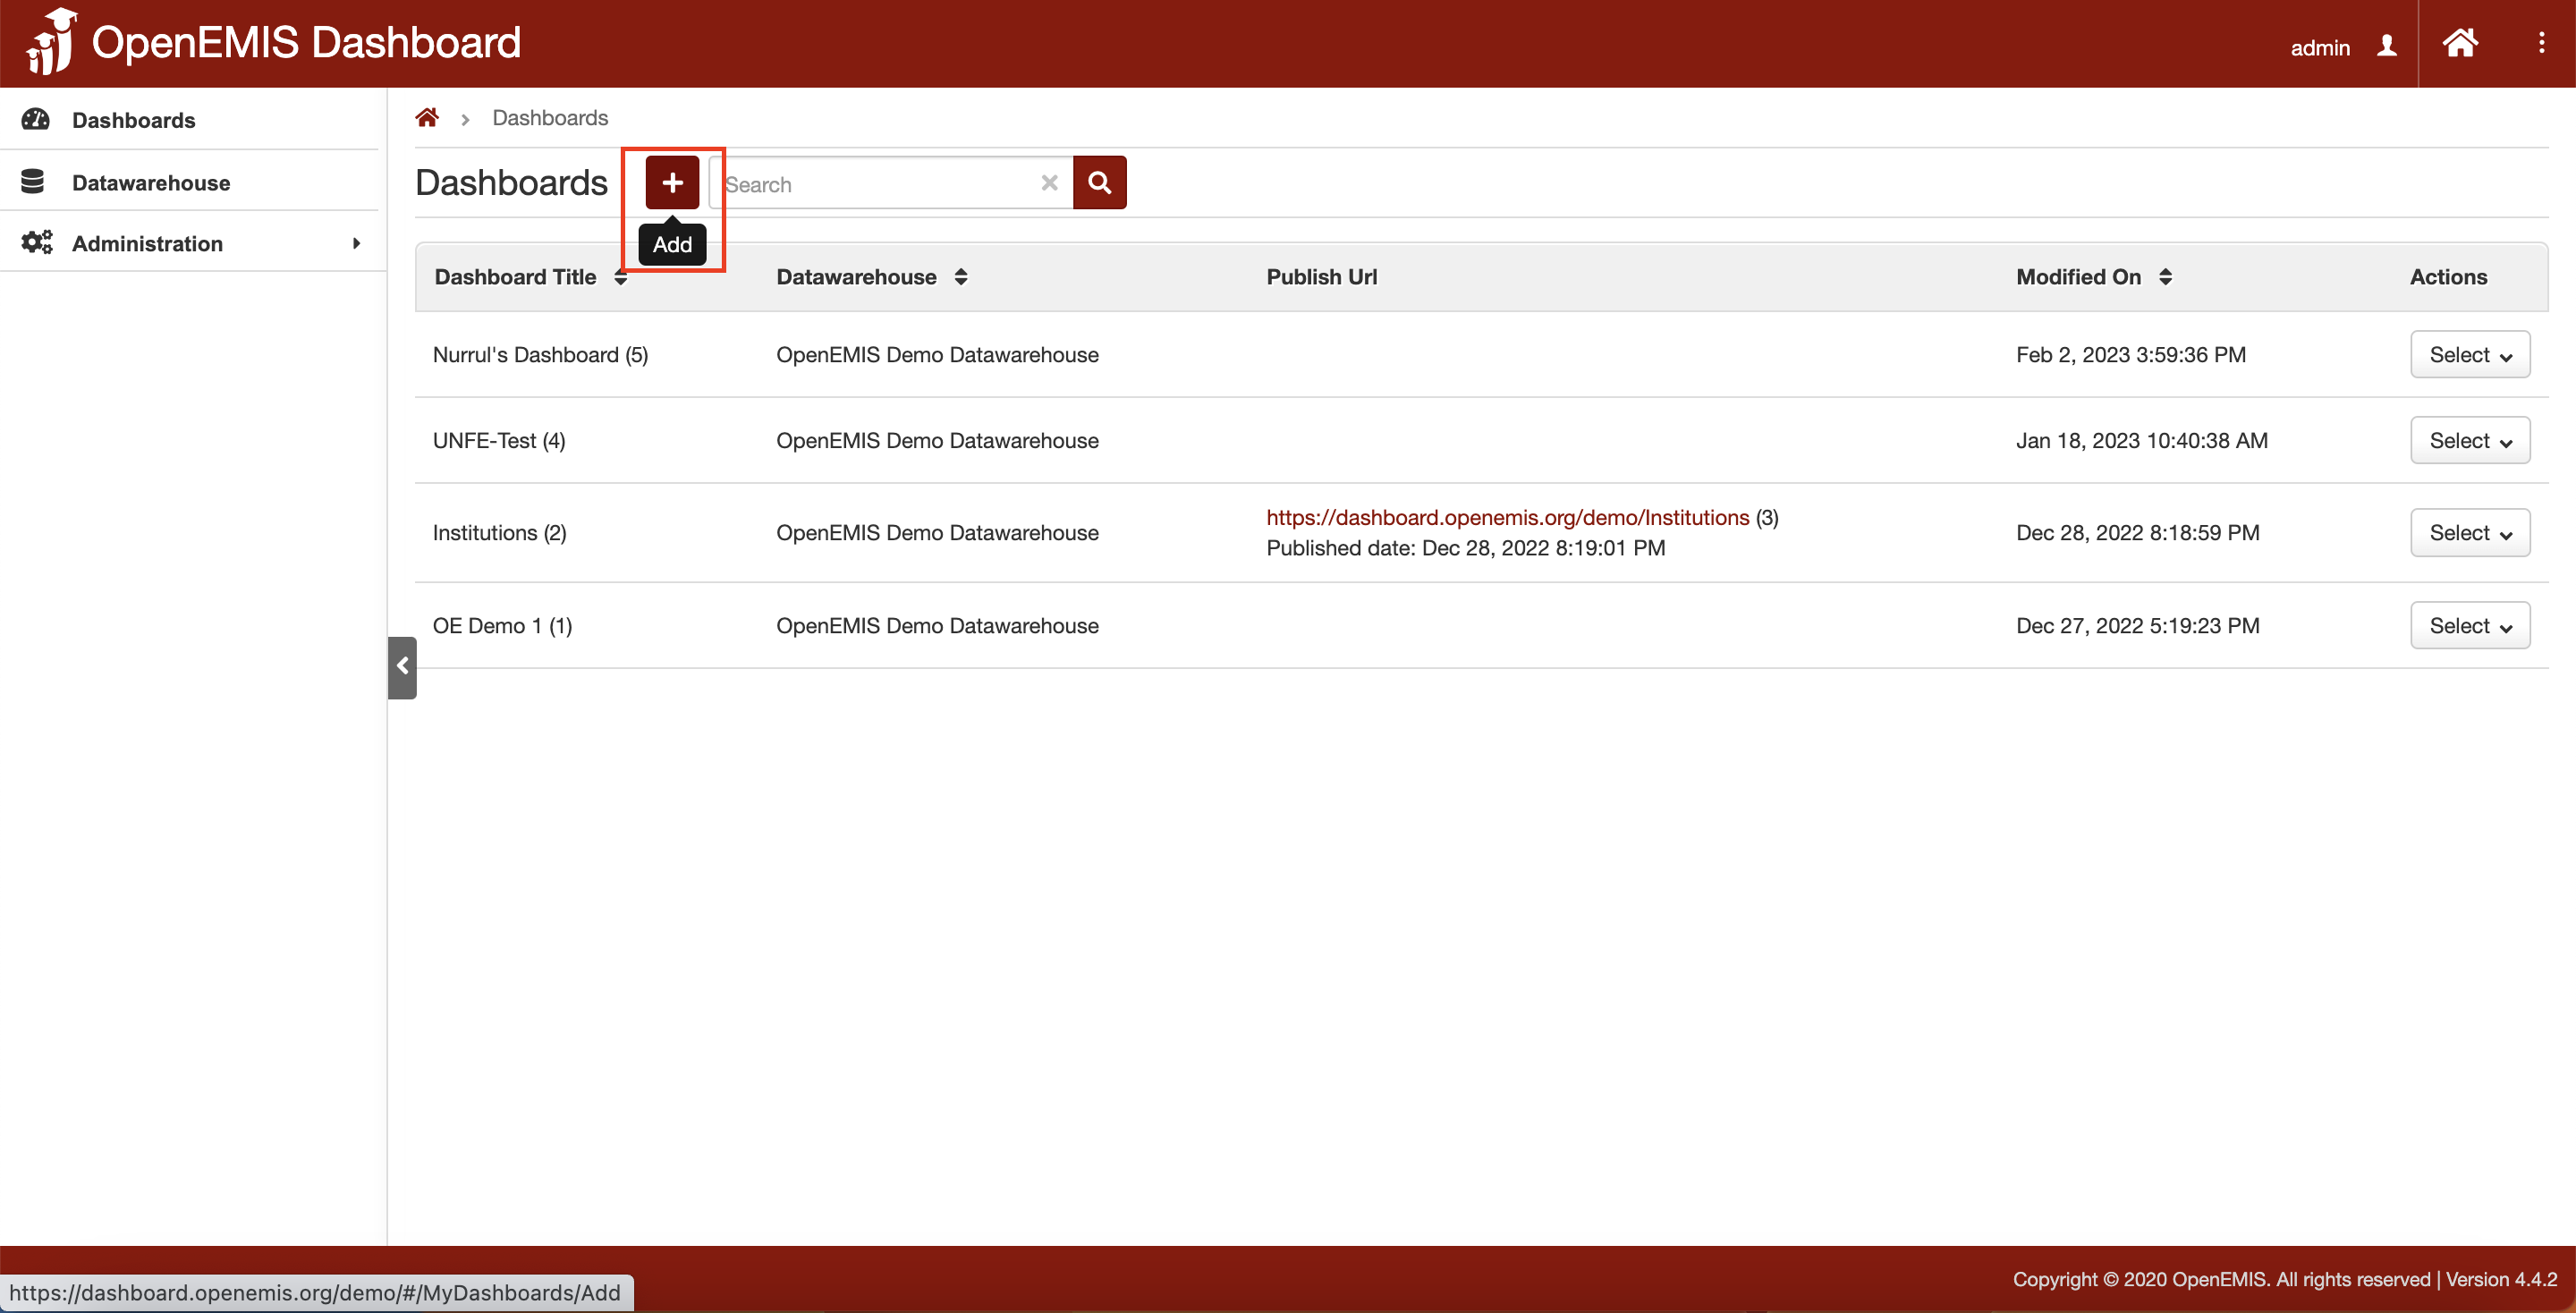
2. Click on the “Add” button.
3. Fill in the necessary and mandatory fields.
4. Then click on the “Save” button.
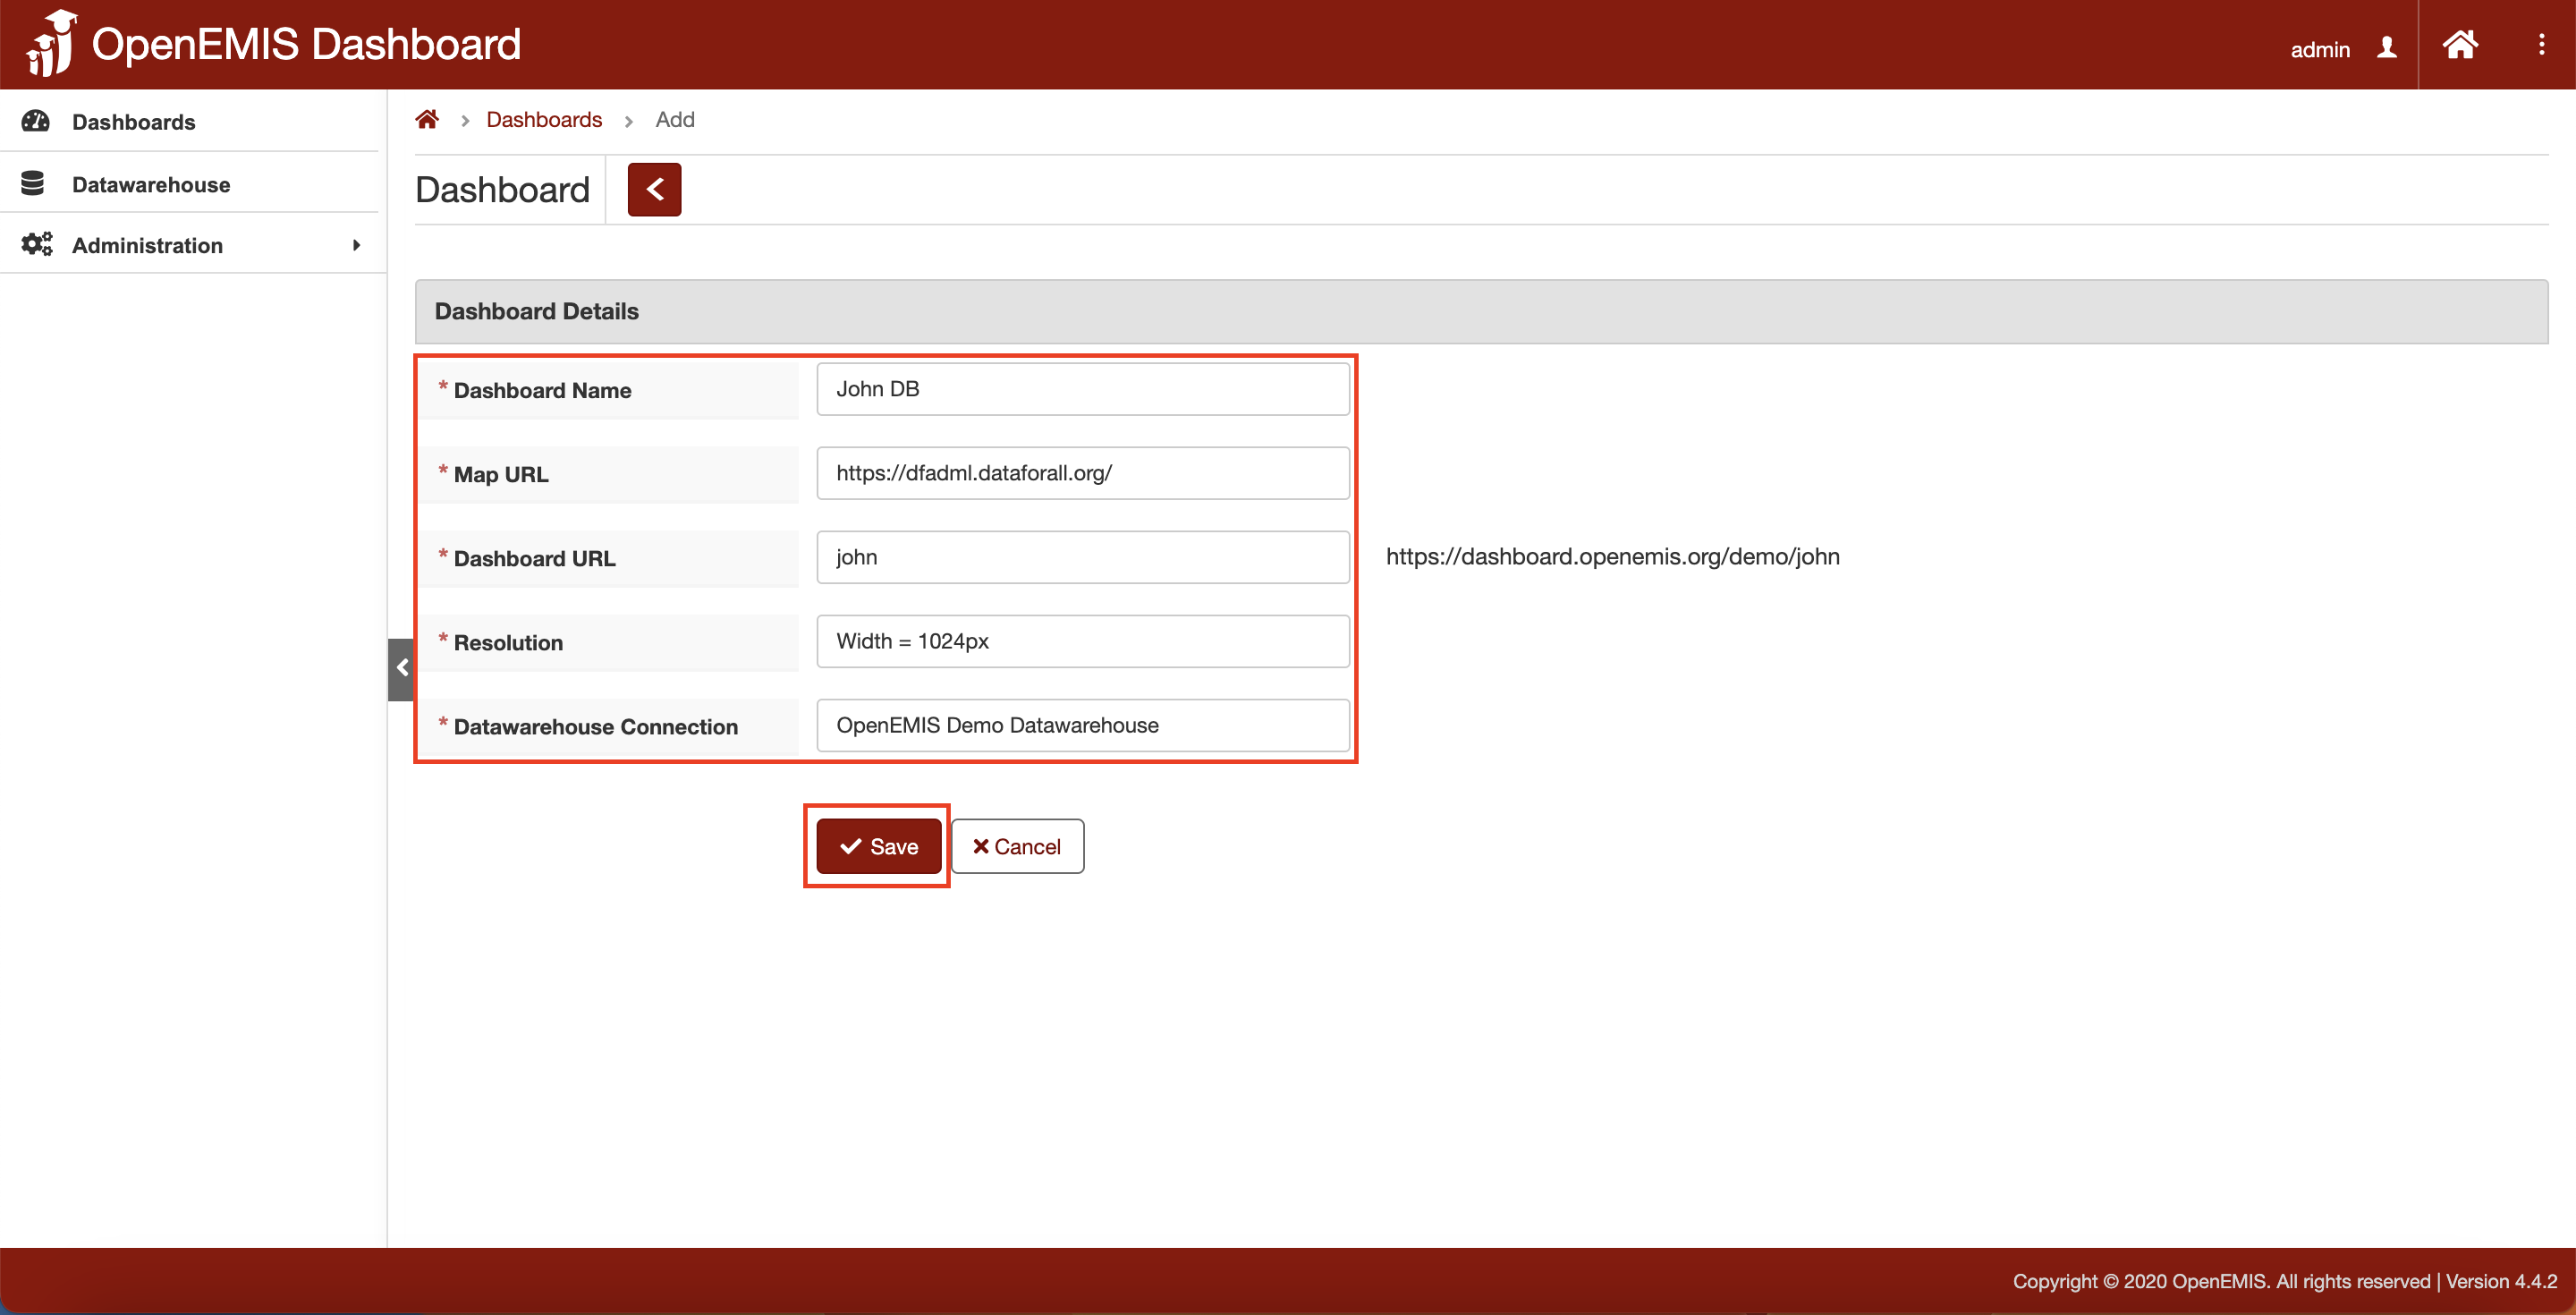
5. There will be a message showing that “The record has been saved successfully”.
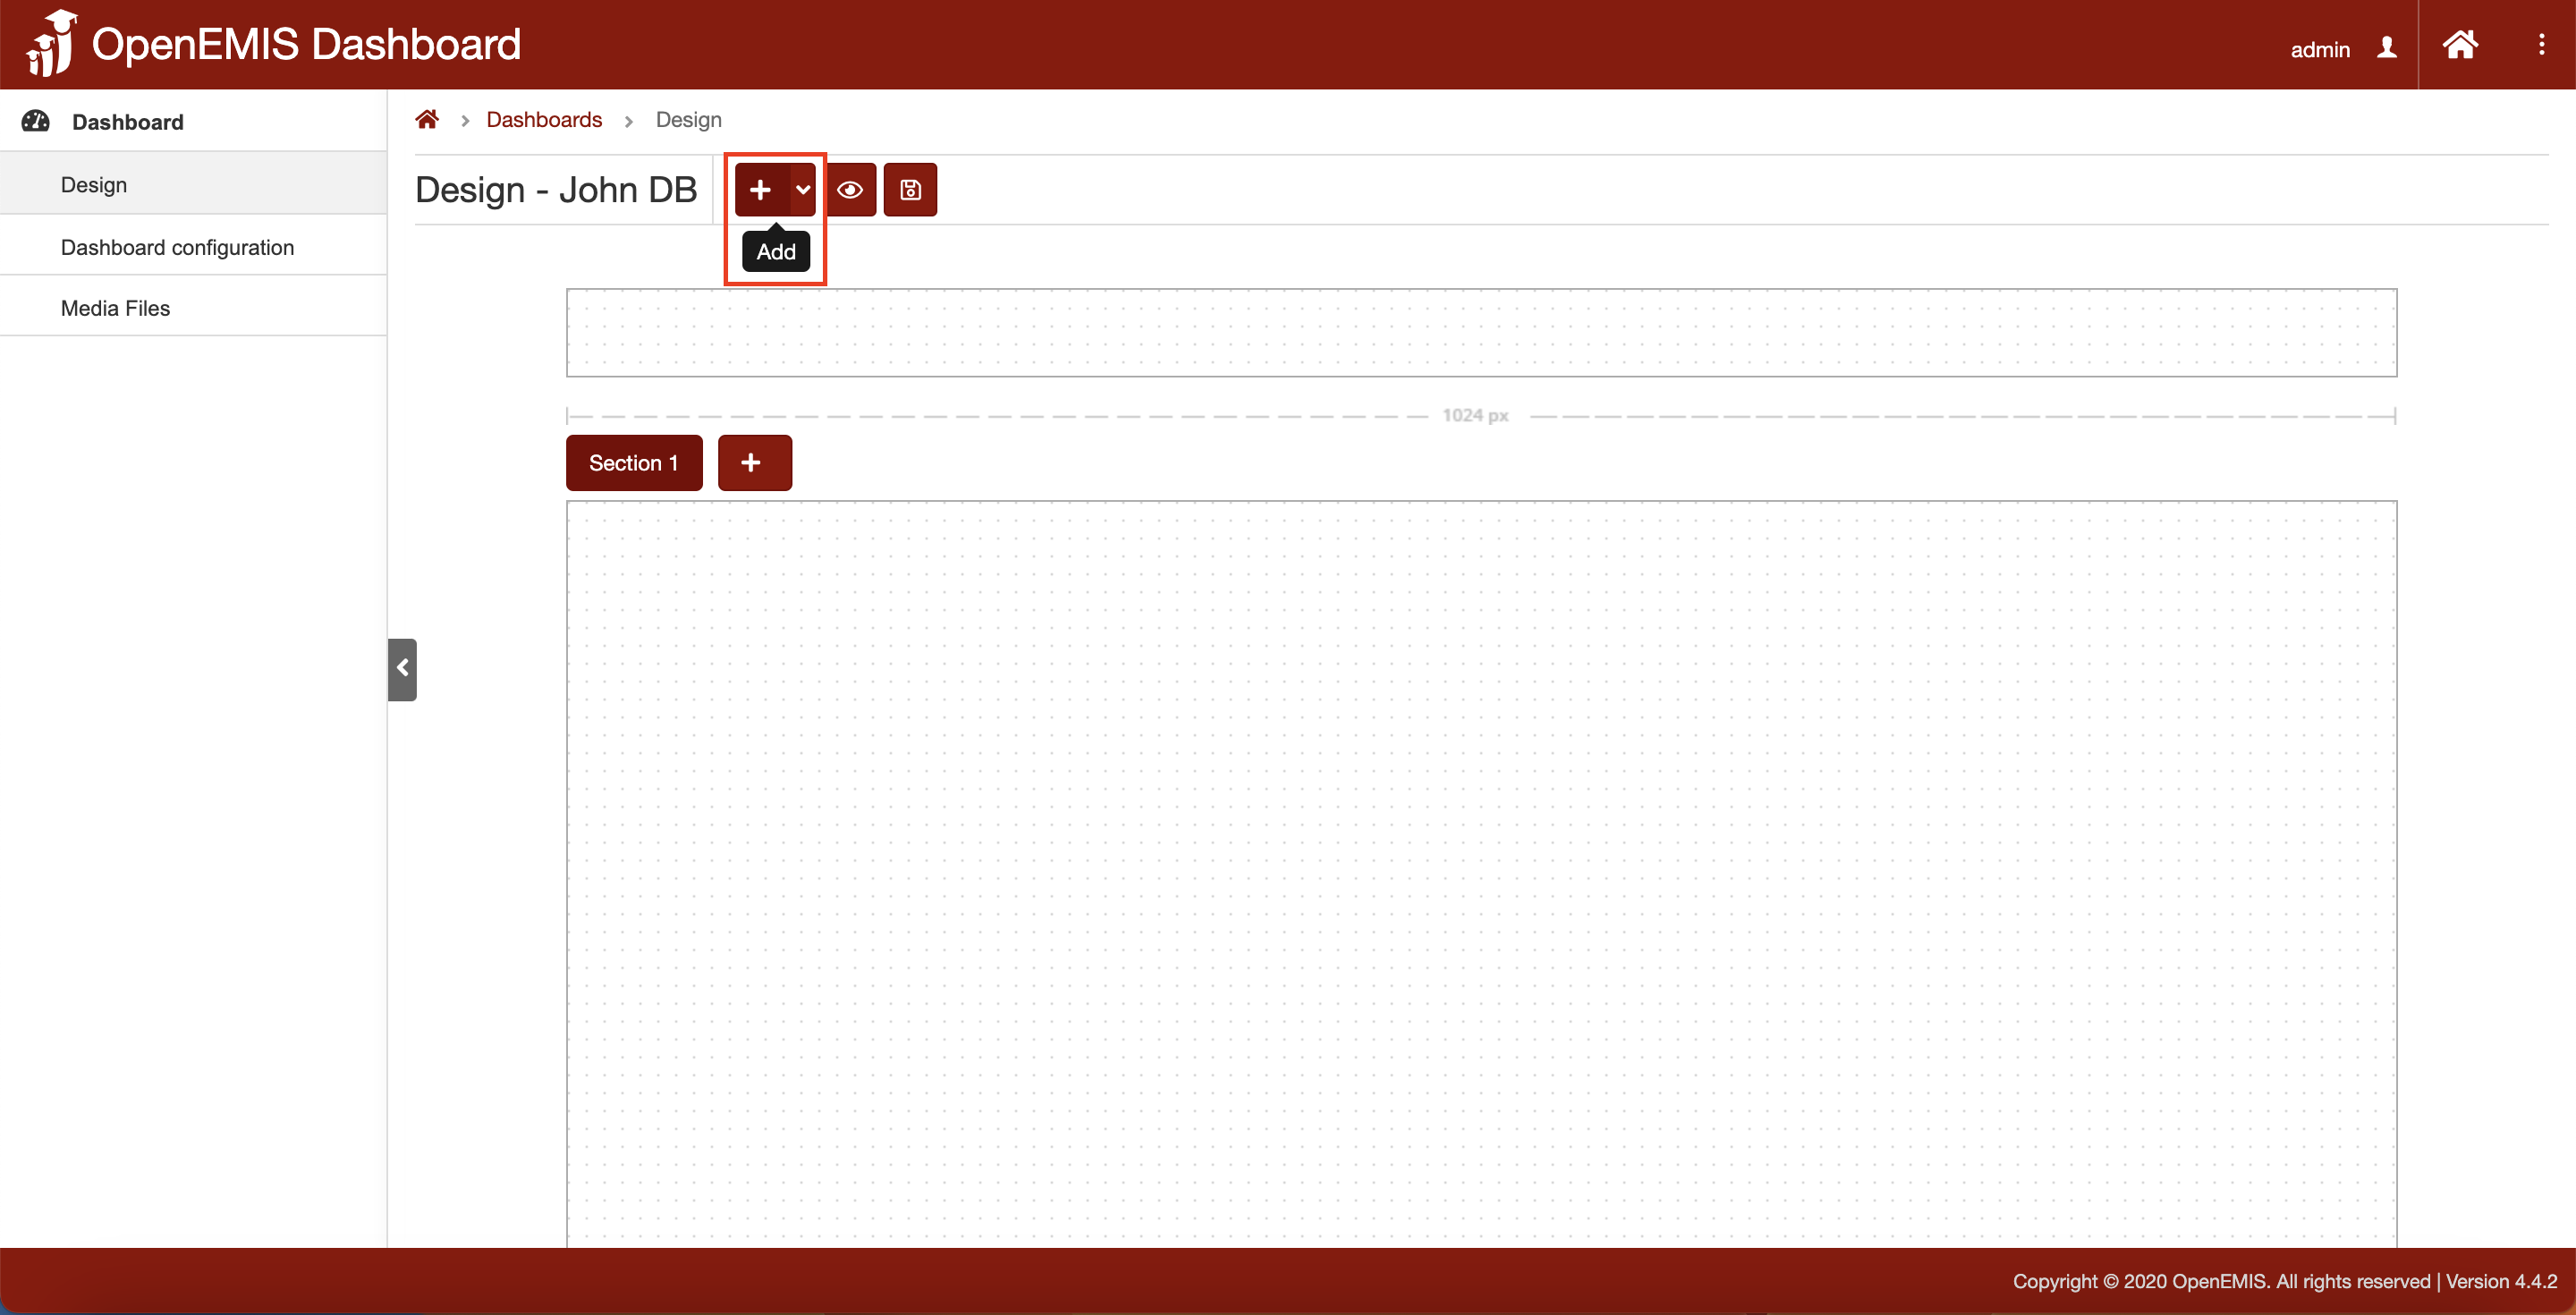
Designing Dashboard
1. The page will navigate to Dashboard > Design page.
2. Click on the “Add” button.
3. When clicking the “Add” button, there is a 3 options for the dropdown list.
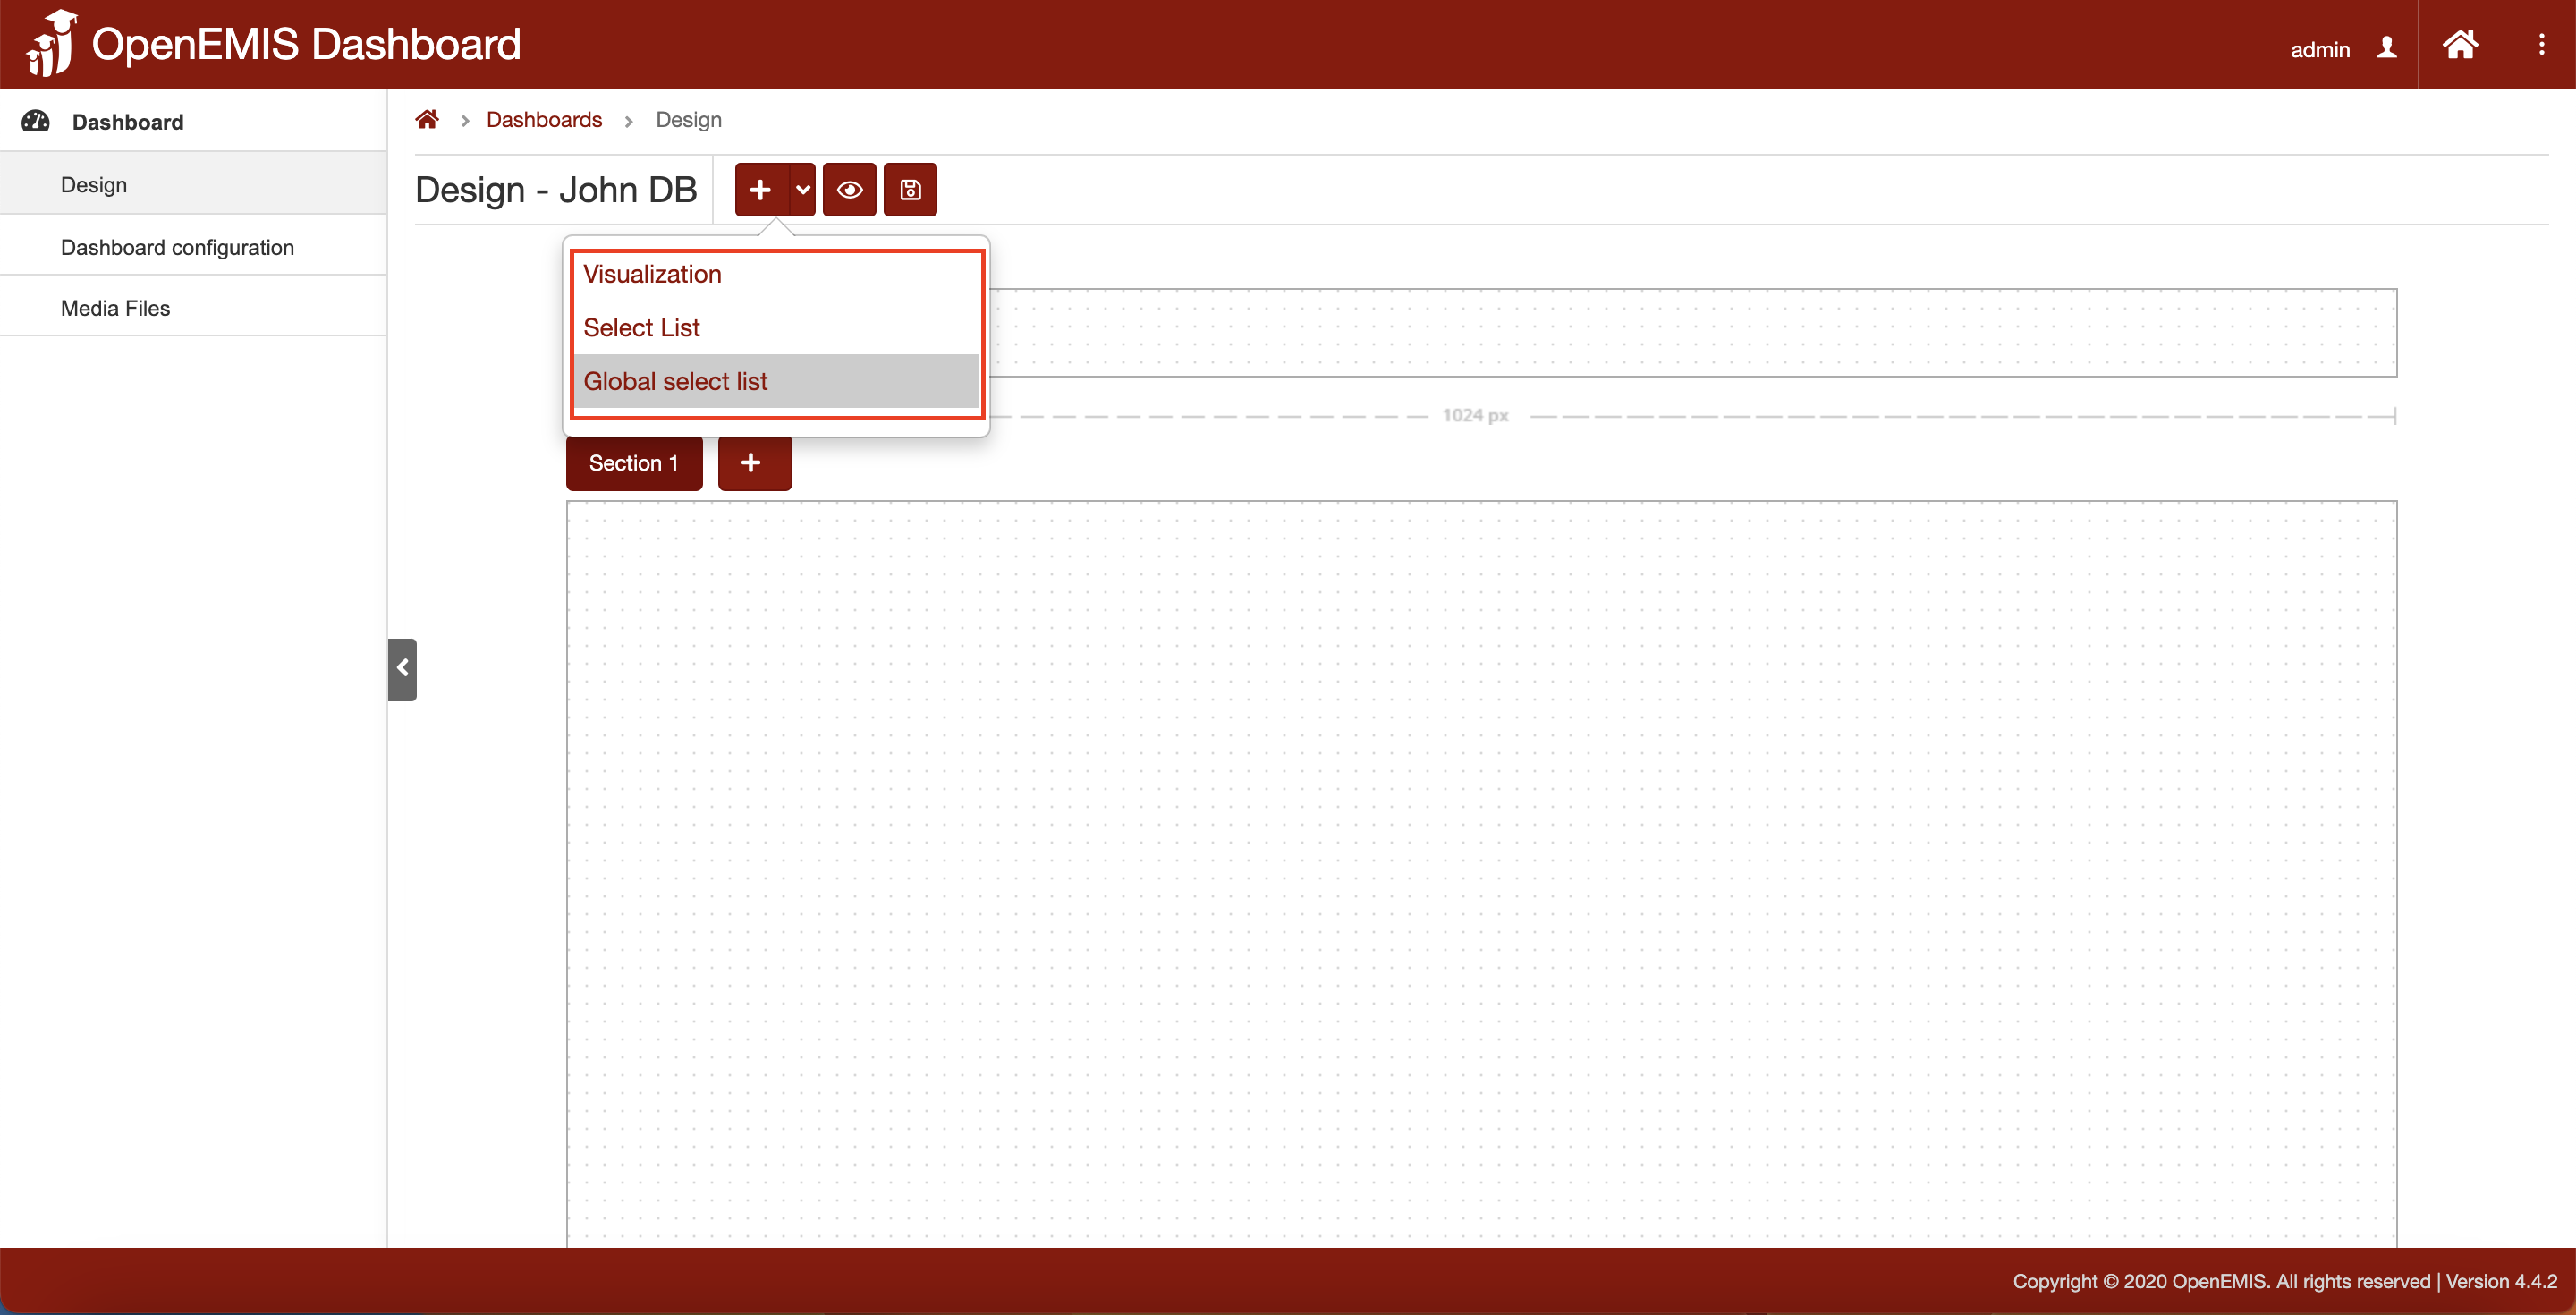
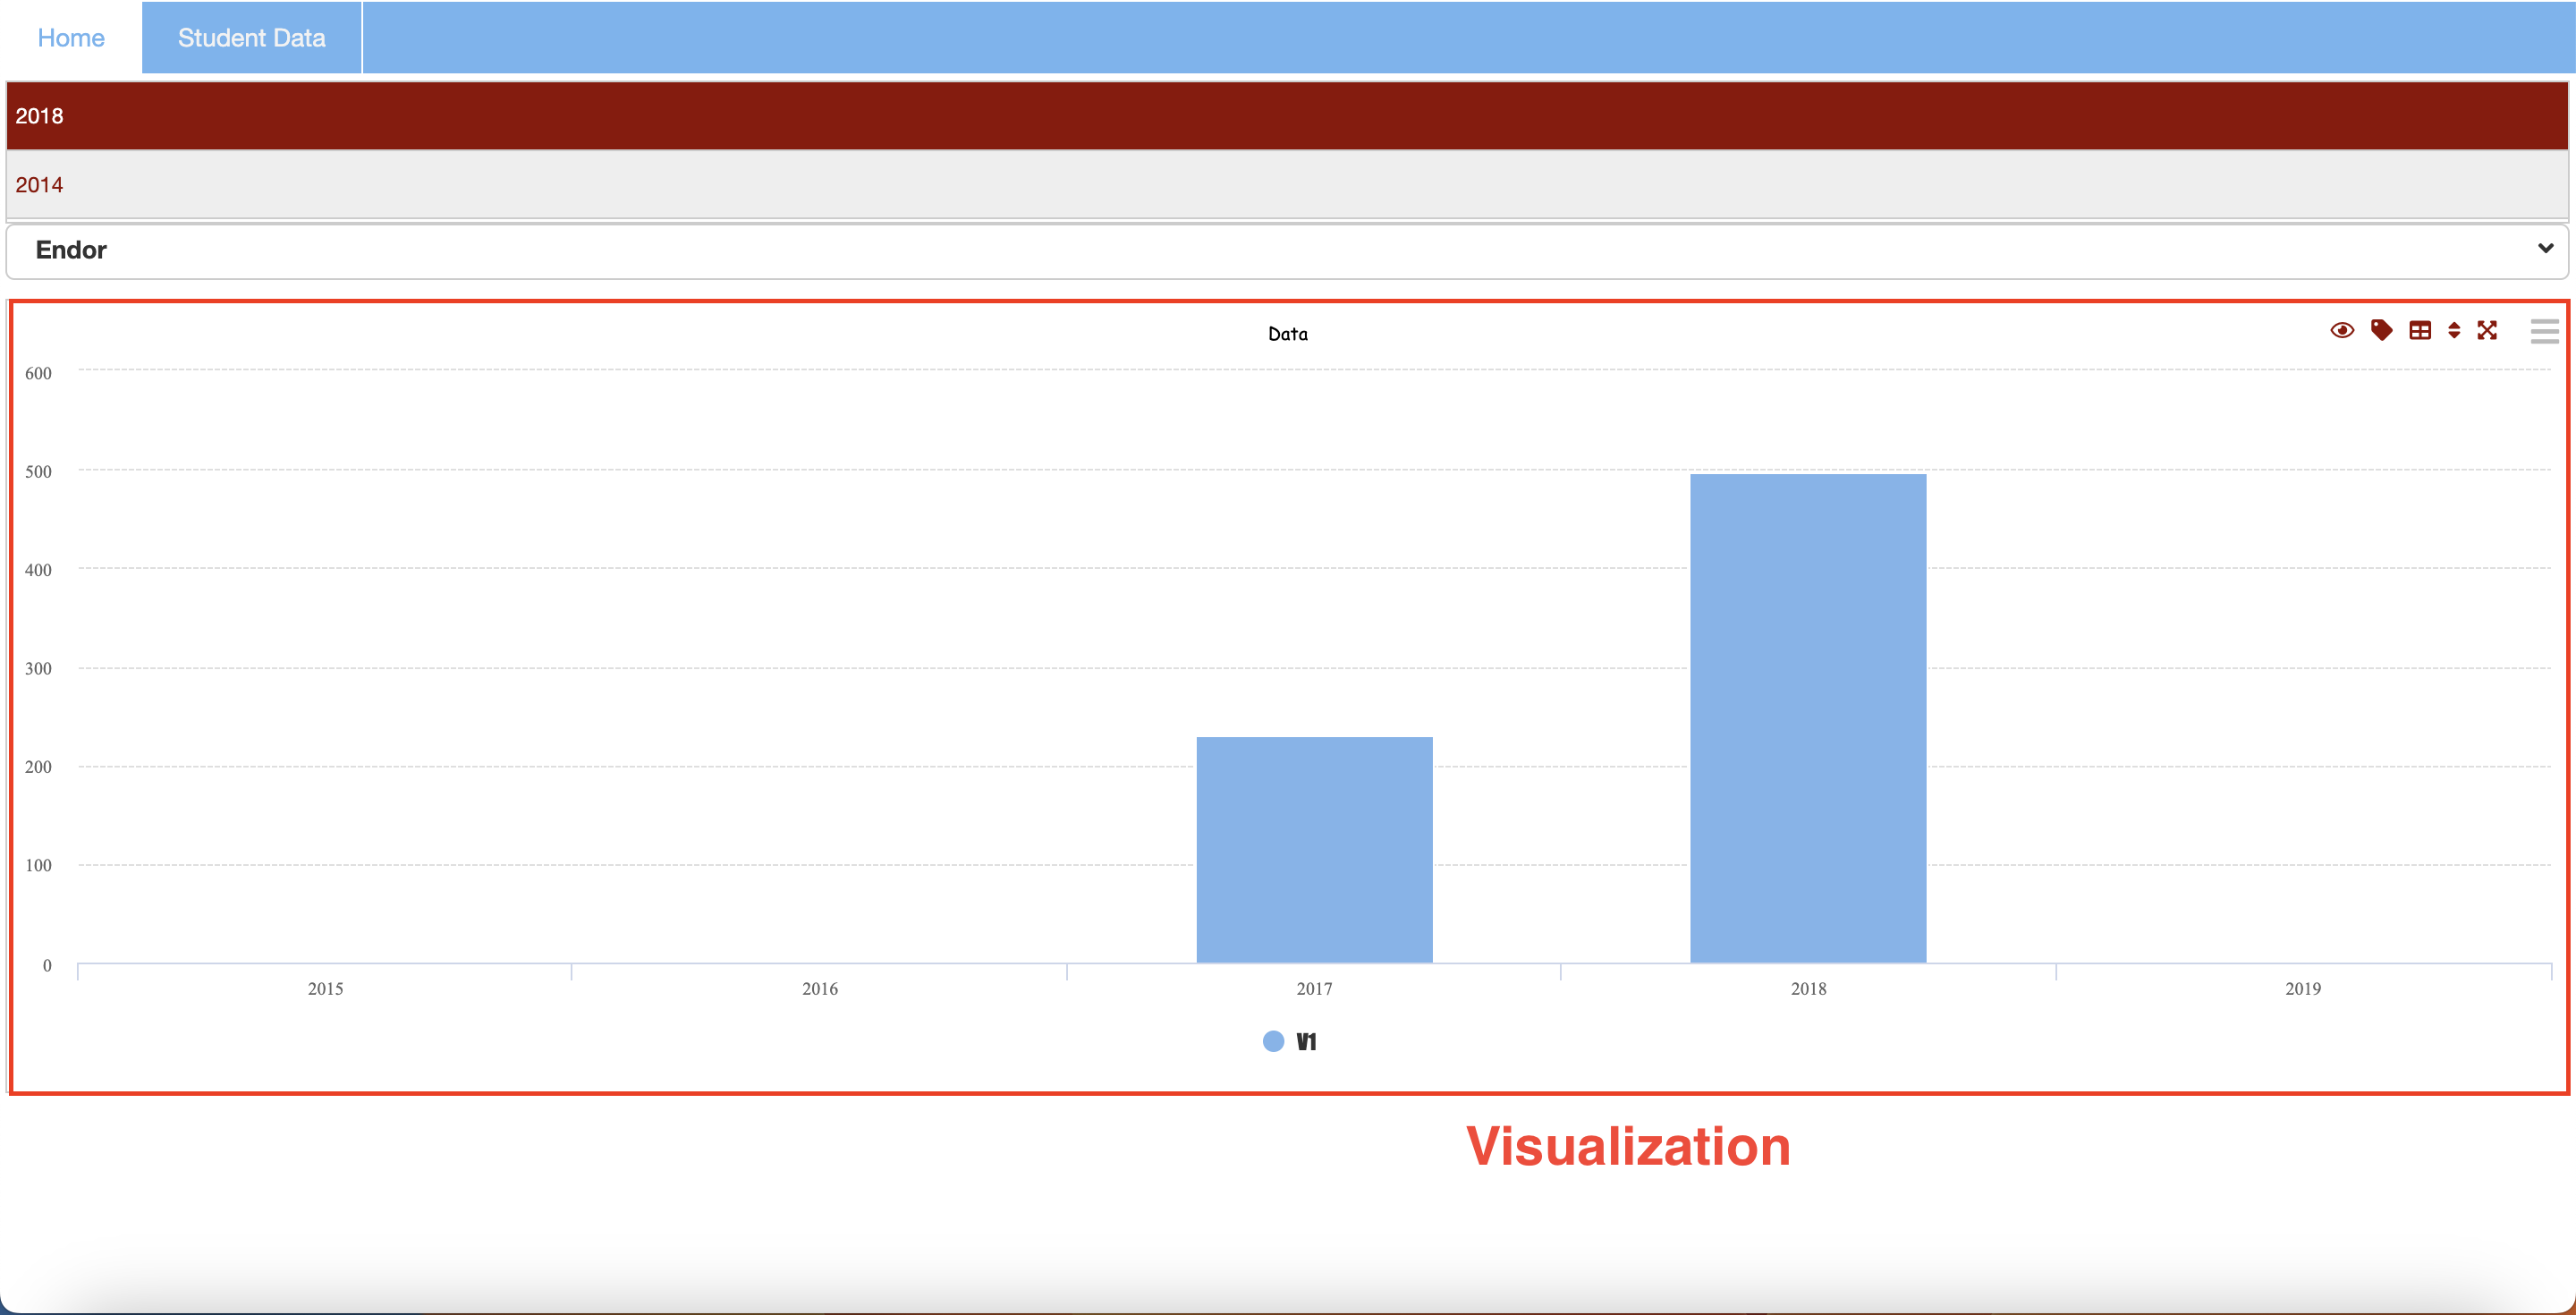
- Visualization: to design on how data will be visualised eg. bar graph/pie chart
- Select List: to have the option to select the data to be visualise what data is desired.
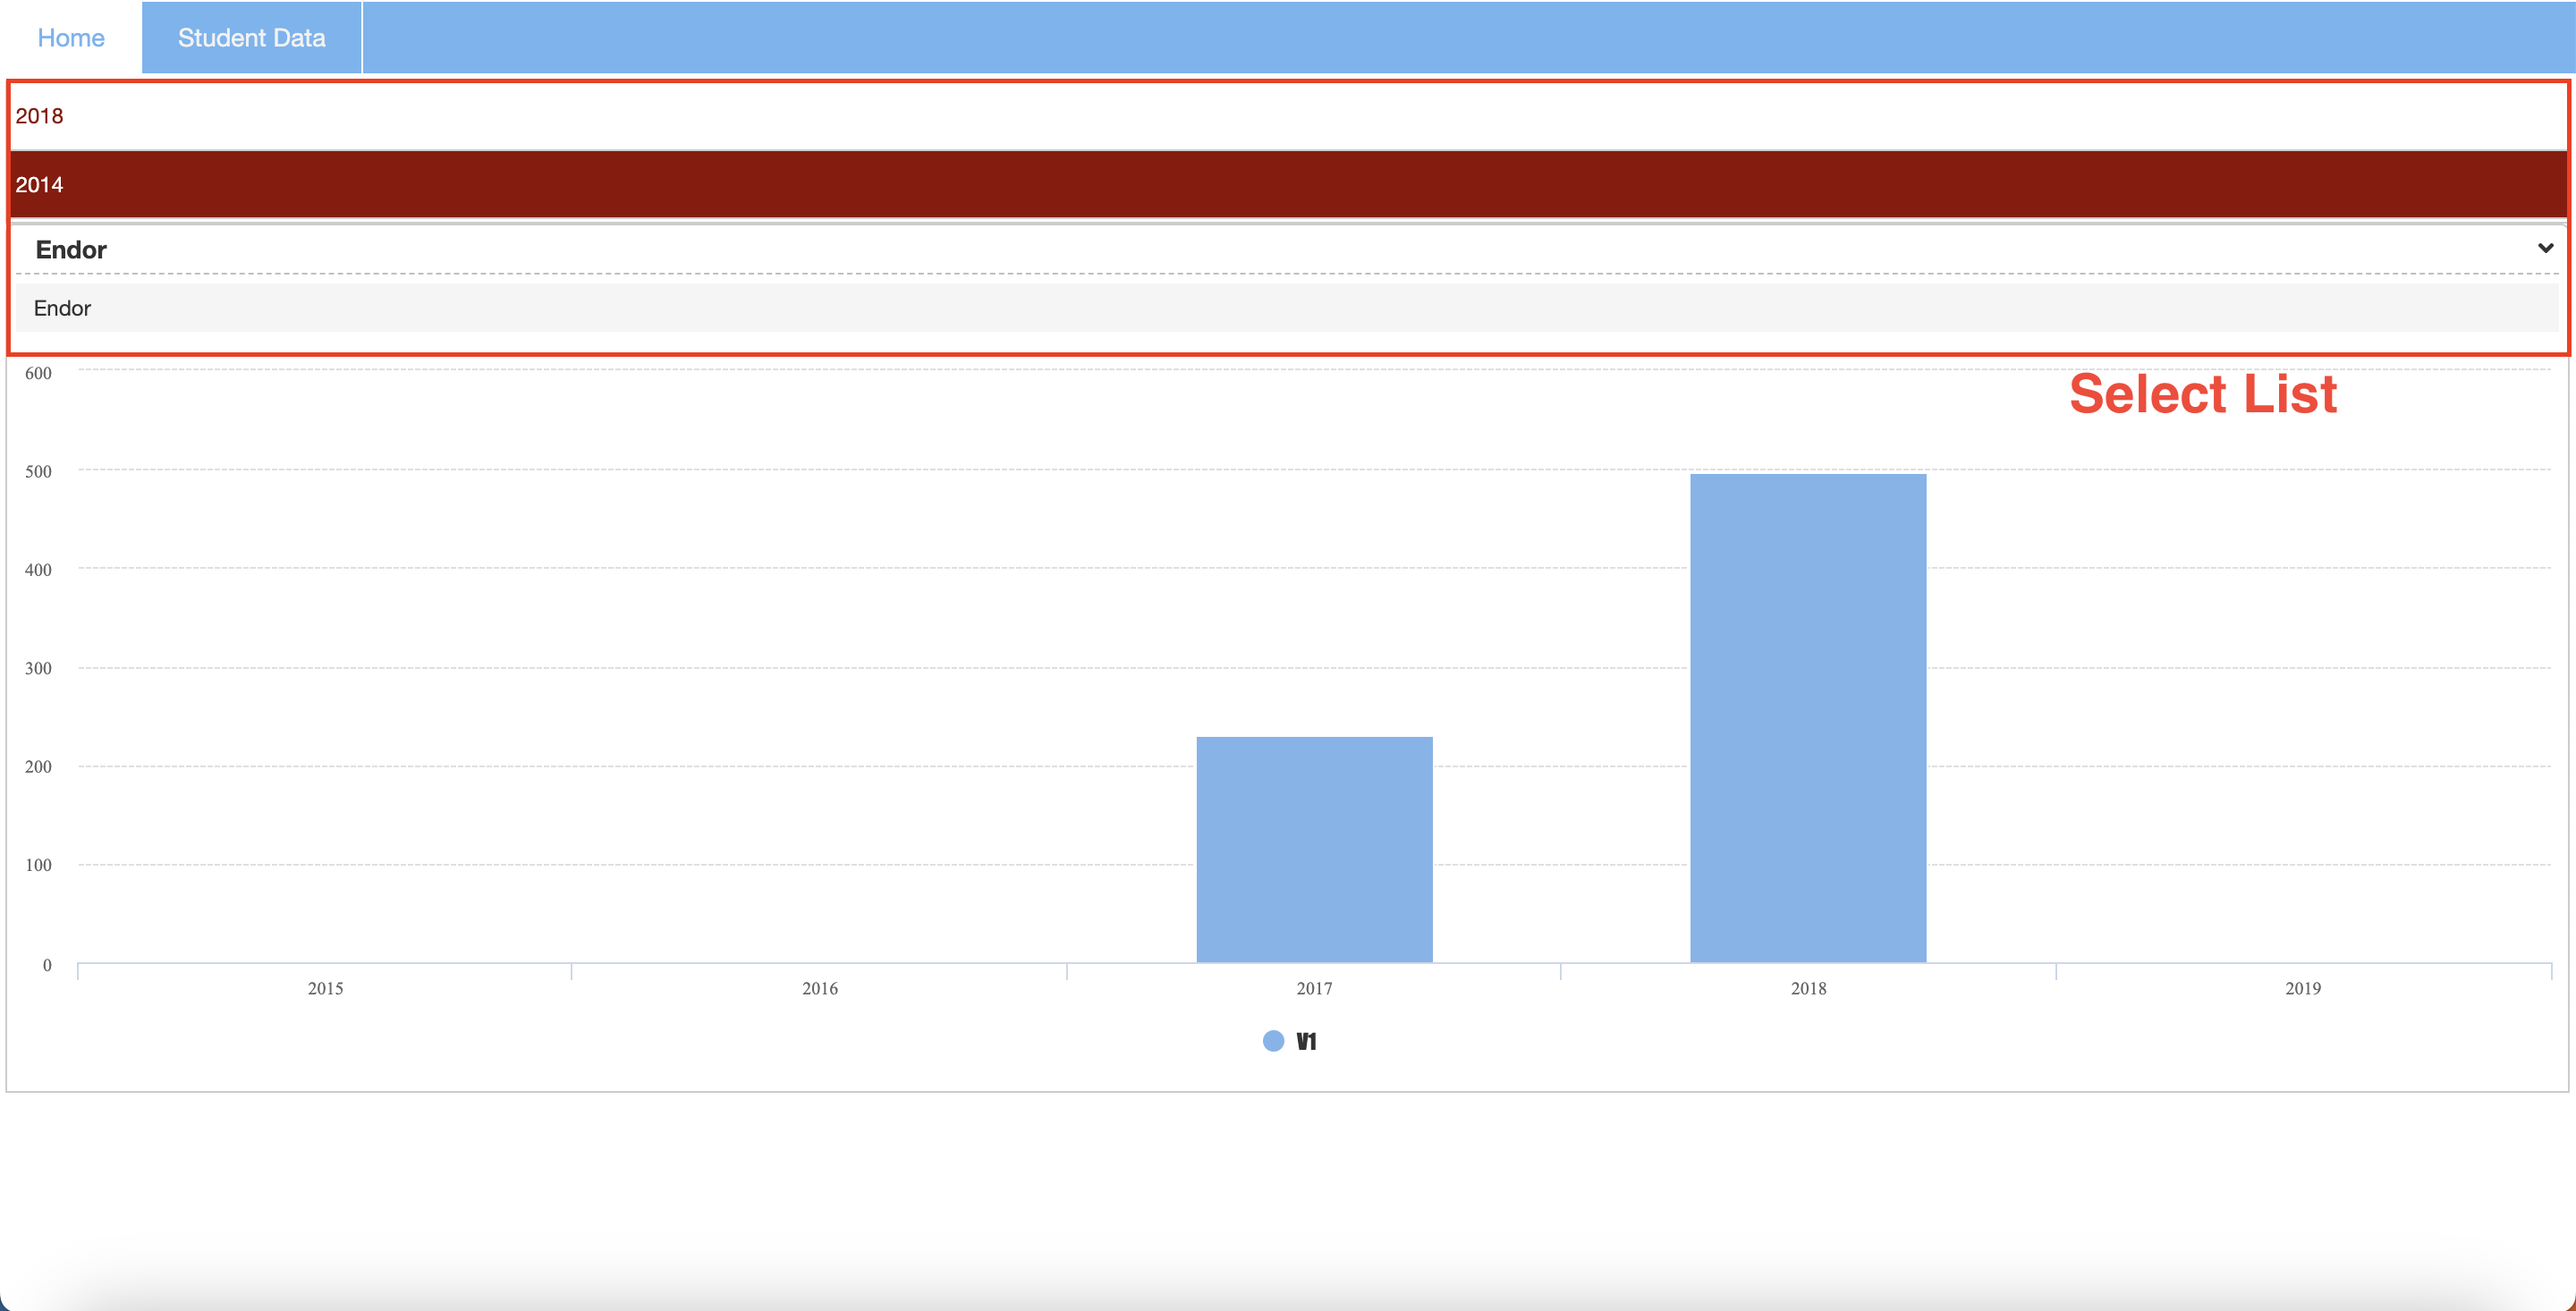
- Global select list: to have the option to select the data to be visualised. It is usually the main selection before proceeding to Select List.

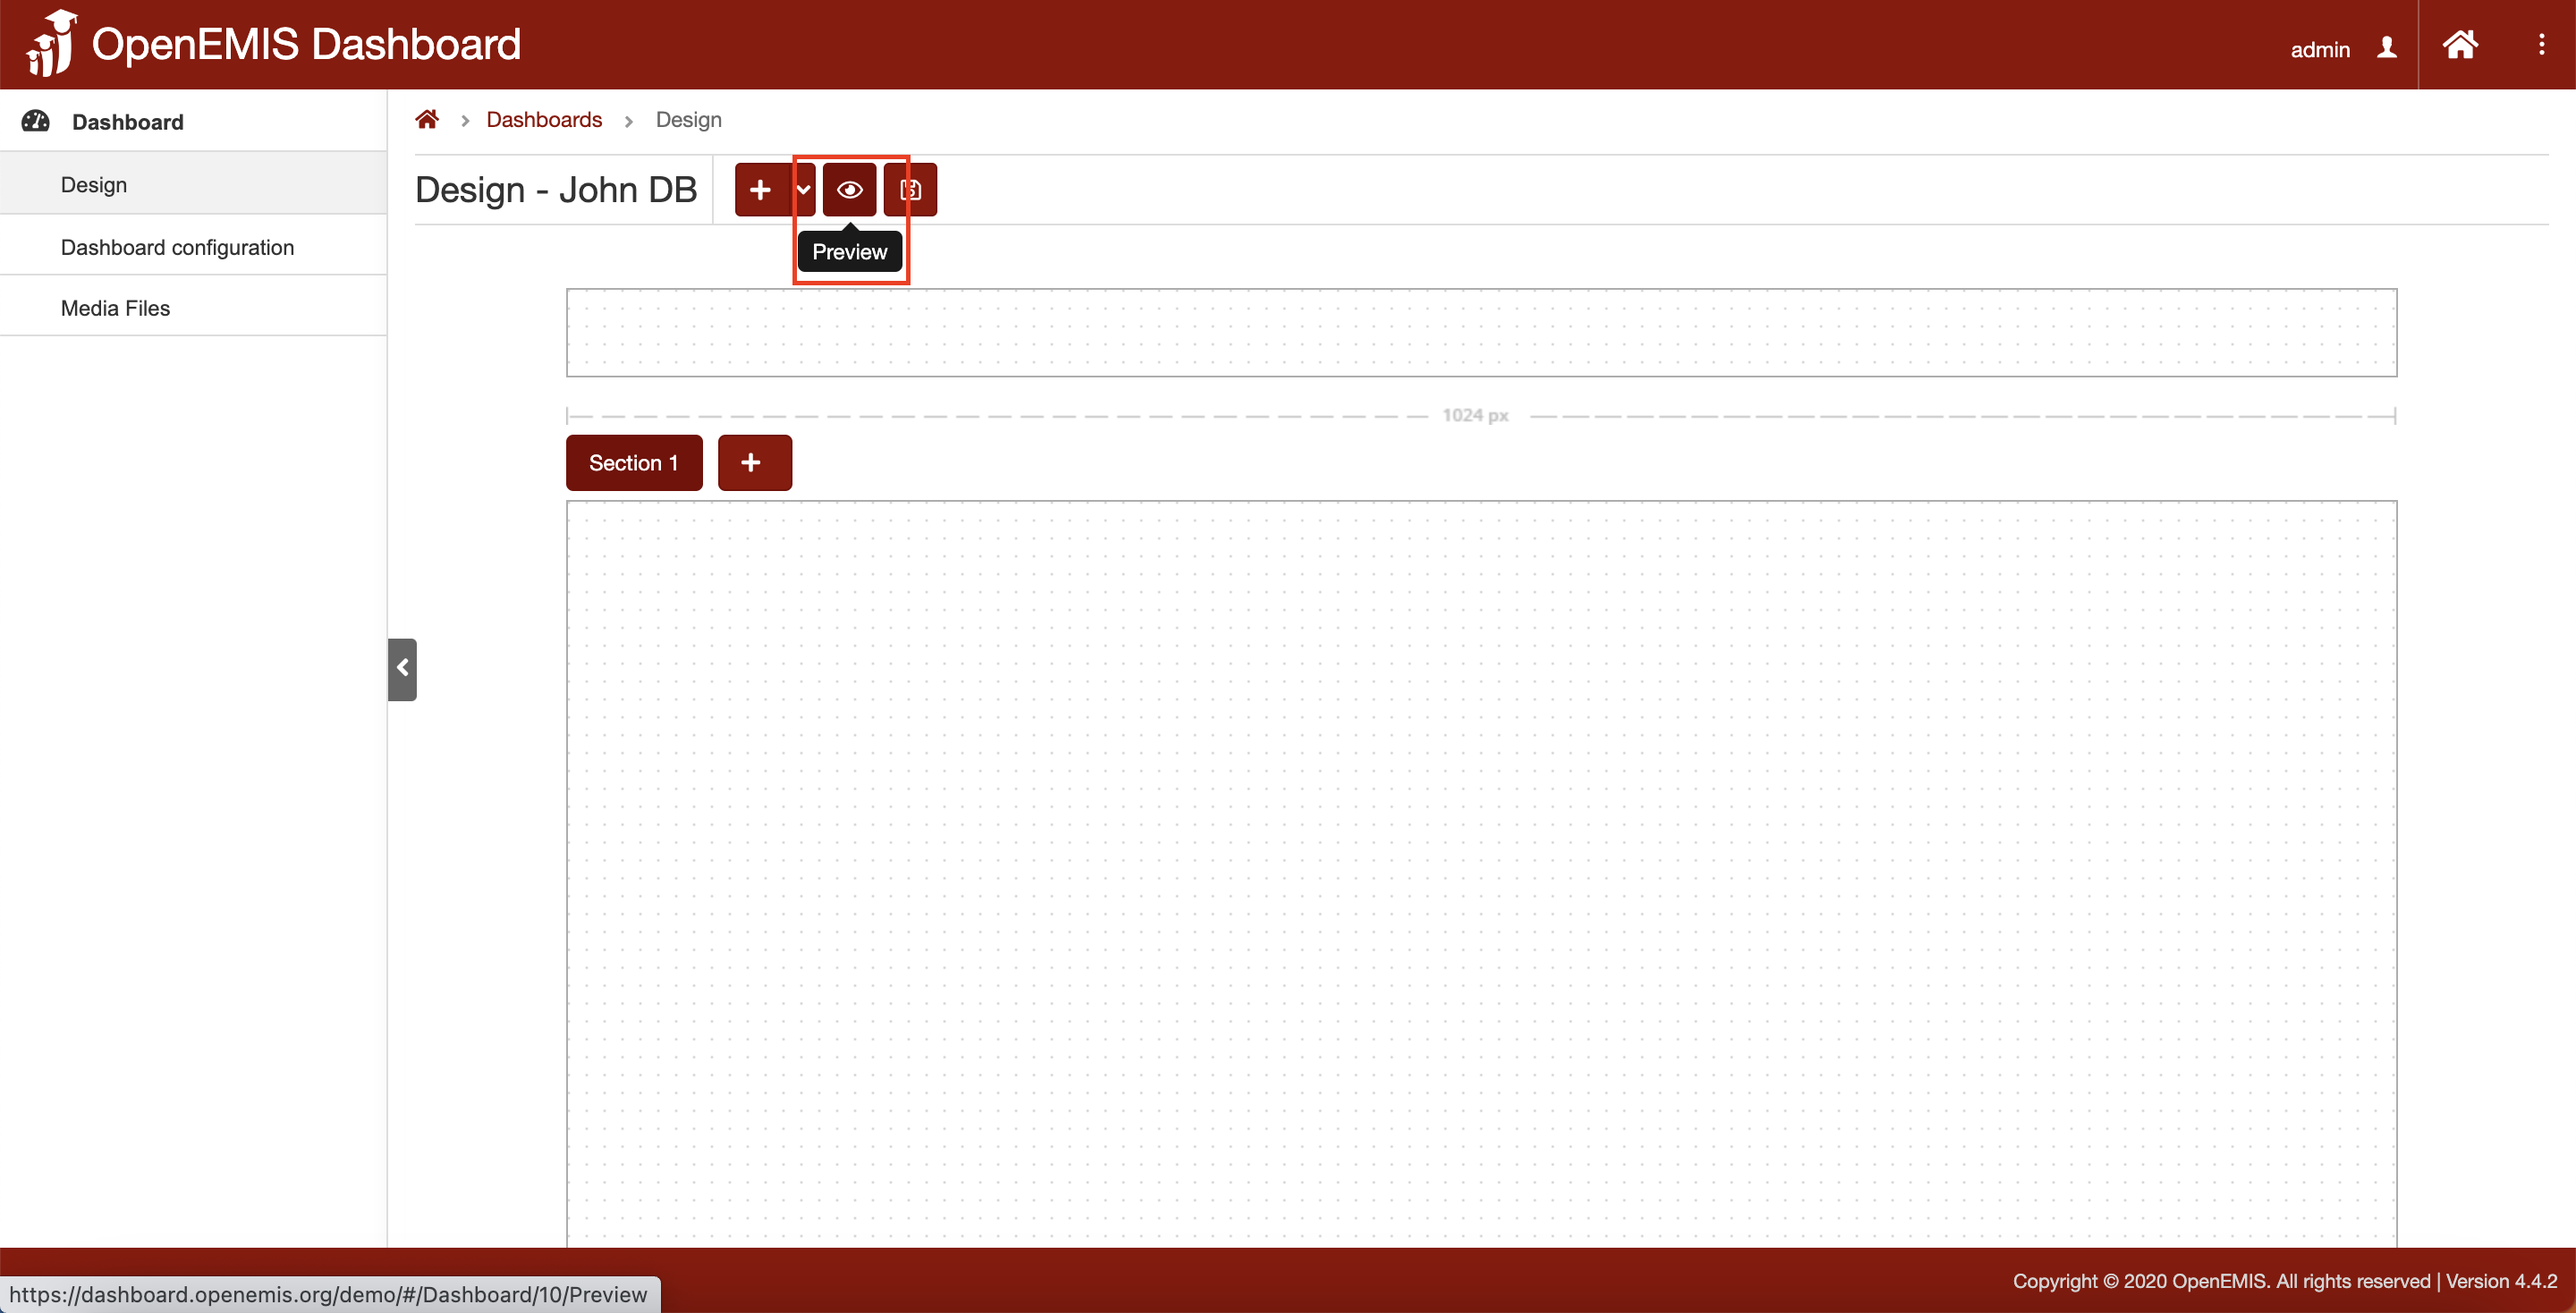
4. The next button is “Preview” where the dashboard can be previewed before publishing
5. Click on the “Preview” button.
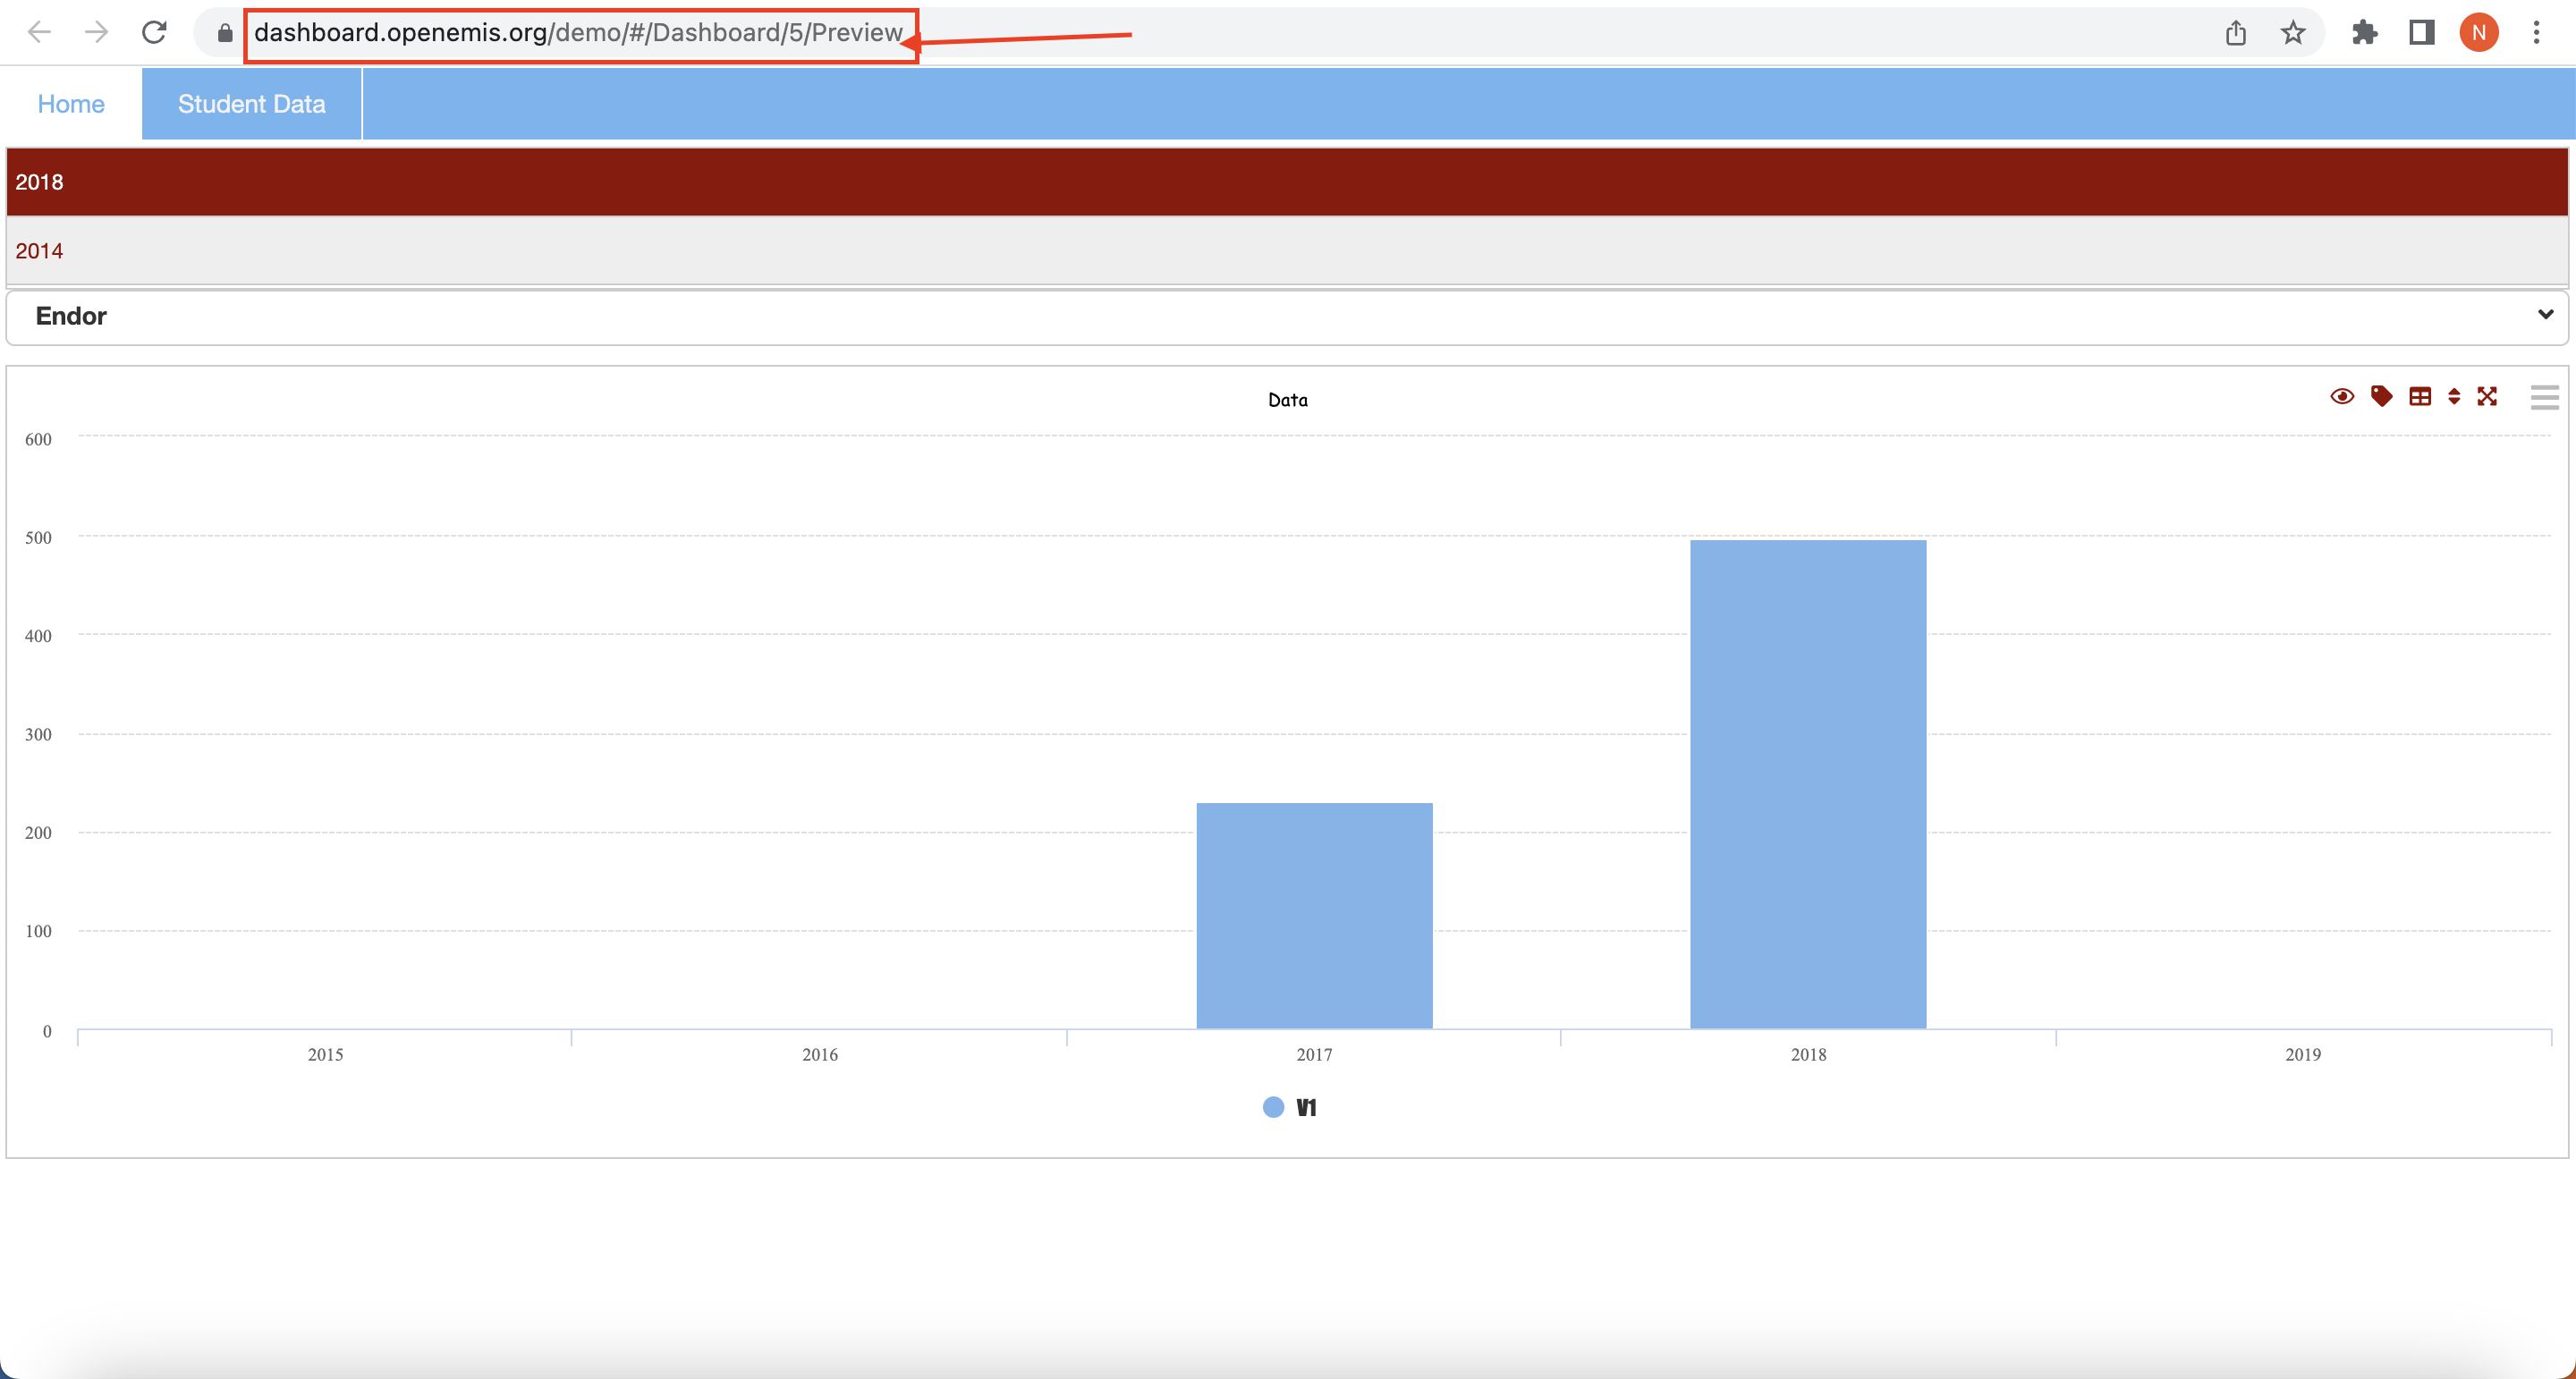
6. The page will navigate to the preview page. The URL for previewing also has the word preview to show it is in preview mode.
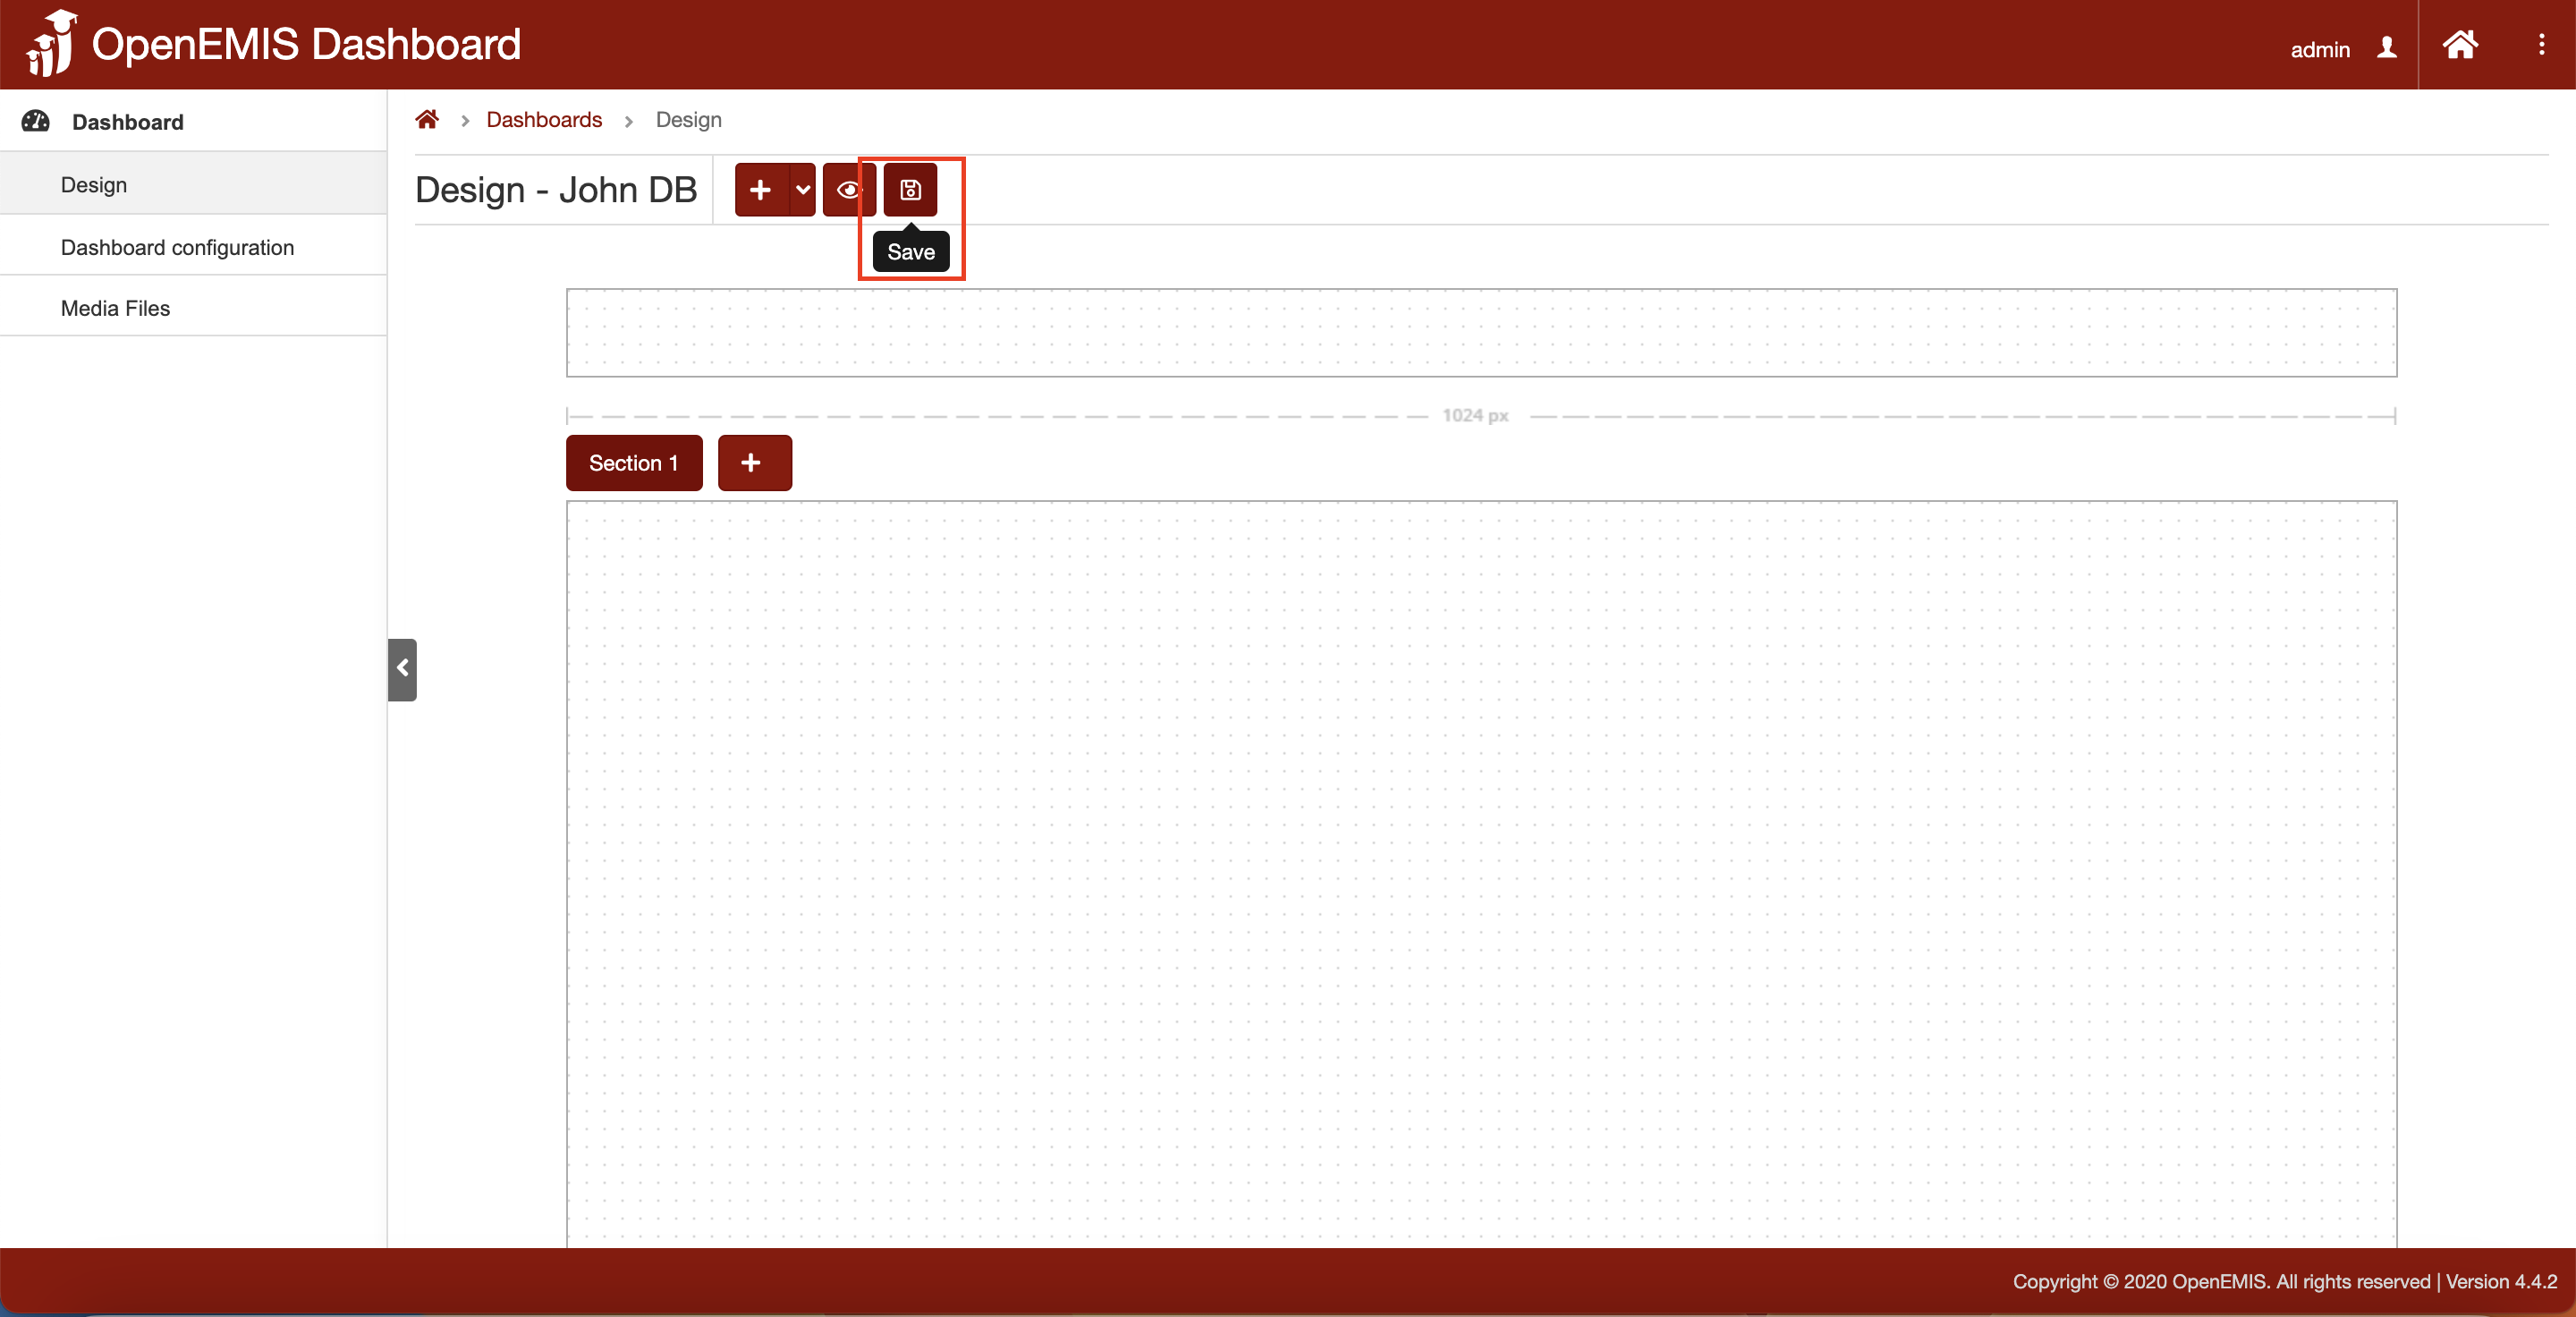
7. The third button is “Save” where whenever a new visualisation, select list, global select list or any modifying is made, the dashboard will be save.
8. The fourth button is the “Section” button. This section will display as the Select Global List.
9. Click on the “Add” button to add more than section.
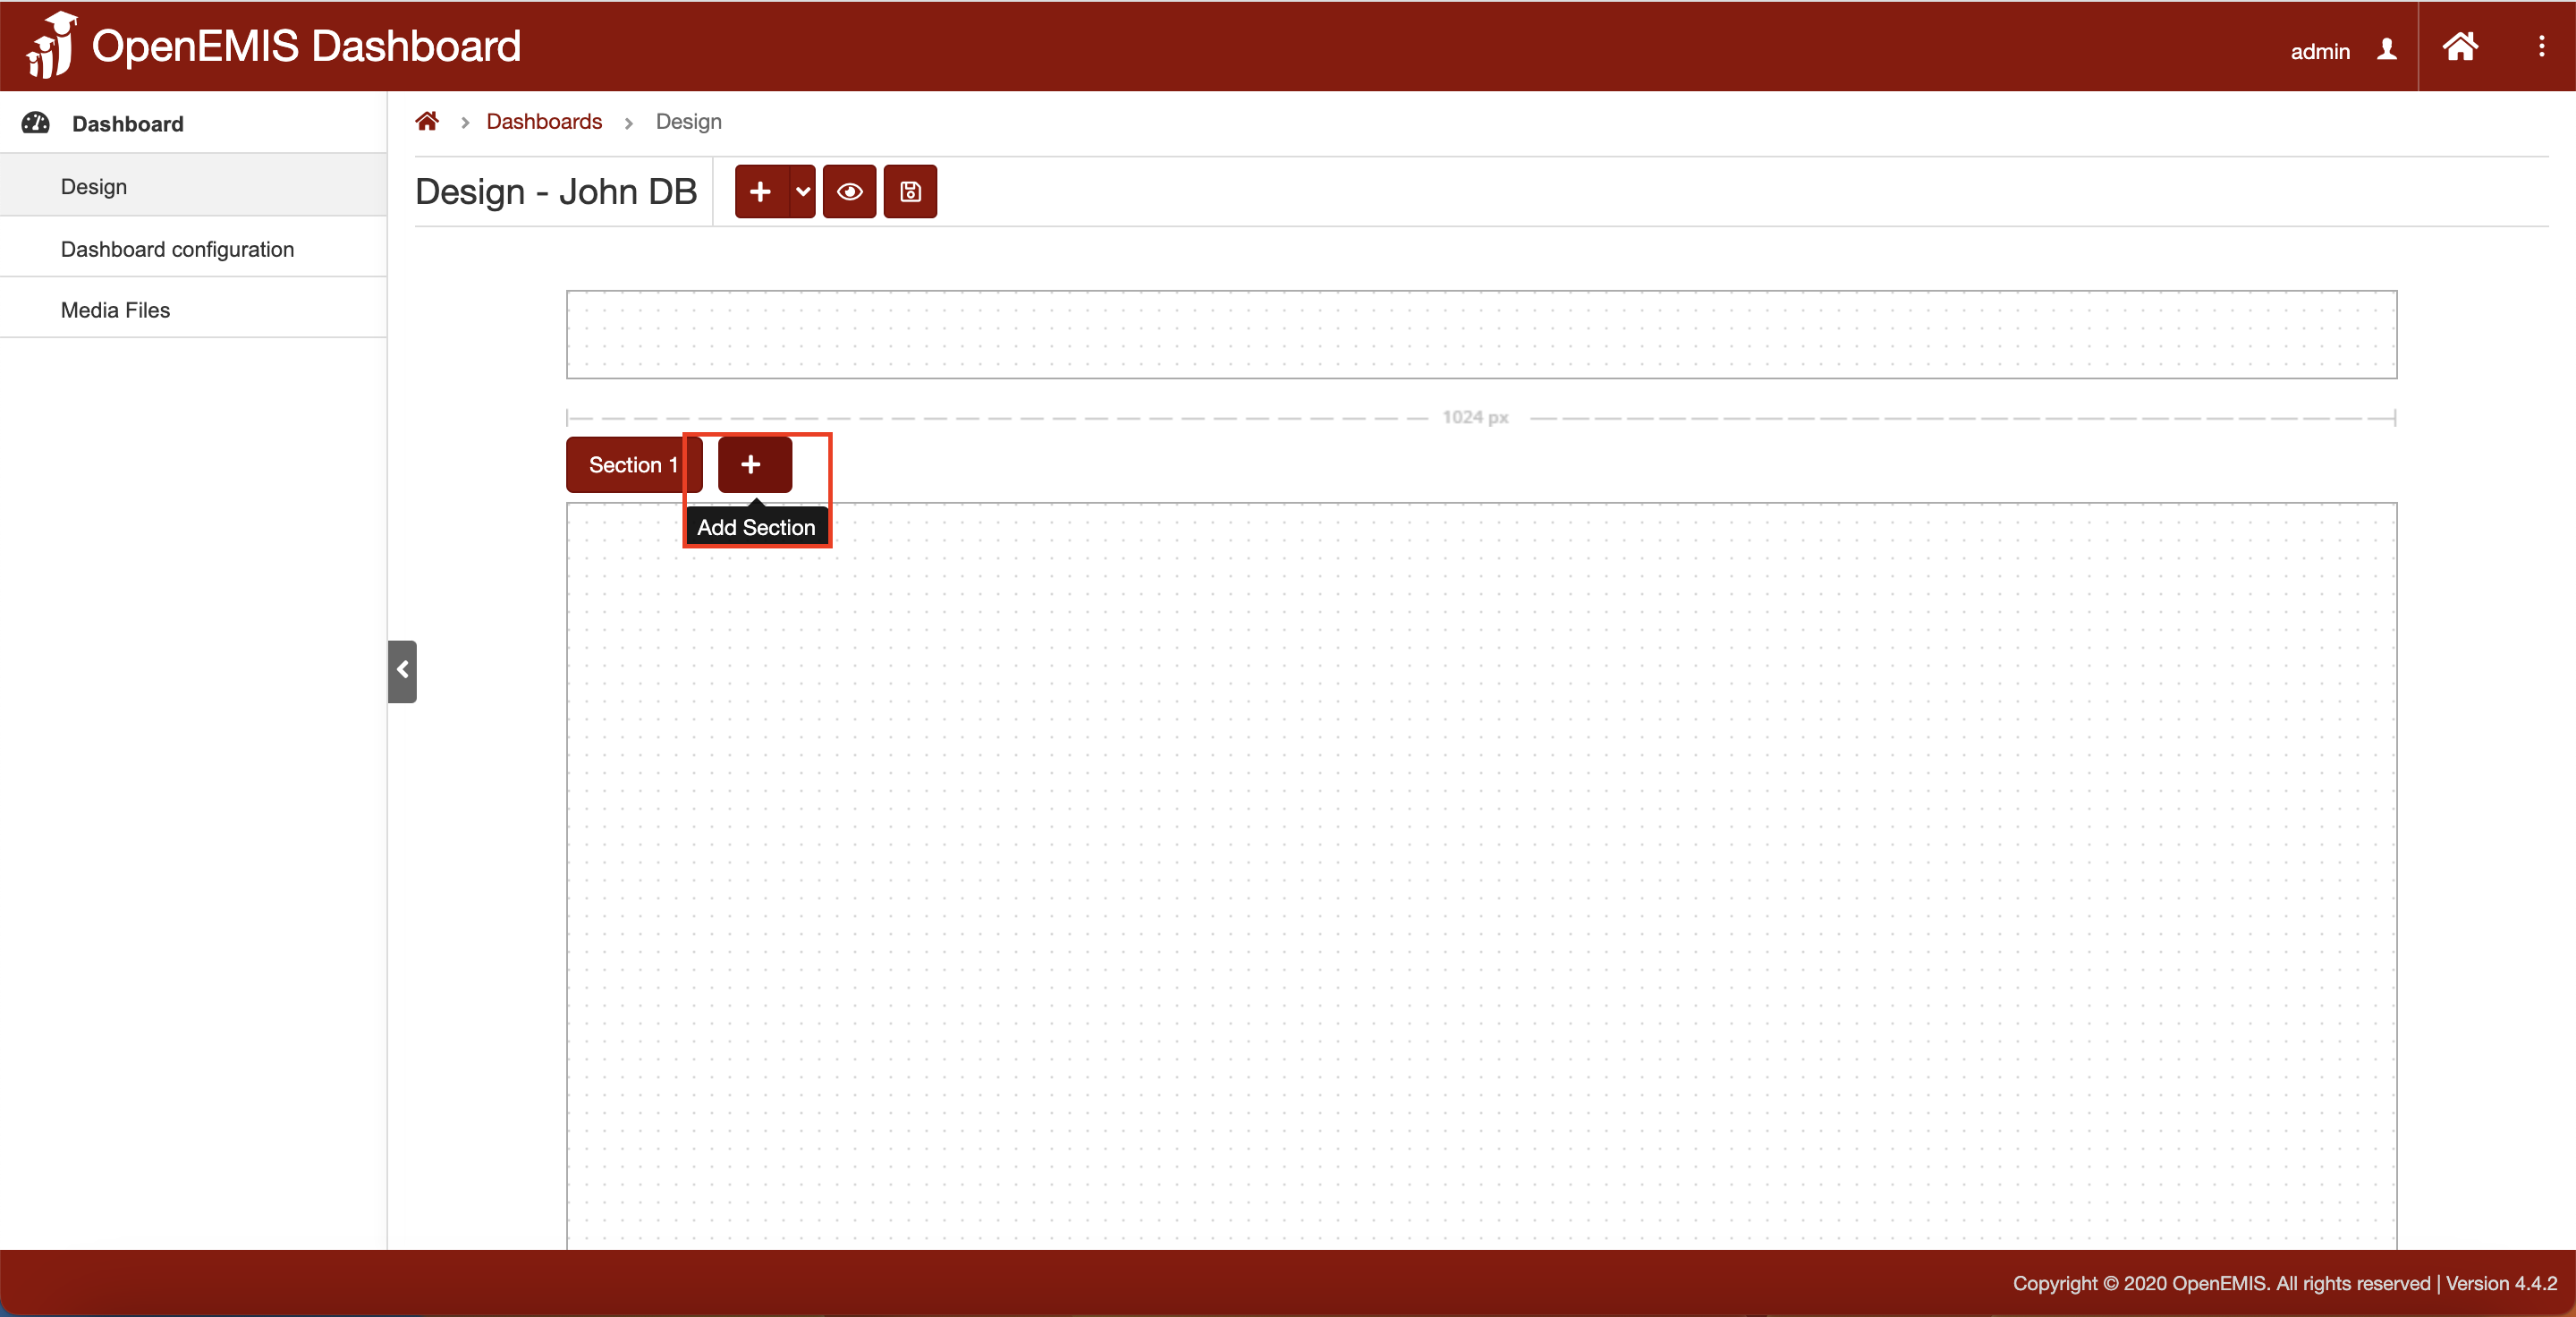
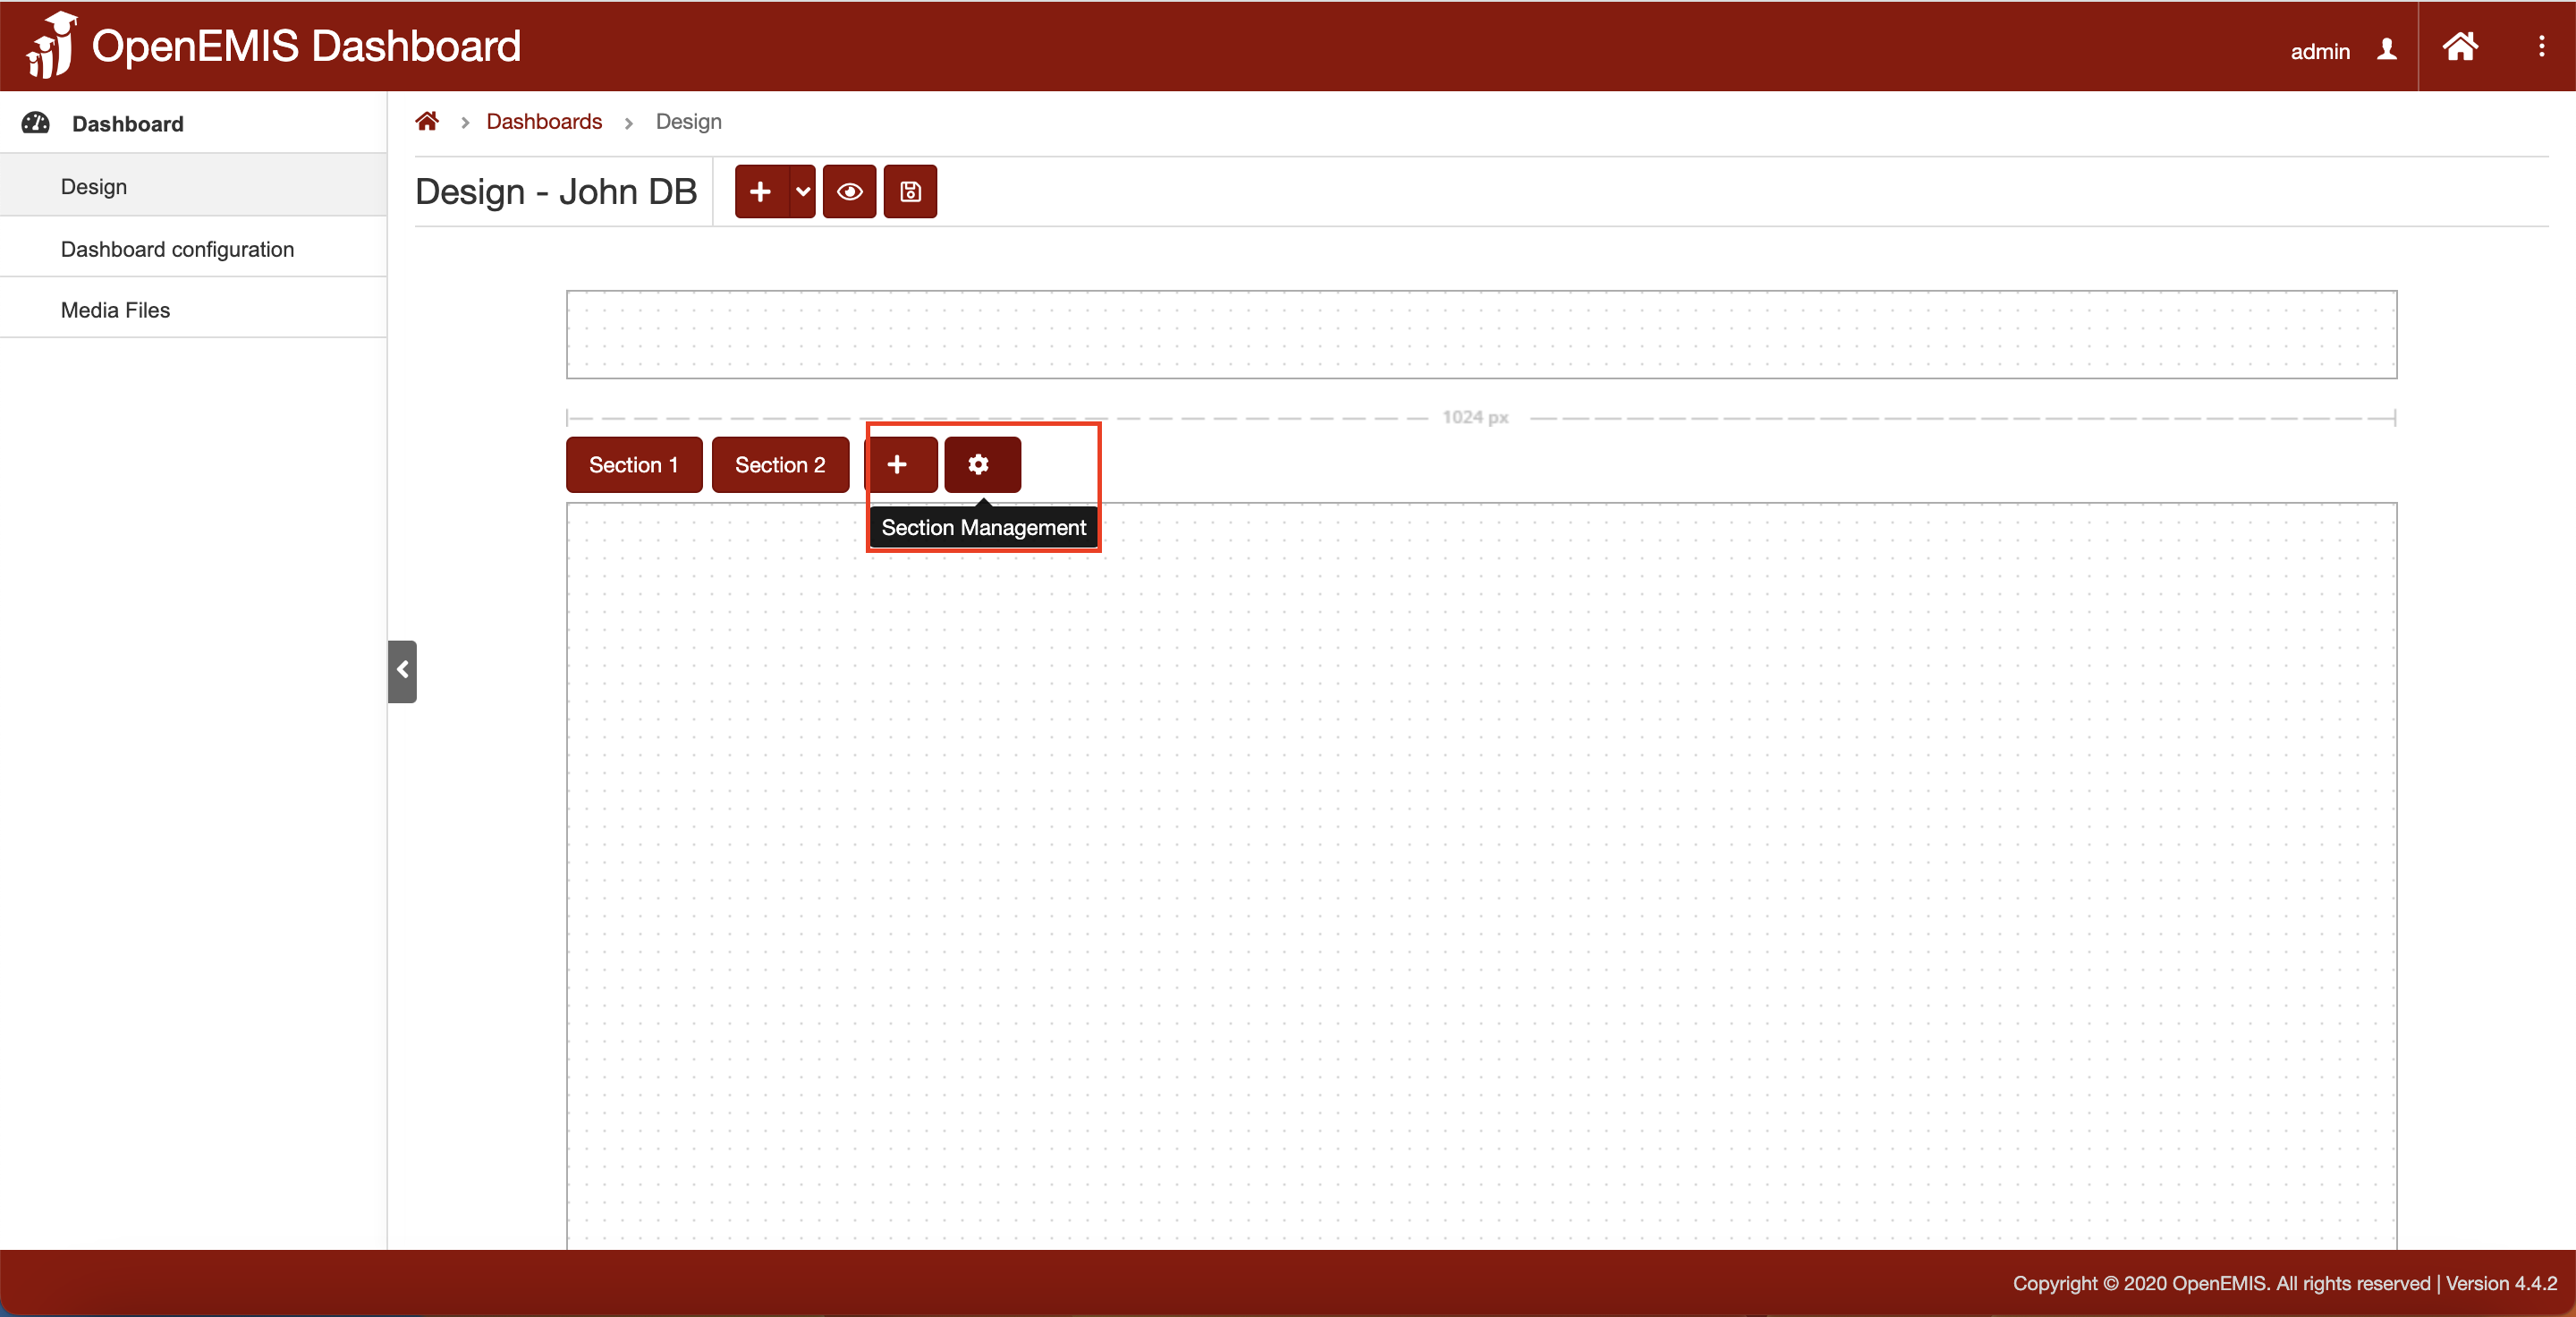
10. A new section is added upon clicking the add button. There will be a “Section Management” button to manage the section.
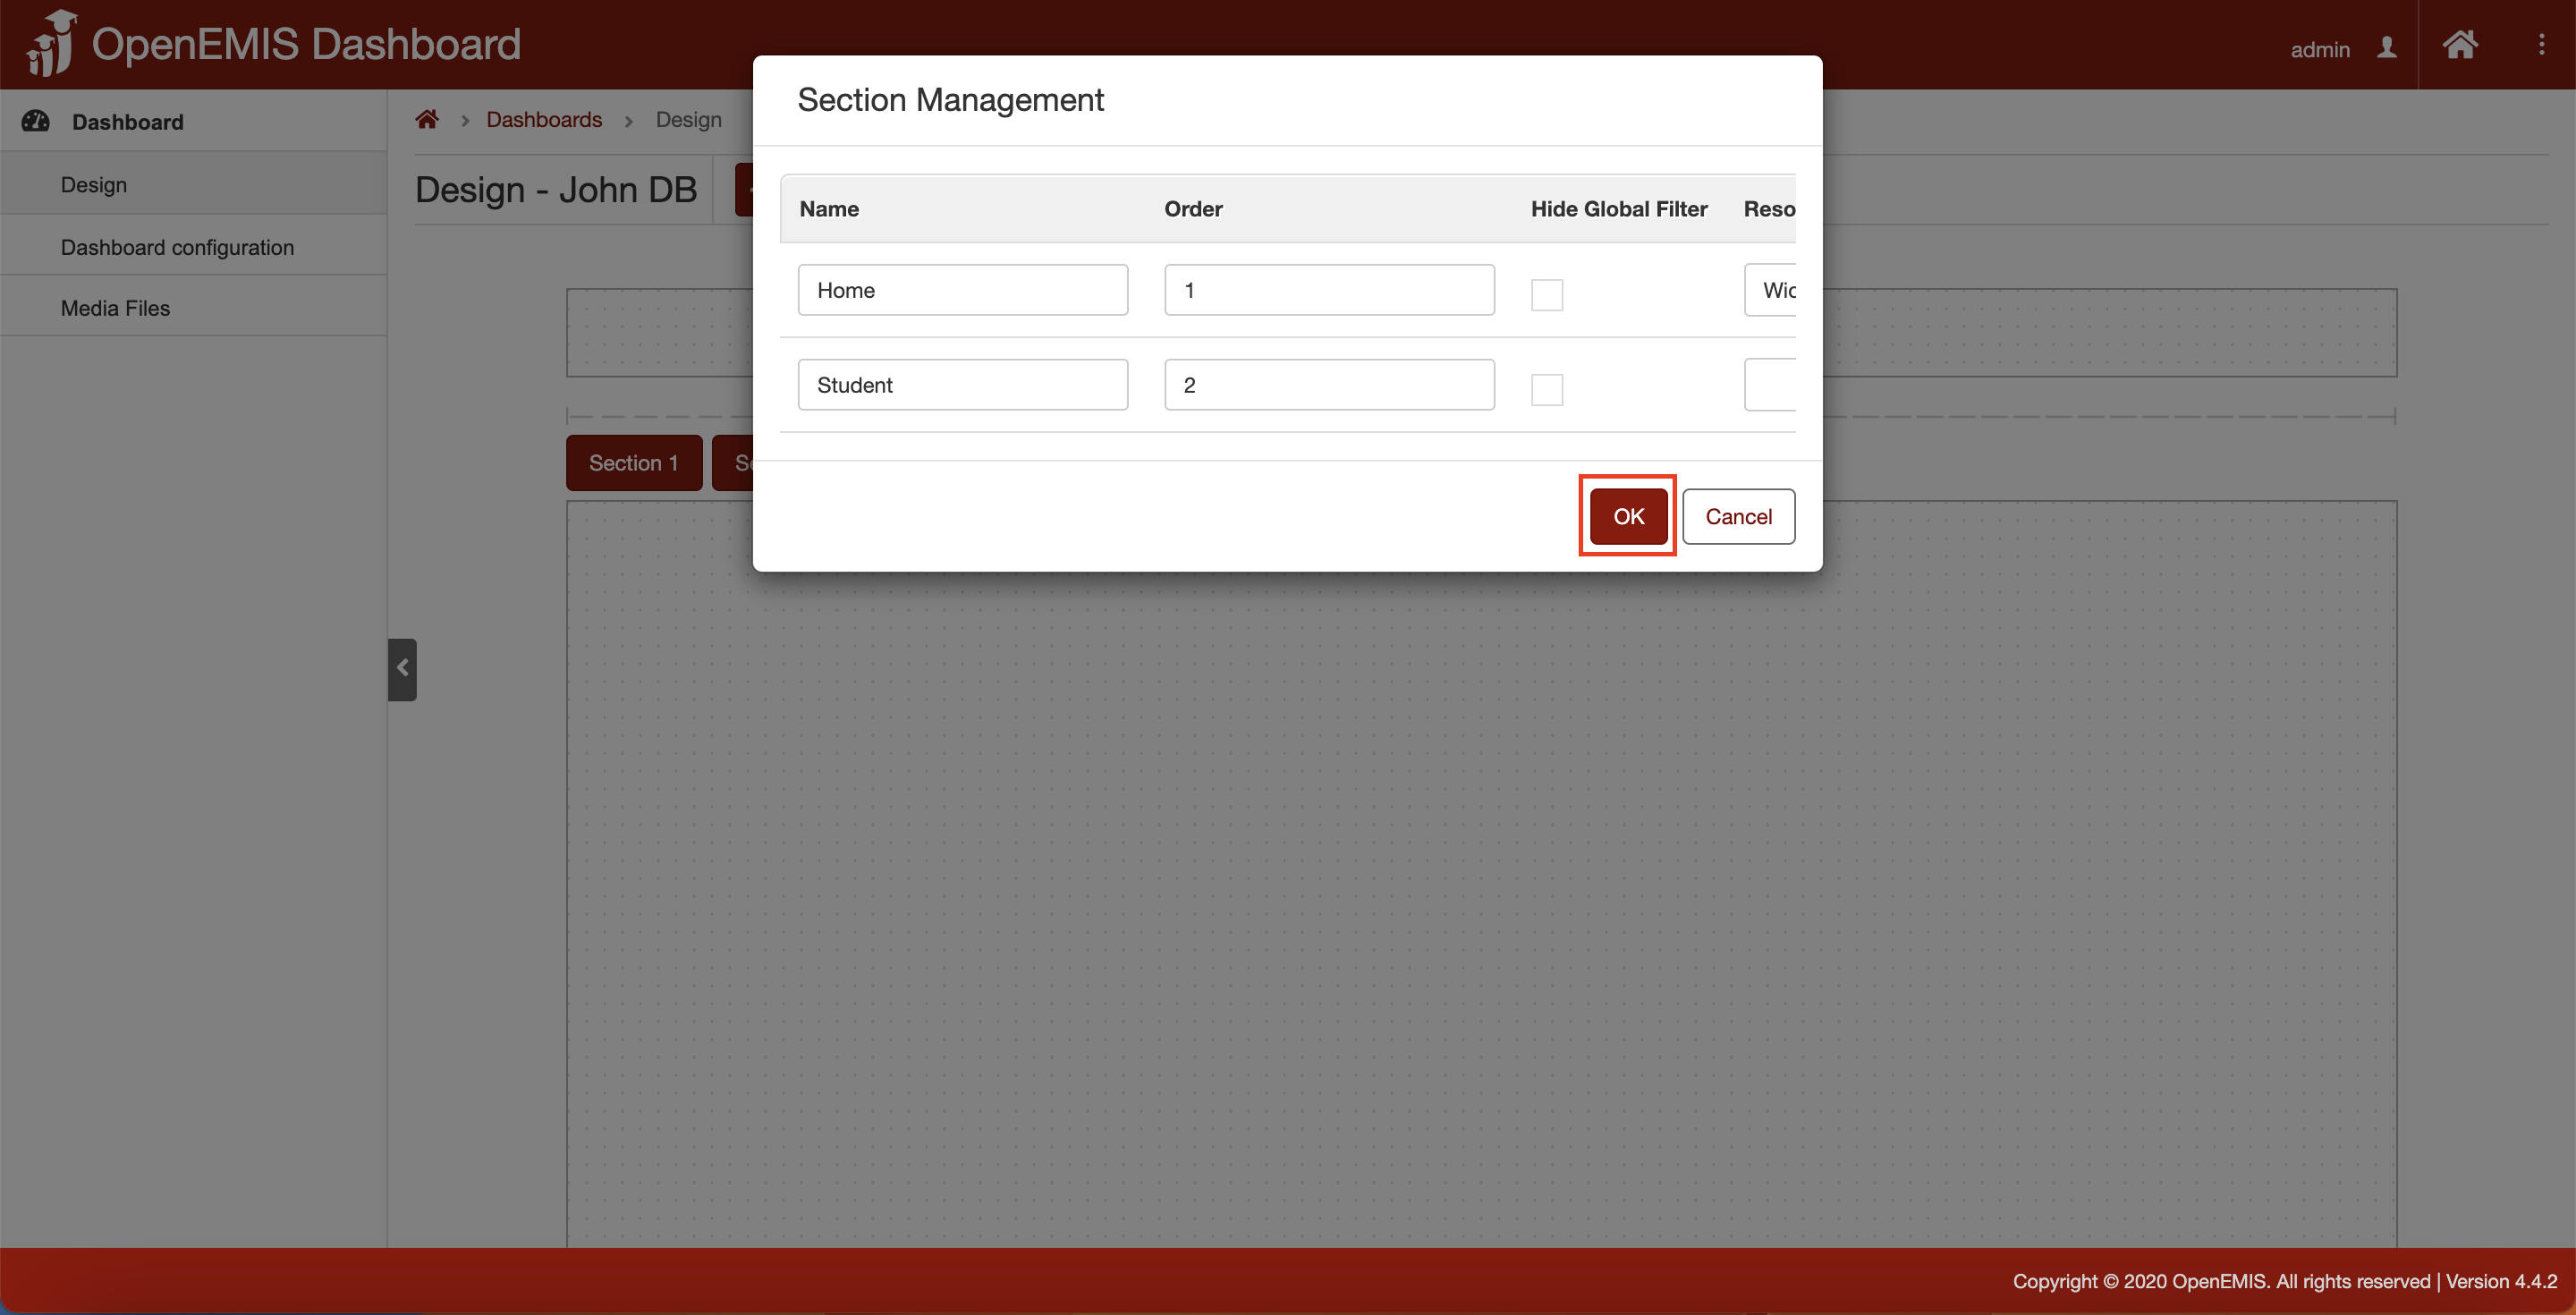
11. Click on the “Section Management” button.
12. The page will navigate page where the section can be configured.
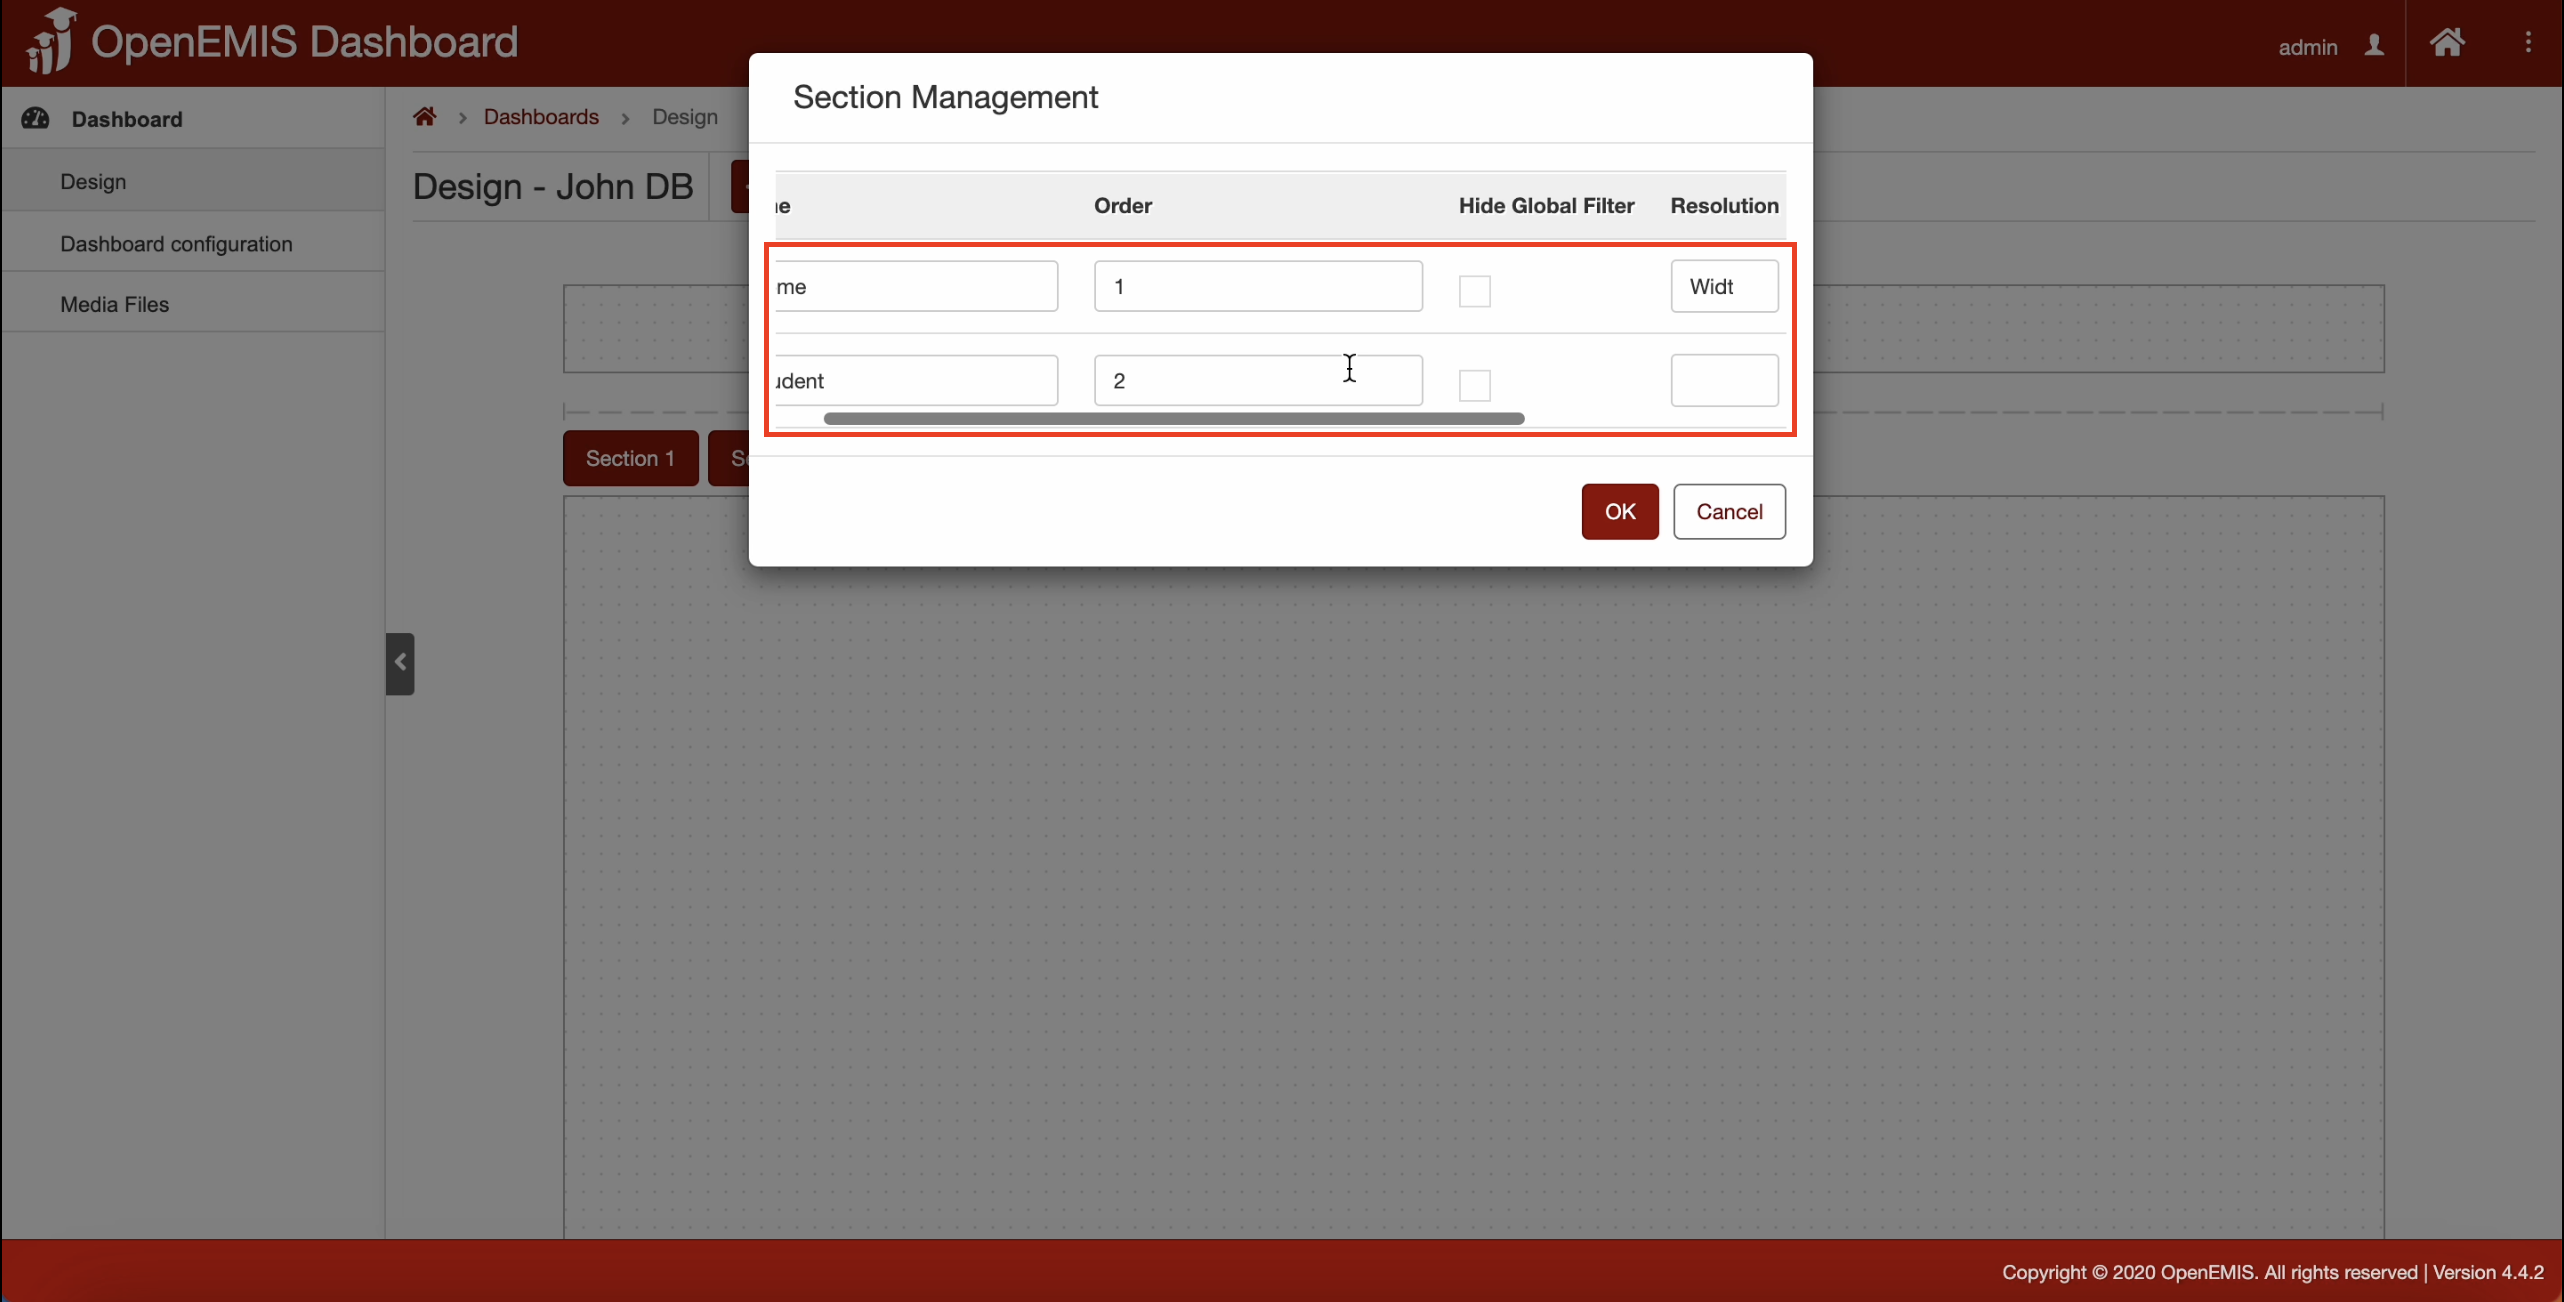 \
\13. There is also “Delete” button to delete section.
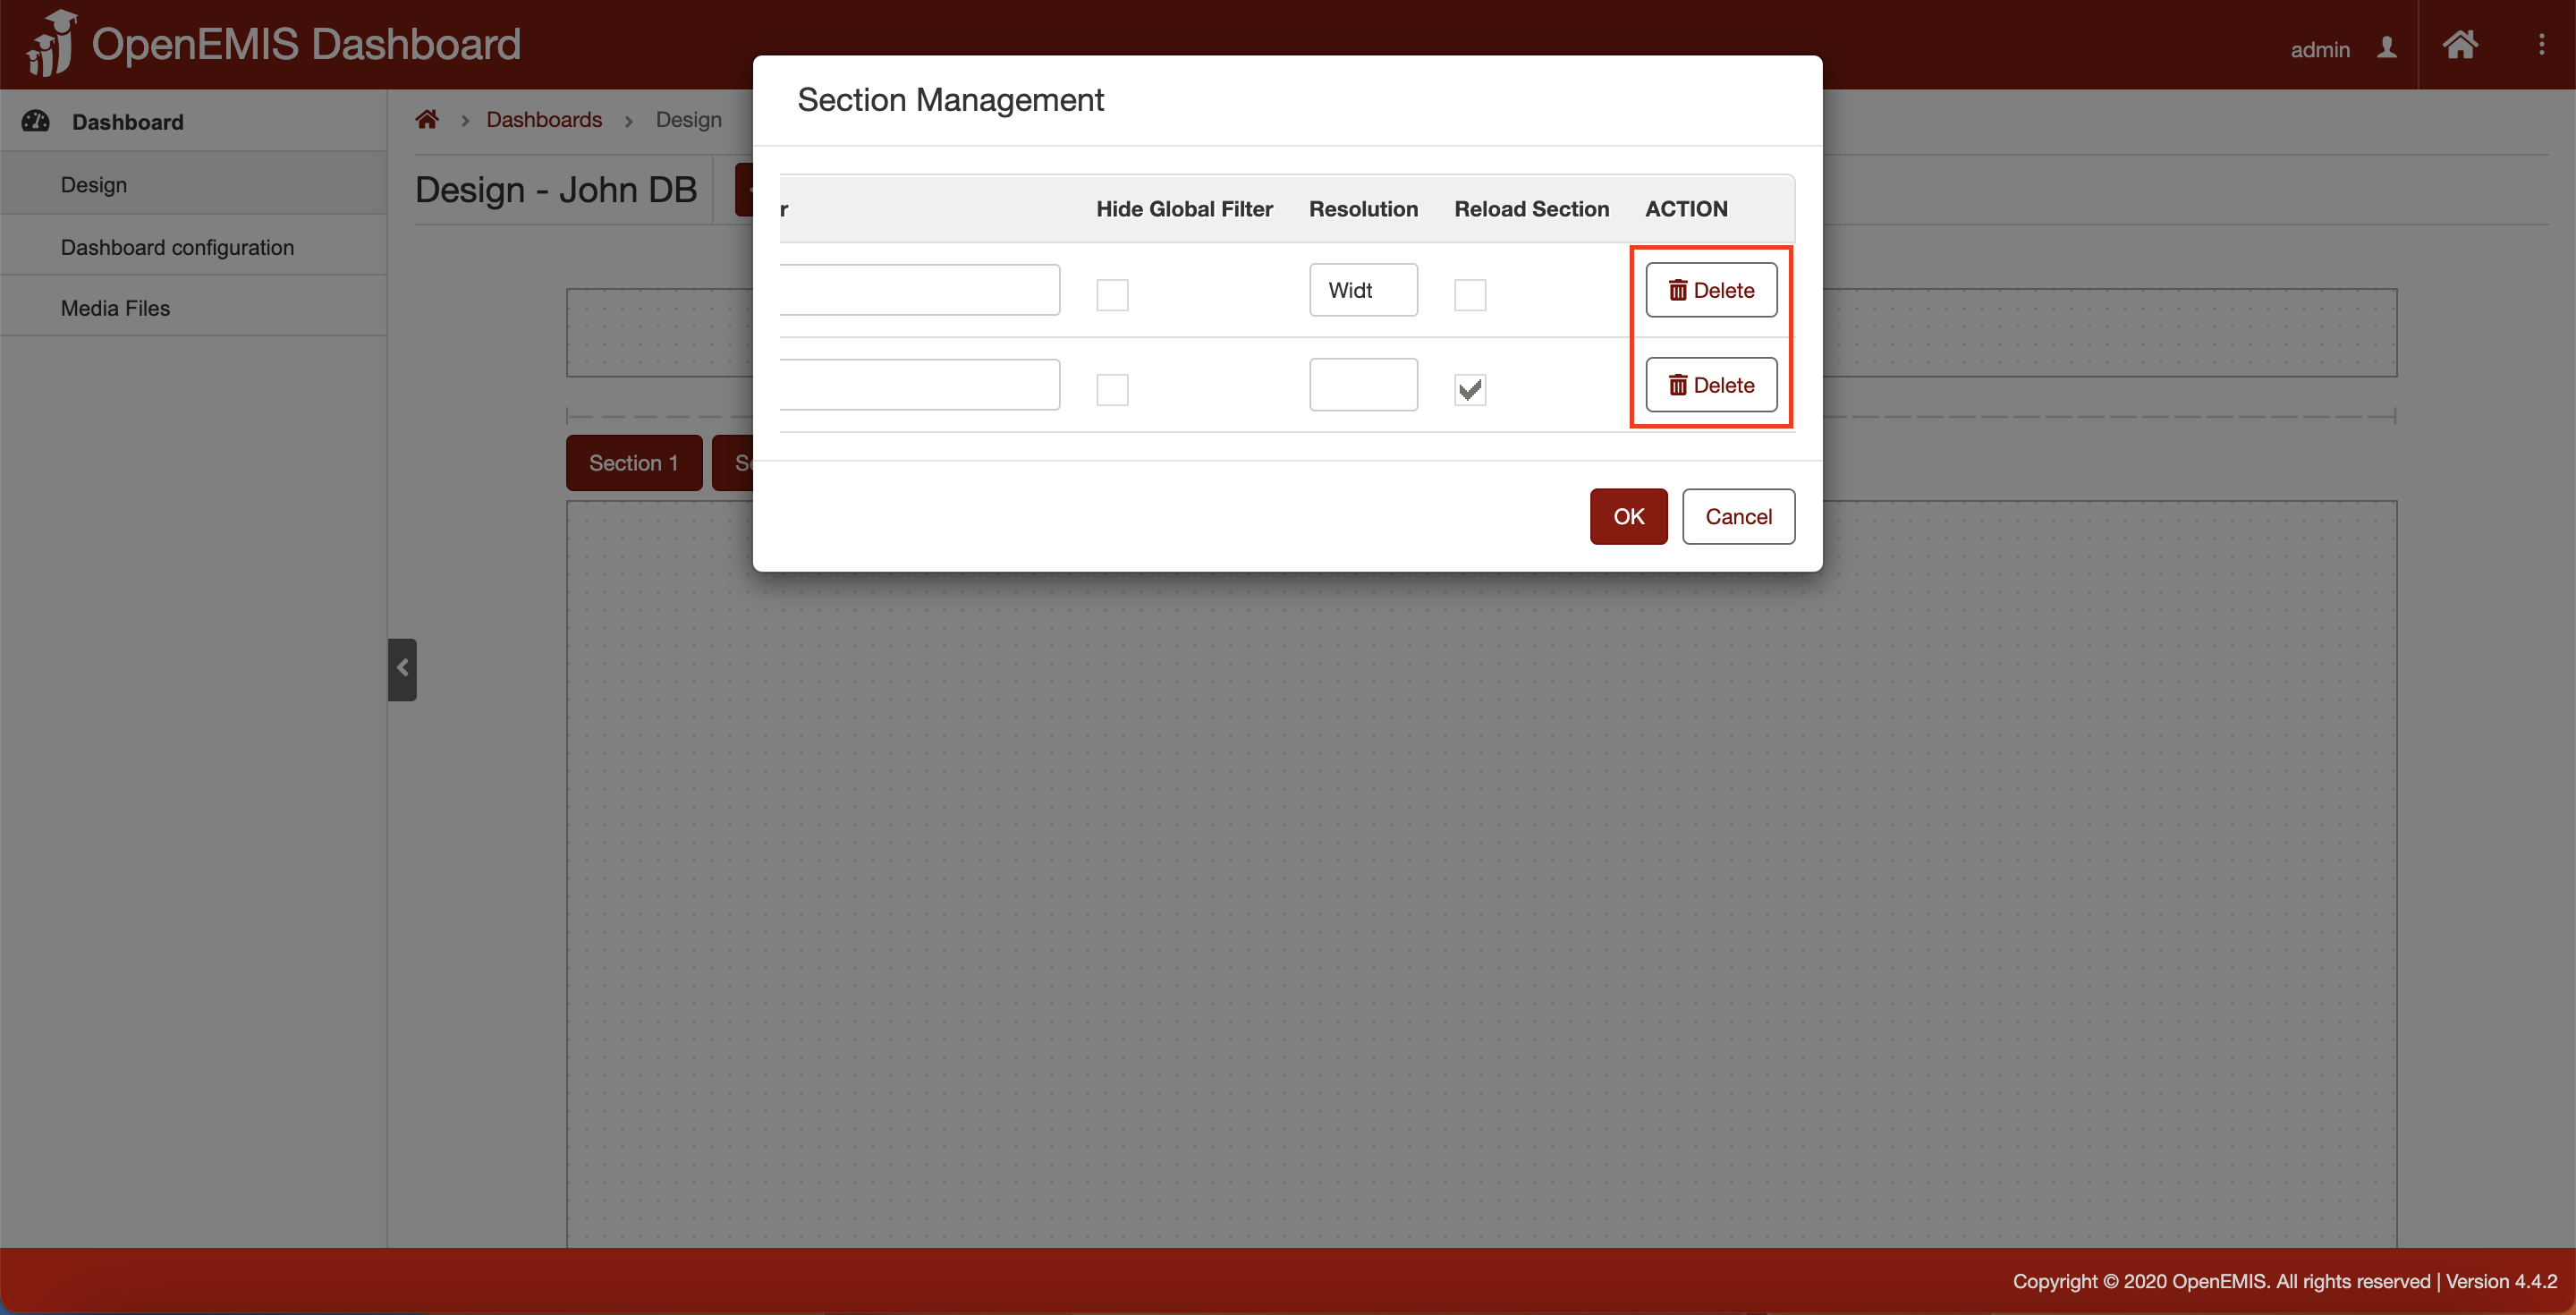
14. Click “OK” when done configuring the section.
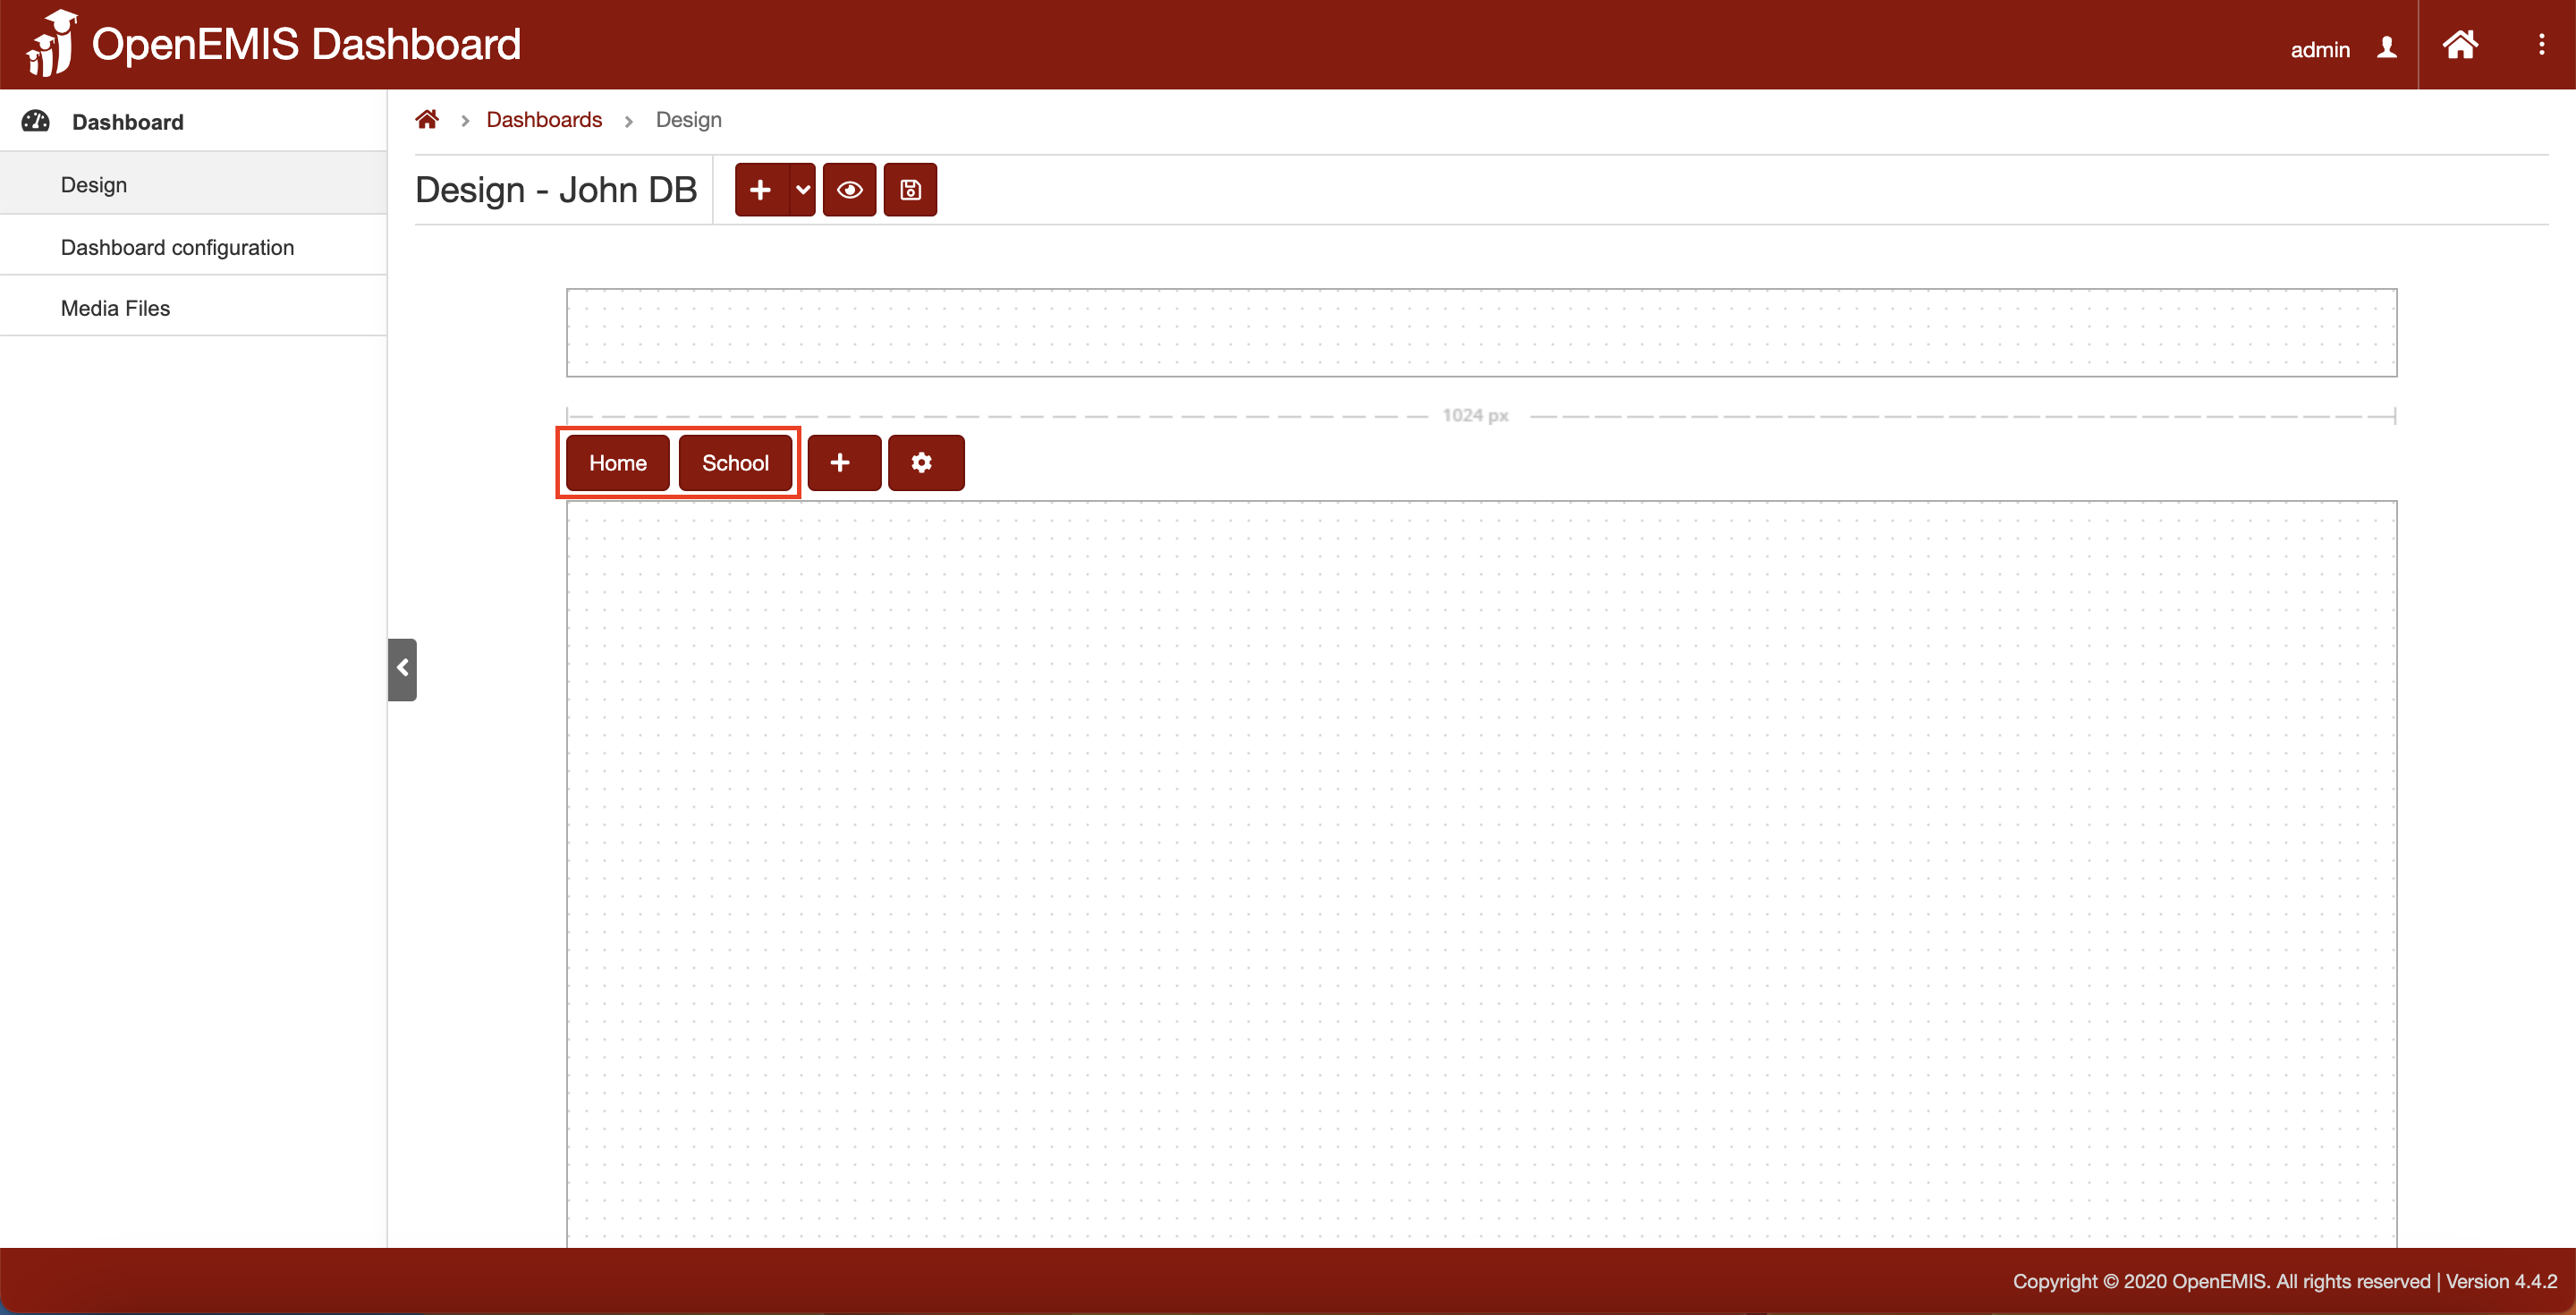
15. The section is now shown as configured in the section management.
Configuring Dashboard
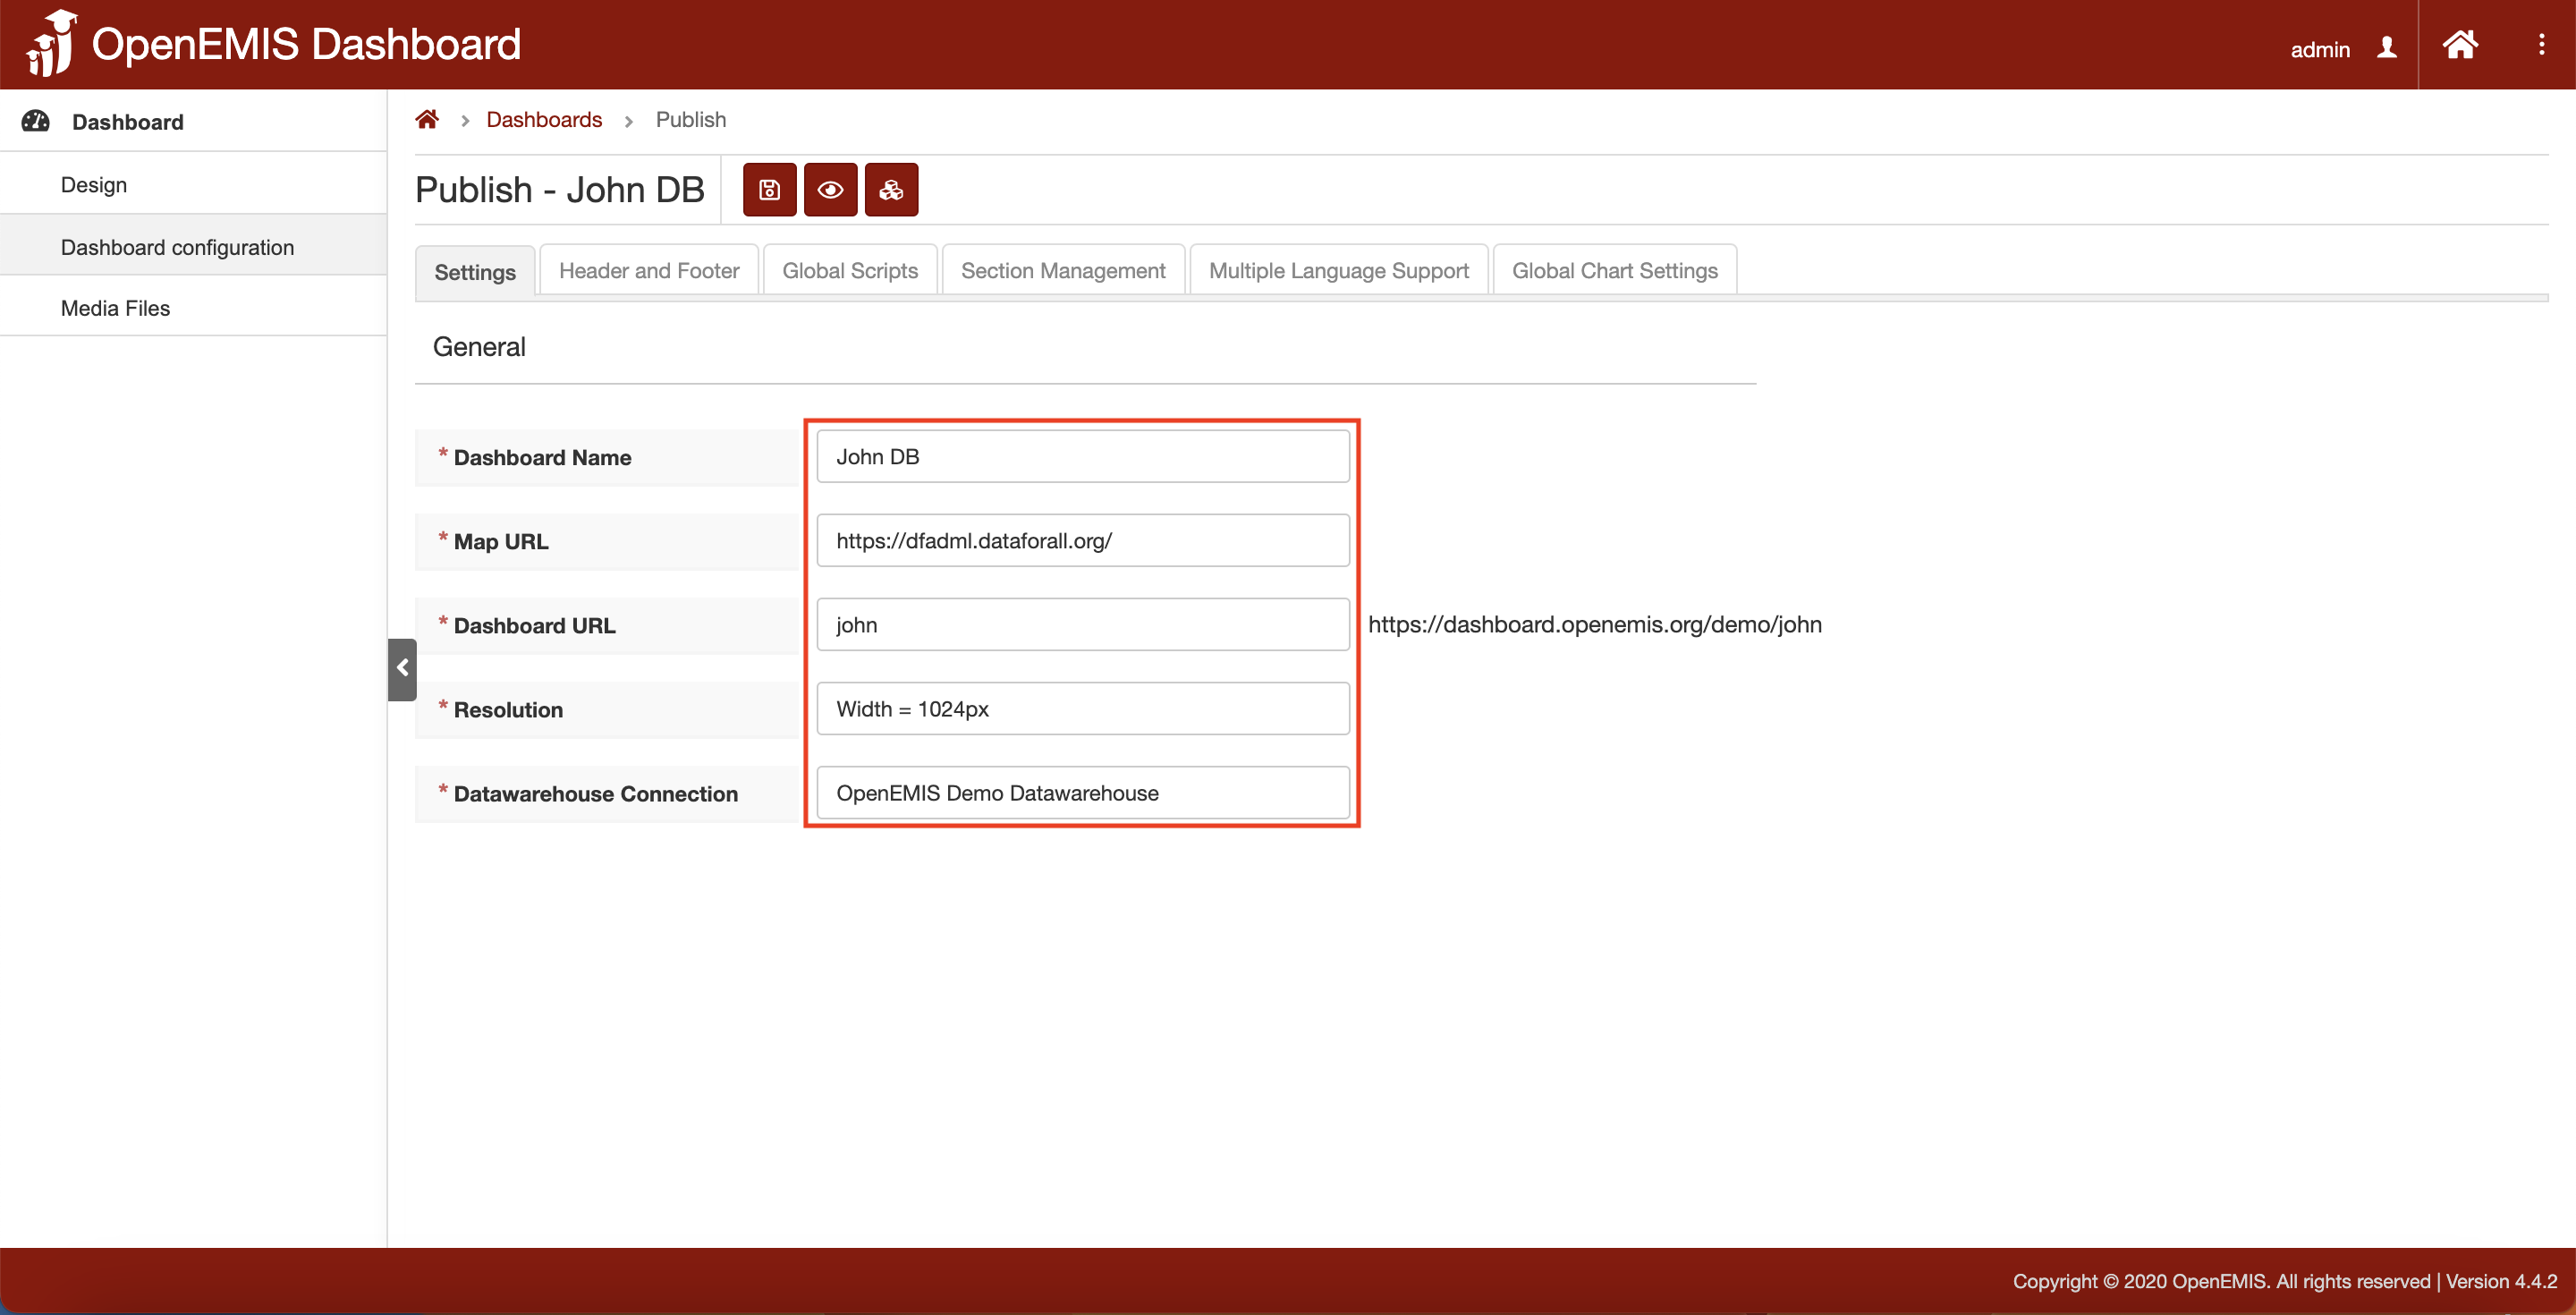
1. Navigate to Dashboard > Dashboard configuration page.
2. The page will navigate to the Settings tab. This is the page where it is configured upon adding dashboard.
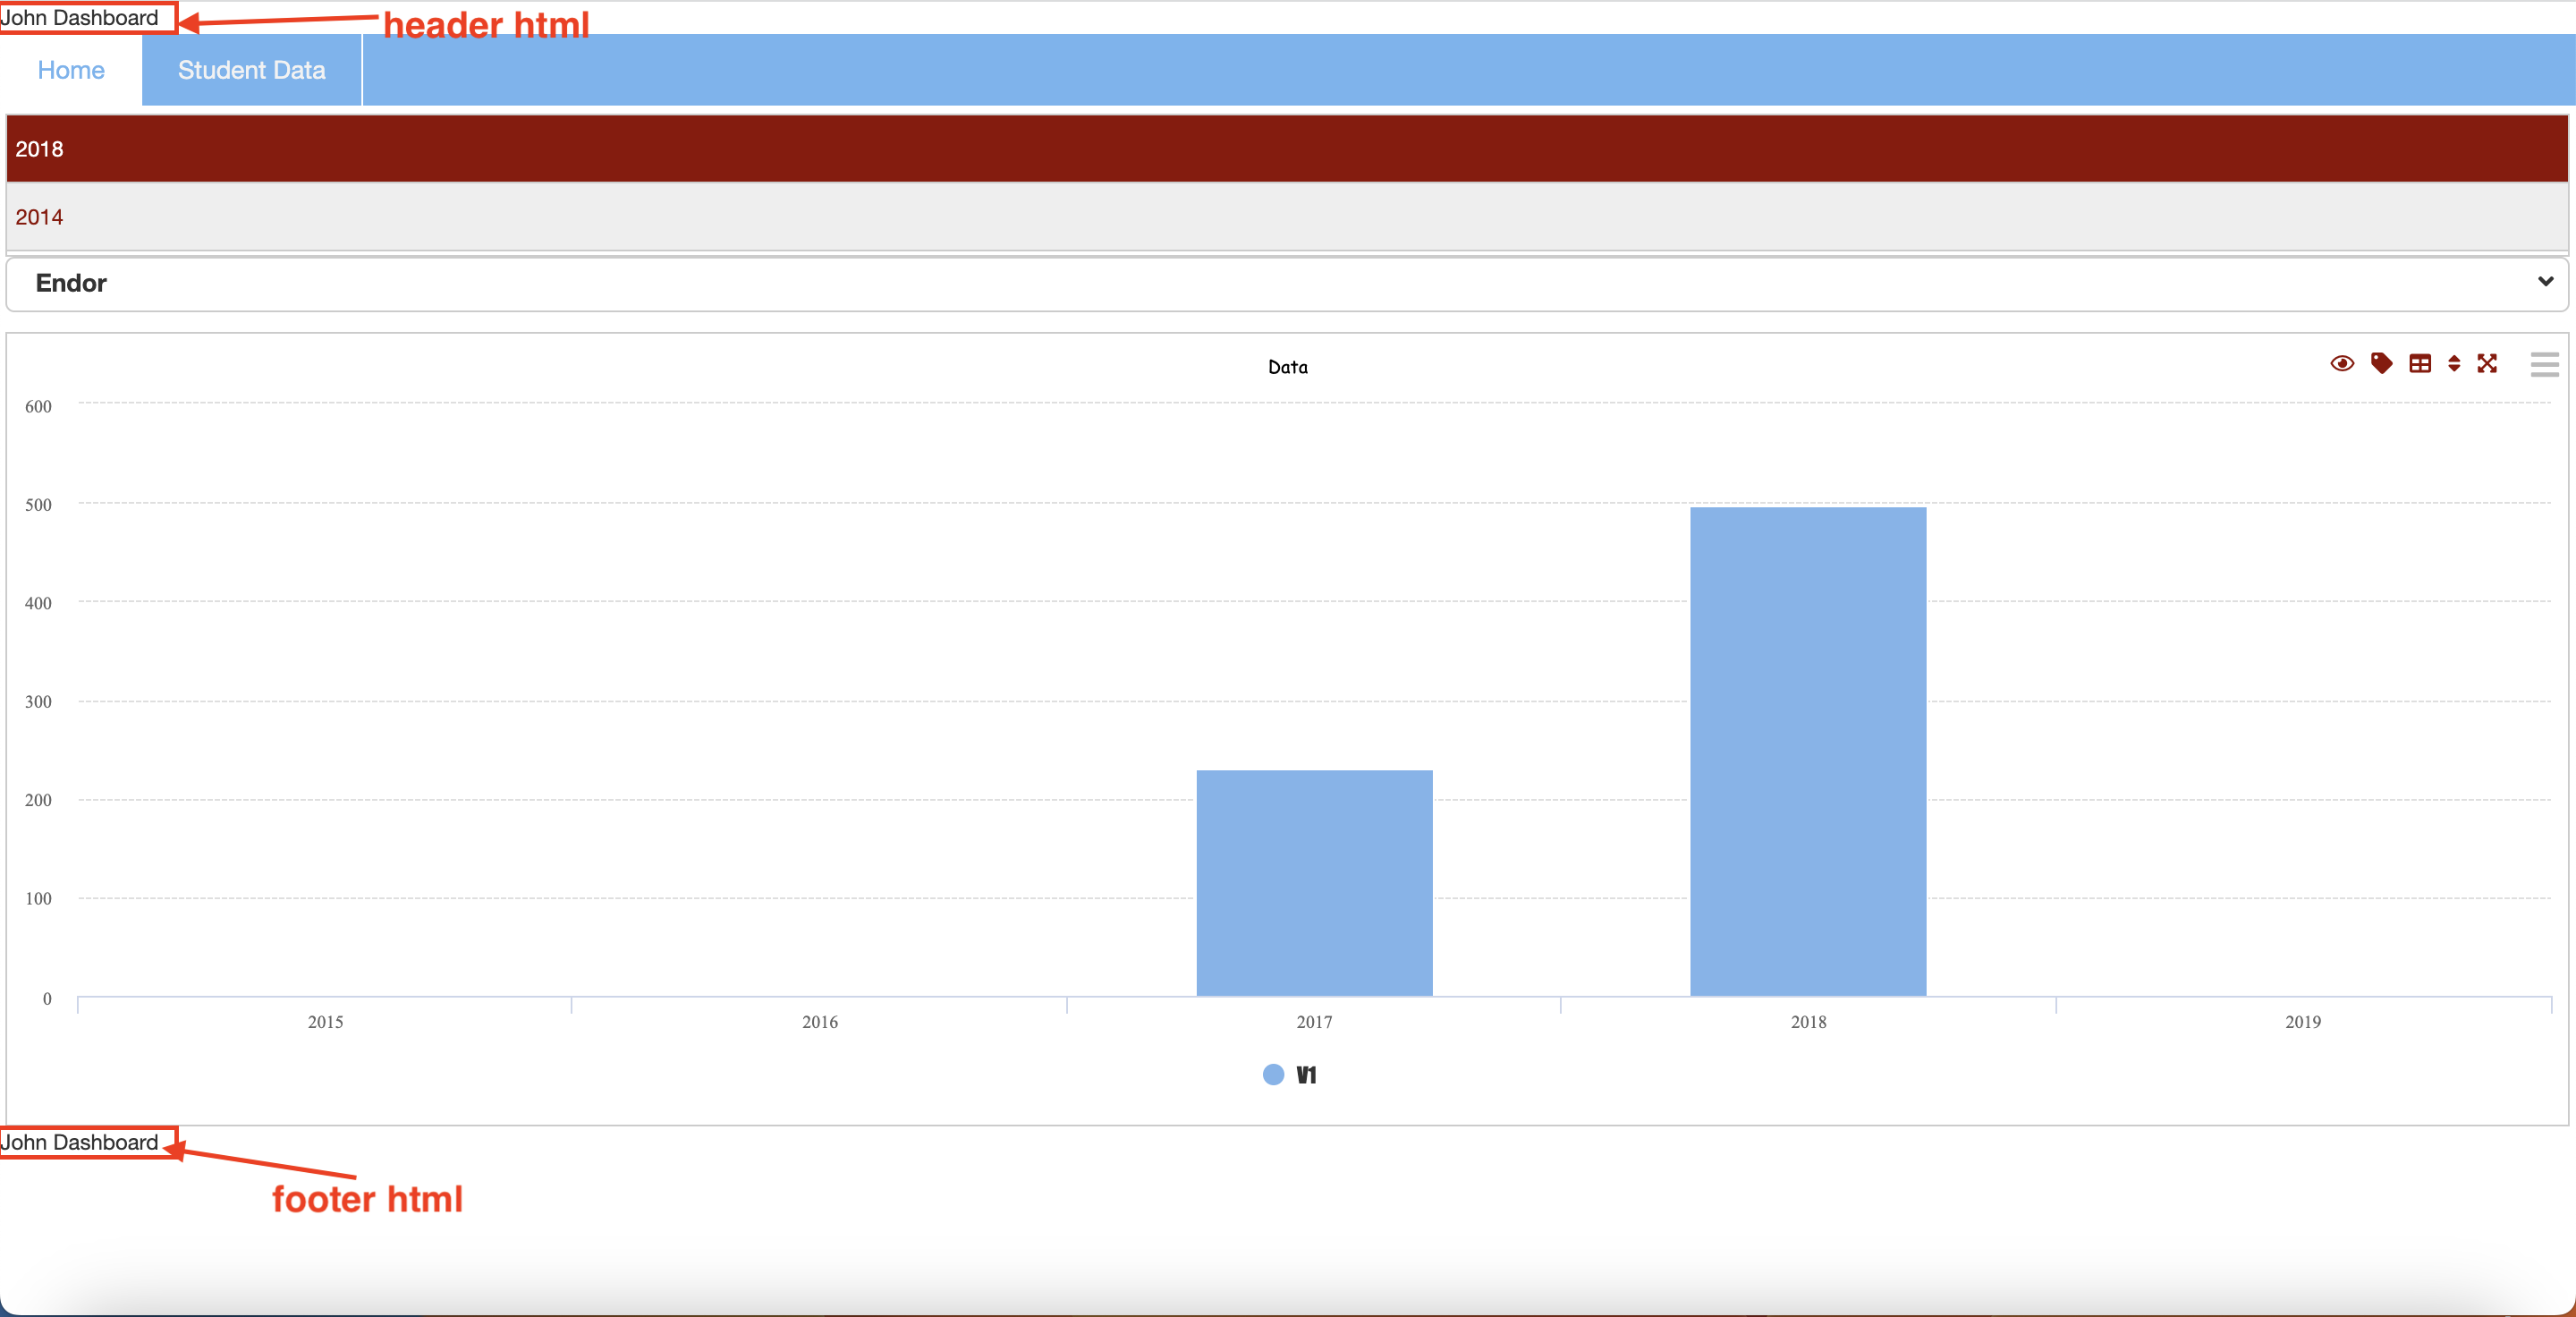
3. The next tab is “Header and Footer” tab where header and footer can be configure when accessing Dashboard.
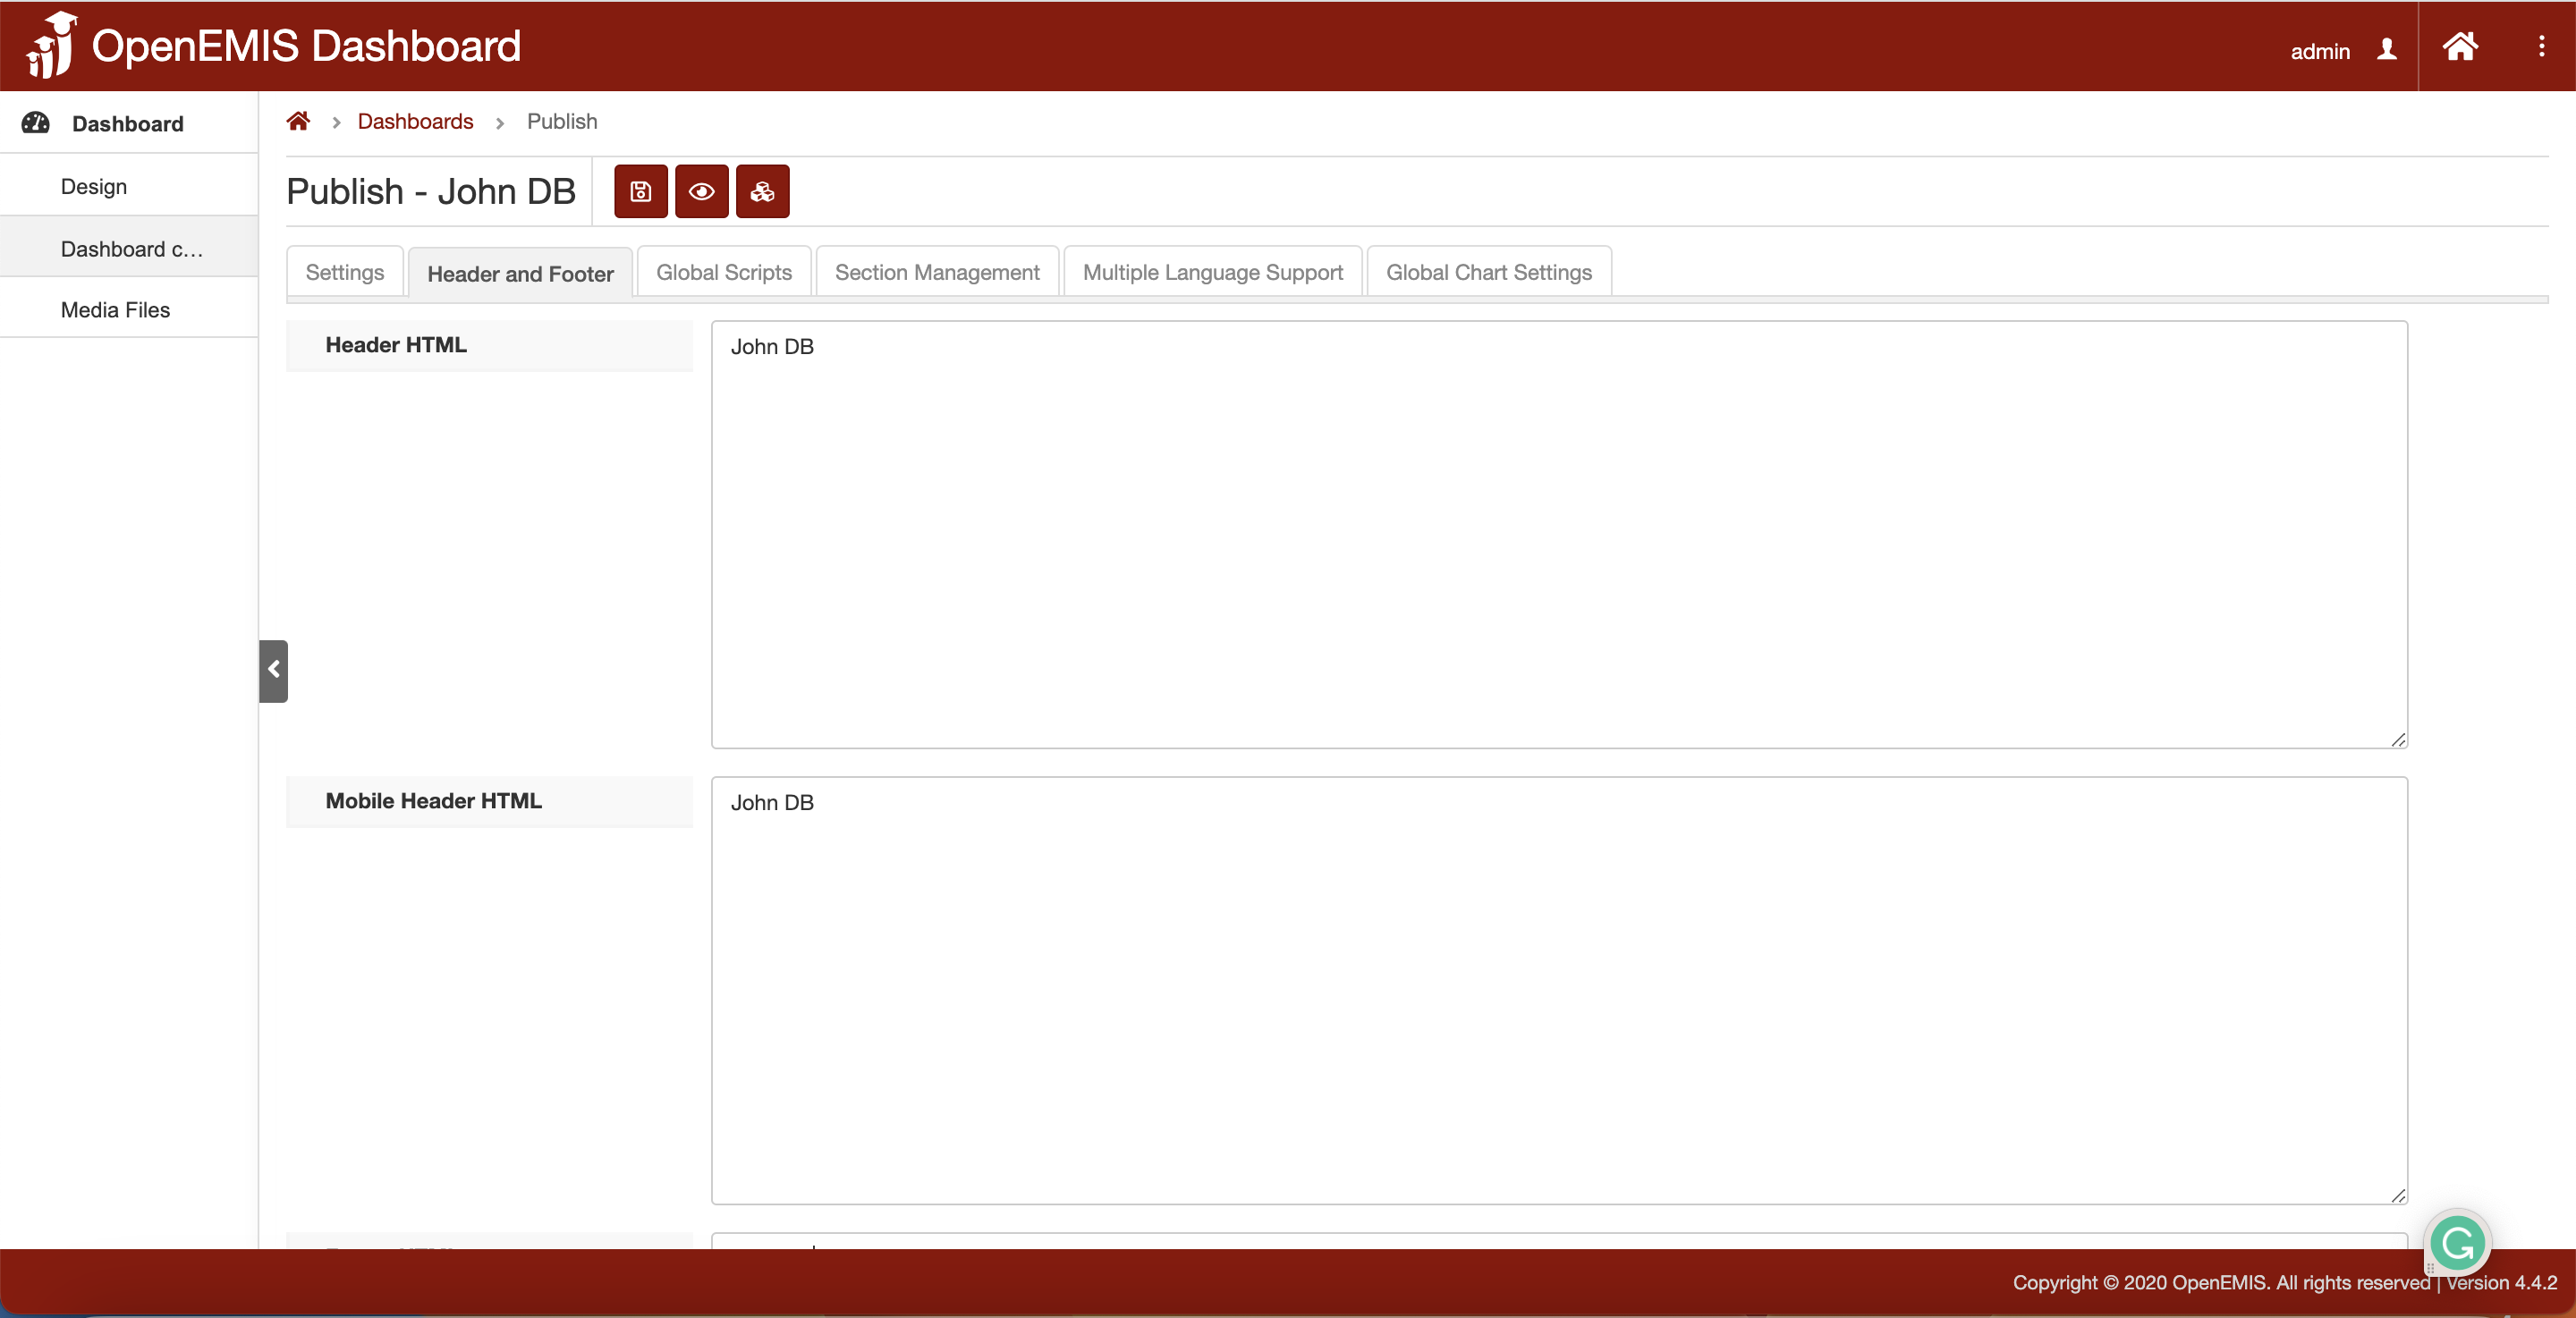
4. Here is an example when “Header and Footer” is configured.
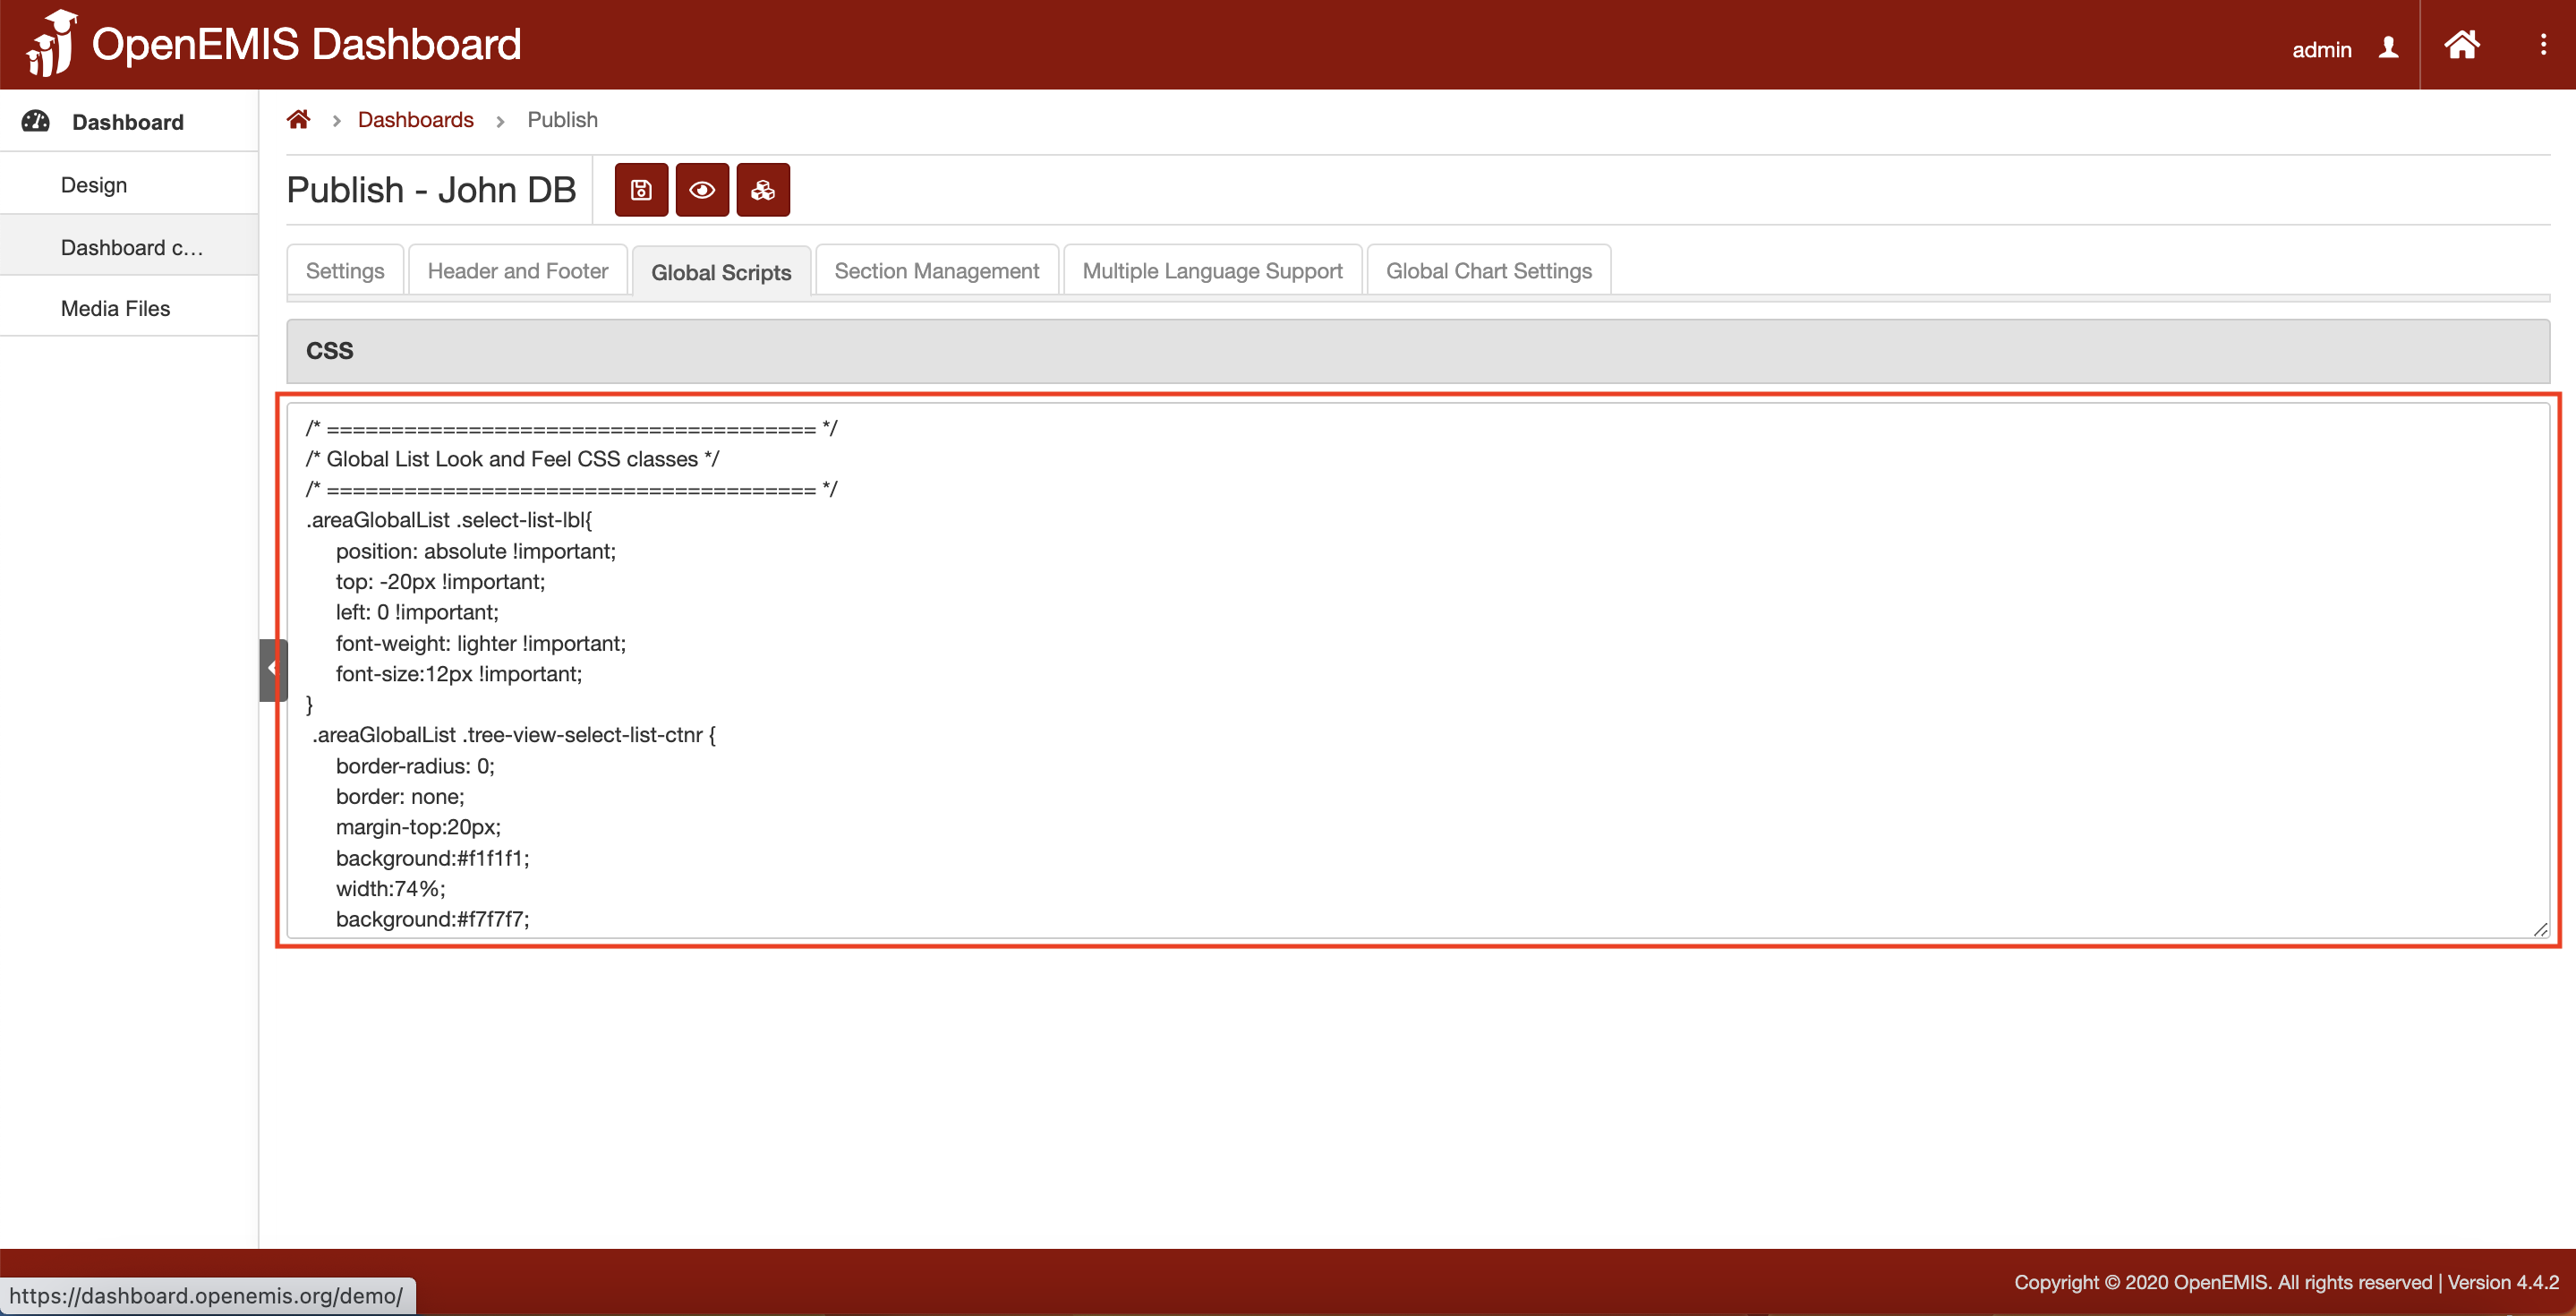
5. The third tab is “Global Scripts” where CSS script can be configured to design as preferred. (CSS is usually alongside with HTML to configure the colours, fonts or layout of a page.)
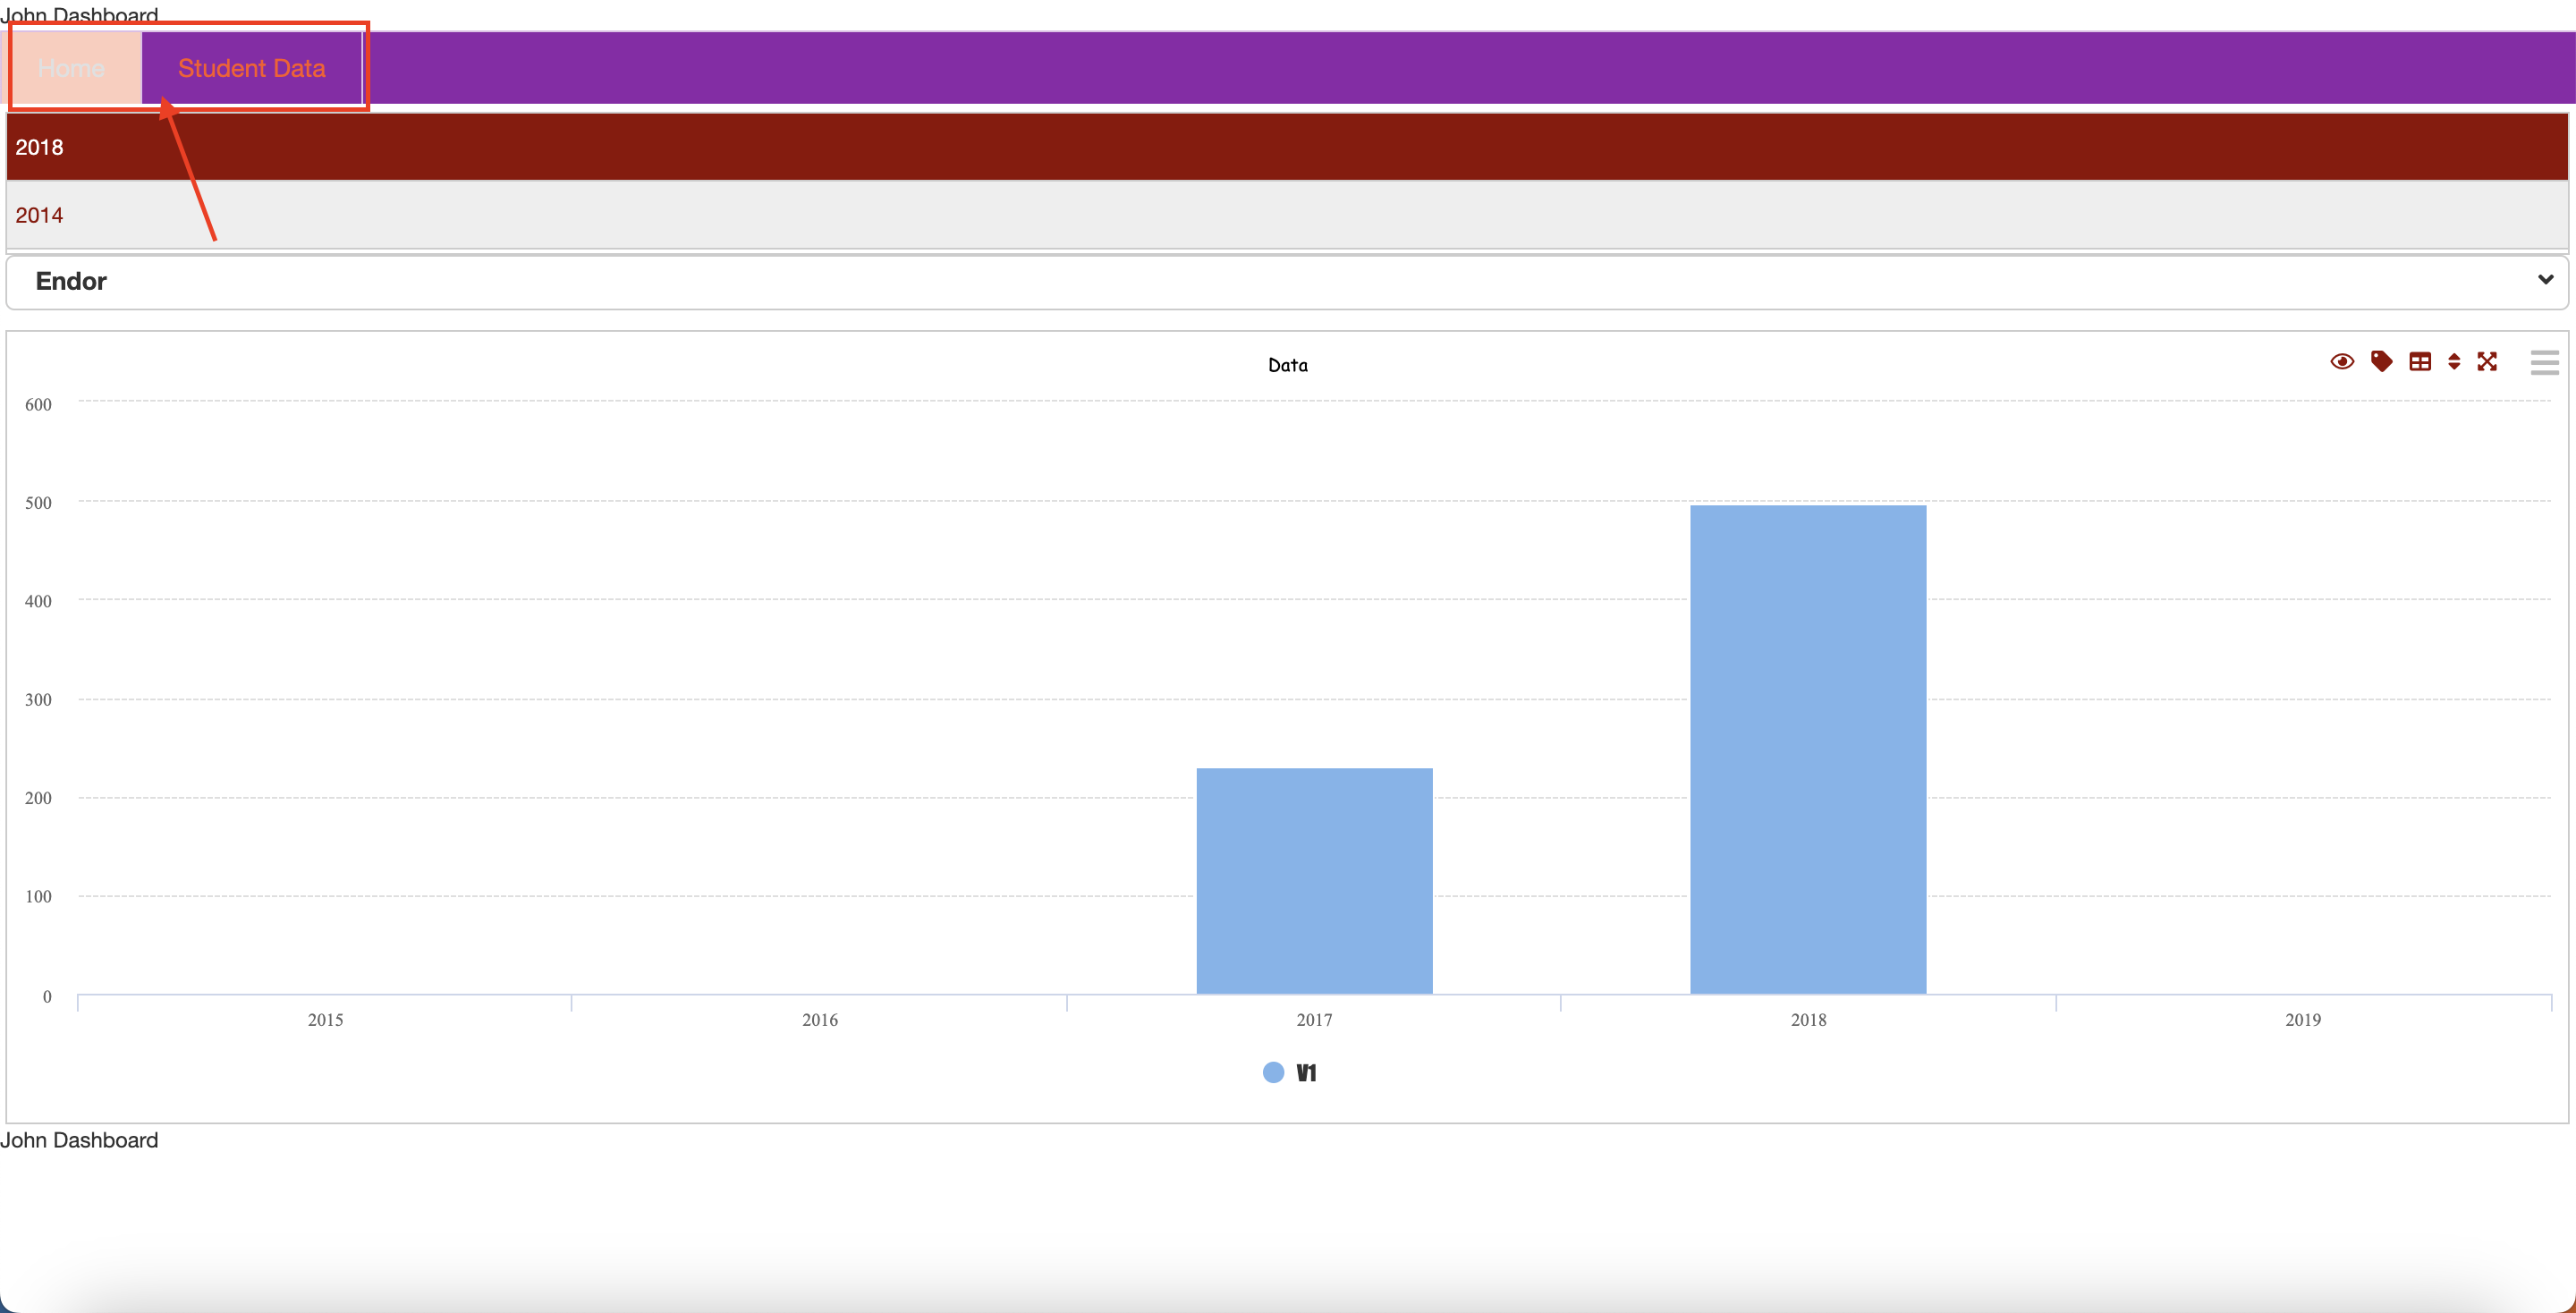
6. The next tab is “Section Management”. This is the option to configure more the colour options for section management.
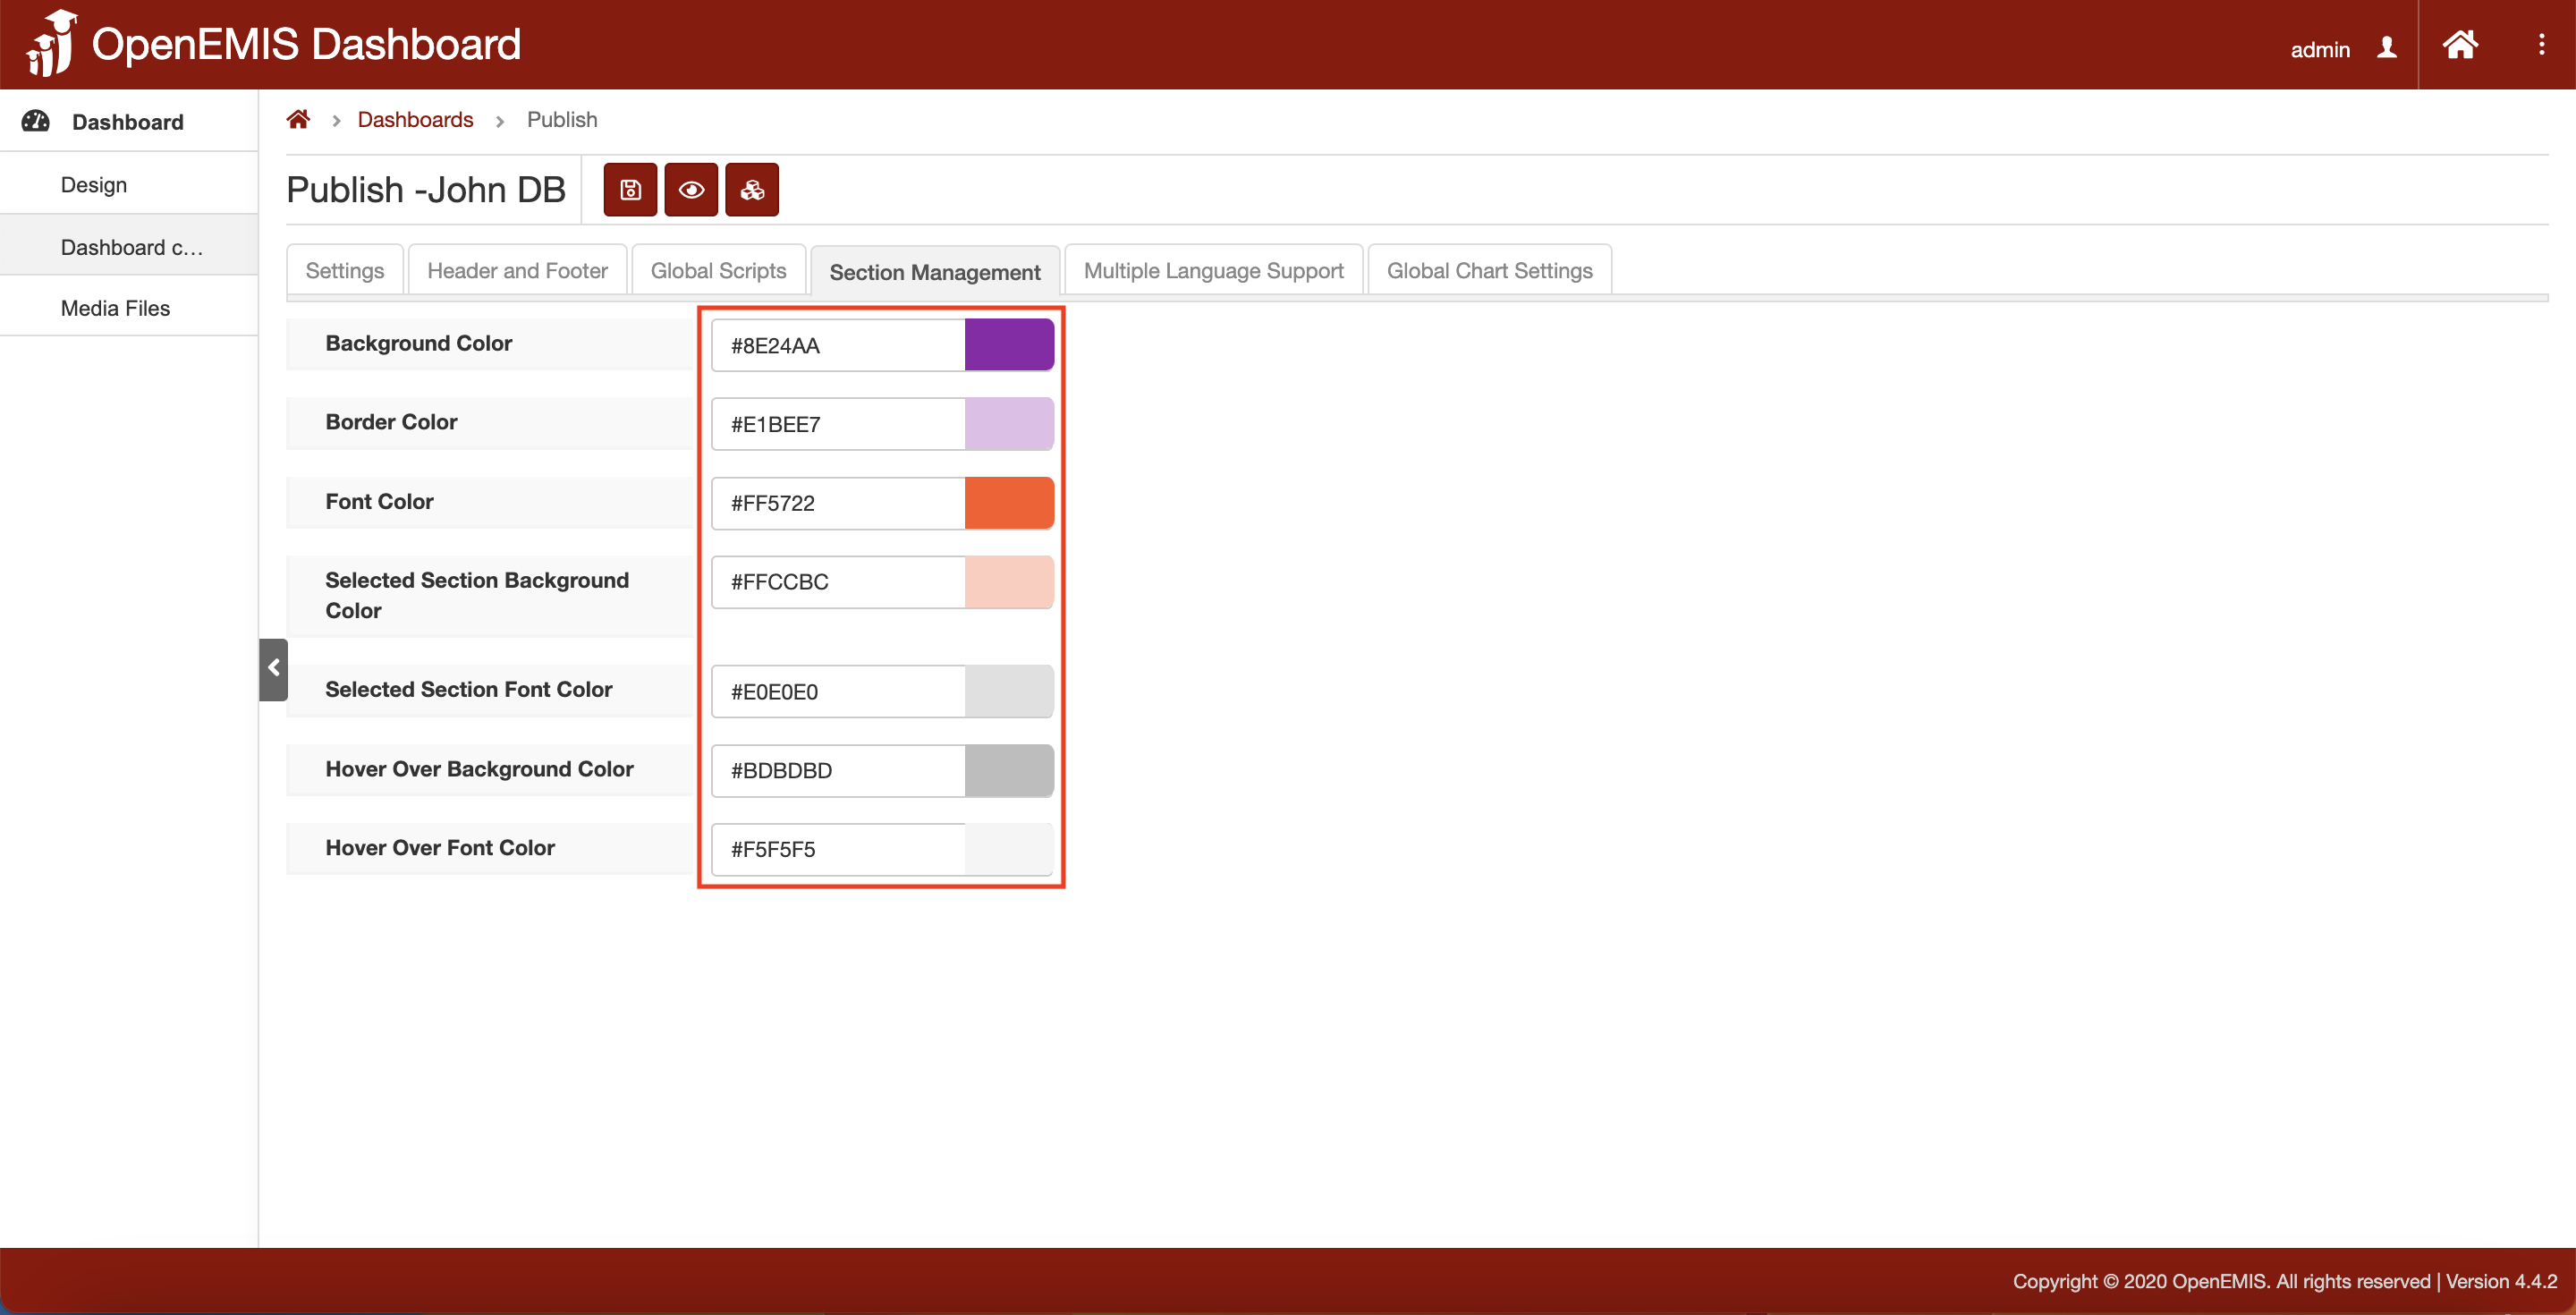
7. This is how “Section Management” is configured.
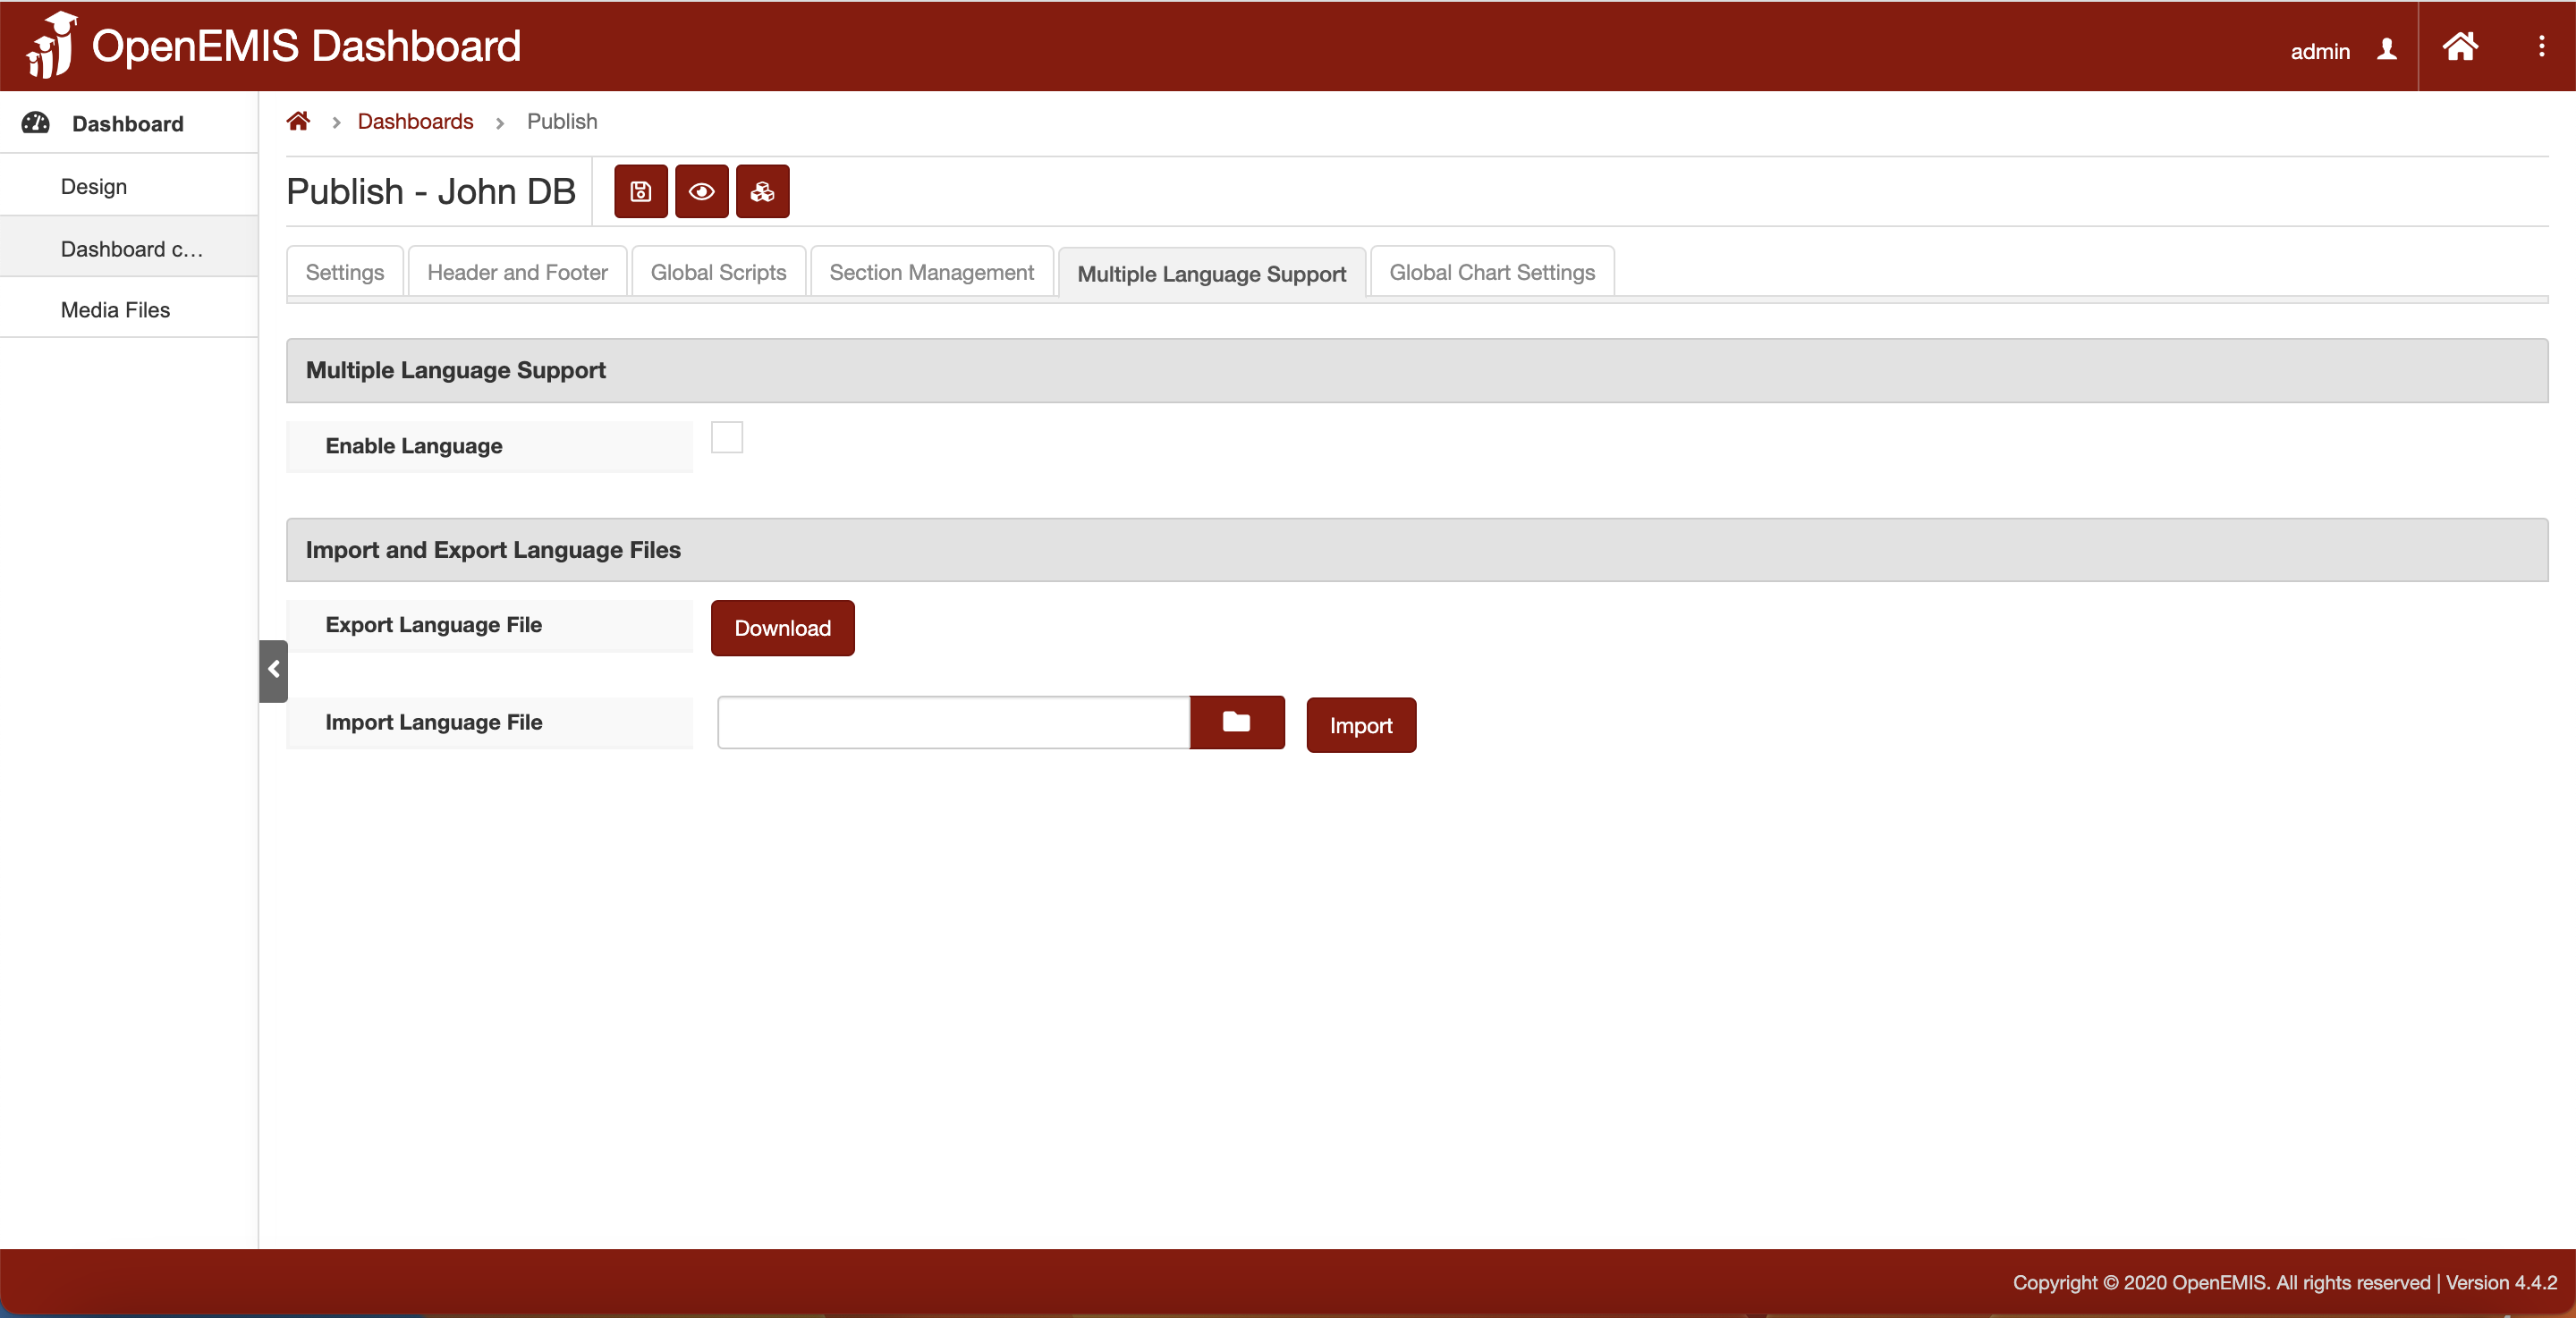
8. The next tab is “Multiple Language Support”. This page allows enabling of multiple language and also importing/exporting the language preferred.
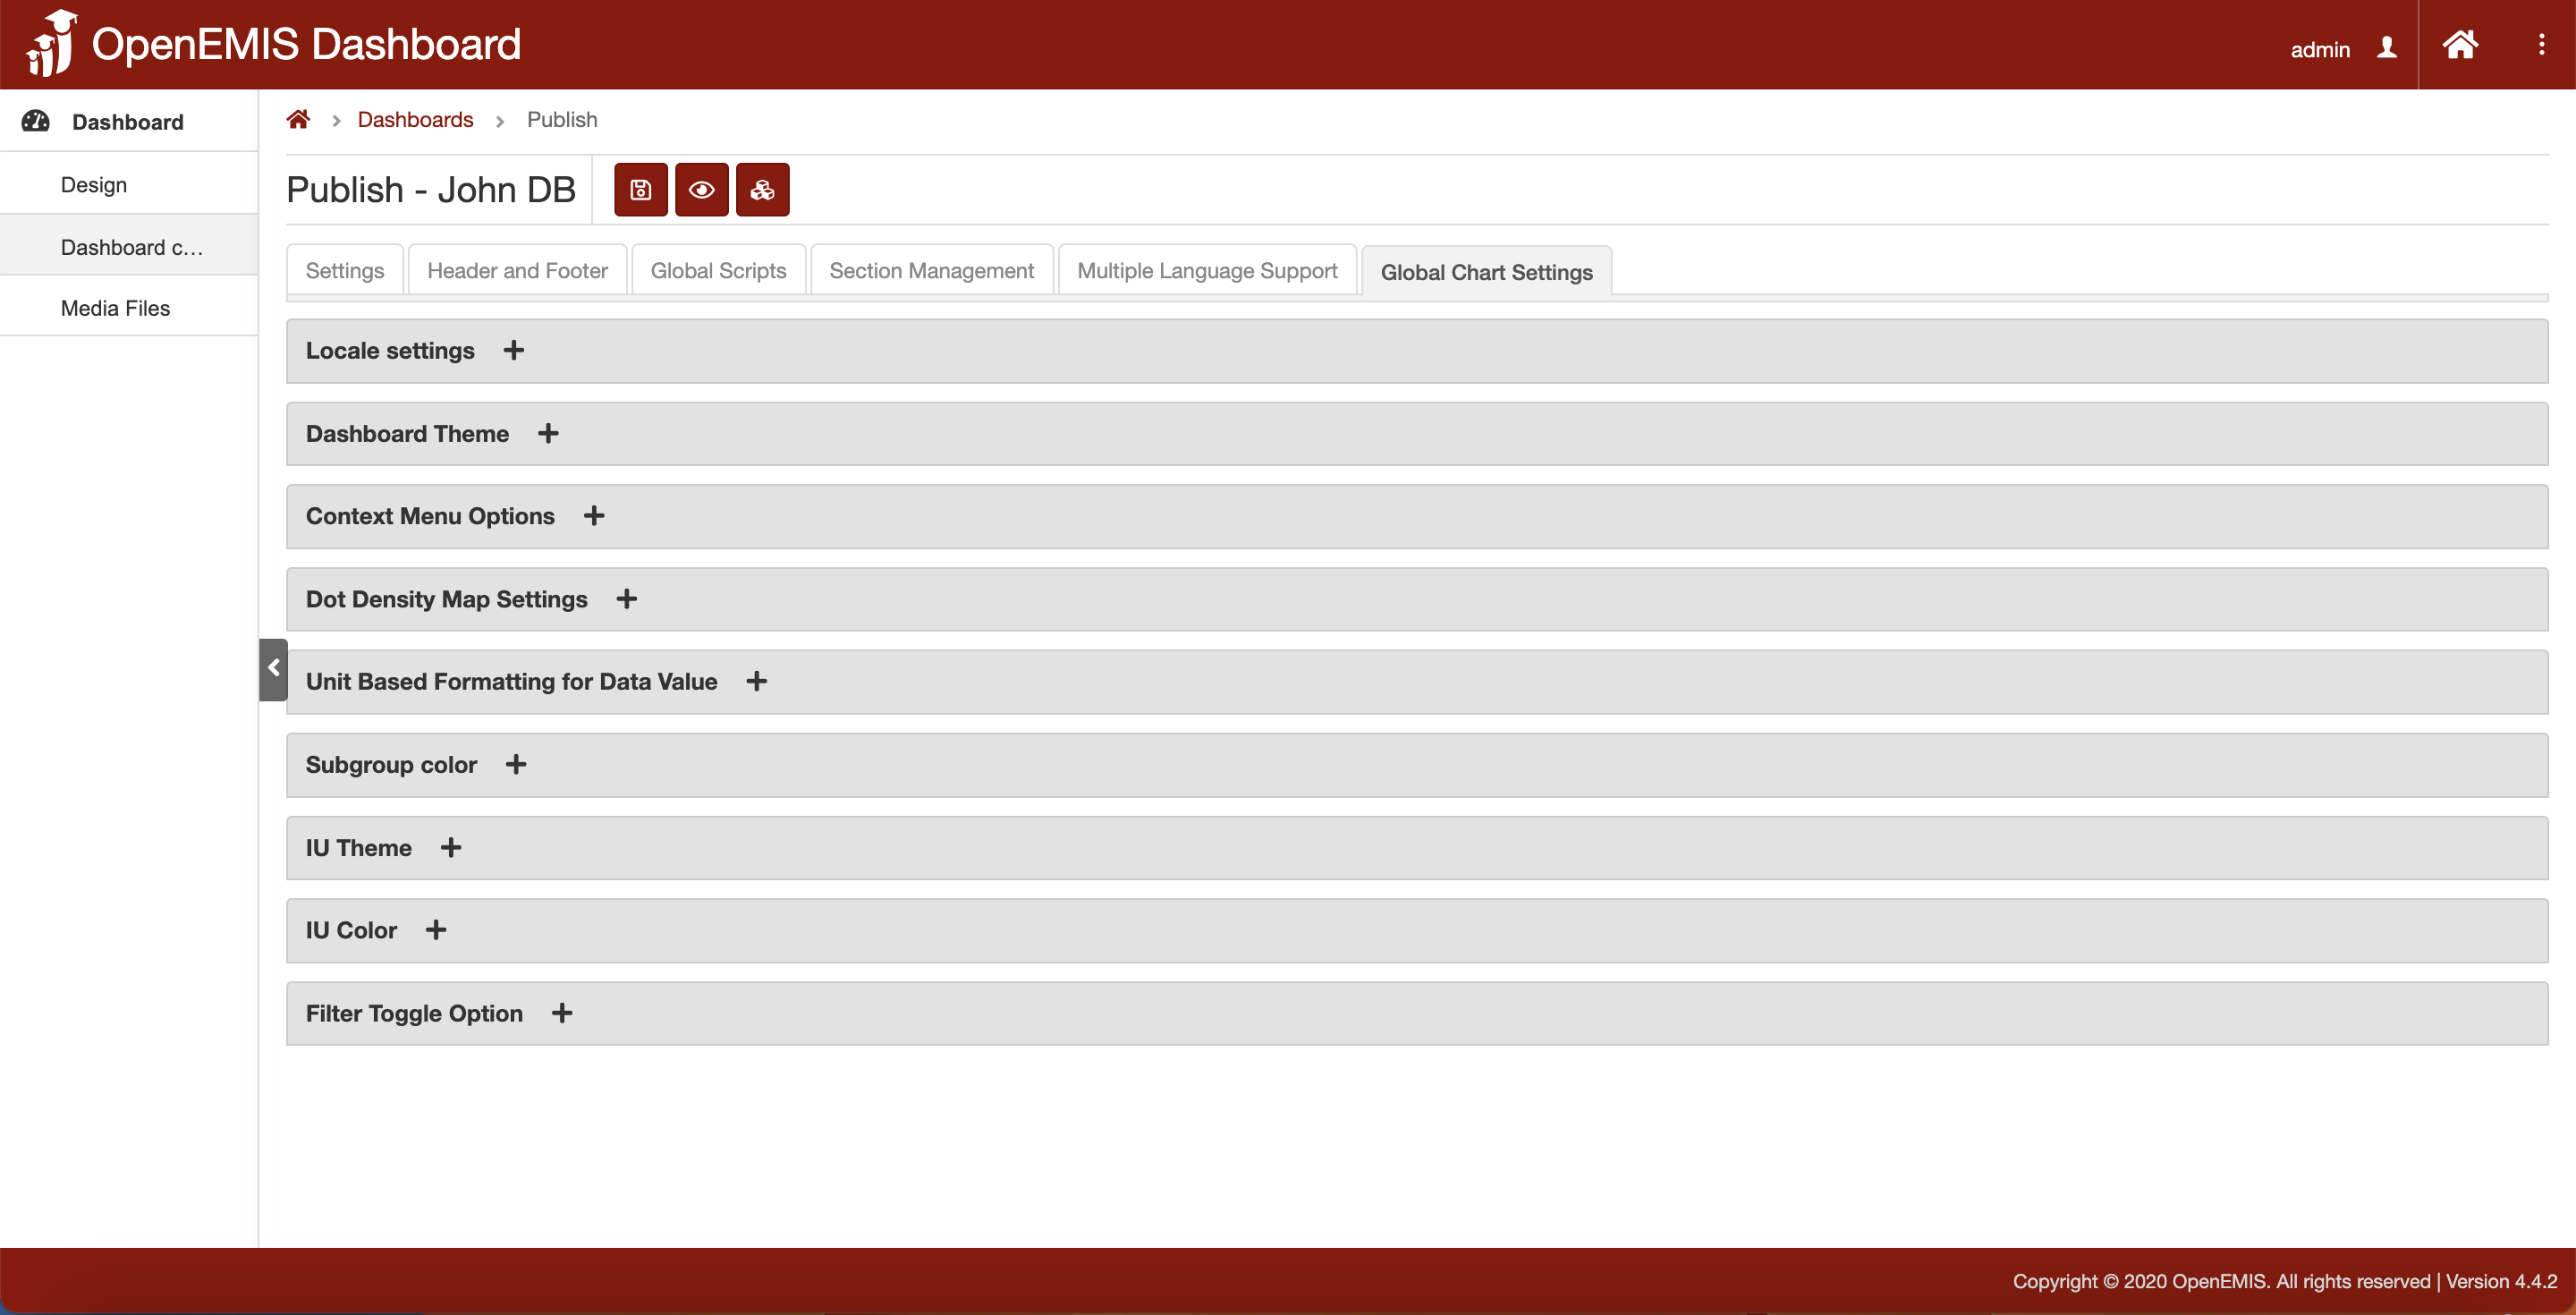
9. The last tab is “Global Chart Settings”. This page is the same as “Global Scripts” but have more options of configuration.
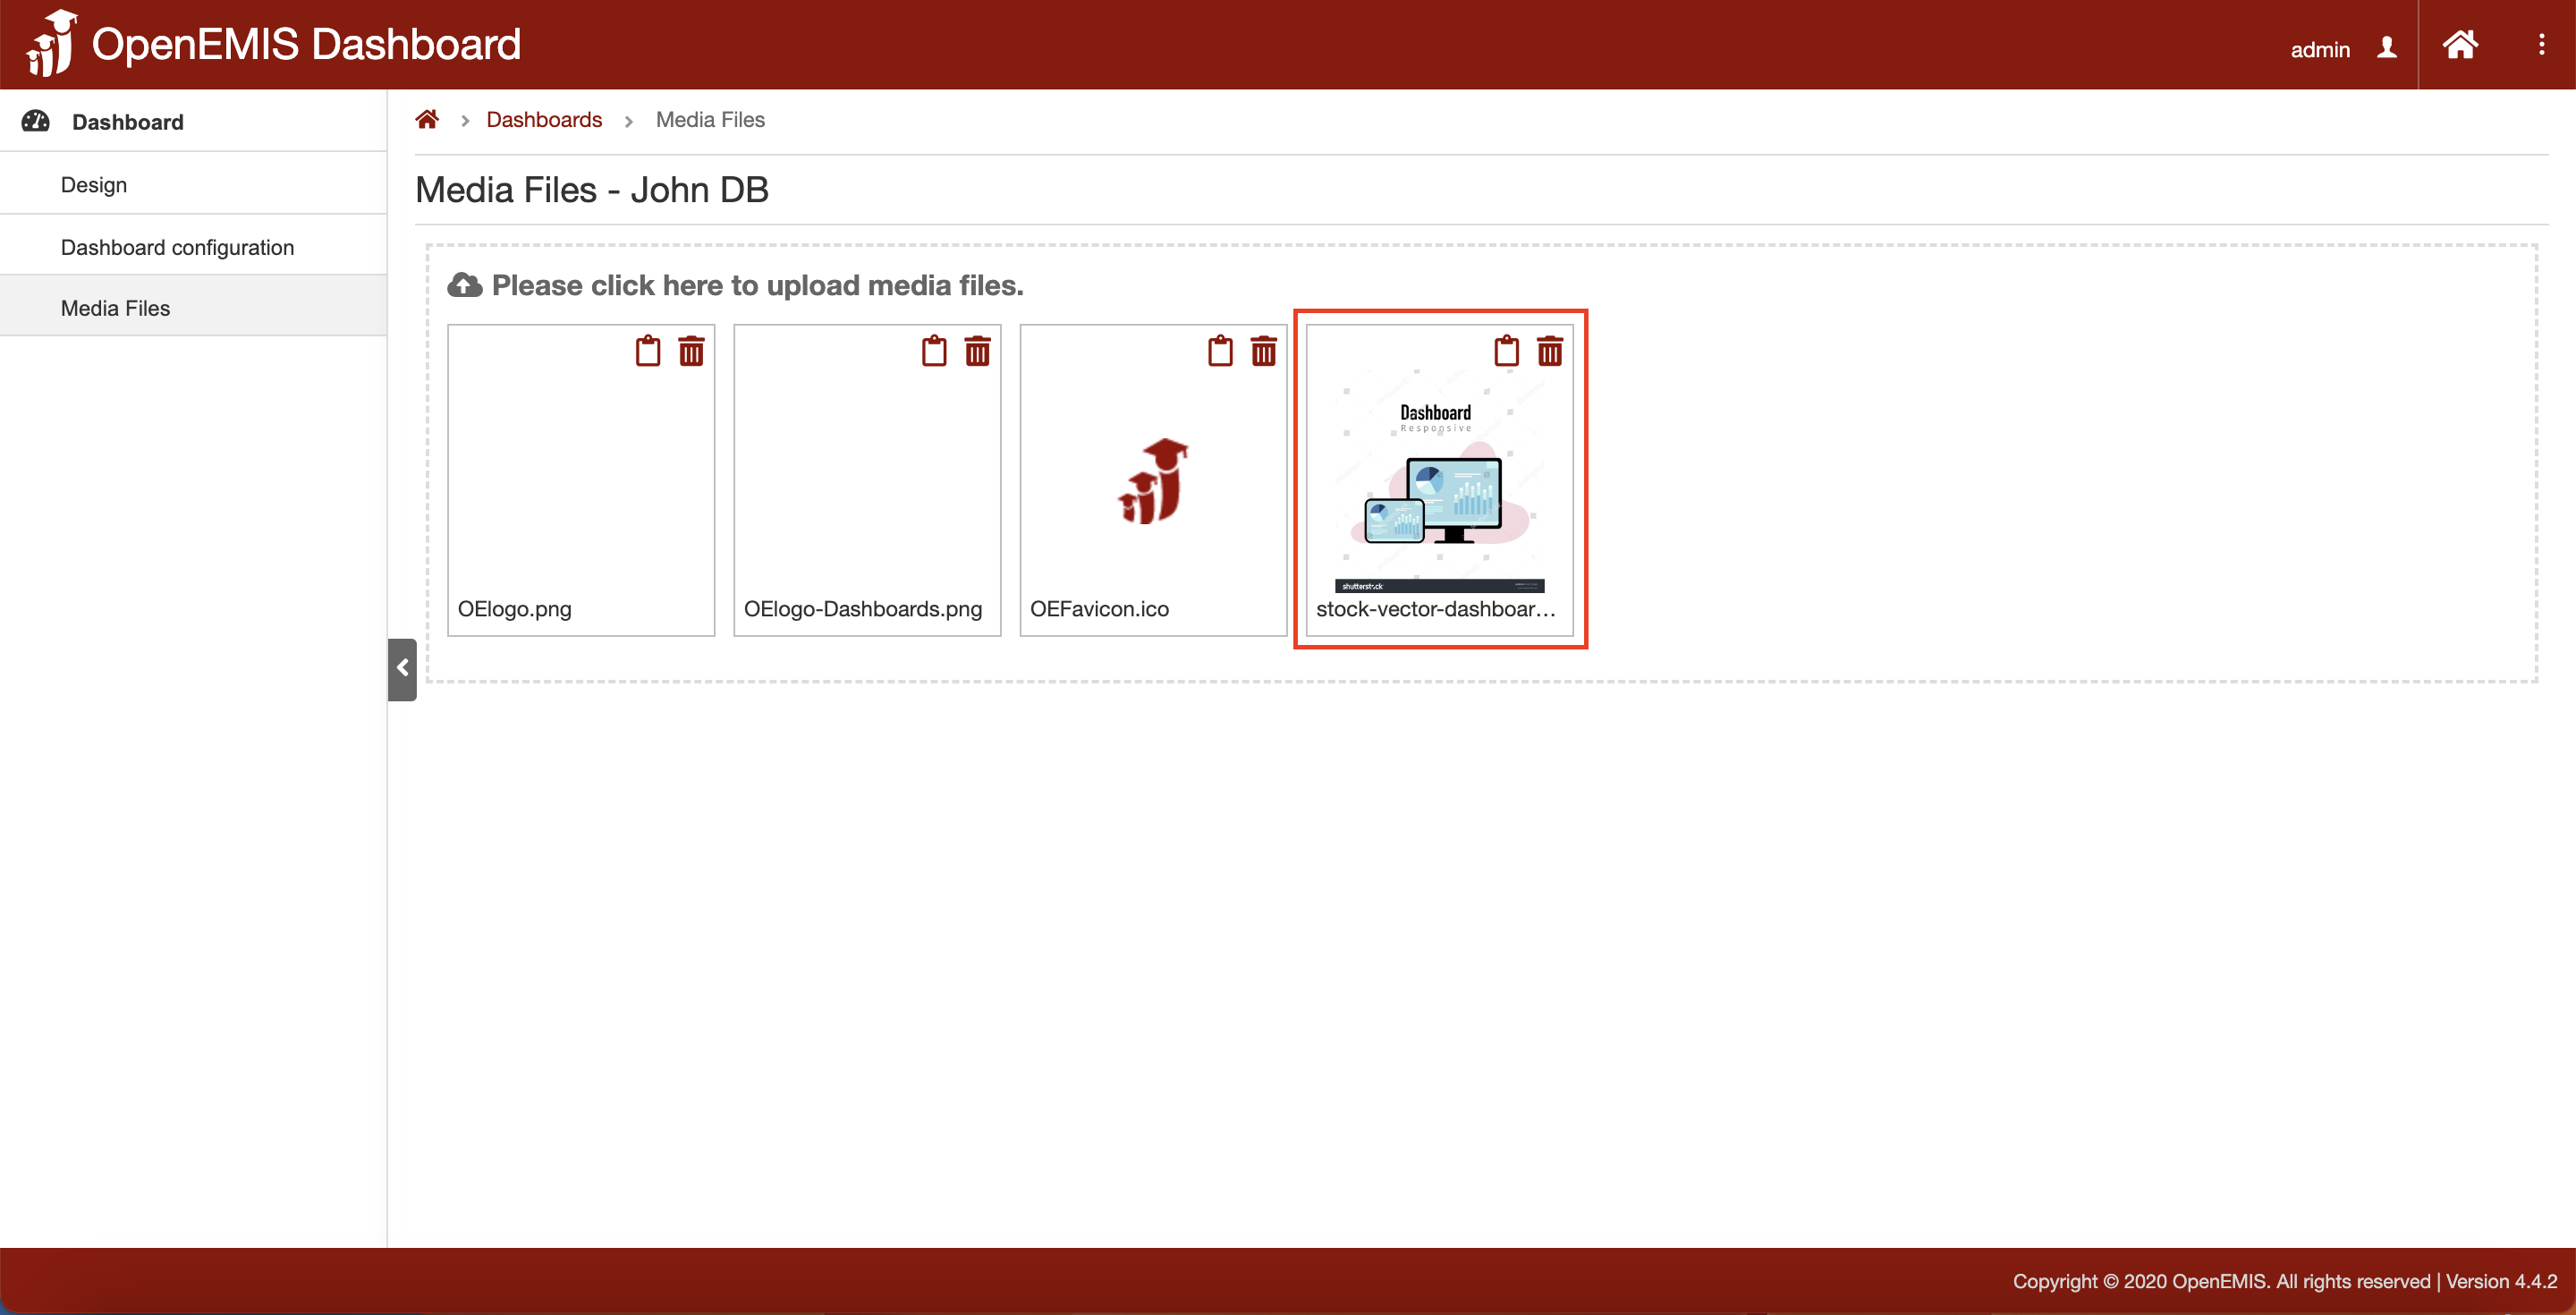
Uploading Media File
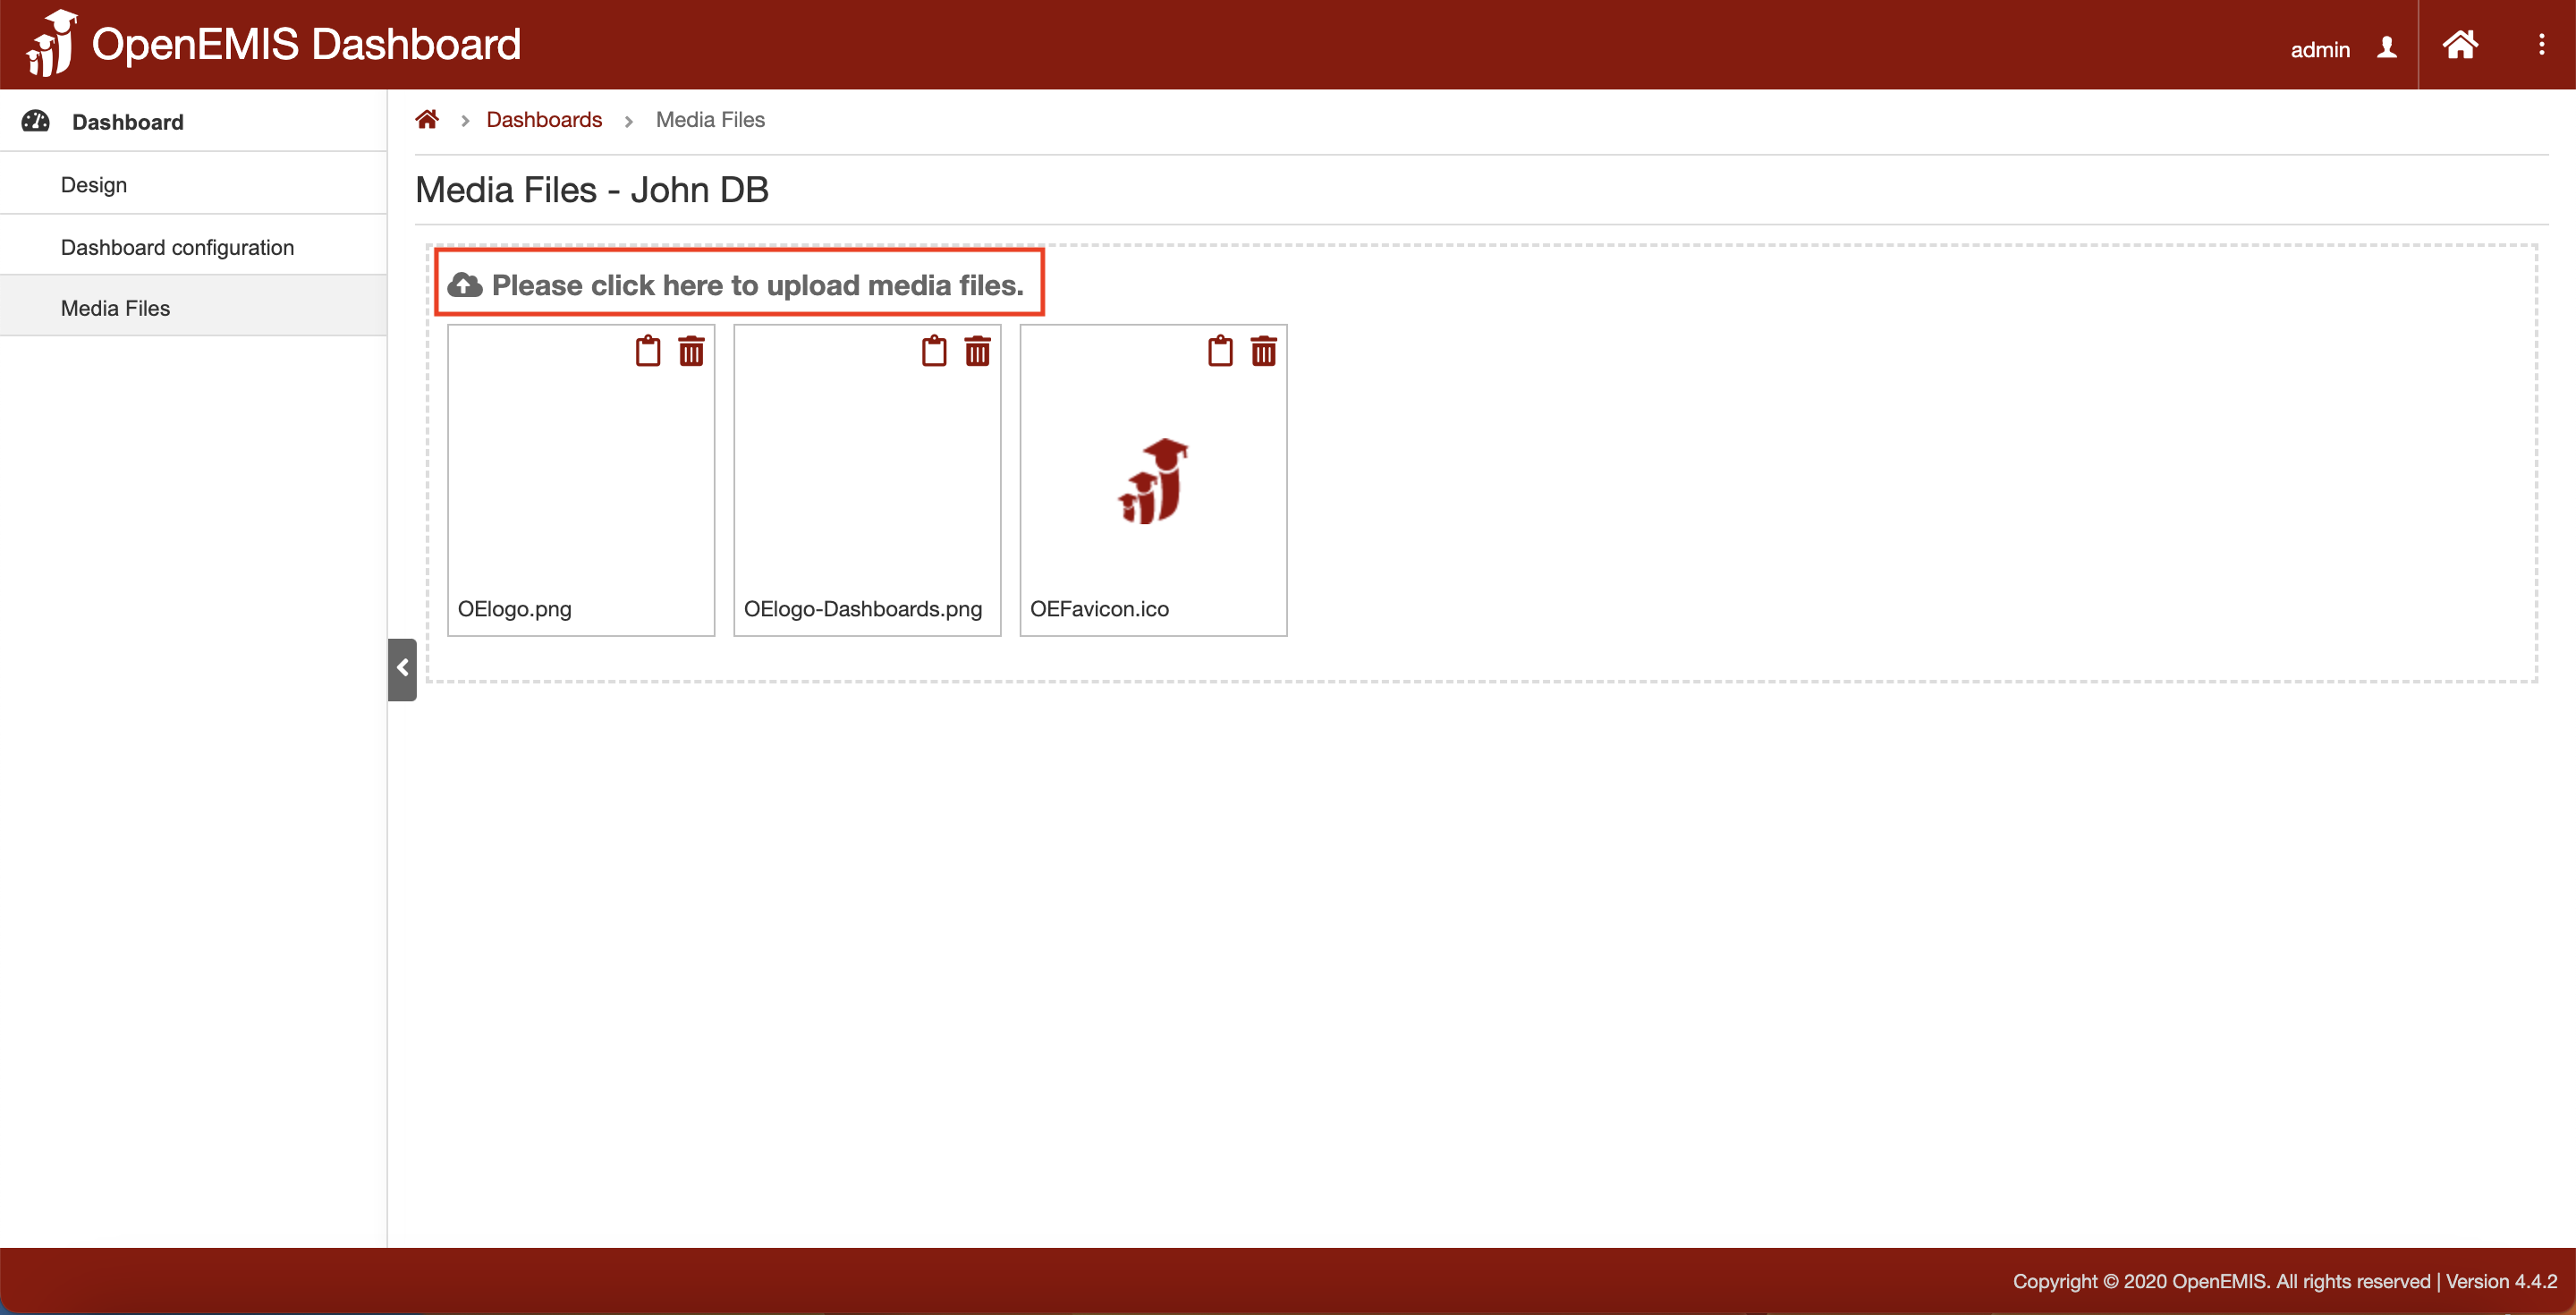
1. Navigate to Dashboard > Dashboard configuration page.
2. Click at the “Please click here to upload media files.” to upload the media file.
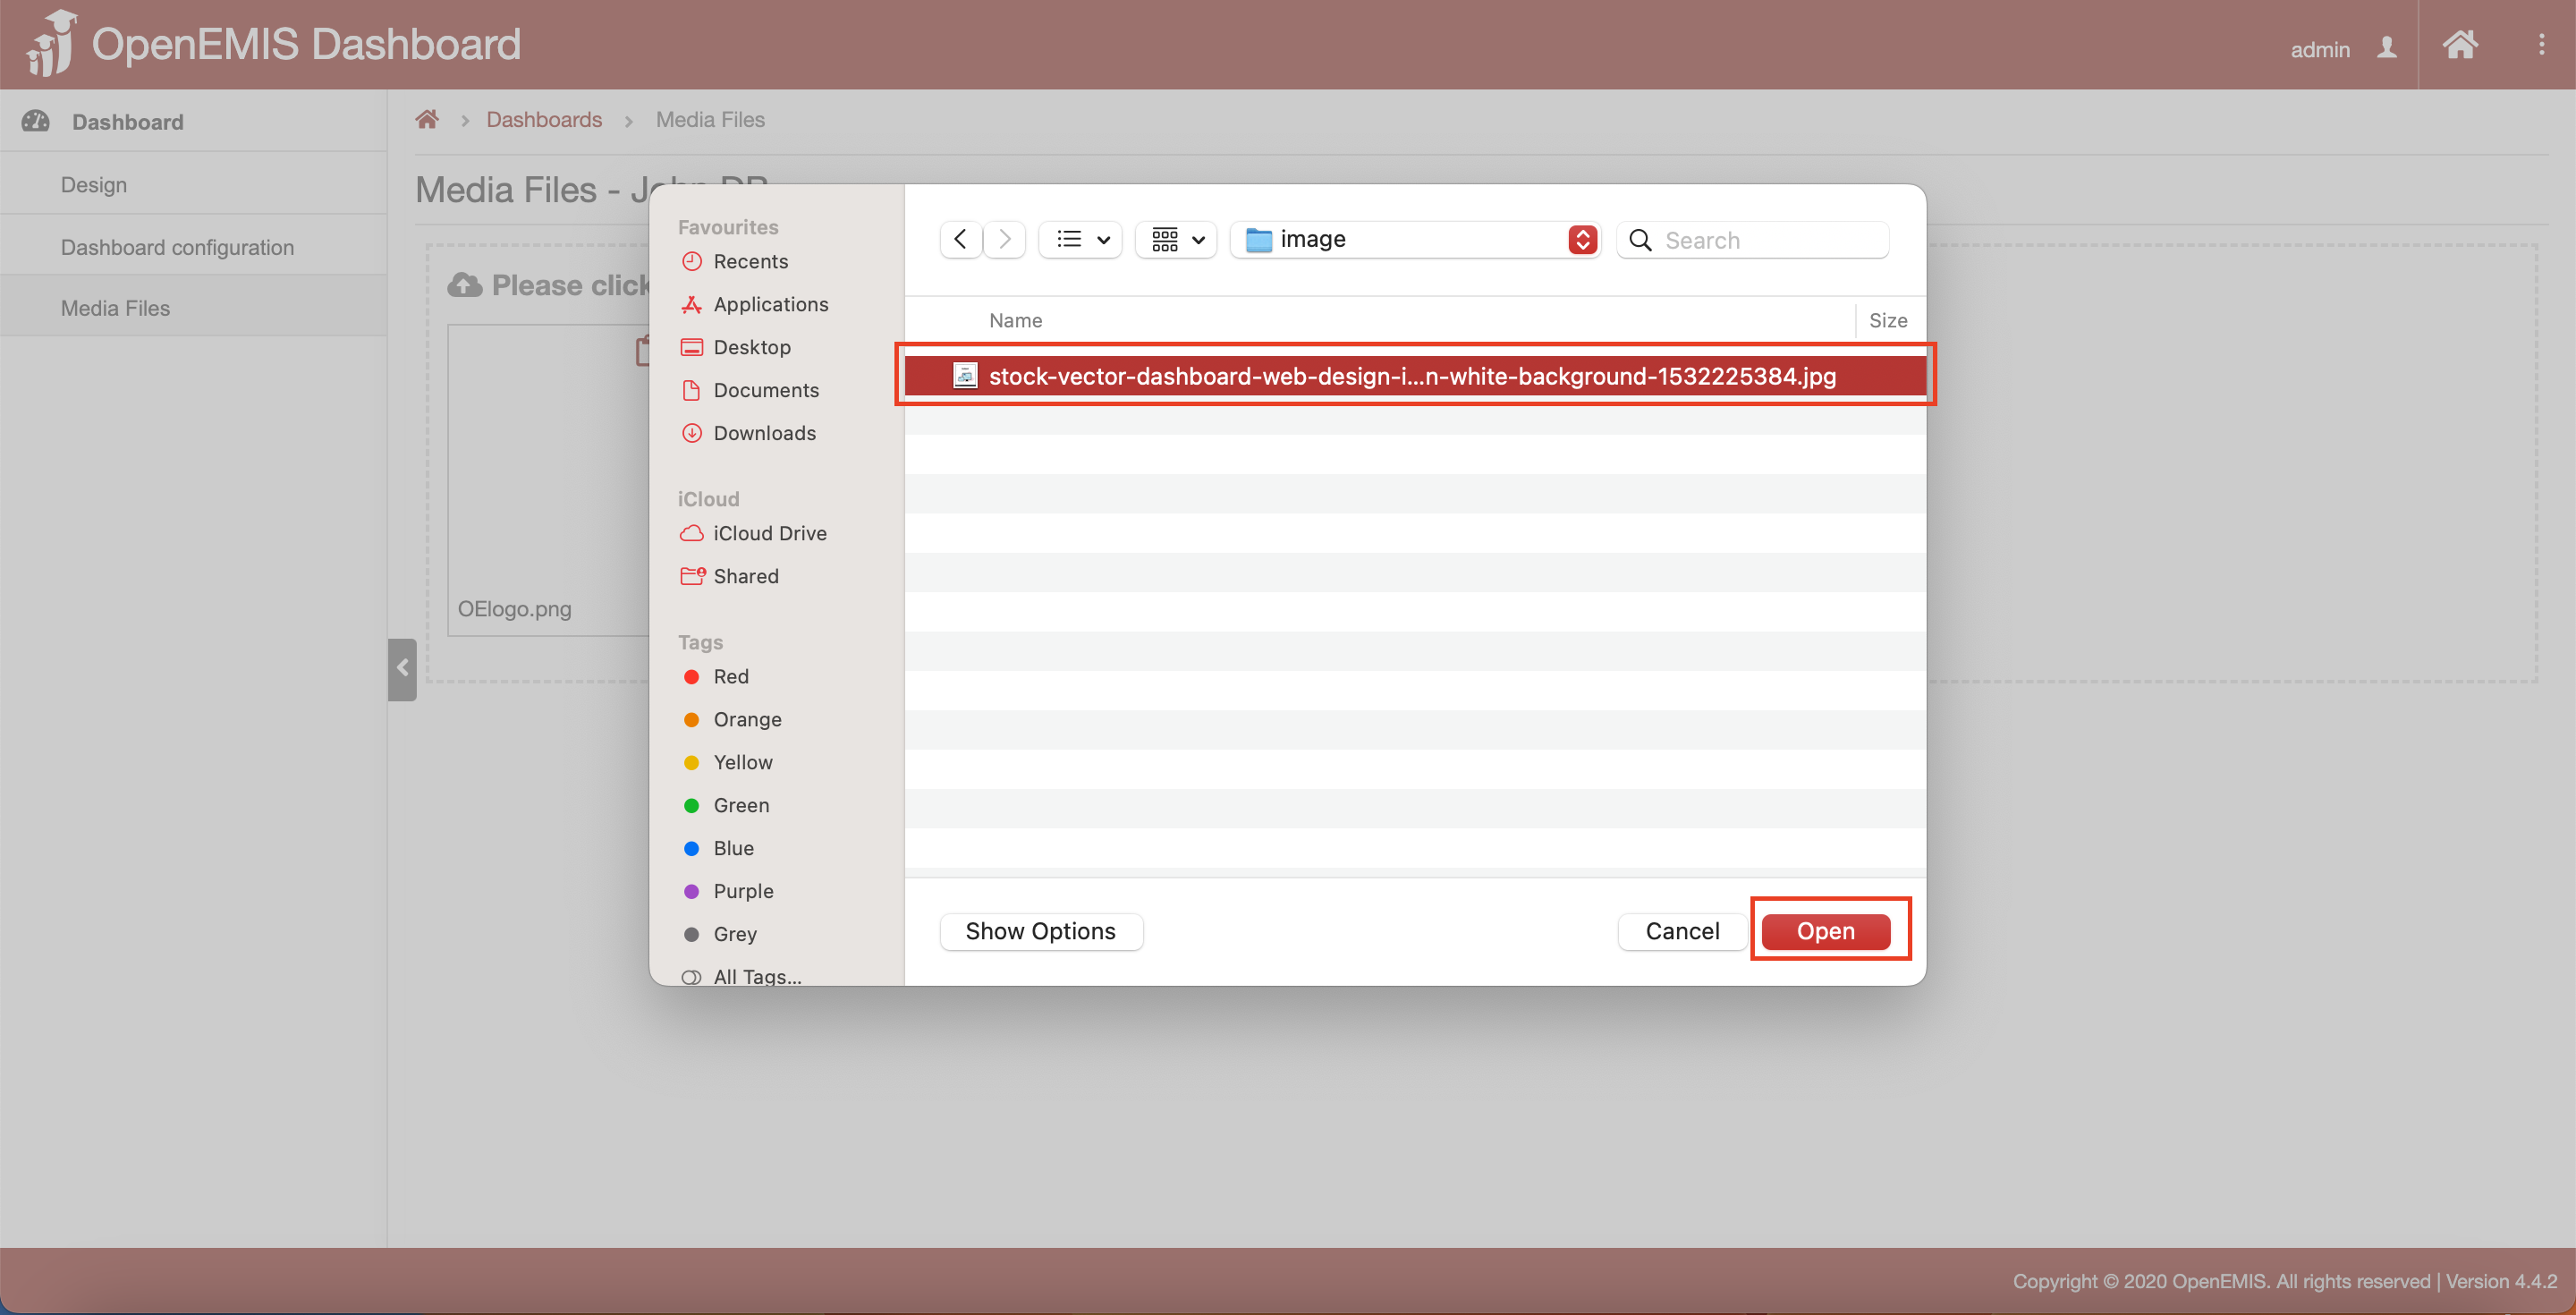
3. Select the media file.
4. Click “Open” to upload.
5. The media file is now shown as selected.