Article Name: Individual Student Report Card
Category/Module: Administration, Institution
Tags: Report Card, Results
Version: 3.87.0
Date Updated: 19 Jun 2023
User stories for Student Report Card :
- As an EMIS Administrator, i want to be able to create a Student Report Card template by downloading an excel template and arranging the layout e.g.(logo, attendance, results, comments etc).
- As Teacher, i want to be able to add comments to individual students, select a student report card template and click generate to create the student report cards.
- As a Teacher, i want to be able to go to the student profile and view/download a student report card by grade / academic period.
- As a Student, I can download my report card in PDF from my Profile.
- Manage Student Report Card (Administration)
- Manage Report Card Comment Codes (Administration)
- Enable Security Role Permission (Administration)
- Entering Comments on Student Report Card (Institution)
- Student Report Card Status (Institution)
- Access Individual Student Report Card (Institution > Students)
- Access Individual Student Report Card (Students Profile)
Manage Student Report Card
Create Student Report Card
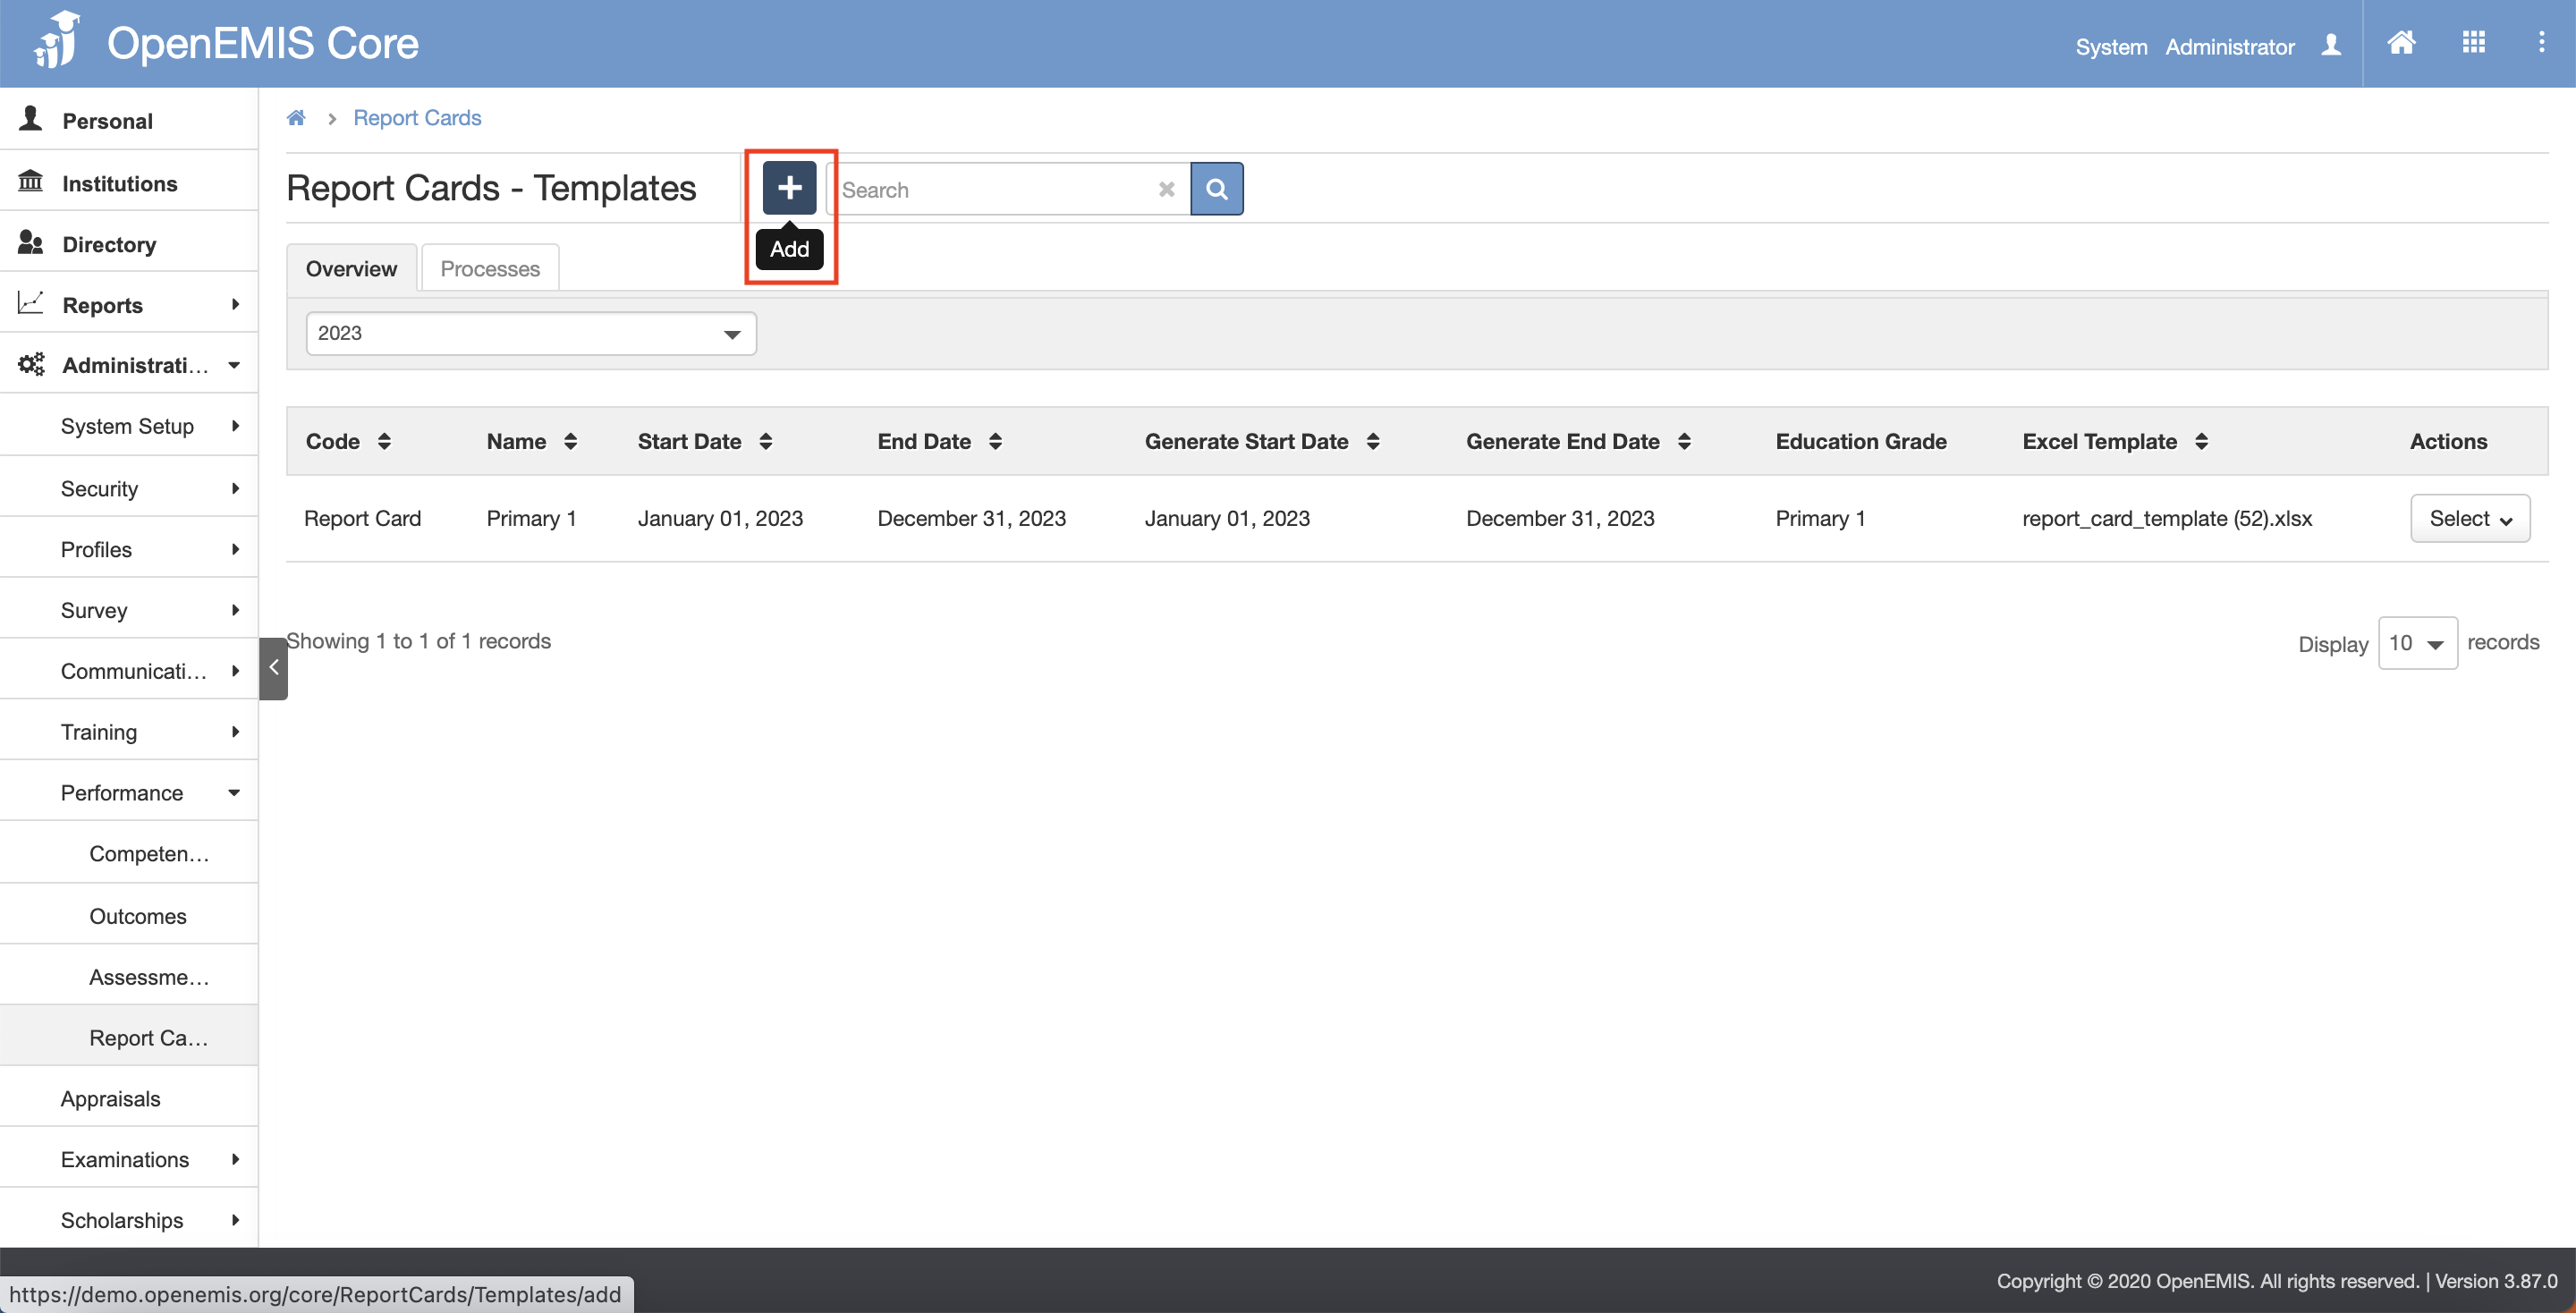
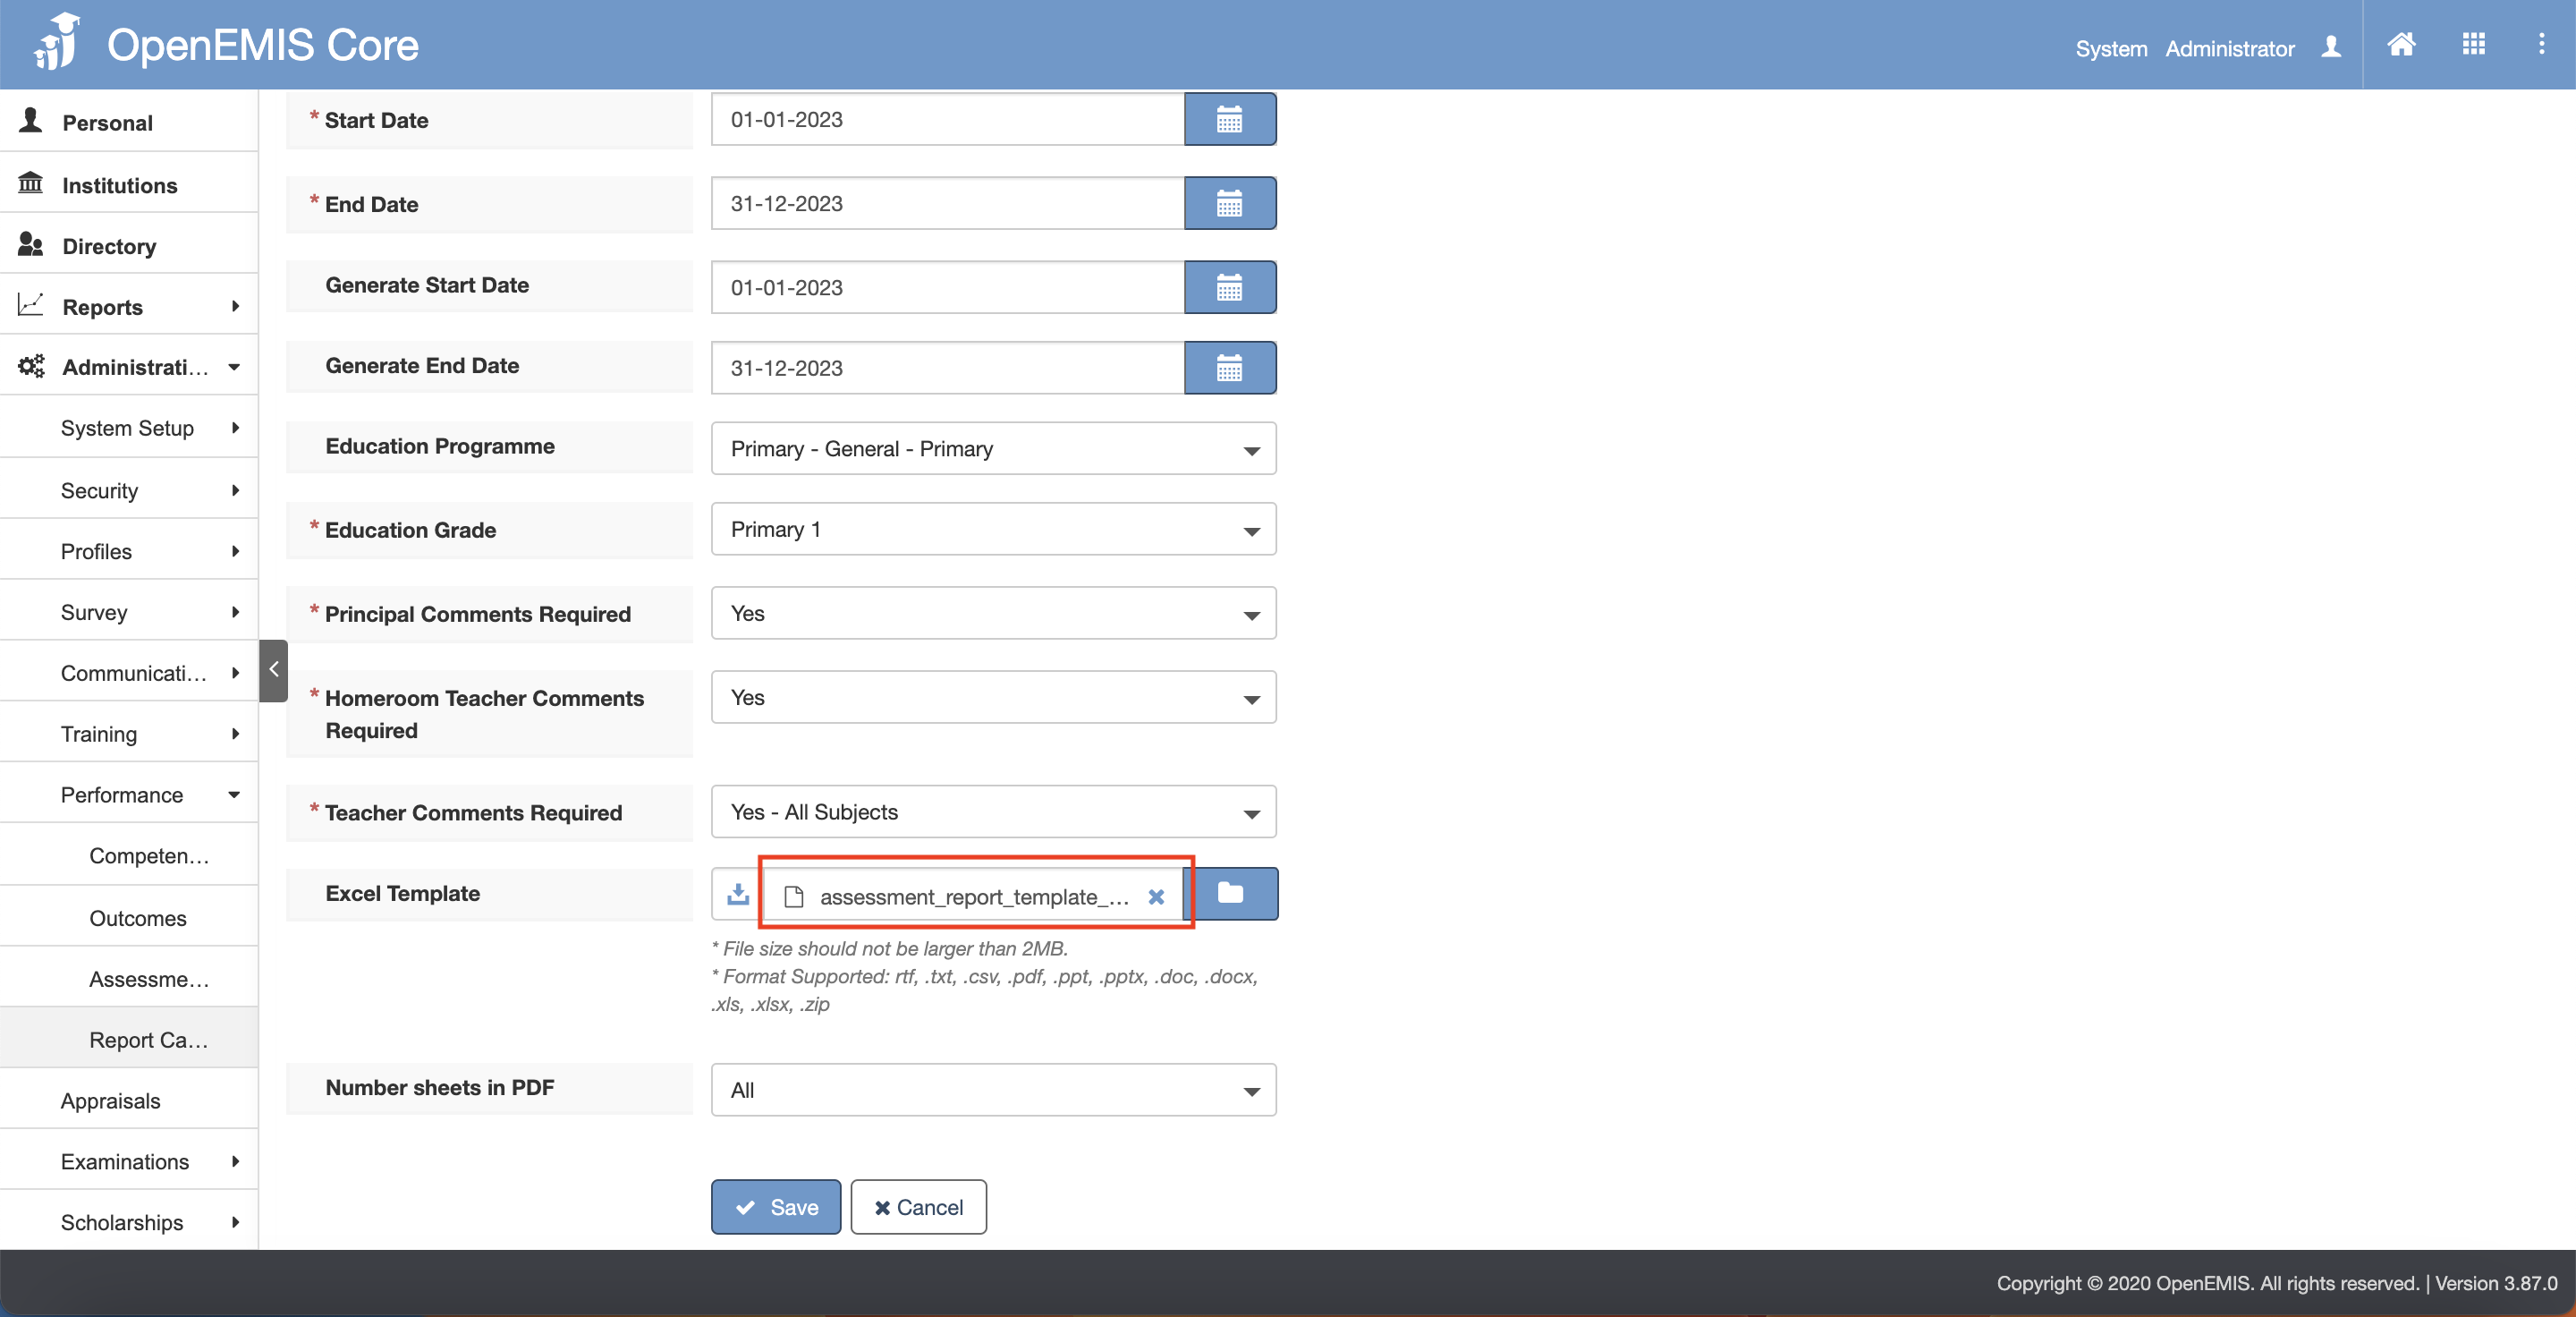
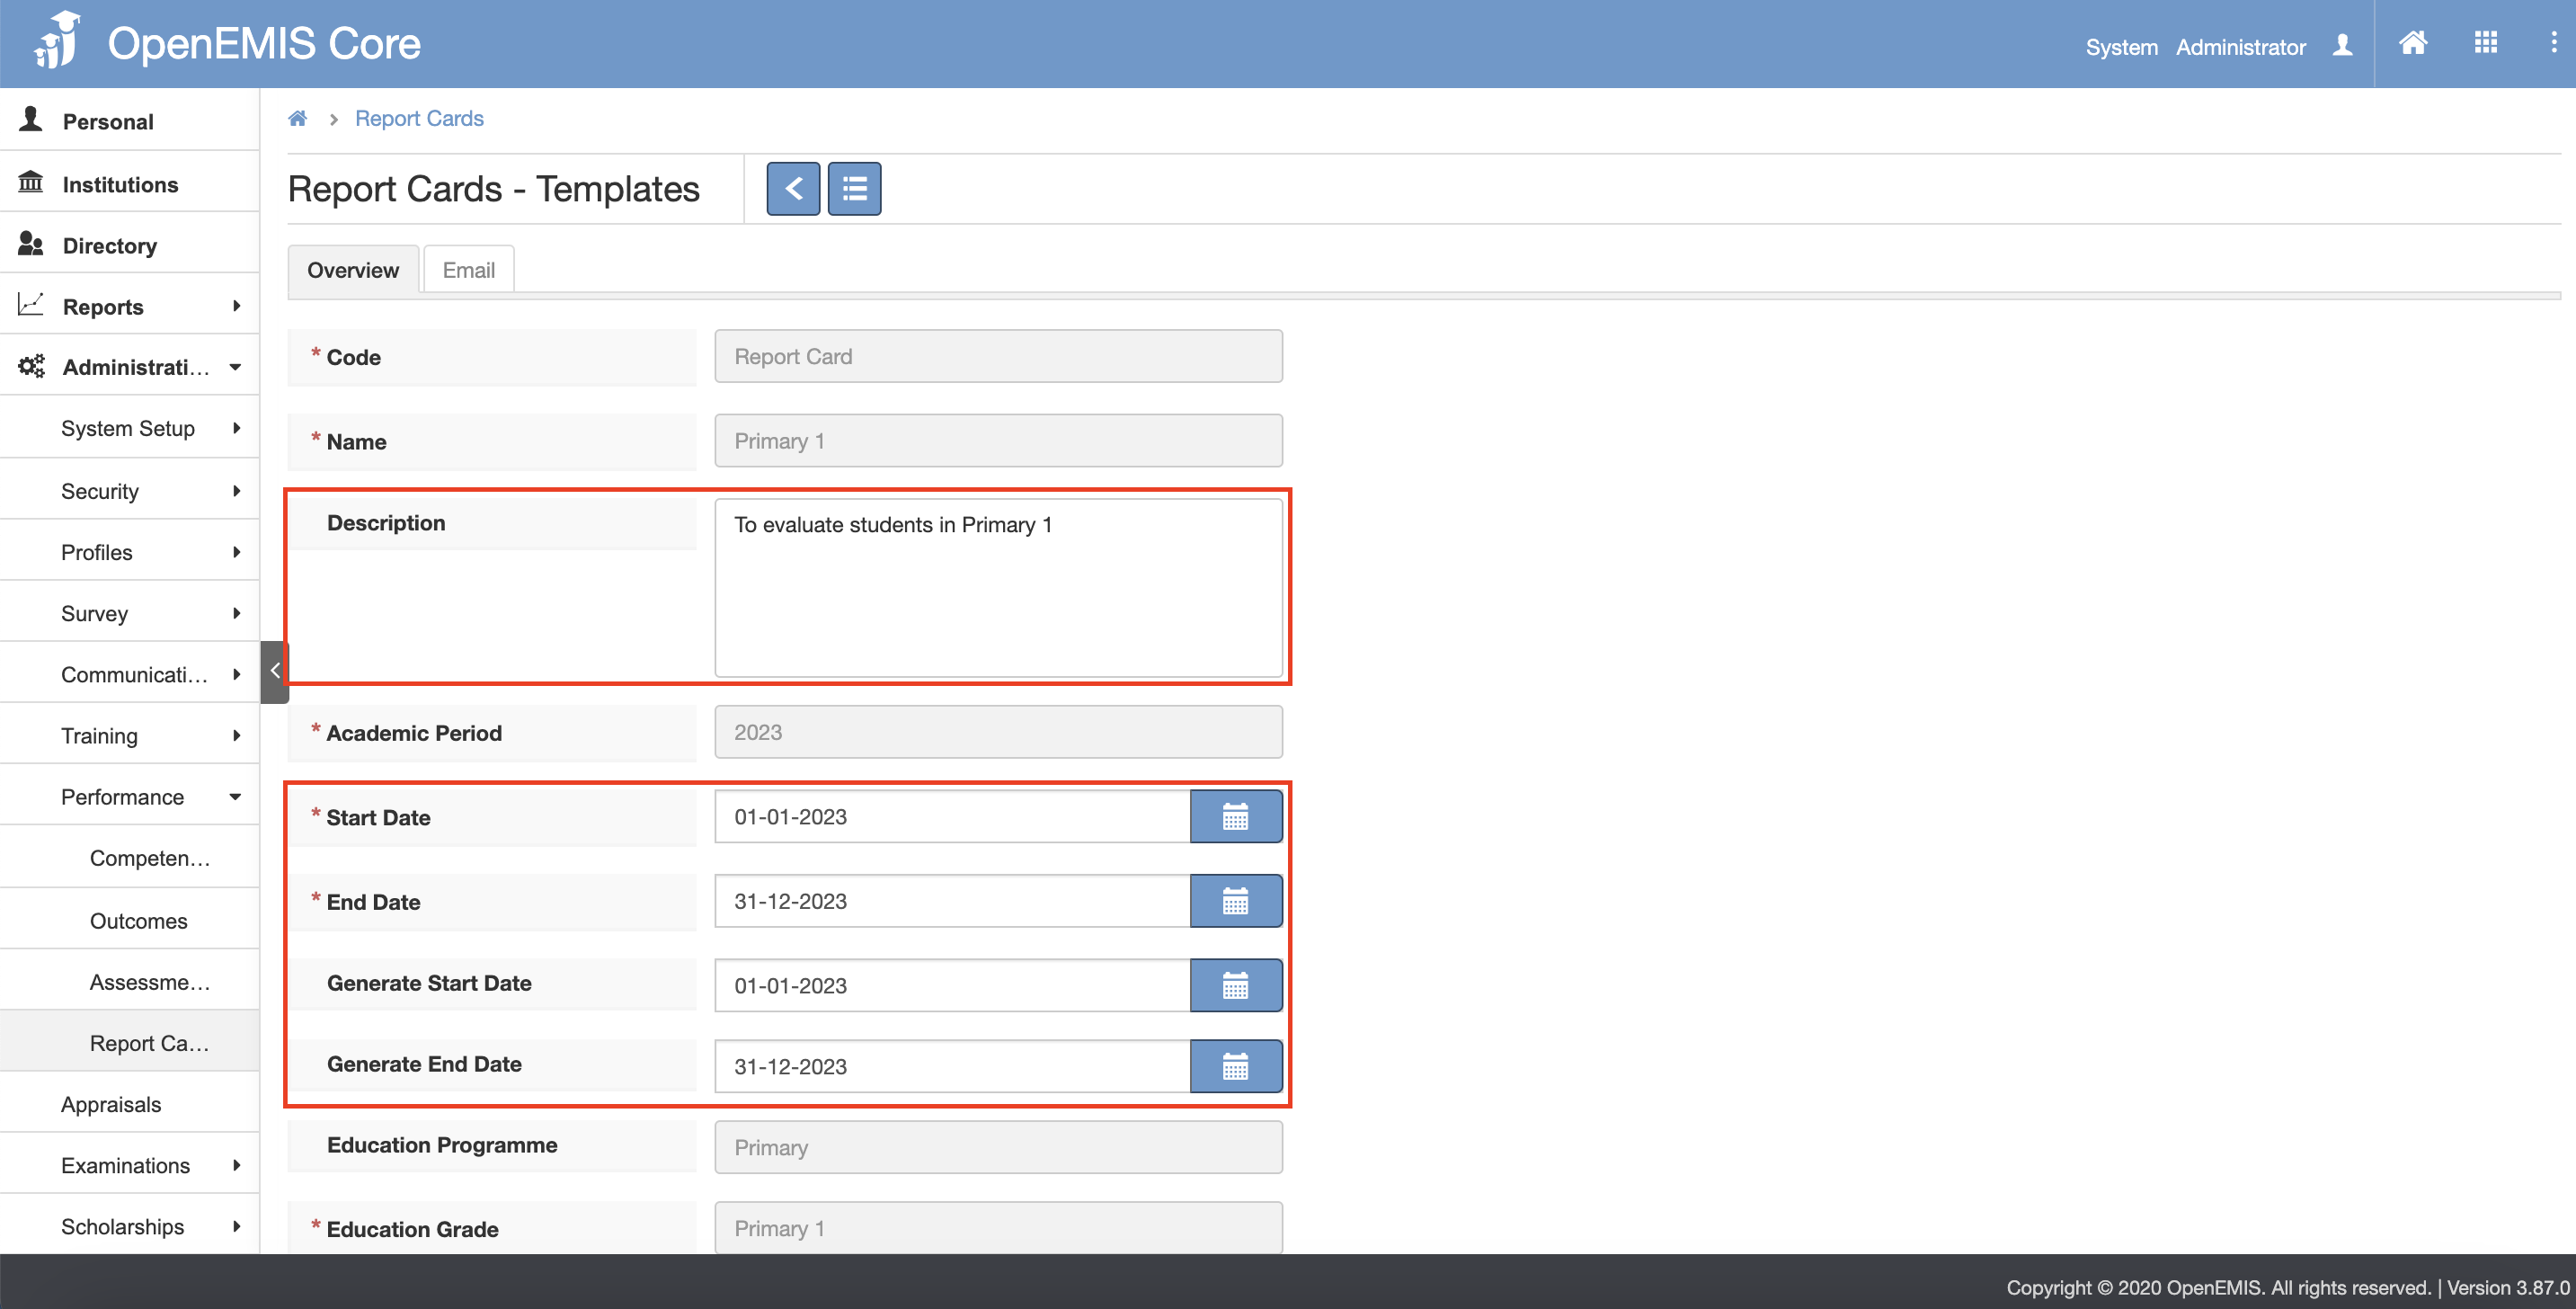
1) Go to Administration > Performance > Report Cards page.
2) Click on the Add button.
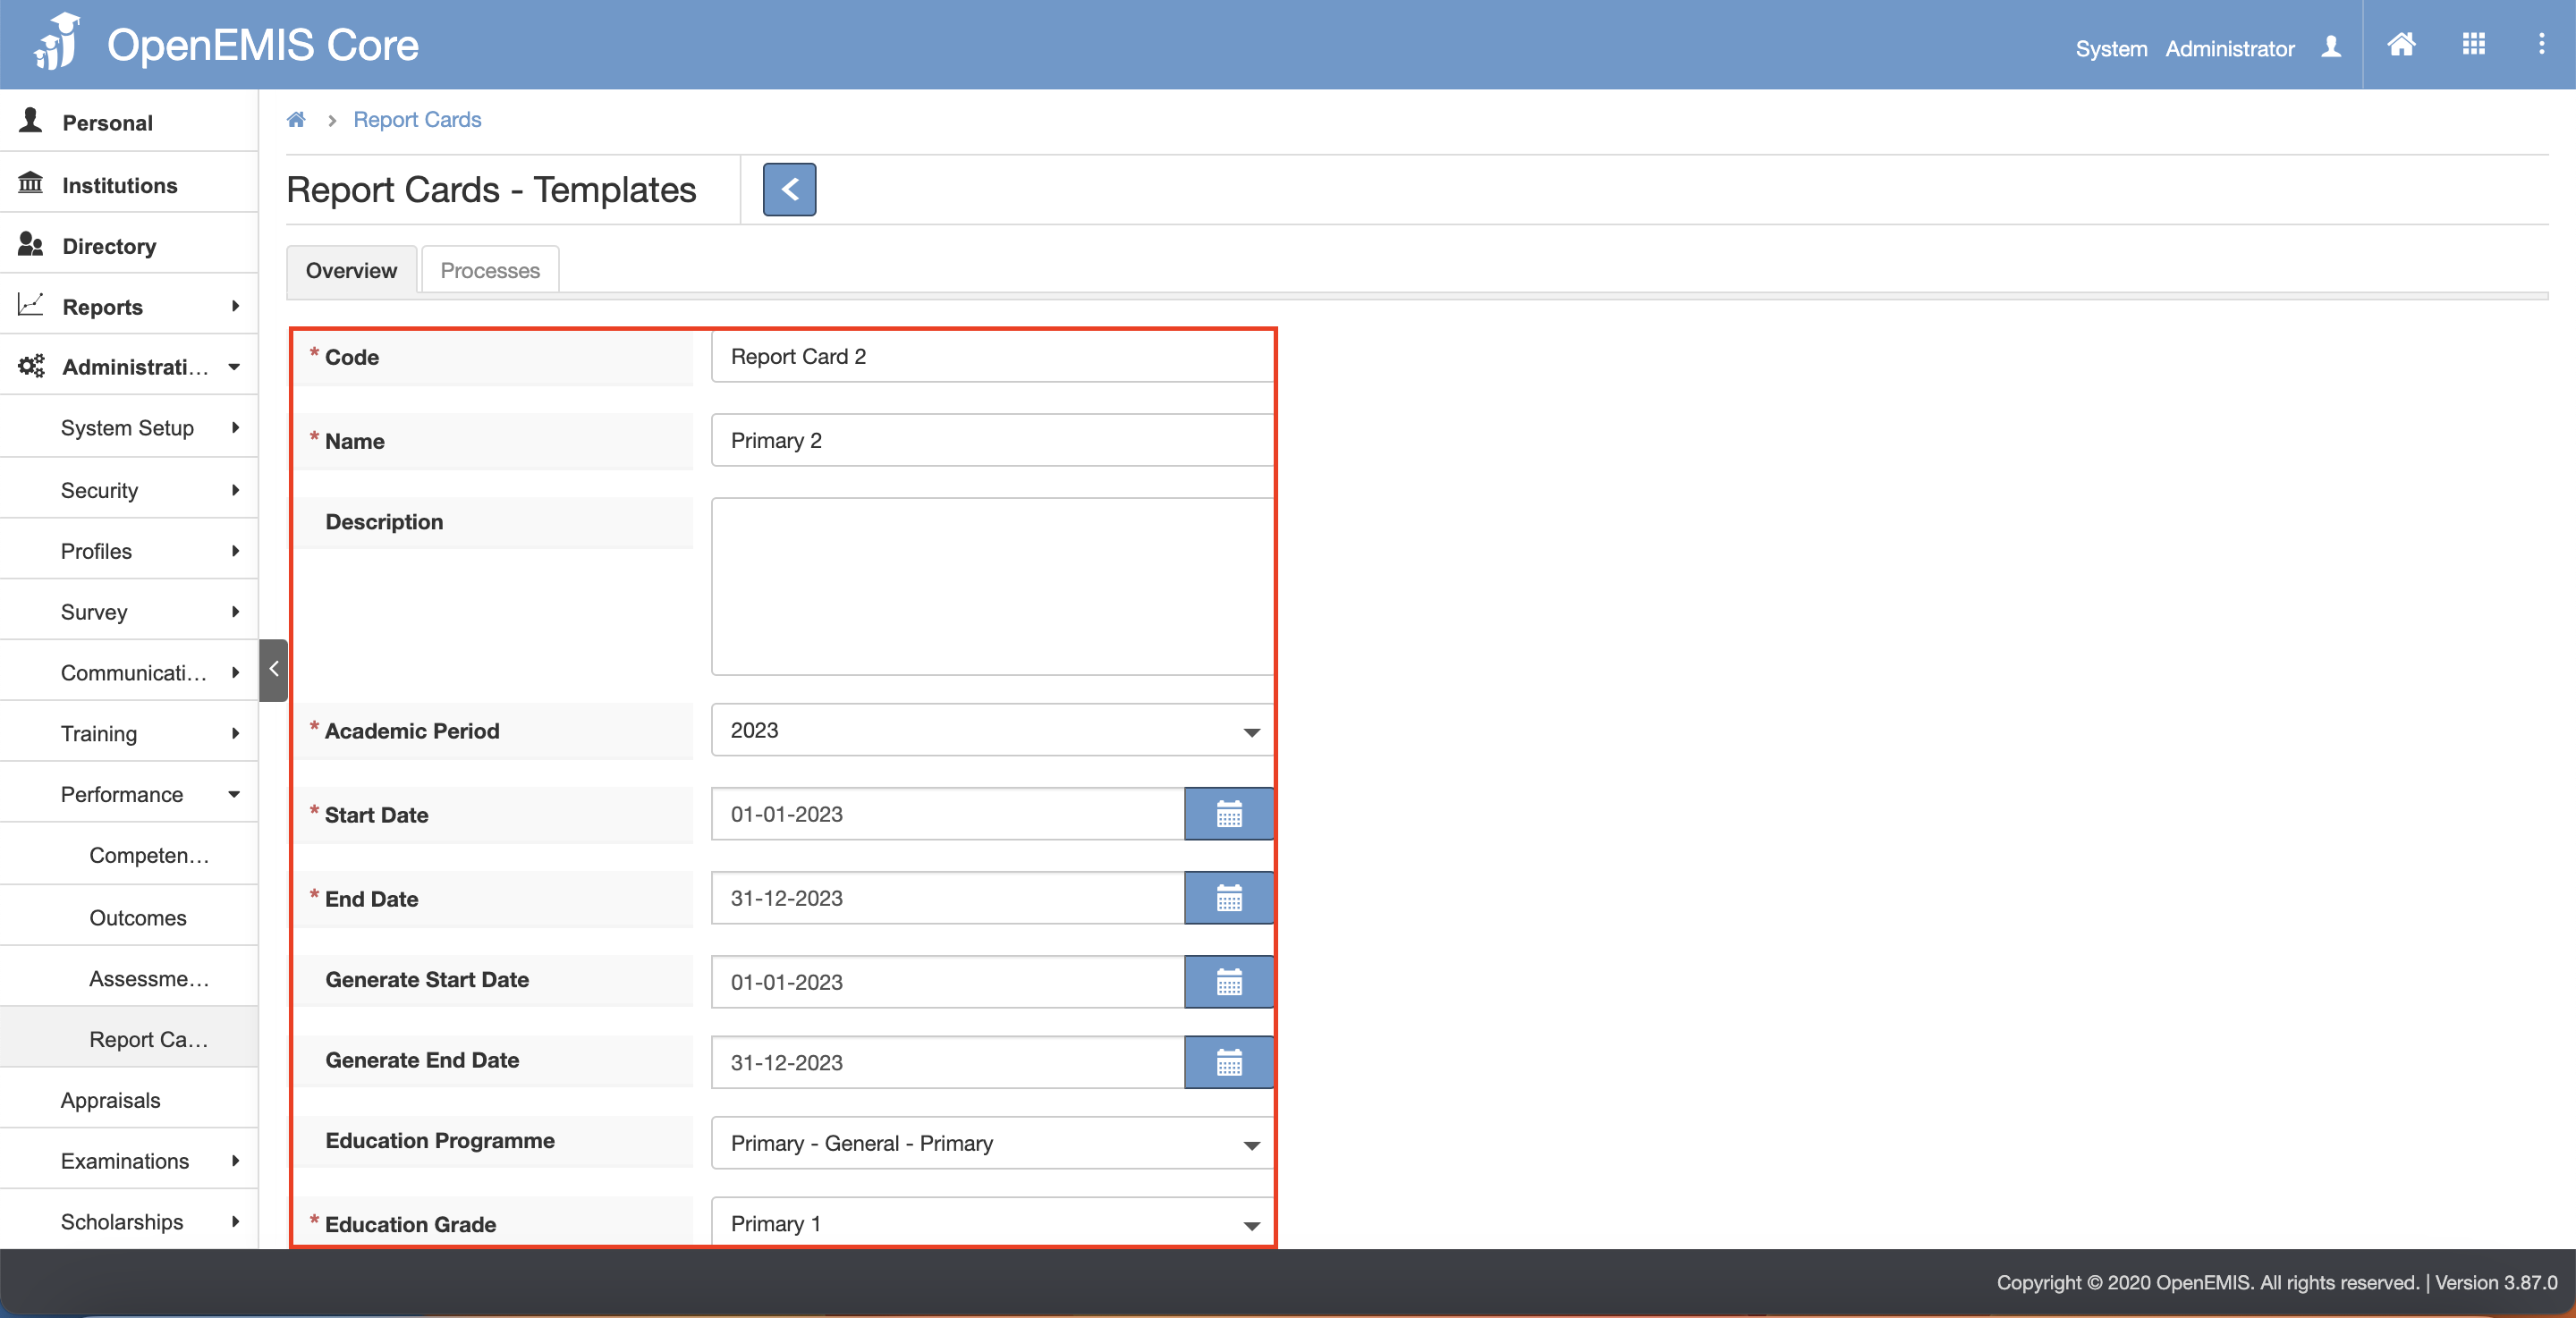
2) Enter all the required fields such as (Name, Code, Academic Period etc.)
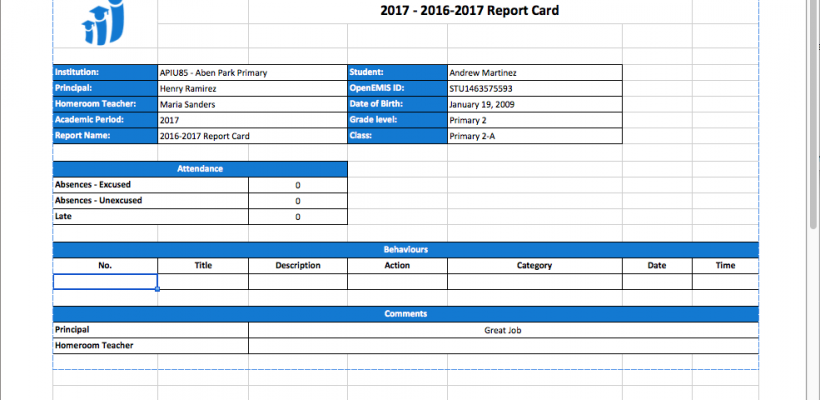
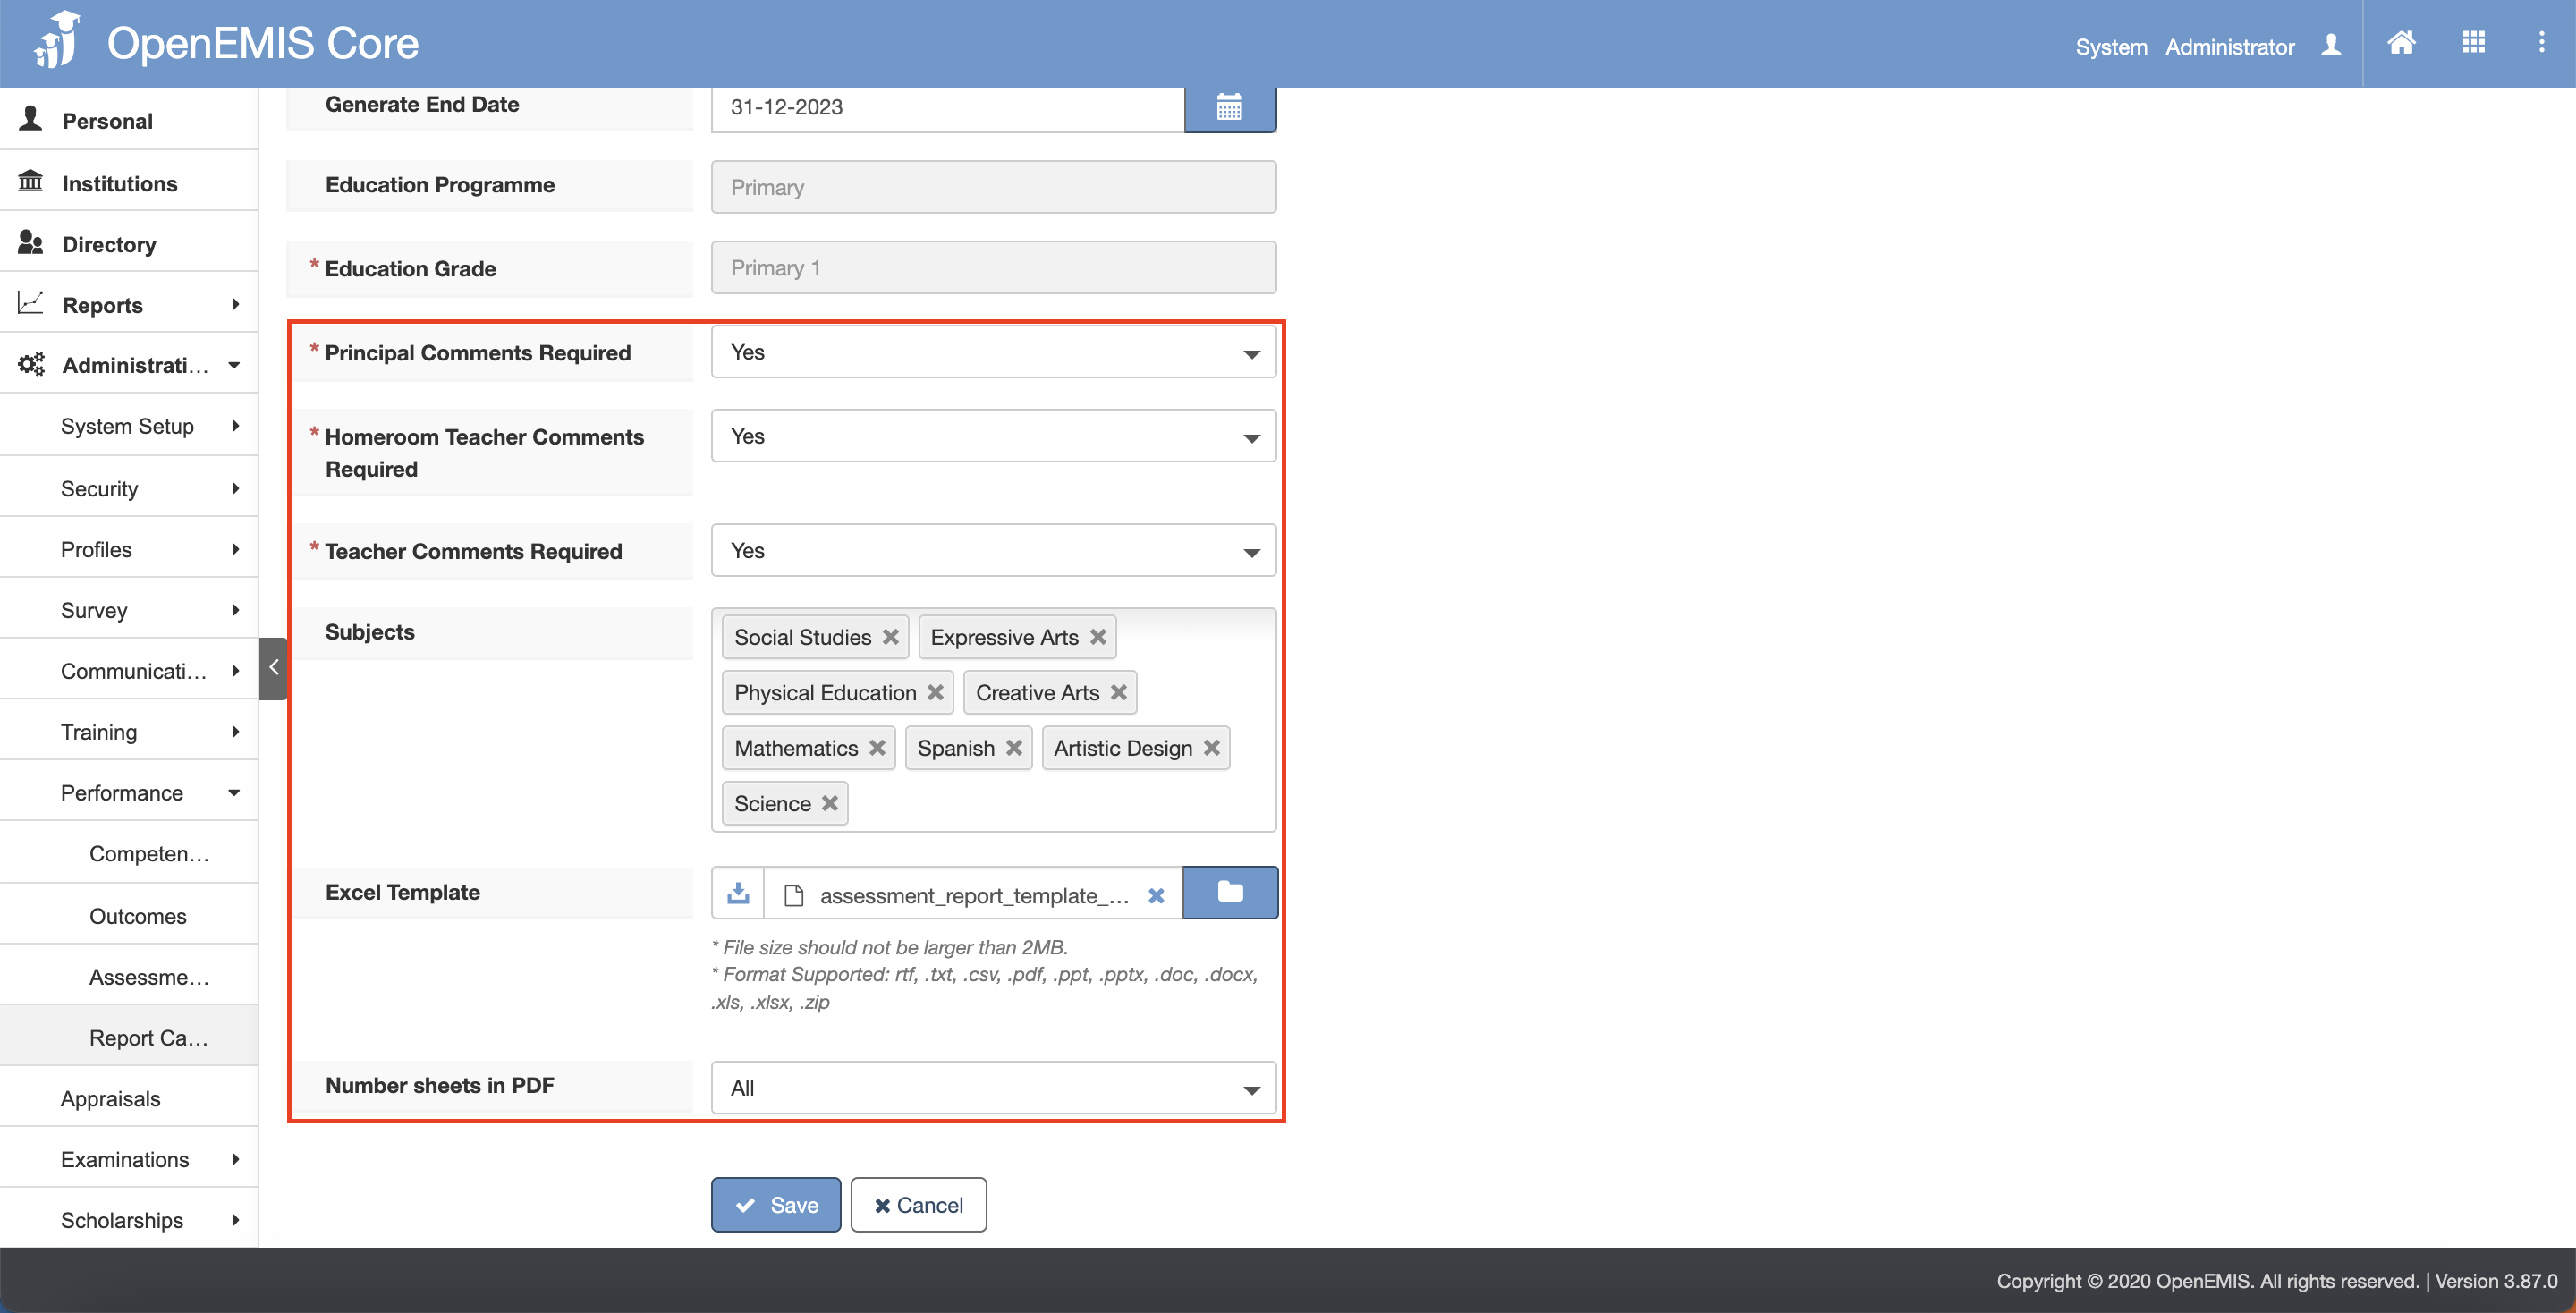
3) Download Template and amend the layout (if needed).
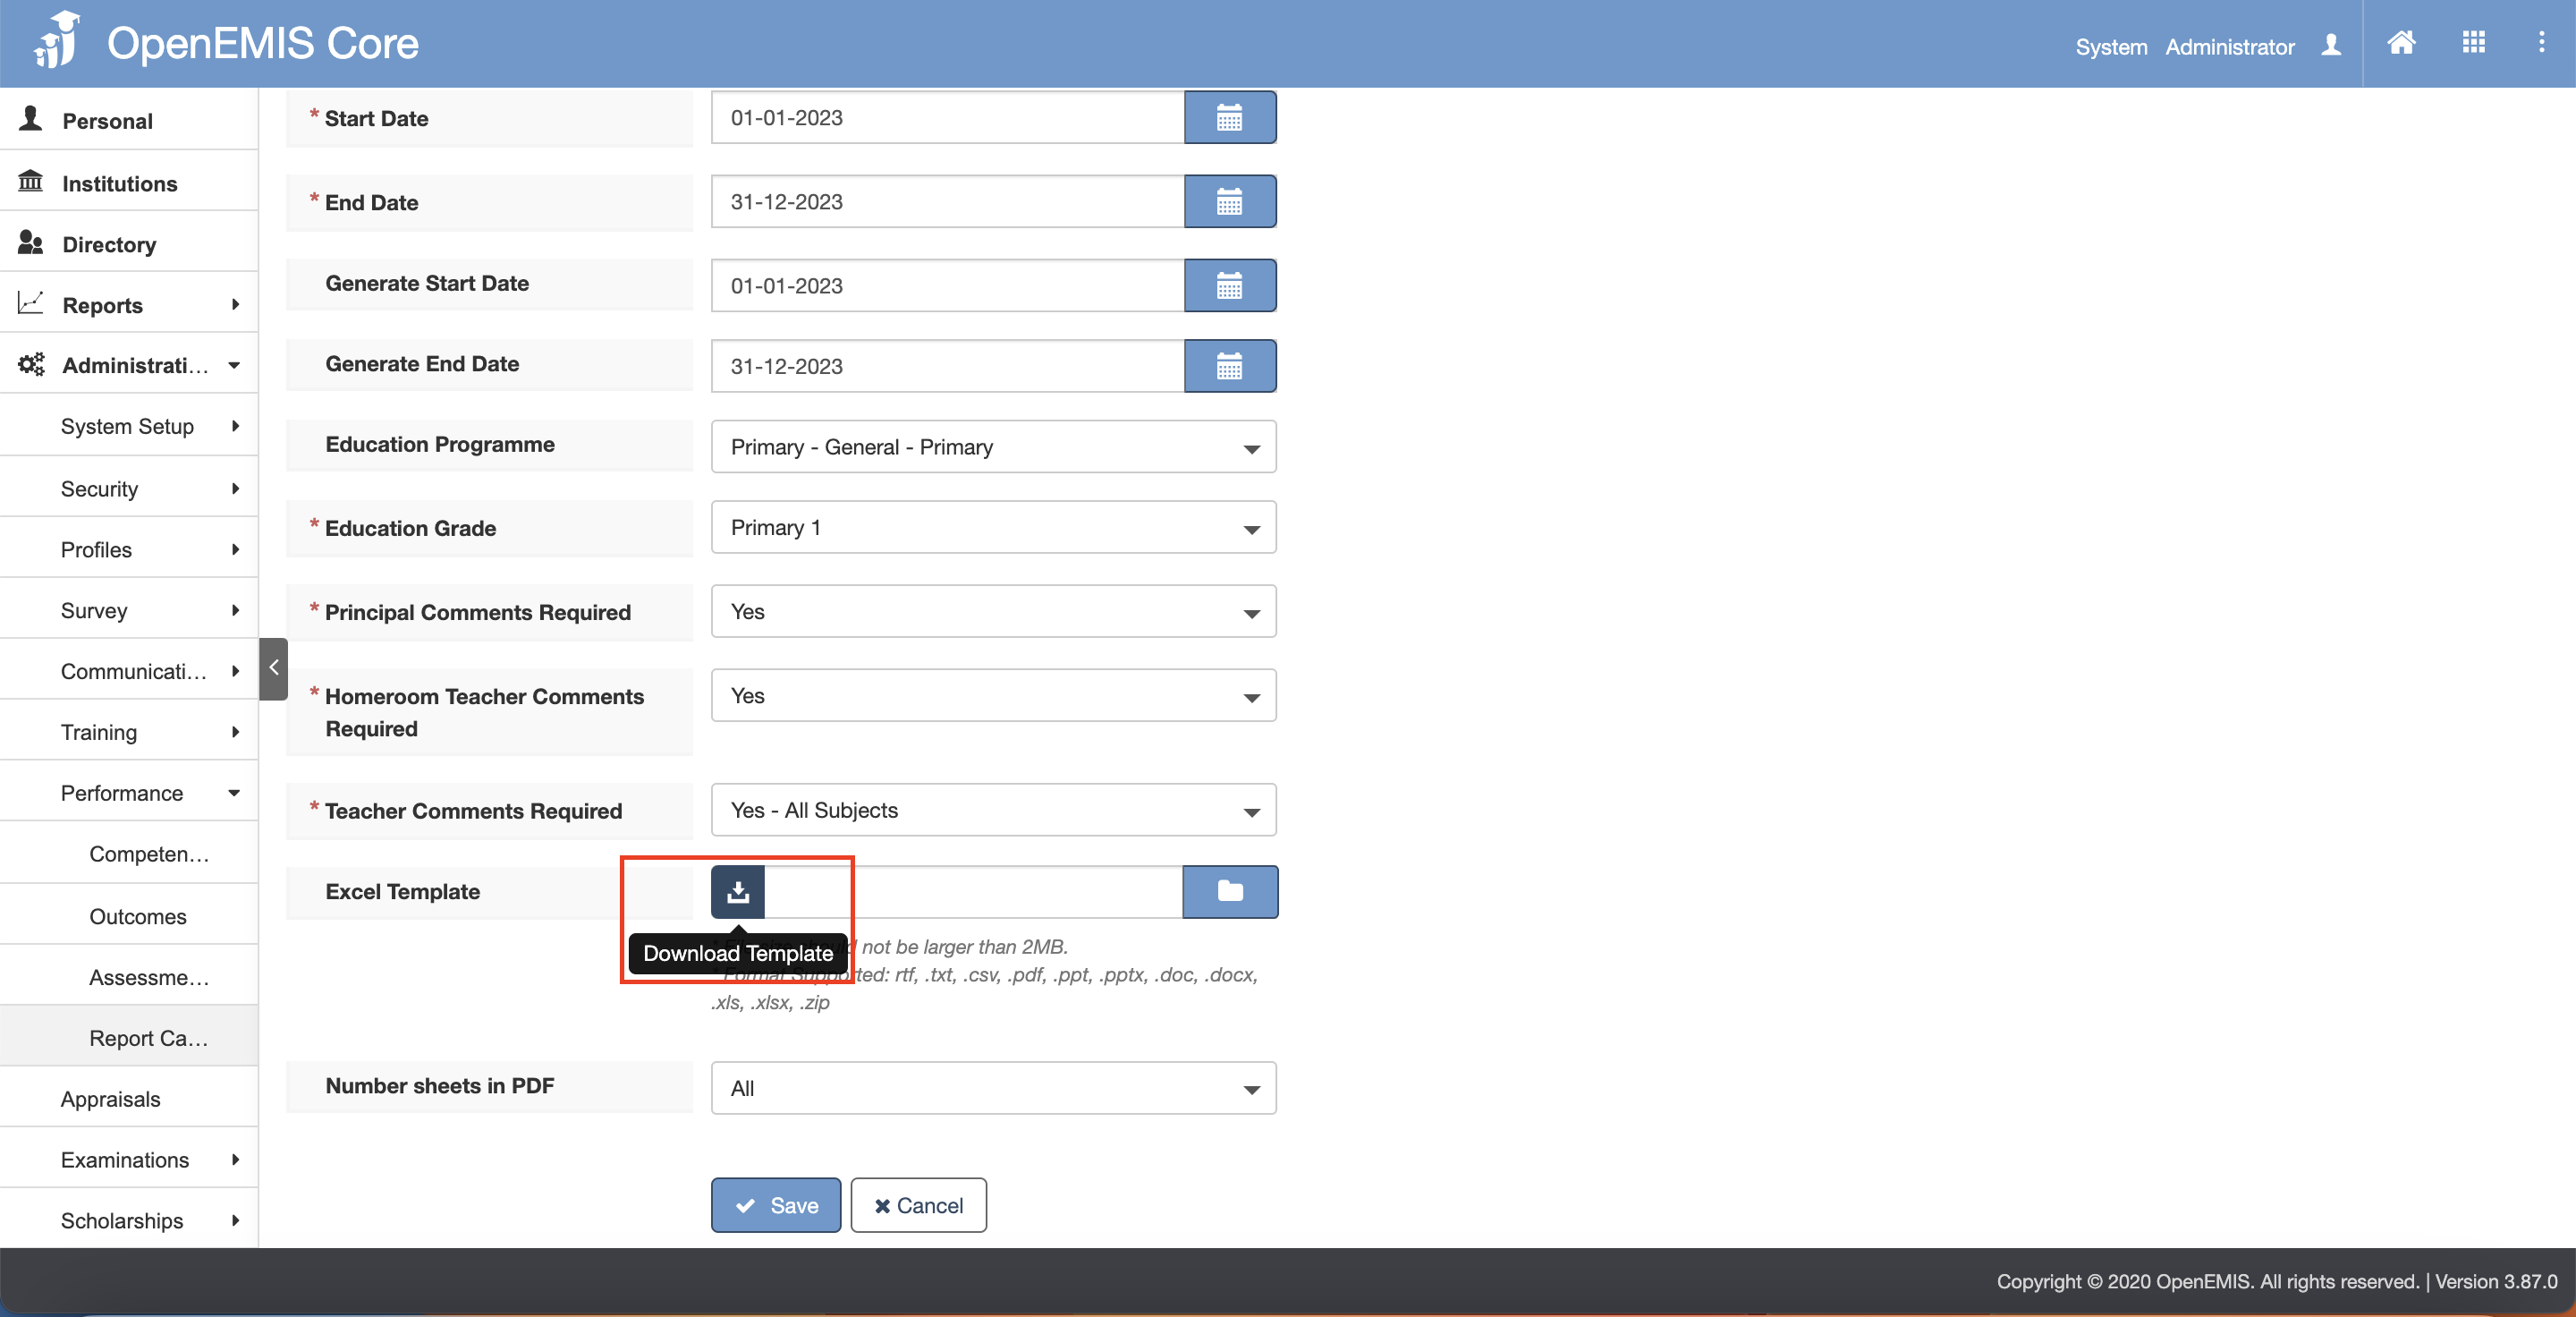
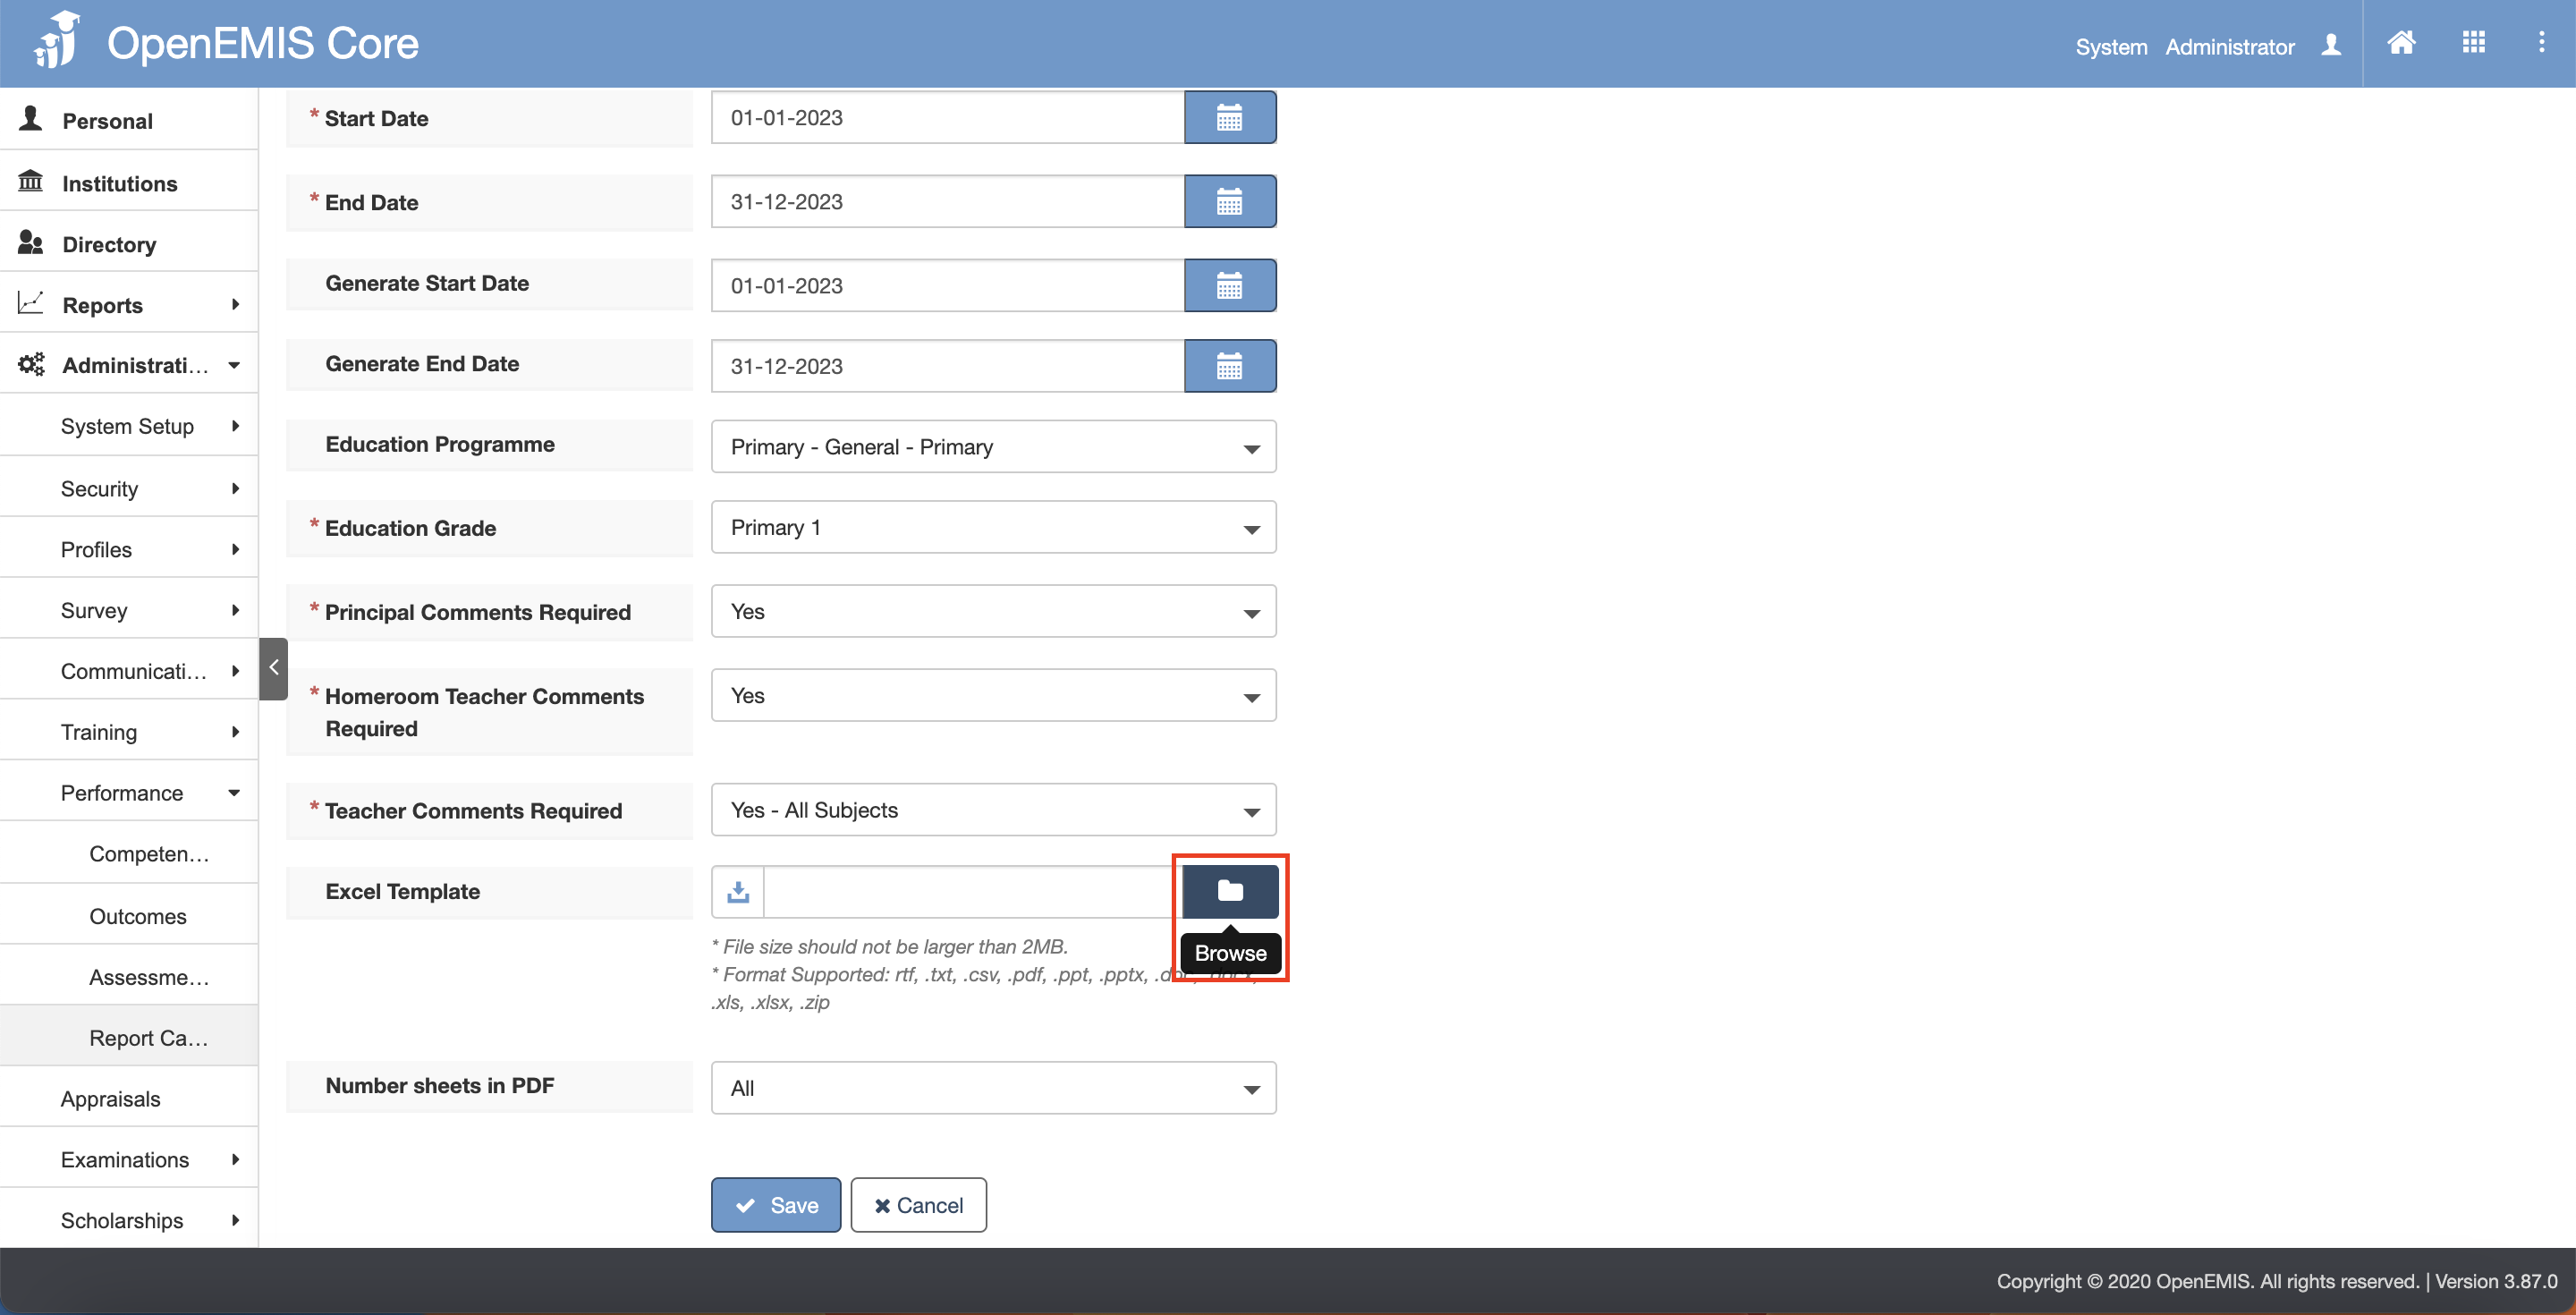
4) Browse and attach the Excel Template.
Scenario/Conditions:
-
-
- Start Date and End Date fields will determine the data included in the report card (Only those Attendance/Competencies/Comments within this date period will be displayed in the Report Card.
- Code, Name, Academic Period, Education Programme, Education Grade cannot be edited once the Report Card Template is created under Administration.
- If Principal, Homeroom Teacher, Subject Teacher comments has been set to required in the report card, the Comments will be displayed in the Report Card accordingly.
- If Principal, Homeroom Teacher, Subject Teacher comments has been set to not required in the report card, the Comments will be not be shown in the Report Card.
- Teacher Comments Required:
- Yes – All Subjects: Subject field will appear, where multiple subjects can be chosen from a list of subjects in the selected grade
- Yes – Select Subjects: All subjects in the selected grade will be automatically added to the report card
- No: Comments will not be indicated in the Report Card
- Assessment, Competencies and Outcomes start and end date has to fall within the start and end date of the configured Student Report Card so that it will appear to be generated in the Student Report Card.
- Generate Start Date and Generate End Date allows user to generate the Student Report Cards within the dates configured.
- The PDF Sheets allows user to generate the student report cards in PDF according to the number of pages they configured. (eg. If 2 pages is configured, the Student Report Cards will be covered in 2 pages)
-
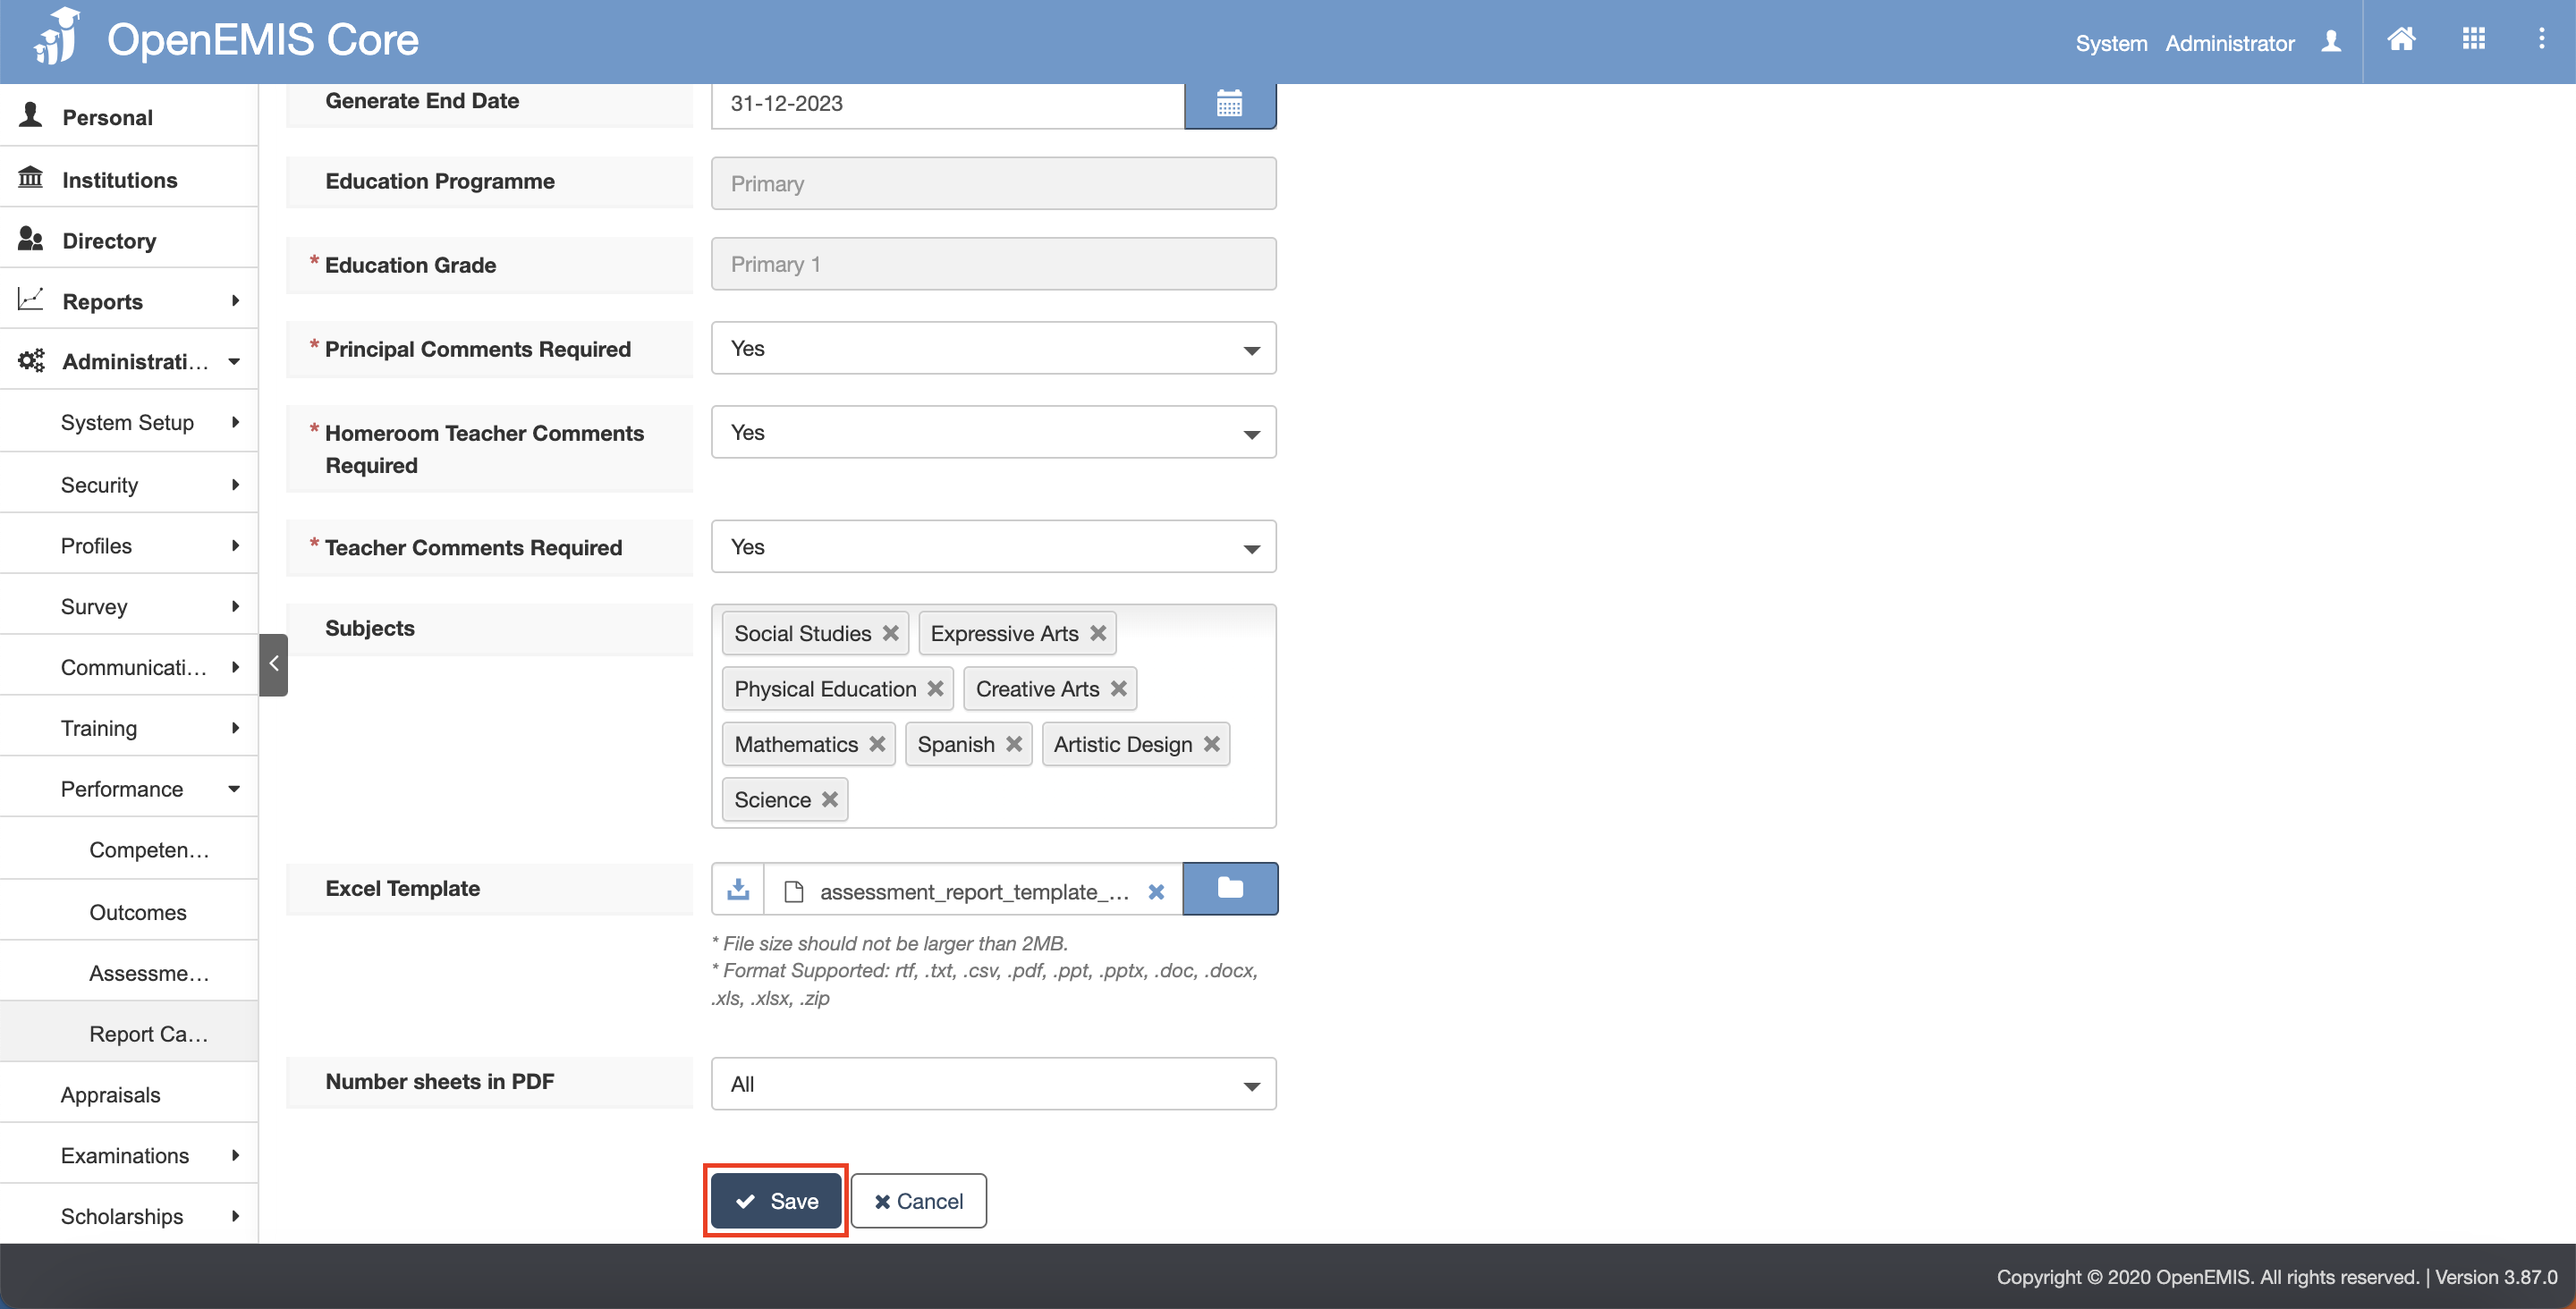
5) Once done, click on the Save button.
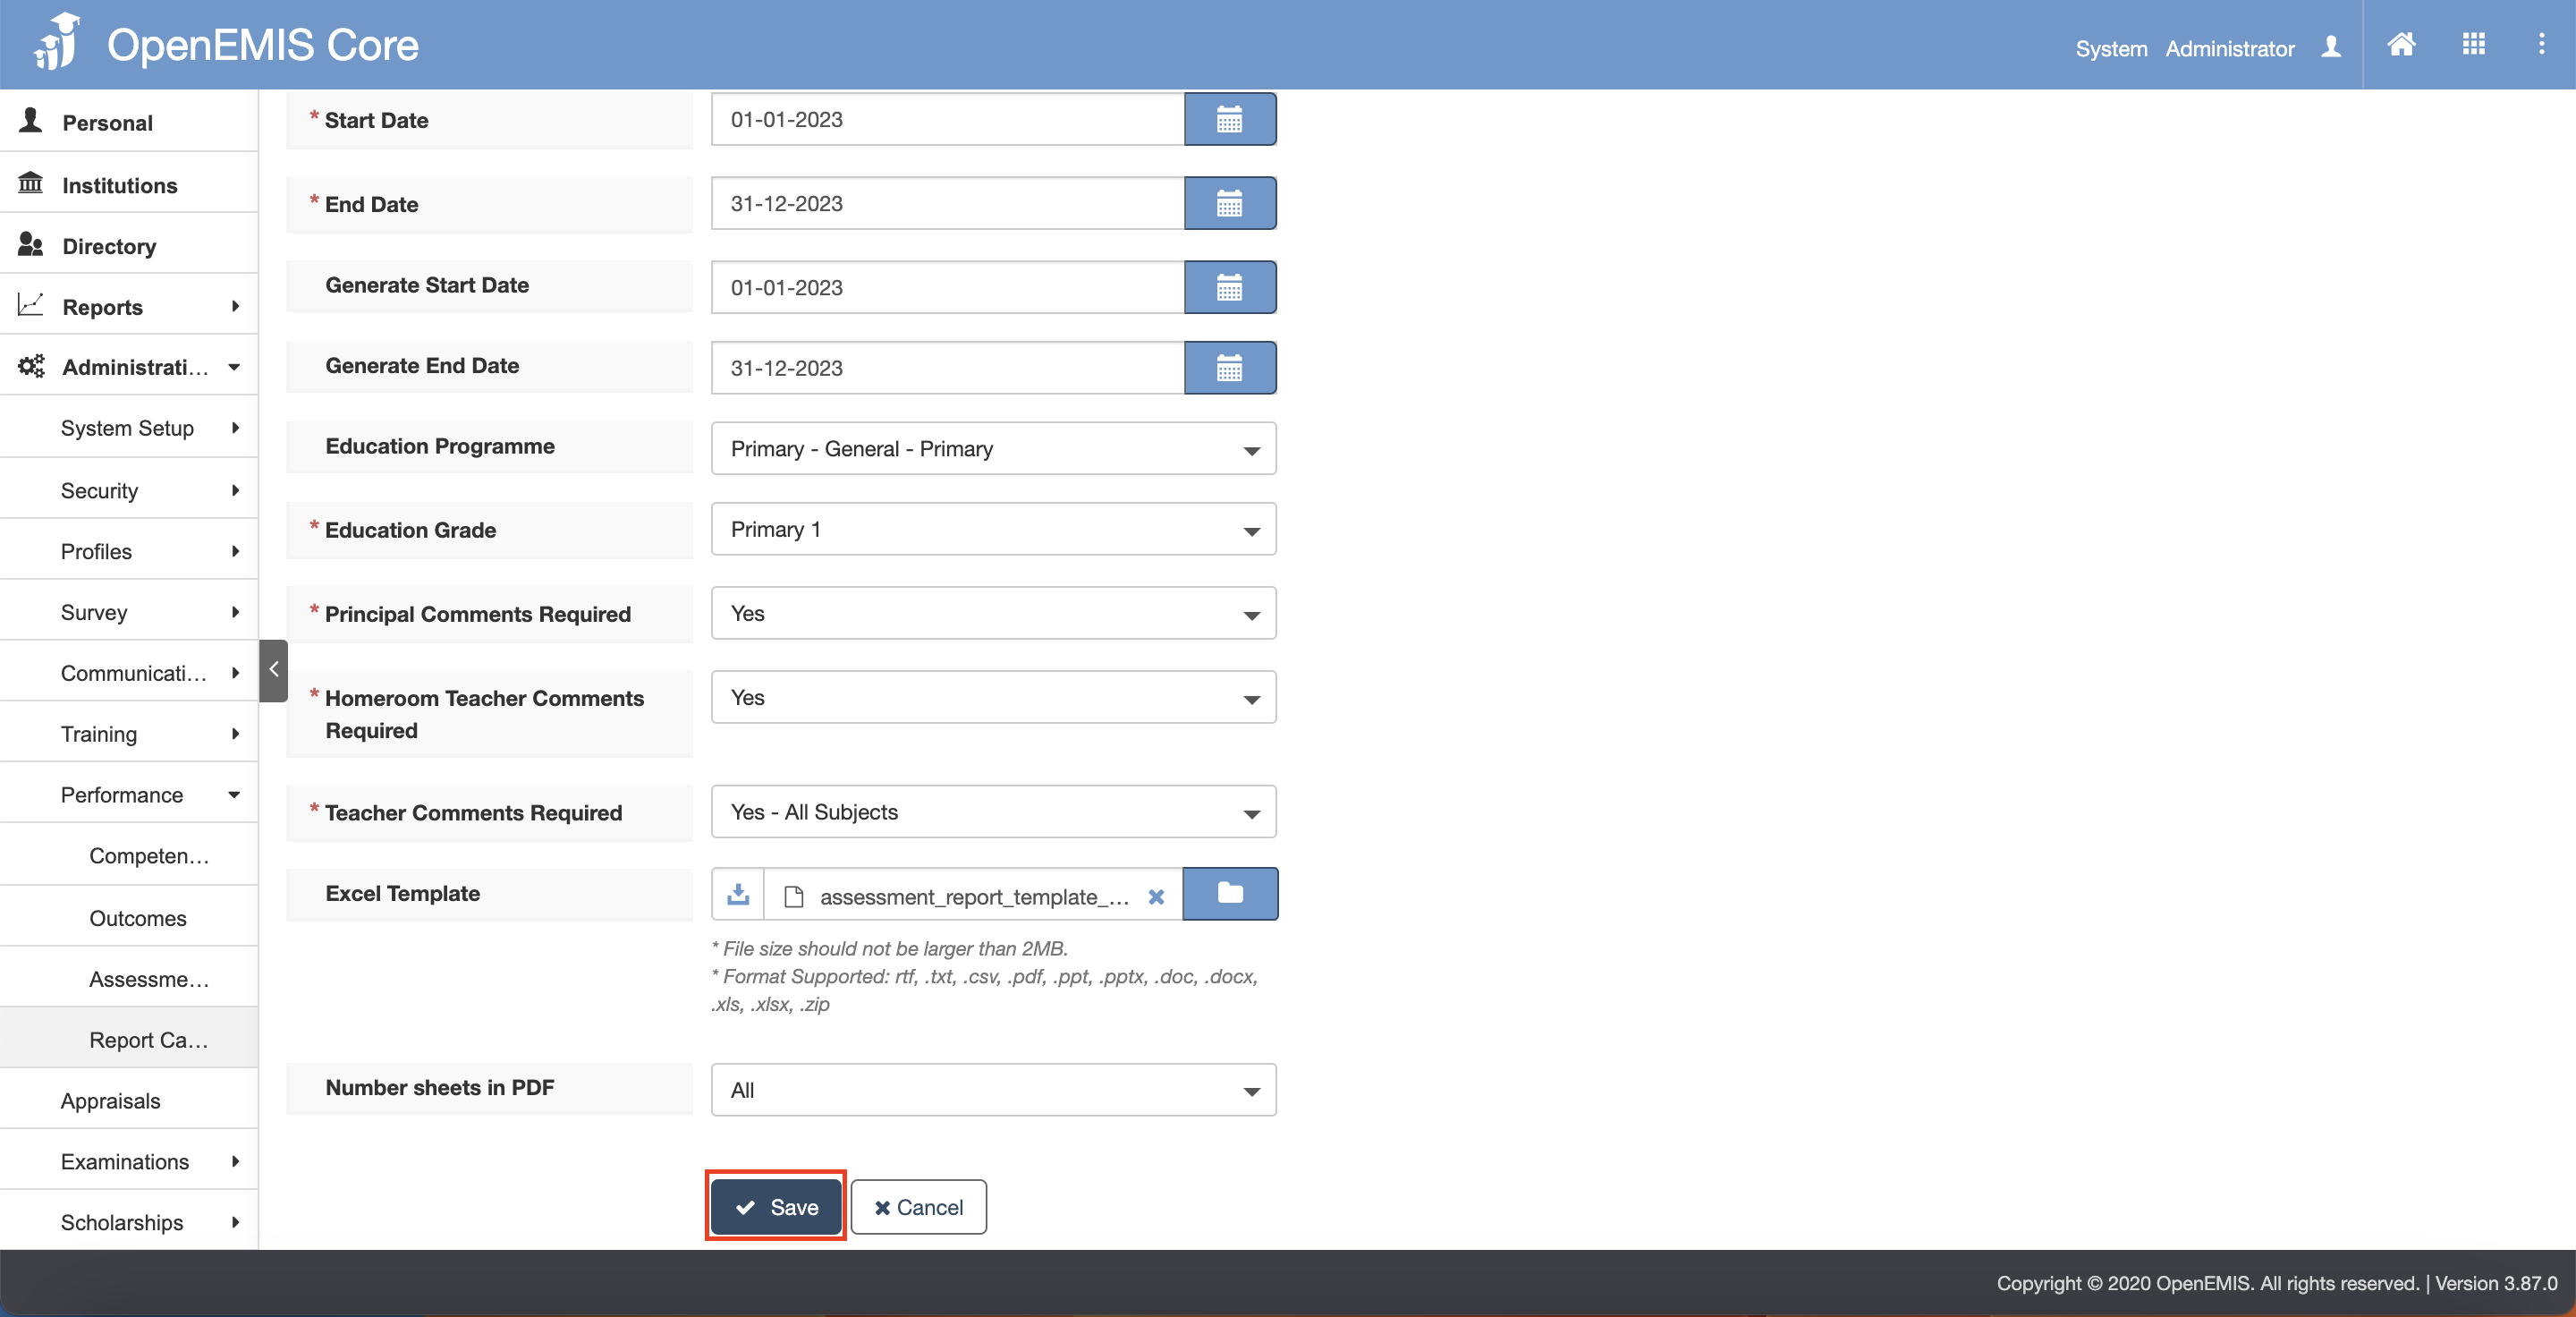
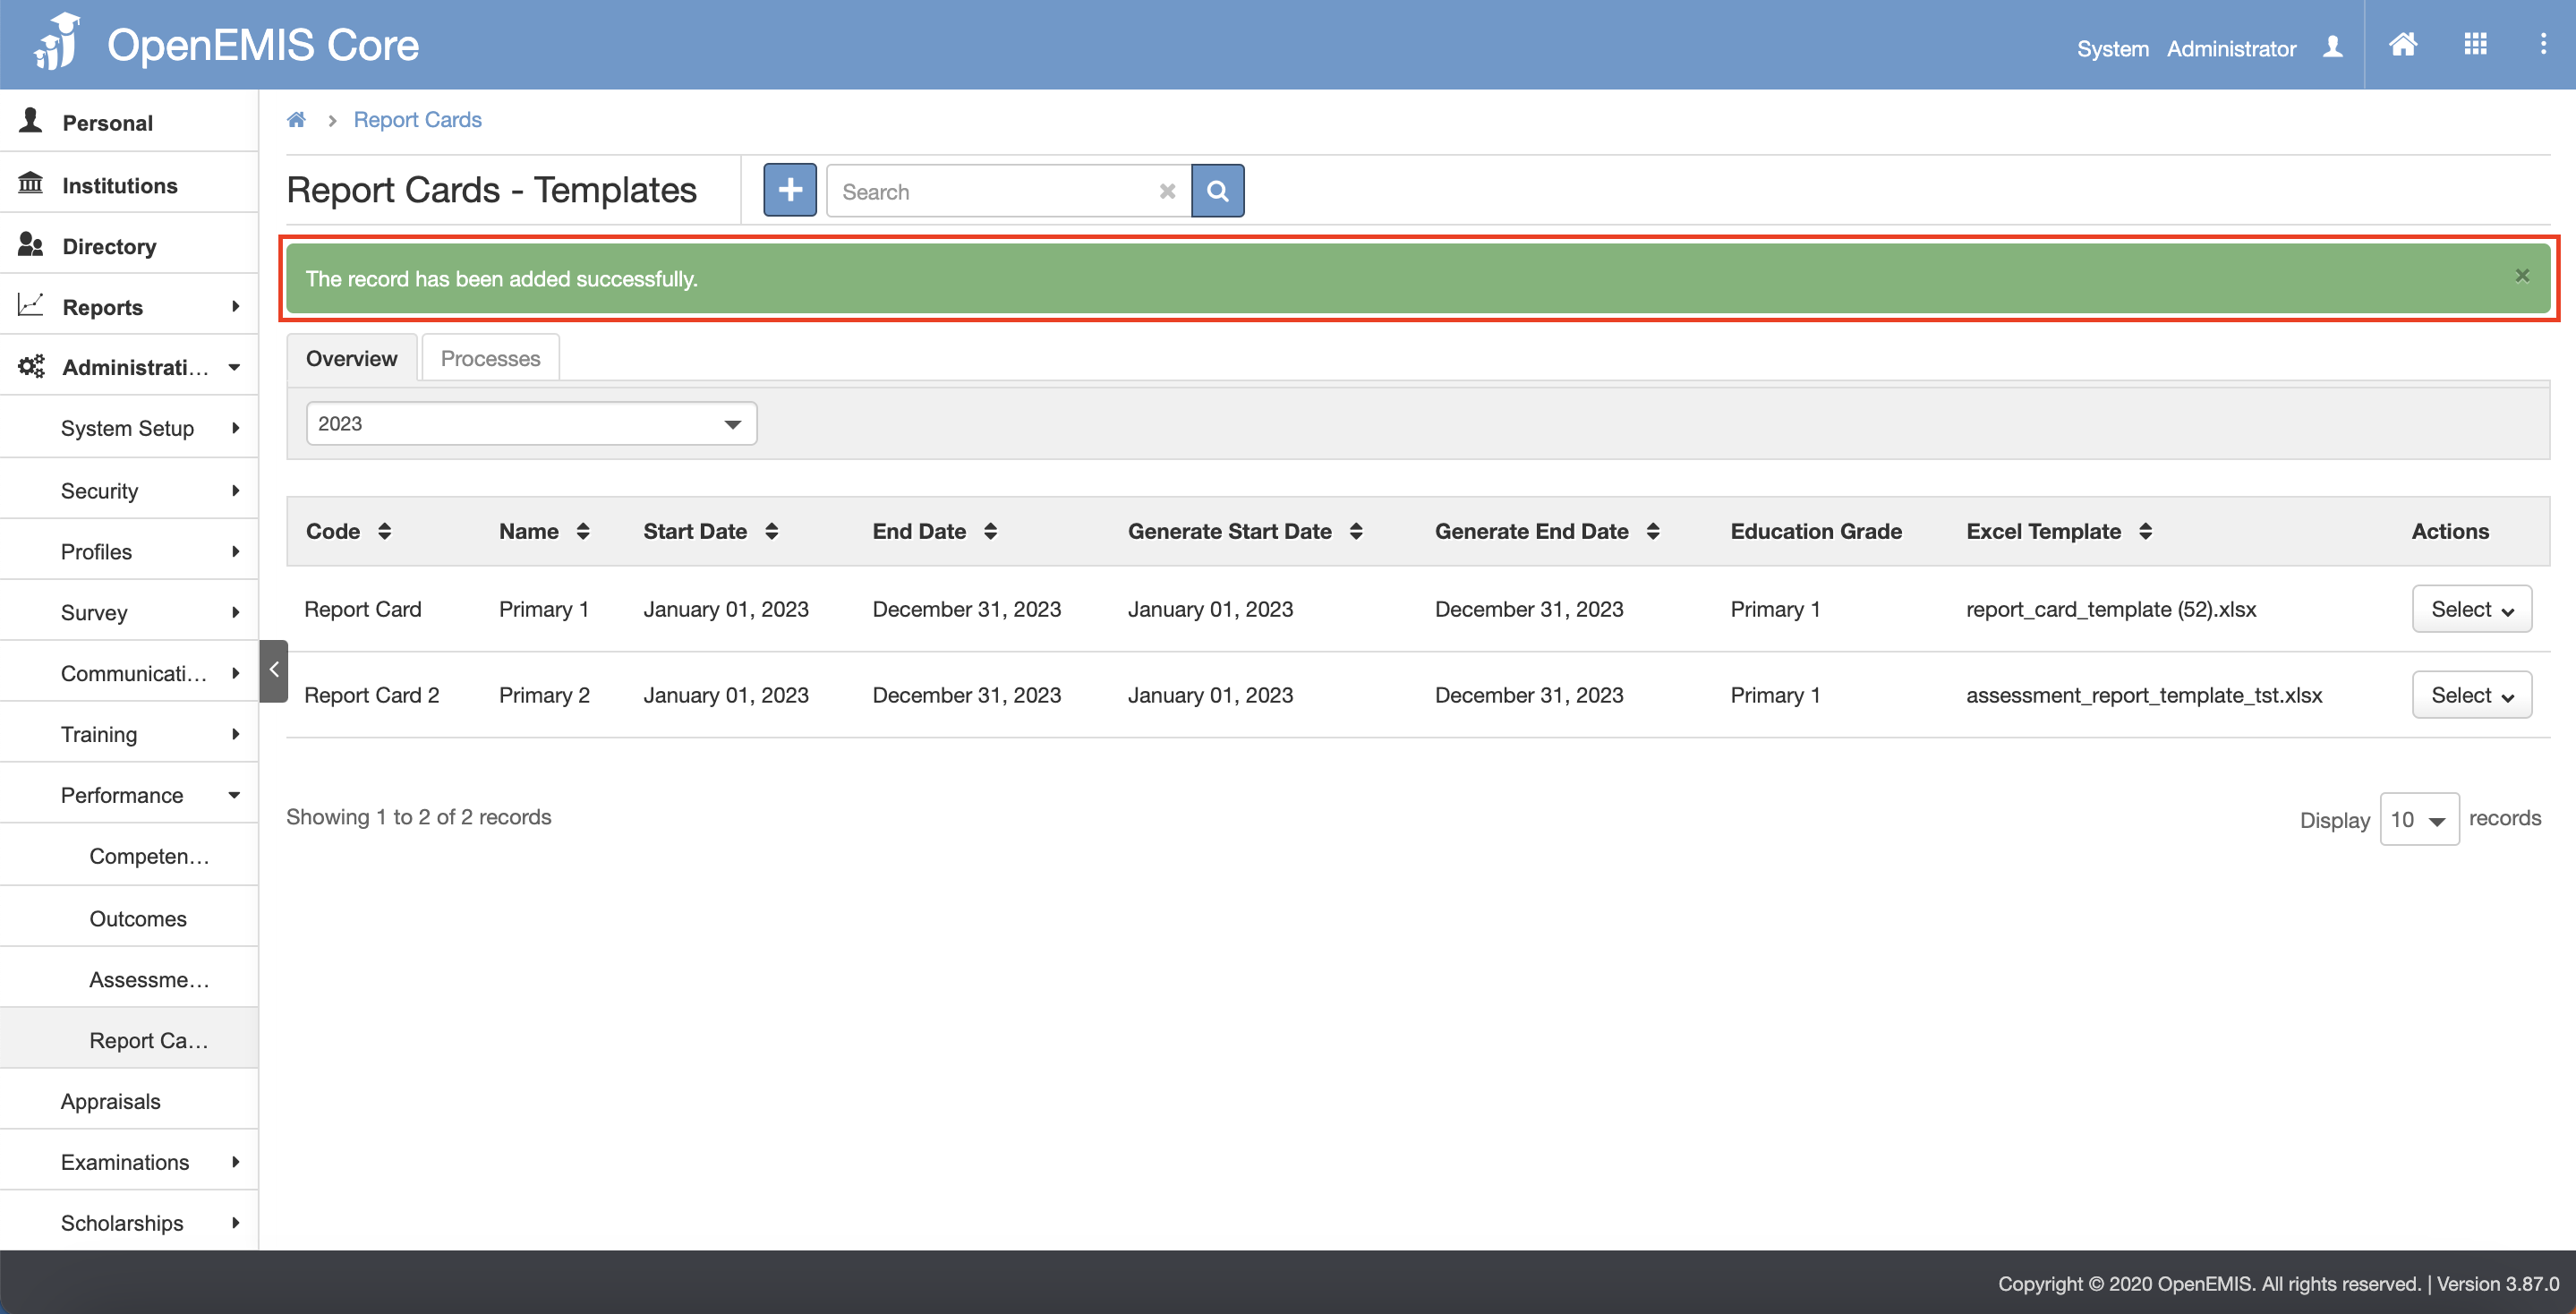
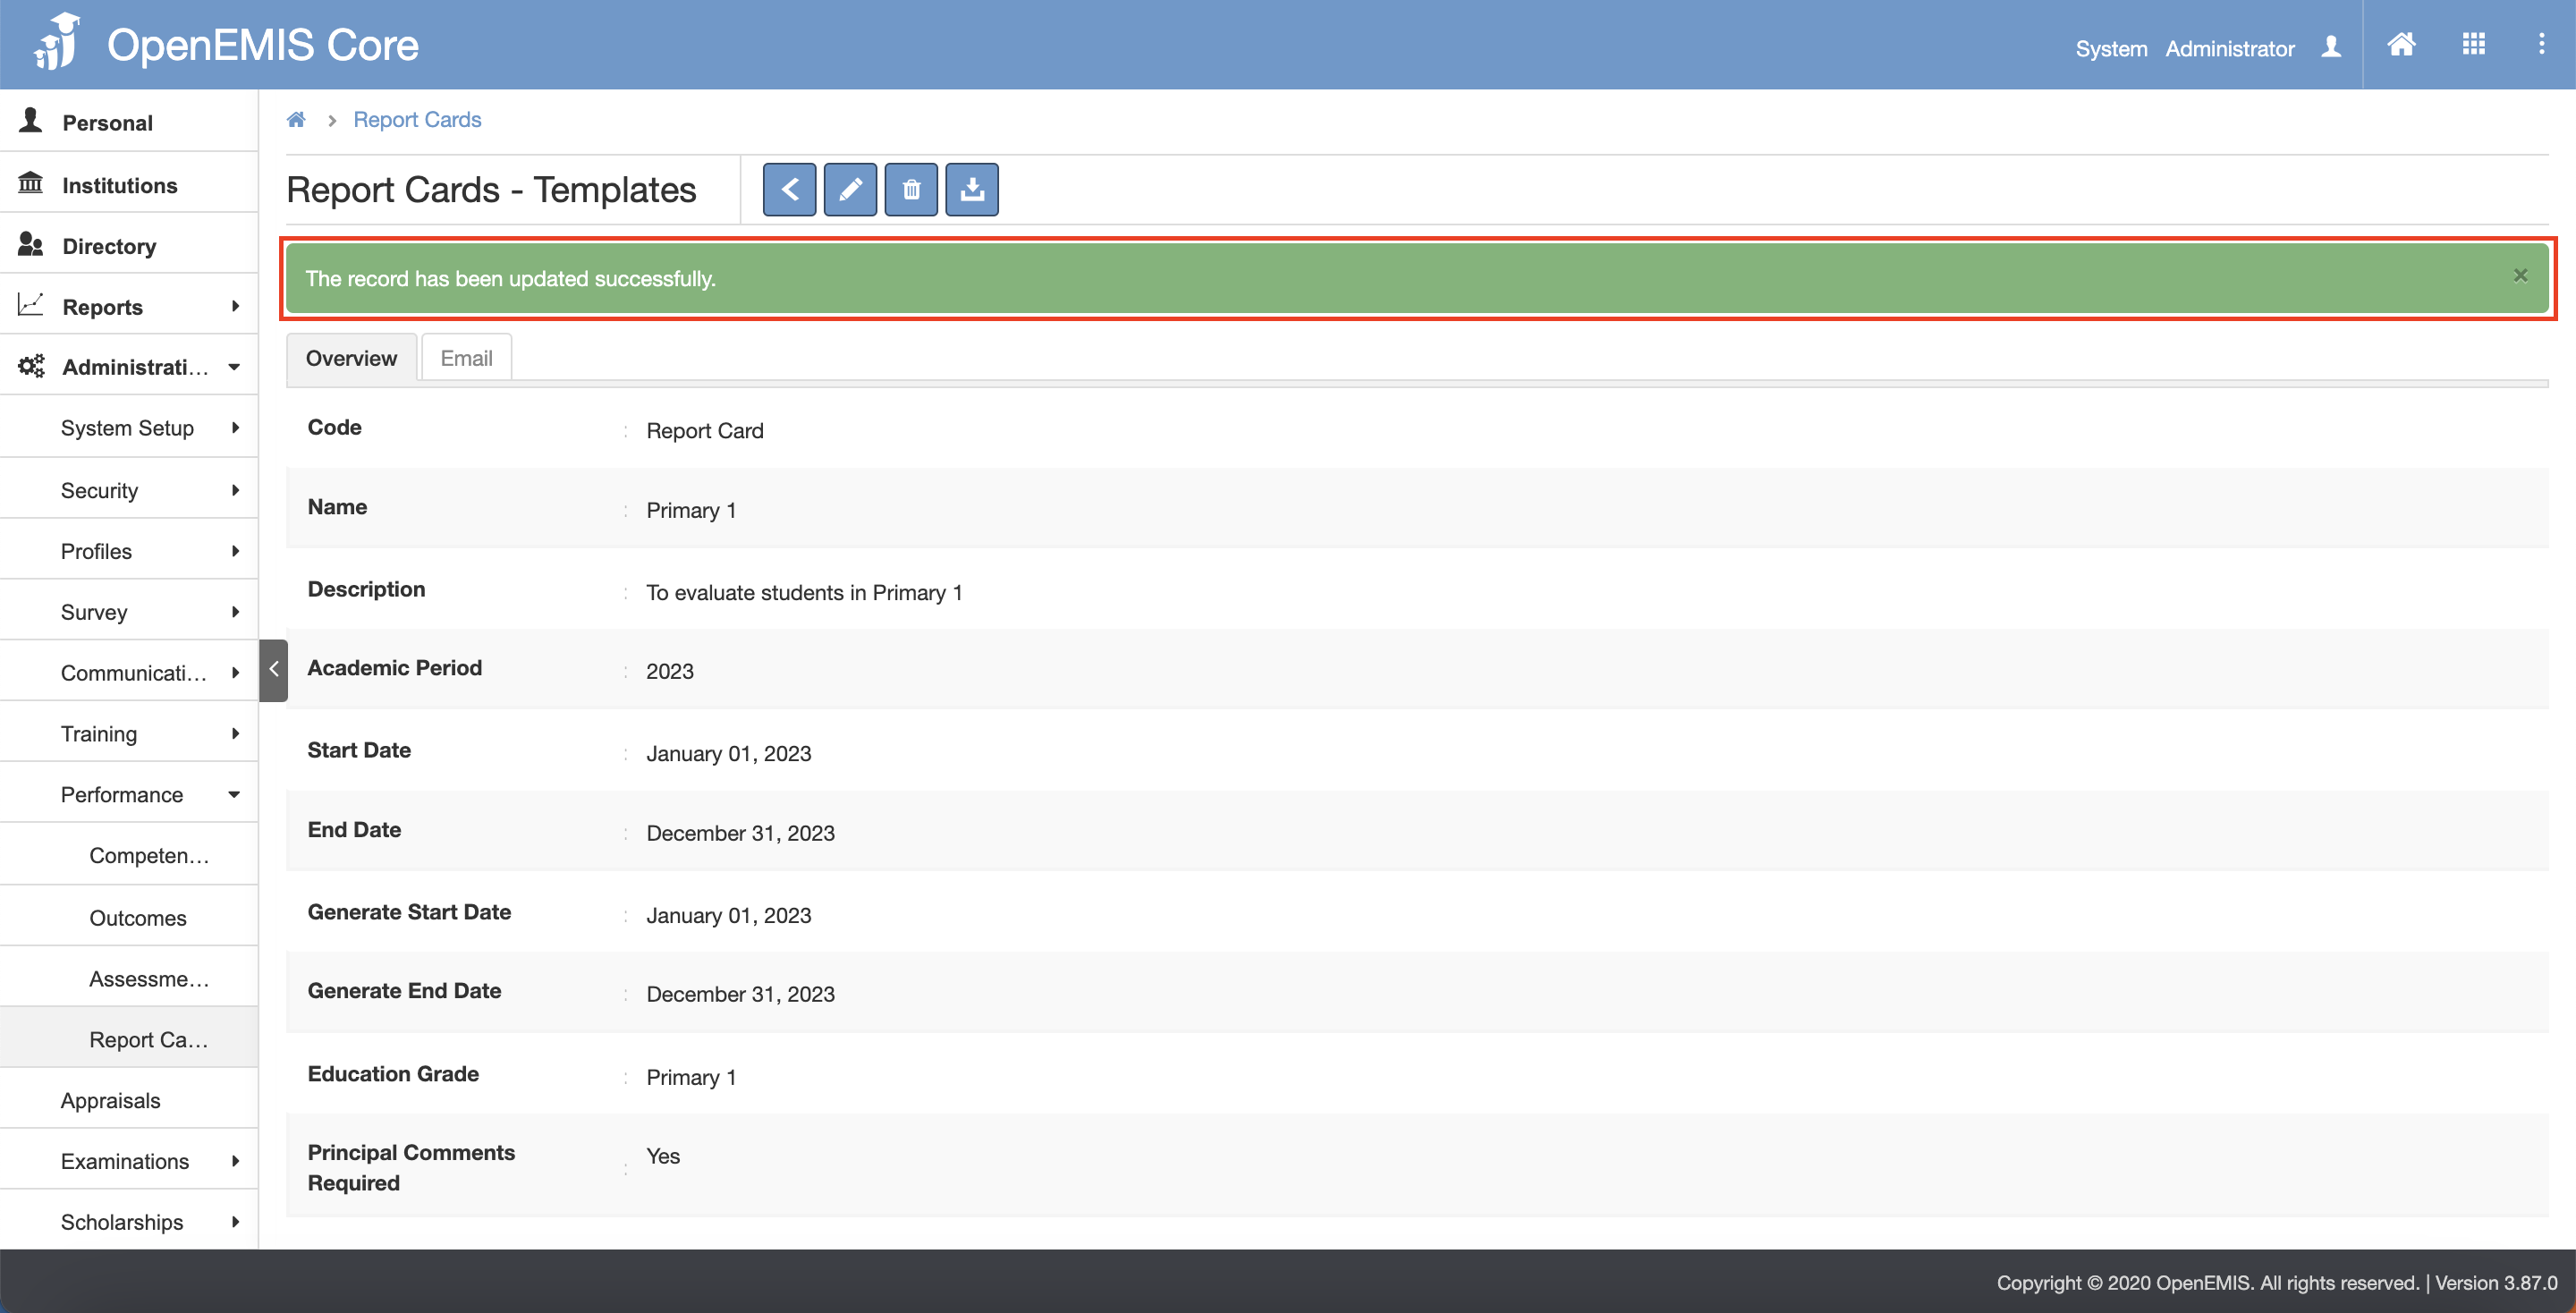
6) The message will be displayed upon adding successfully.
Edit Report Card
1) Go to Administration > Performance > Report Cards page.
2) Under the Actions column, click on the Select button and click on the Edit button.
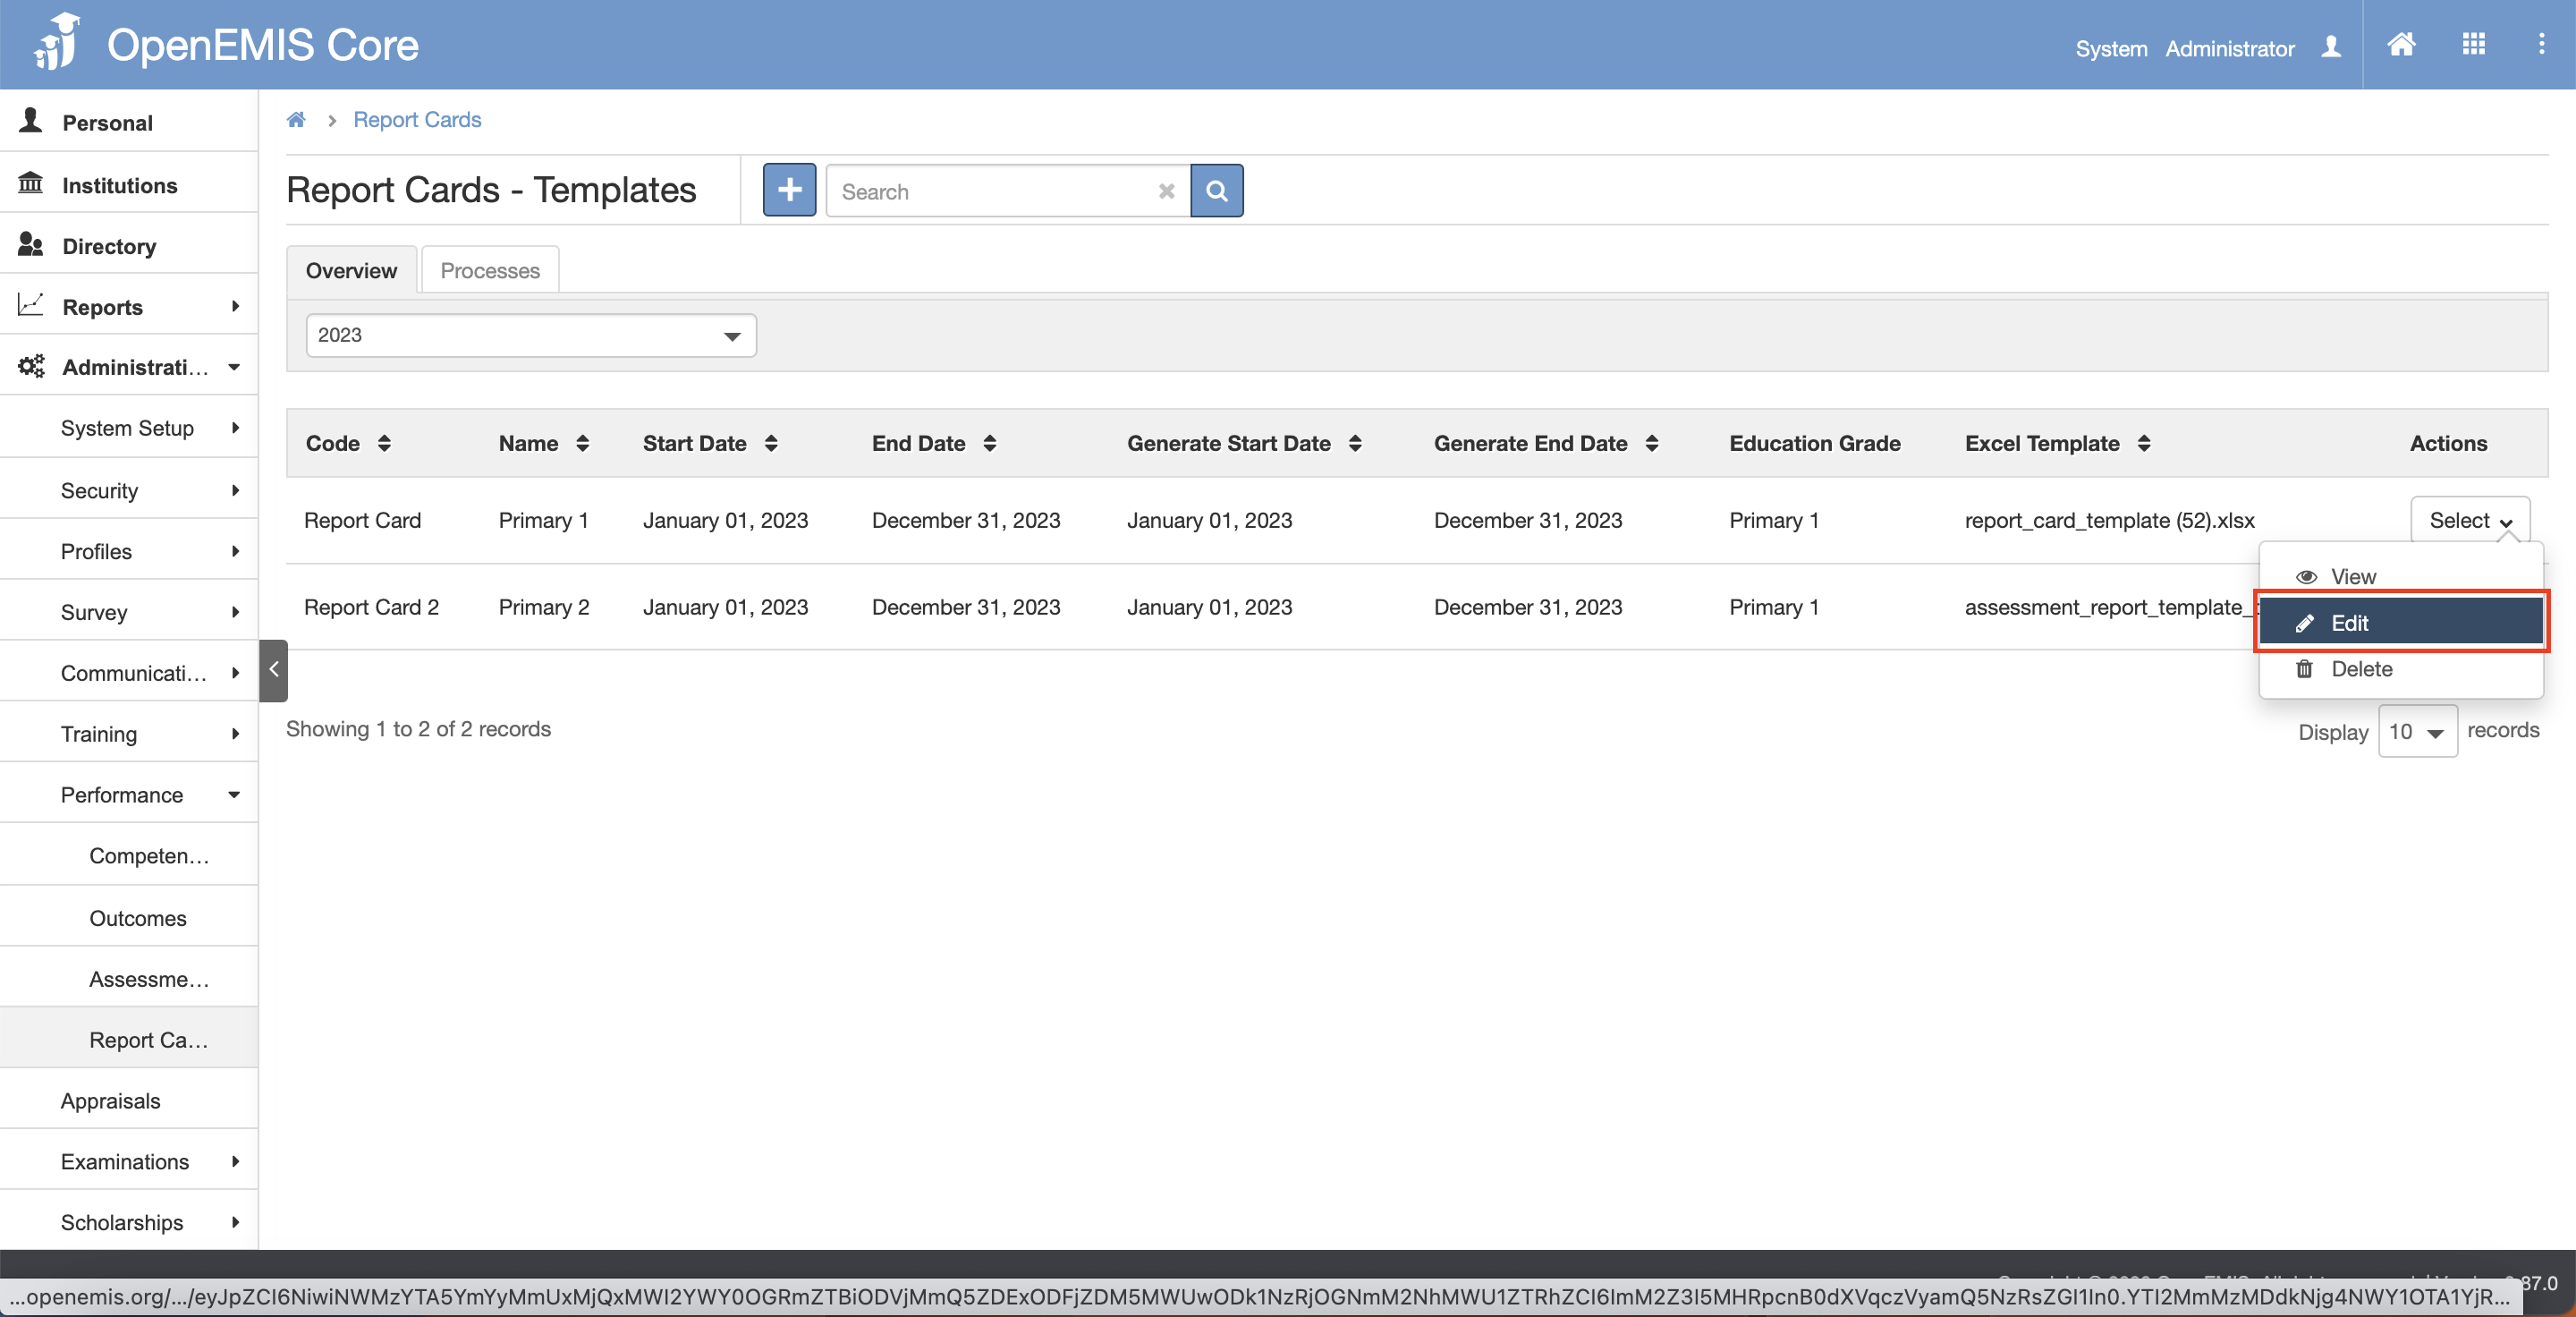
3) Edit those fields that are not greyed out.
4) Once done, click on the Save button.
6) The message will be displayed upon updating successfully.
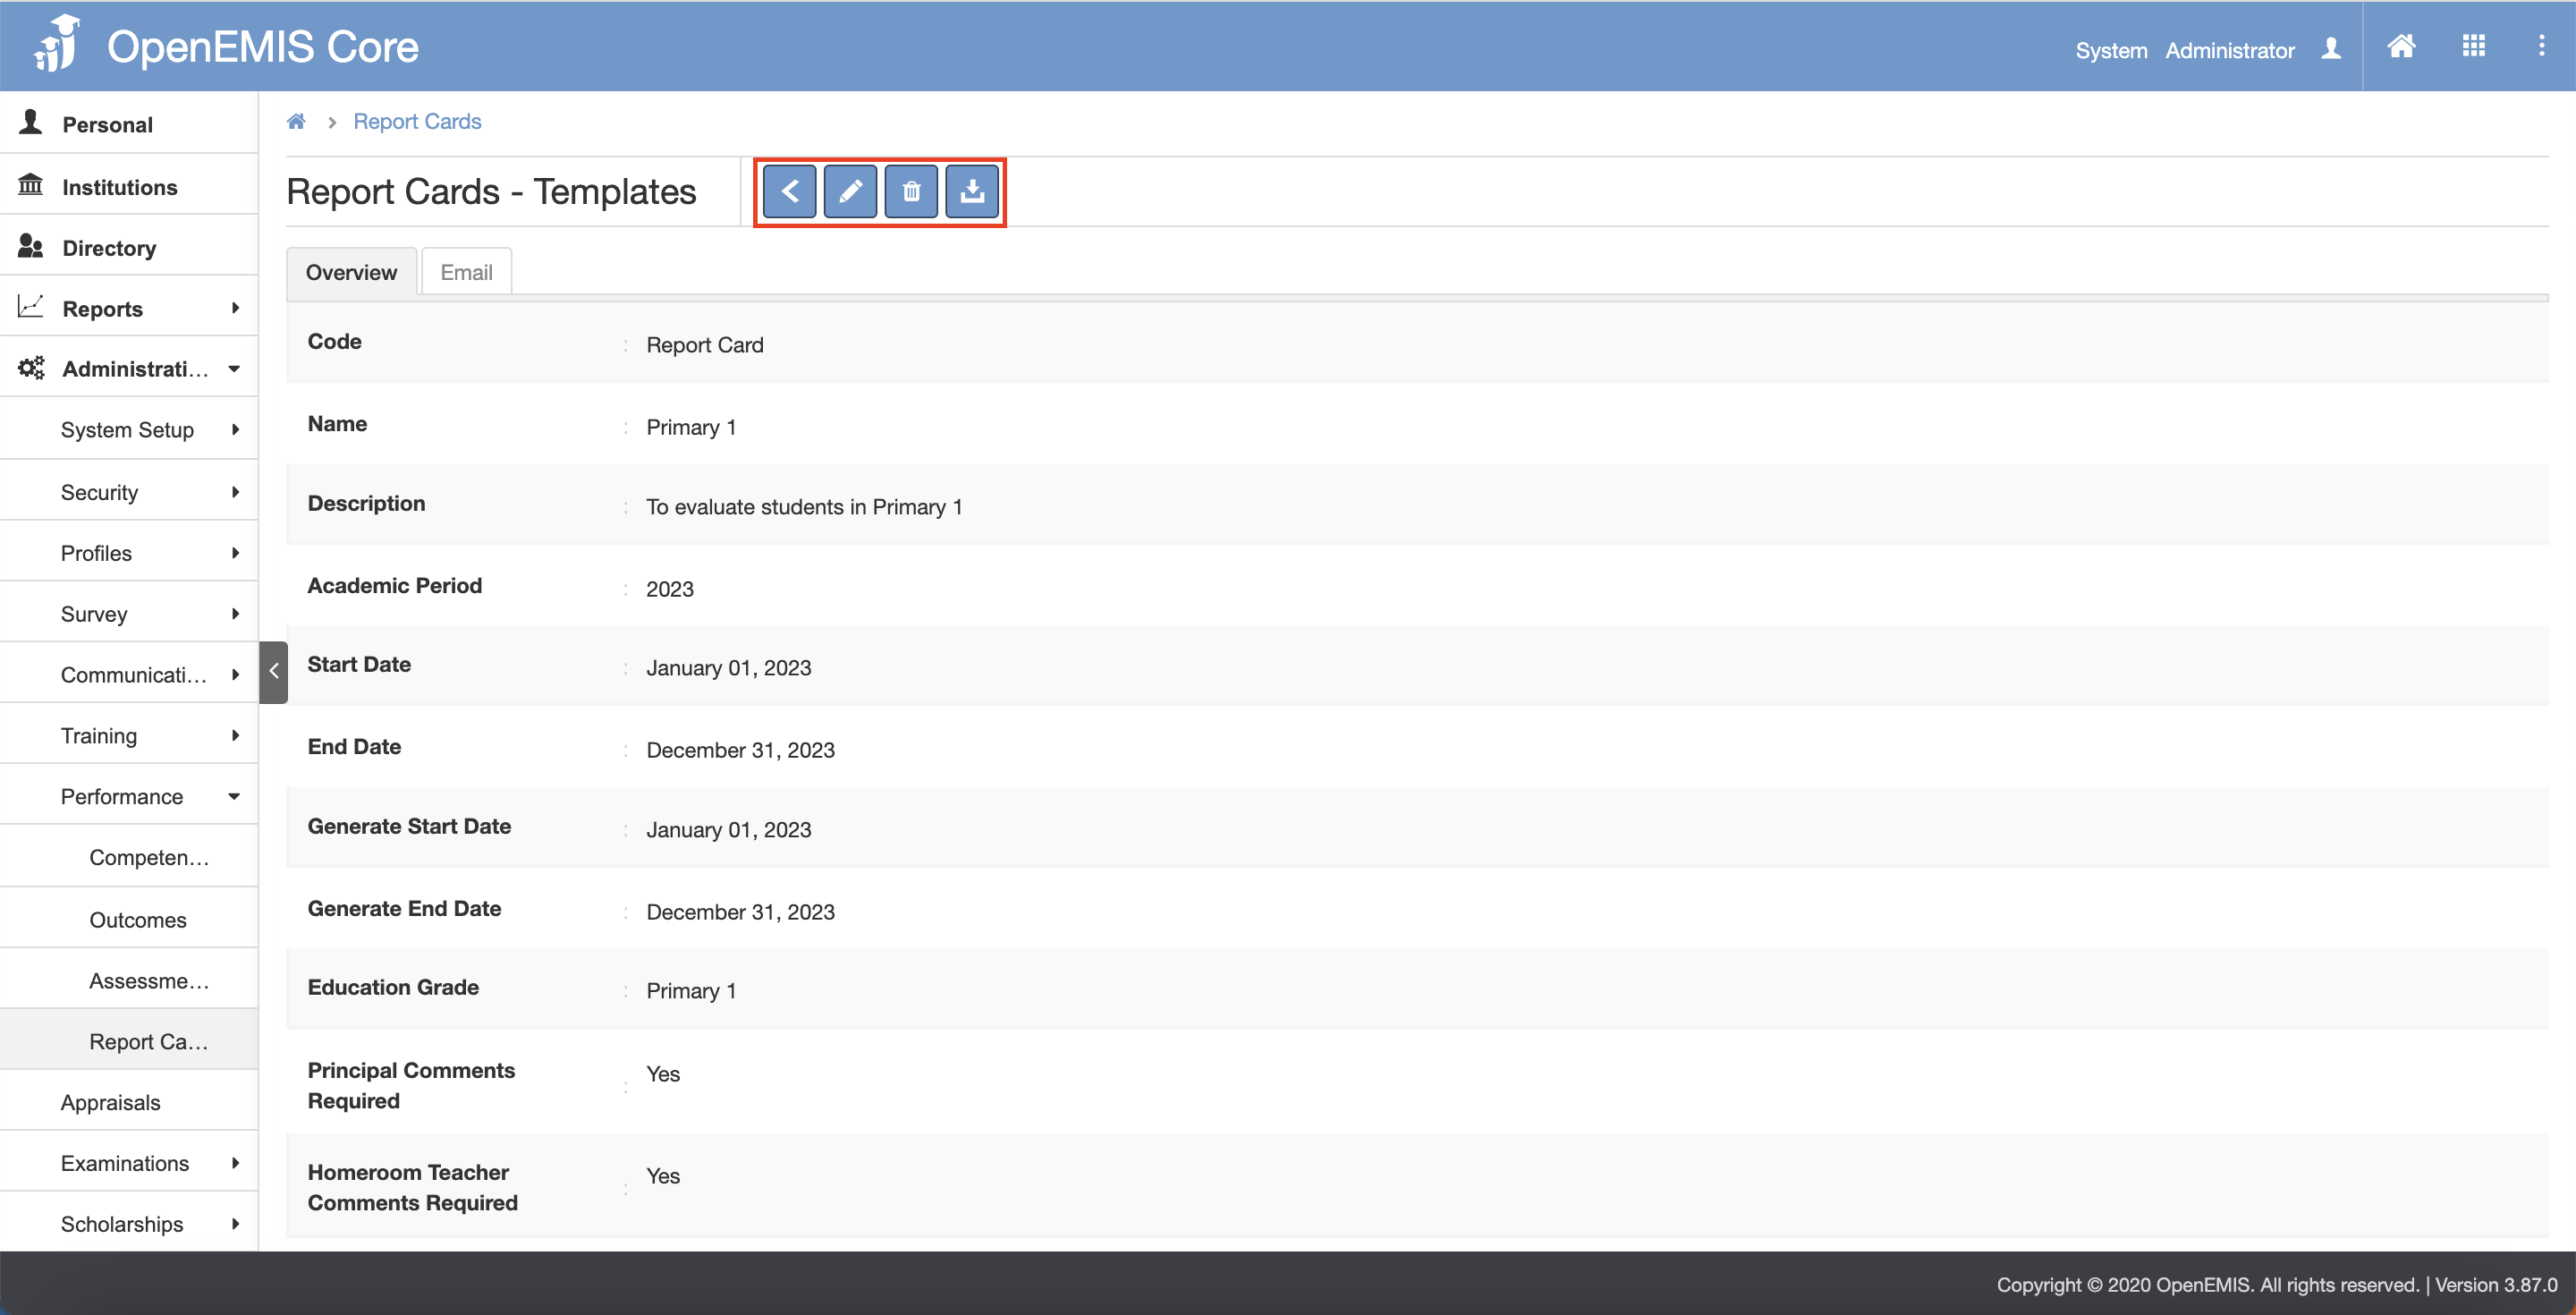
View Report Card
1) Go to Administration > Performance > Report Cards page.
2) Under the Actions column, click on the Select button and click on the View button.

3) Once in the View page, details of the Student Report Cards will be displayed.
4) Similarly, you will be able to edit or delete the record. There is also a button to download the excel template attached to the selected record.
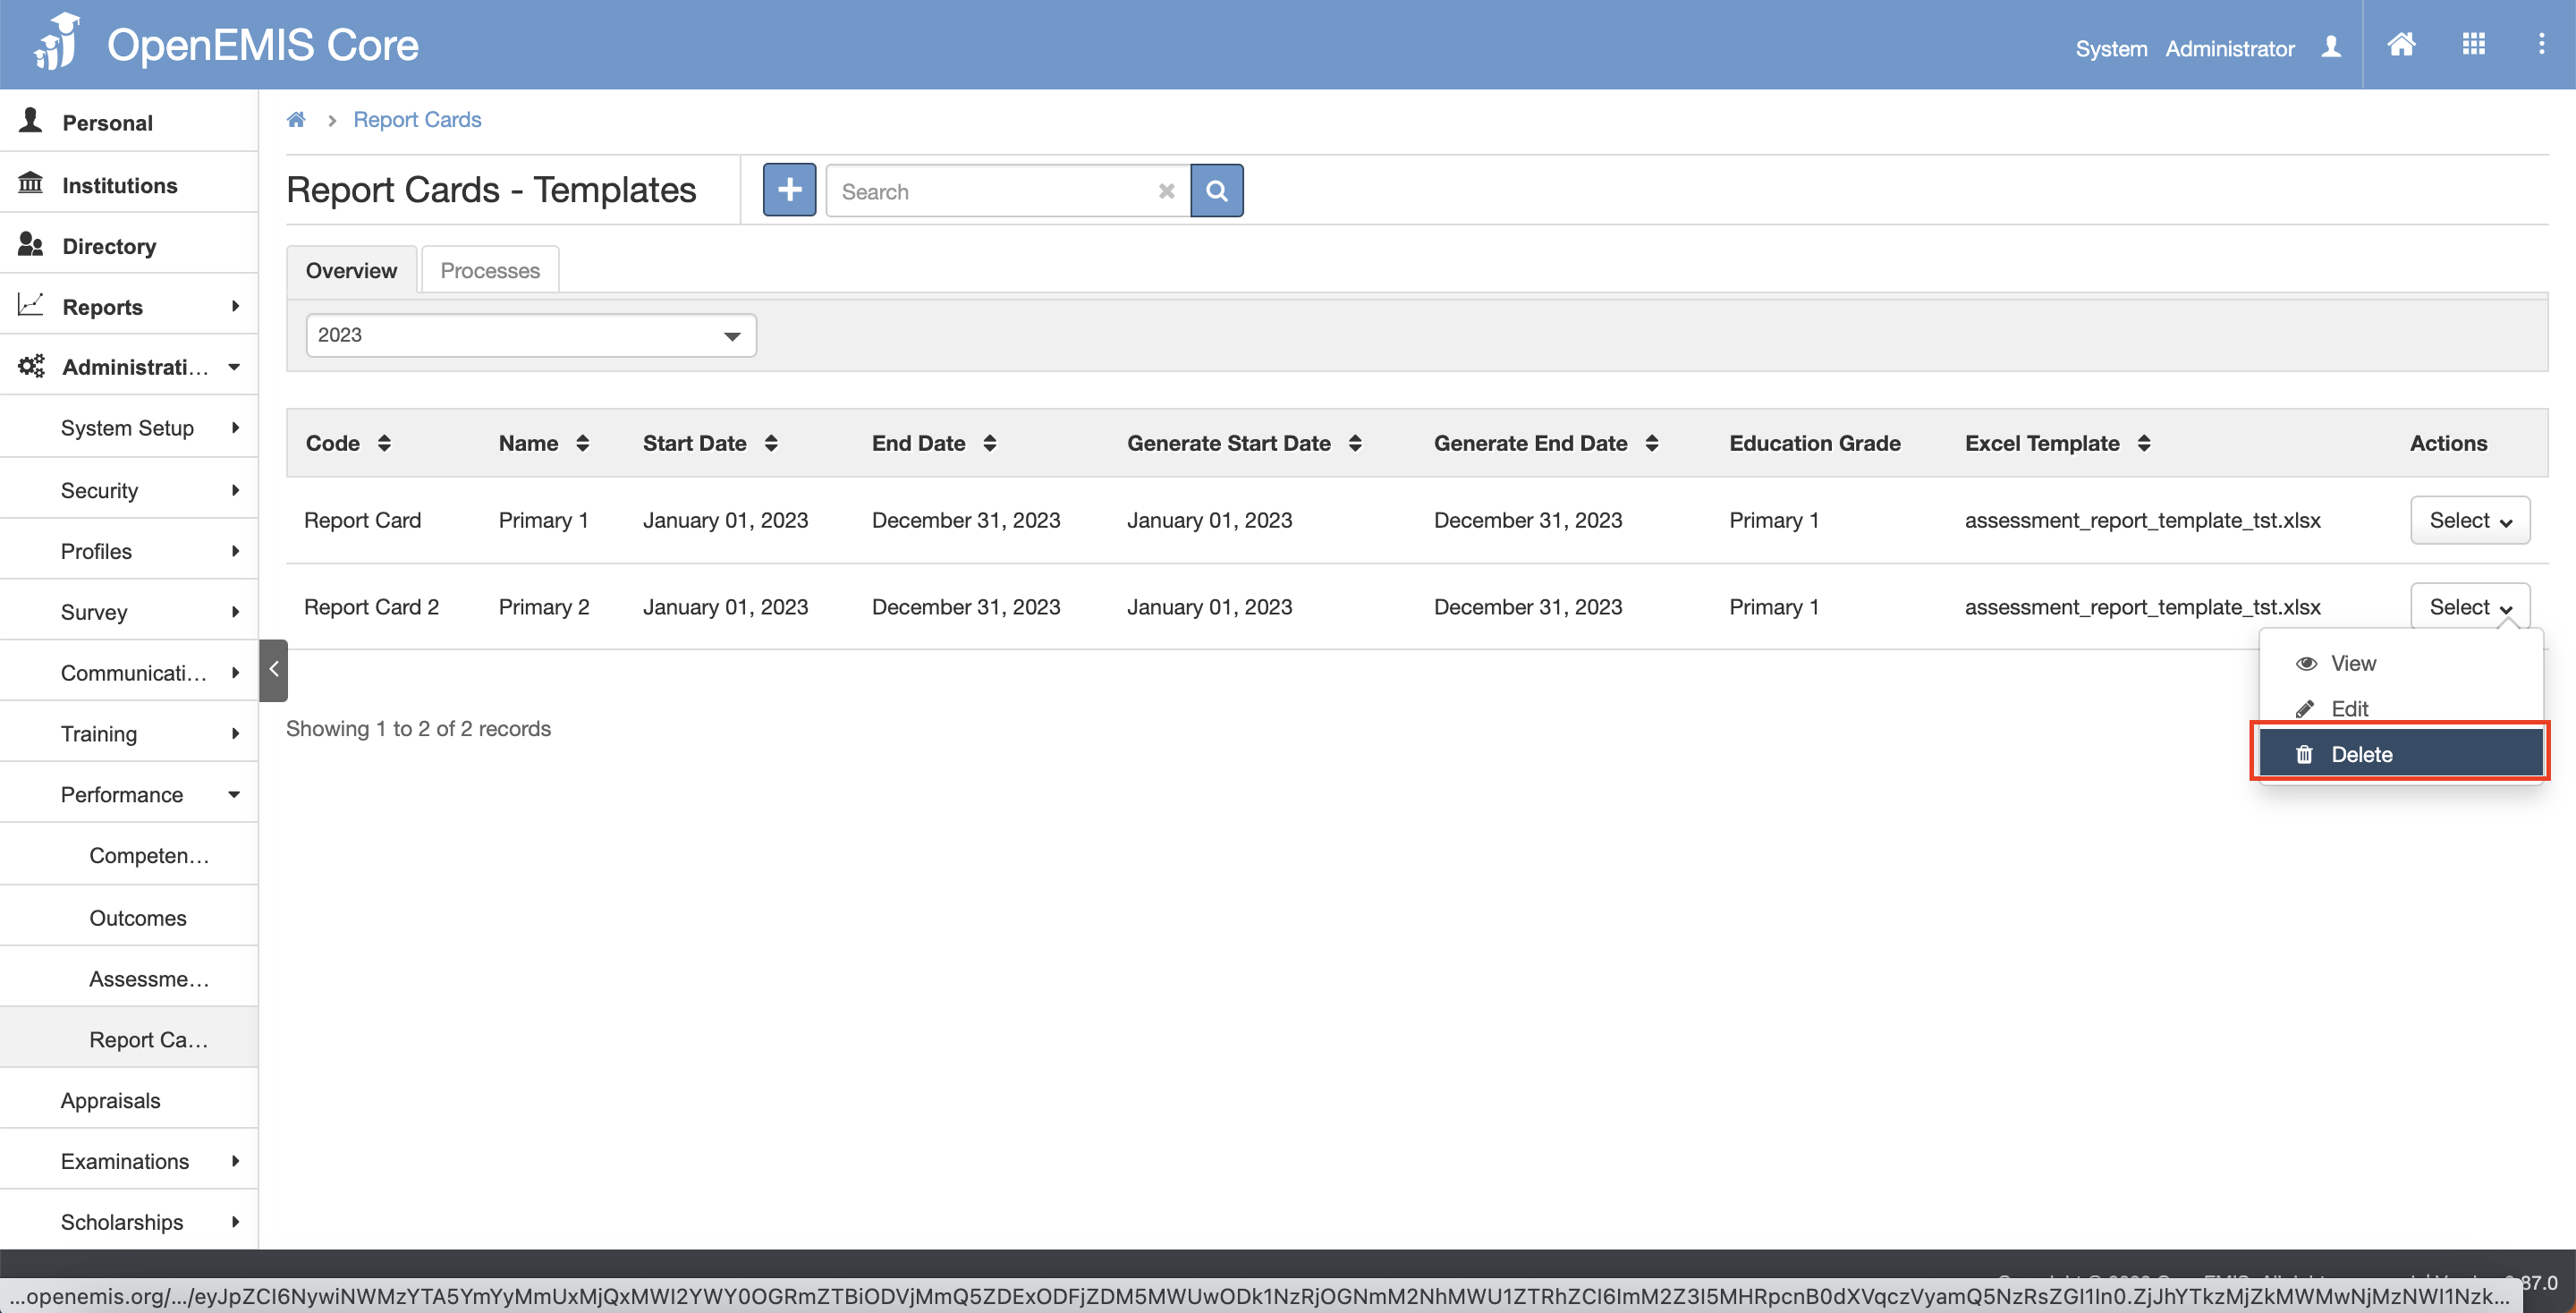
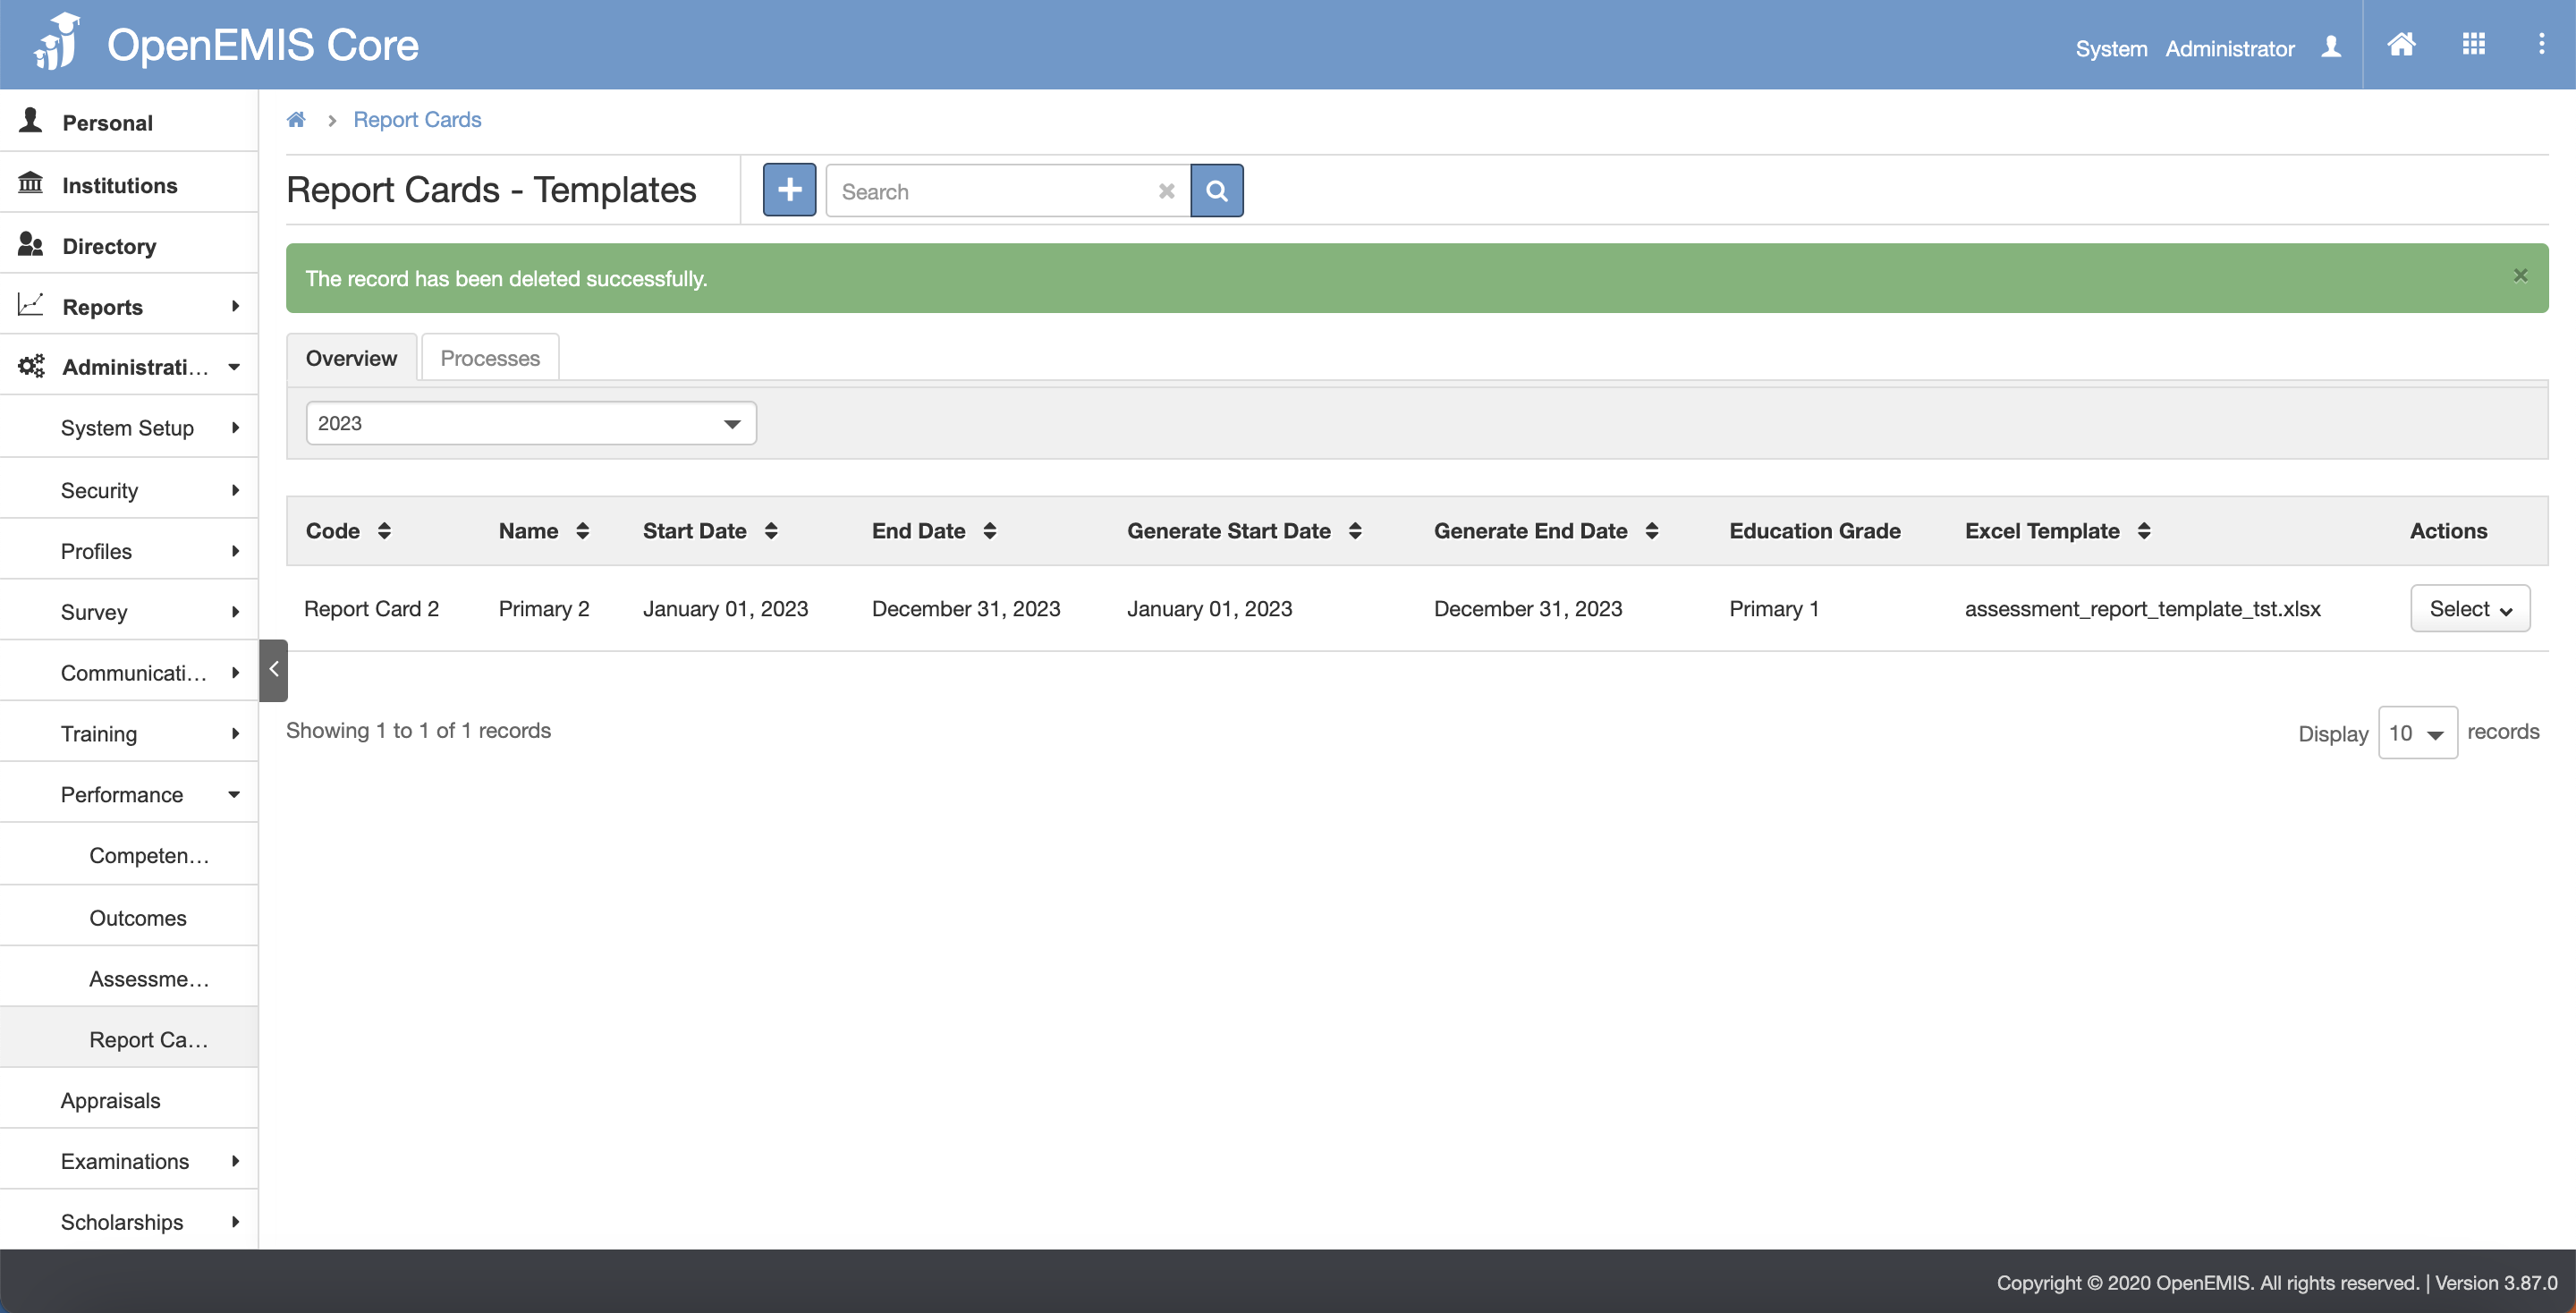
Delete Report Card
1) Go to Administration > Performance > Report Cards page.
2) Under the Actions column, click on the Select button and click on the Delete button.
3) The page will show any associated records. (You will not be able to delete if the report card have associated records.)
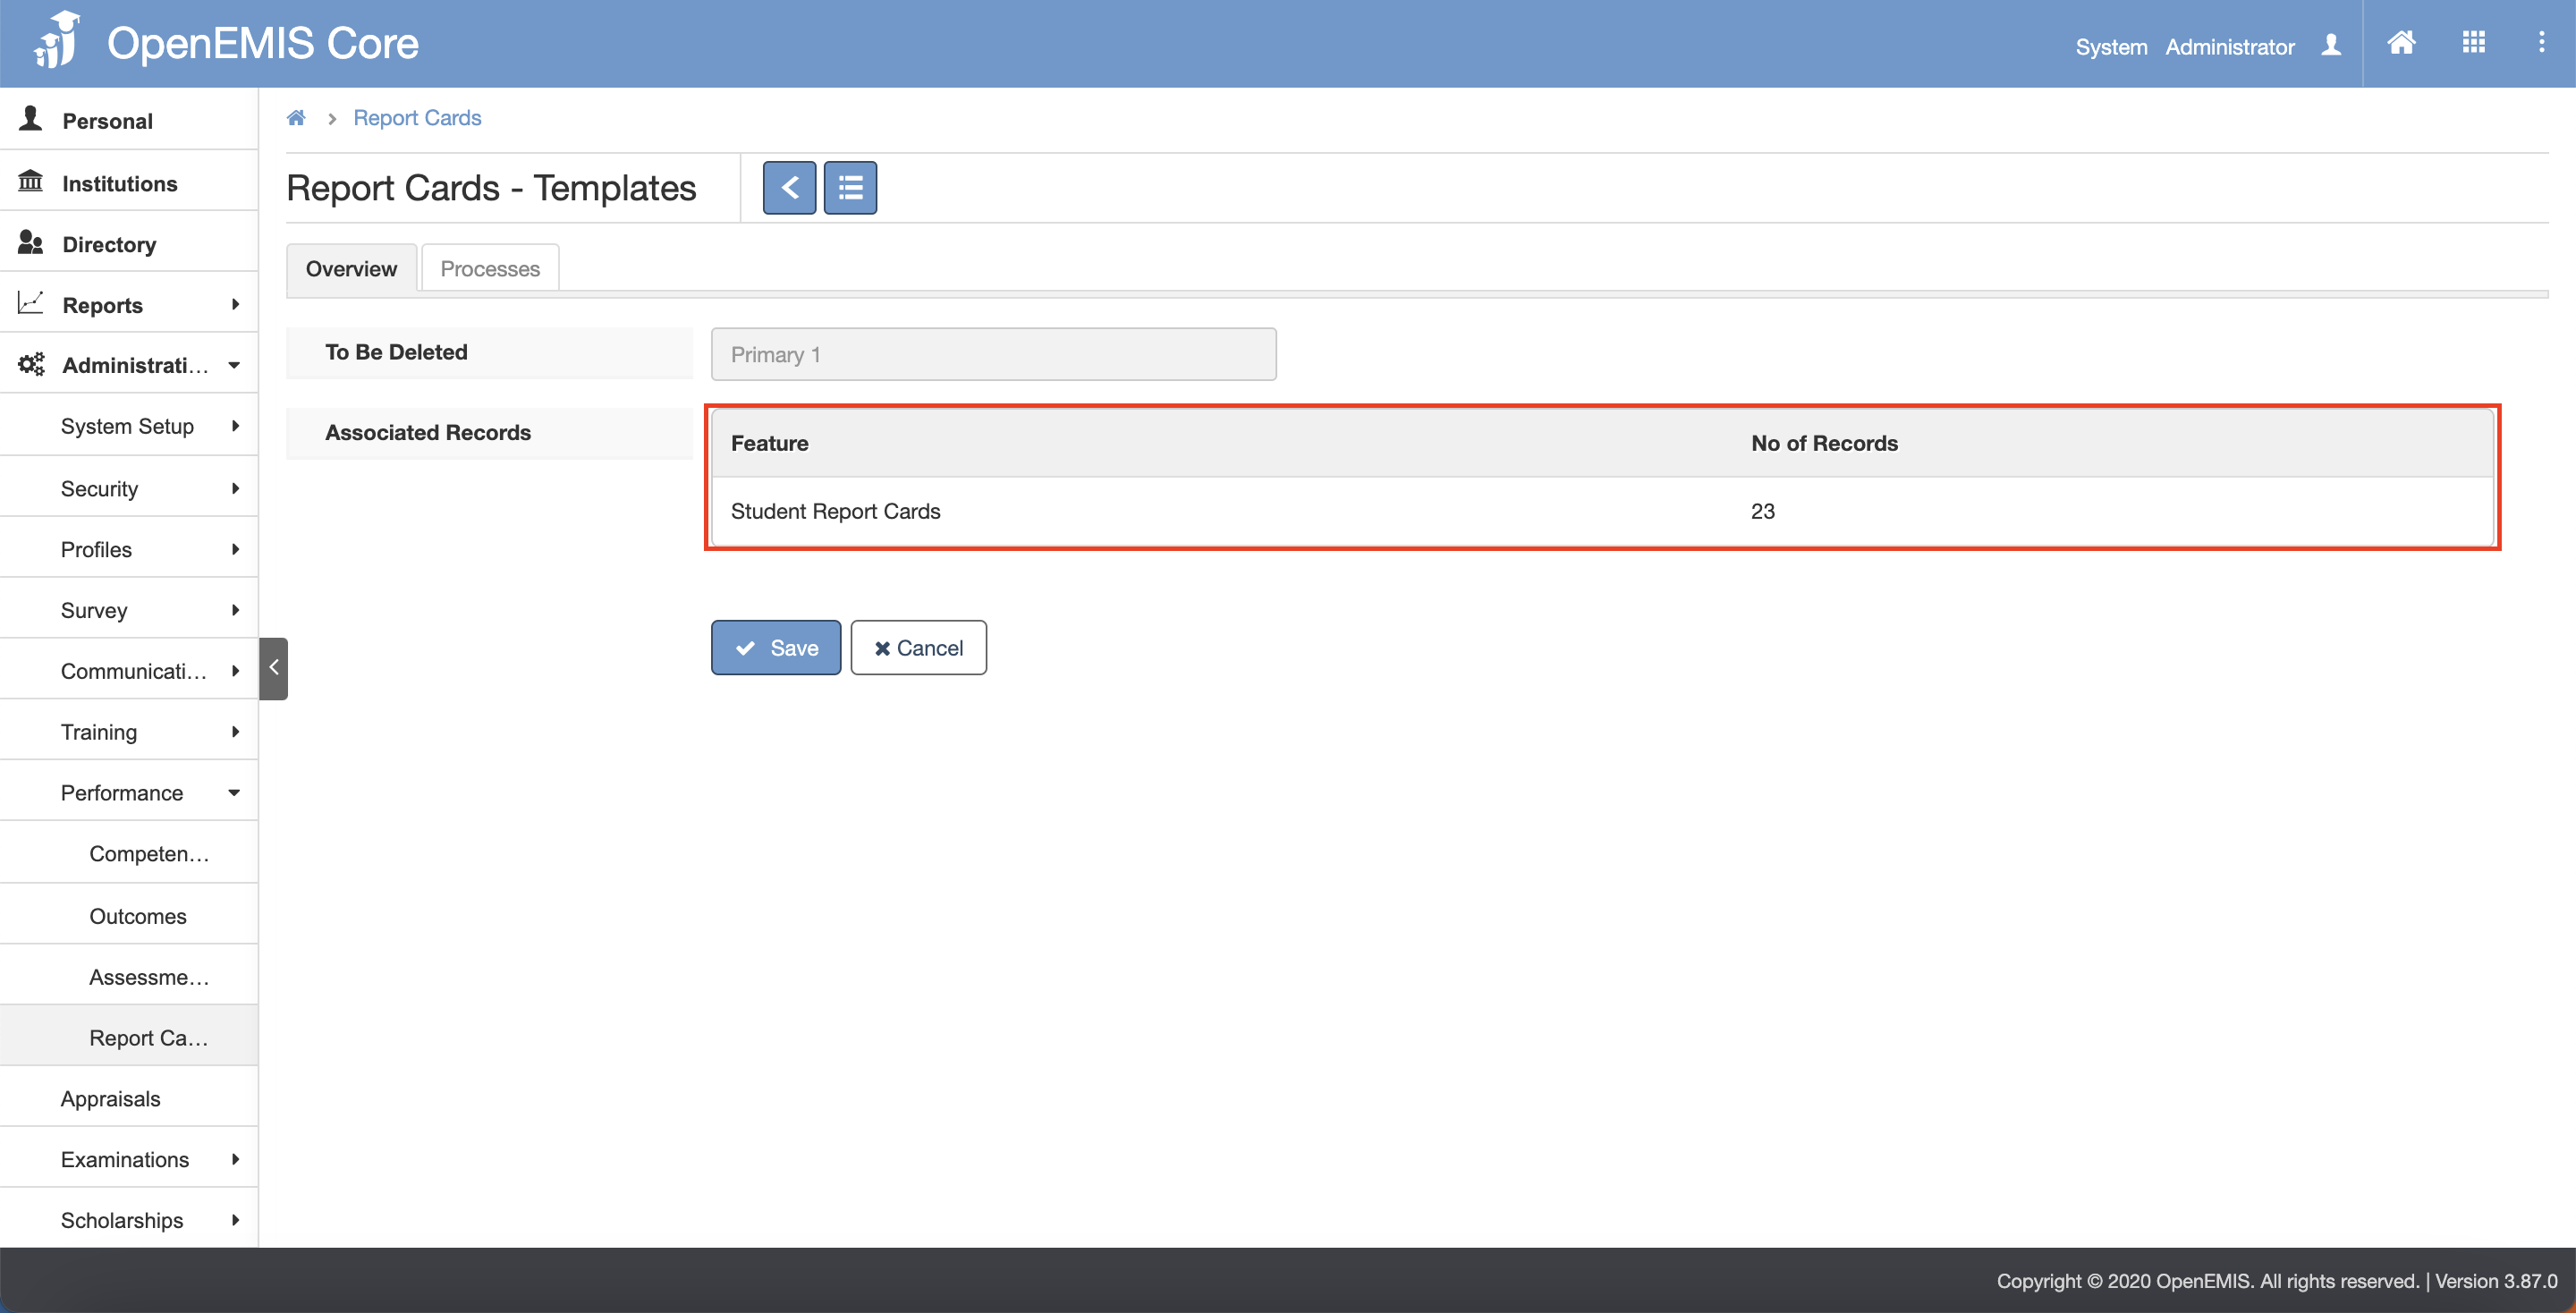
4) If there are no associated records, click on the save button.
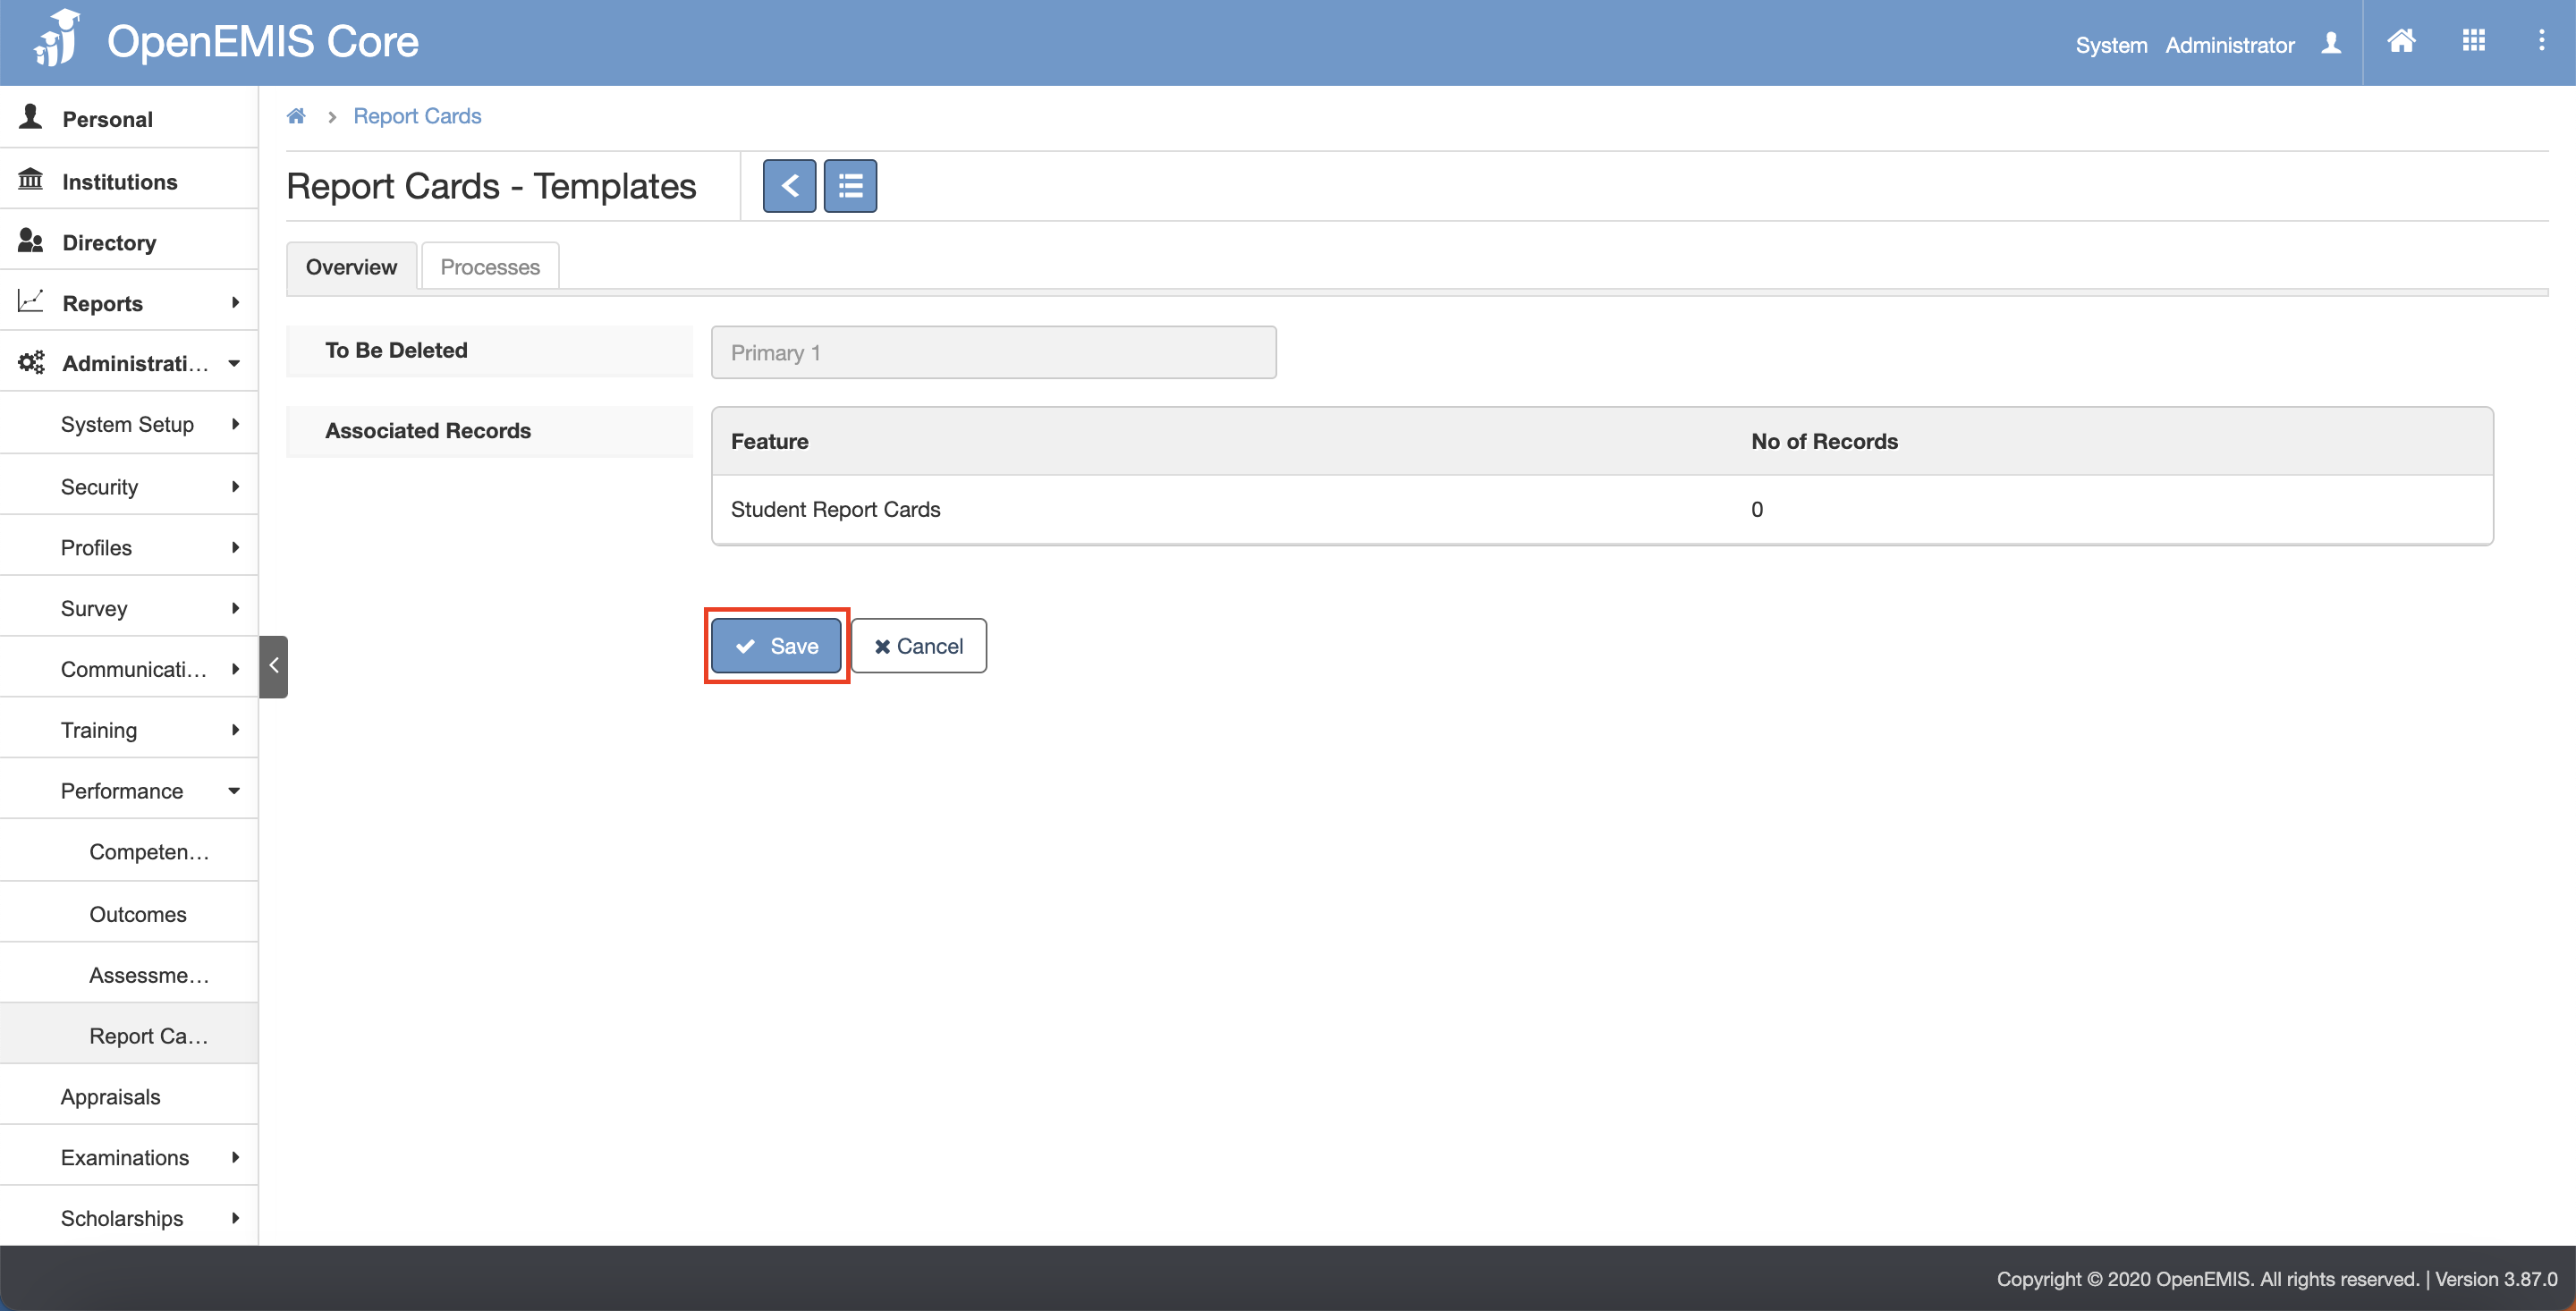
5) The message will be displayed upon deleting successfully.
Manage Report Card Comment Codes
Create Report Card Comment Code
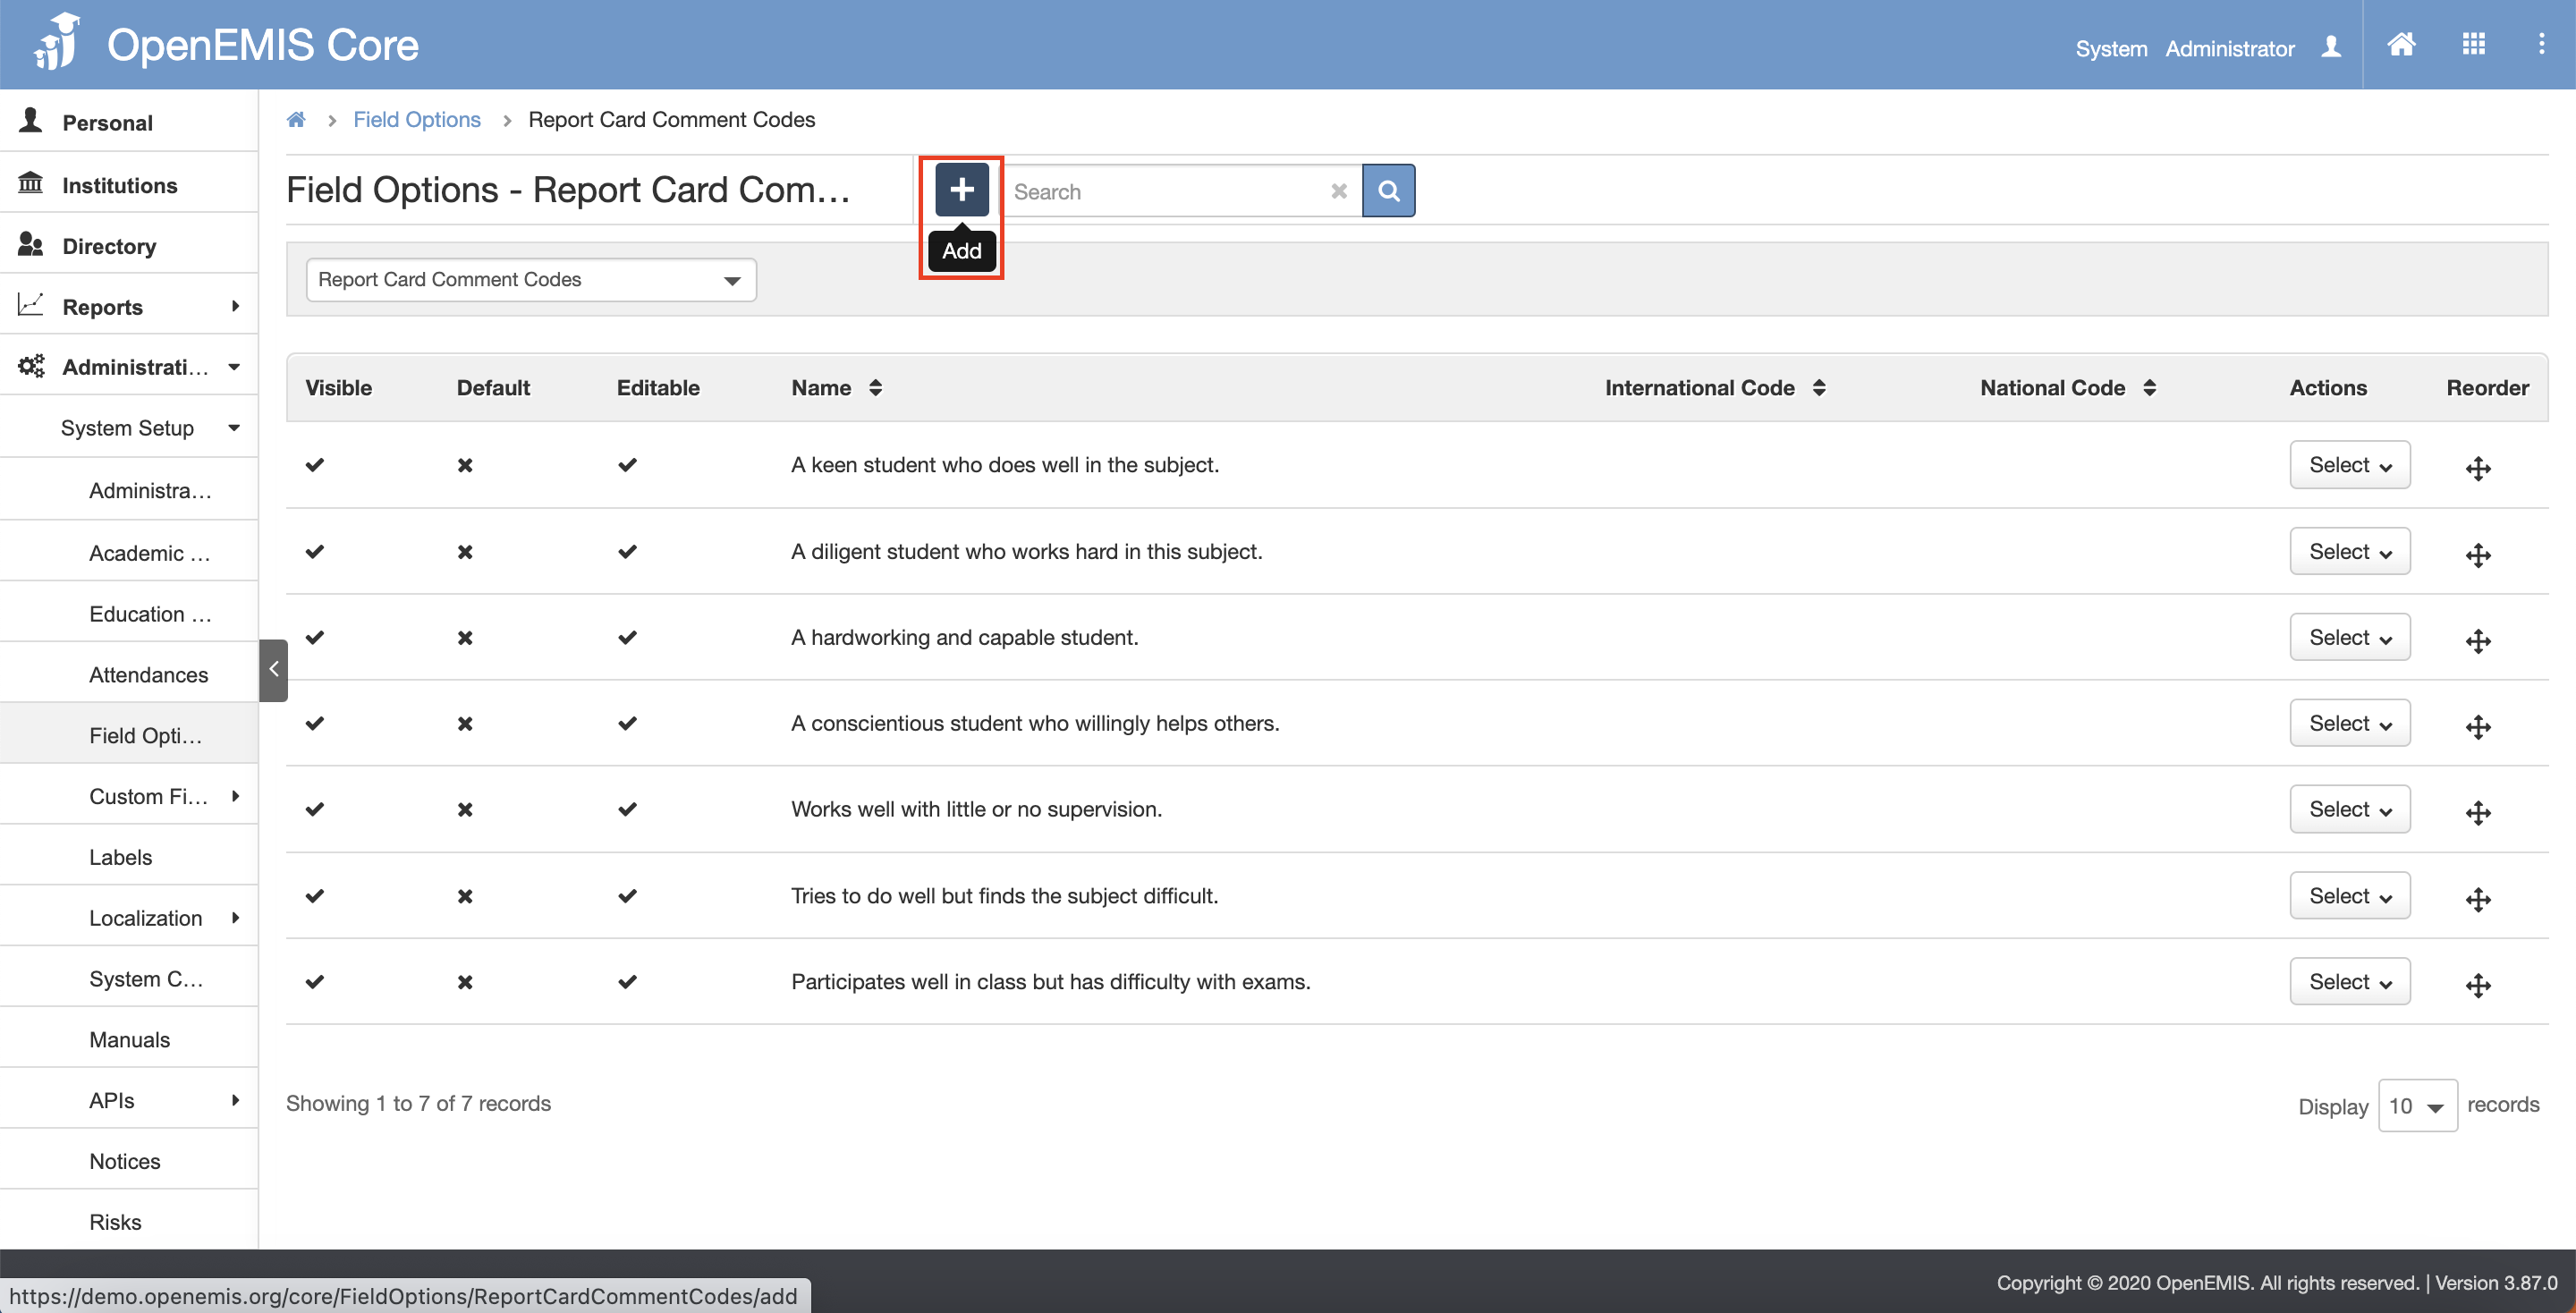
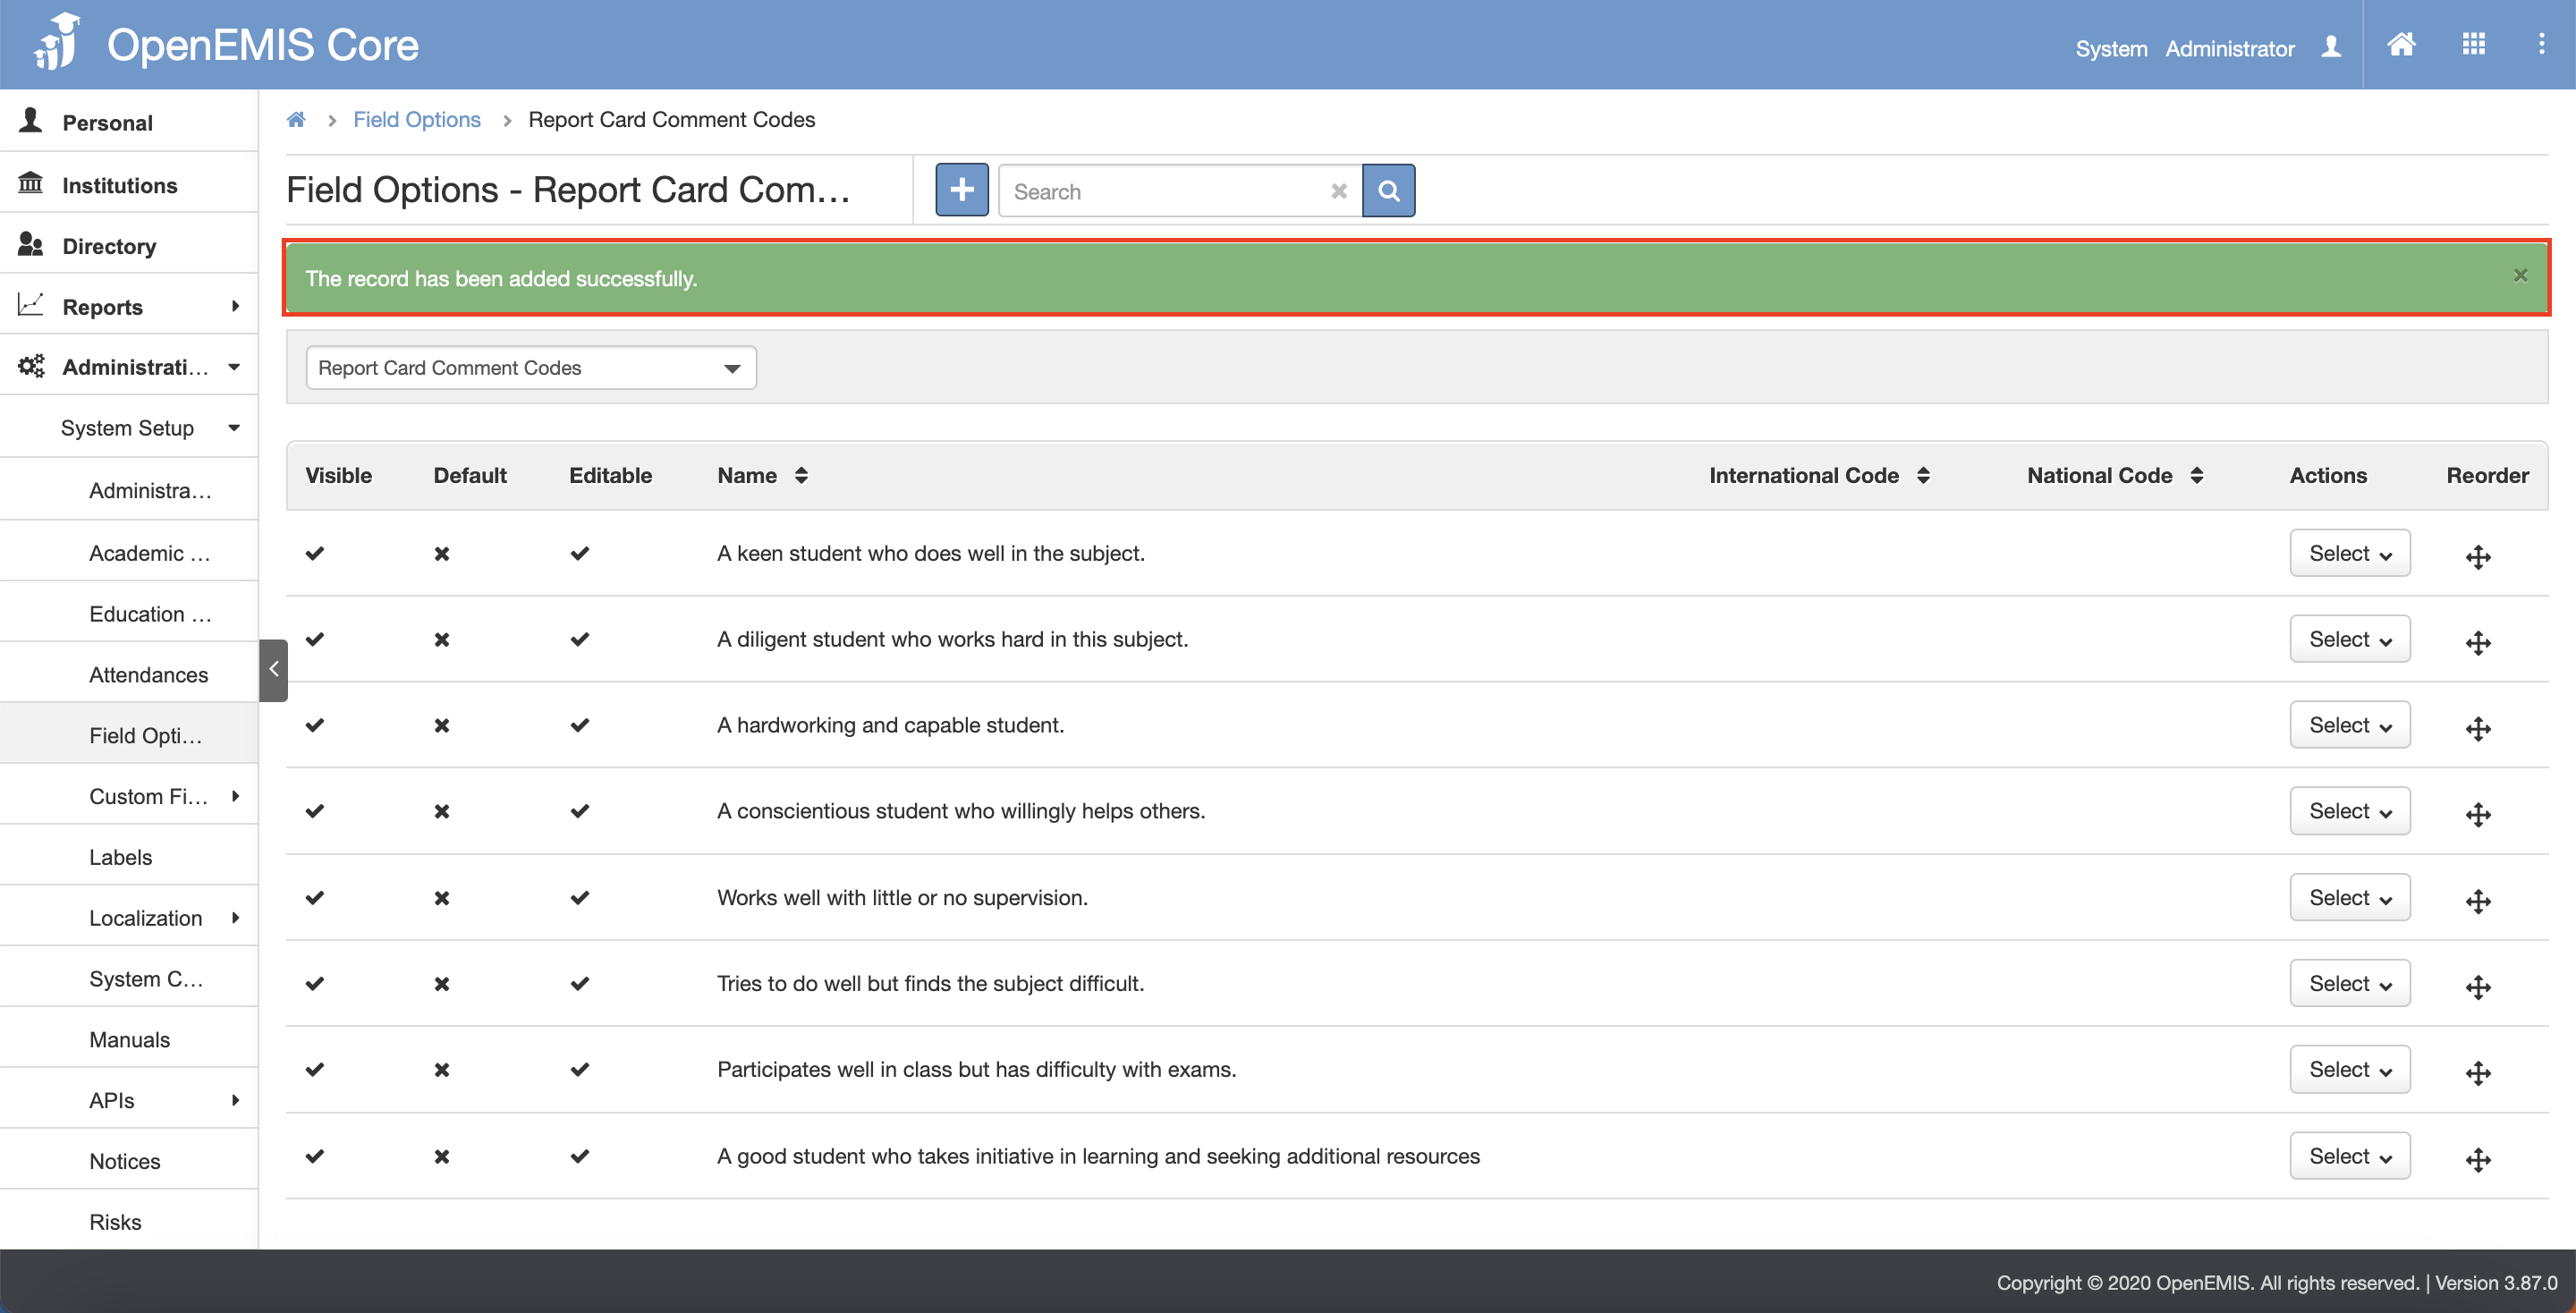
1) Go to Administration > System Setup > Field Options page.
2) On the dropdown list, select on Report Card Comment Codes.

3) Click on the Add button.
4) Enter the Name and other fields.
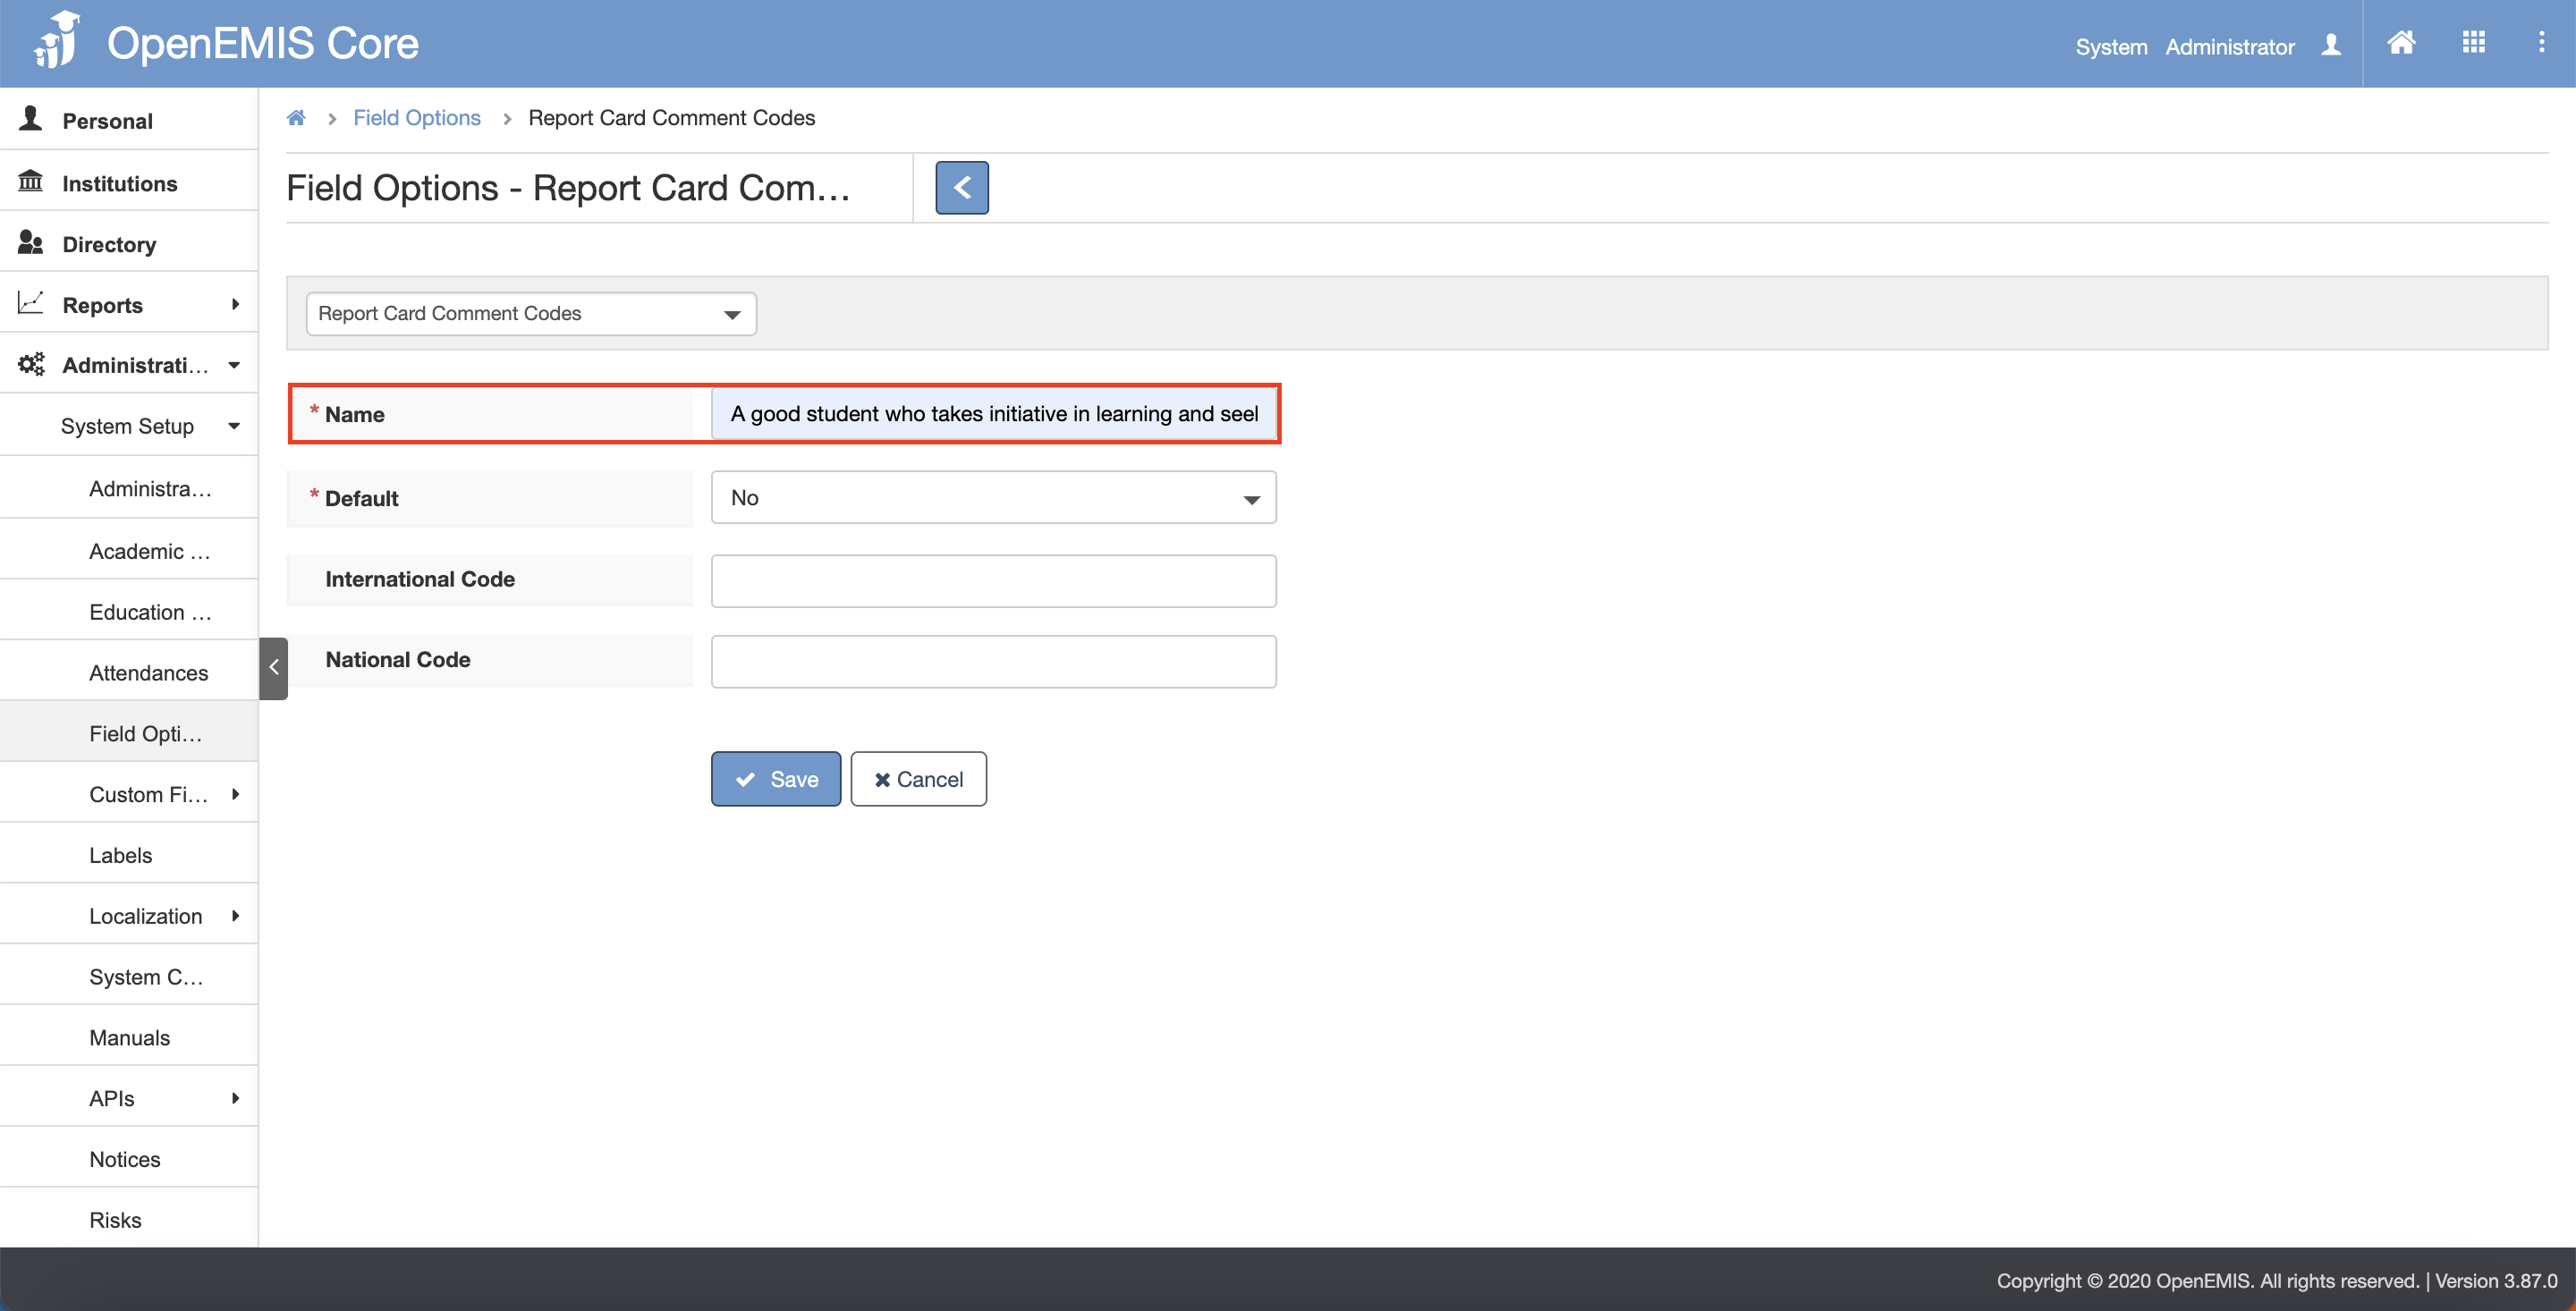
5) Click on the Save button.
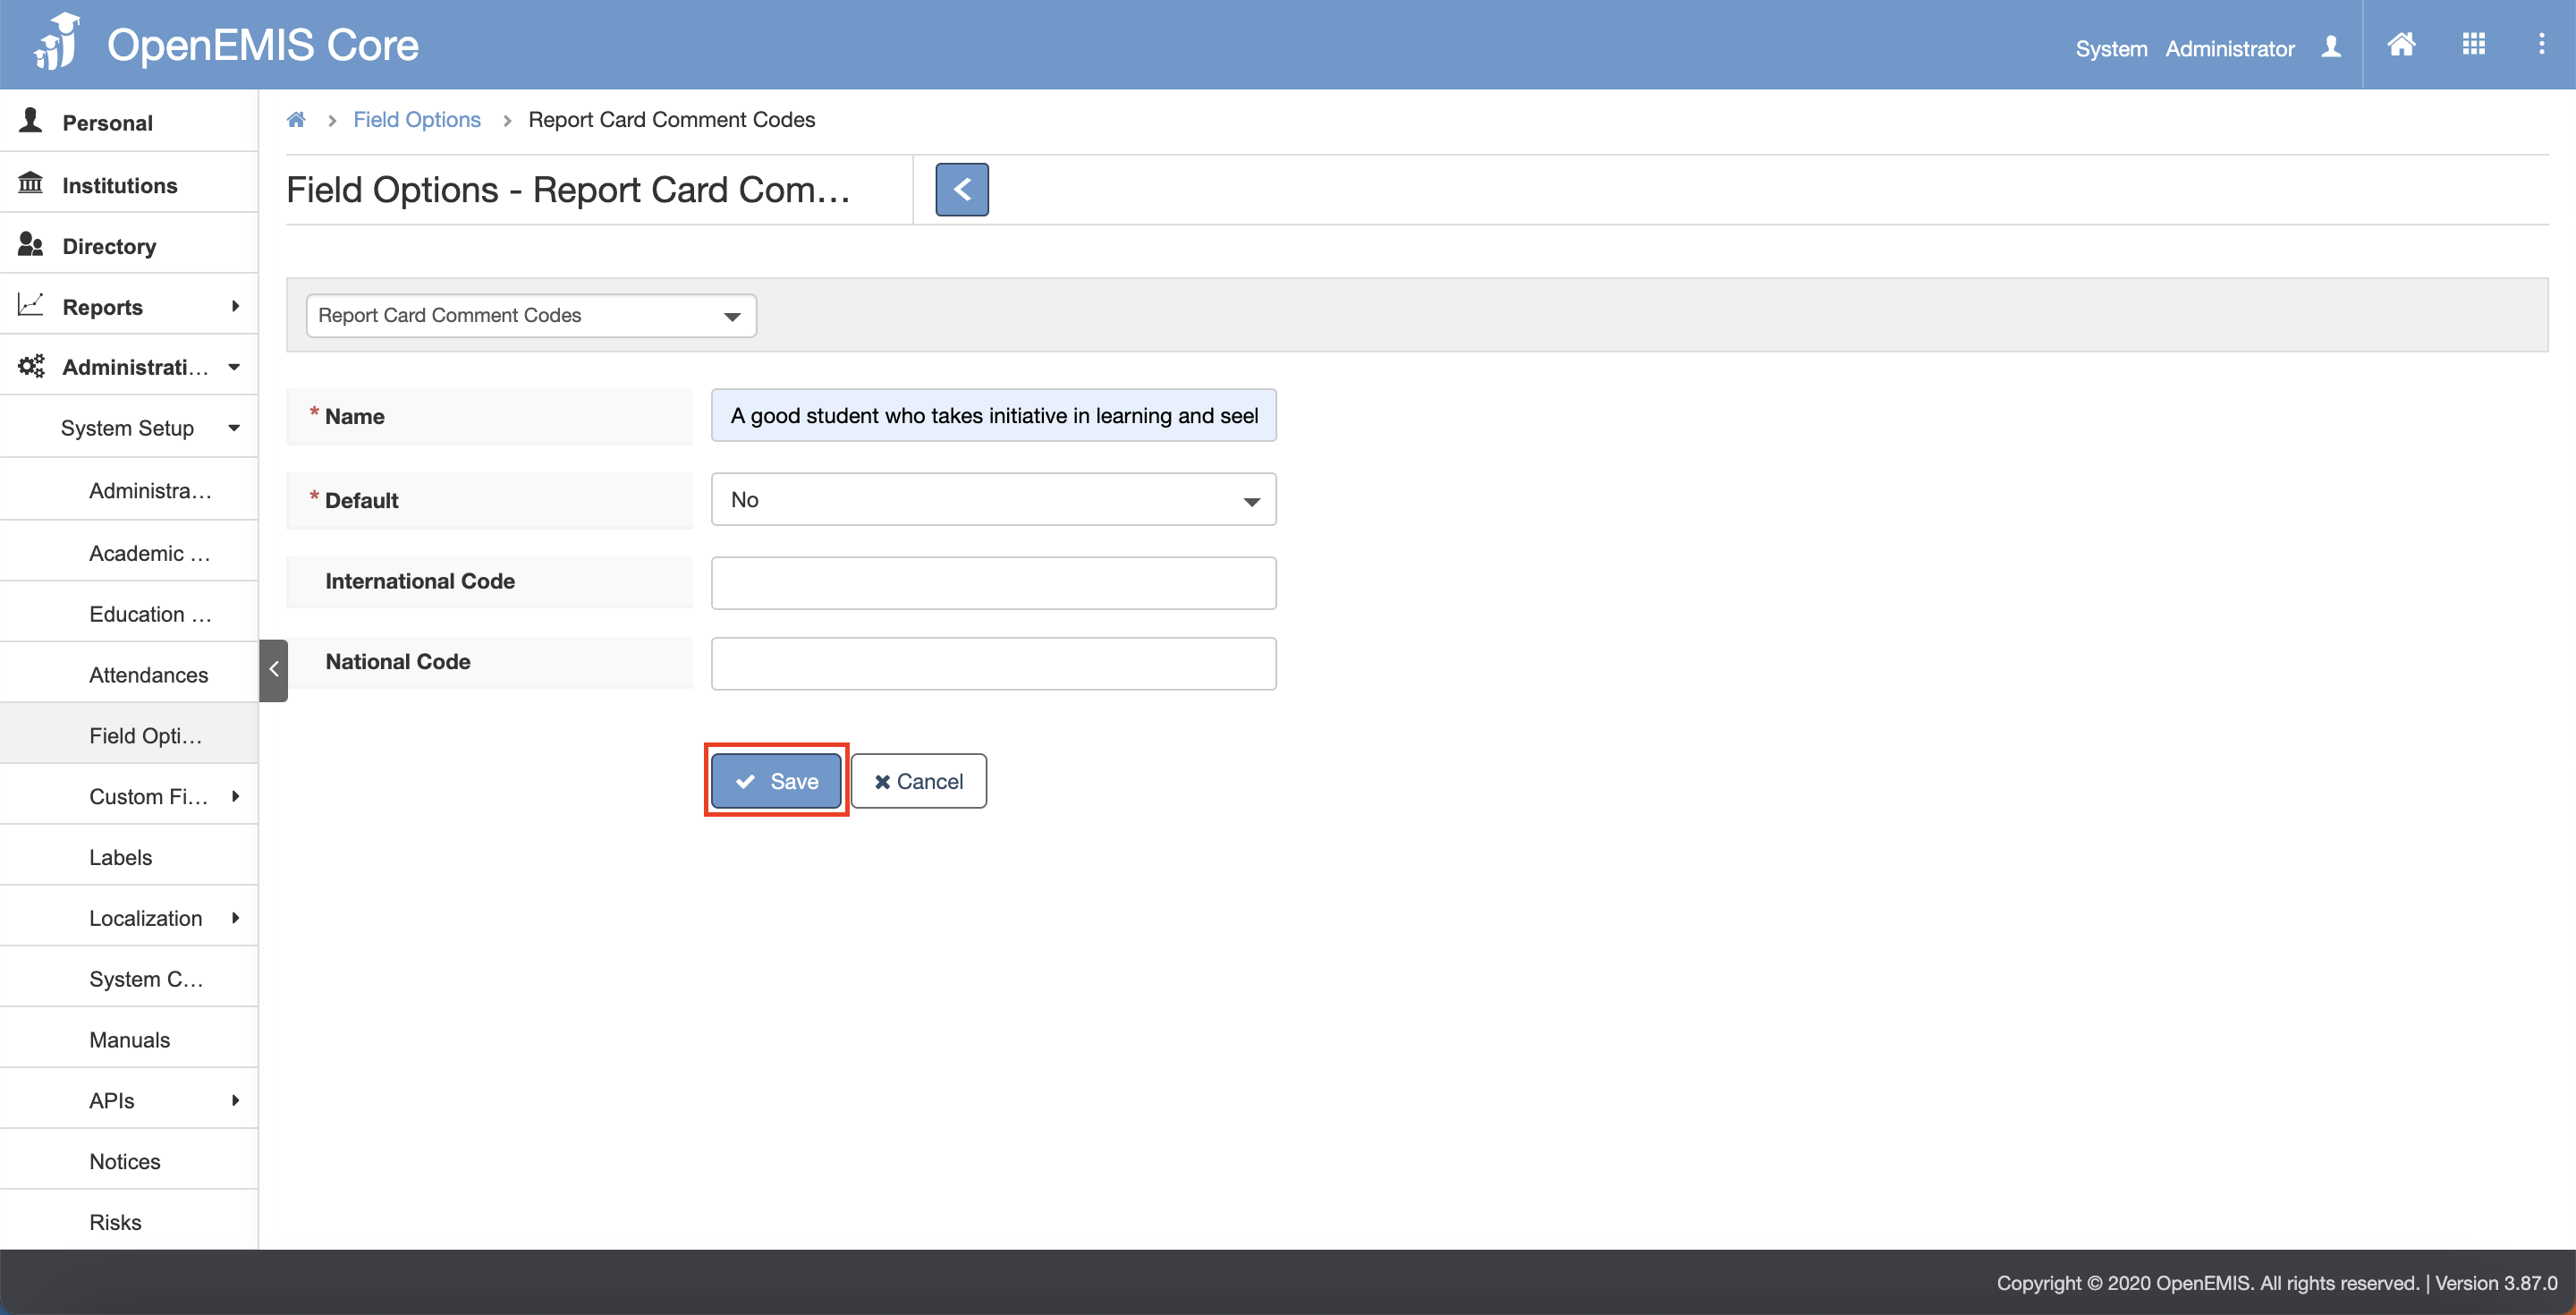
6) The message will be added successfully.
Edit Report Card Comment Code
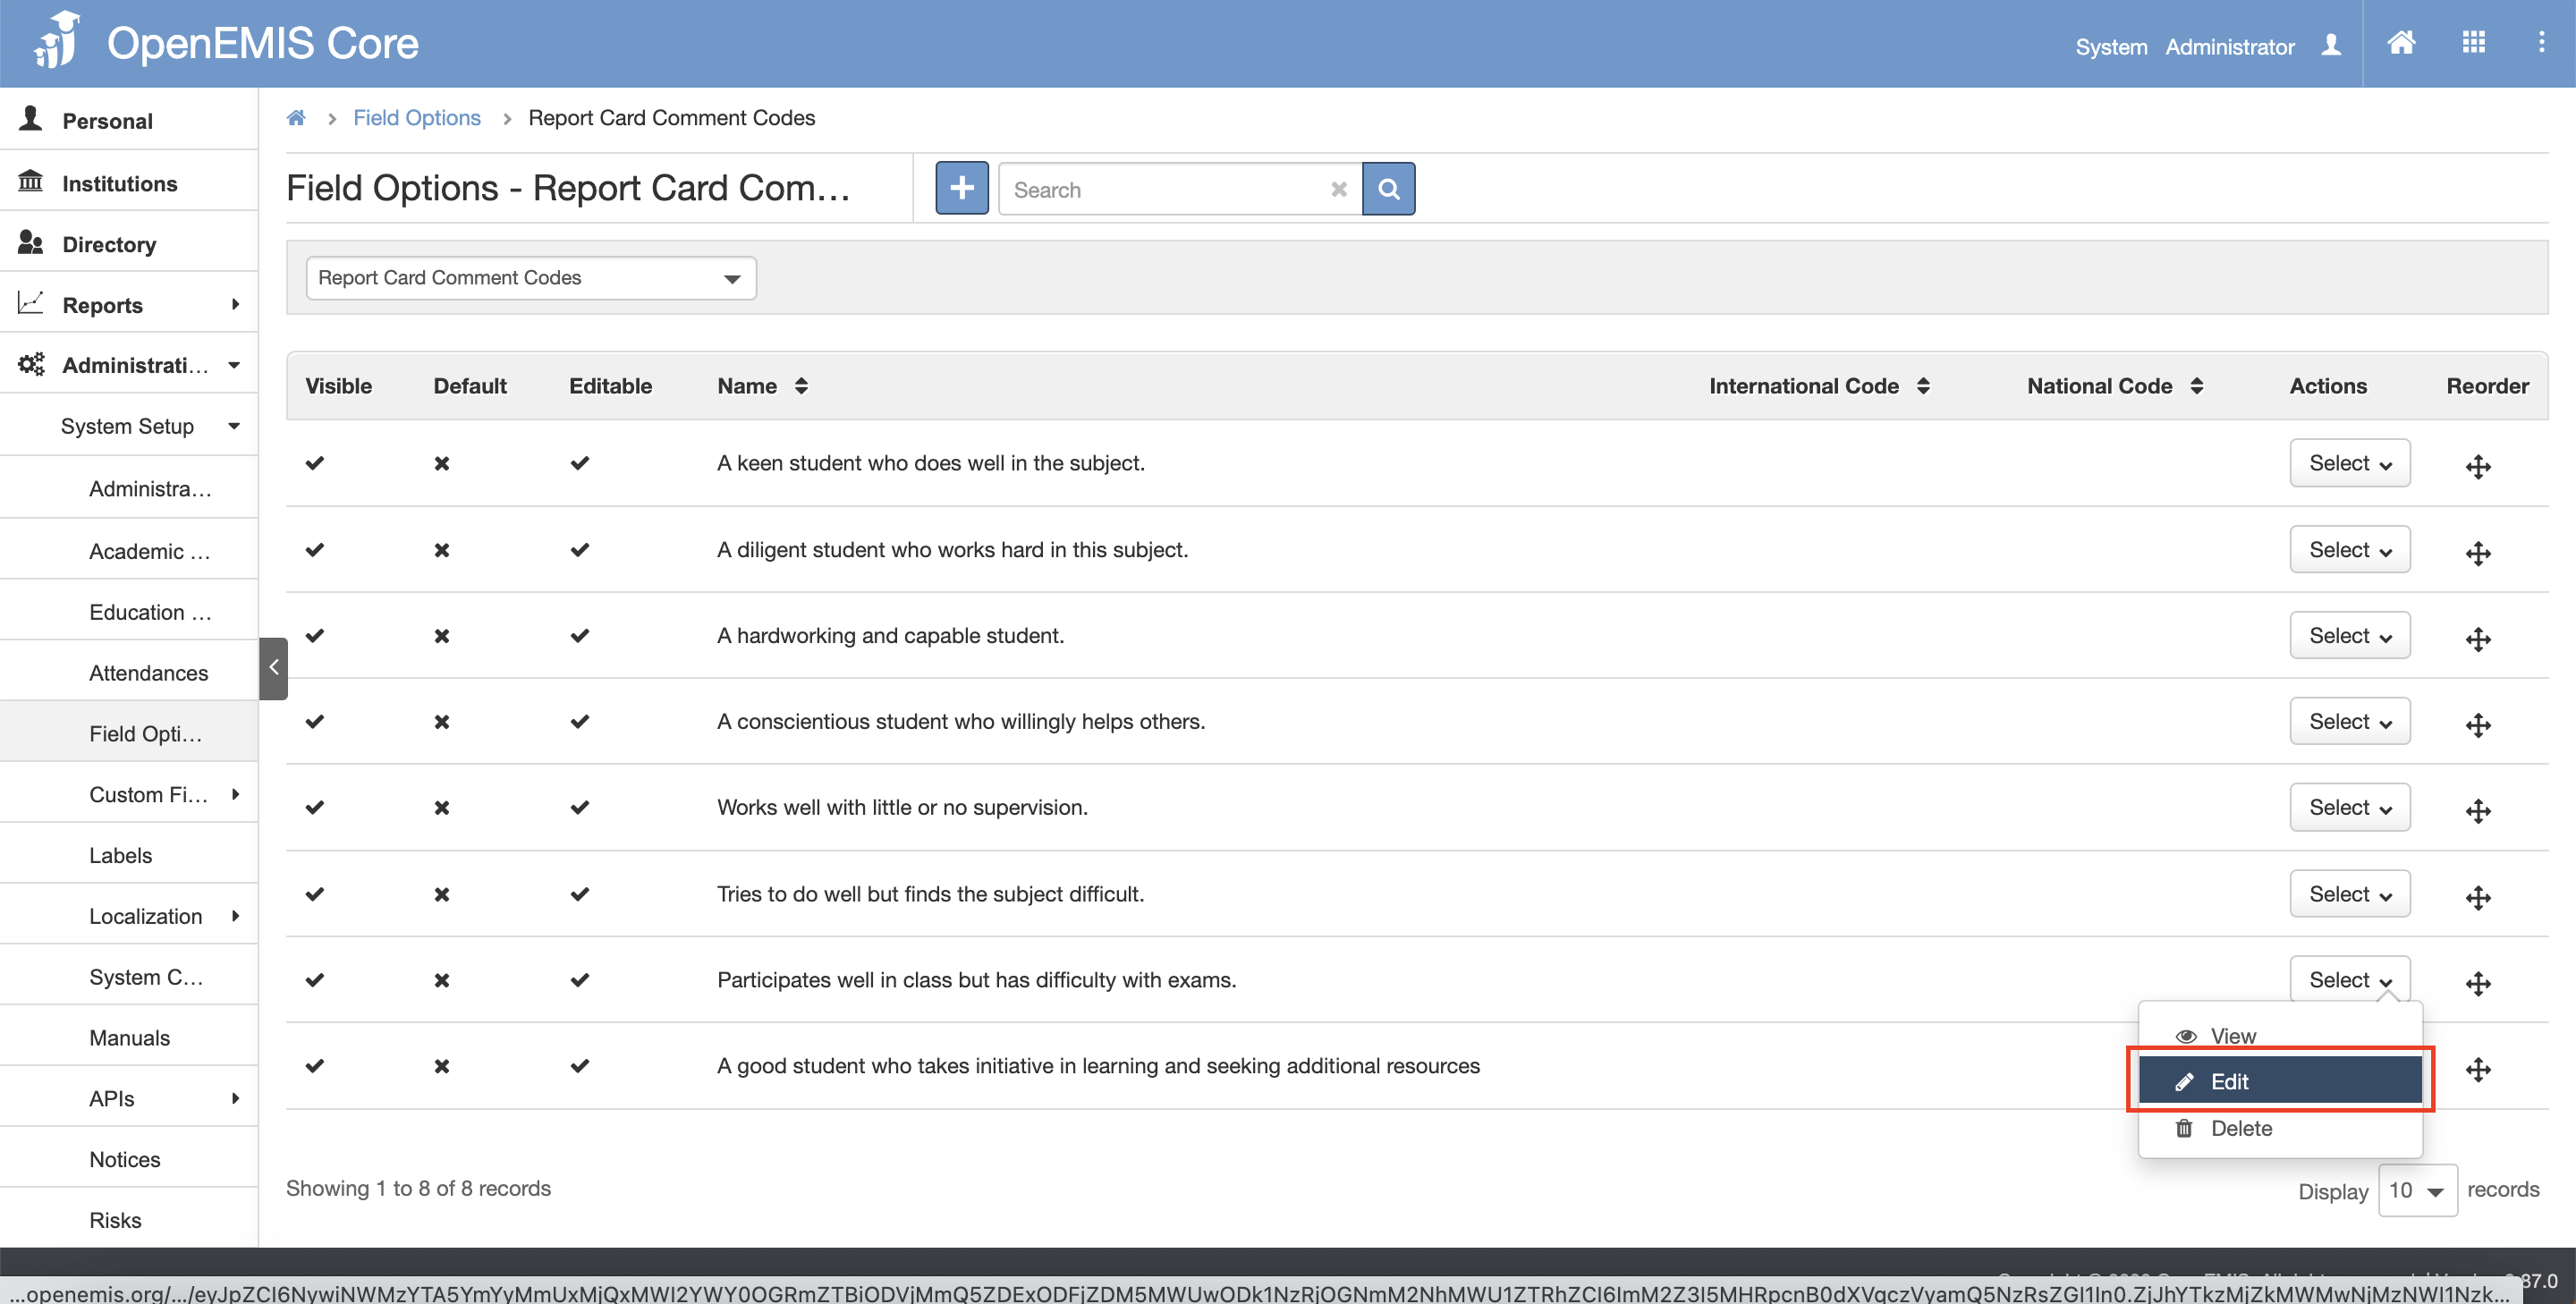
1) Go to Administration > System Setup > Field Options page.
2) On the dropdown list, select on Report Card Comment Codes.
3) Under the Actions column, click on the Select button and click on the Edit button.
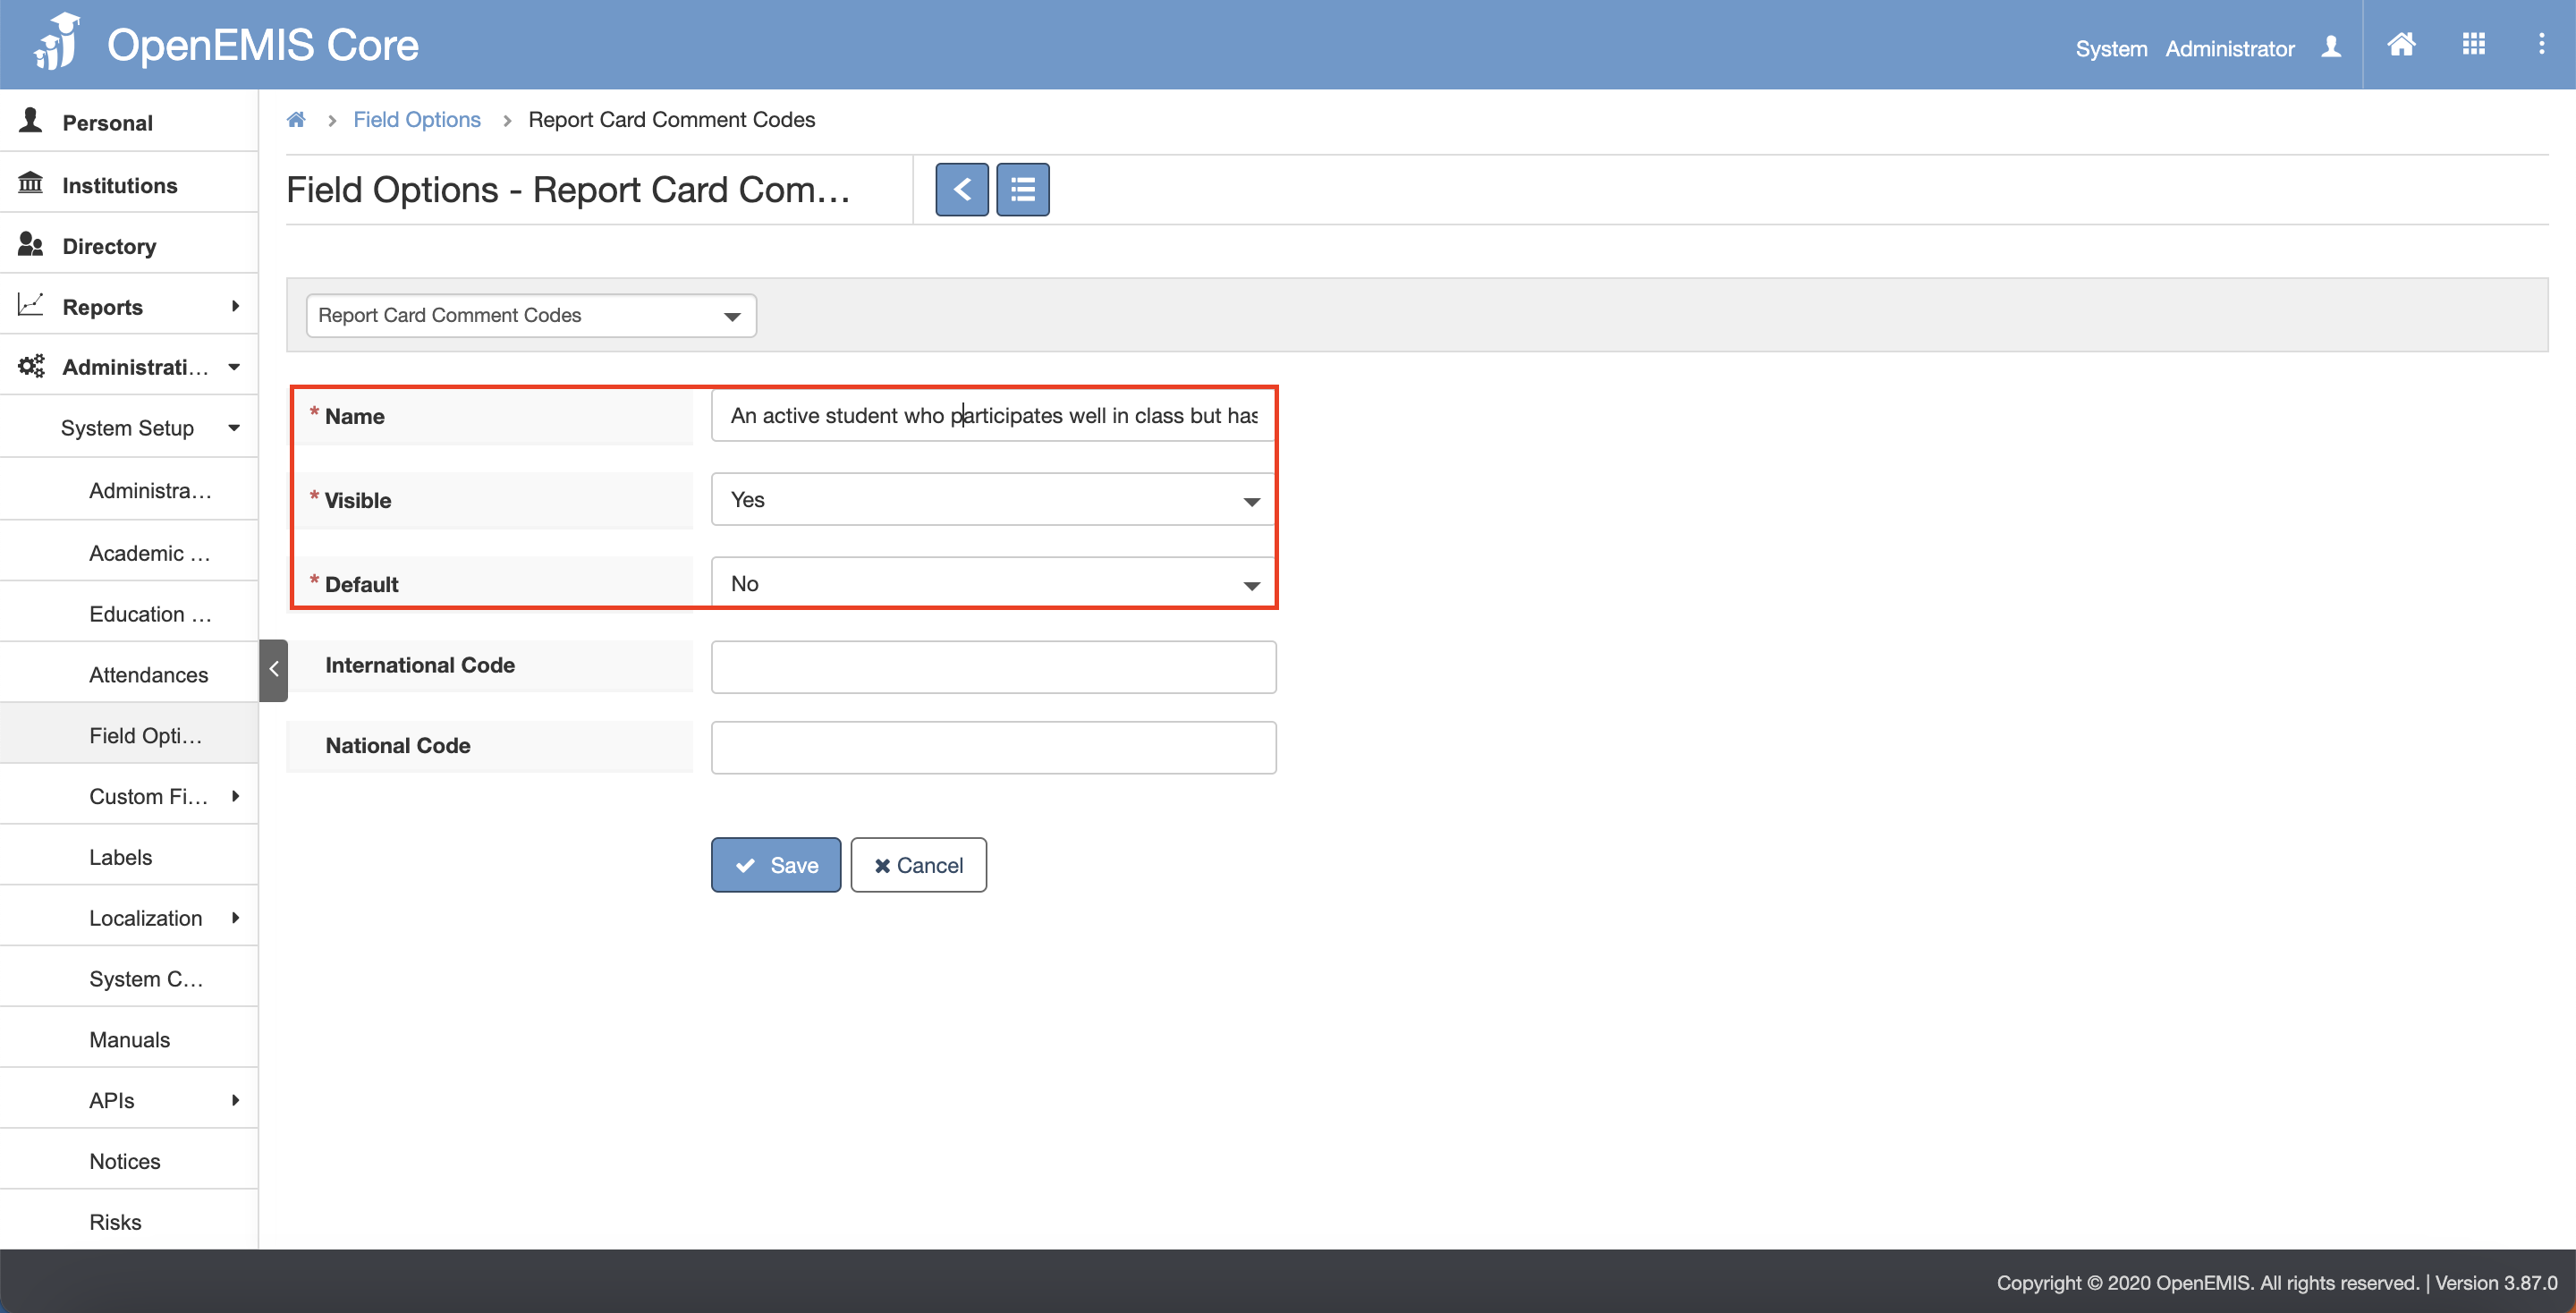
4) Edit the fields that needs to be edited.
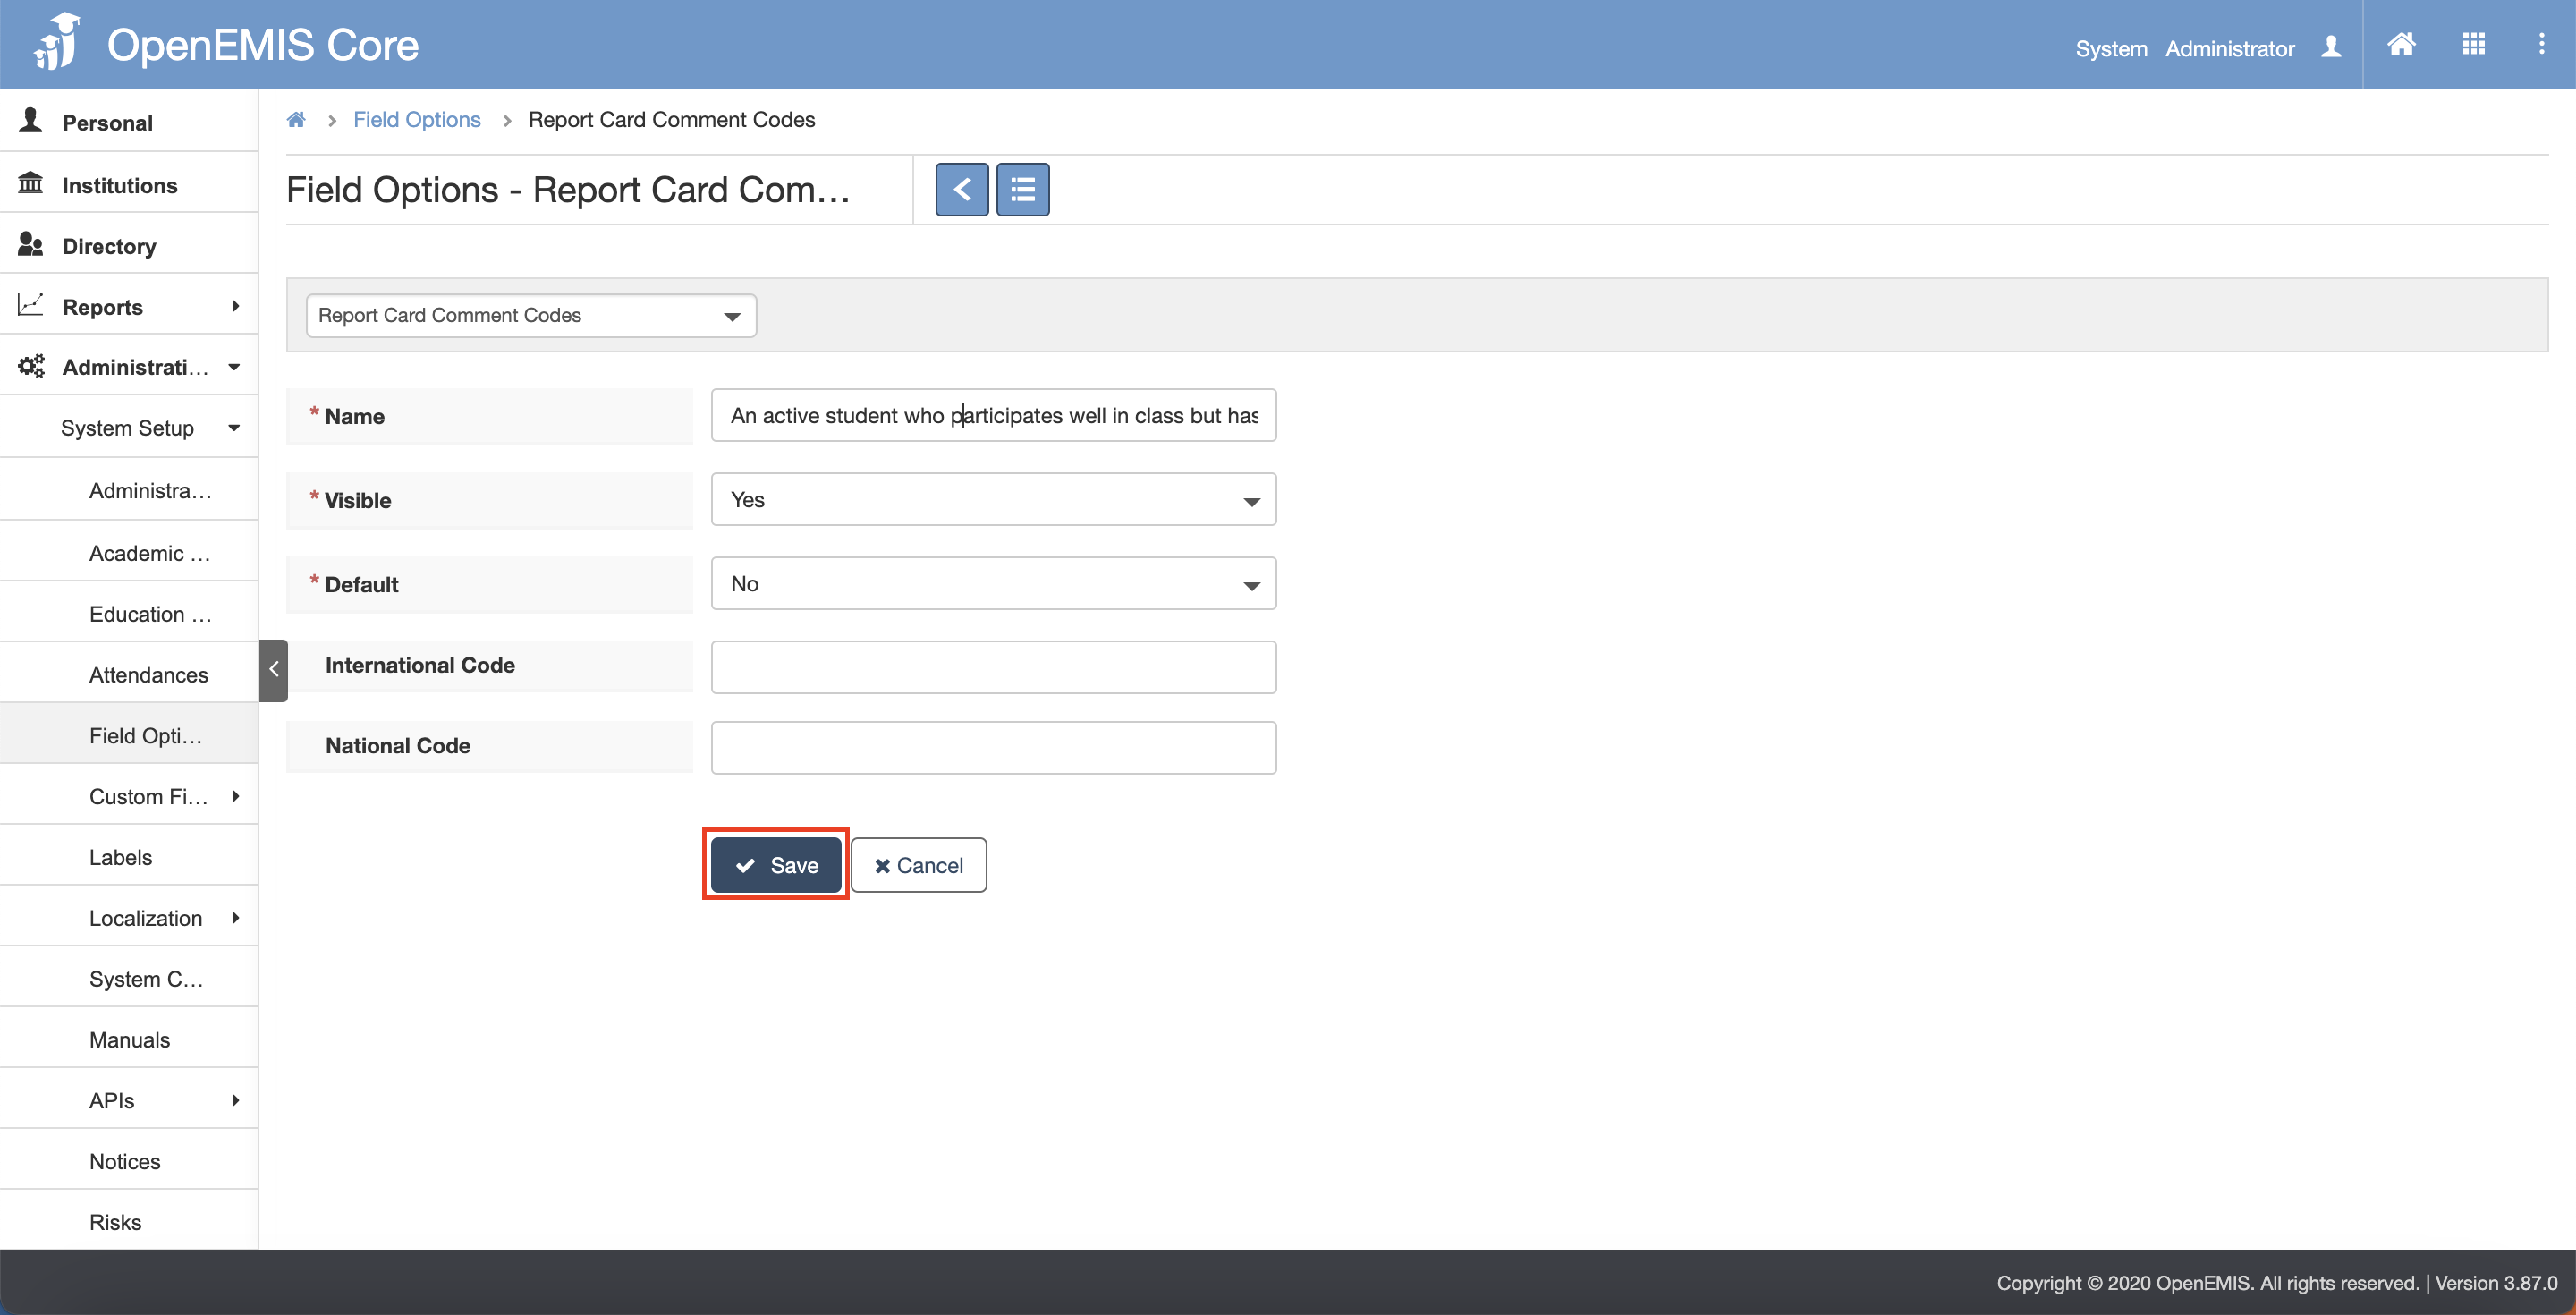
5) Click on the Save button.
6) Successful message will be displayed upon selecting Save.
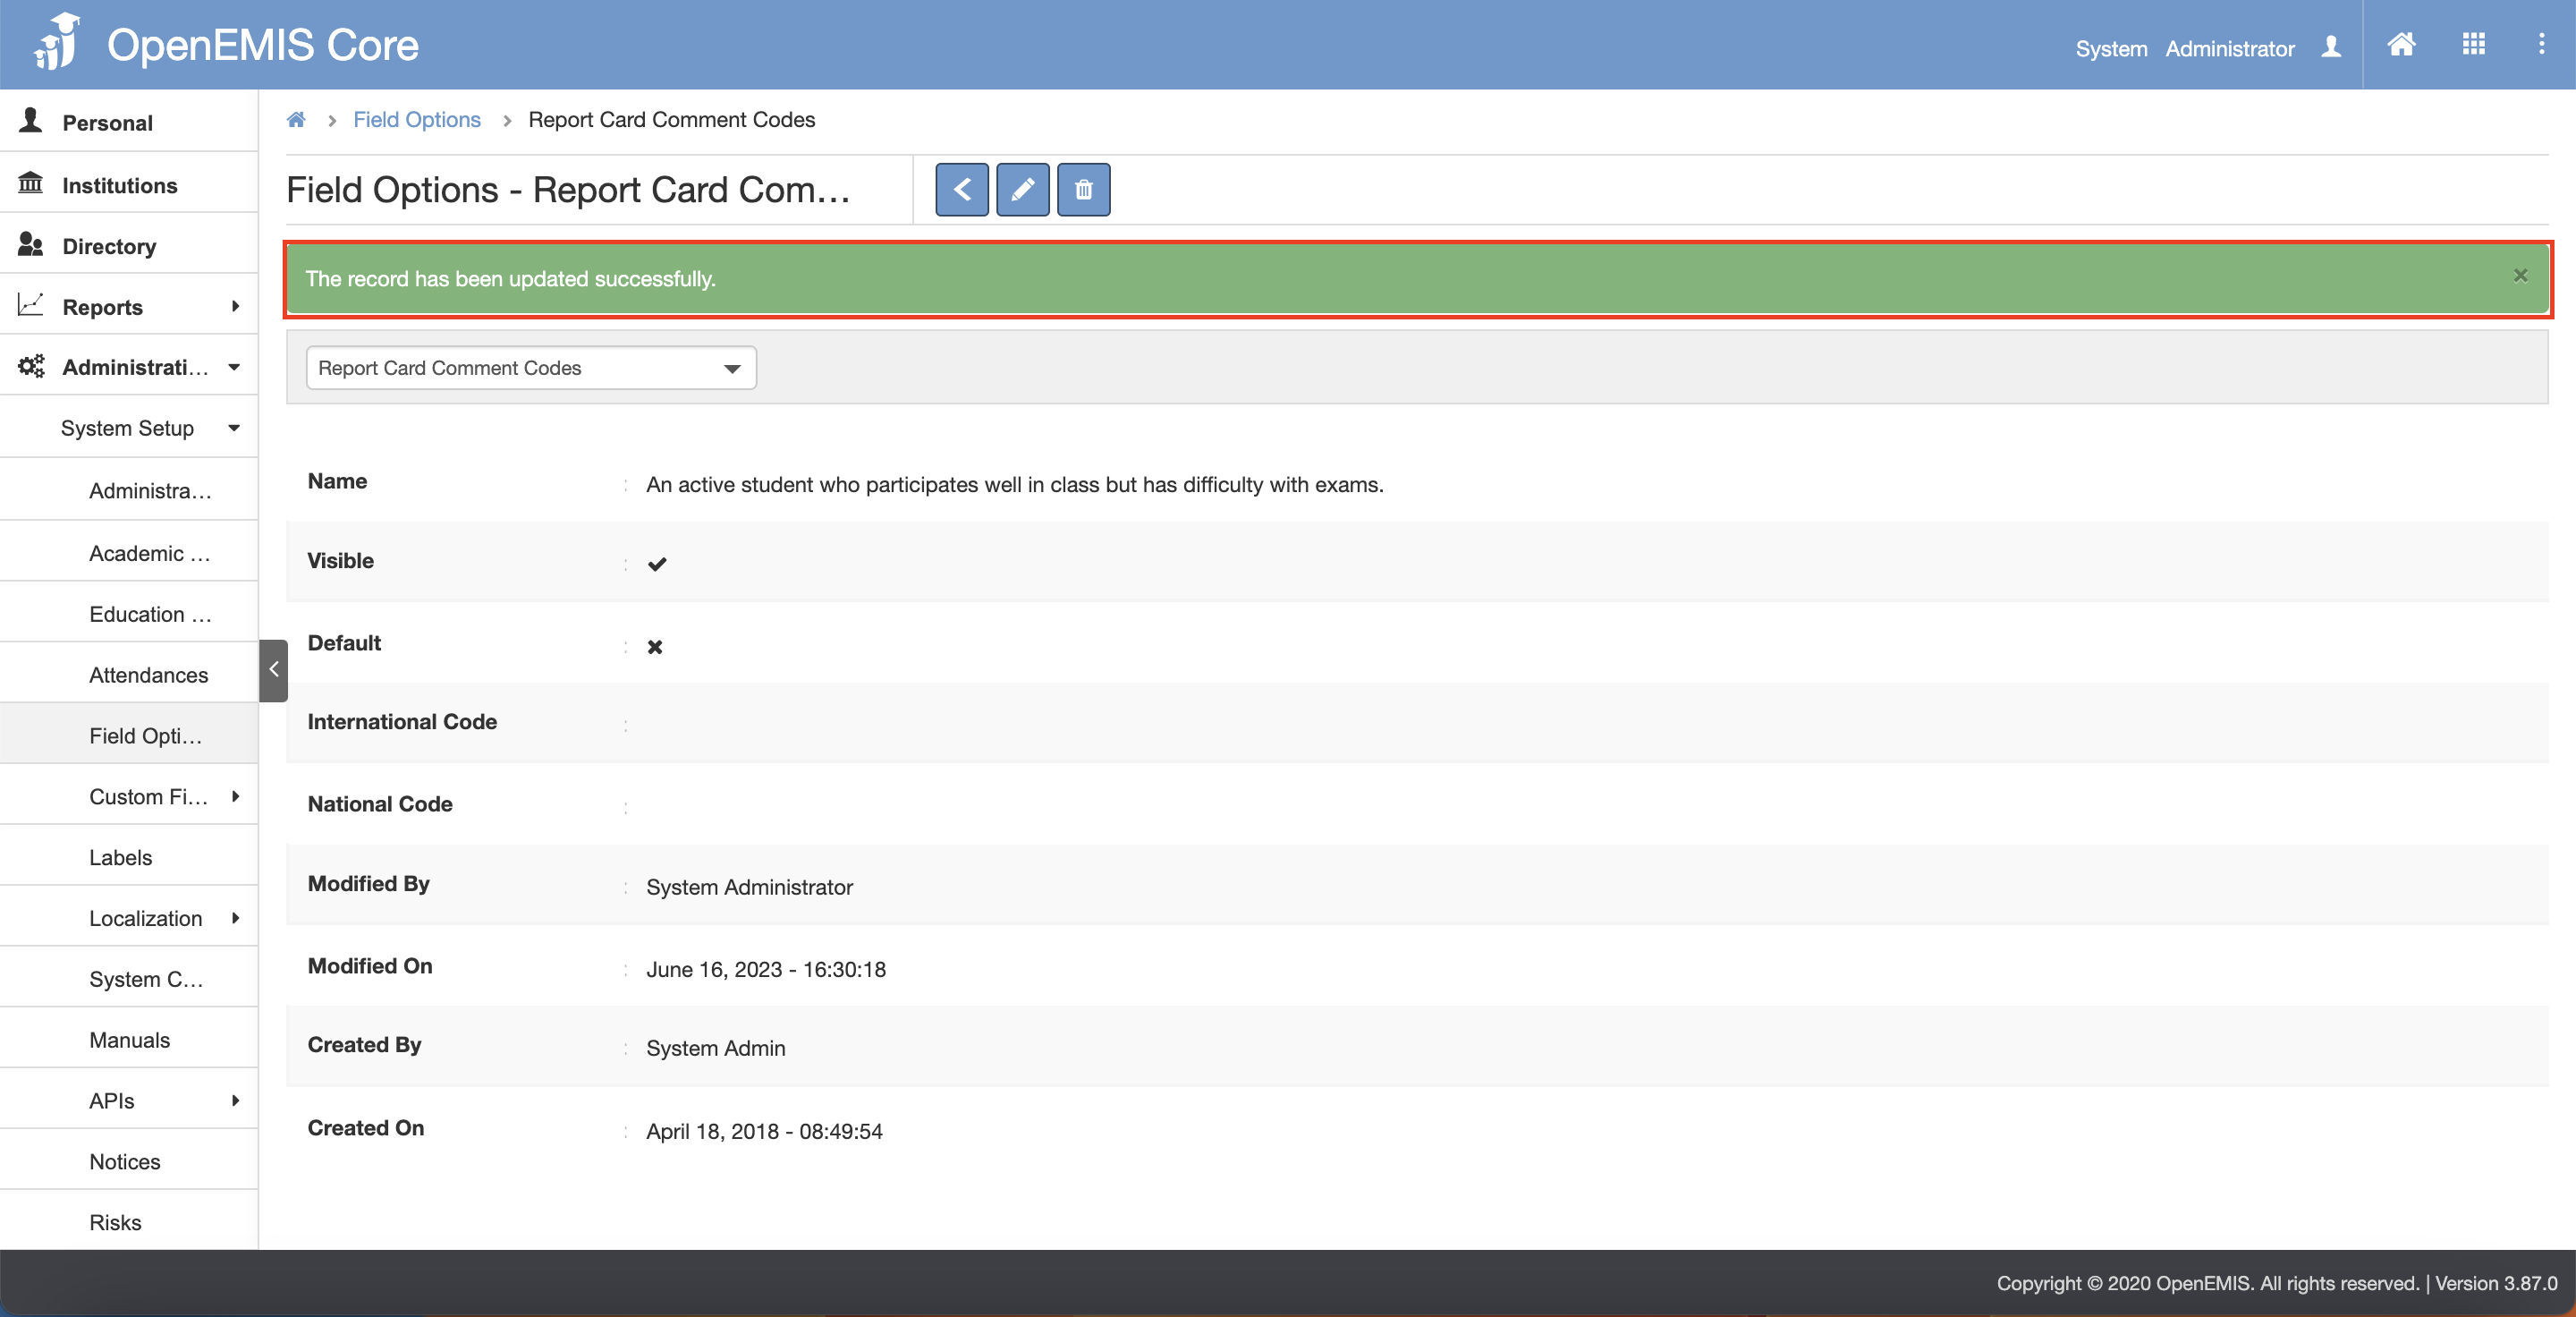
View Report Card Comment Code
1) Go to Administration > System Setup > Field Options page.
2) On the dropdown list, select on Report Card Comment Codes.
3) Under the Actions column, click on the Select button and click on the View button.
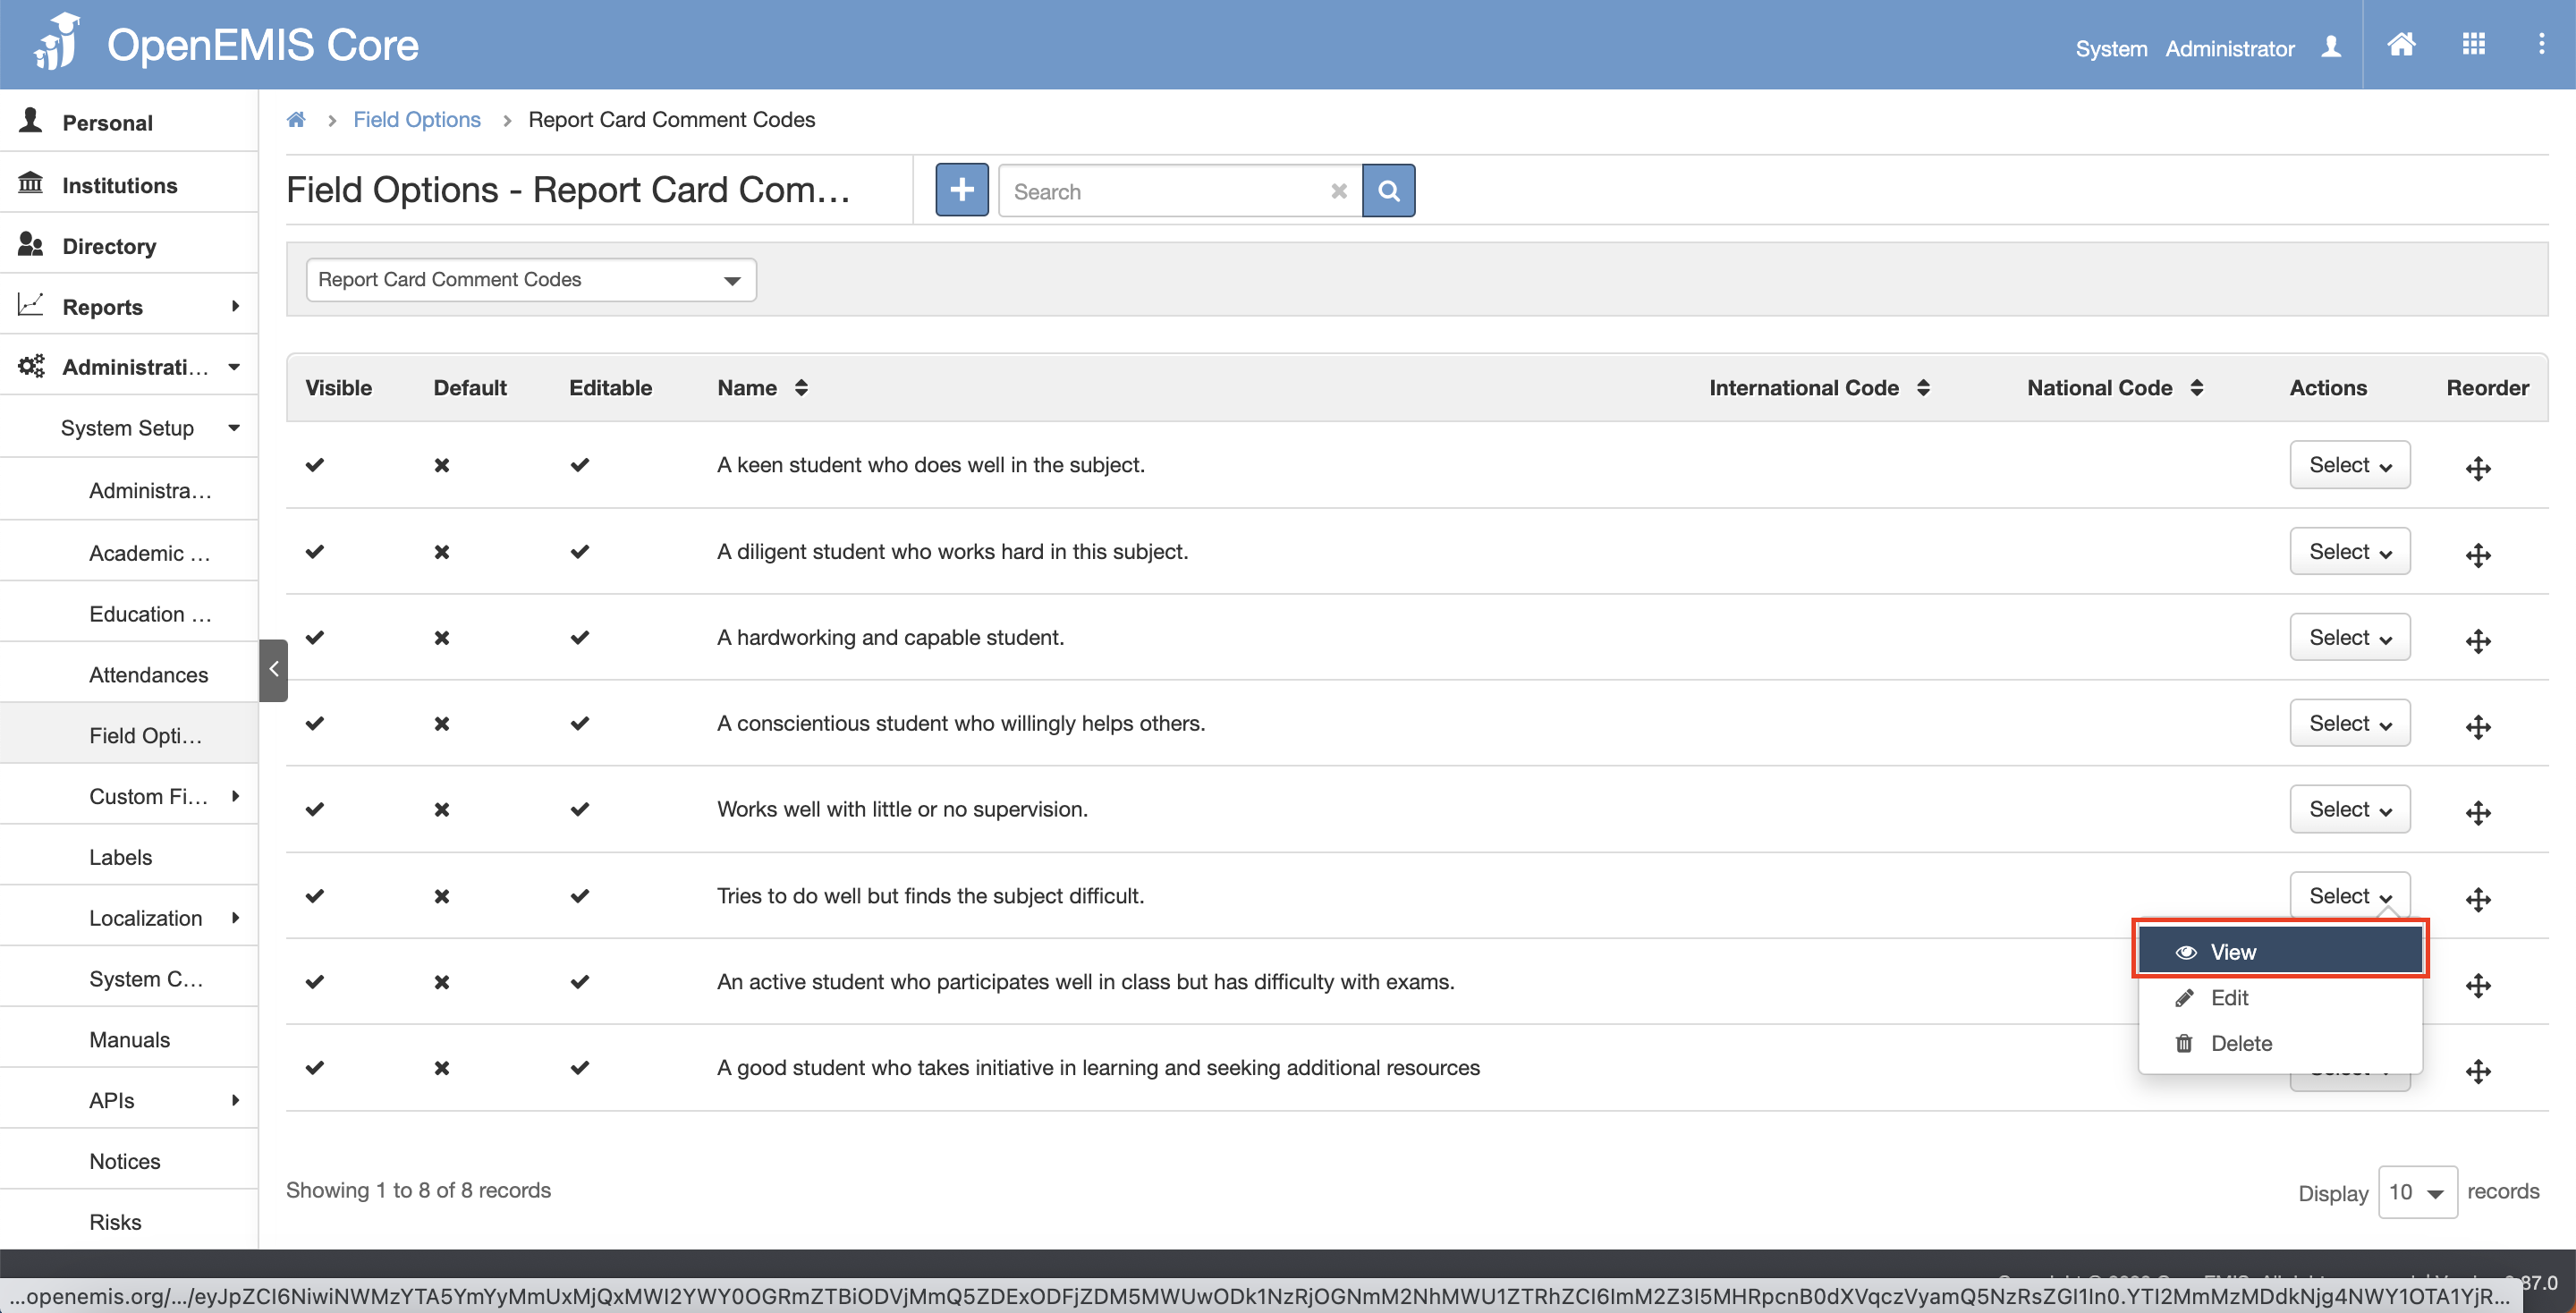
4) Once in the View page, details of the Student Report Cards will be displayed.
4) Similarly, you will be able to edit or delete the record.

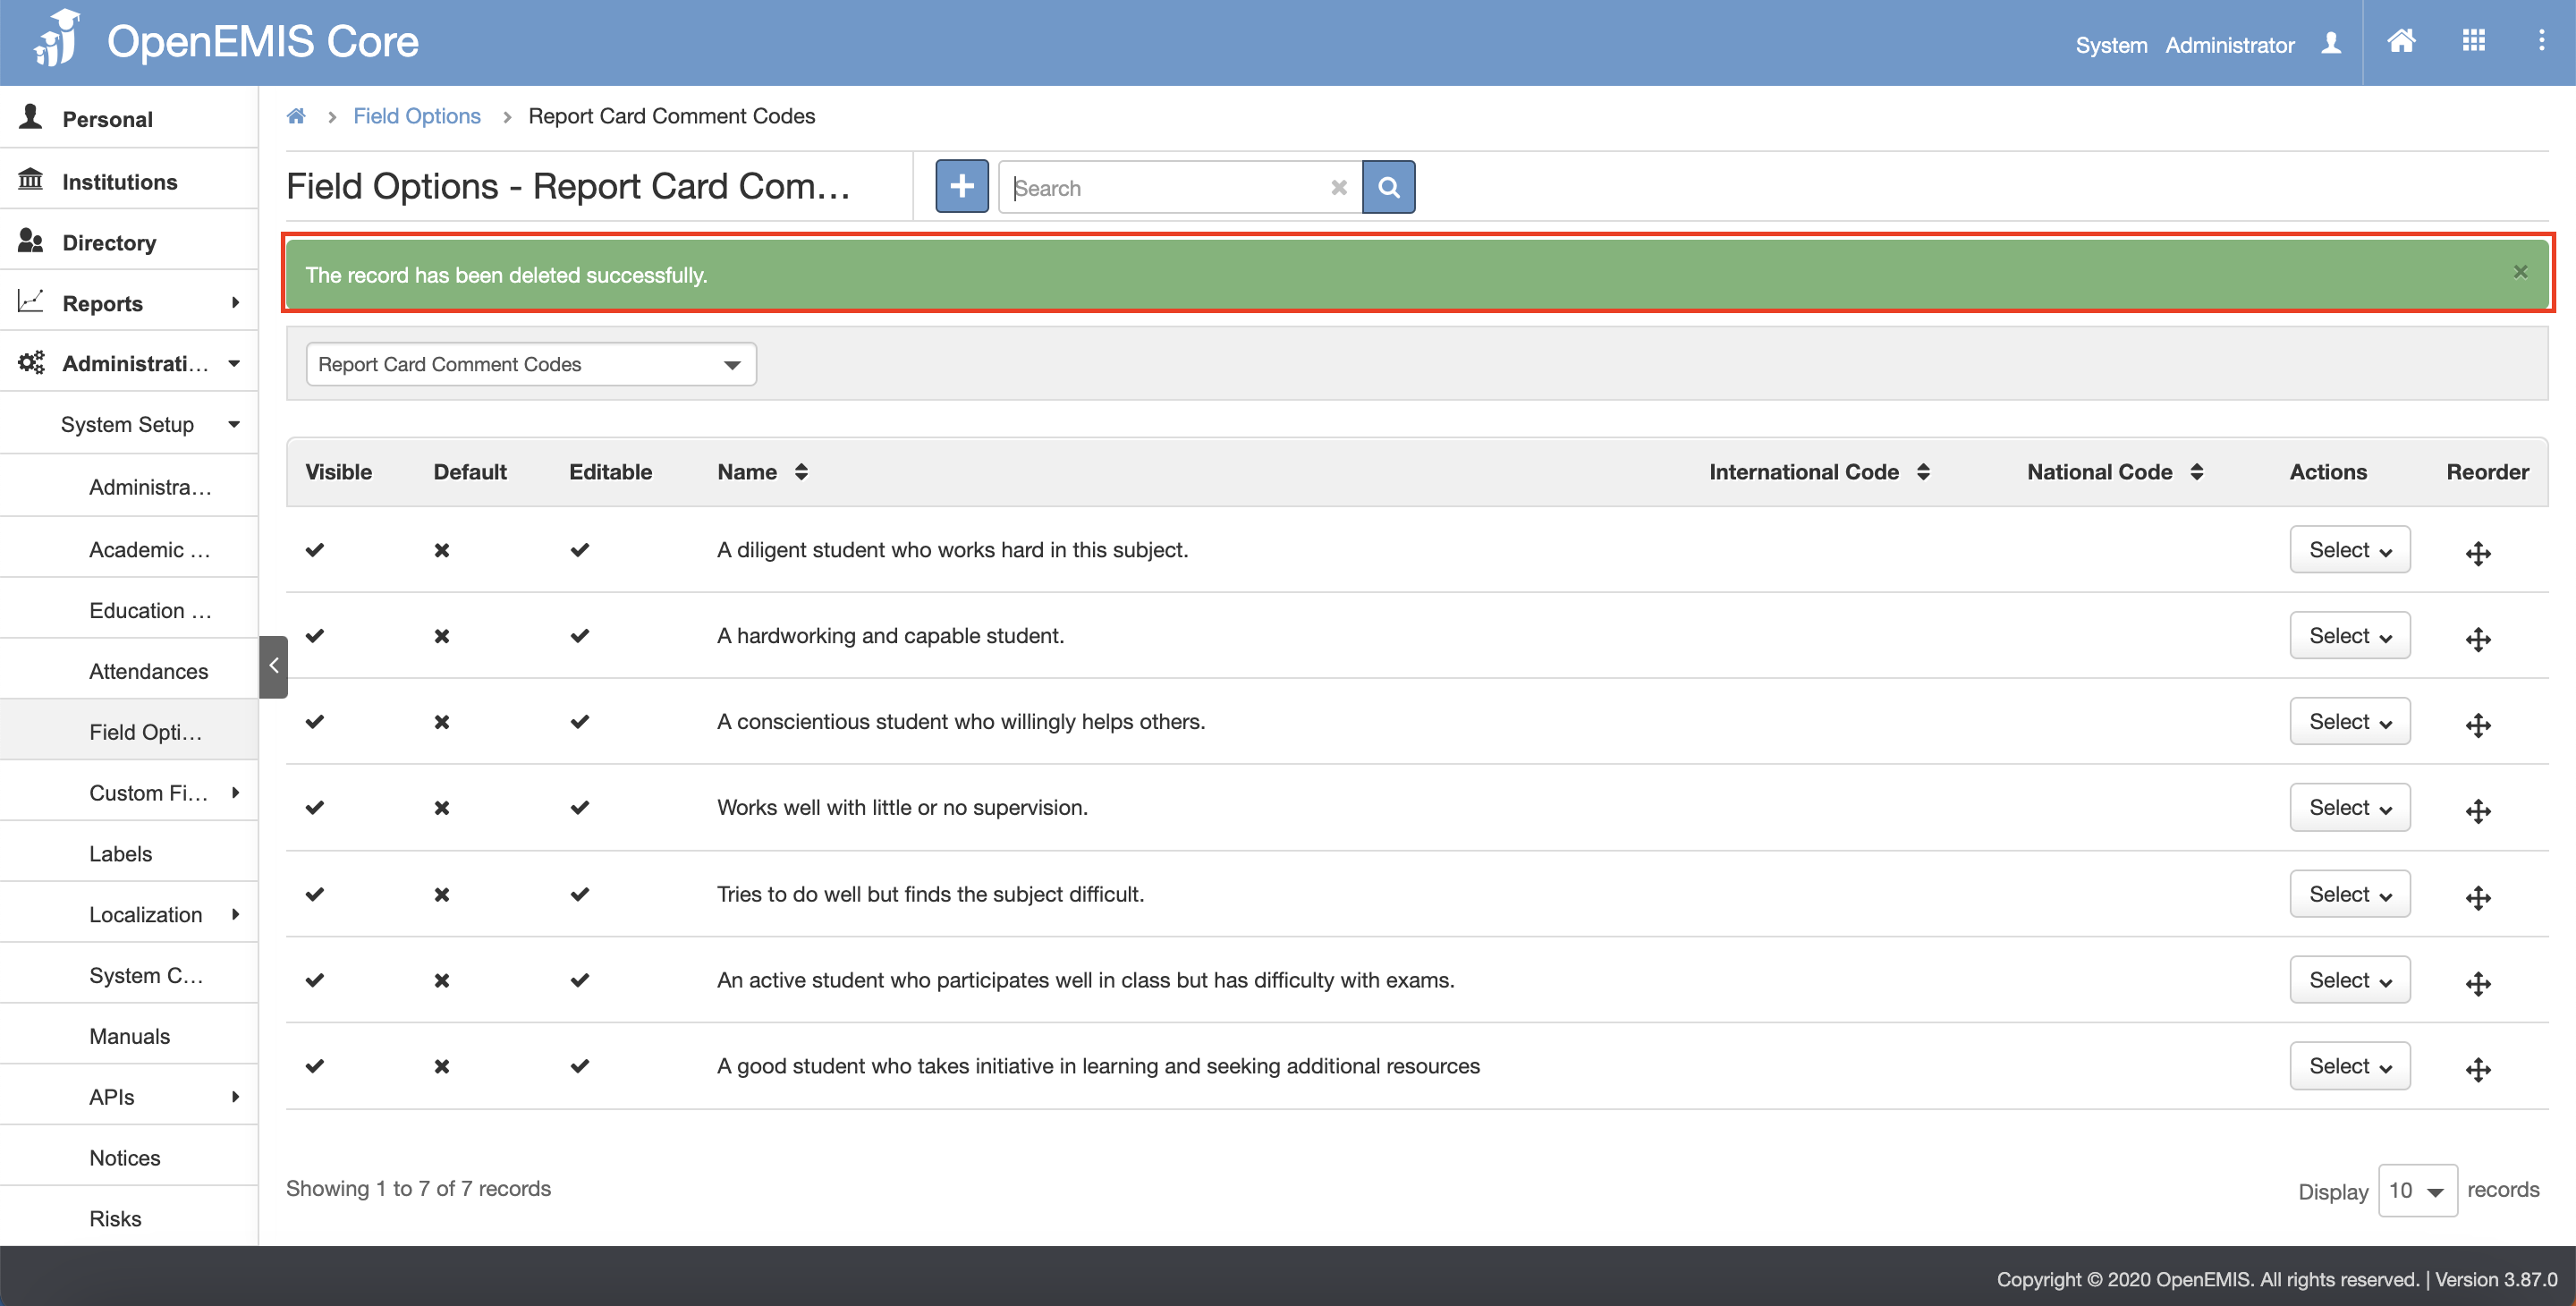
Delete Report Card Comment Code
1) Go to Administration > System Setup > Field Options page.
2) On the dropdown list, select on Report Card Comment Codes.
3) Under the Actions column, click on the Select button and click on the Delete button.
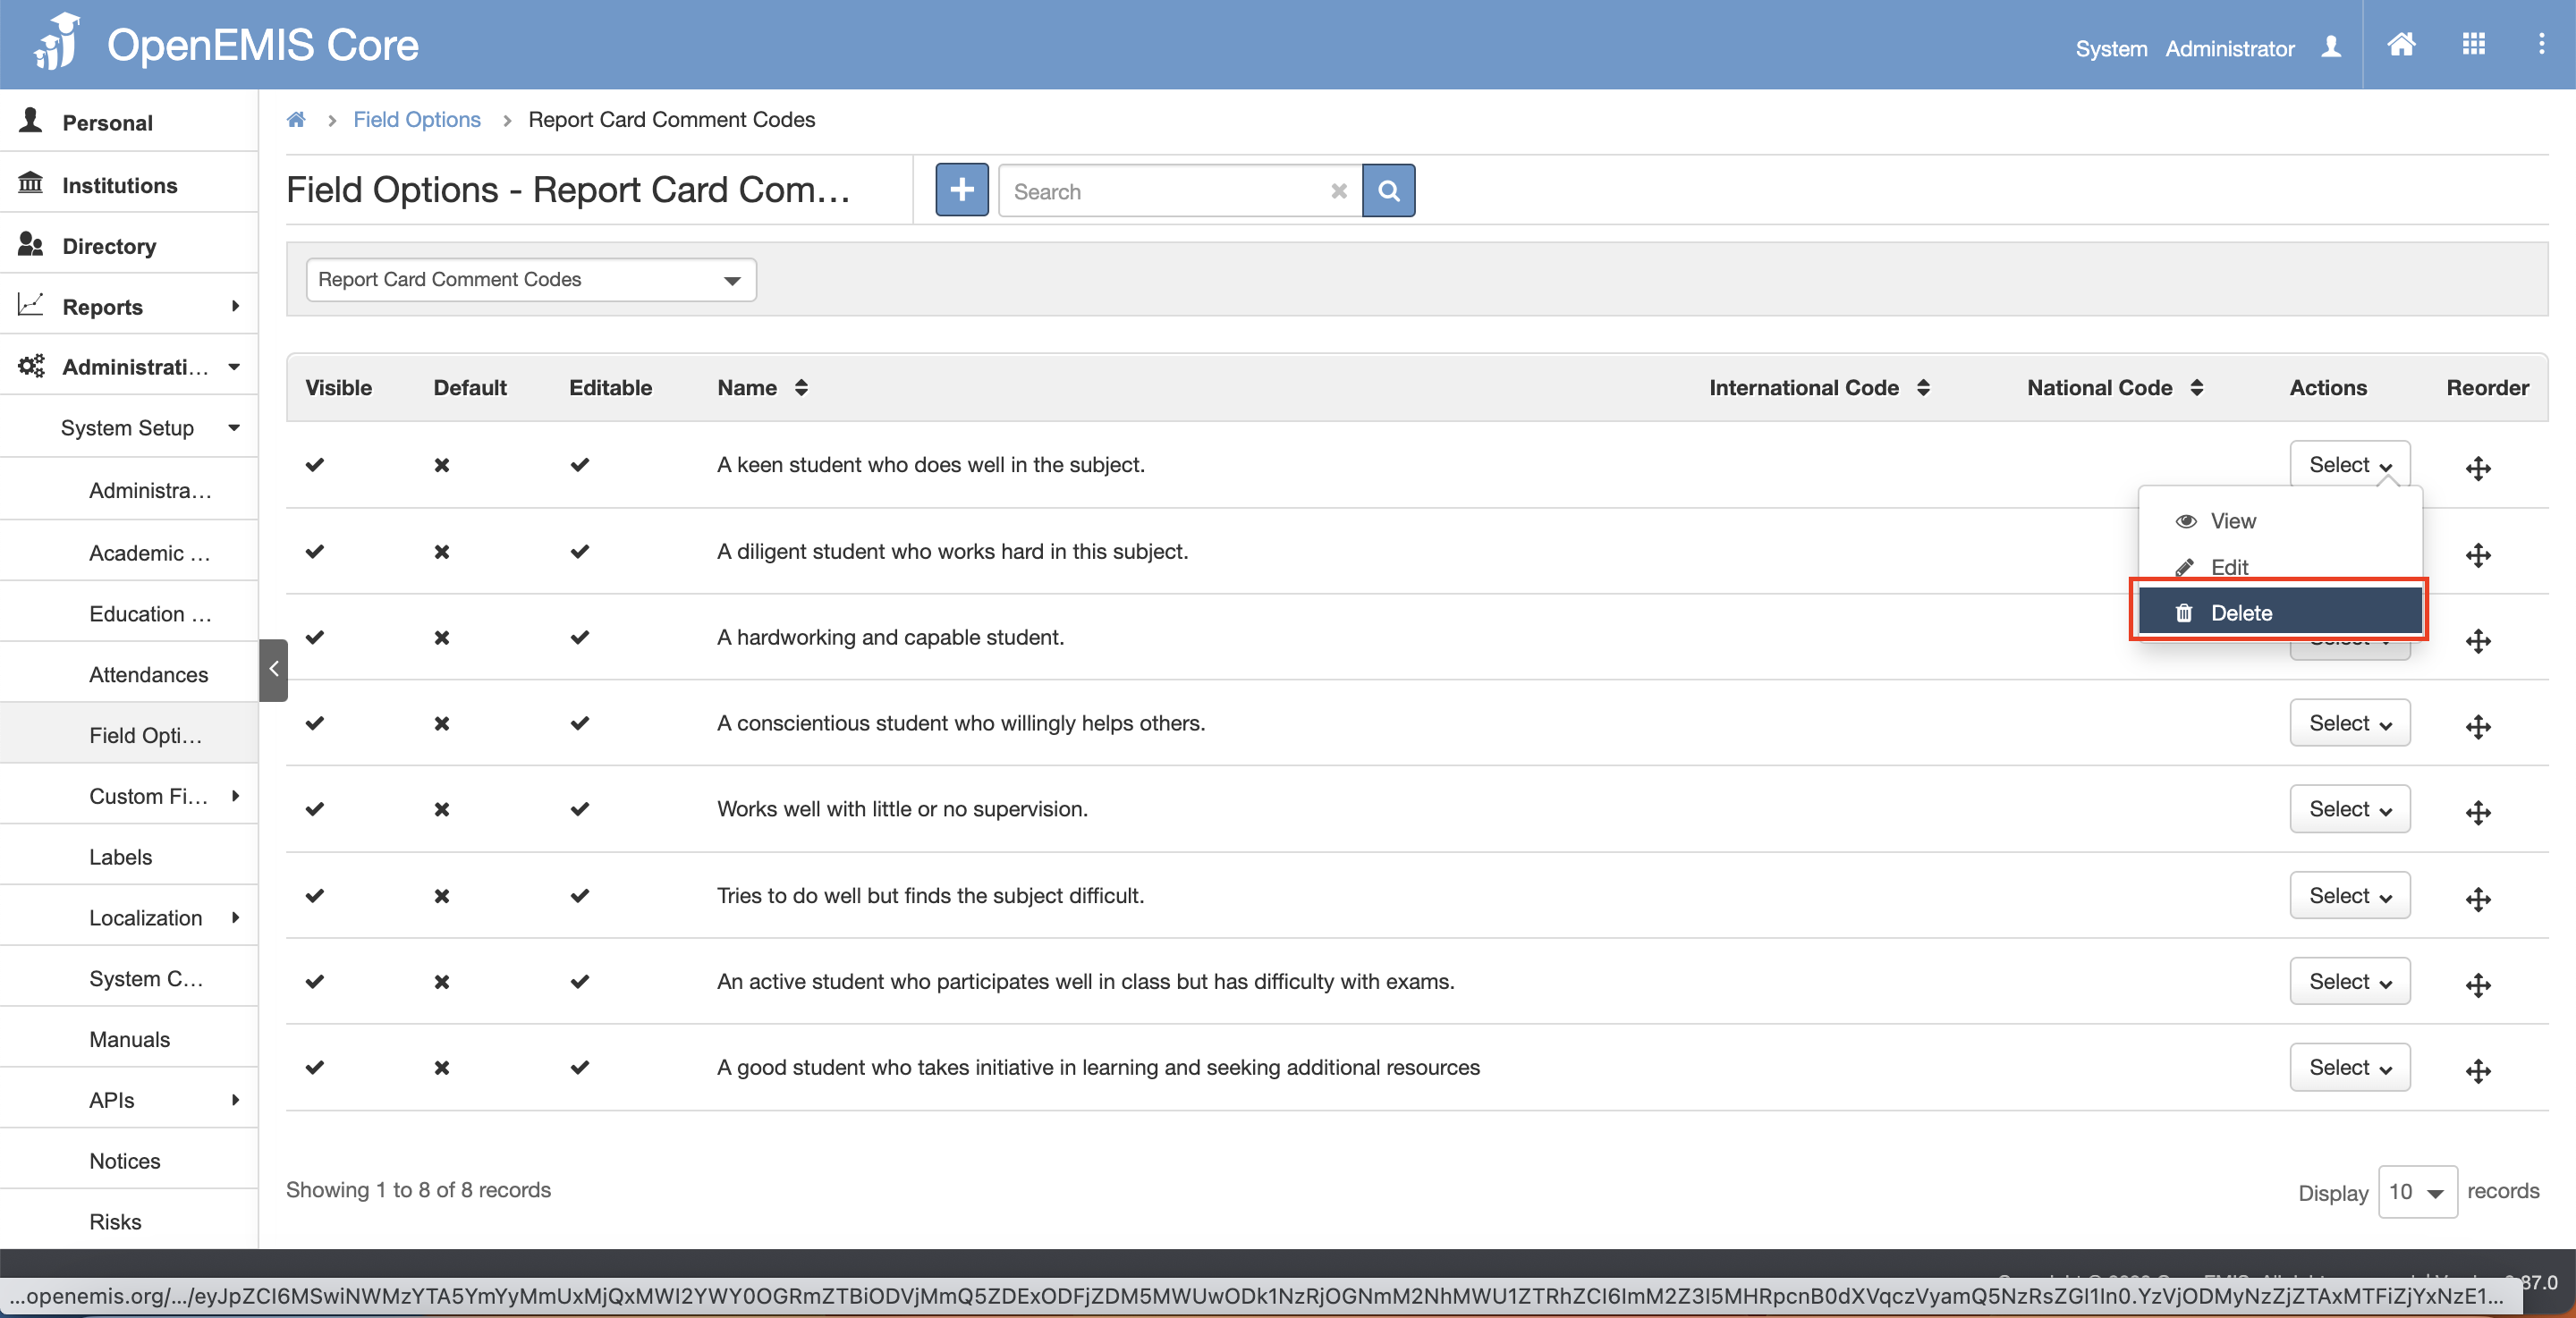
4) The page will show any associated records. (You will not be able to delete if the report card have associated records.)
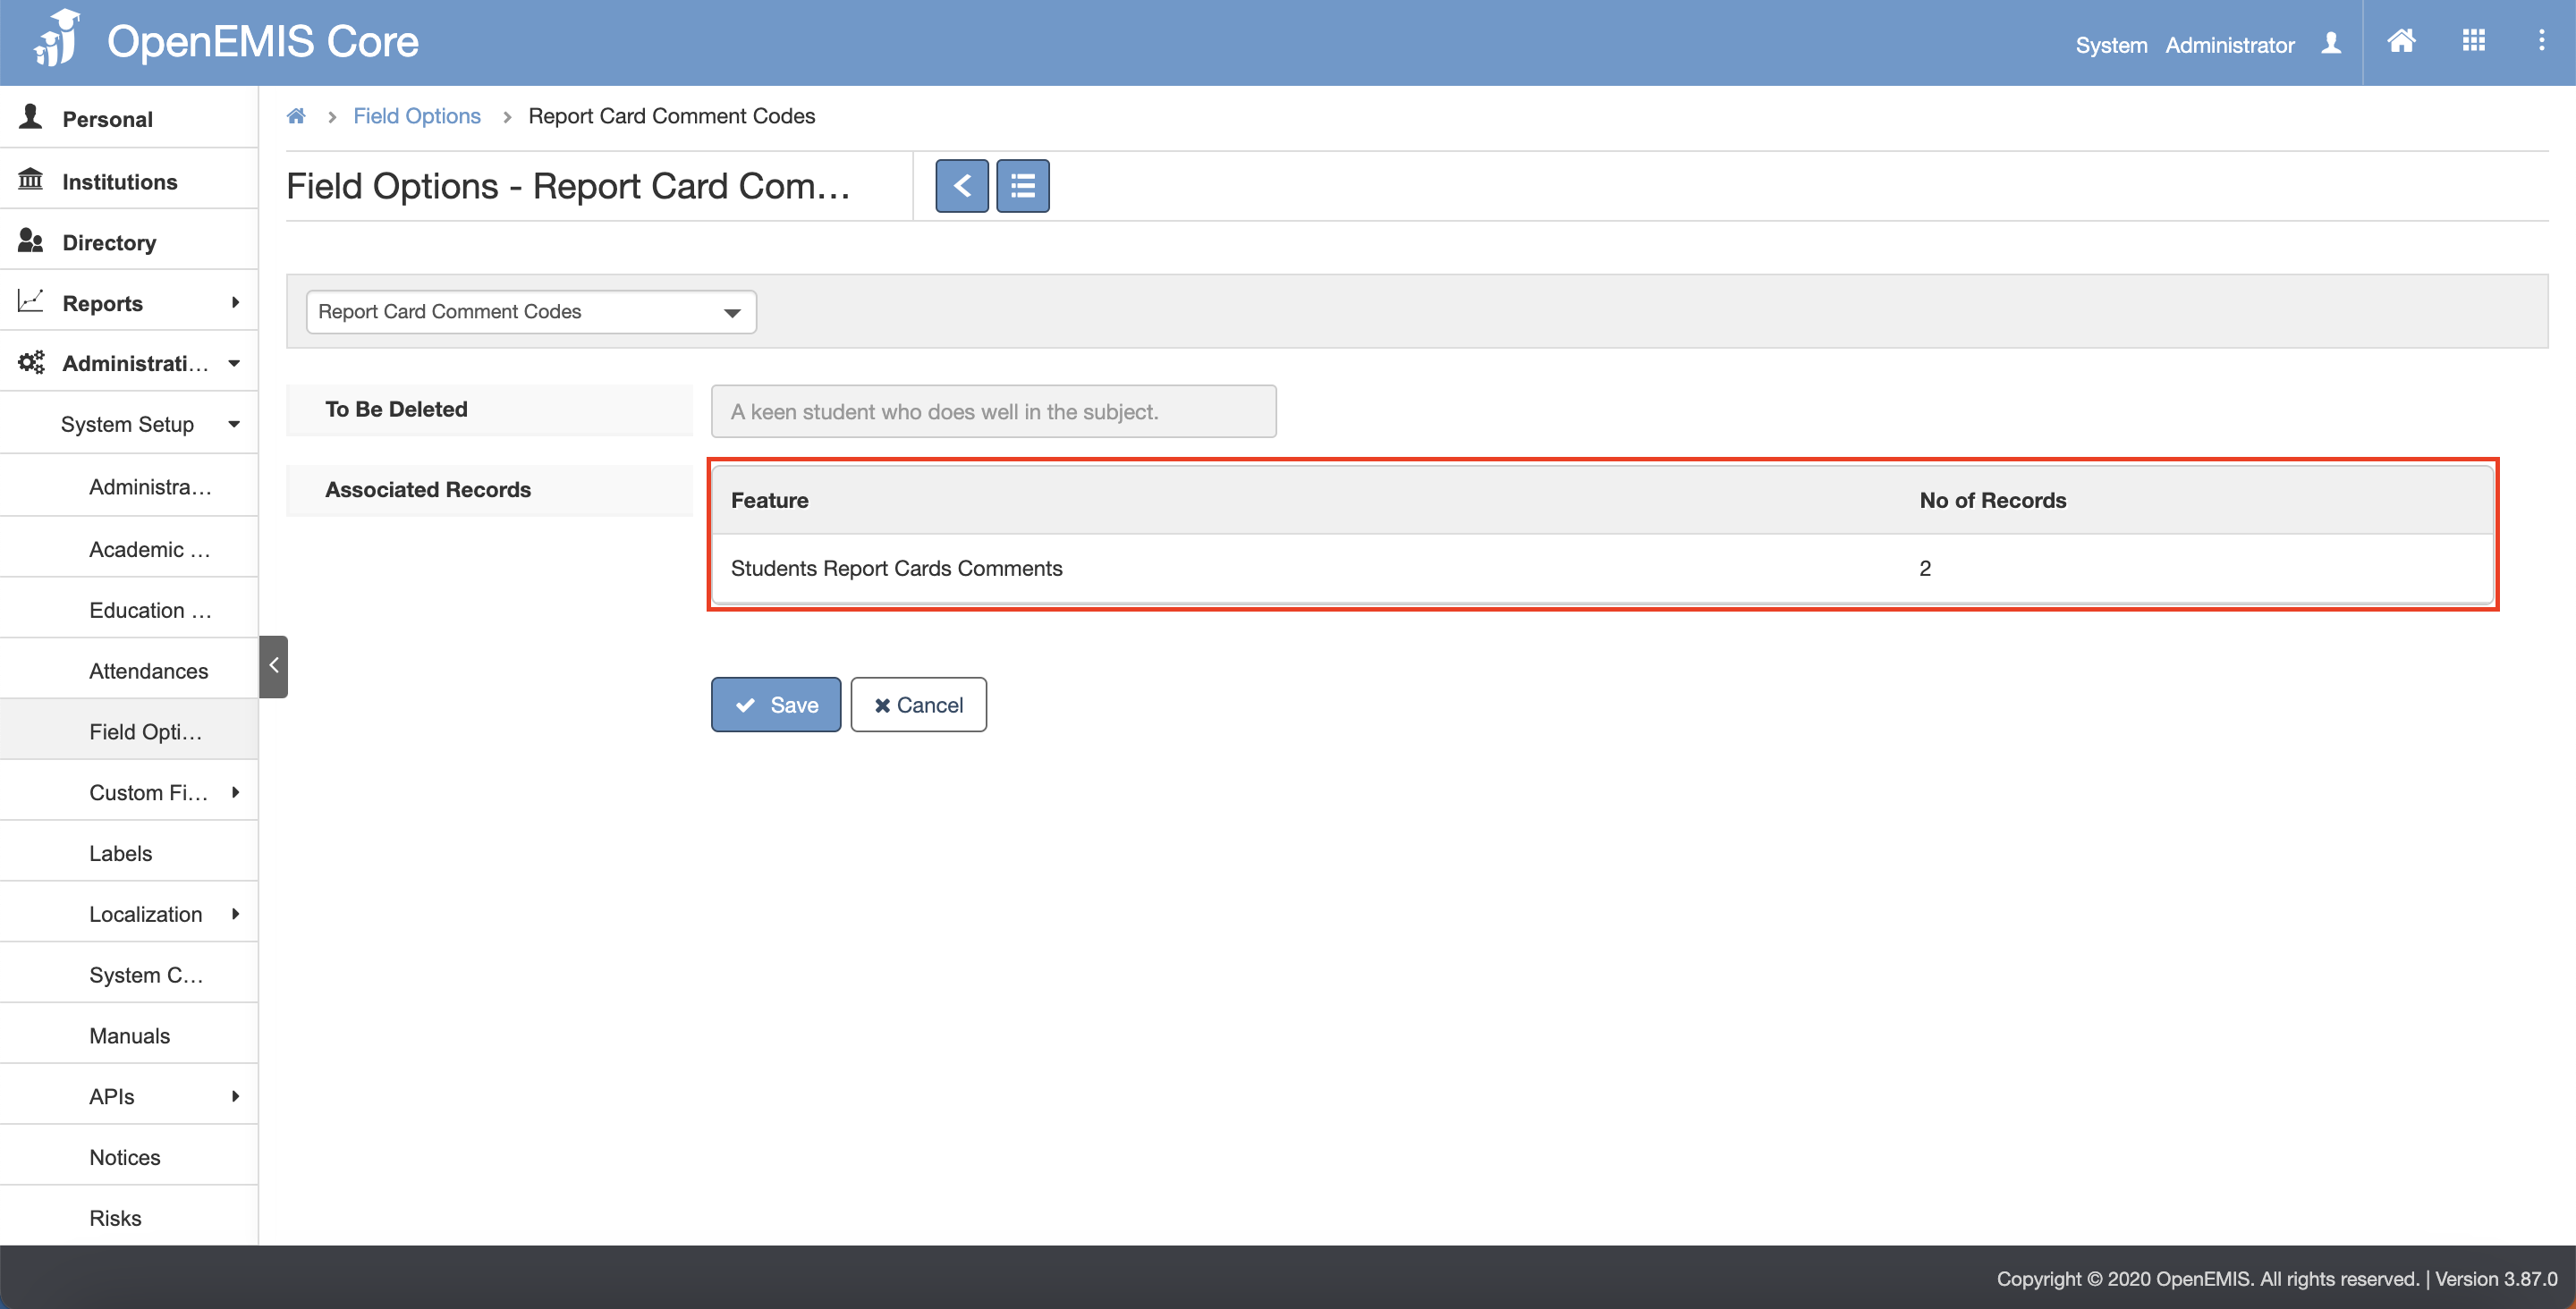
5) If there are no associated records, click on the Save button.

6) The message will be displayed upon deleting successfully.
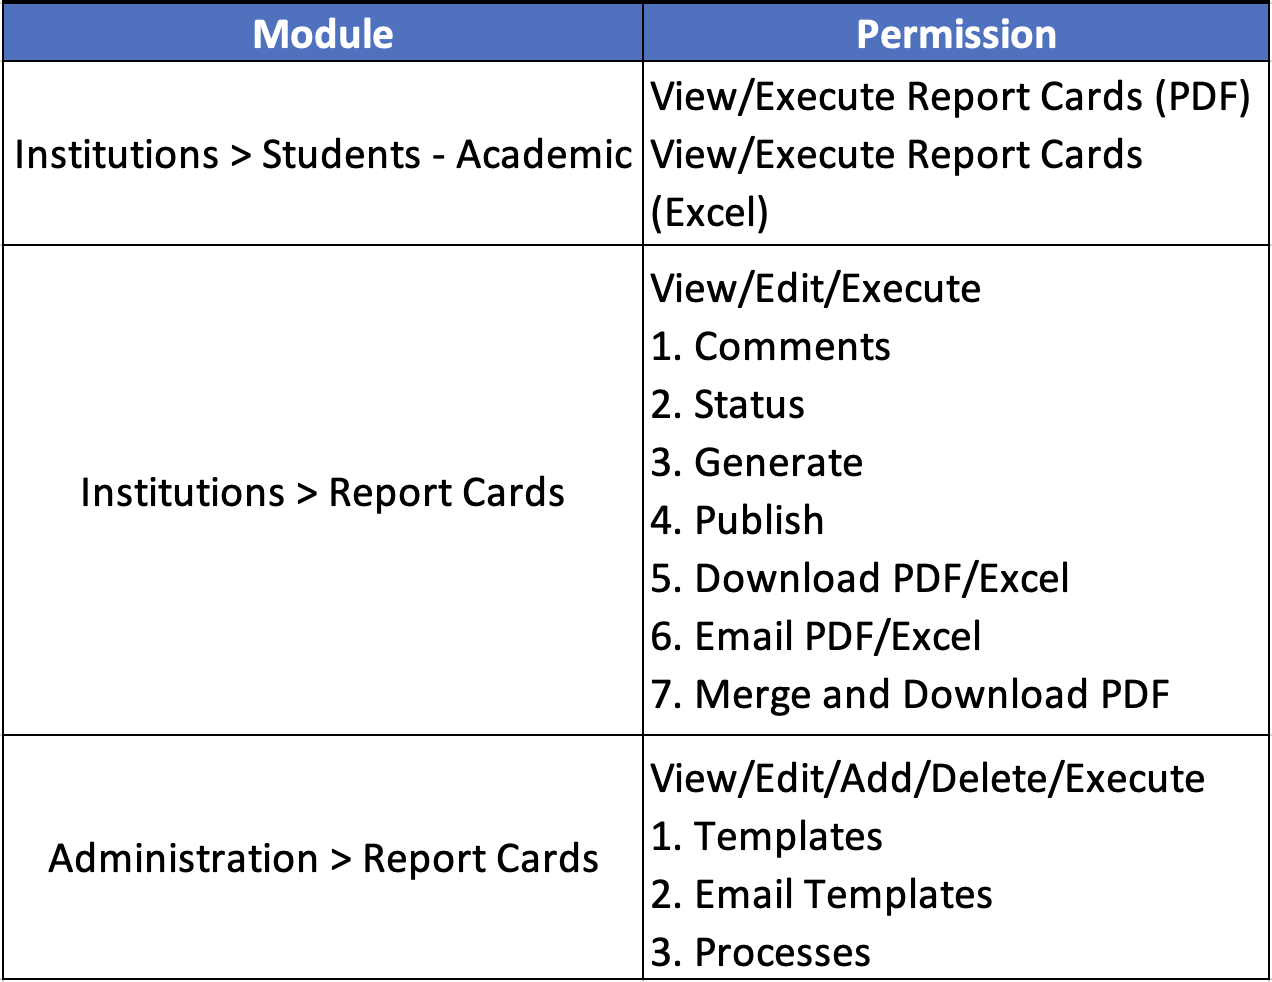
Enable Security Role Permission
Enable Permission for Student Card Report
1) Go to Administration > Security > Roles page.
2) Click on the System Roles tab.
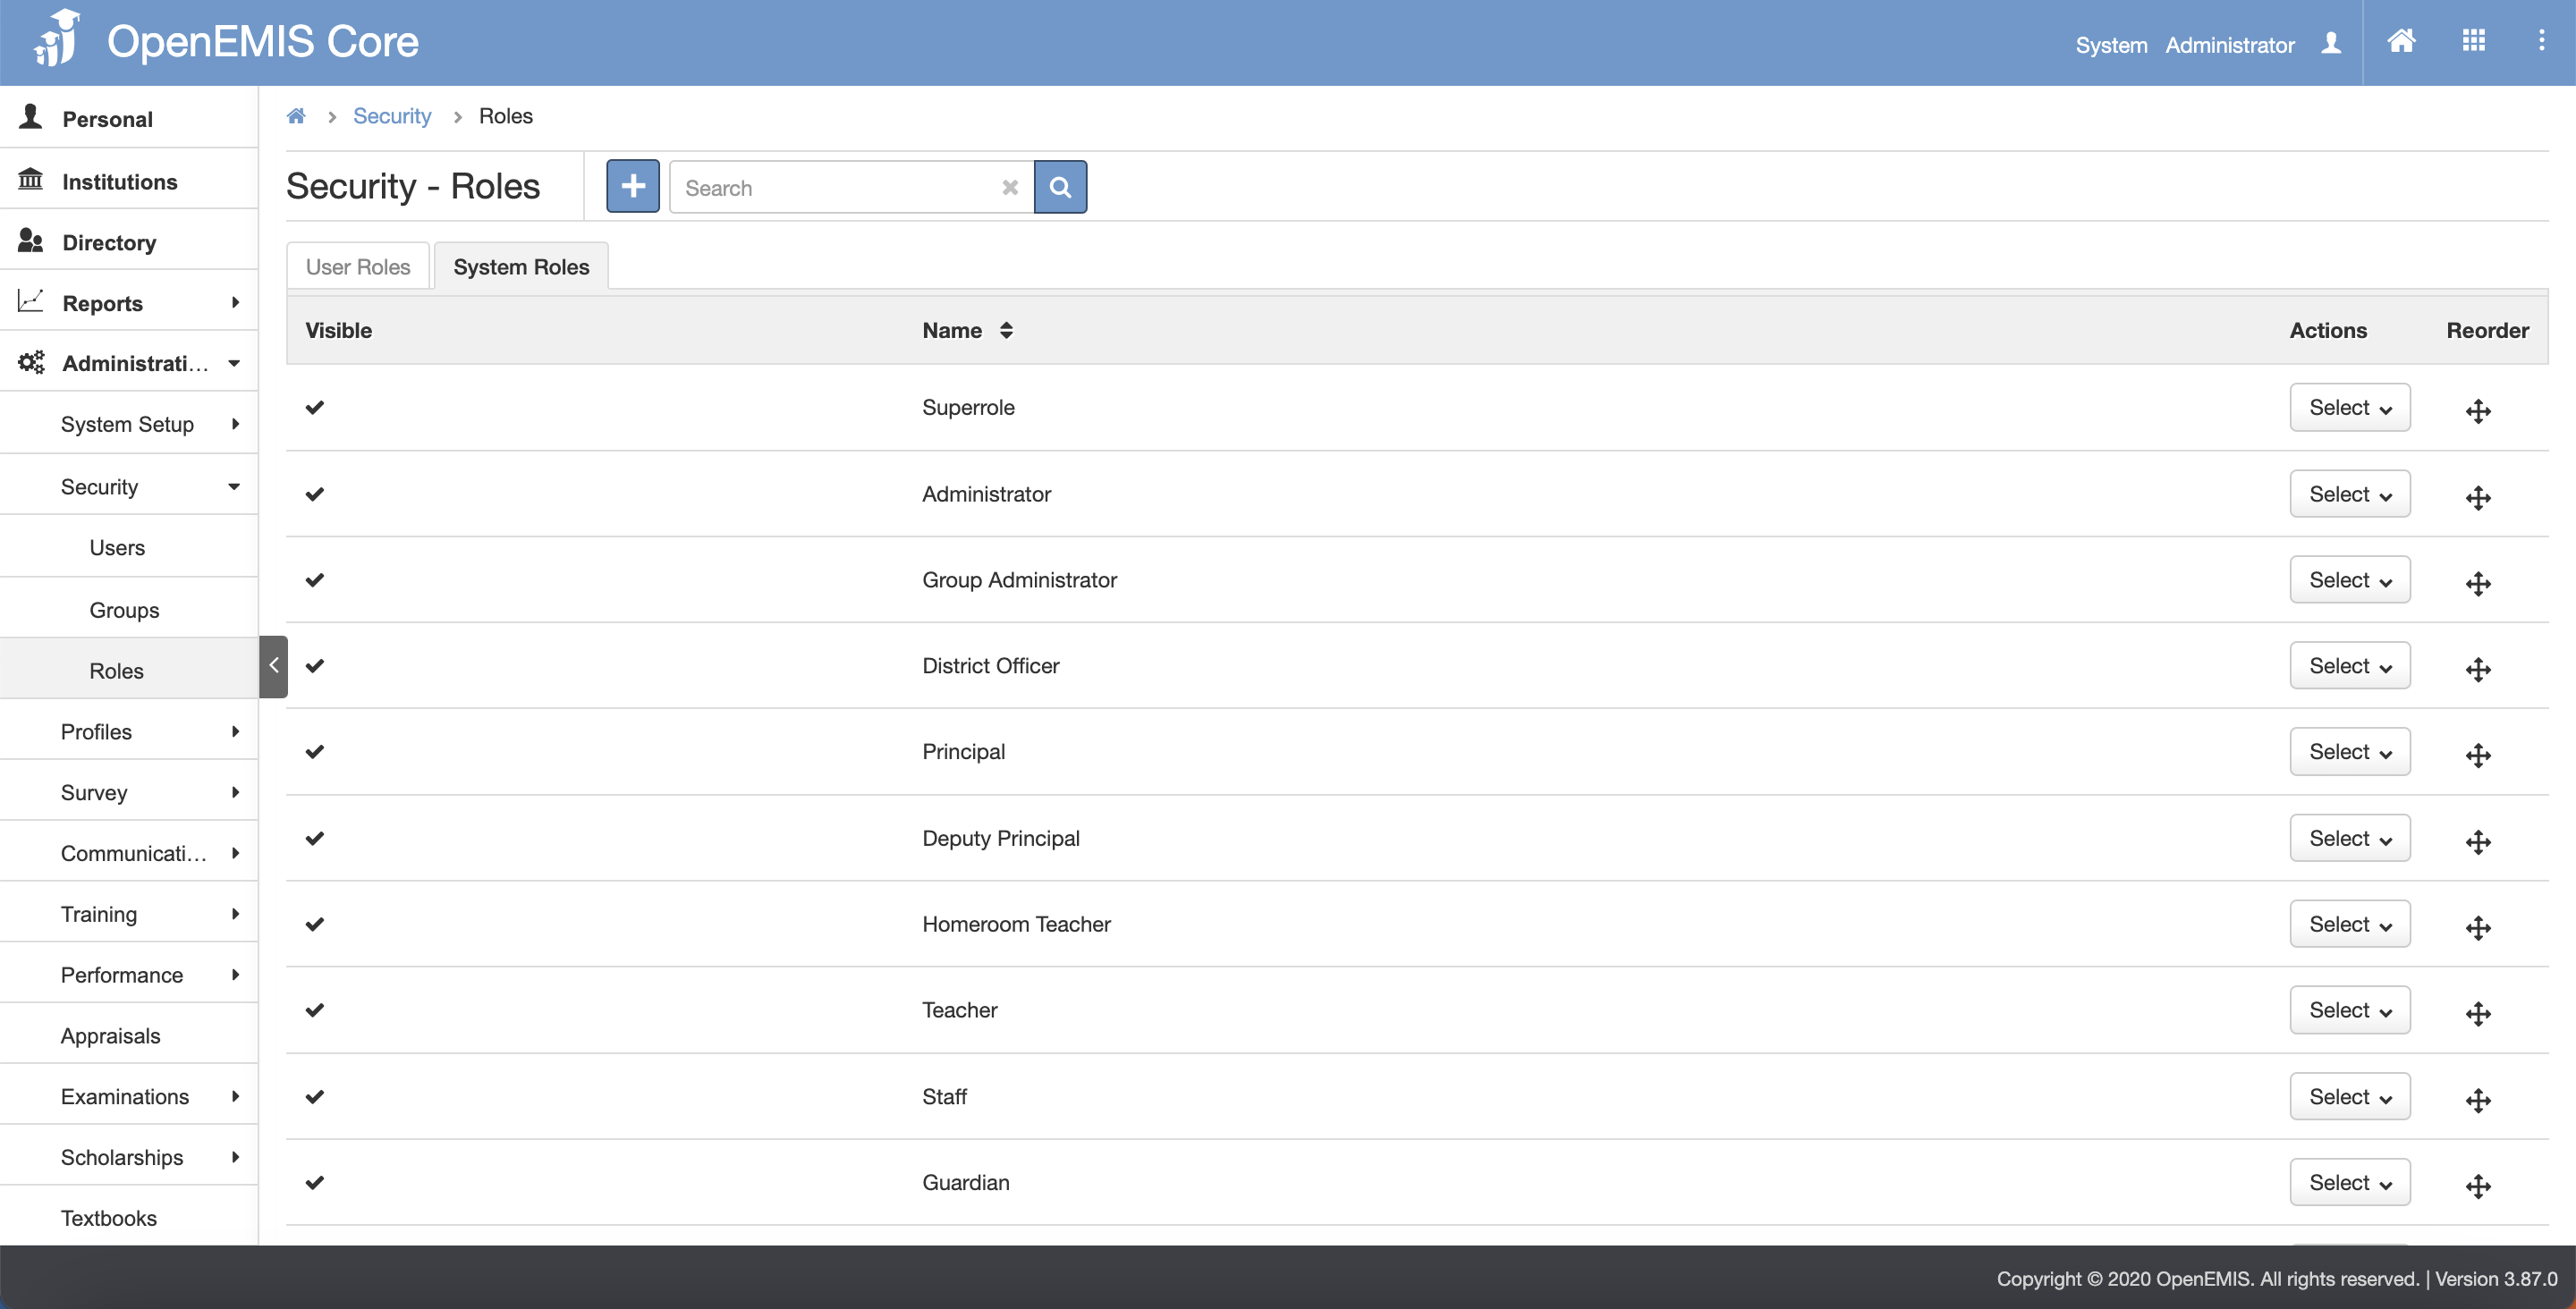
2) Select on the selected Security Role and Allow Permission for the following actions.
Entering Comments on Student Report Card
Enter Comments for Student Card Report
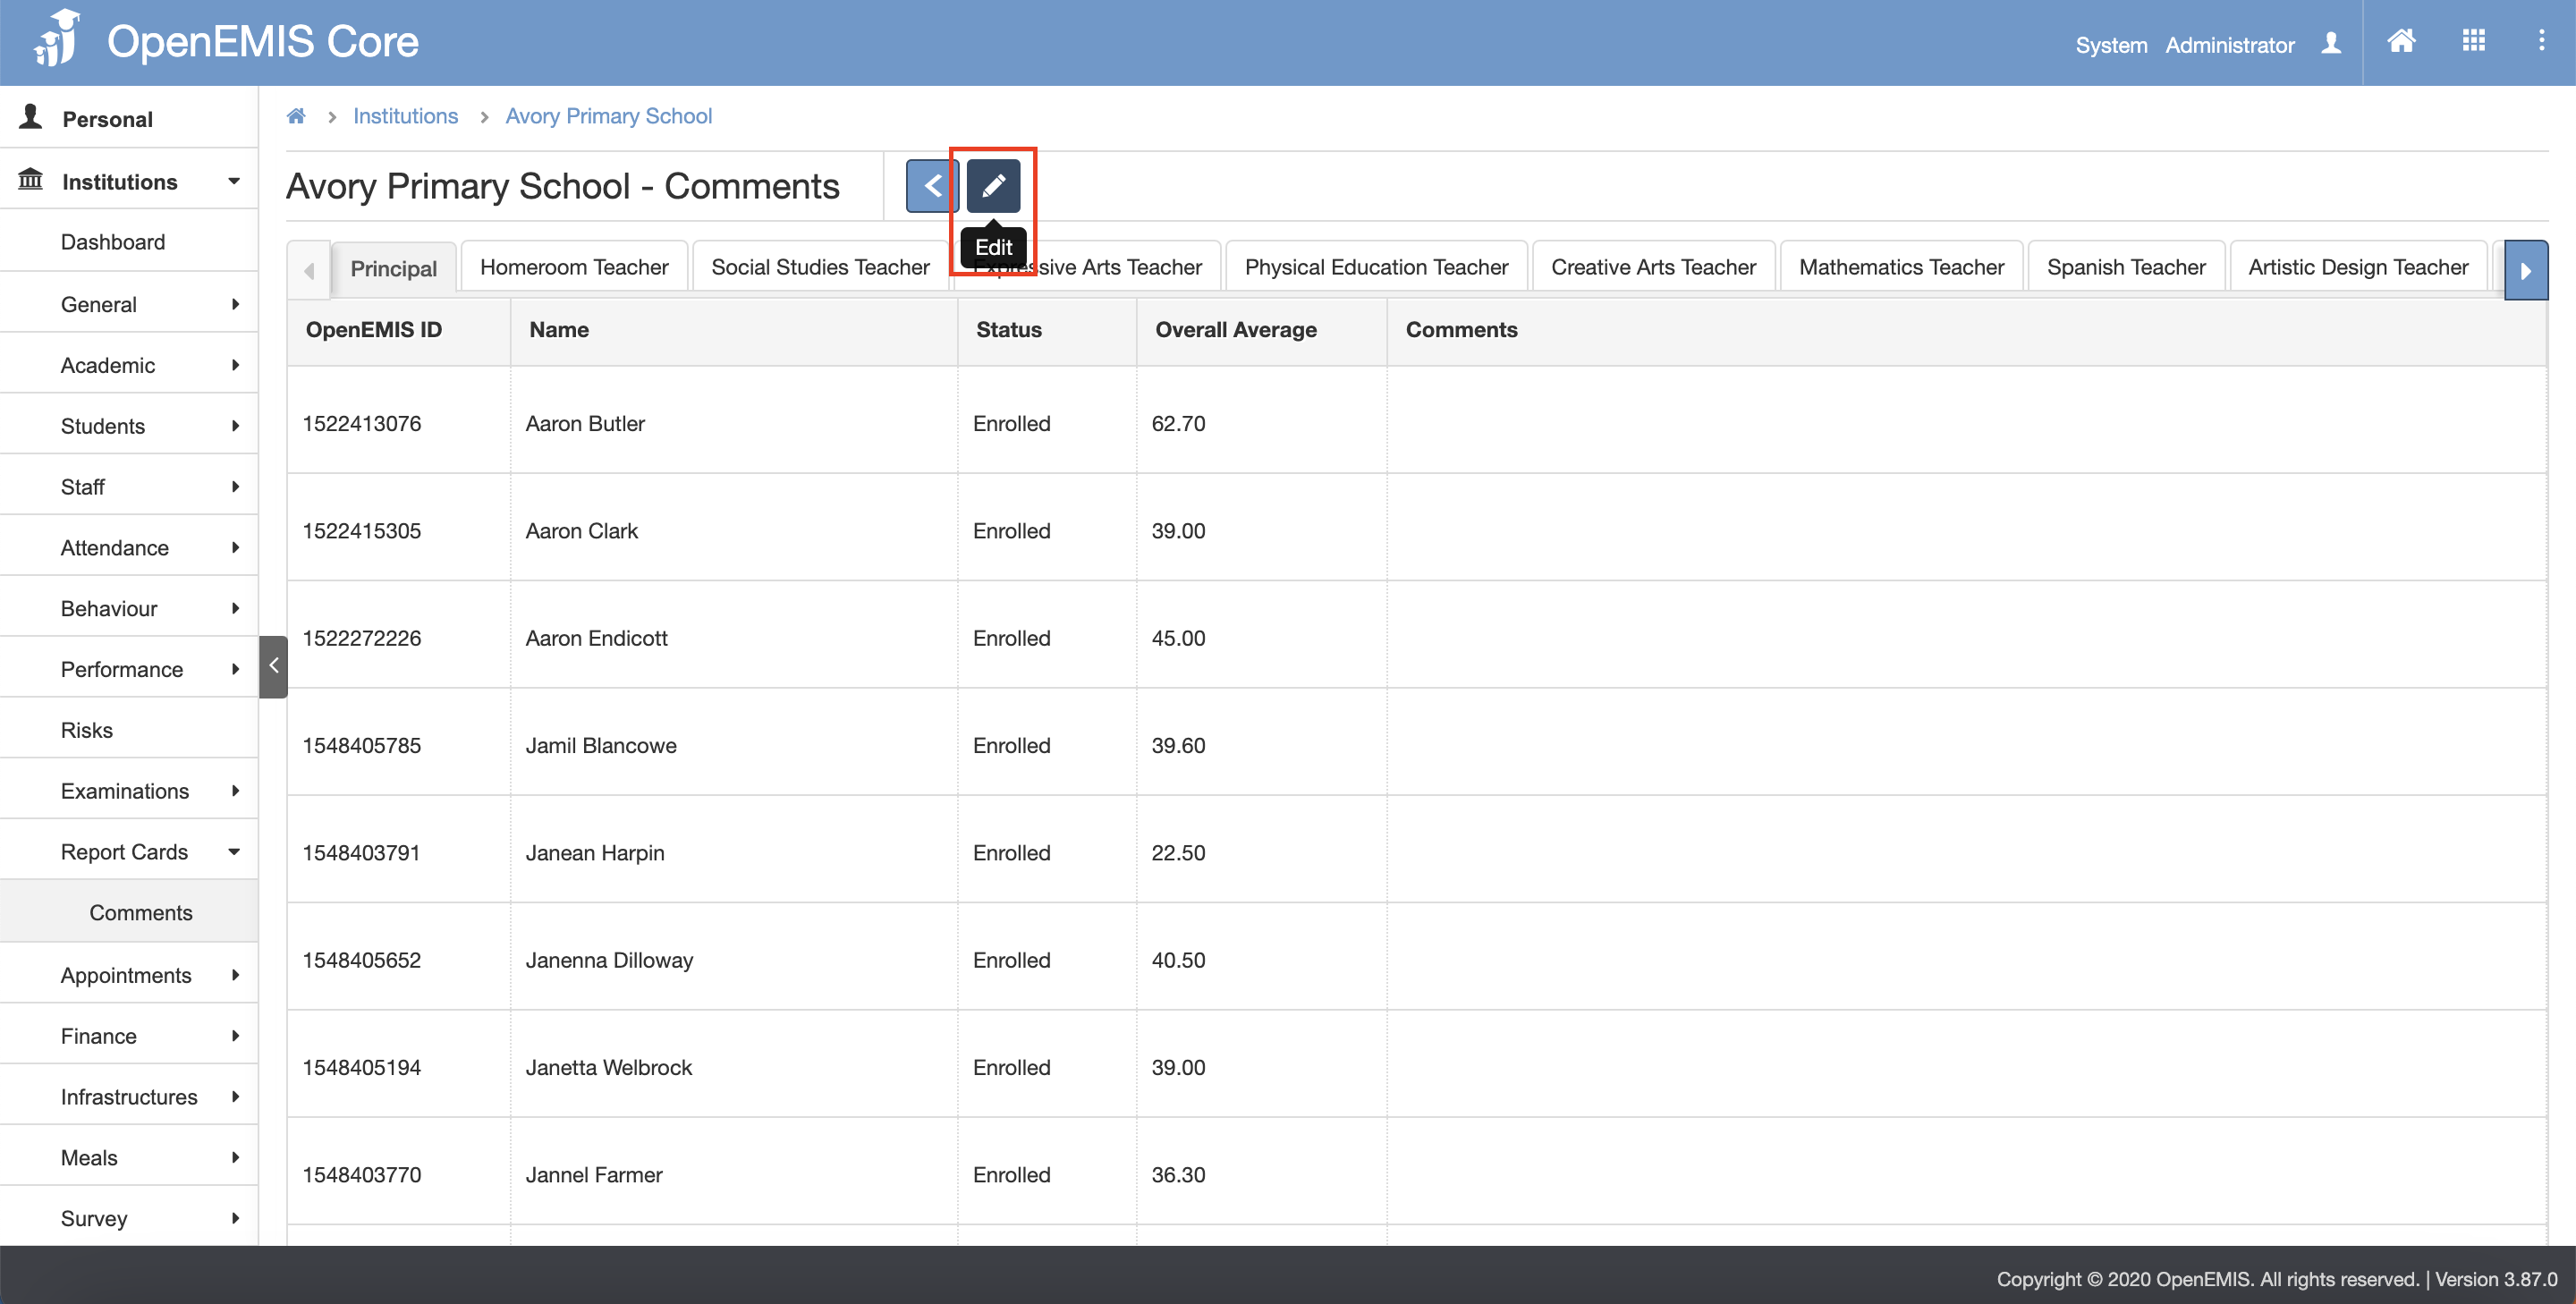
1) Go to Institutions > Report Cards > Comments page.
2) Under the Actions column, click on the Select button and click on the View button.
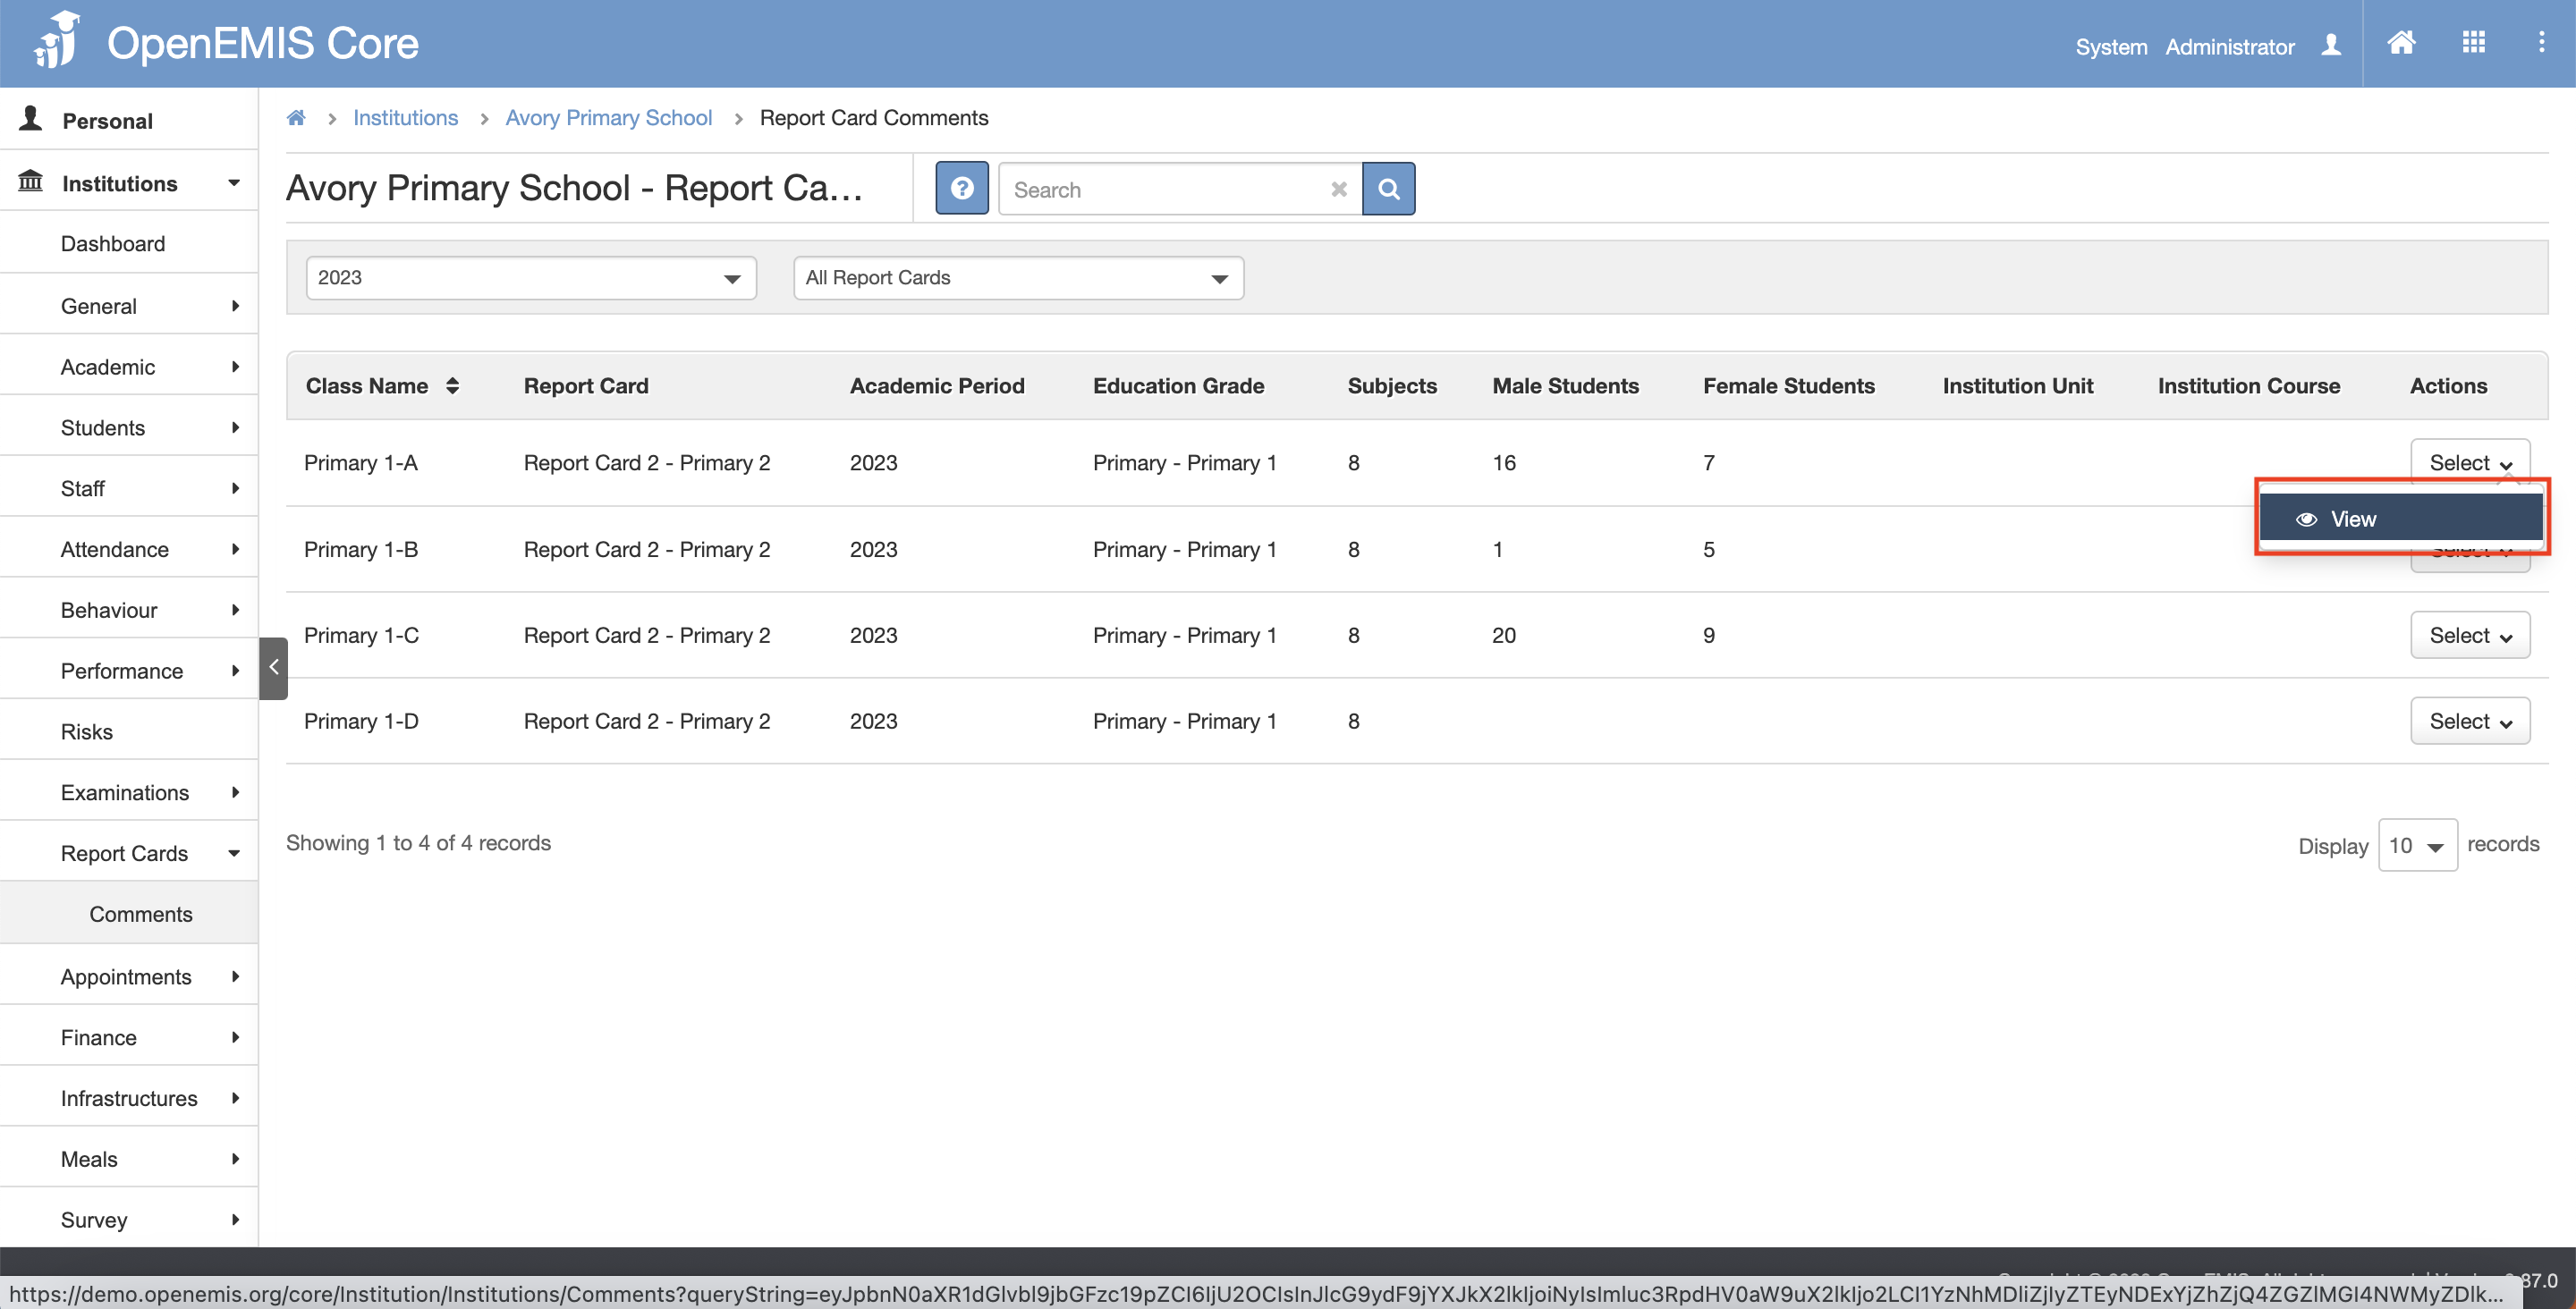
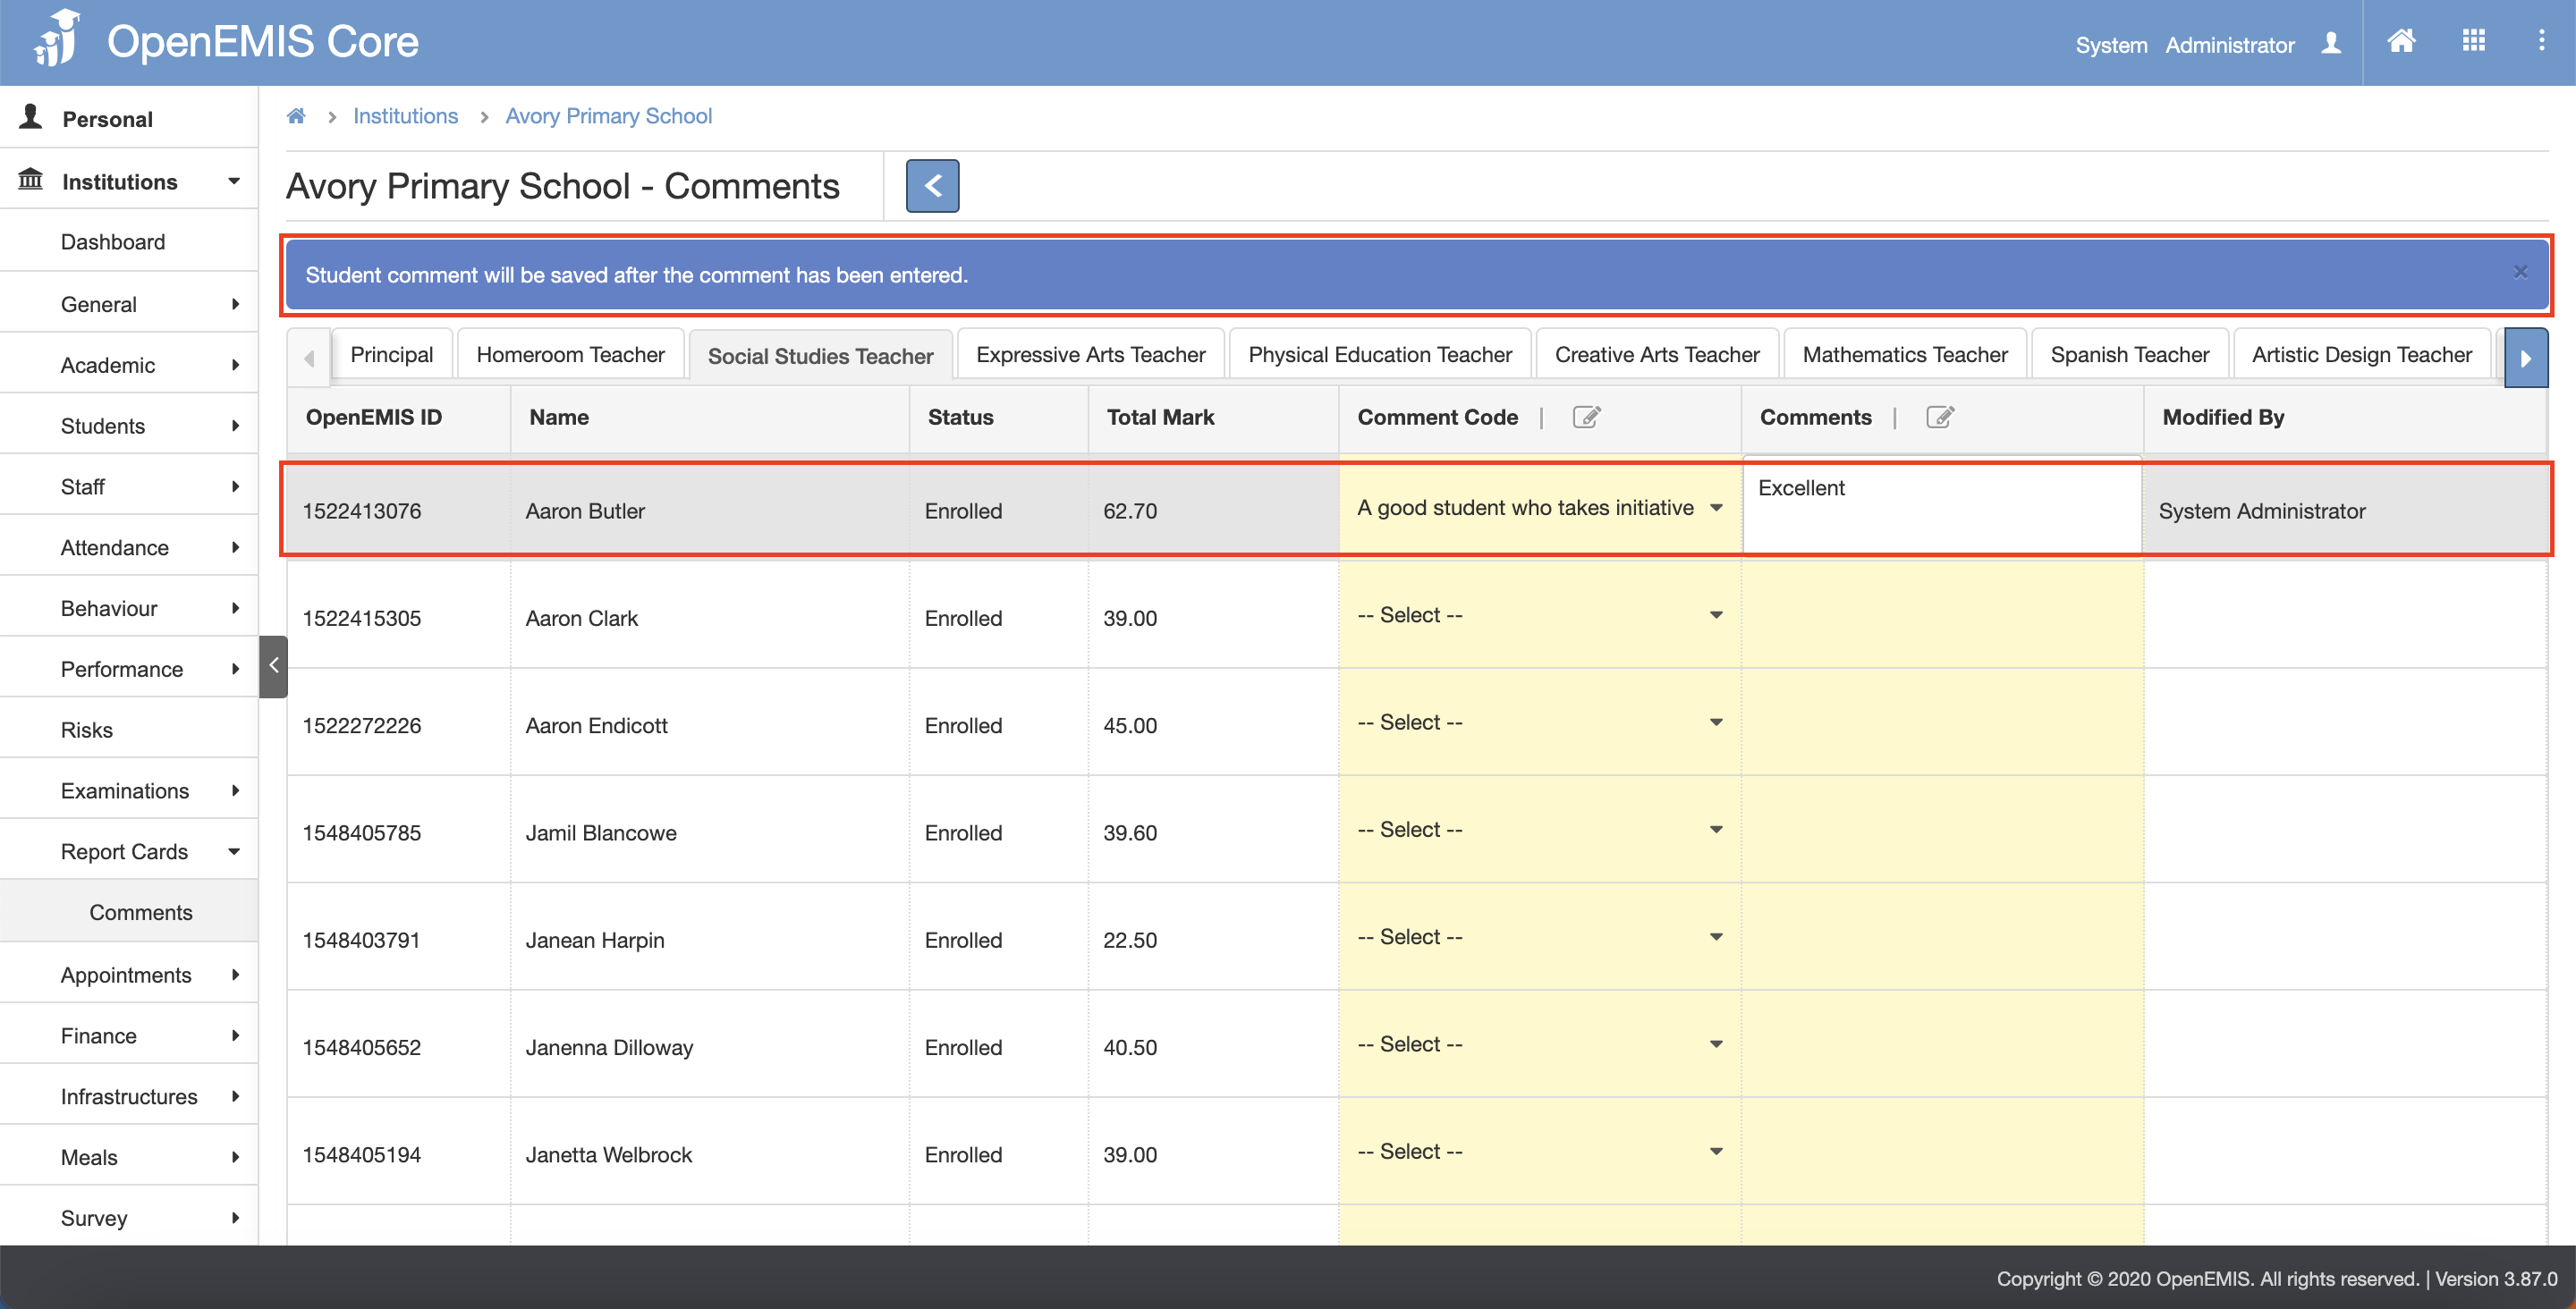
3) The tabs will be as follows: Principal, Homeroom Teacher and the specific Subject Teacher.
4) The Comments will be added by the specific Role of the User
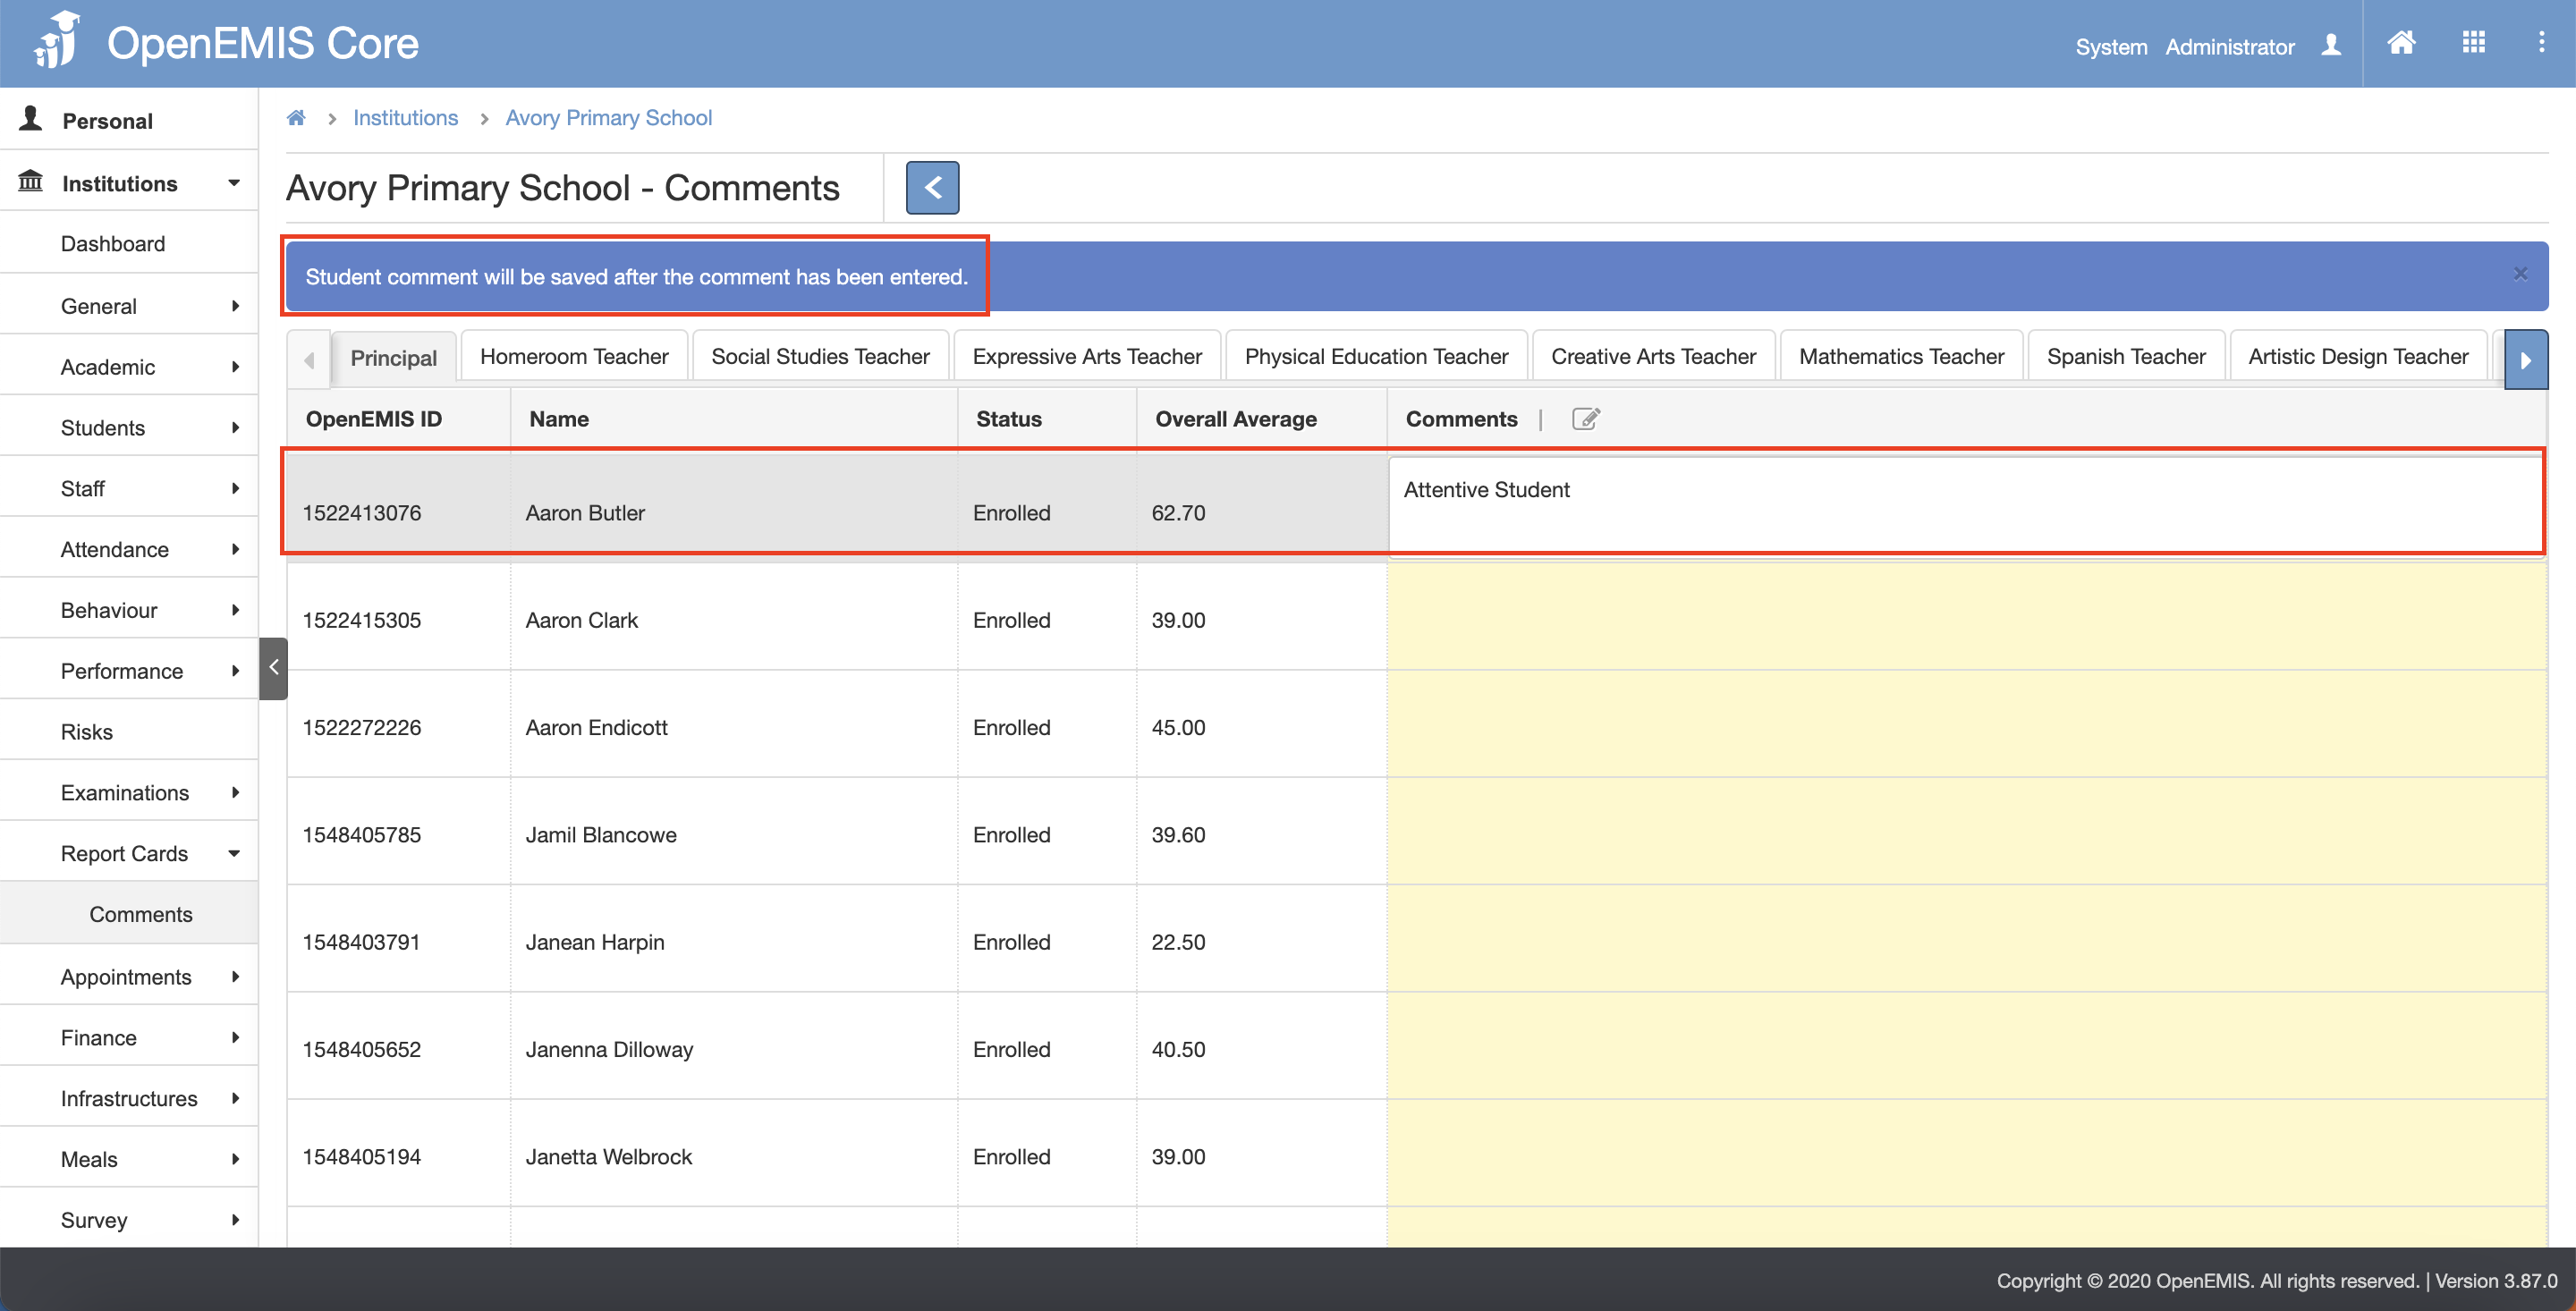
5) Click on the Edit button.
6) Enter the comments. (Comments will be Auto-saved.)
Update Comments for Student Card Report
1) Go to Institutions > Report Cards > Comments page.
2) Under the Actions column, click on the Select button and click on the View button.
3) The tabs will be as follows: Principal, Homeroom Teacher and the specific Subject Teacher.
4) The Comments will be added by the specific Role of the User
5) Click on the Edit button.
6) If you select on any Subject Teacher tab, you will be able to see the Comment Codes that was created earlier will be appearing.

7) Enter the comments. (Comments will be Auto-saved.)
Student Report Card Status
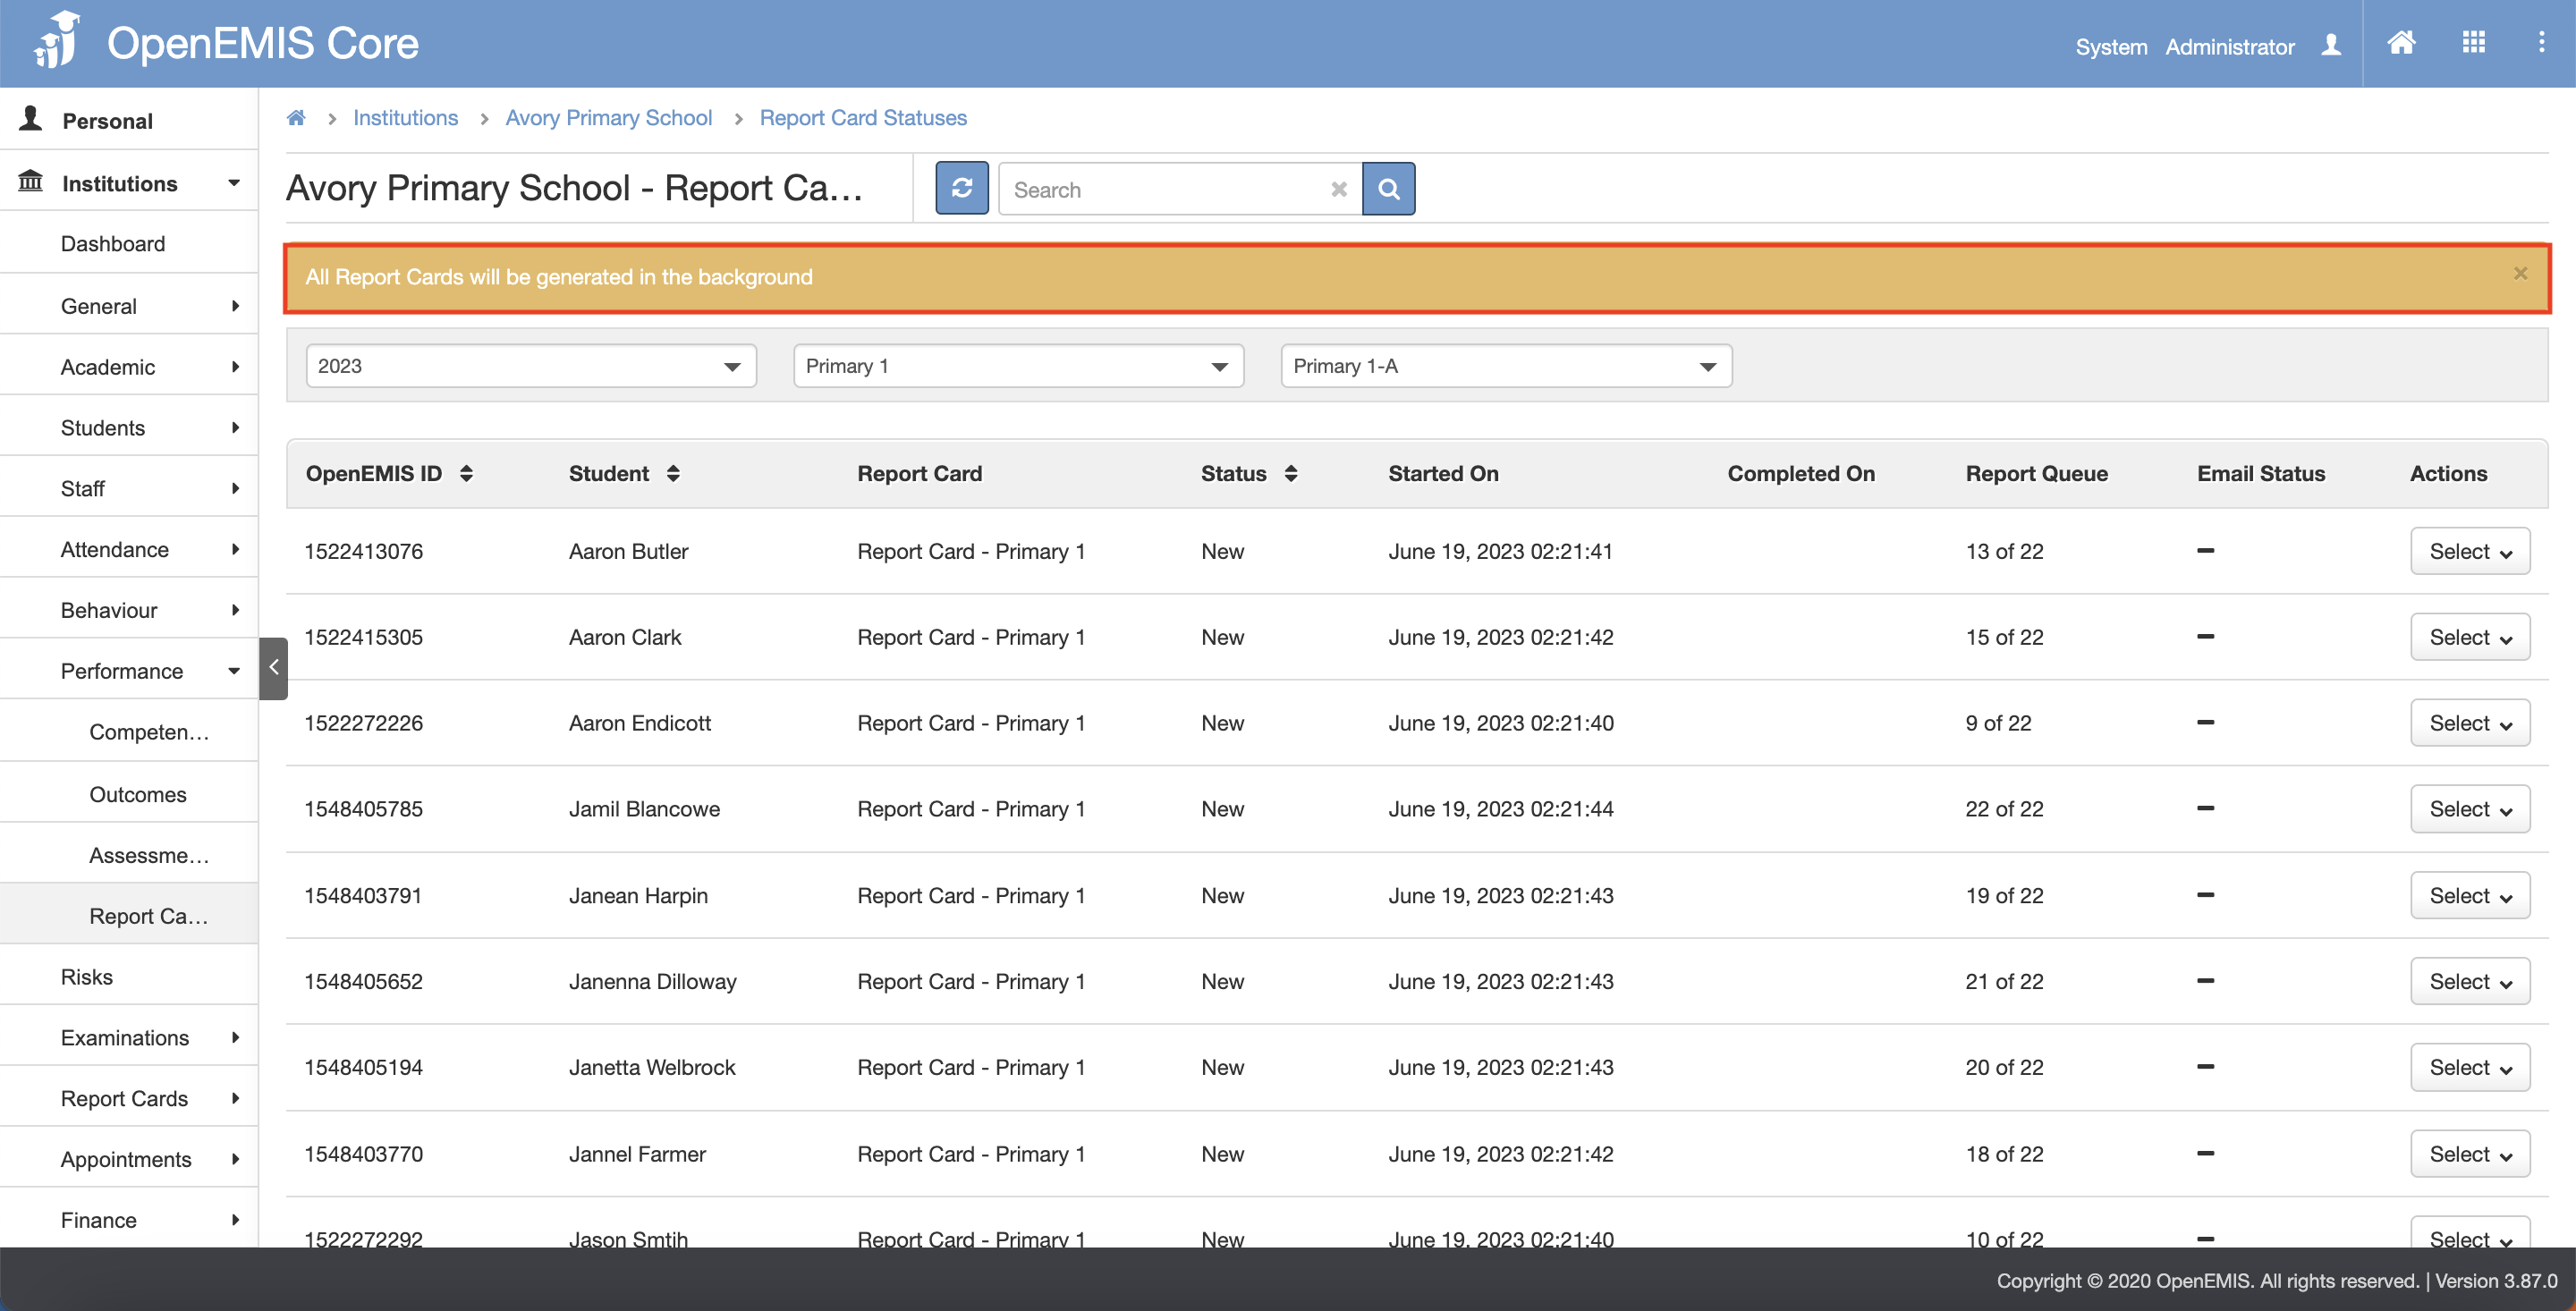
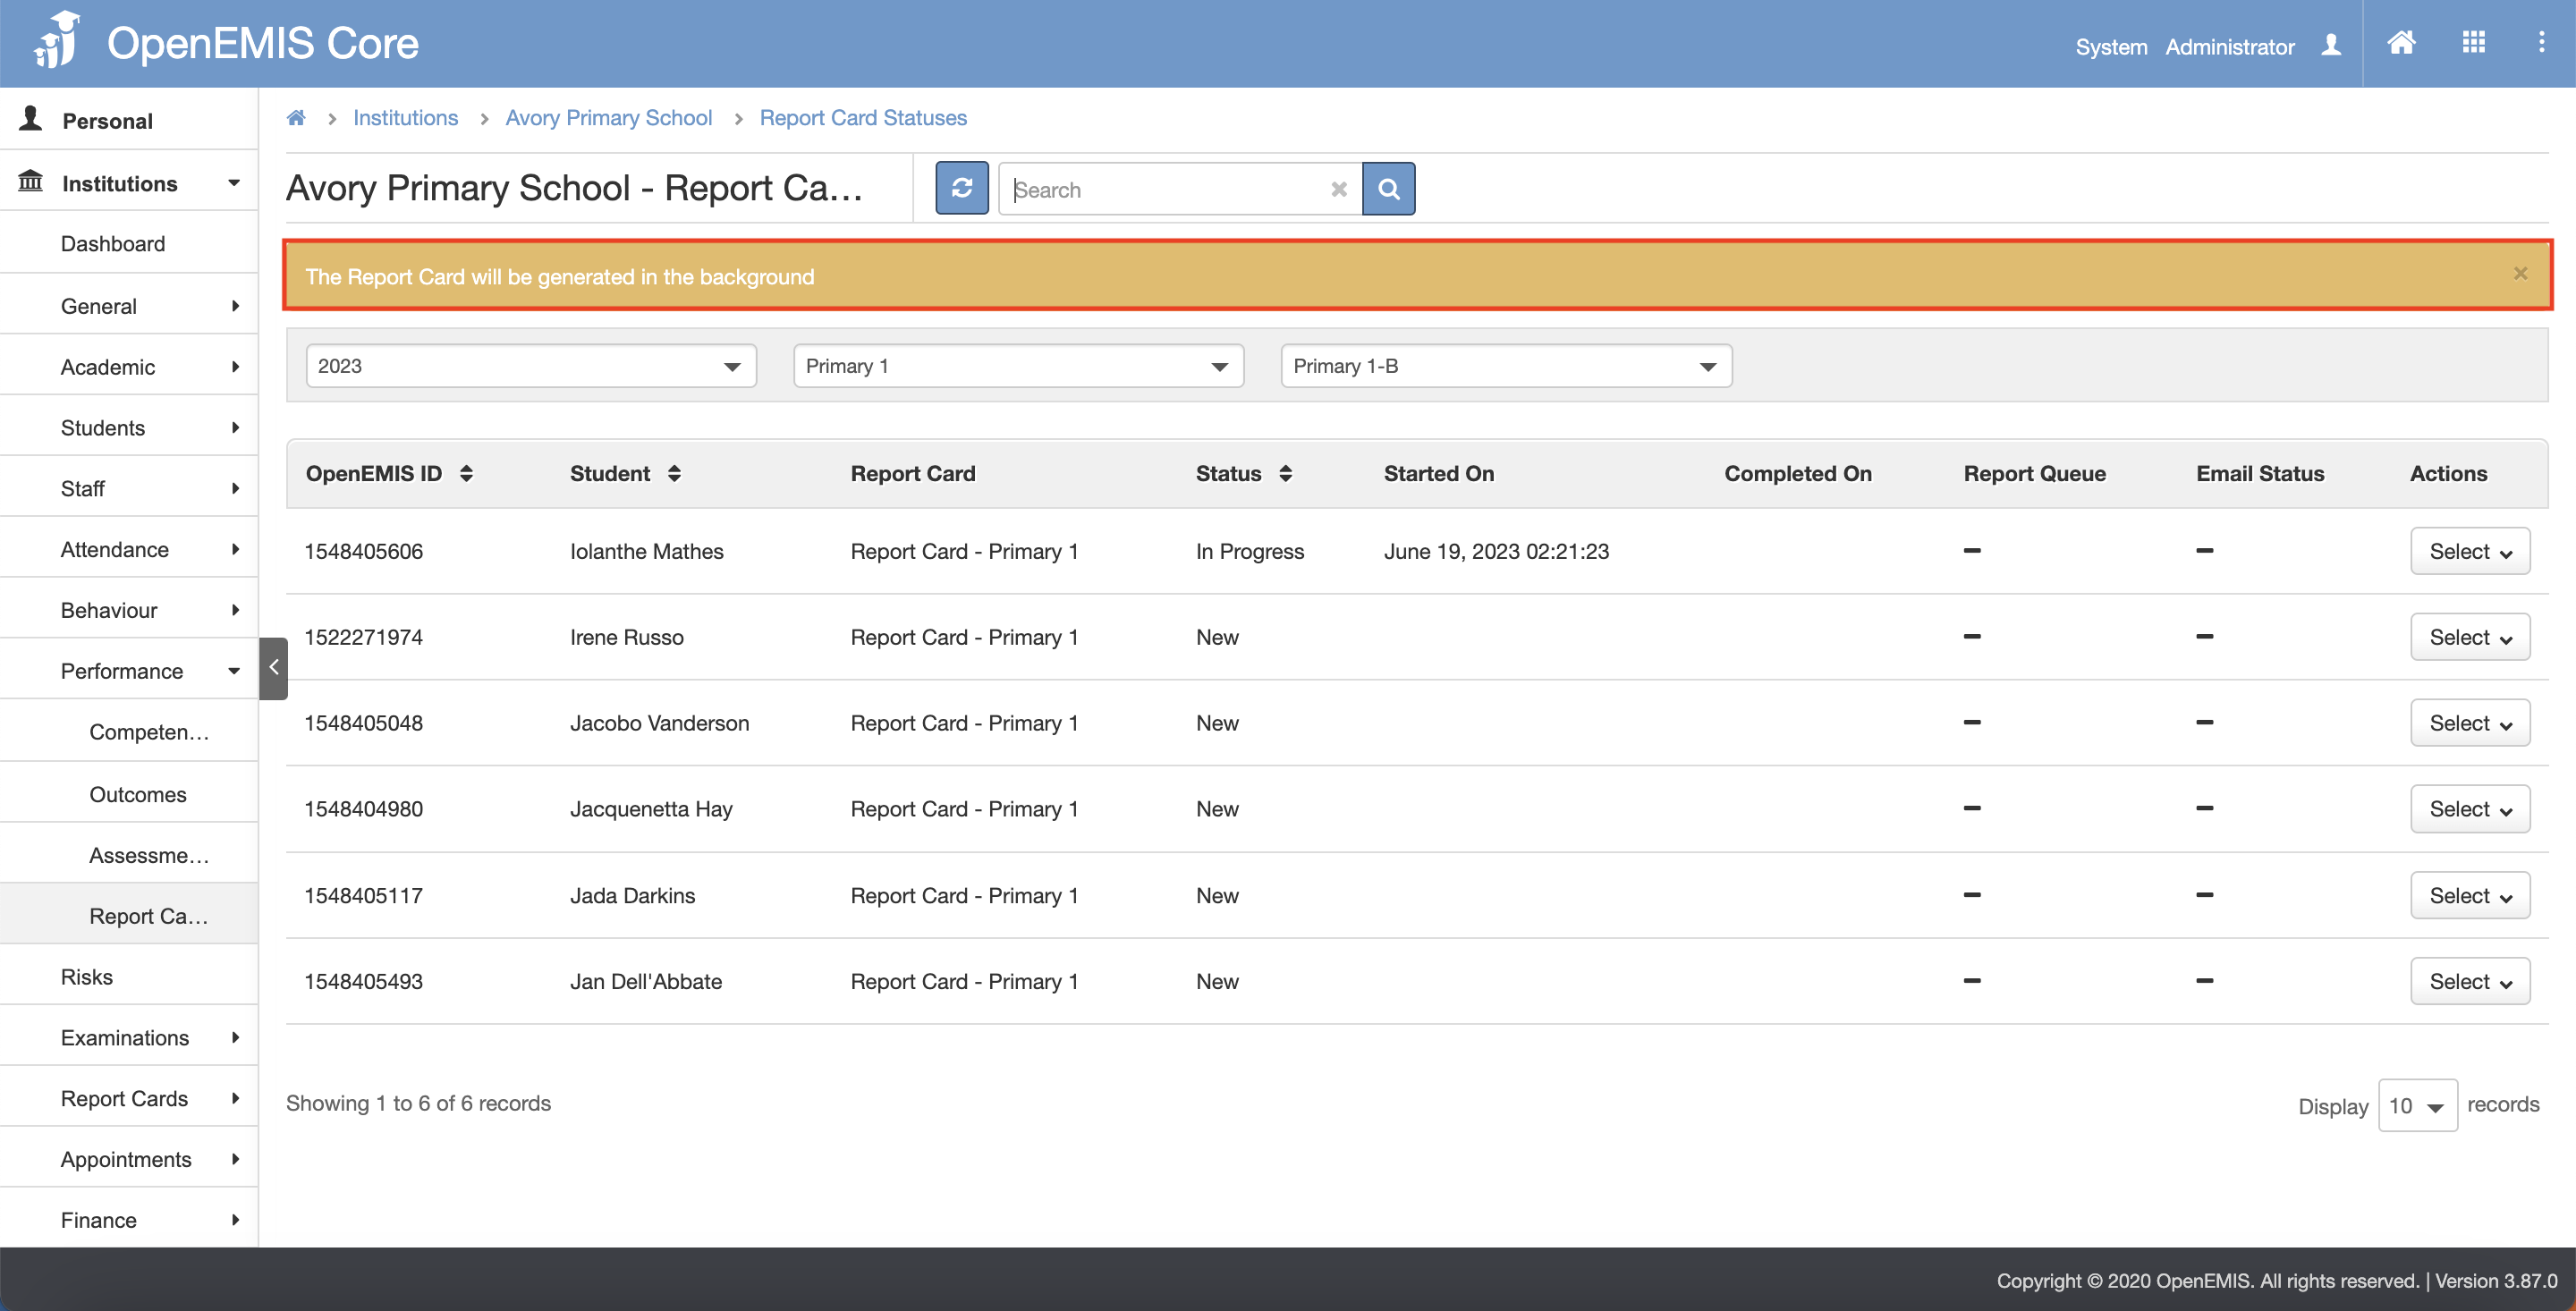
Generate Student Report Card
1) Go to Institutions > Performance > Report Cards page.
2) You will be able to filter by Academic Period, Report Card Name and Education Grade.
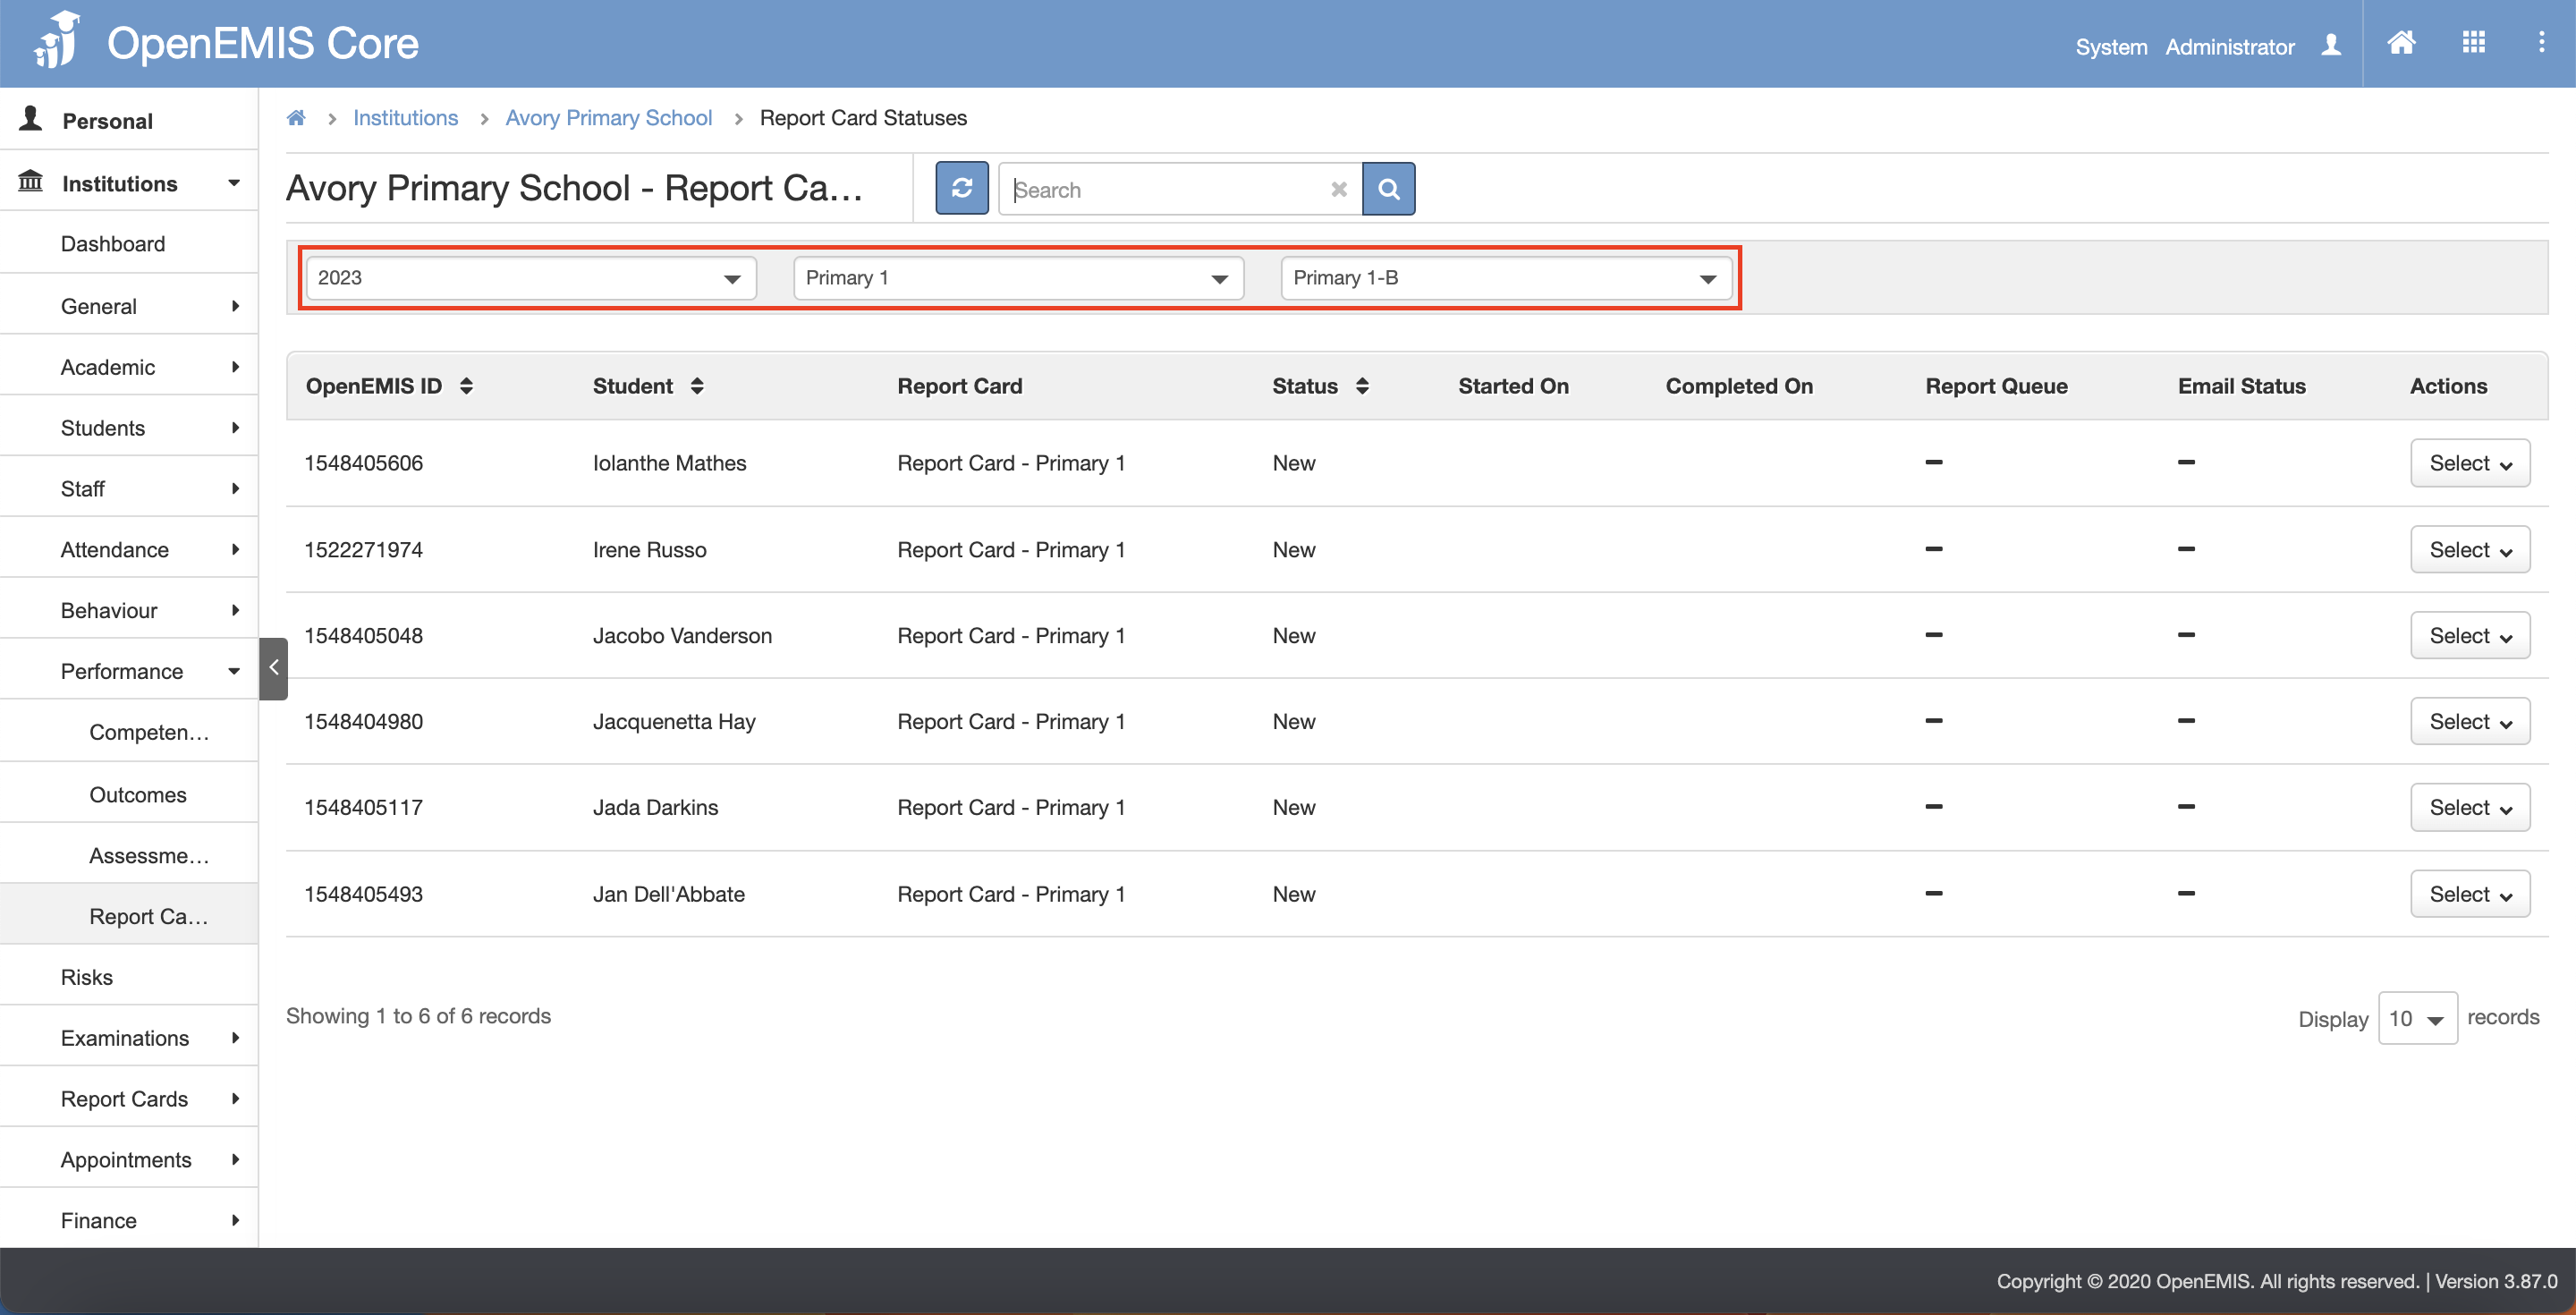
3) If the Status is New/Generated, you will be able to Generate All or Generate Individually.
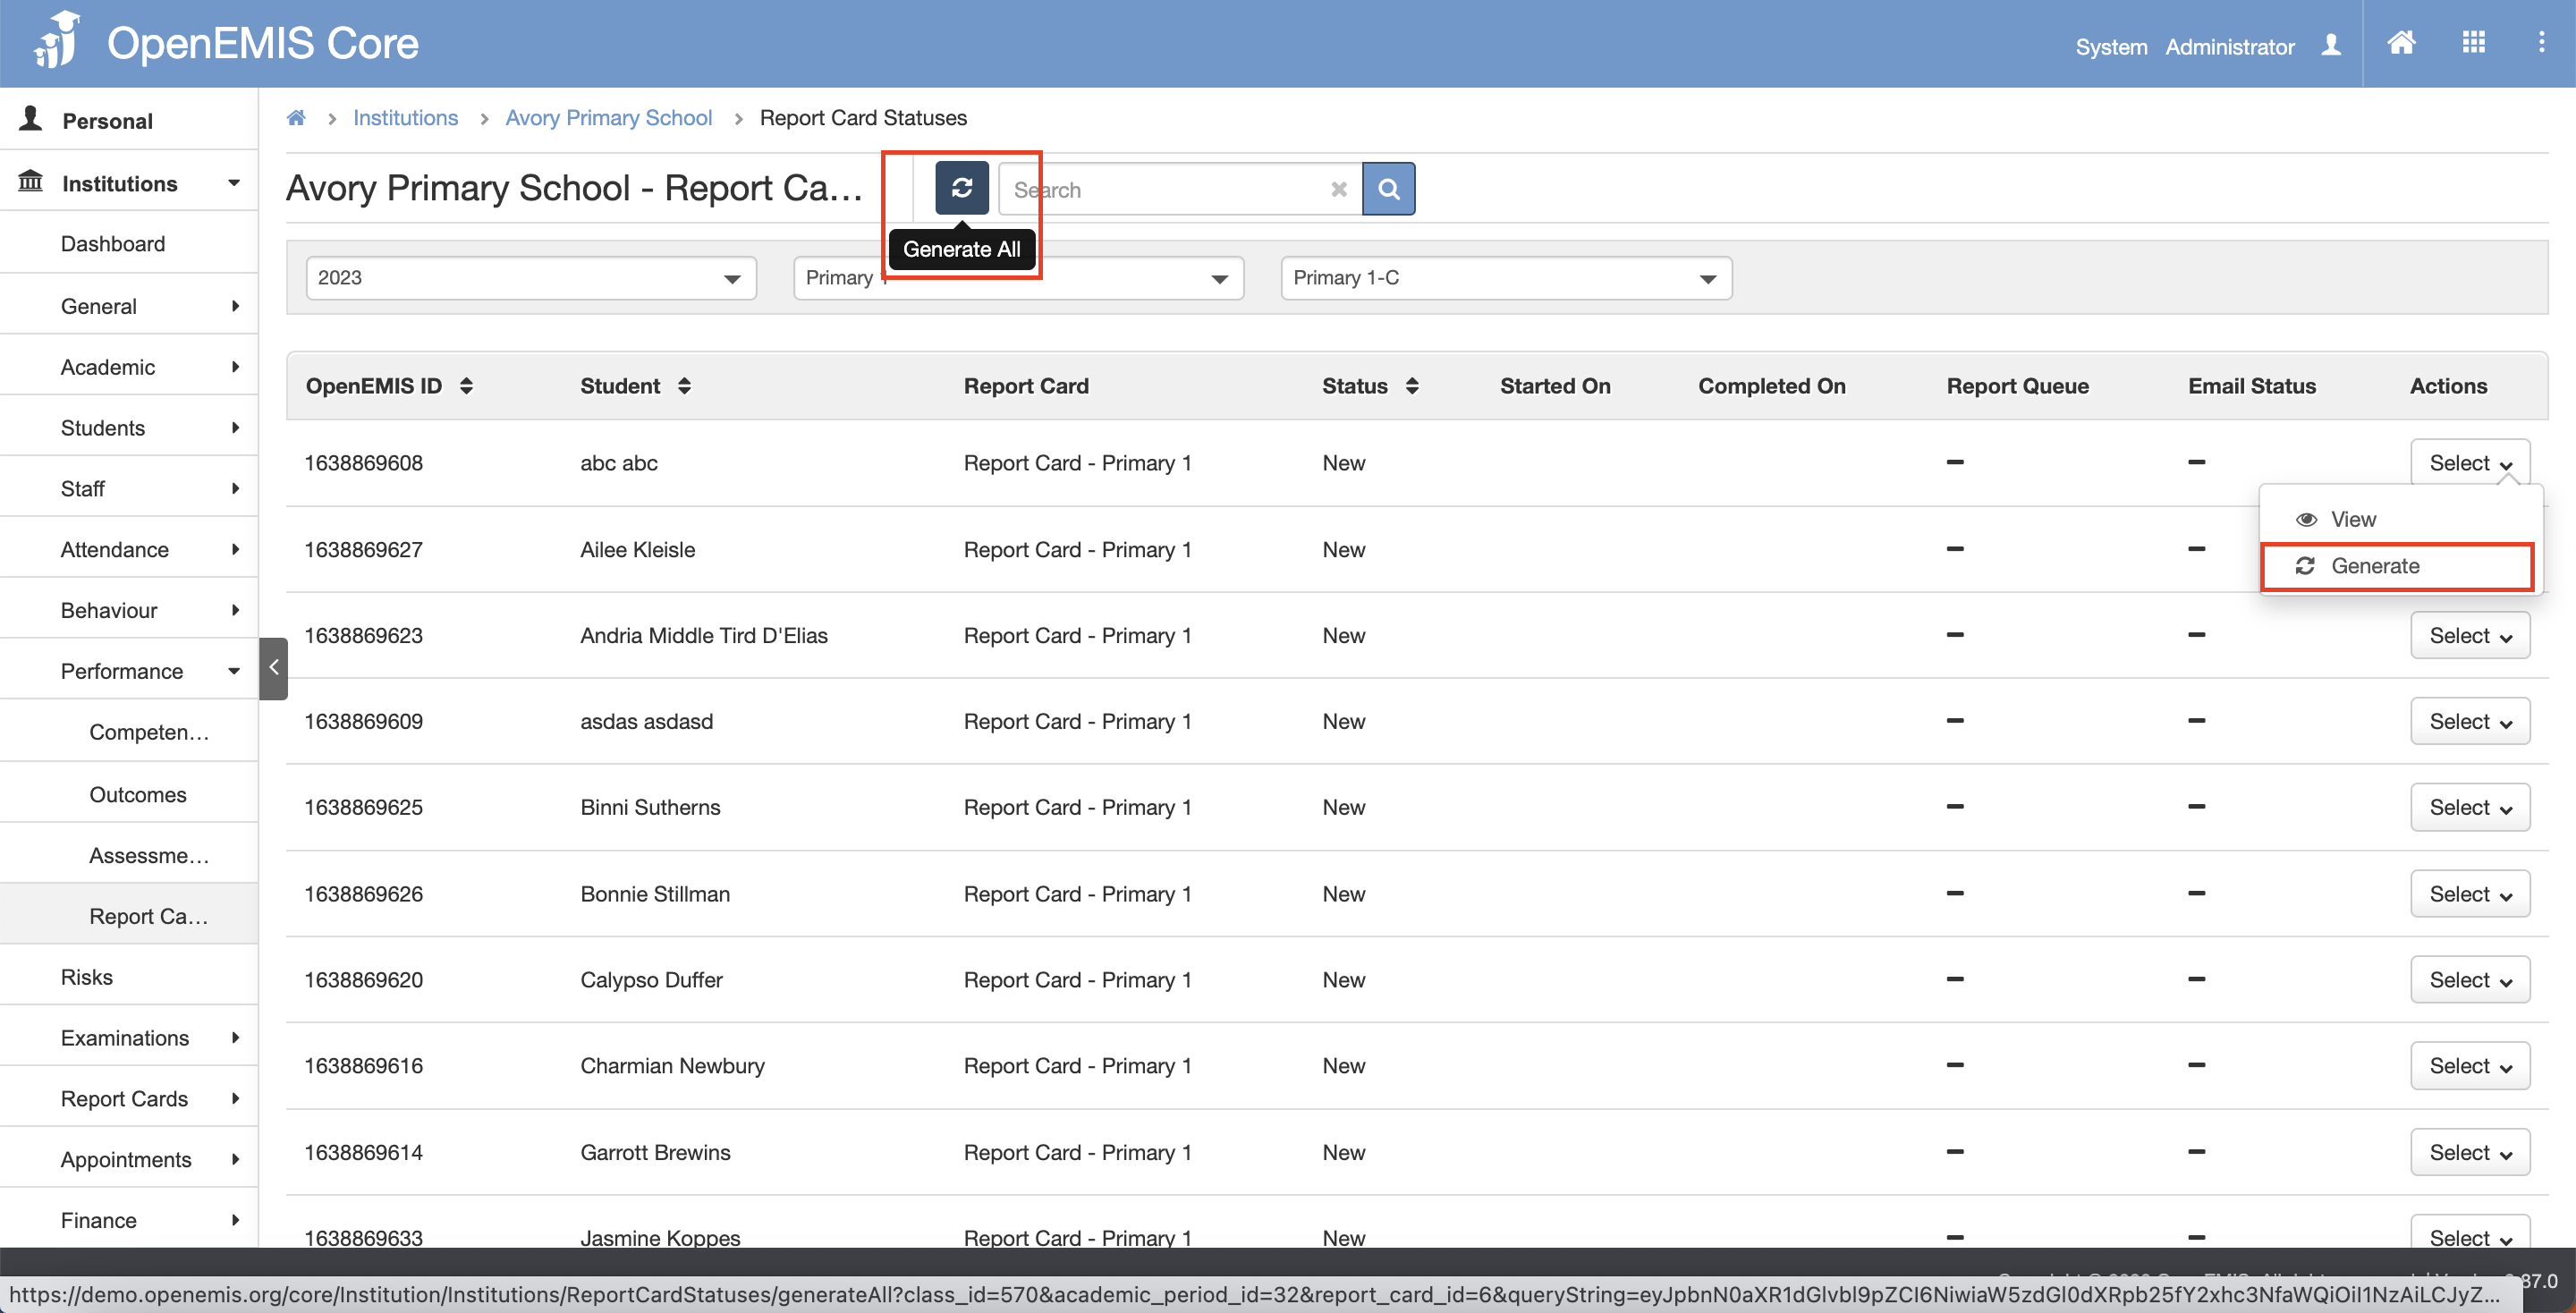
4) The message will be displayed upon generating successfully.
Generate All:
Generate Individually:
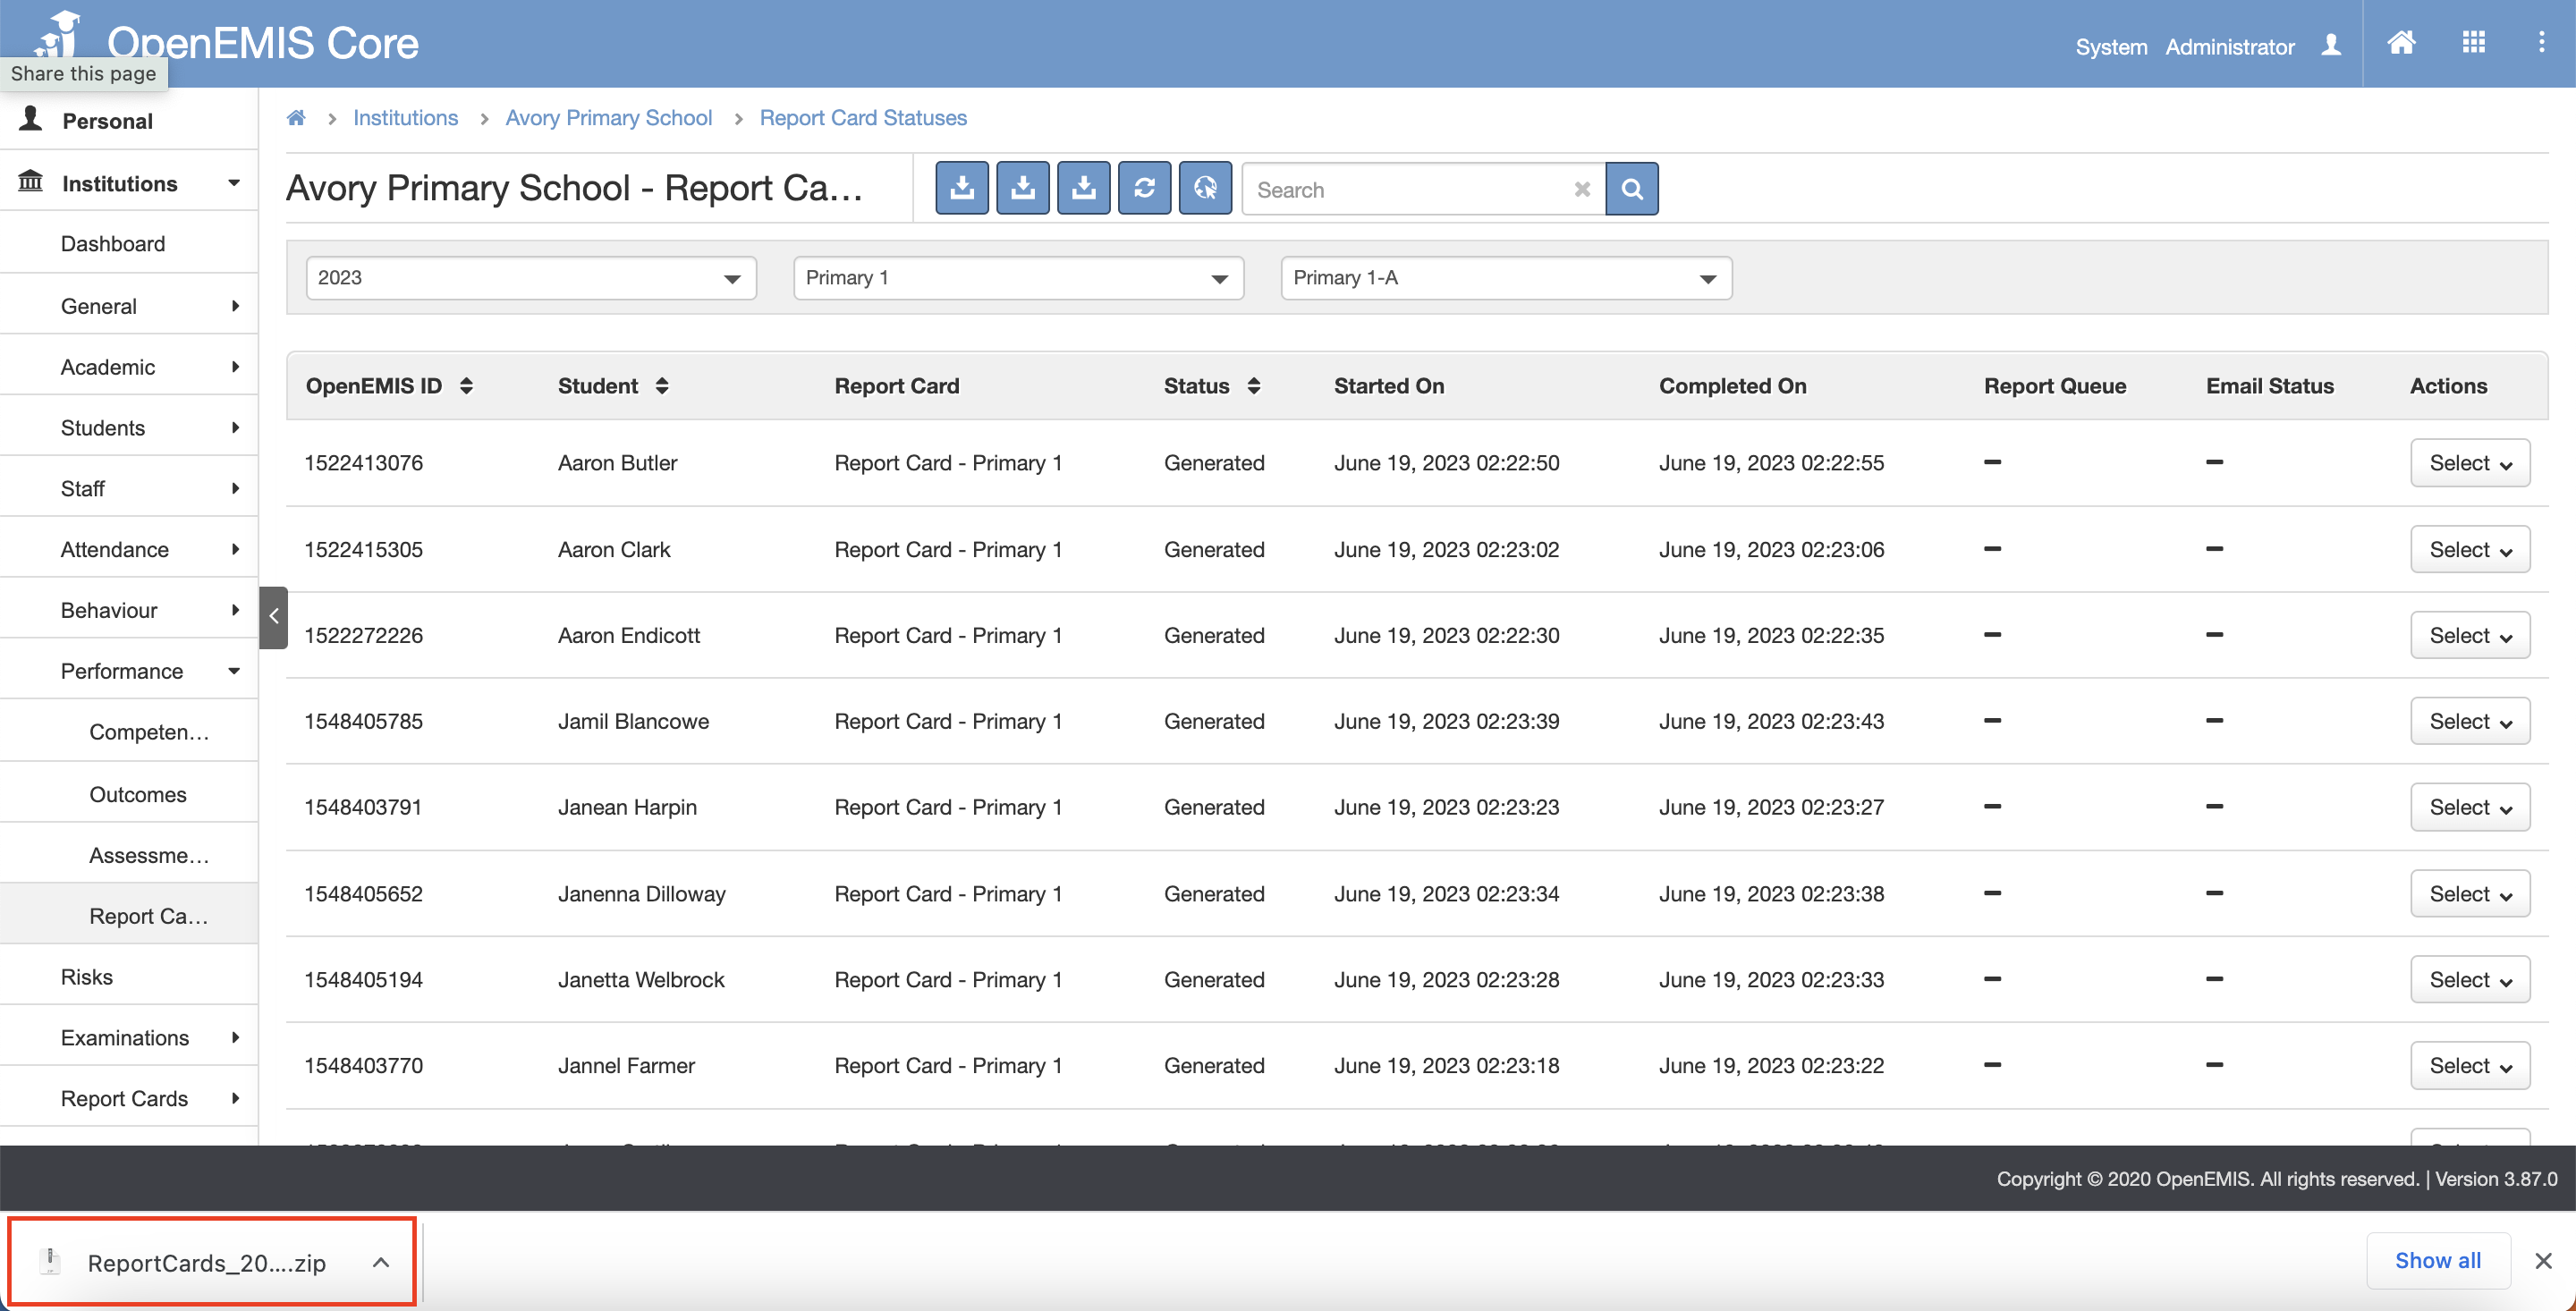
Download Student Report Card
1) Go to Institutions > Performance > Report Cards page.
2) You will be able to filter by Academic Period, Report Card Name and Education Grade.
3) If the Status is Generated/Published, you will be able to Download All or Download Individually.
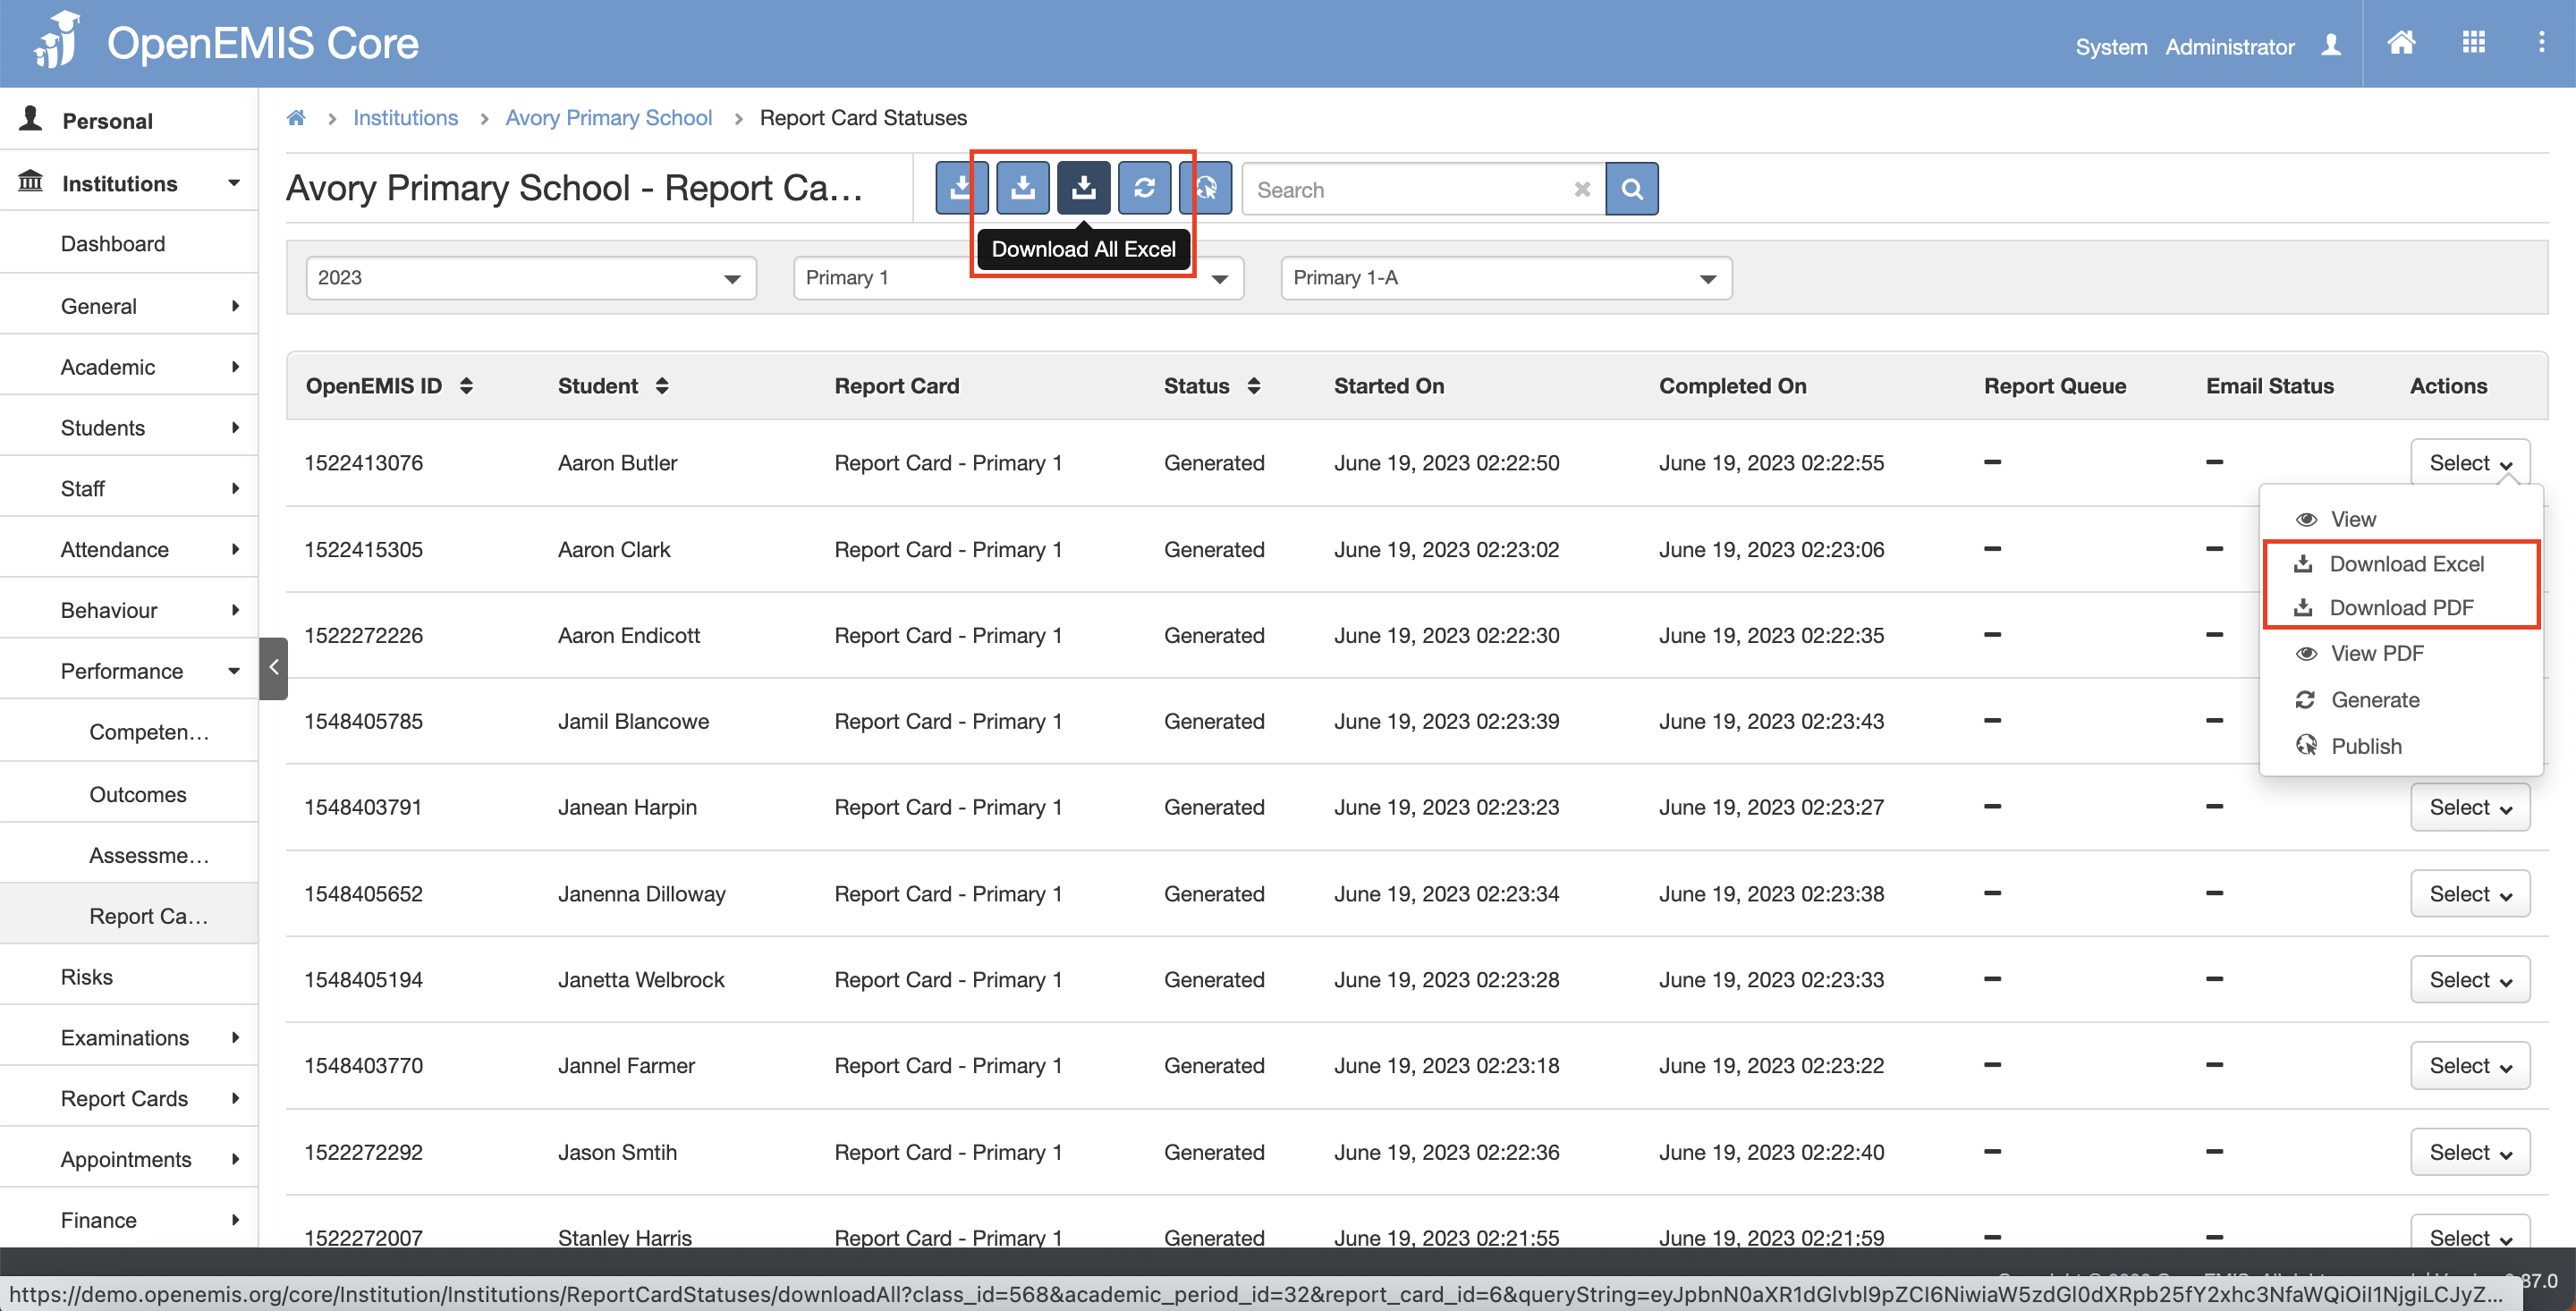
4) The files will be downloaded in the background.
Download Individually:
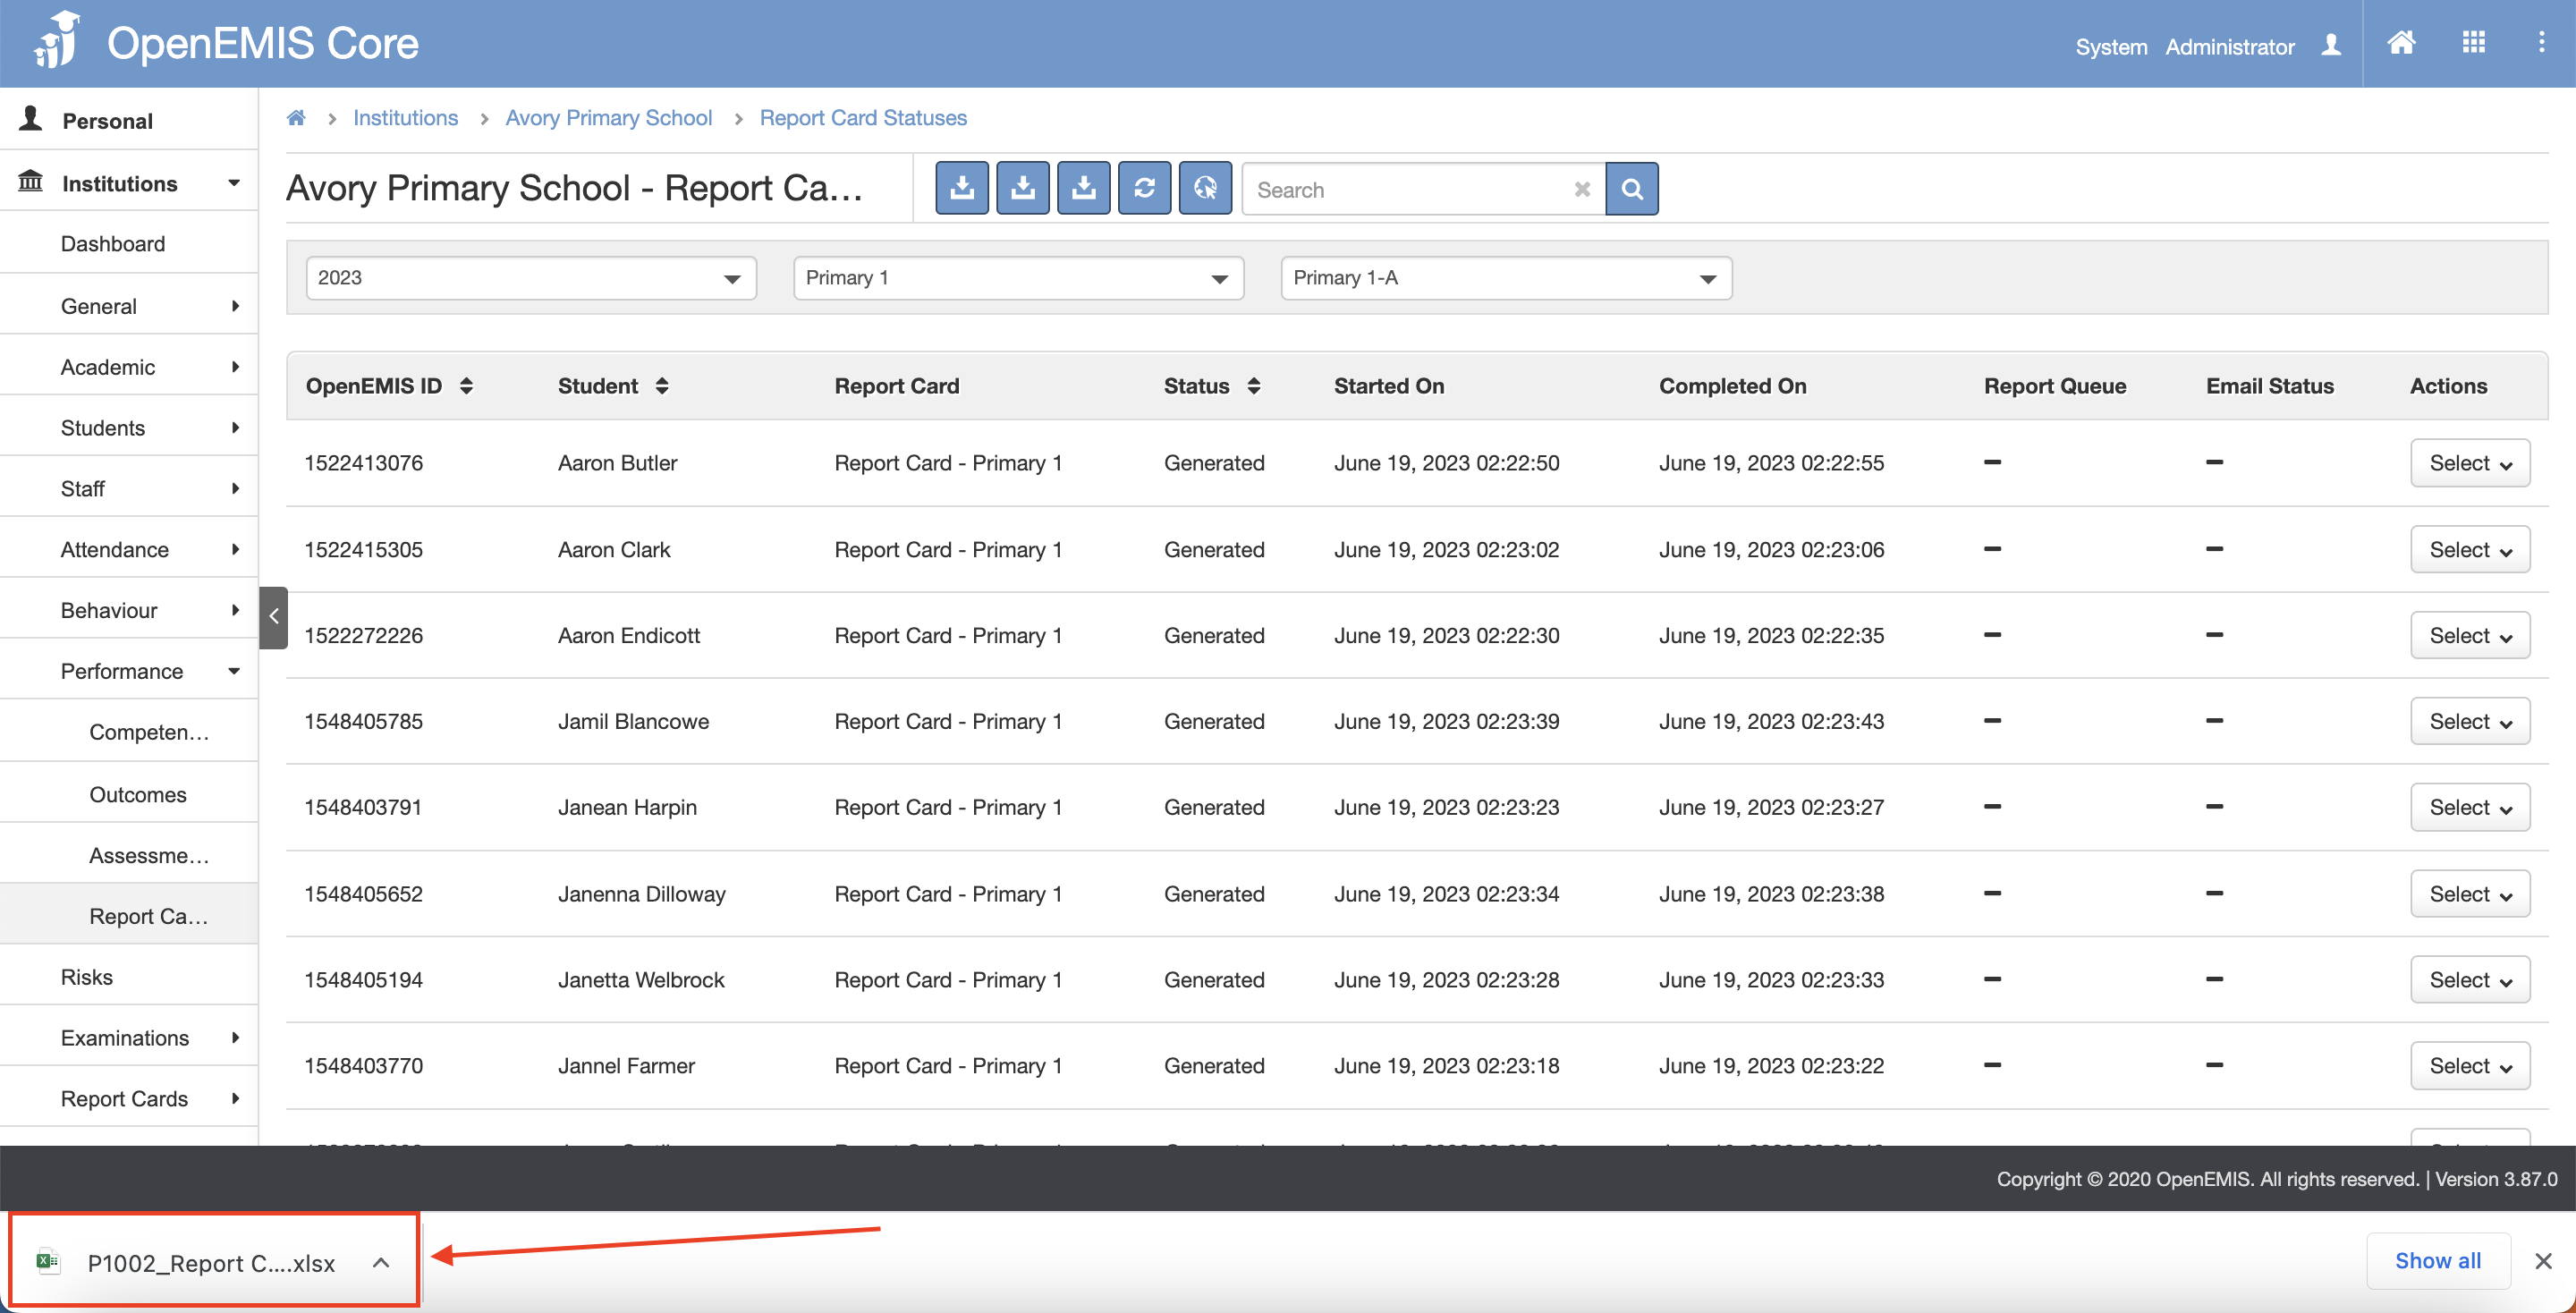
Download All:
- If Download All is selected, it will be saved in a ZIP file, with all the individual Student Reports.
Publish Student Report Card
1) Go to Institutions > Performance > Report Cards page.
2) You will be able to filter by Academic Period, Report Card Name and Education Grade.
3) The Status has to be Generated and you will be able to publish.
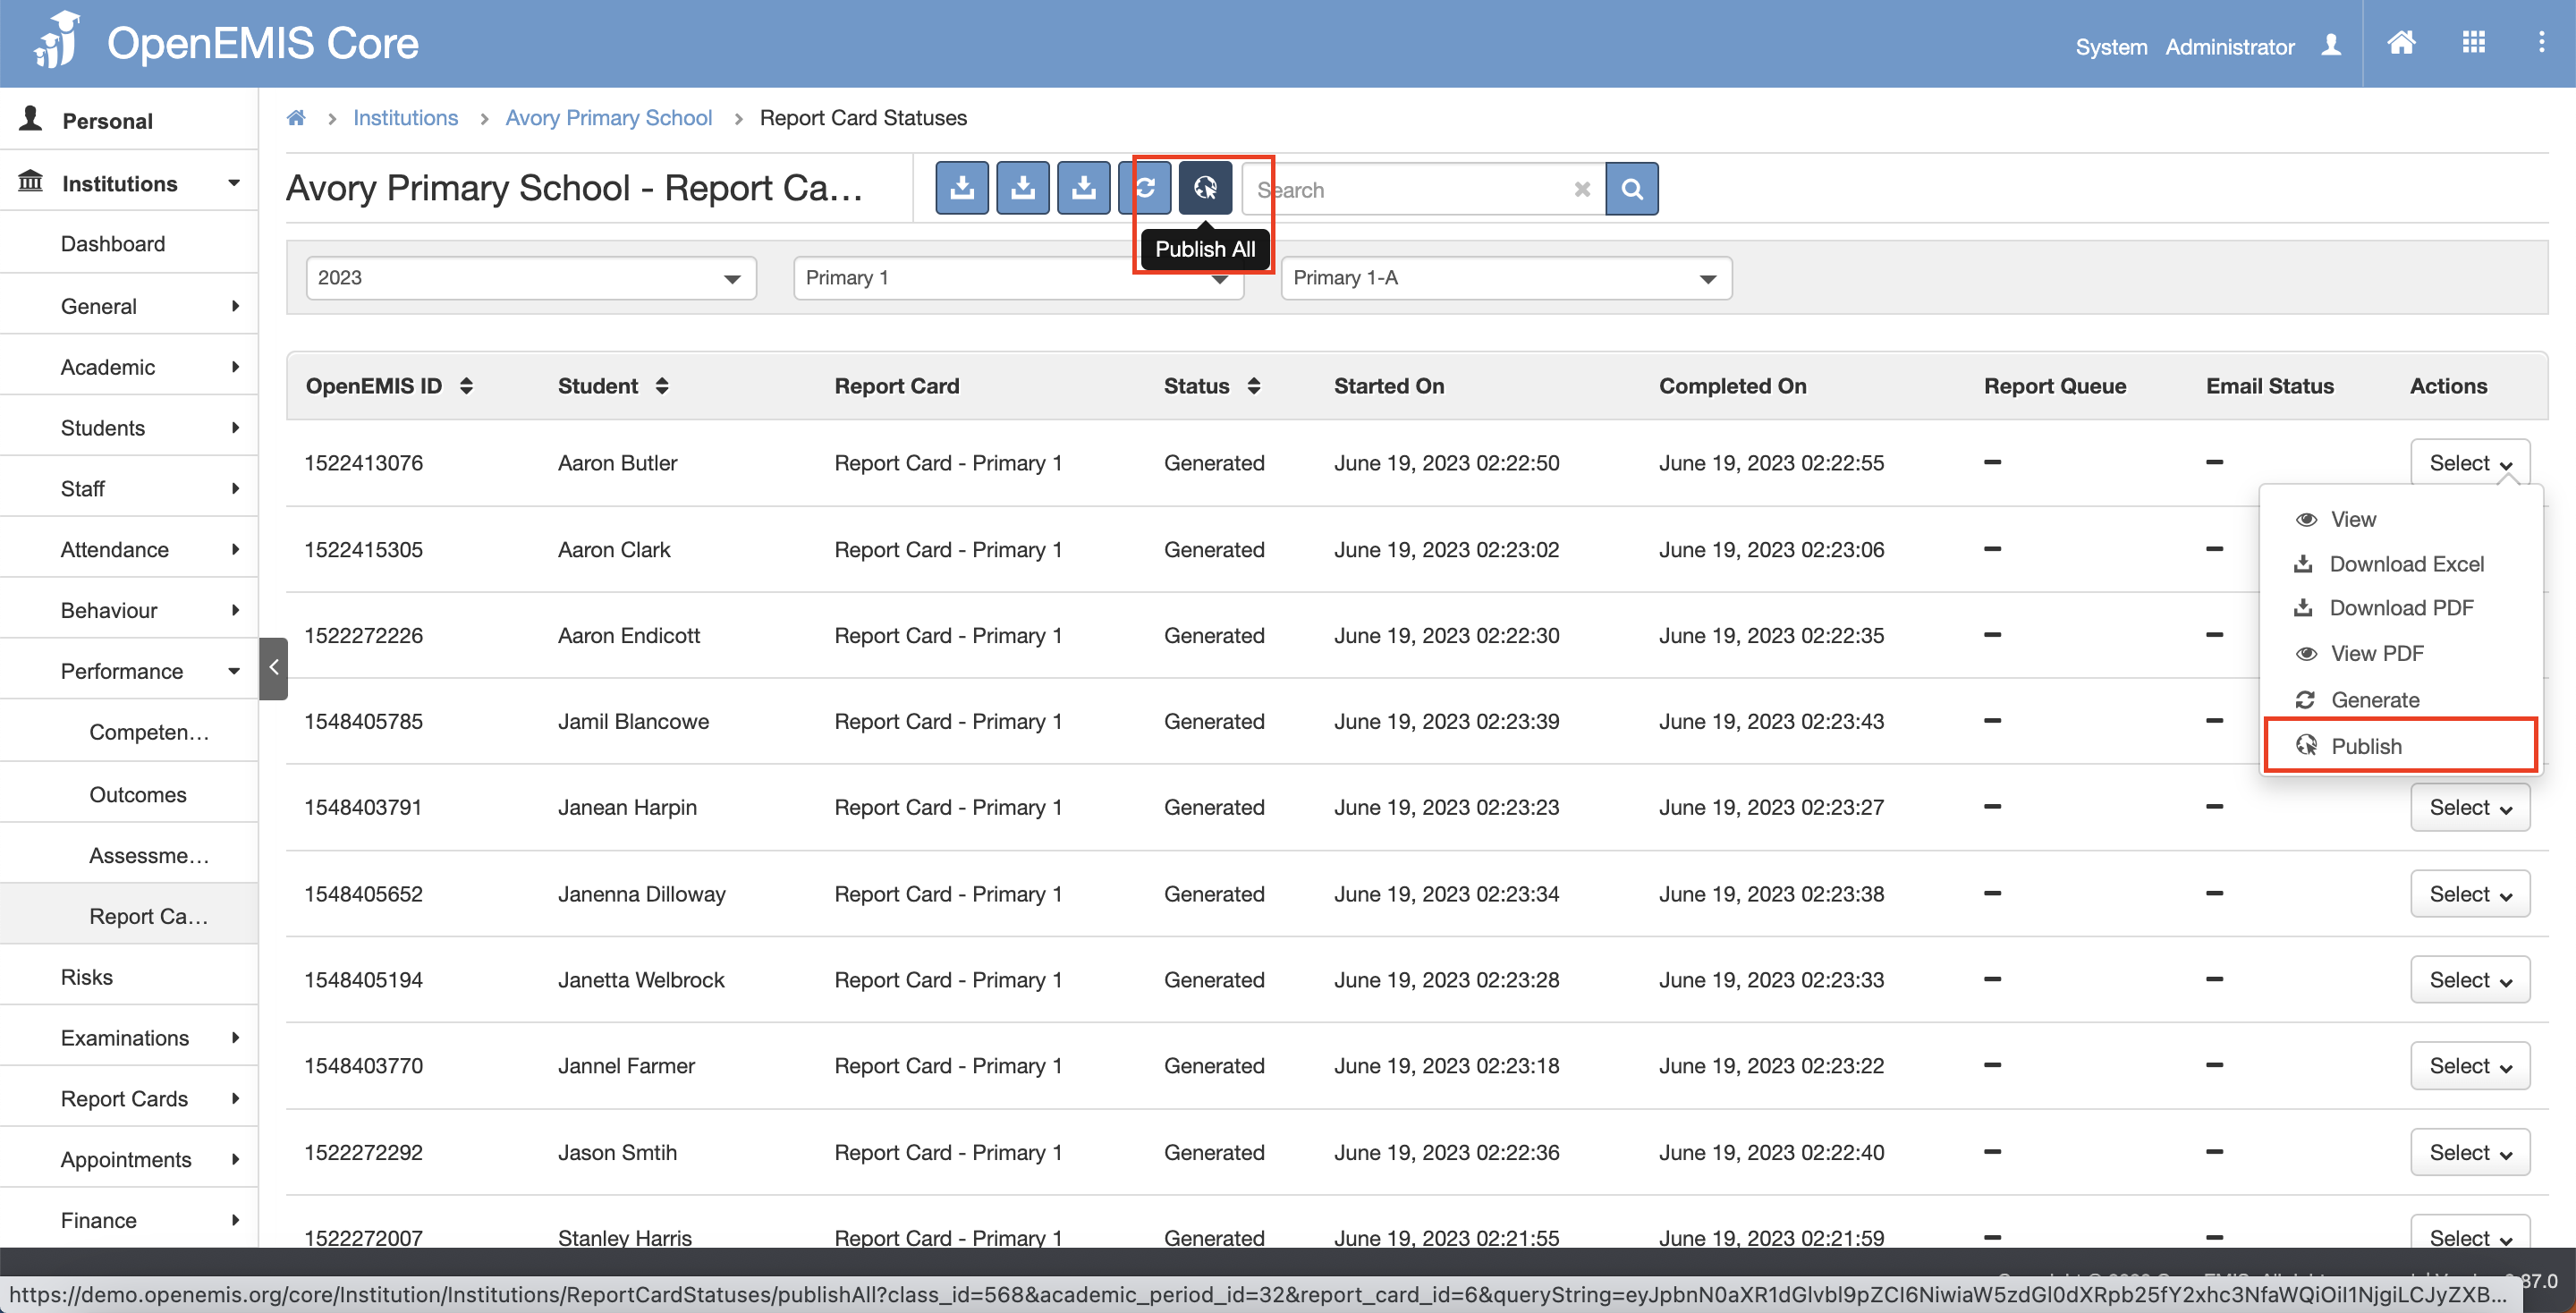
4) The message will be displayed upon publishing successfully.
Publish Individually:
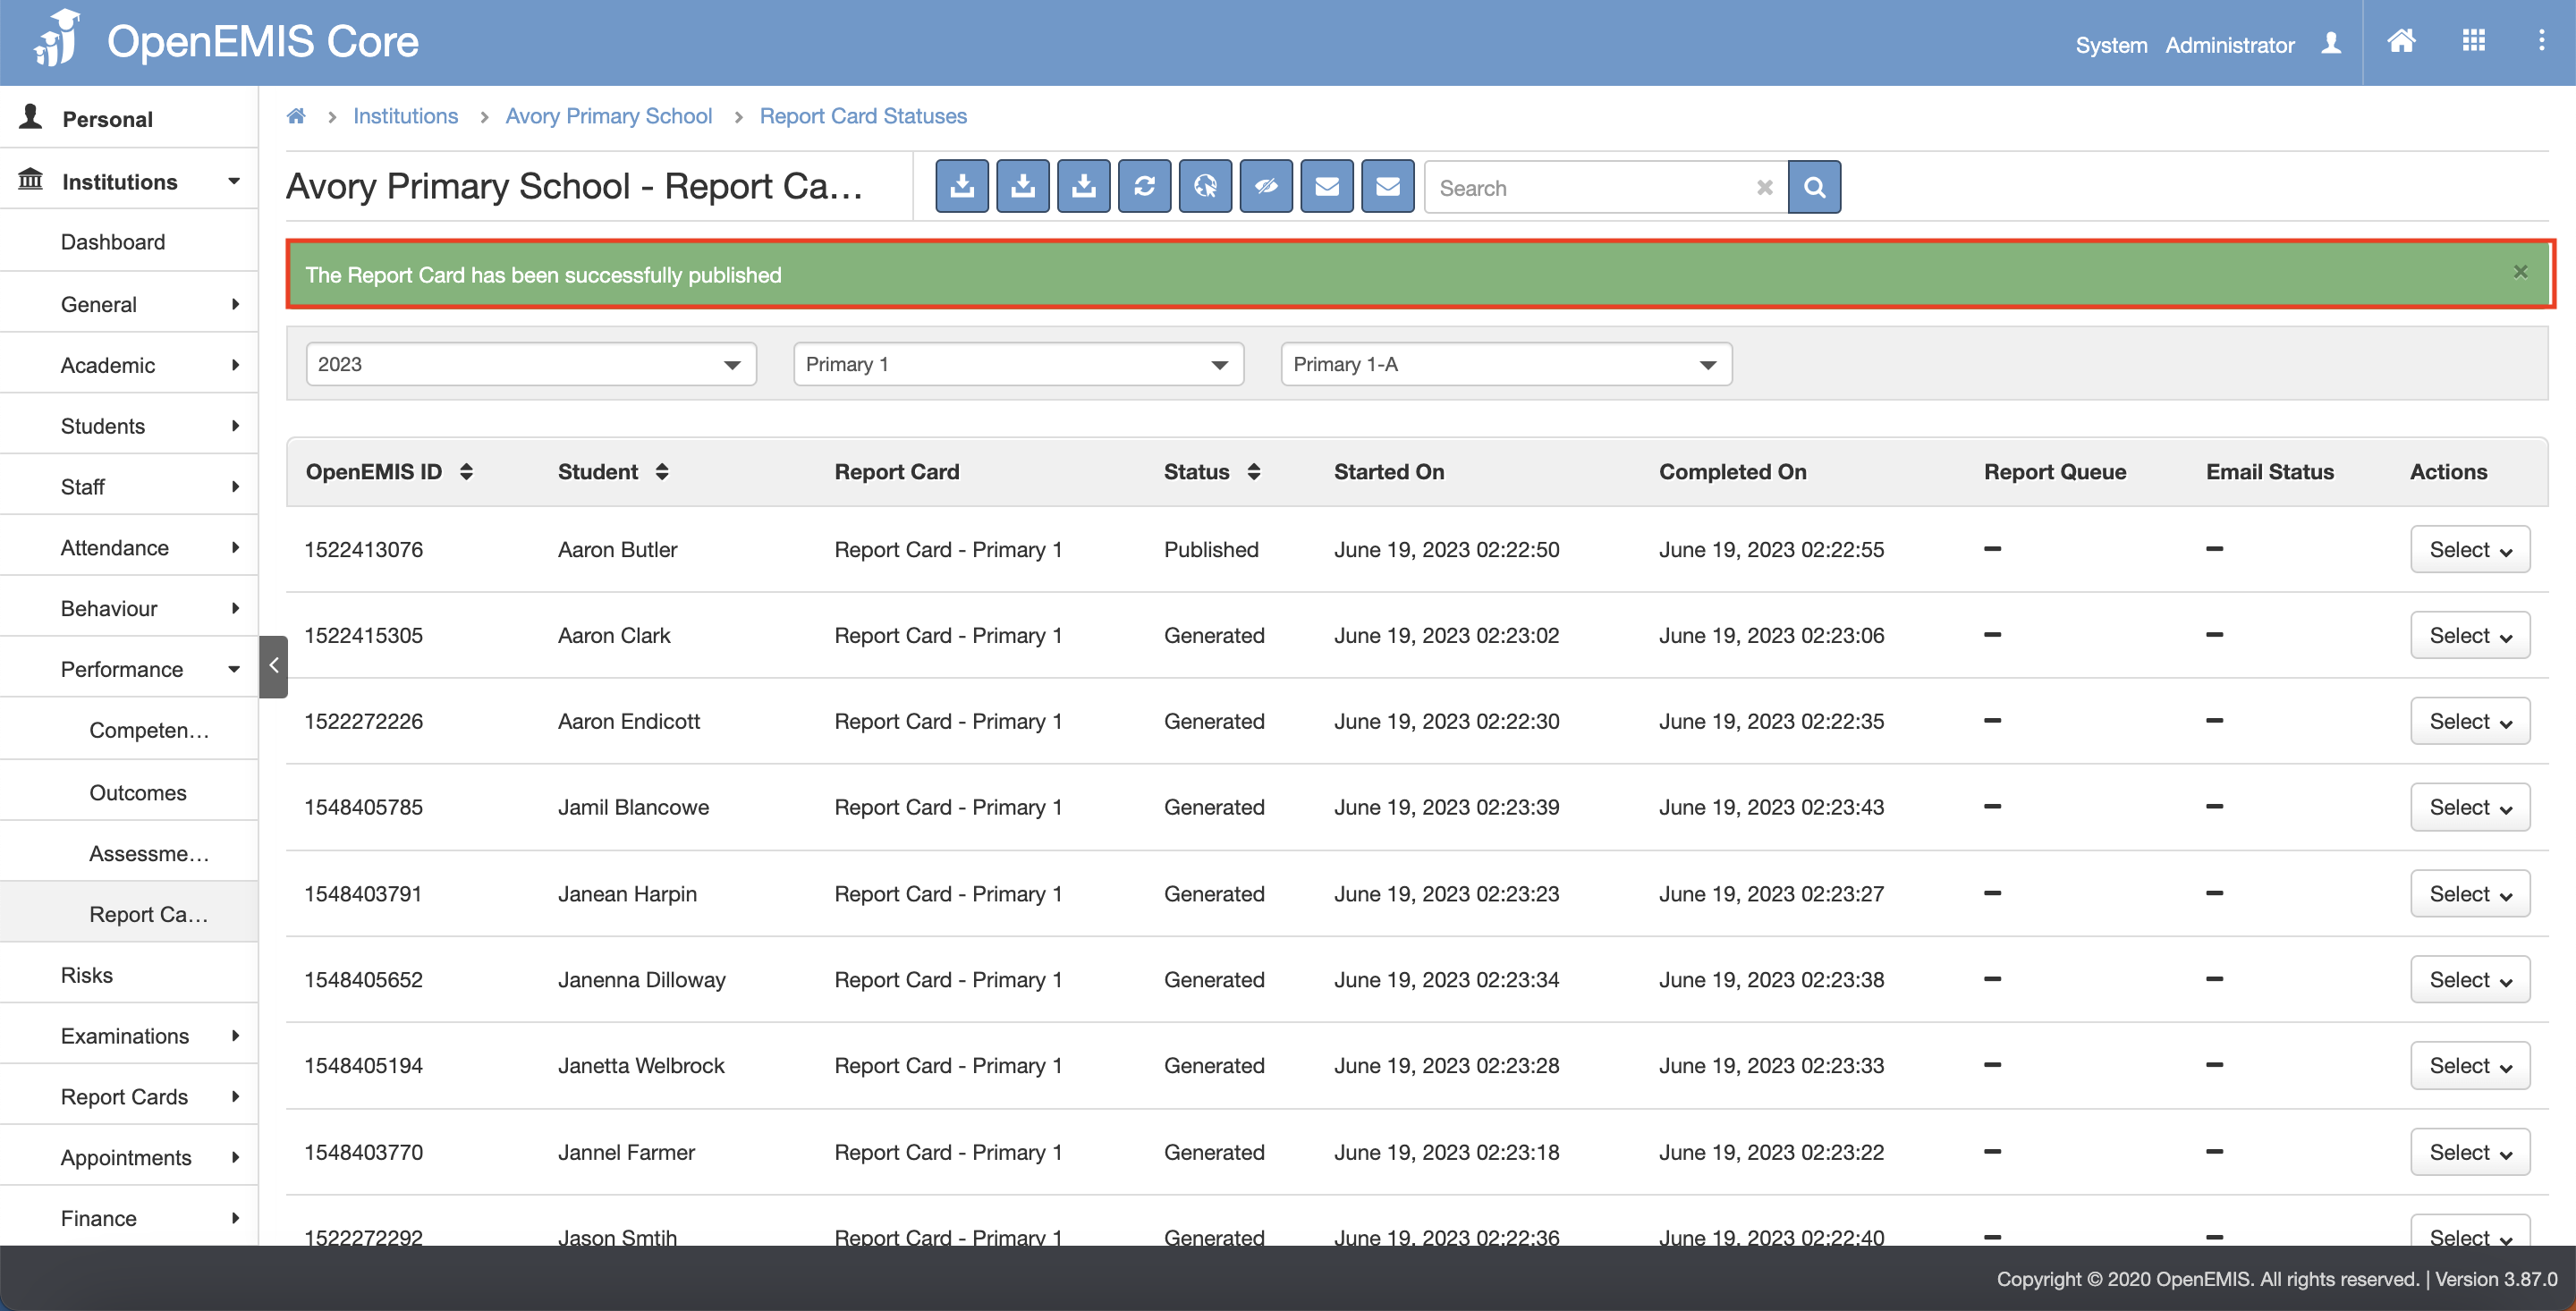
Publish All:
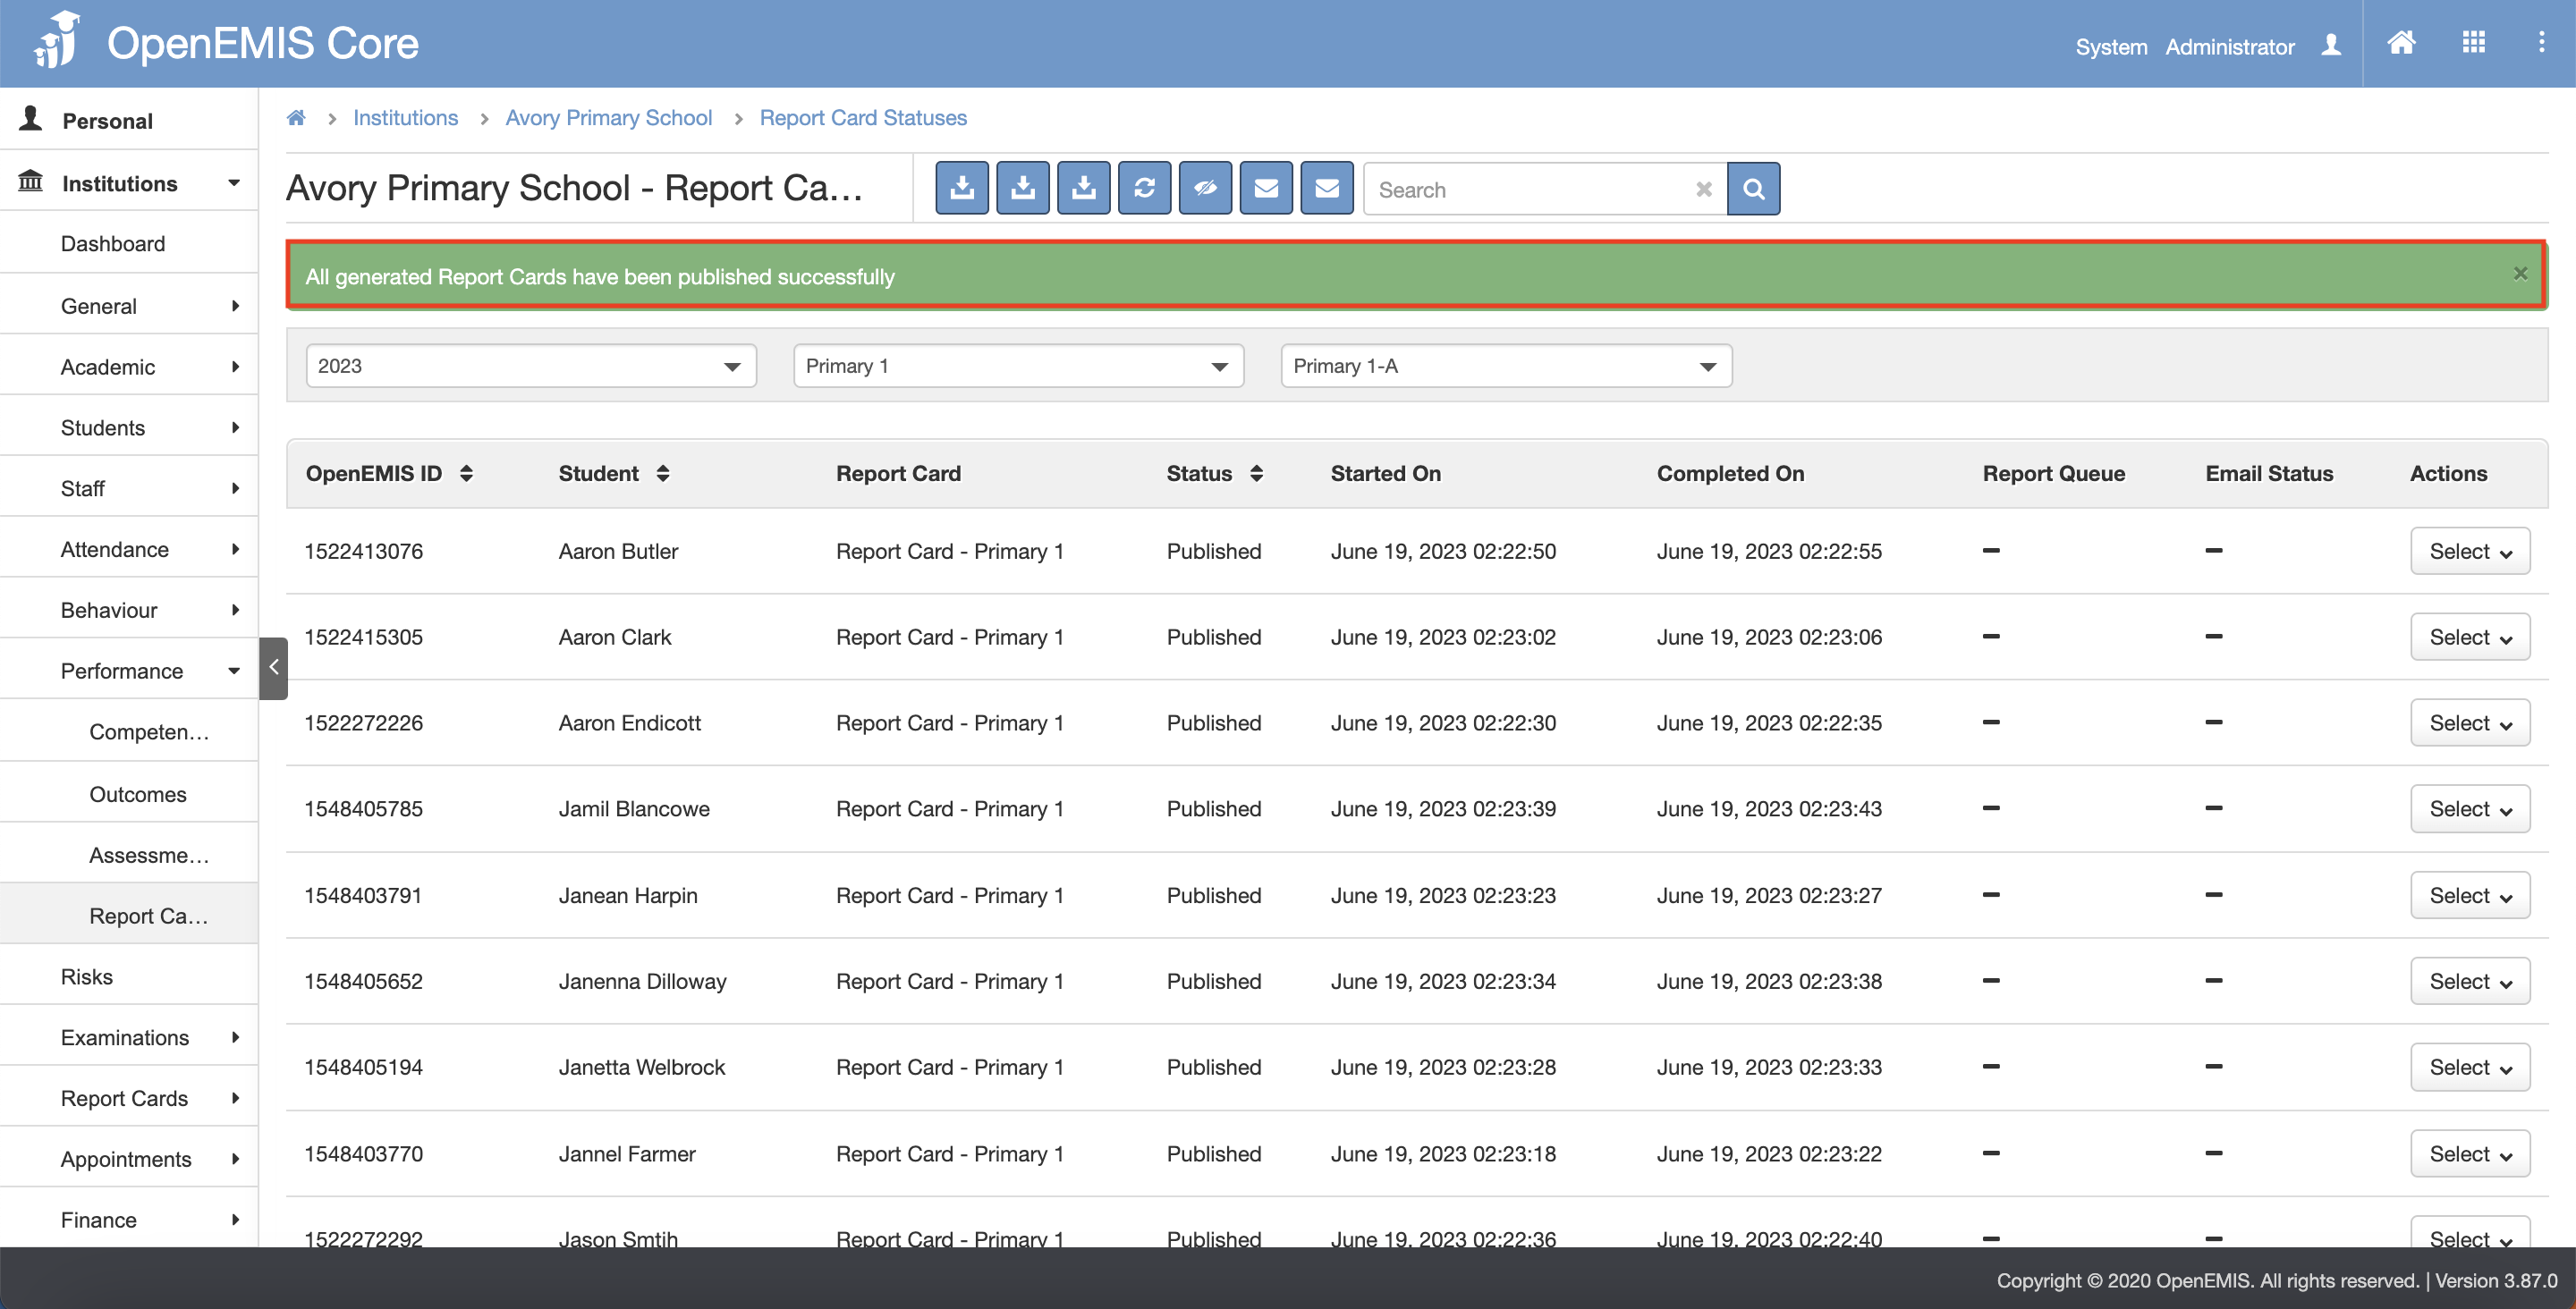
5) This would publish to Institution > Students > Academic > Report Cards page.
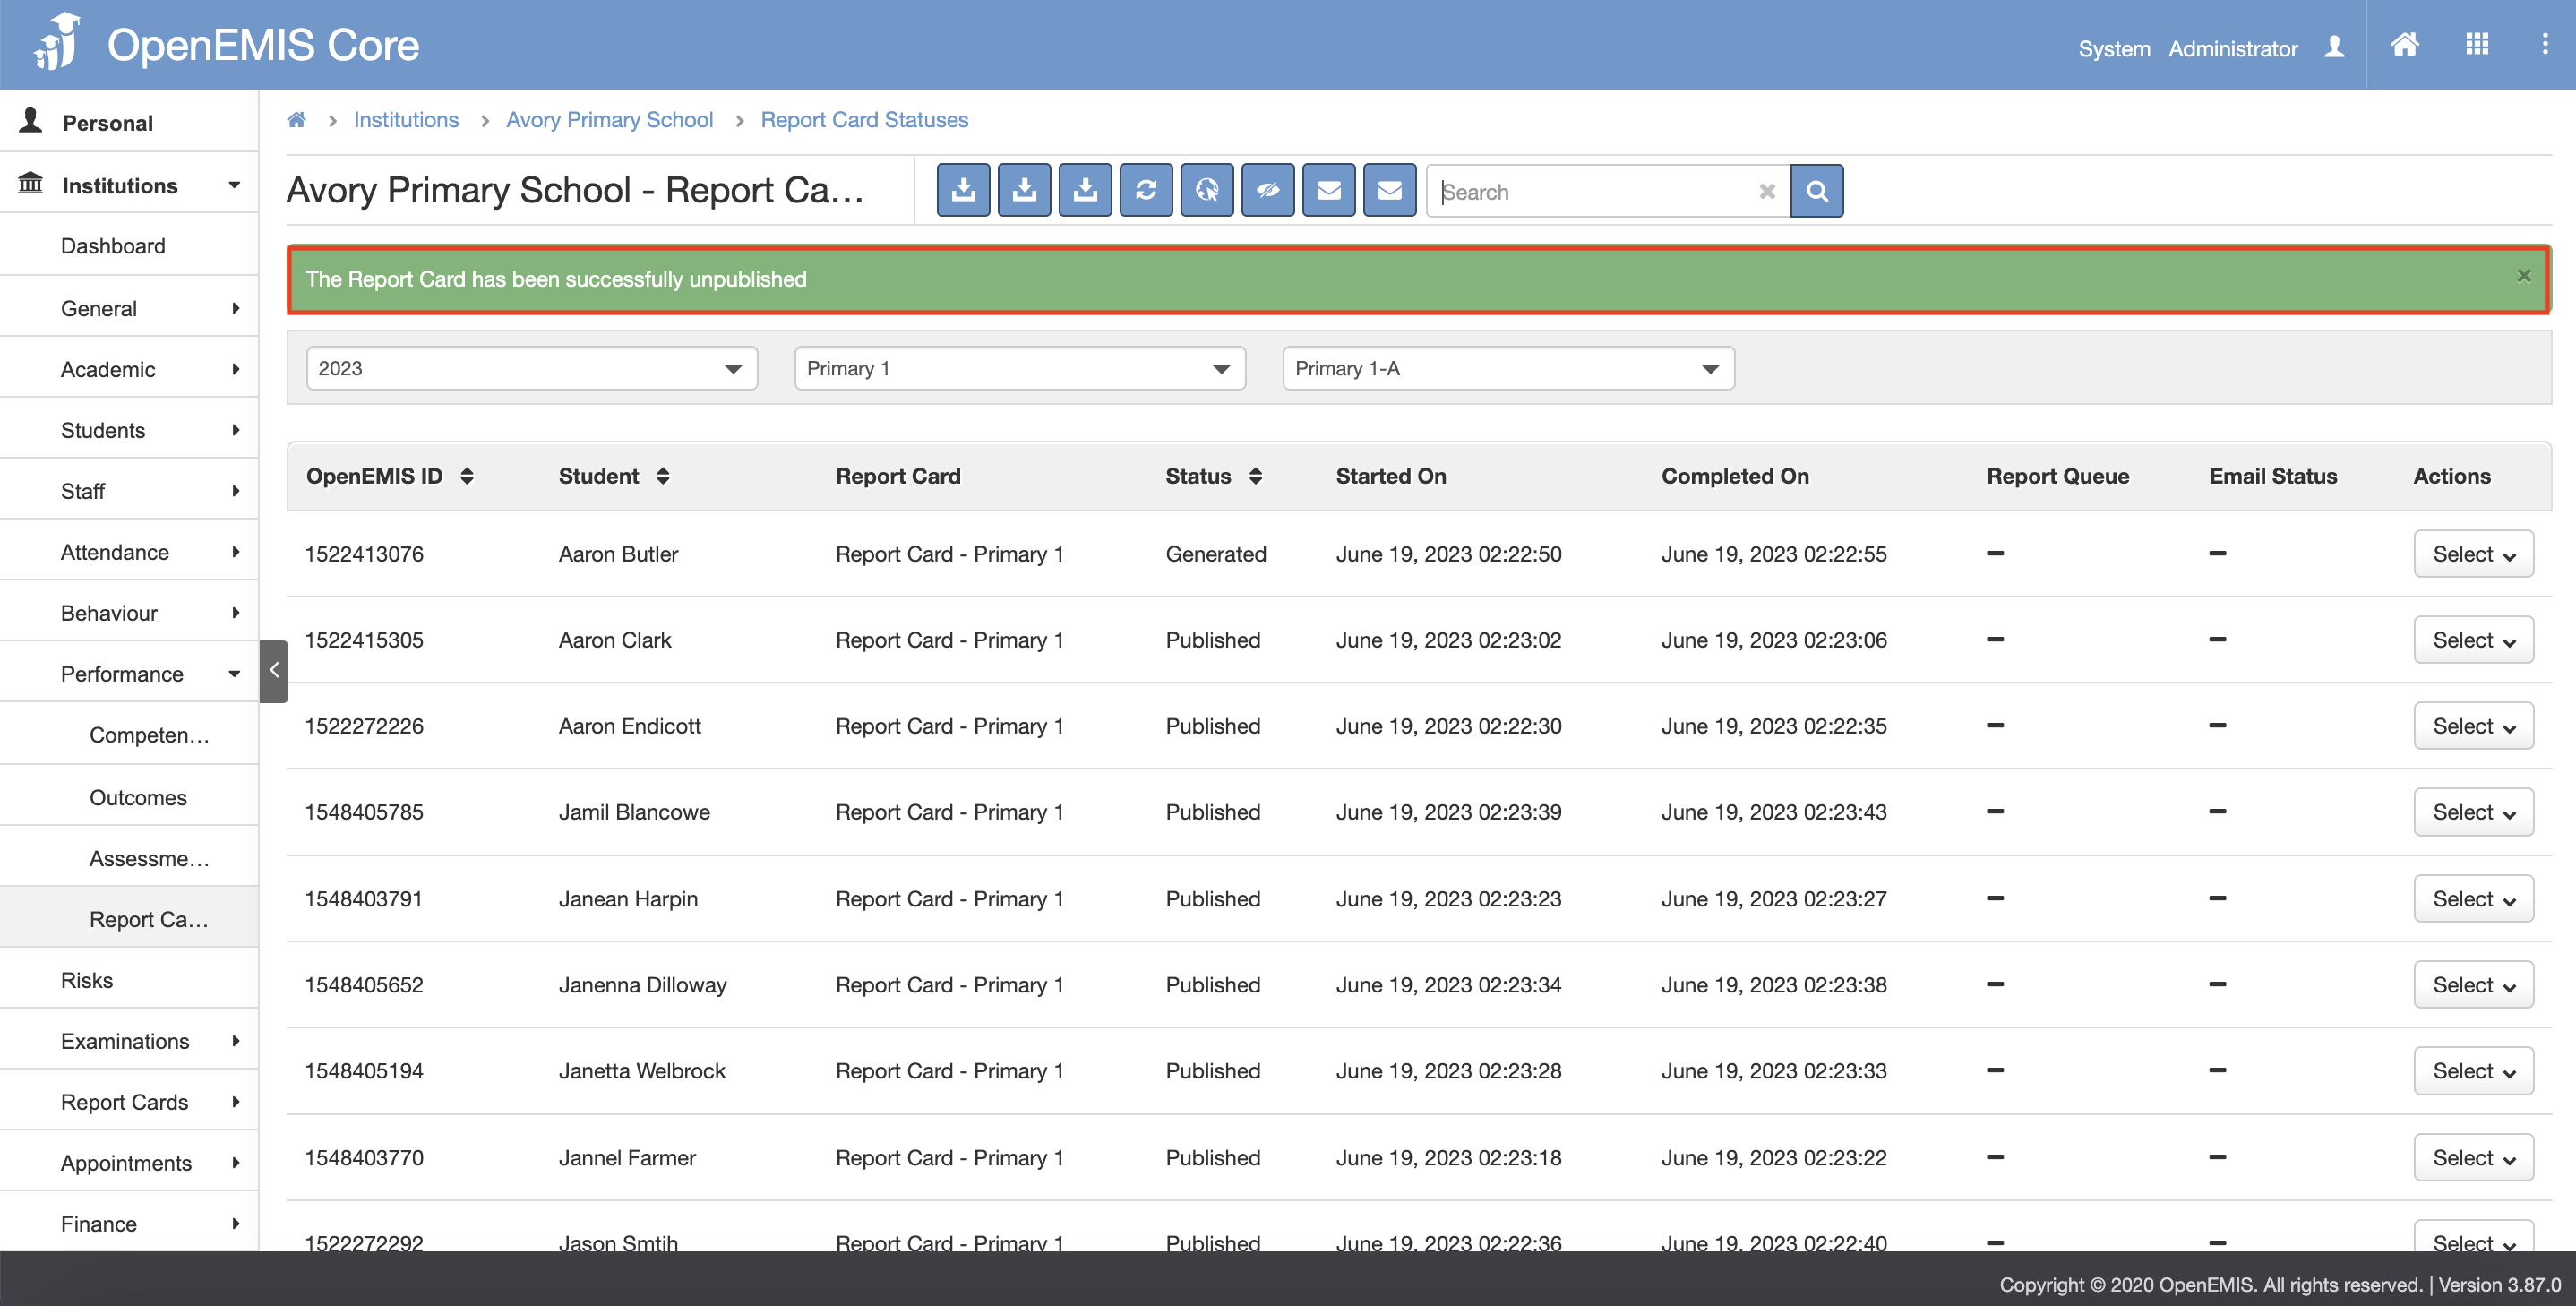
Unpublish Student Report Card
1) Go to Institutions > Performance > Report Cards page.
2) You will be able to filter by Academic Period, Report Card Name and Education Grade.
3) The Status has to be publish and you will be able to unpublish.
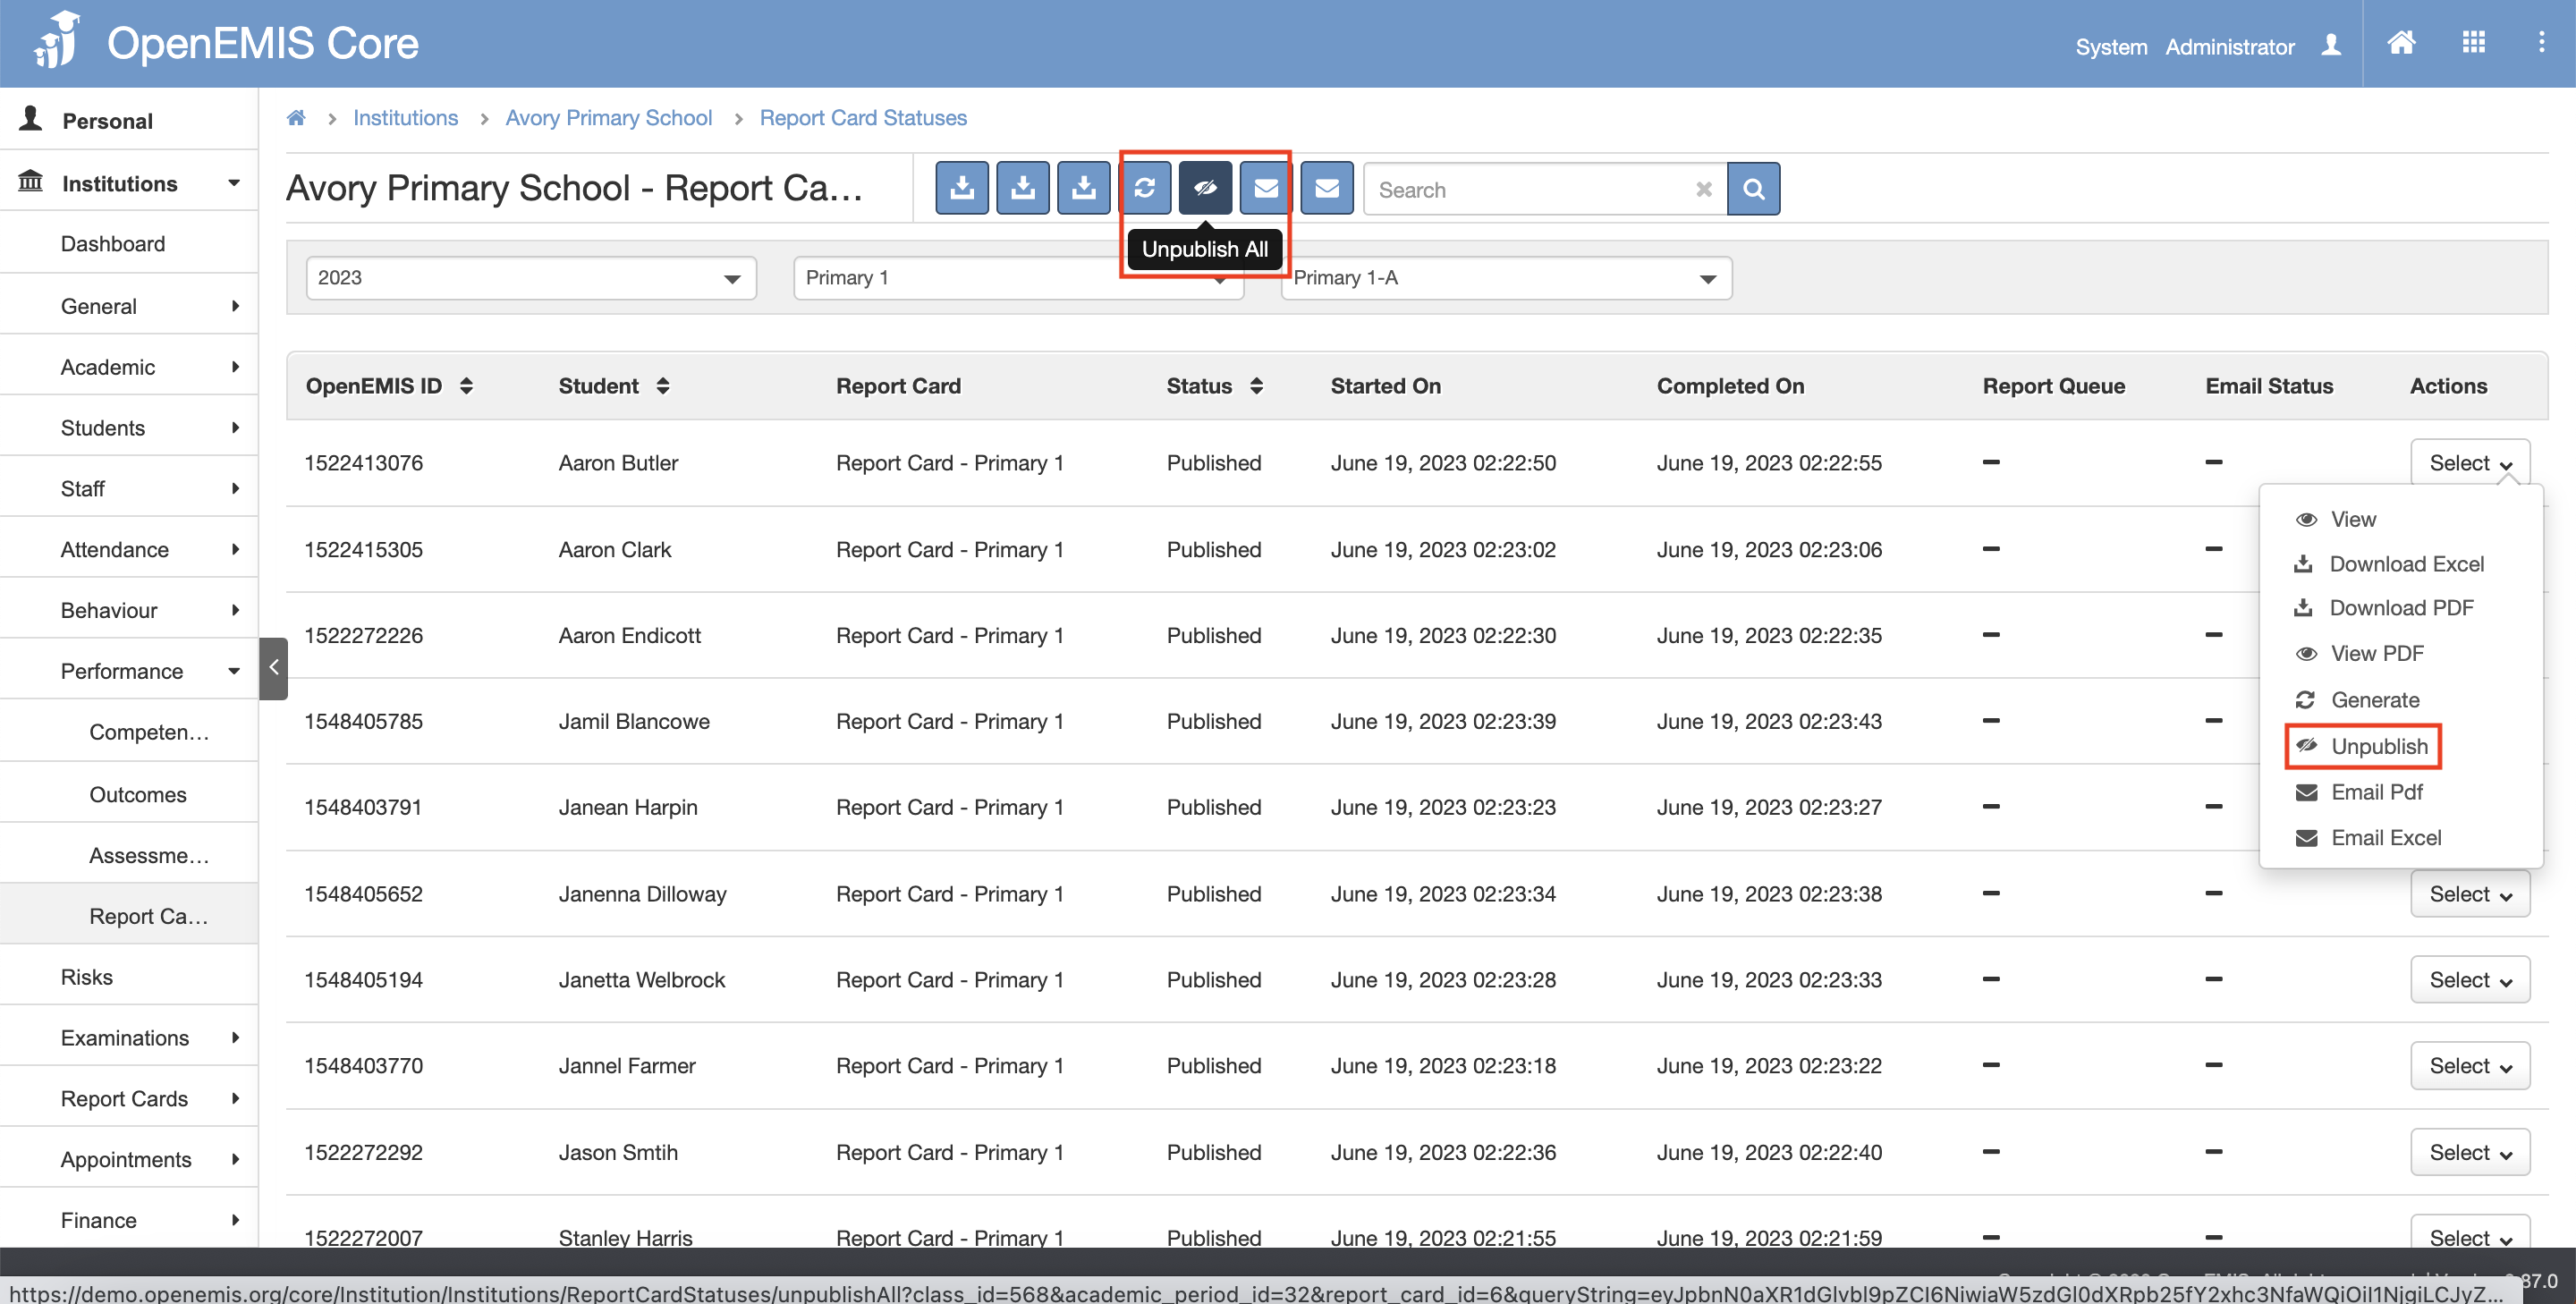
4) The message will be displayed upon unpublishing successfully.
Unpublish Individually:
Unpublish All:
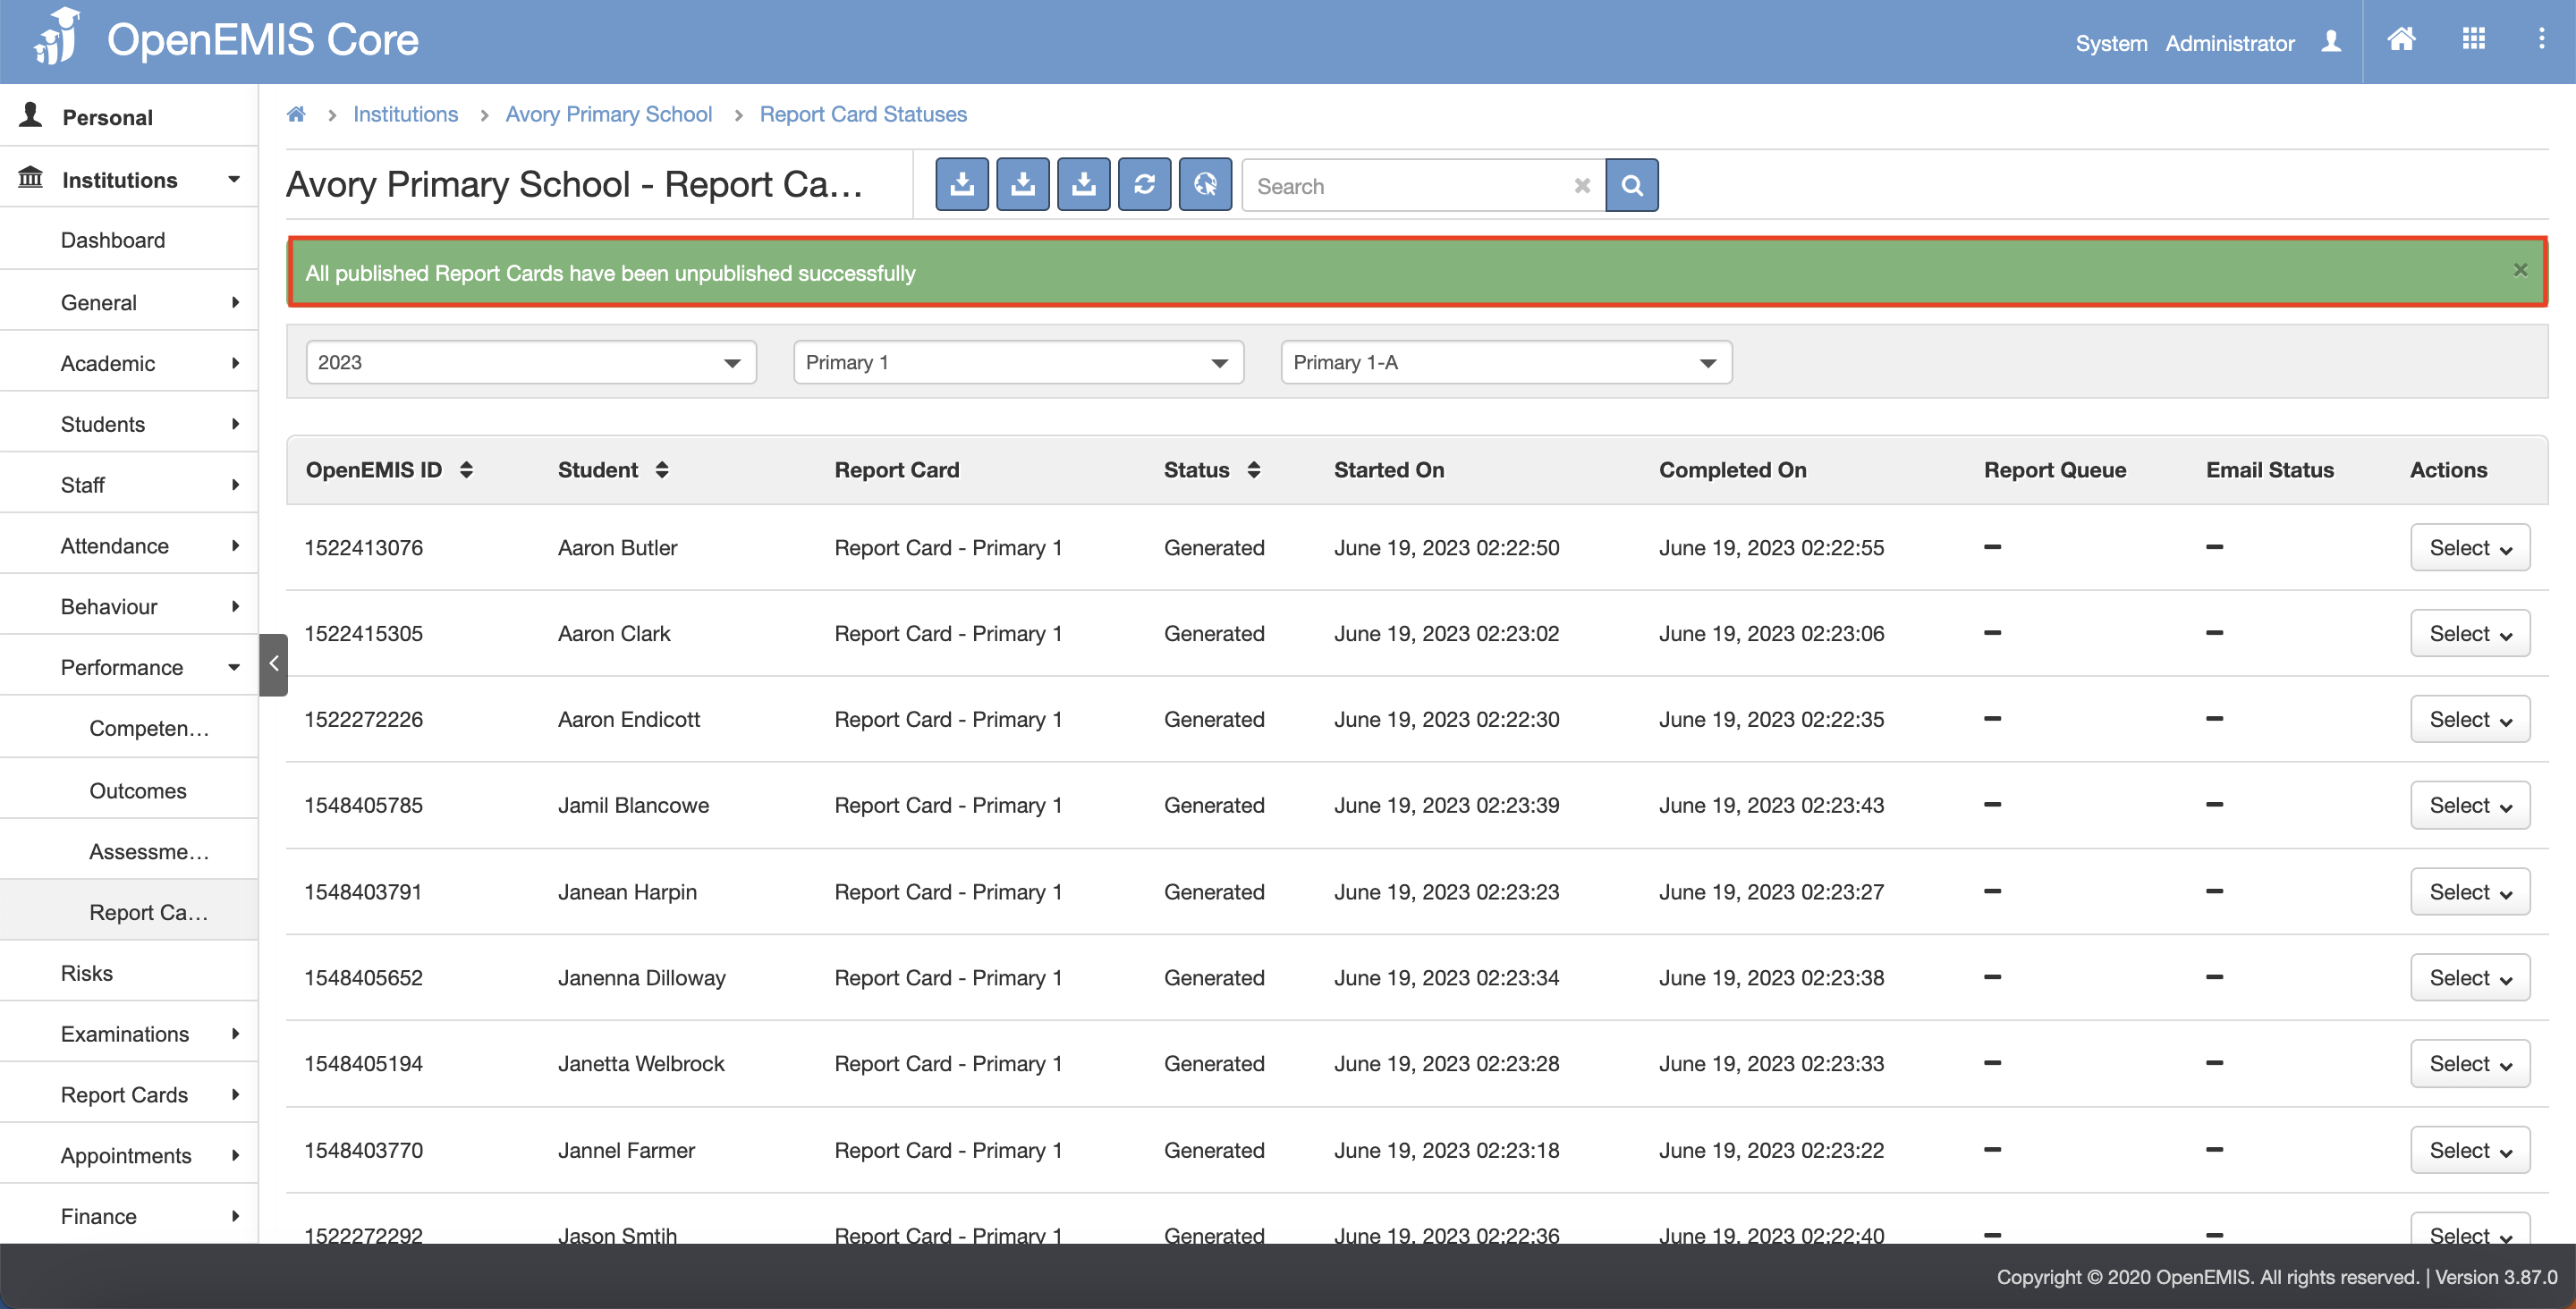
5) This would unpublish the report card in Institution > Students > Academic > Report Cards page.
Access Individual Student Report Card
View Student Report Card
1) Go to Institutions > Students > Academic > Report Cards page.
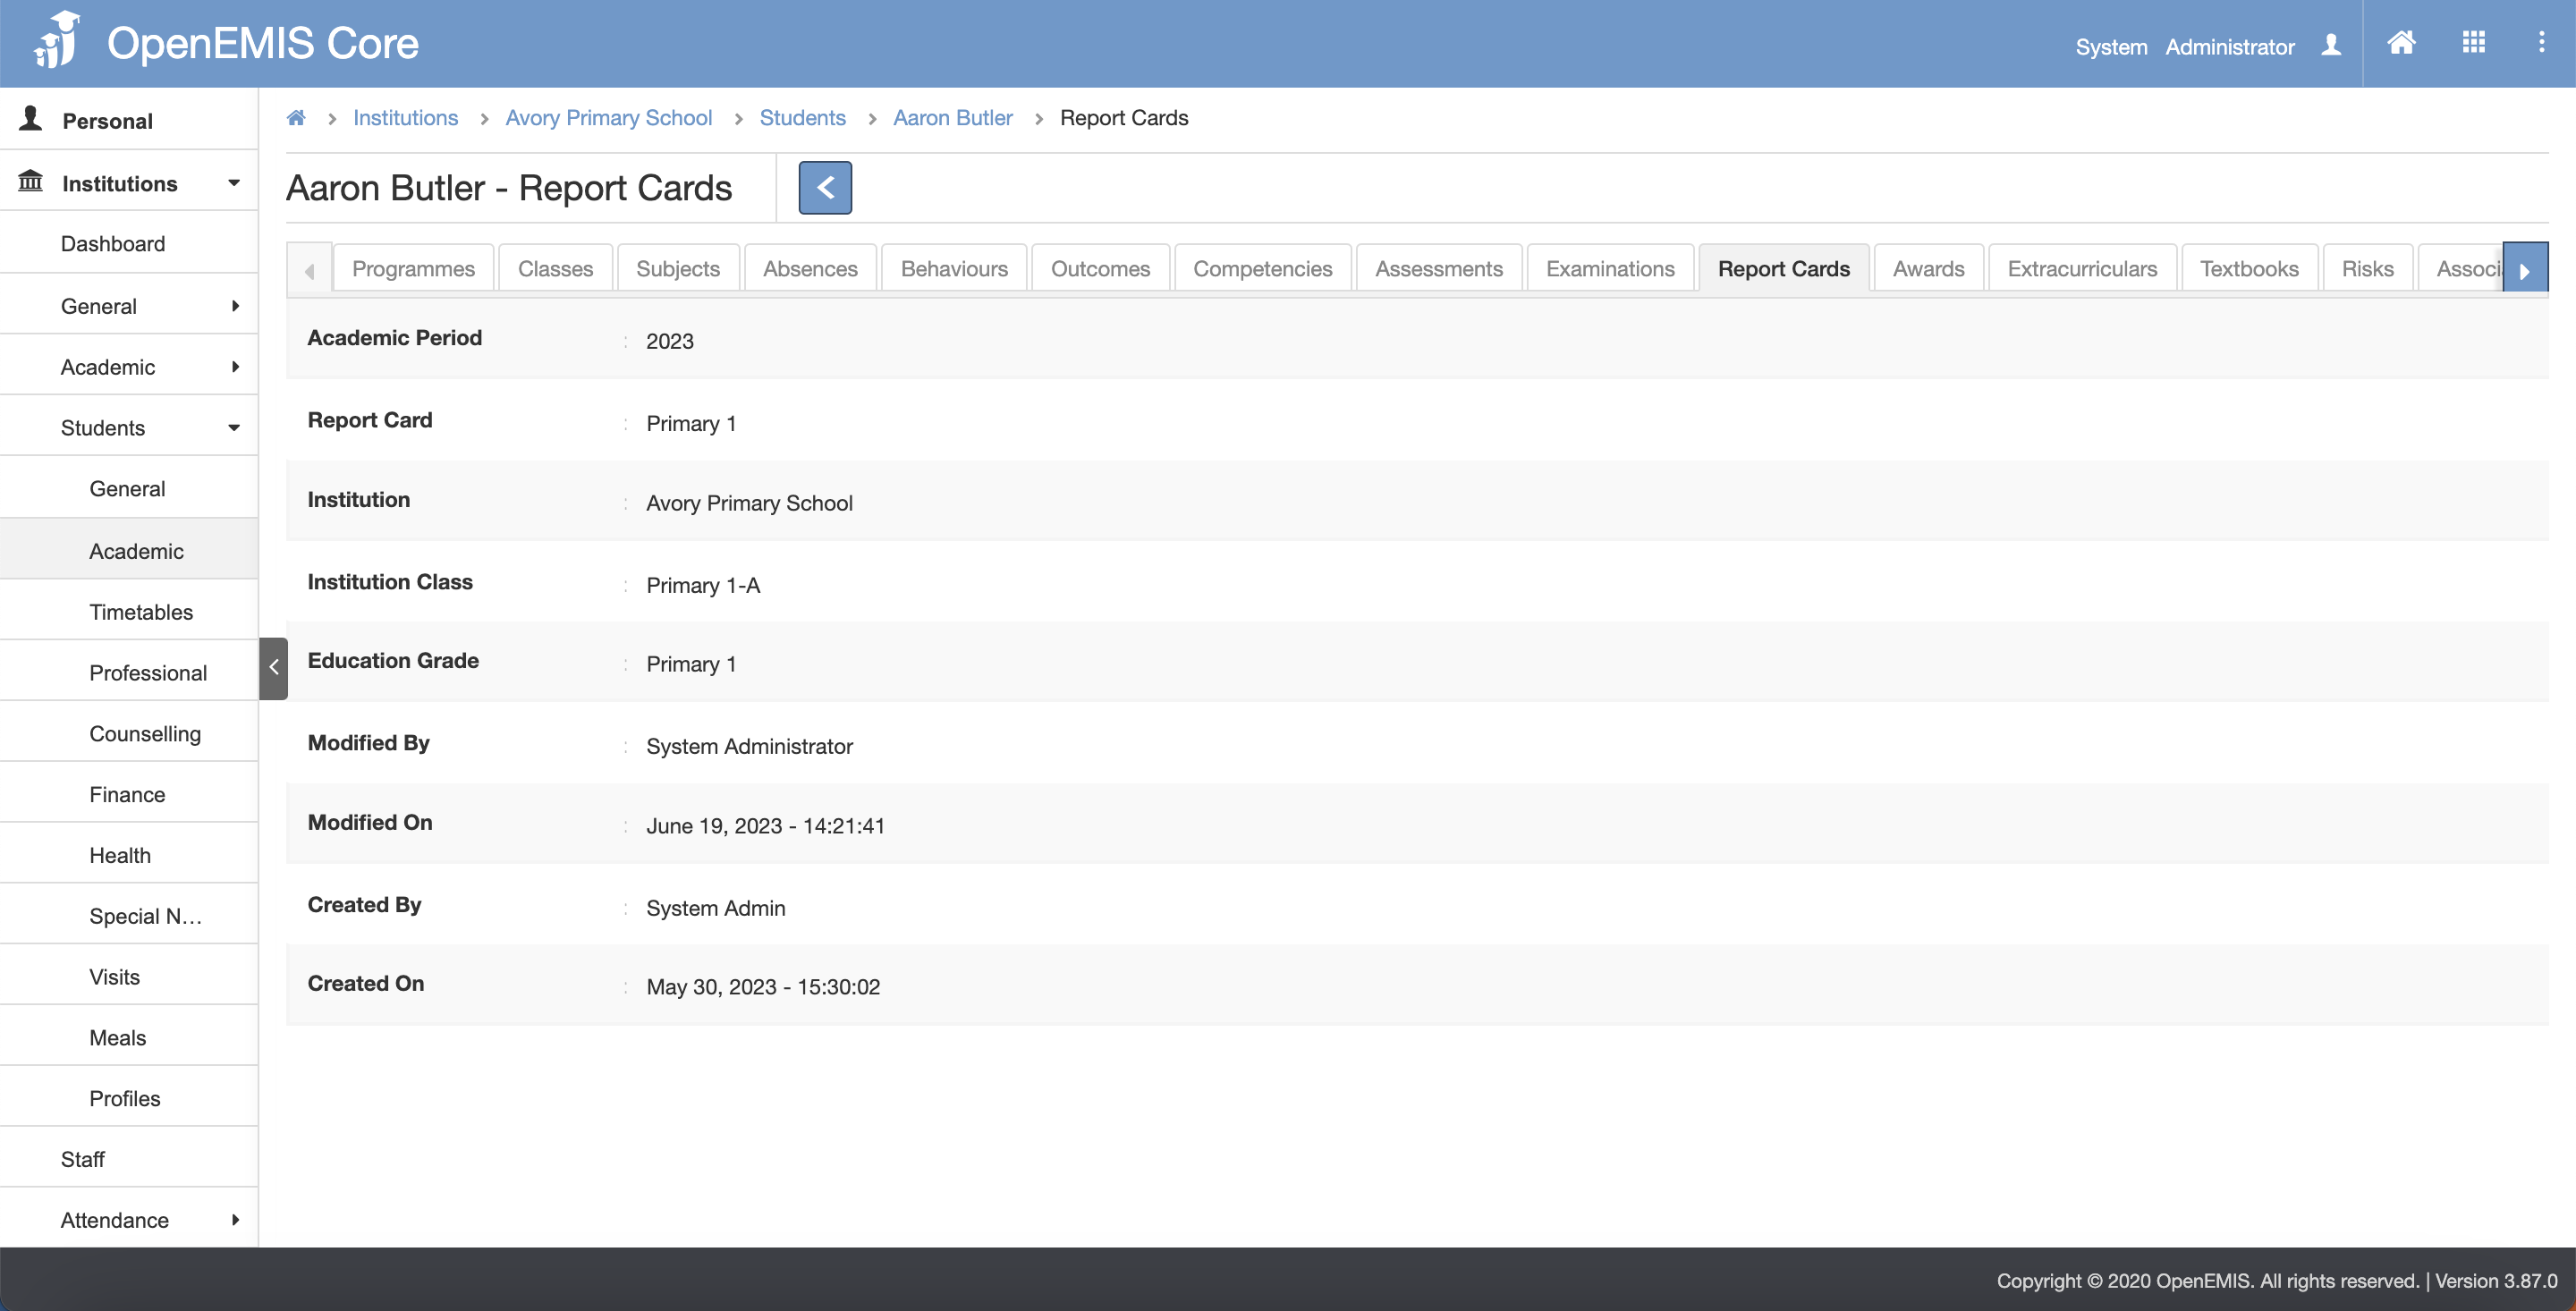
2) Under the Action column, click on the Select Button and click View.
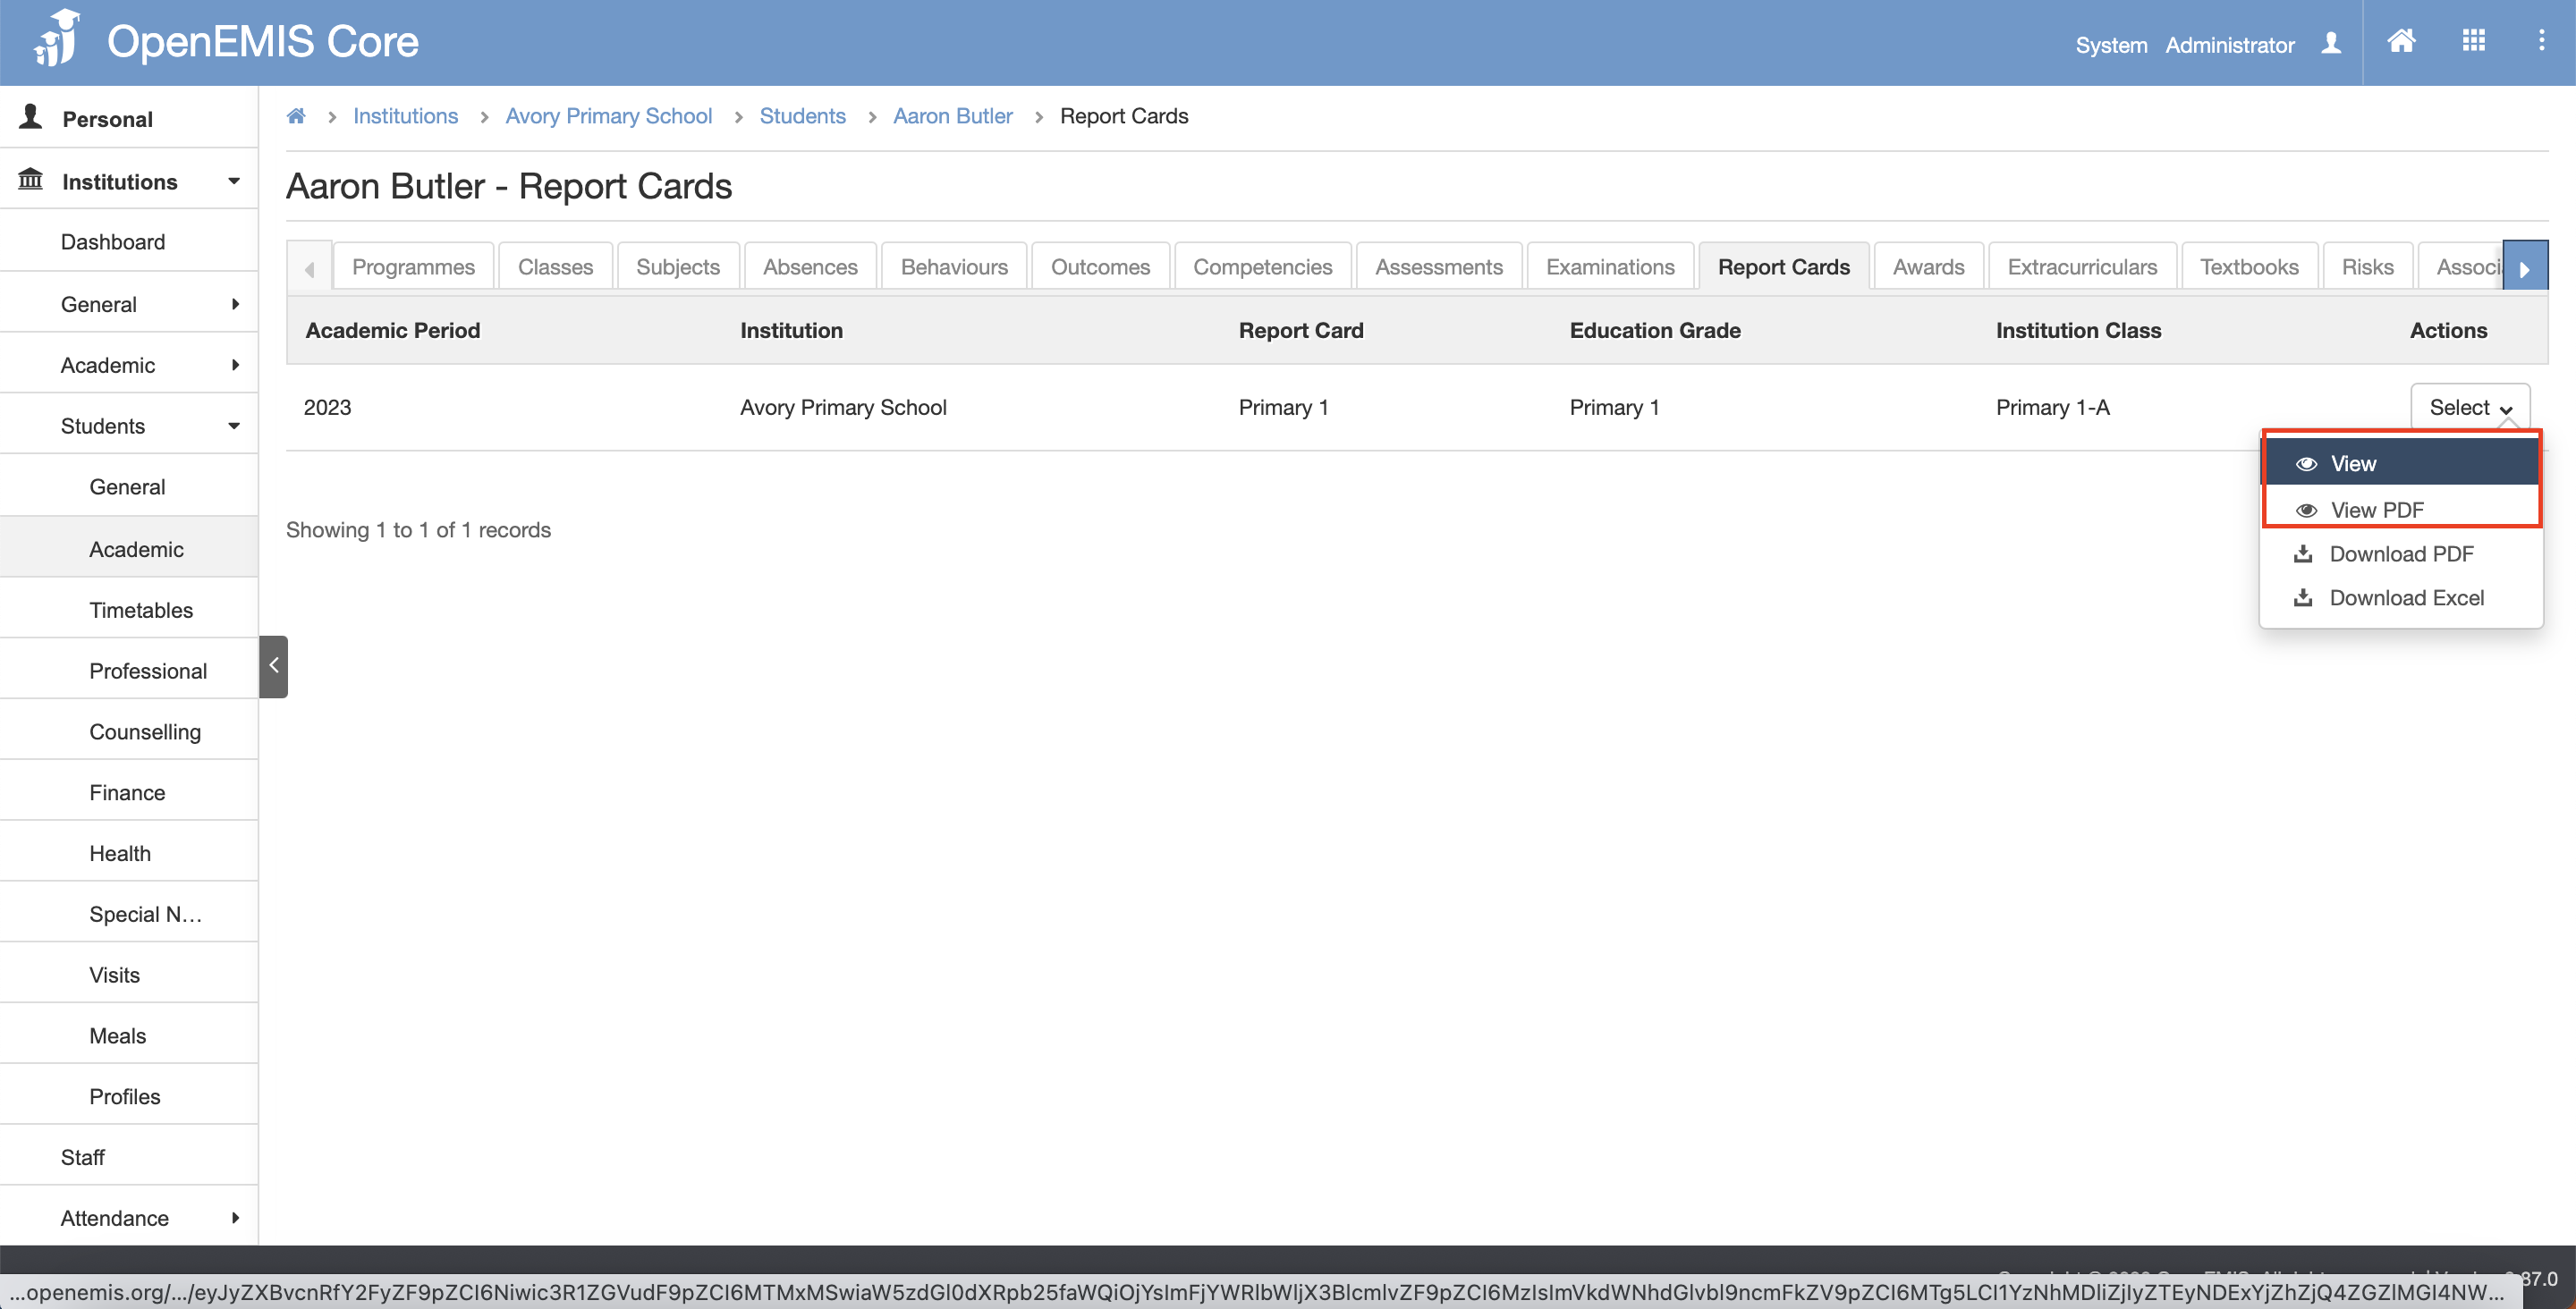
3) You will able to see the details of the Report Card.
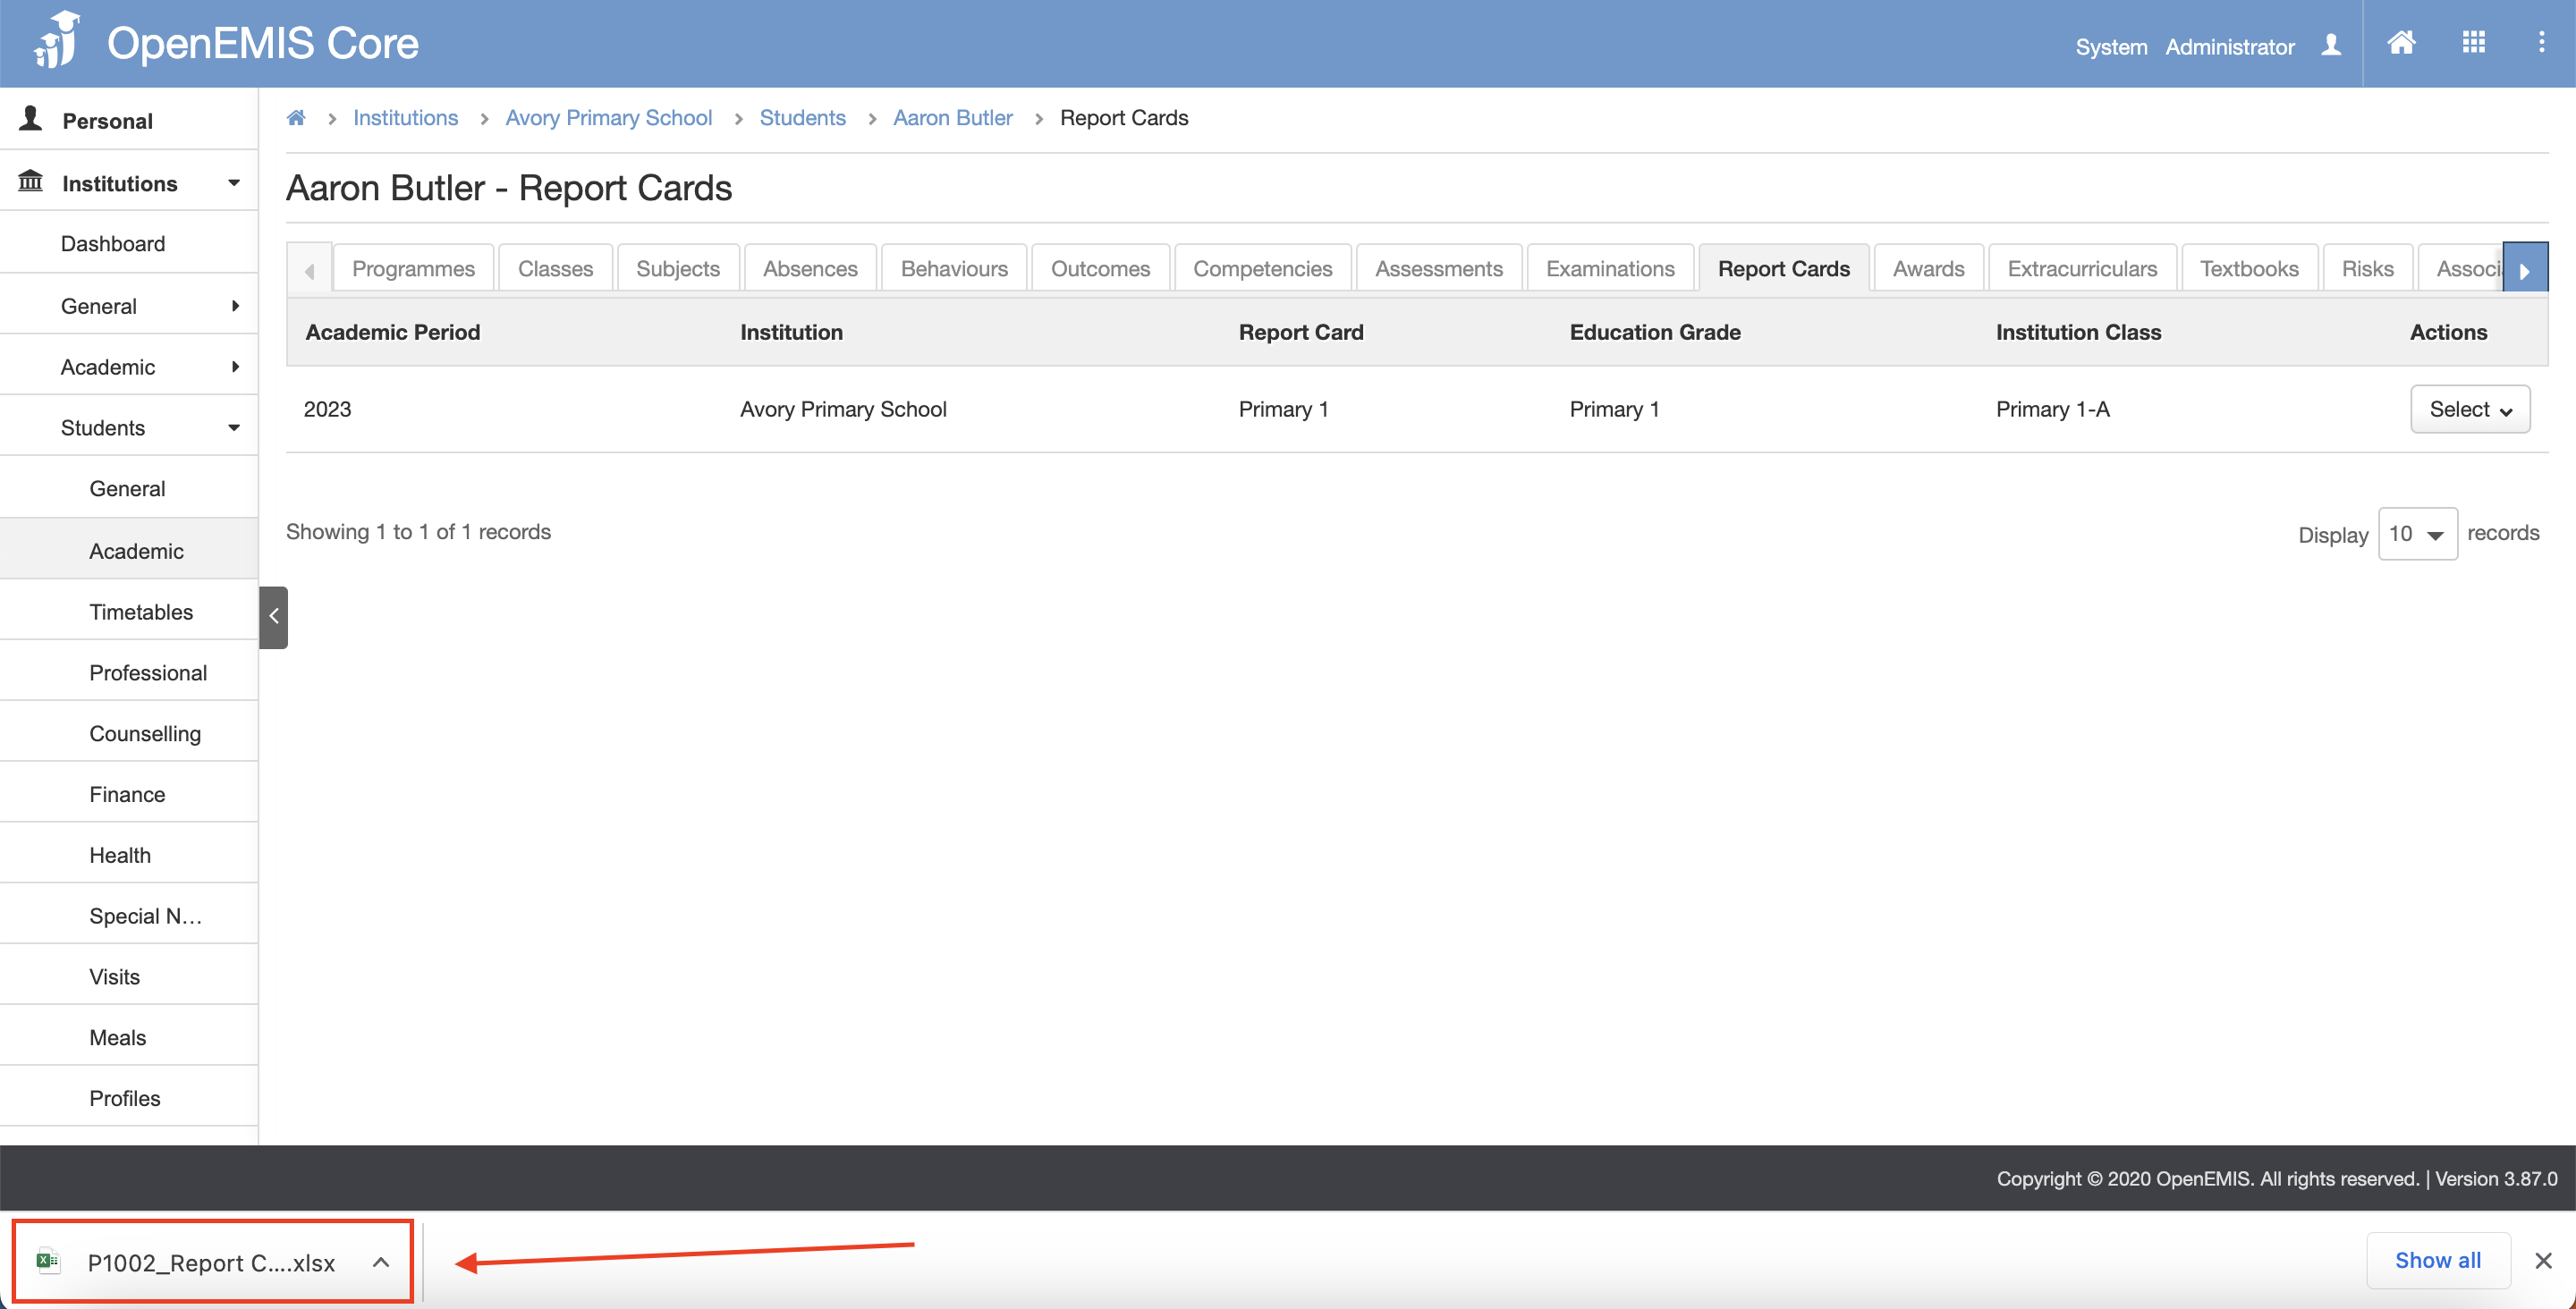
Download Student Report Card
1) Go to Institutions > Students > Academic > Report Cards page.
2) Under the Action column, click on the Select Button and click Download.
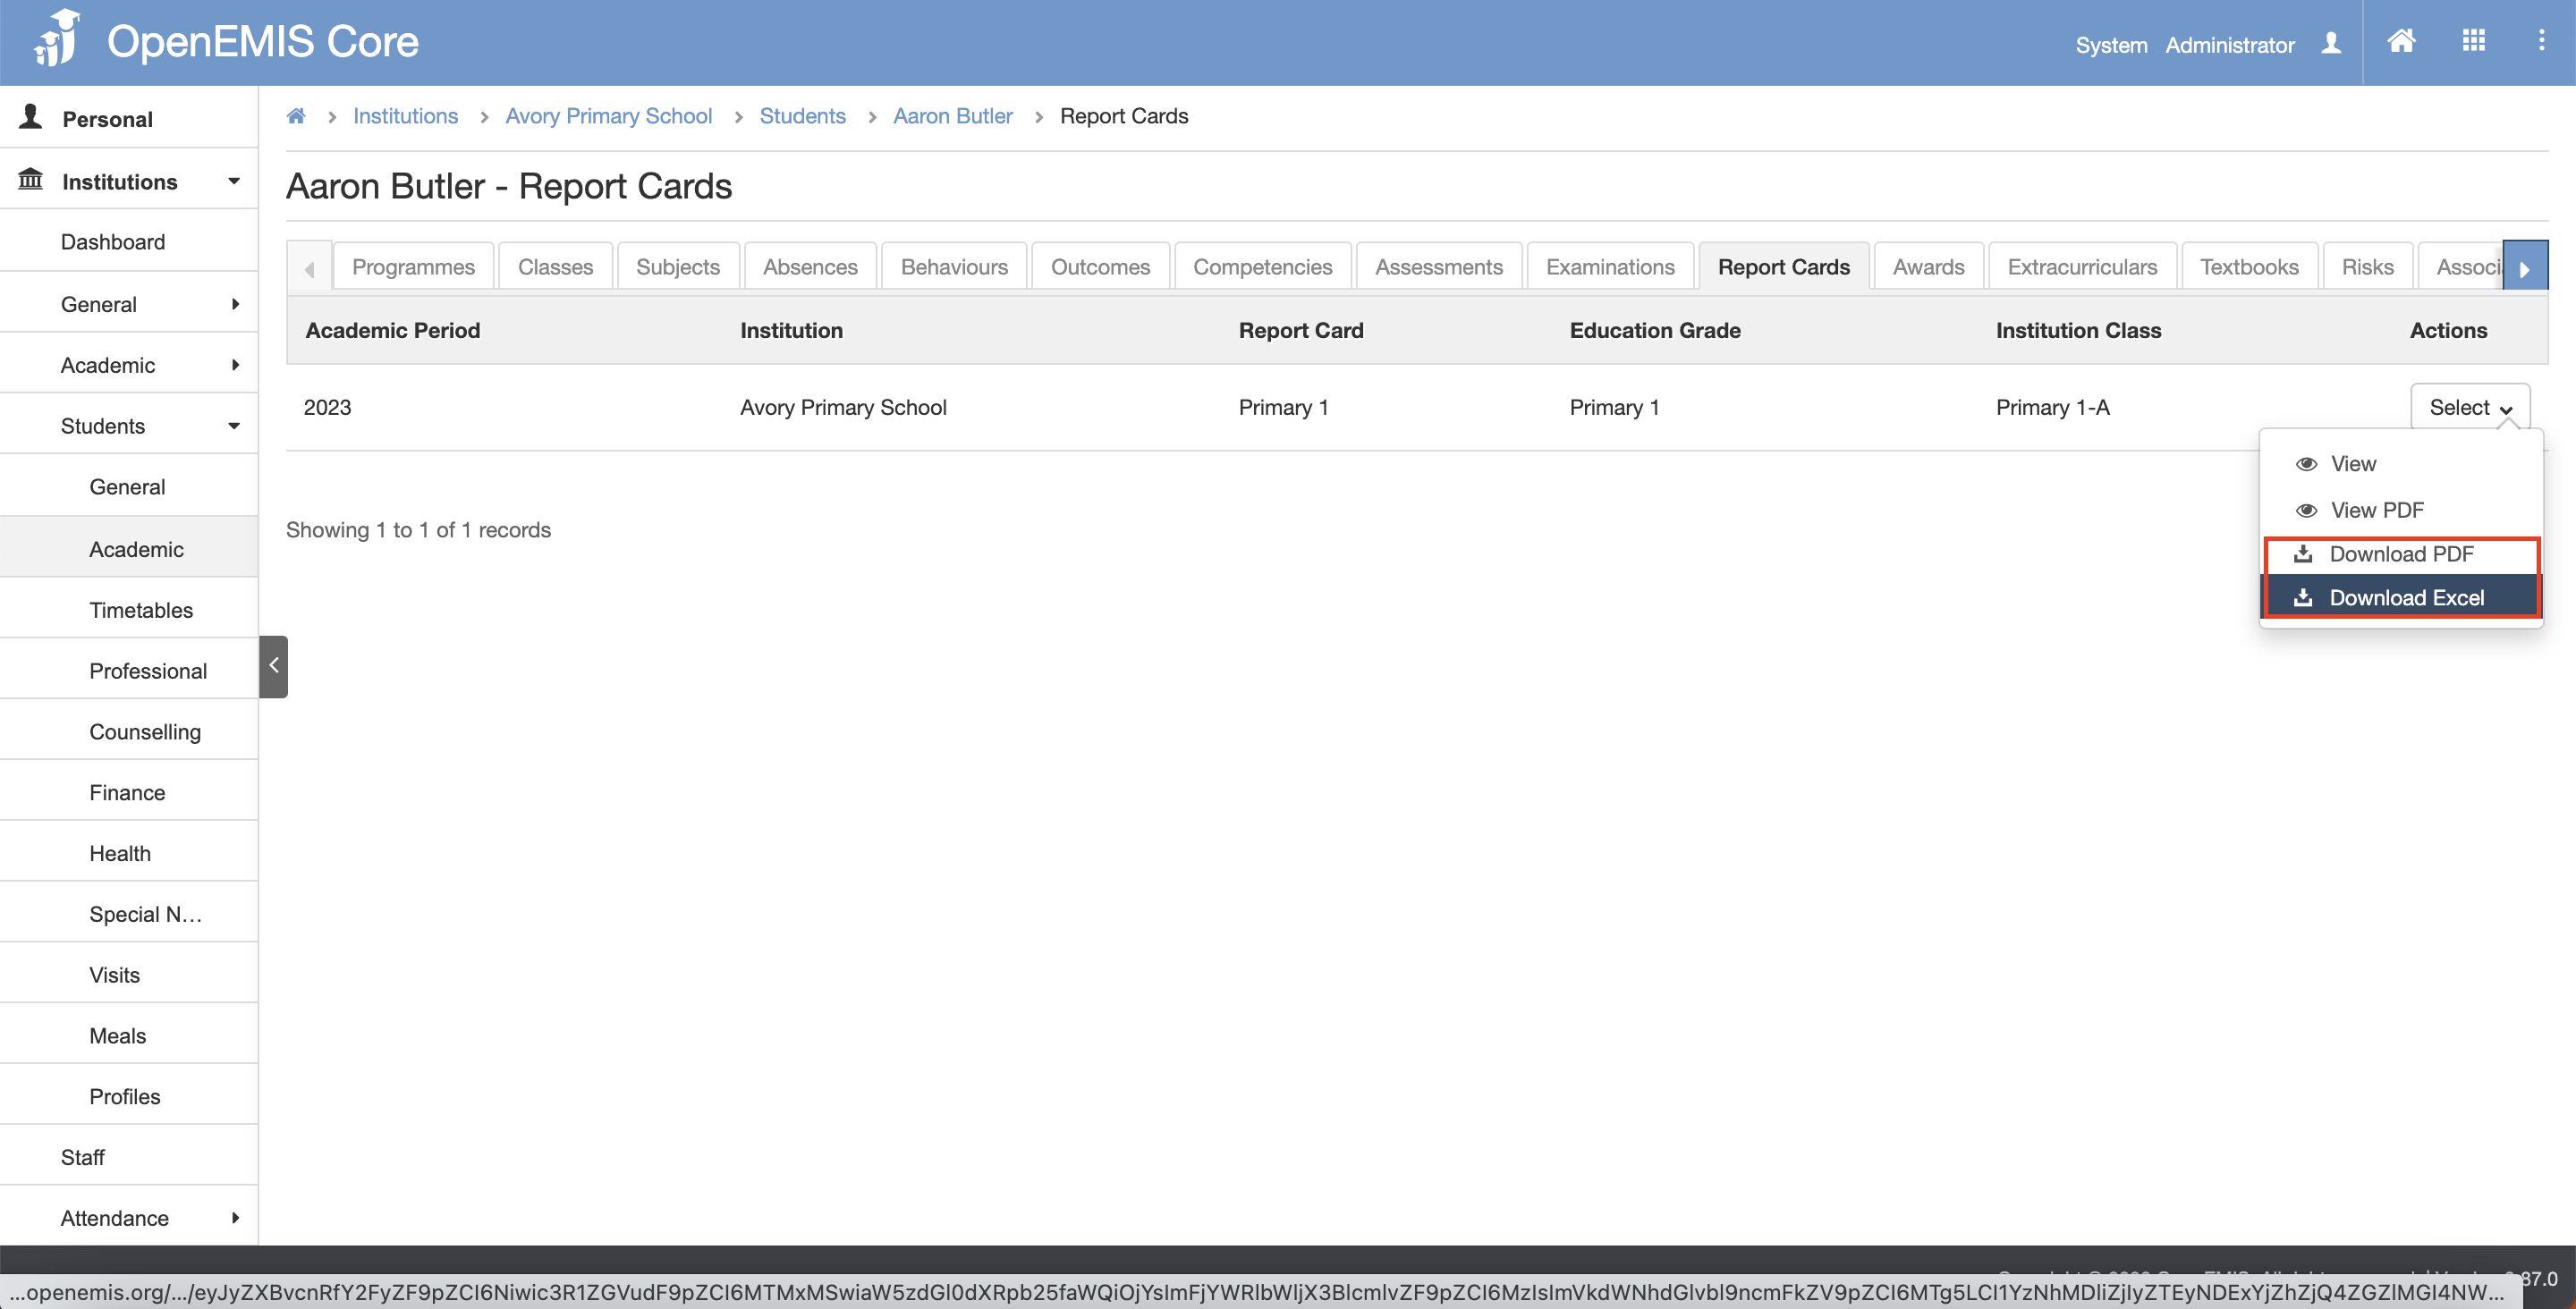
4) The files will be downloaded in the background.
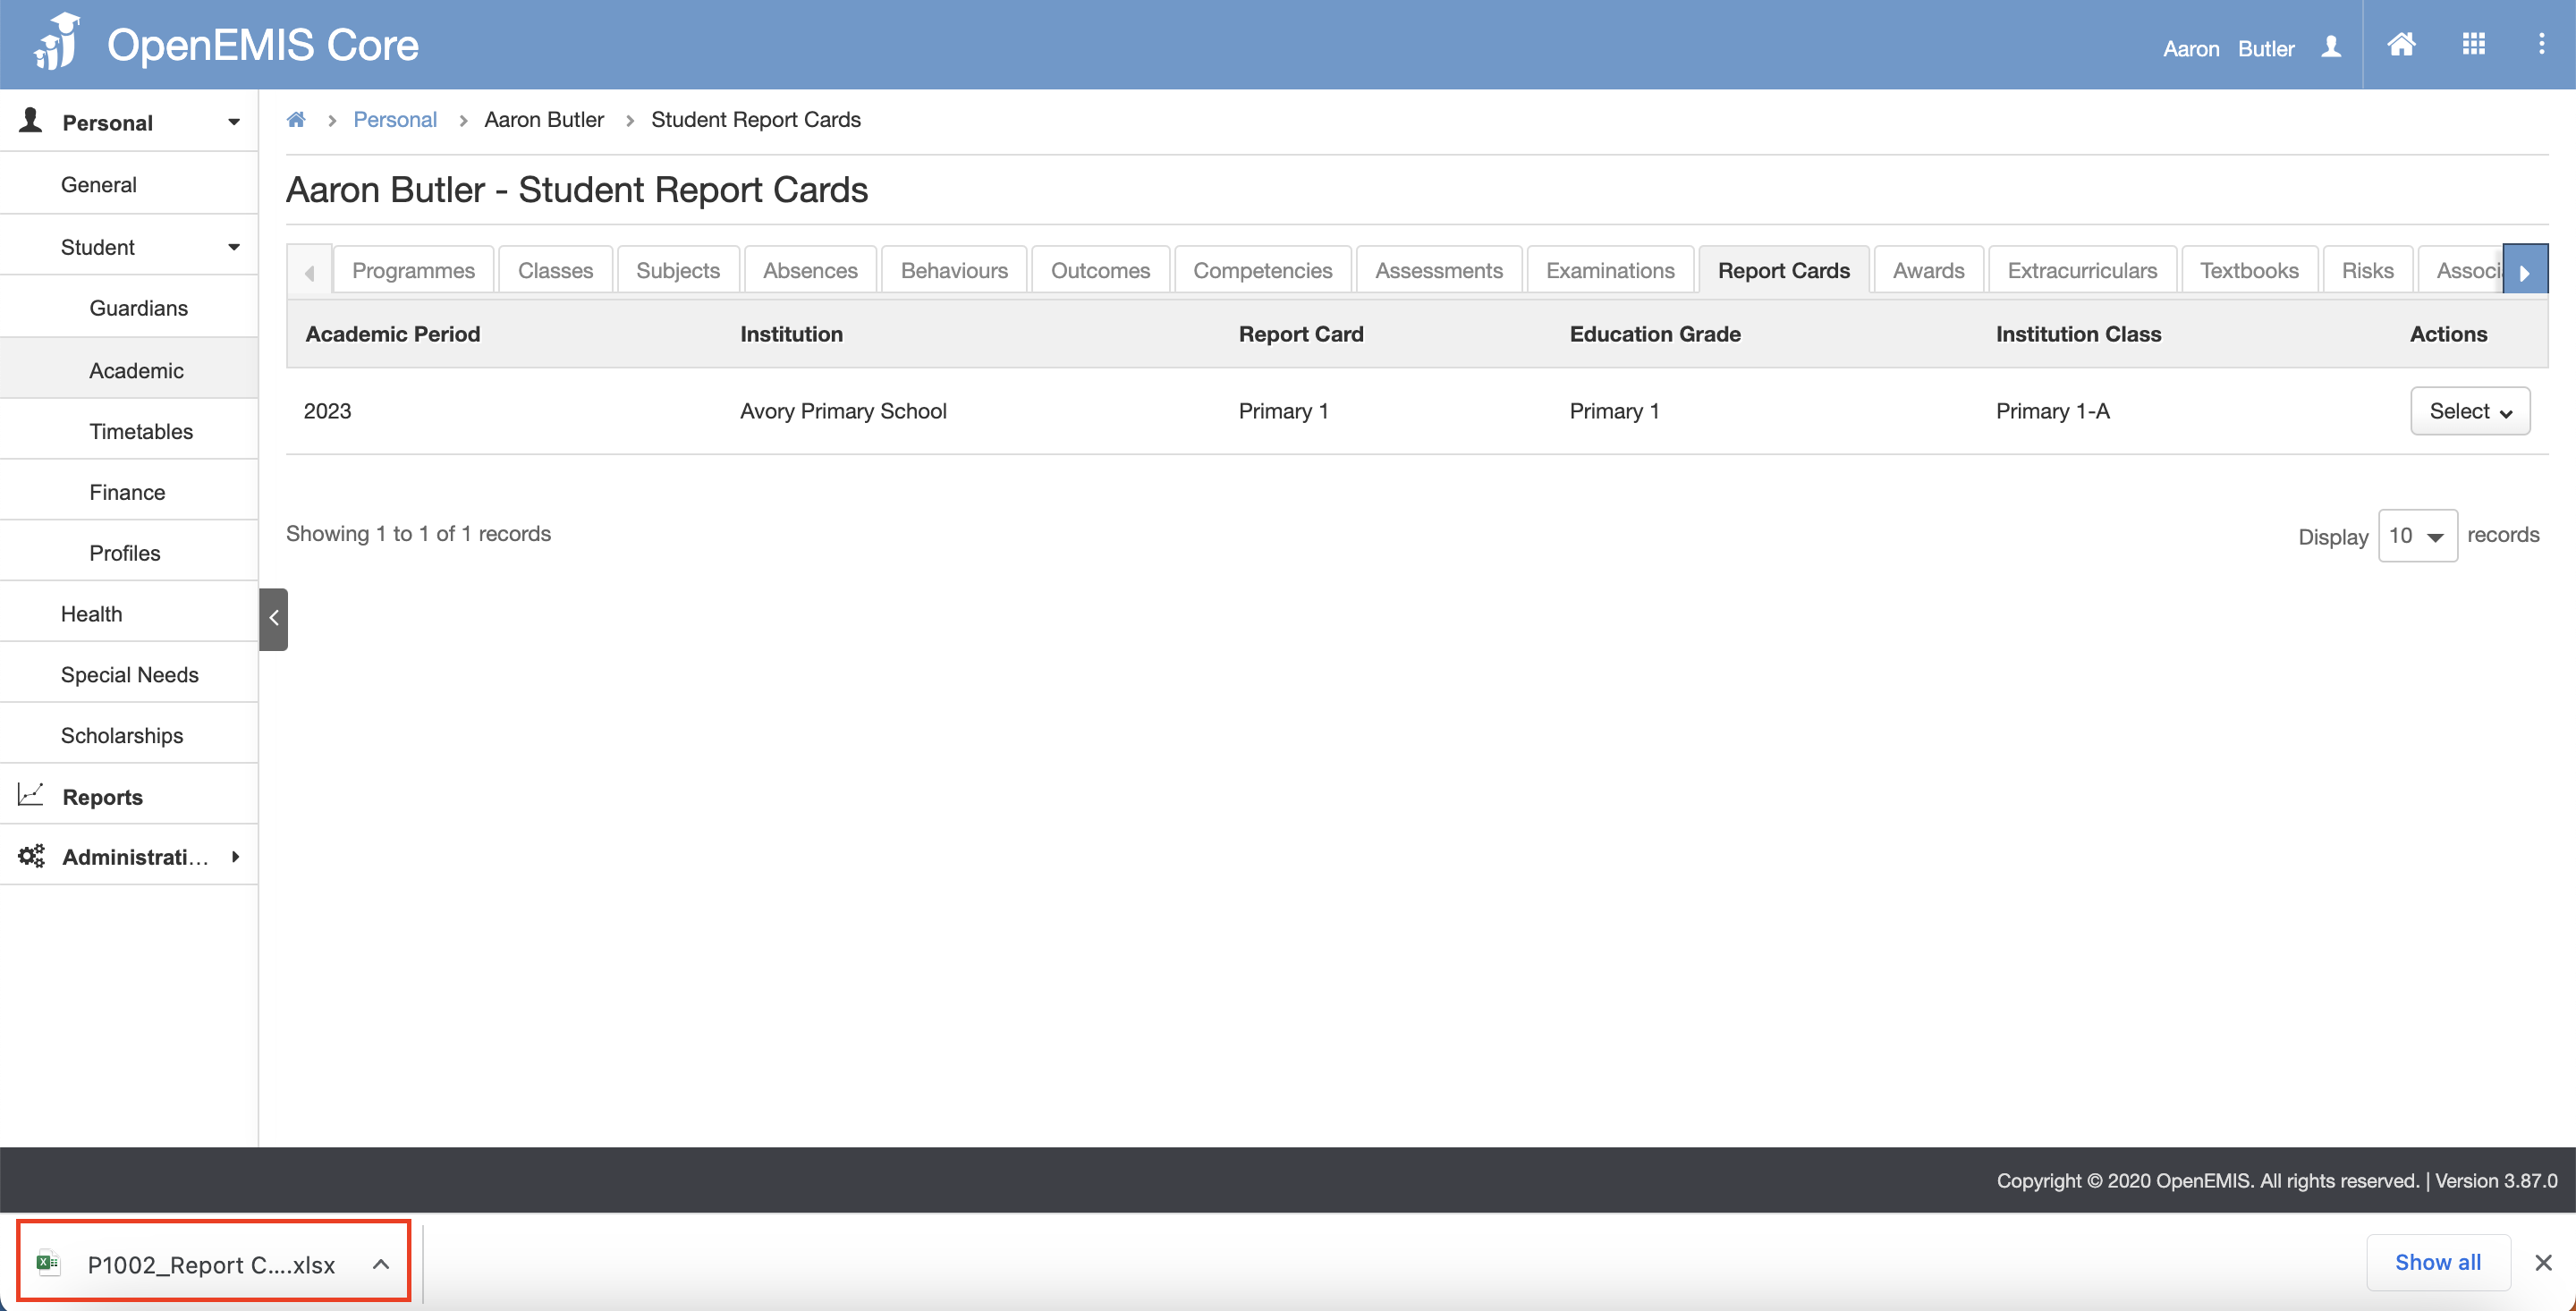
Access Student Report Cards from Profile
View Student Report Card
1) Log in to the student’s profile
2) Go to Personal > Academic > Report Cards tab page. (Please kindly note that student can view their Report Card once the Institutions has Published the Report Cards)
3) Under the Action column, click on the Select Button and click View.
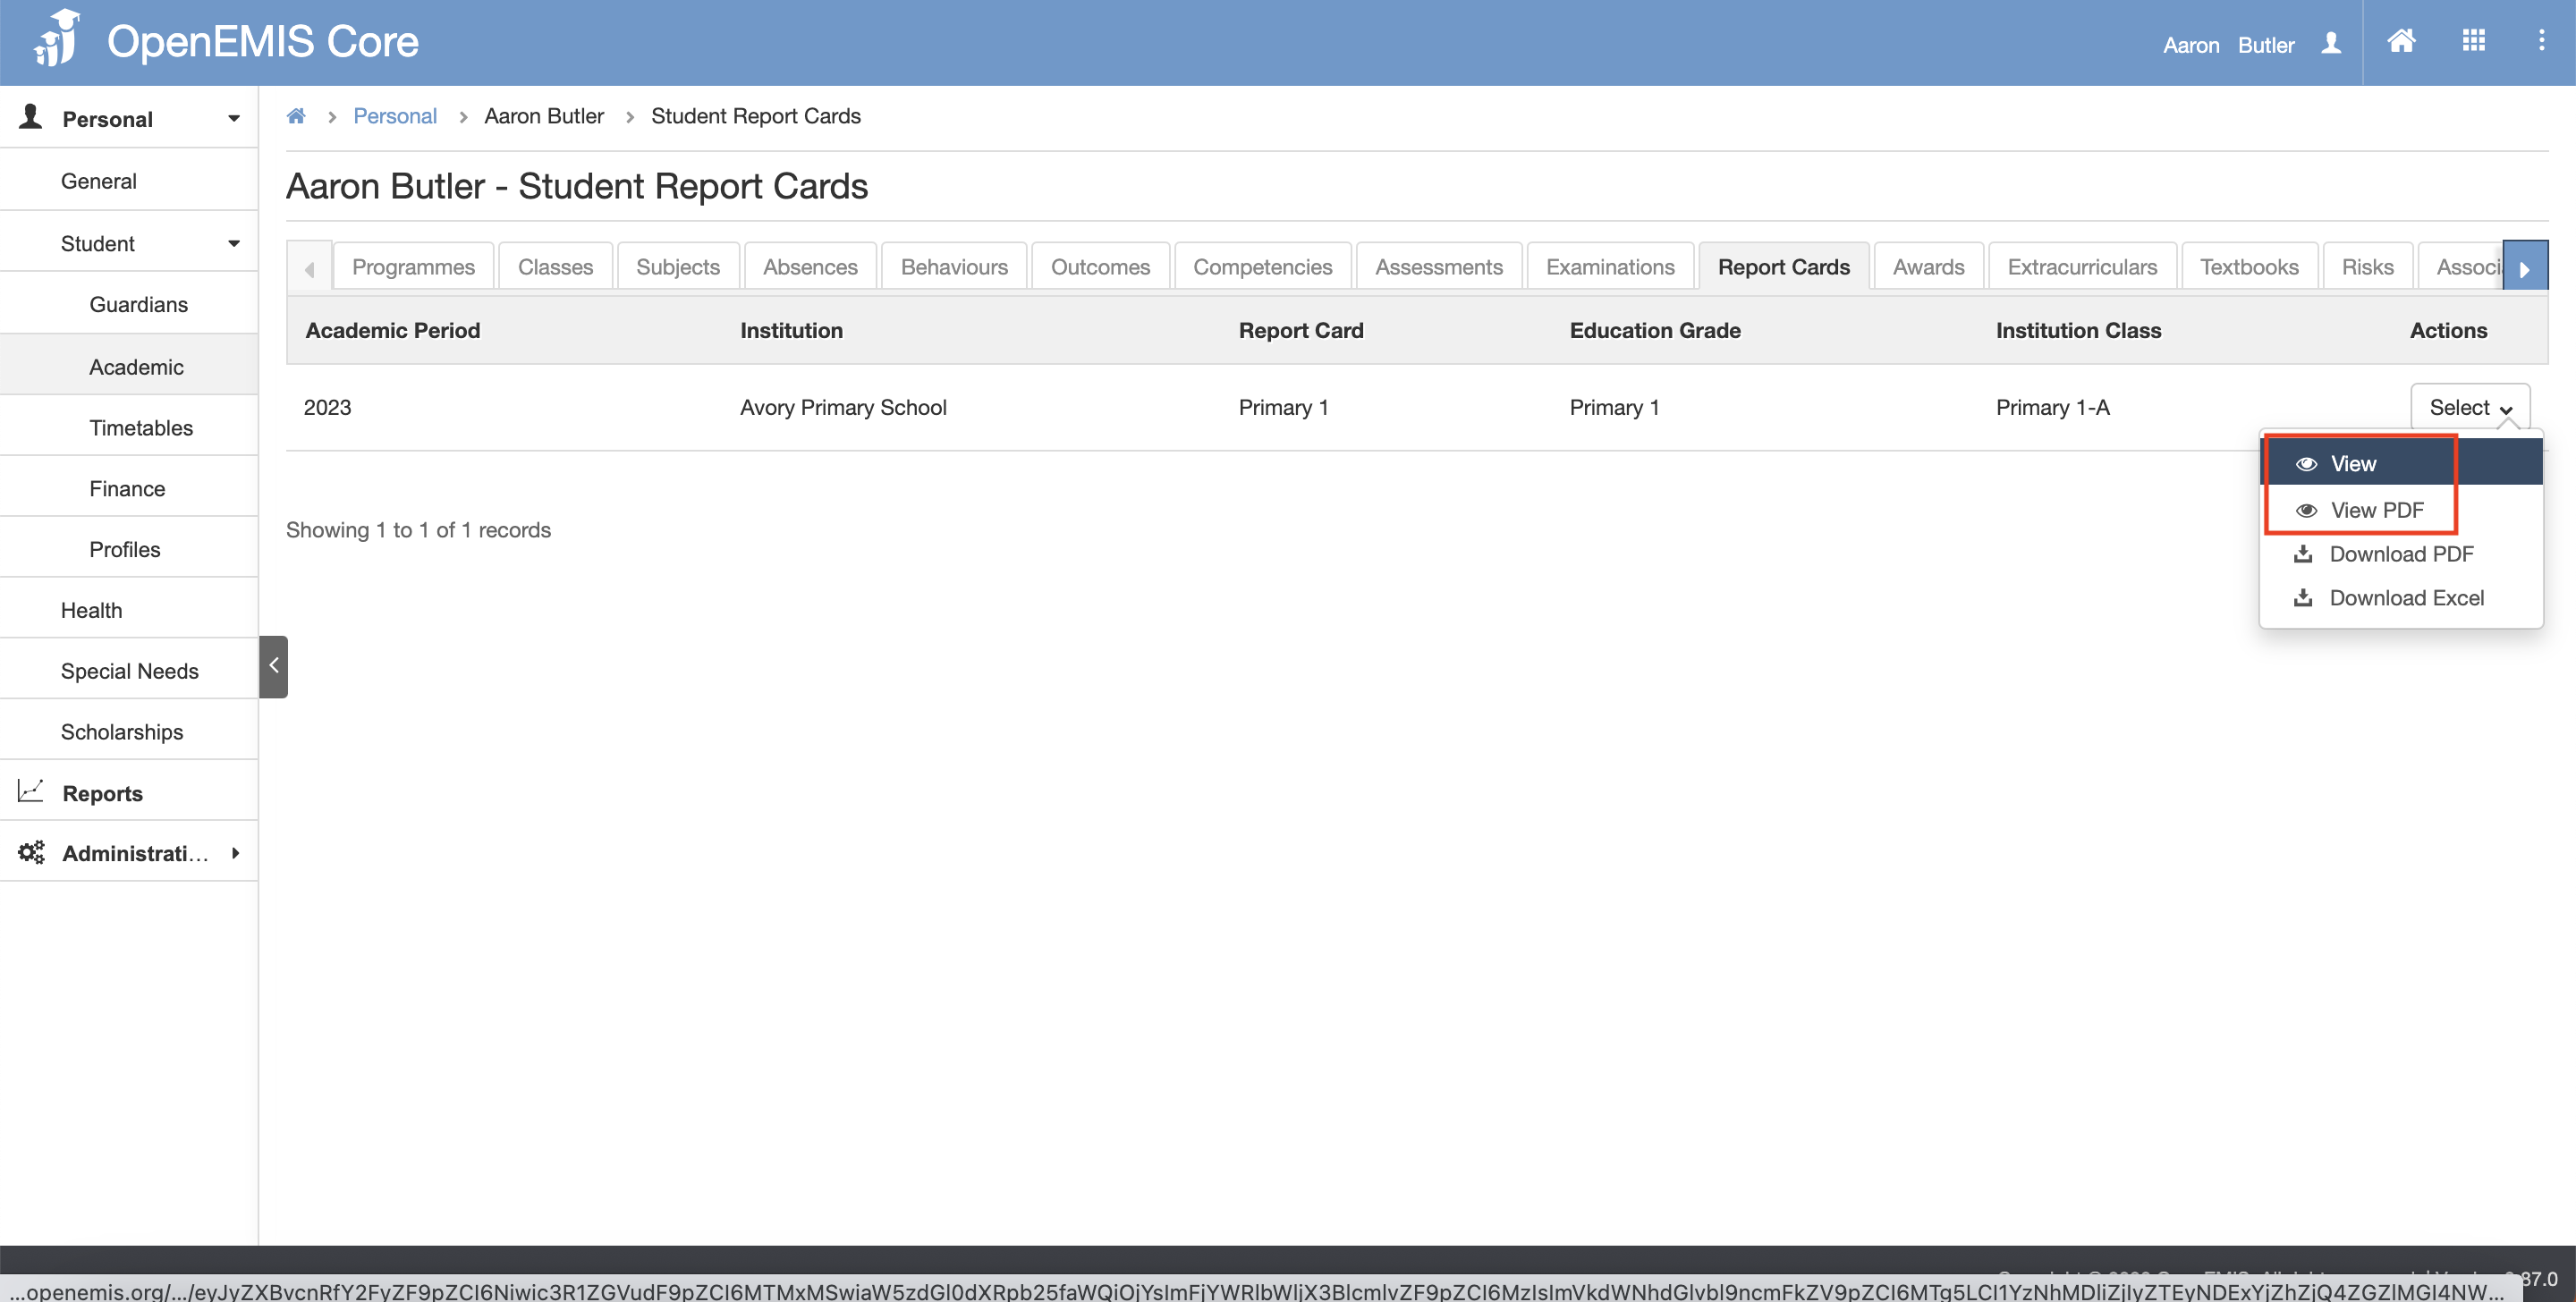
4) You will able to see the details of the Report Card.
Download Student Report Card
1) Log in to the student’s profile
2) Go to Personal > Academic > Report Cards tab page. (Please kindly note that student can view their Report Card once the Institutions has Published the Report Cards)
3) Under the Action column, click on the Select Button and click View.
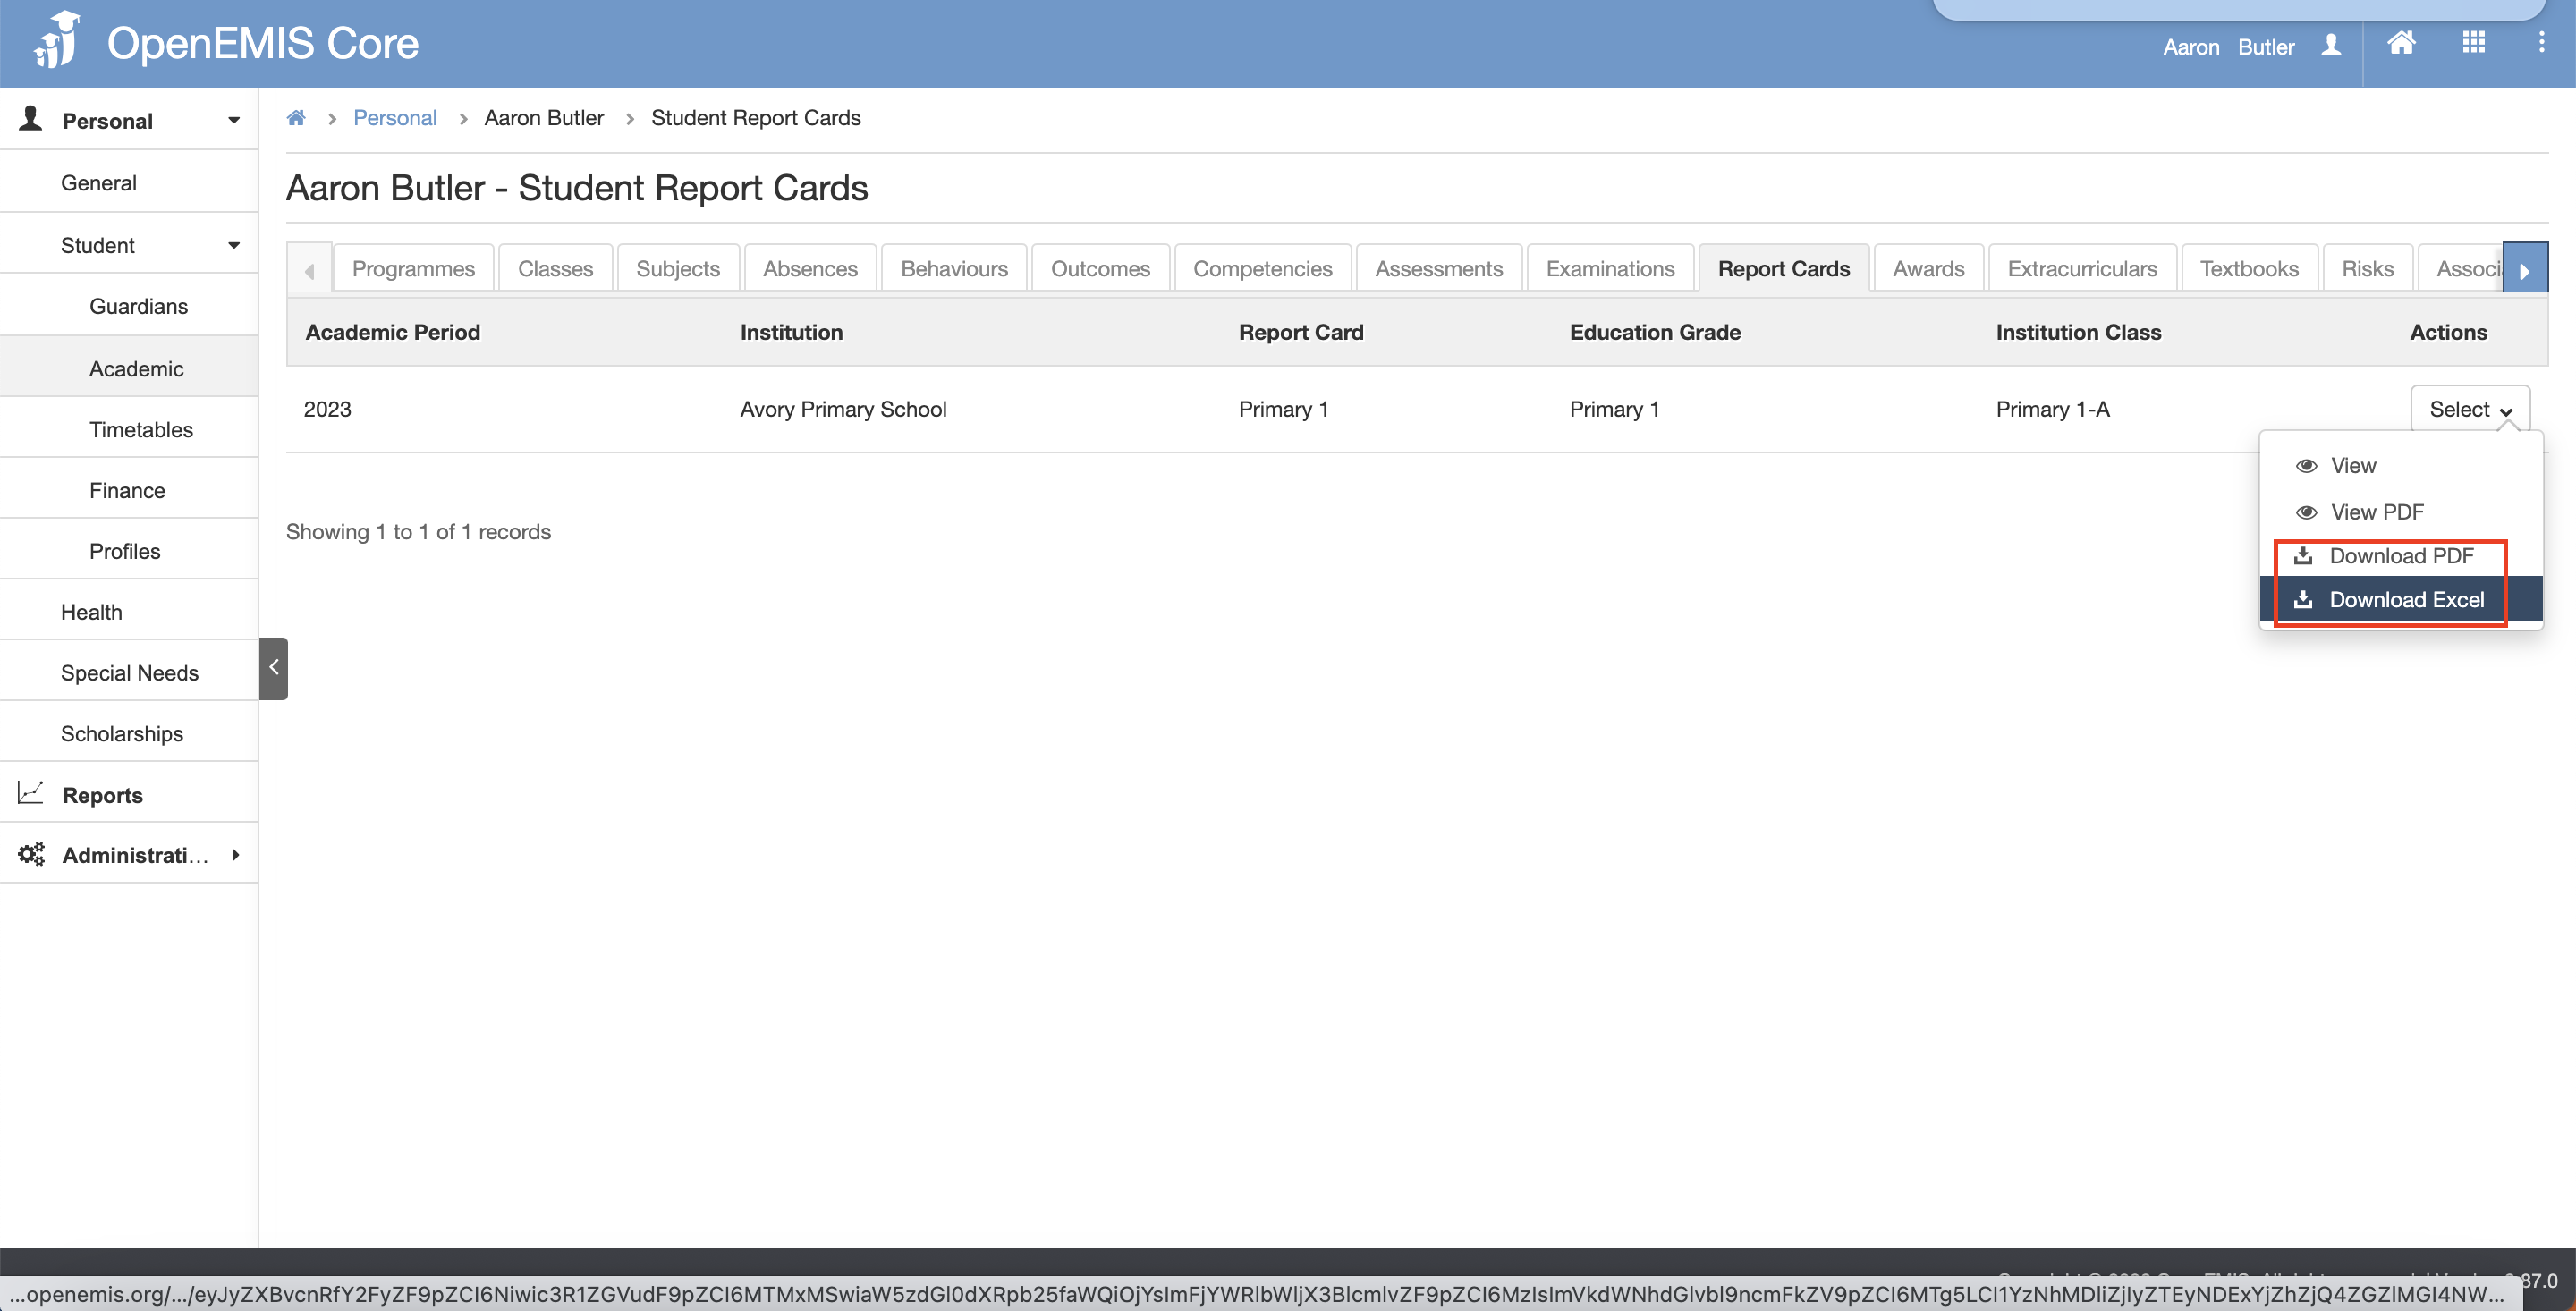
4) The files will be downloaded in the background.