Article Name: Manage Transports
Category/Module: Administration, Institution
Tags: Transport, Trips, Bus
Version: 3.10.14
Date Updated: 23 Oct 2017
Purpose:
This Manage Transport feature allows you to:
- Effective maintenance of transport in school/ or institutions.
- Utilization of school transport and manage route and drivers details.
- Enhances security for students and parents.
- Tracks and maintains all the details related to transportation which includes Vehicle No, and the students taking the bus.
- Manage vehicle allocation during the academic year with proper allotment of vehicles to students.
Features:
- Setup Transport Features (Administration)
- Setup Bus Types
- Setup Trip Types
- Enable Security Role Permission (Administration)
- Manage Transport Providers (Institution)
- Manage Transport Buses (Institution)
- Manage Transport Trips (Institution)
Setup Transport Feature
Create Transport Feature
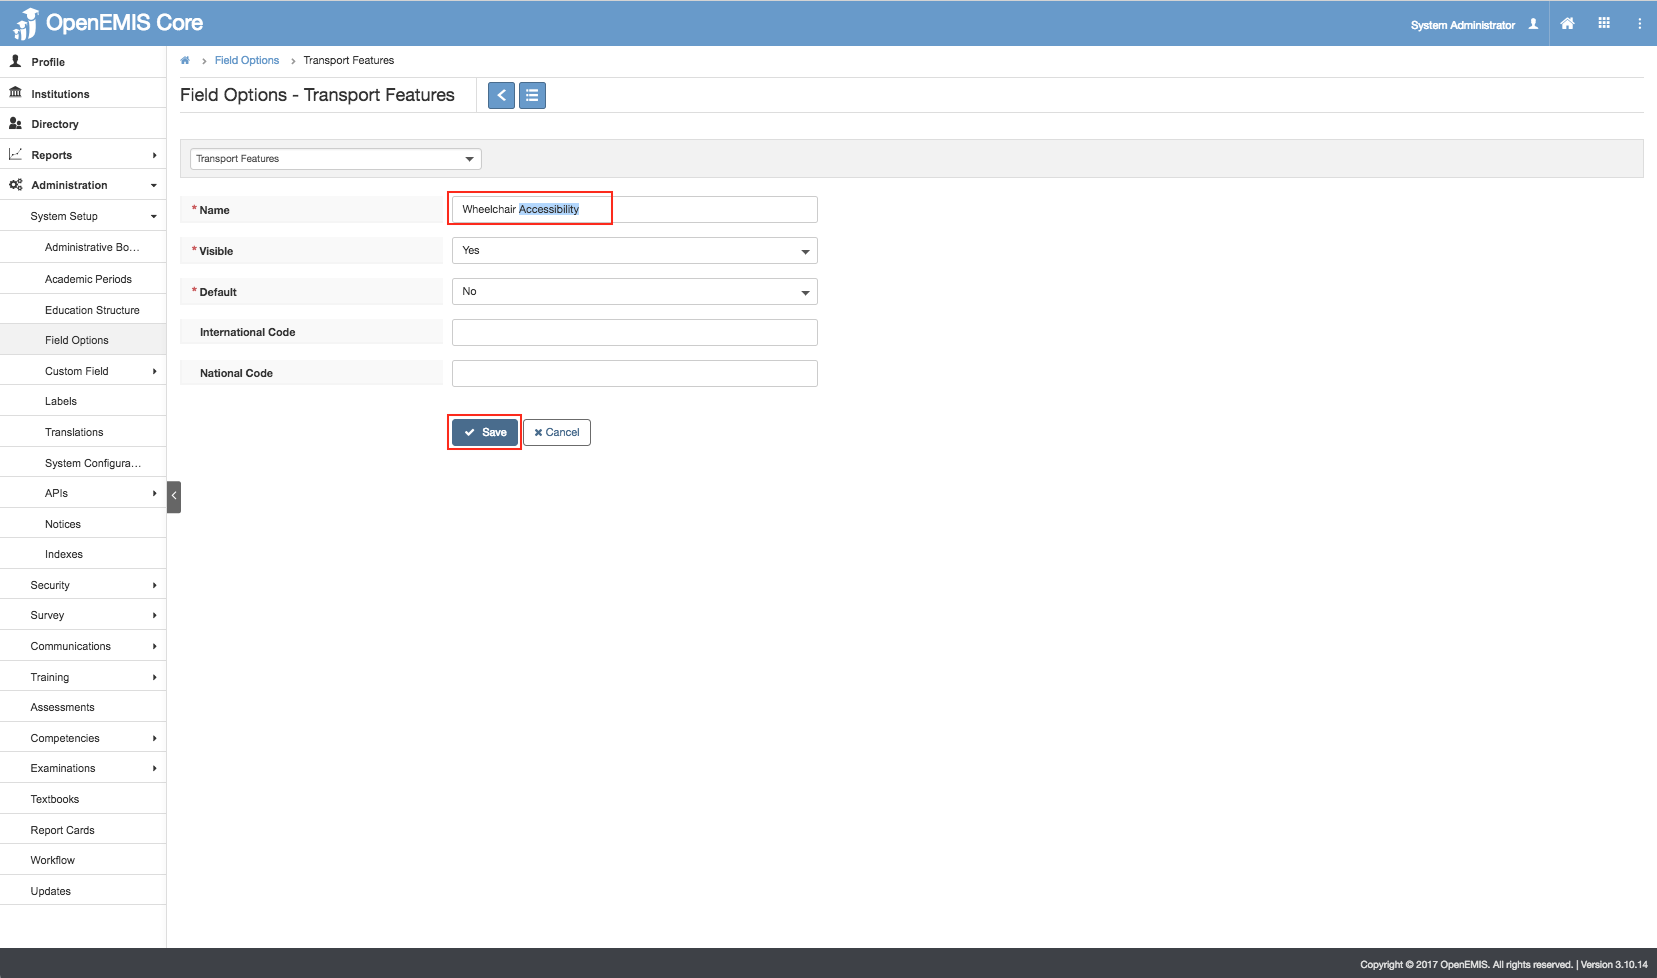
1) Go to Administration > Field Options > Transport Features
2) Select Add.

3) Enter the Name field > Save.

4) The message will be displayed upon adding successfully.

Edit Transport Feature
1) Go to Administration > Field Options > Transport Features
2) You will be able to see all the Transport Features being created.
3) Select Action Bar > Edit.

4) Update the Name >Save.
5) The message will be displayed upon updating successfully.
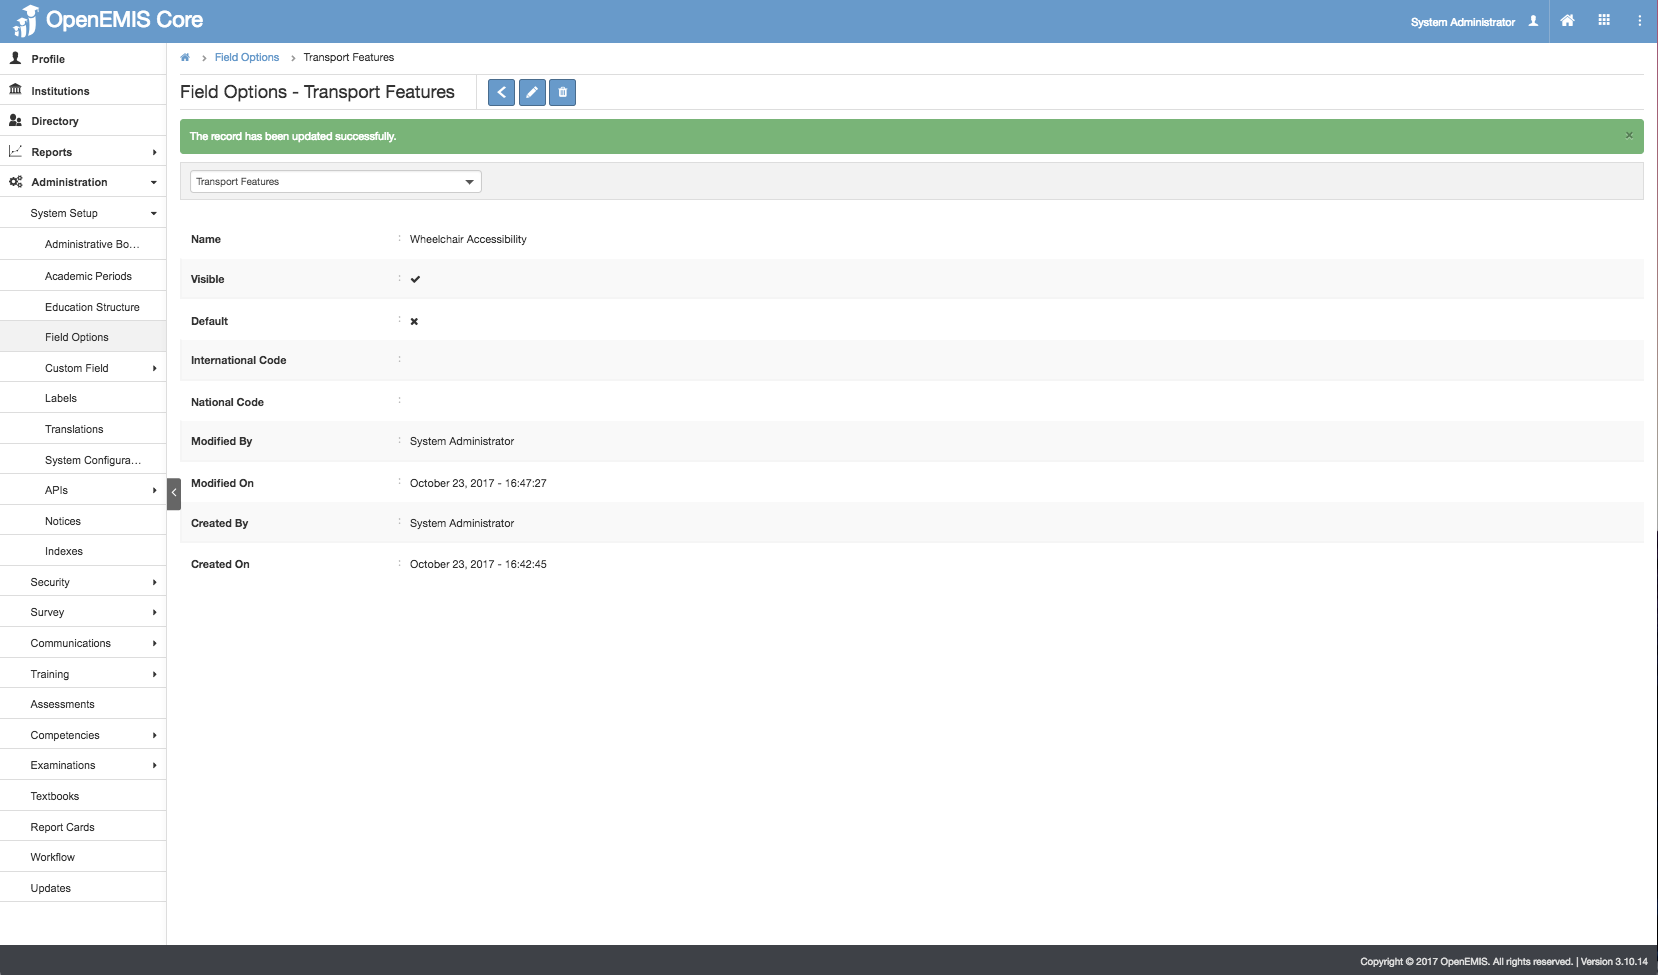
View Transport Feature
1) Go to Administration > Field Options > Transport Features
2) You will be able to see all the Transport Features being created.

3) Select Action Bar > View.
4) You will be able to see Additional details of Transport Feature record.
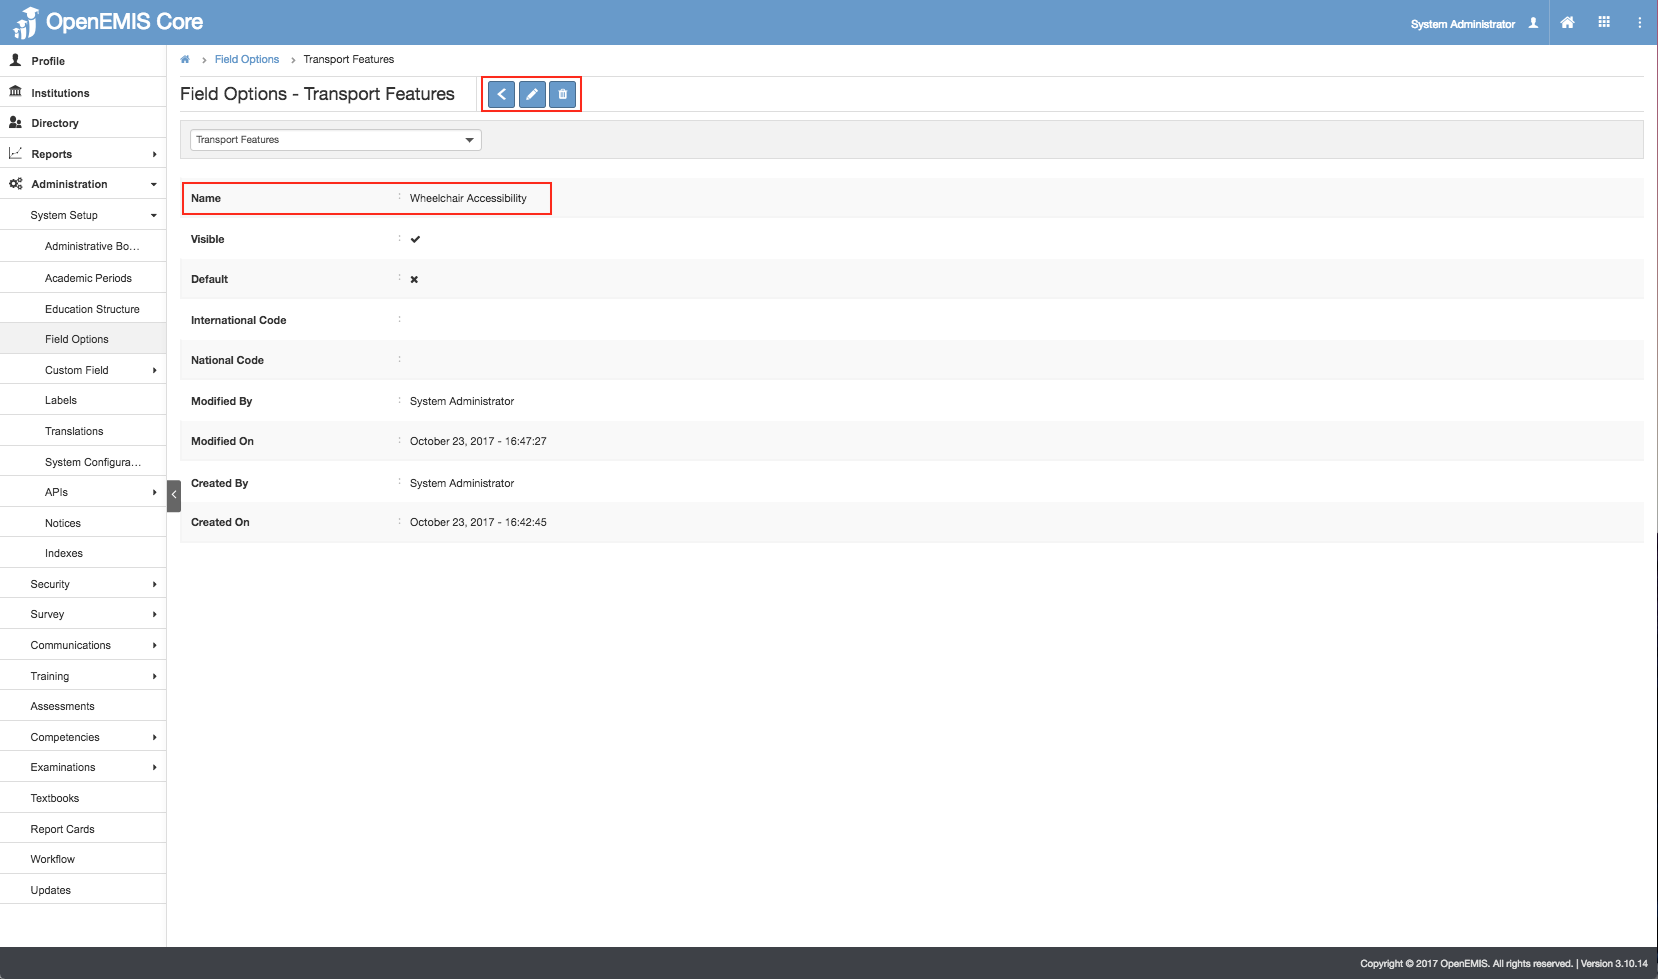
5) Similarly, you will be able to update or delete the record.
Delete Transport Feature
1) Go to Administration> Field Options > Transport Features
2) You will be able to see all the Transport Features being created.
3) Select Action Bar > Delete.
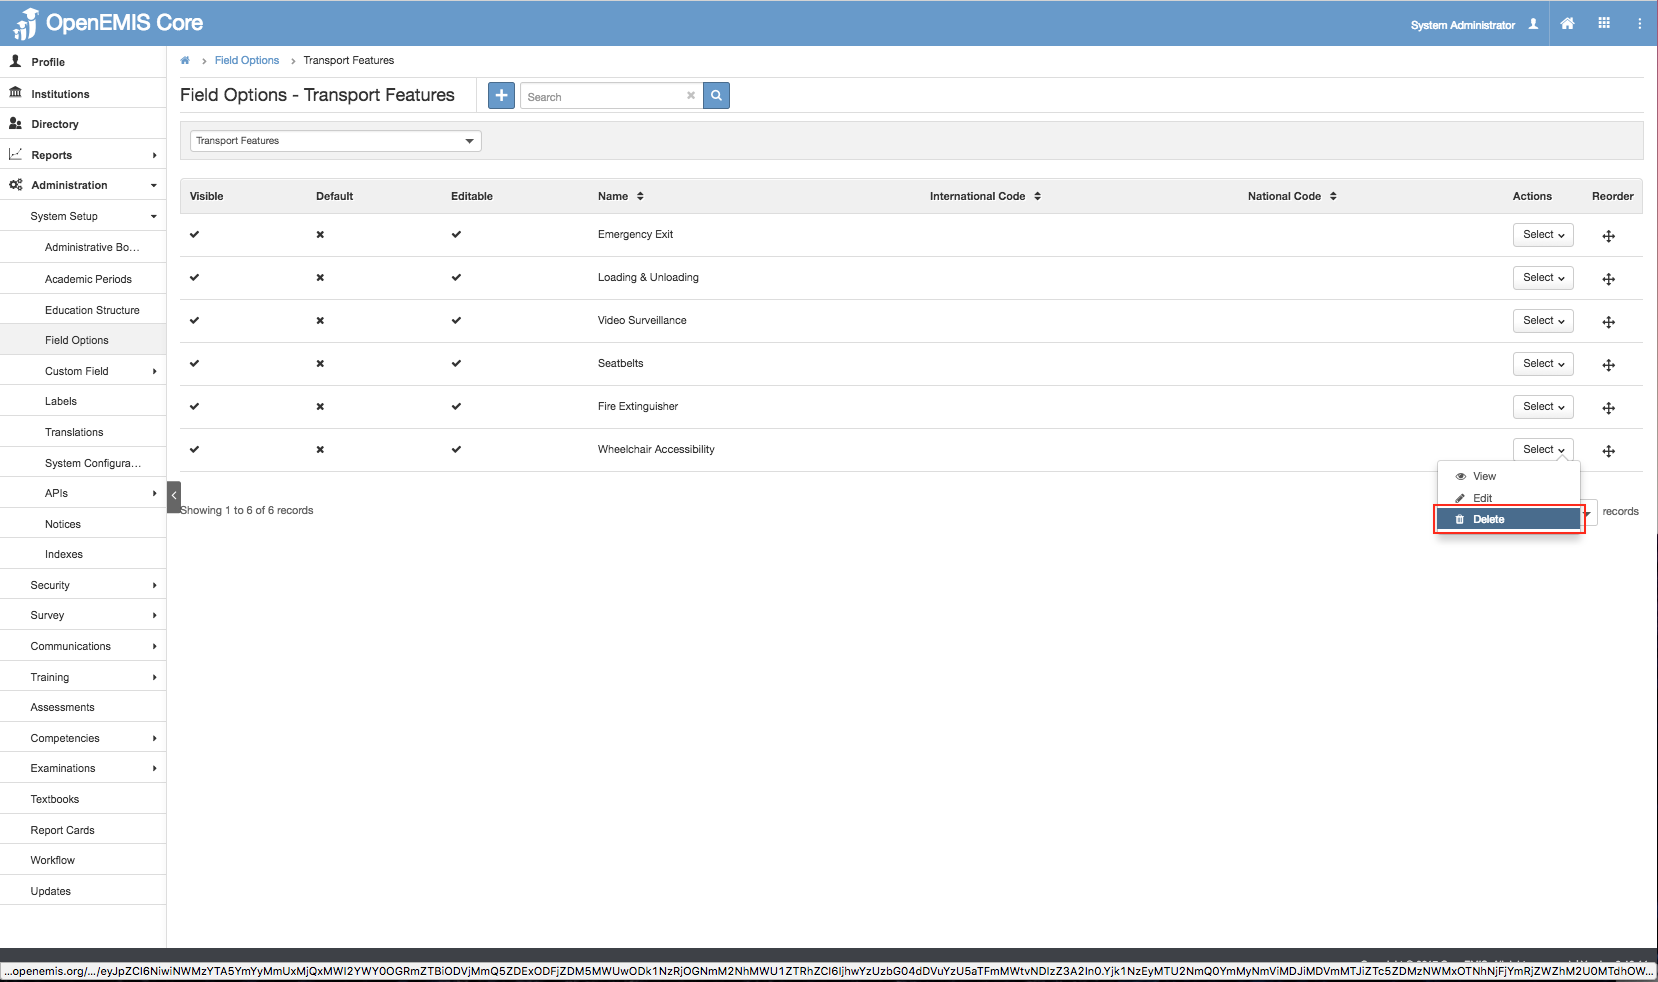
4) You will not be able to delete if the record have associated records.
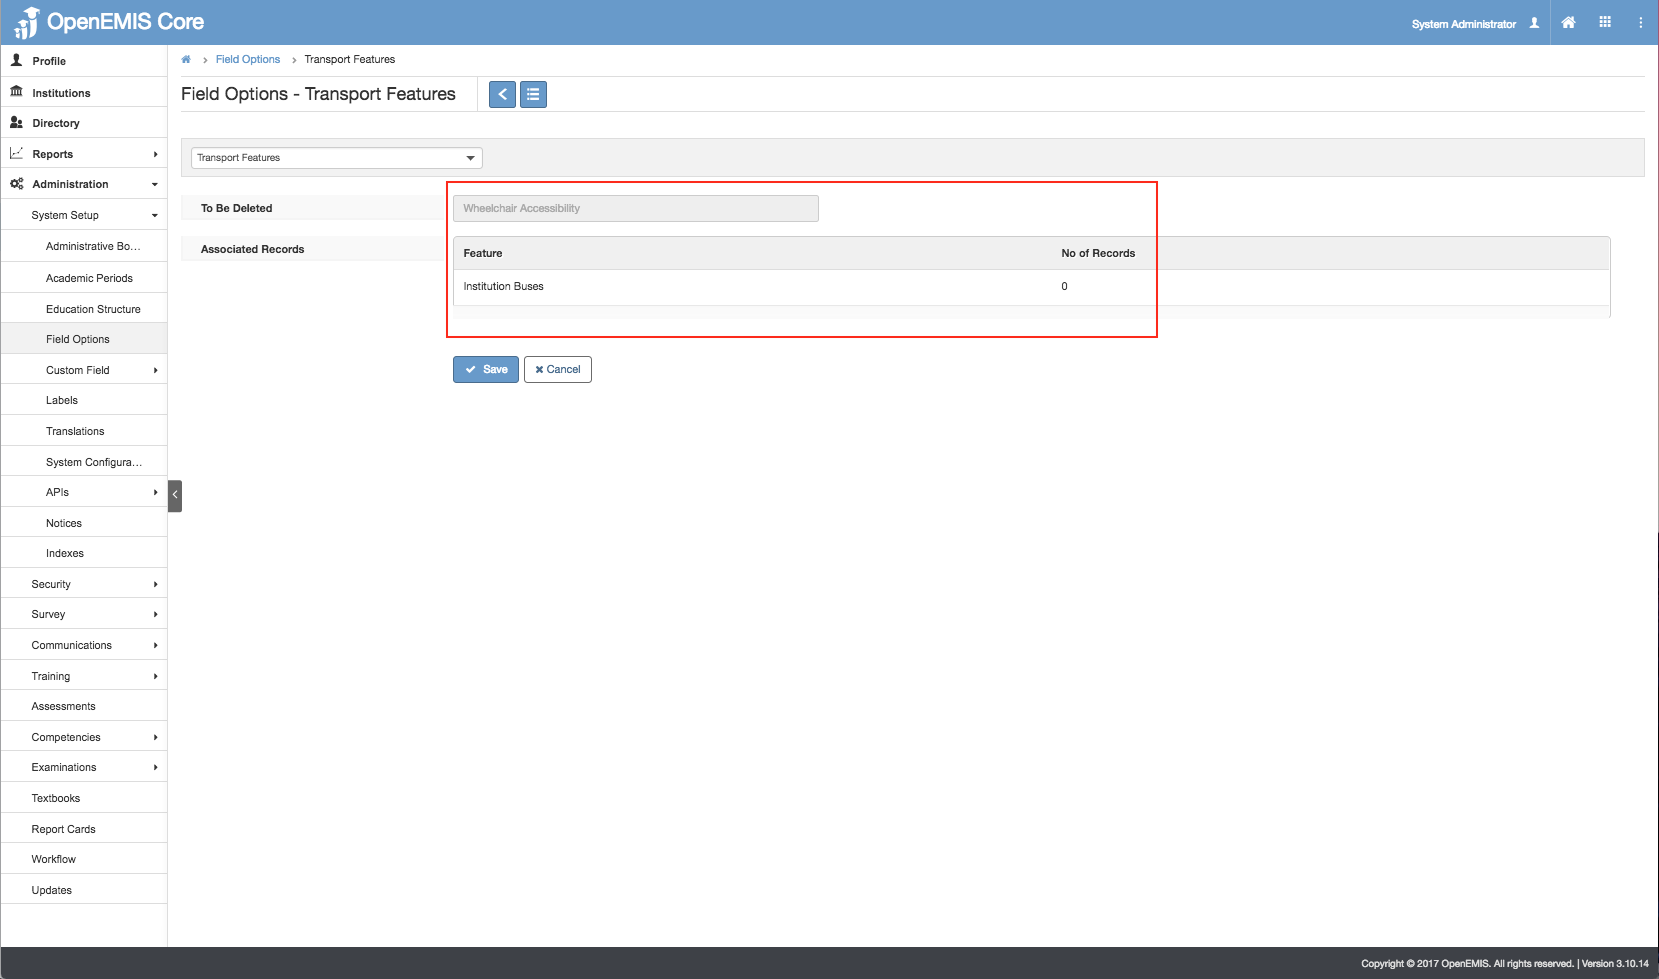
5) Else, if there are no associated record > Save.
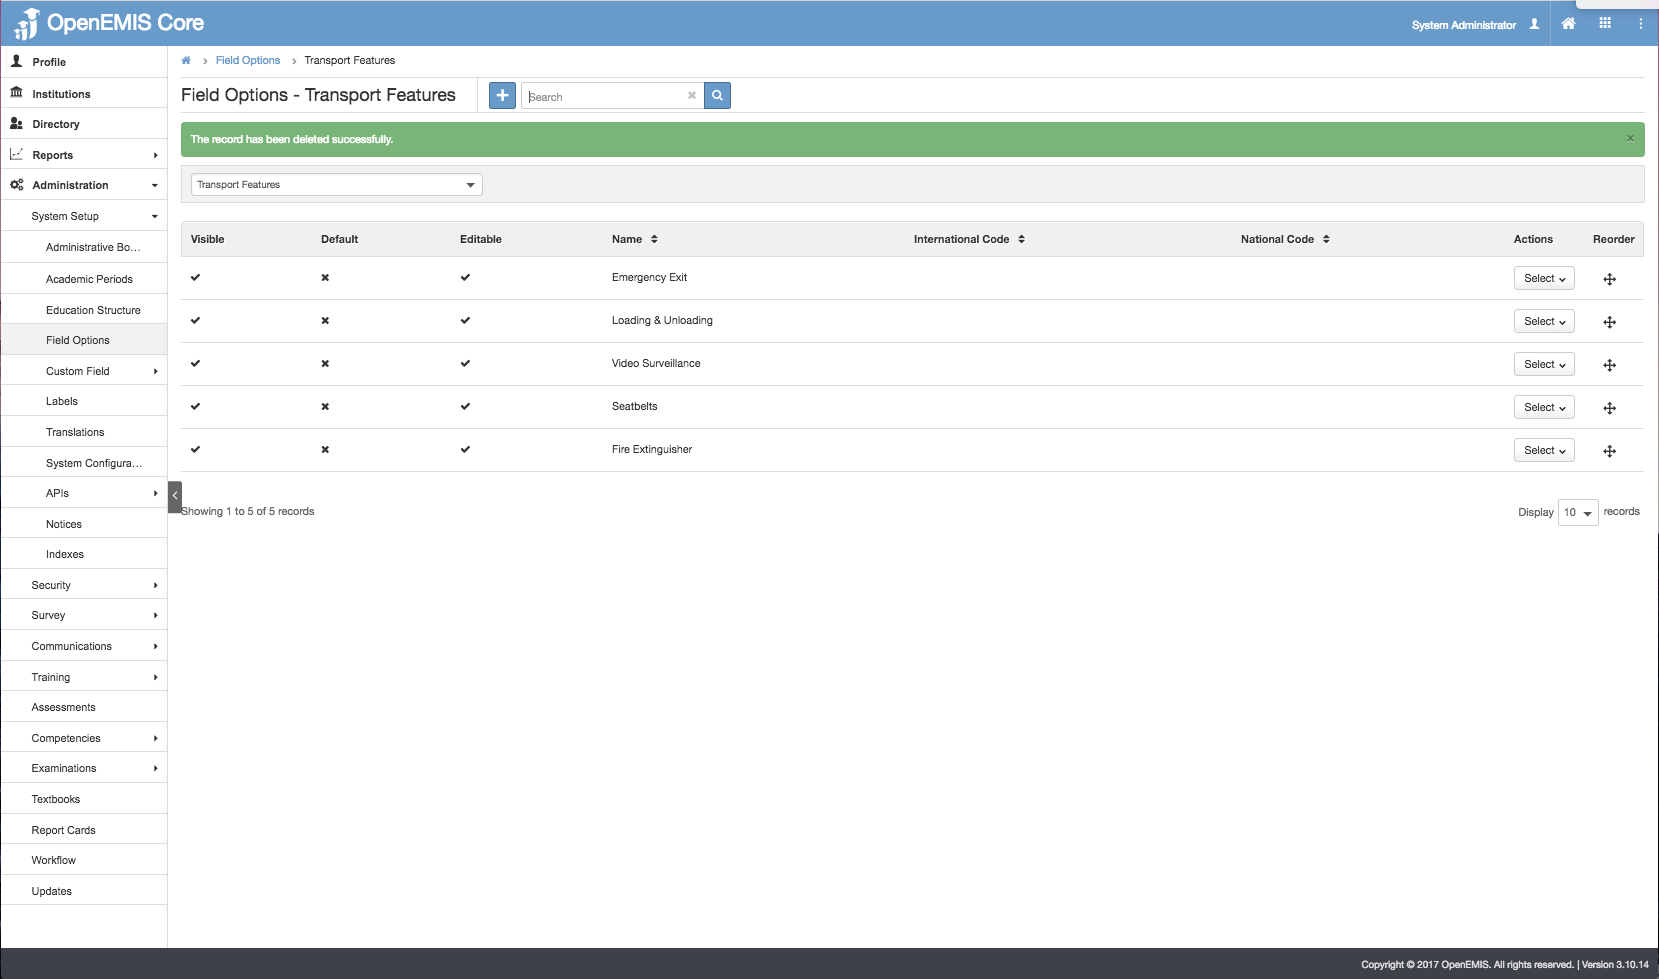
6) You will be able to delete successfully.
Setup Bus Types
Create Bus Types
1) Go to Administration > Field Options > Bus Types
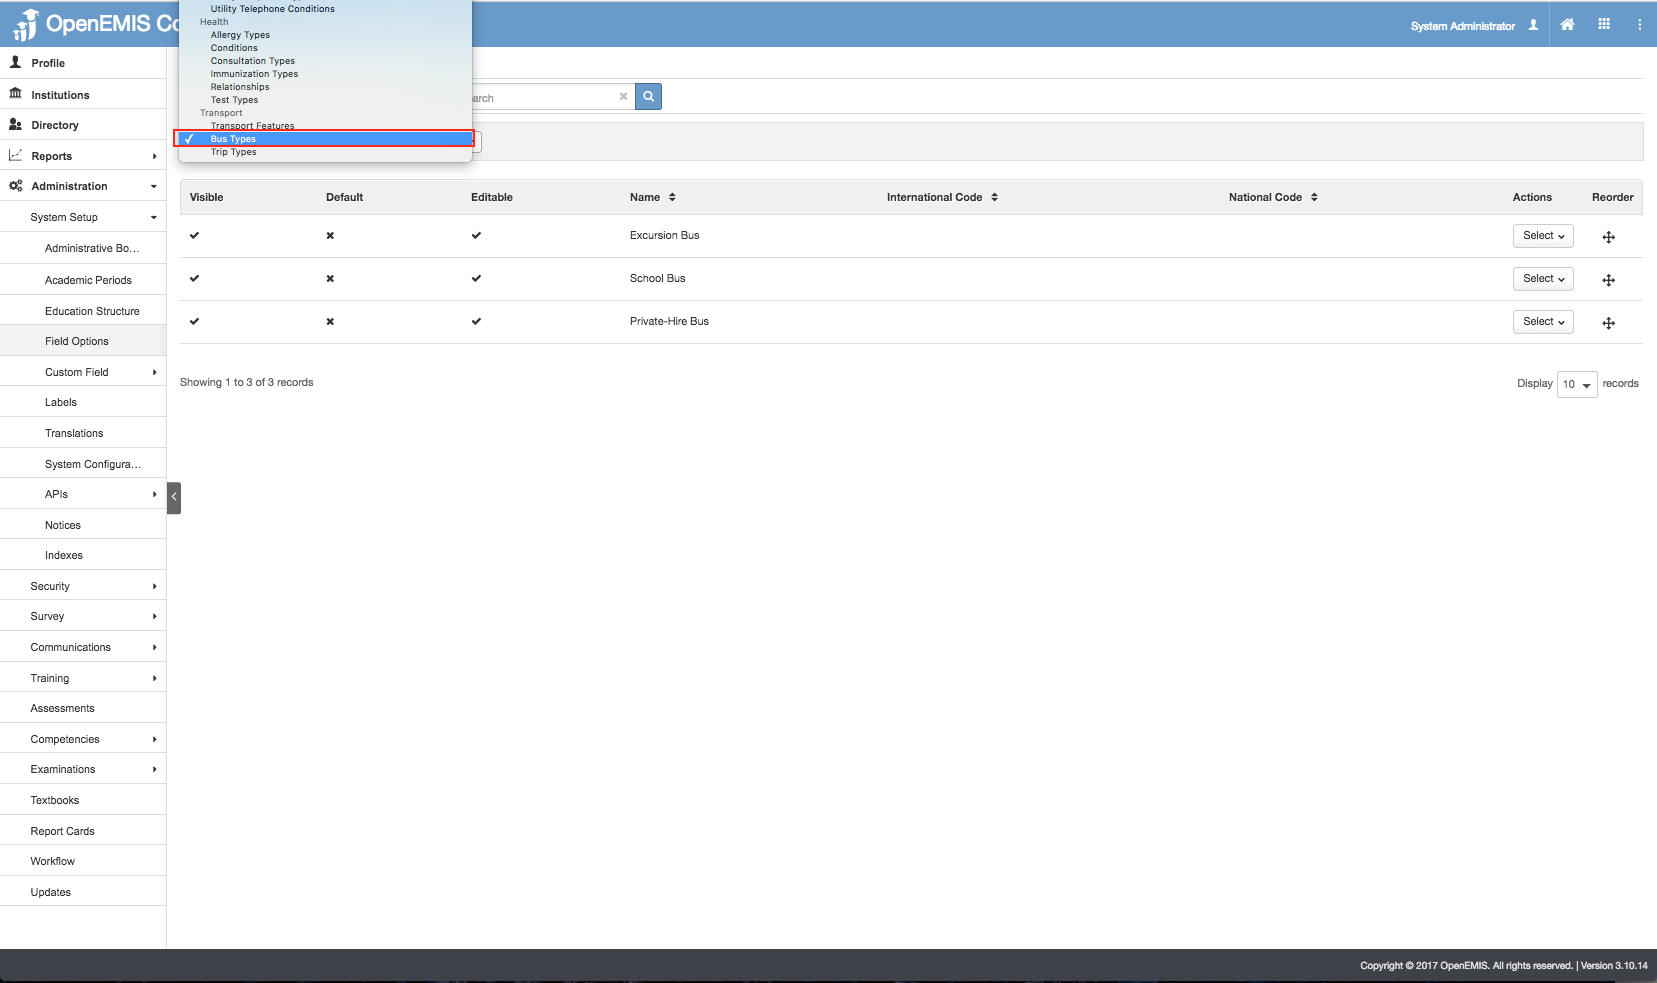
2) Select Add.
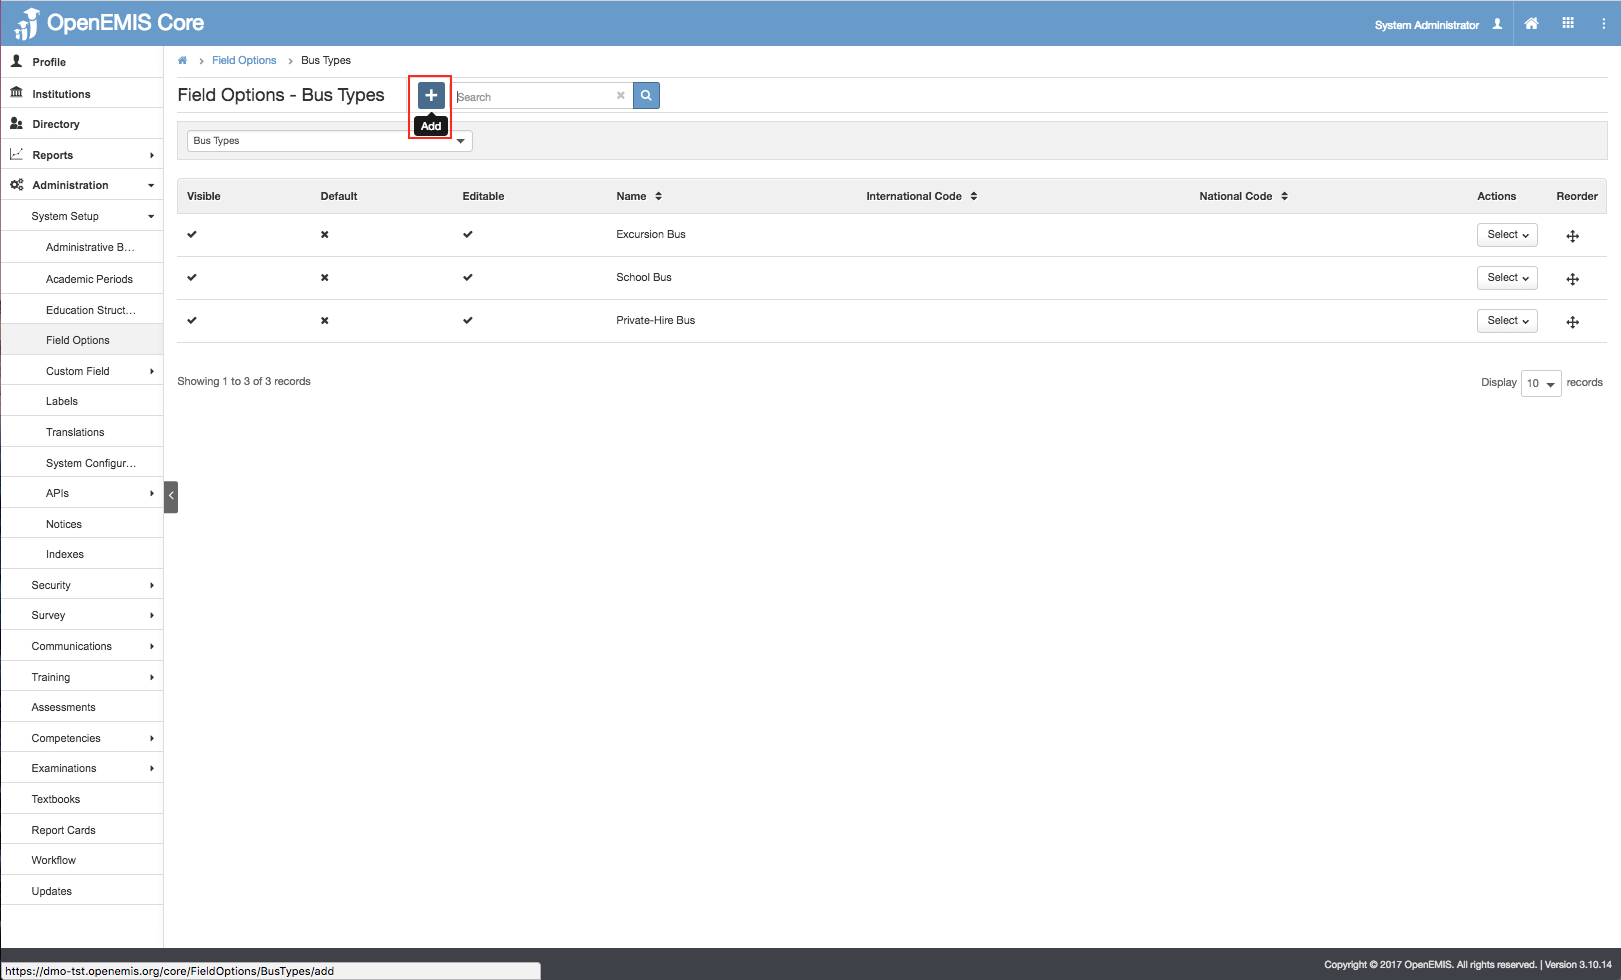
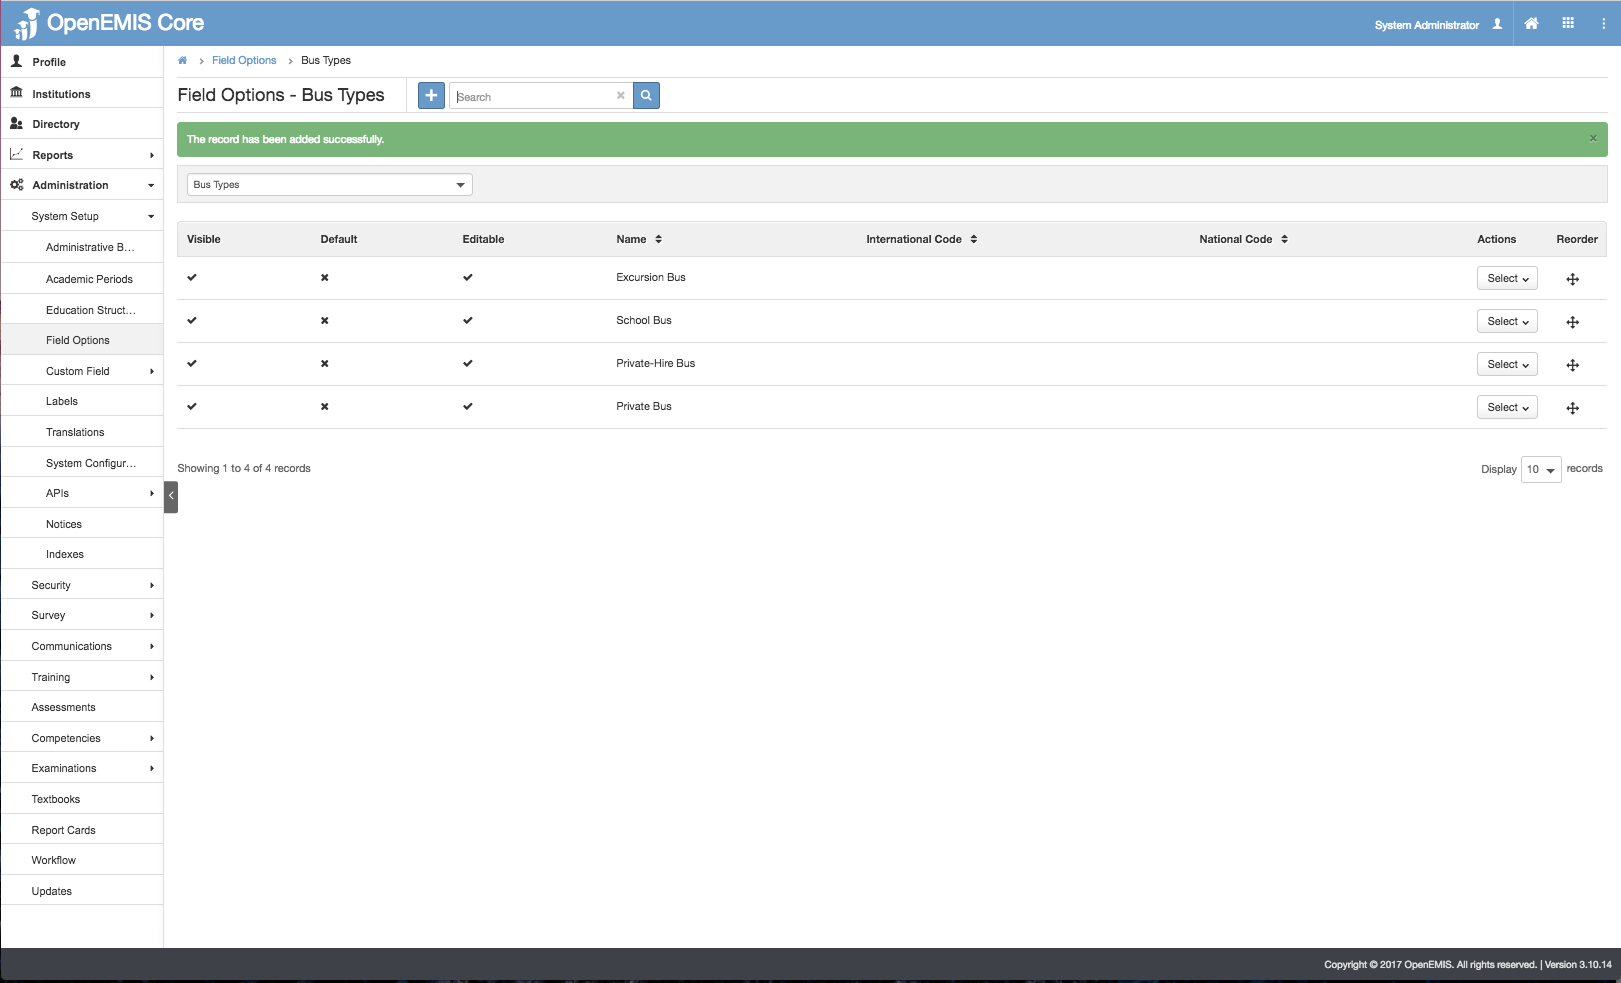
3) Enter the Name field > Save.

4) The message will be displayed upon adding successfully.
Edit Bus Types
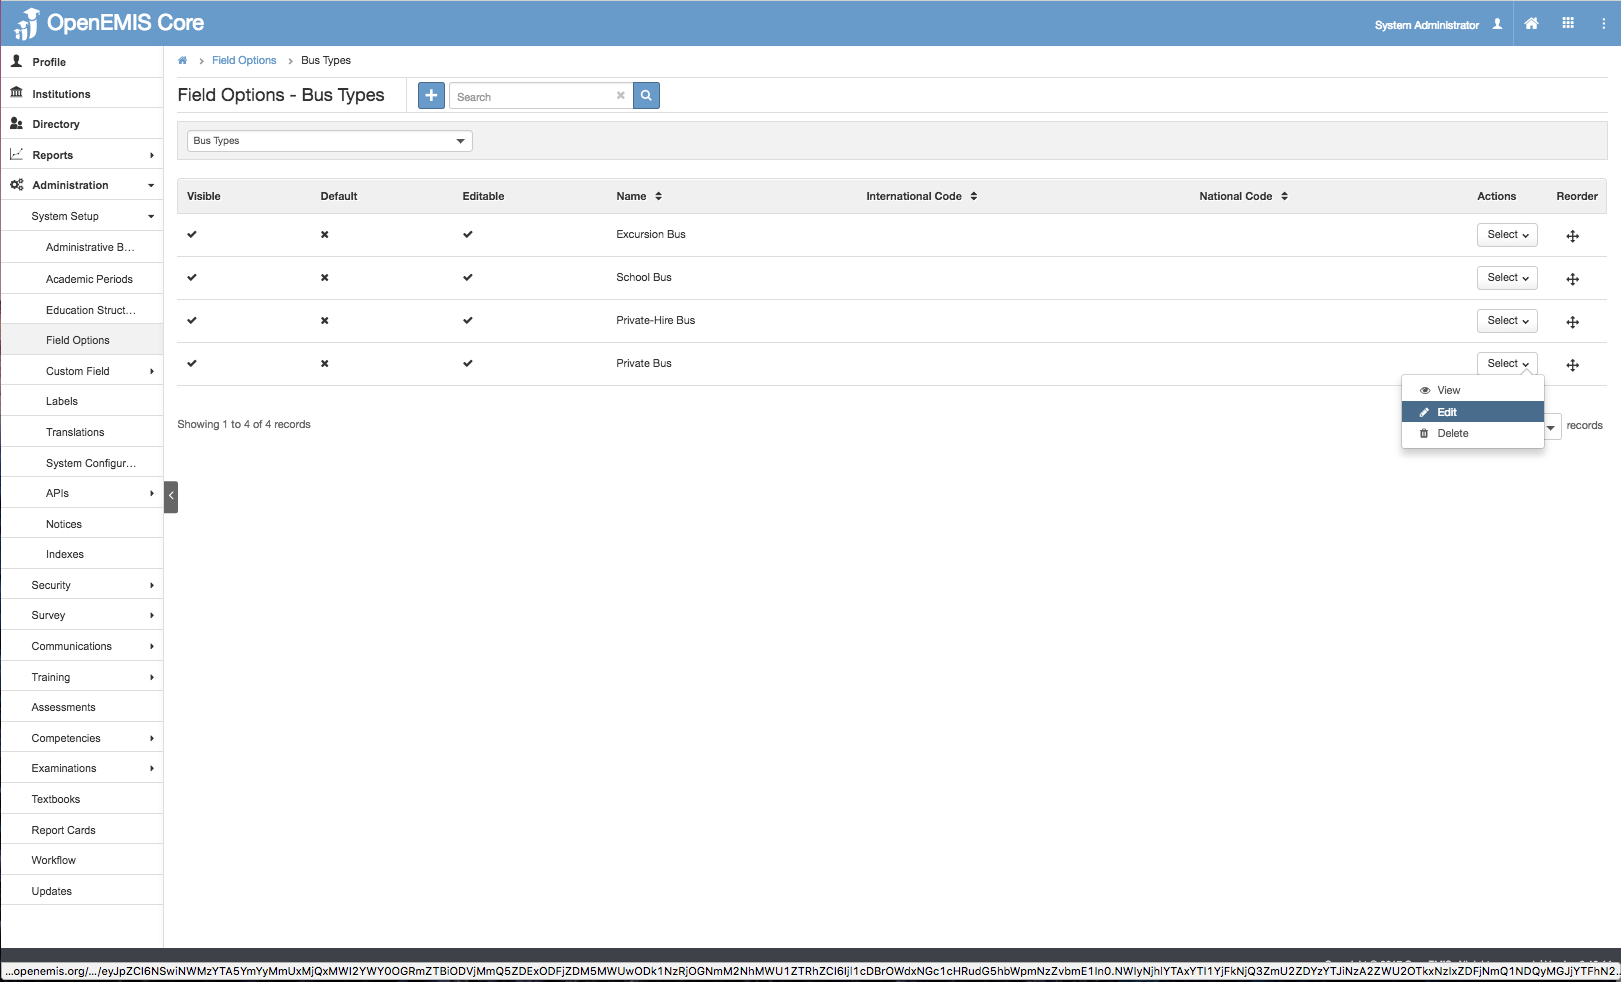
1) Go to Administration > Field Options > Bus Types
2) You will be able to see all the Bus Types being created.
3) Select Action Bar > Edit.
4) Update the Name >Save.
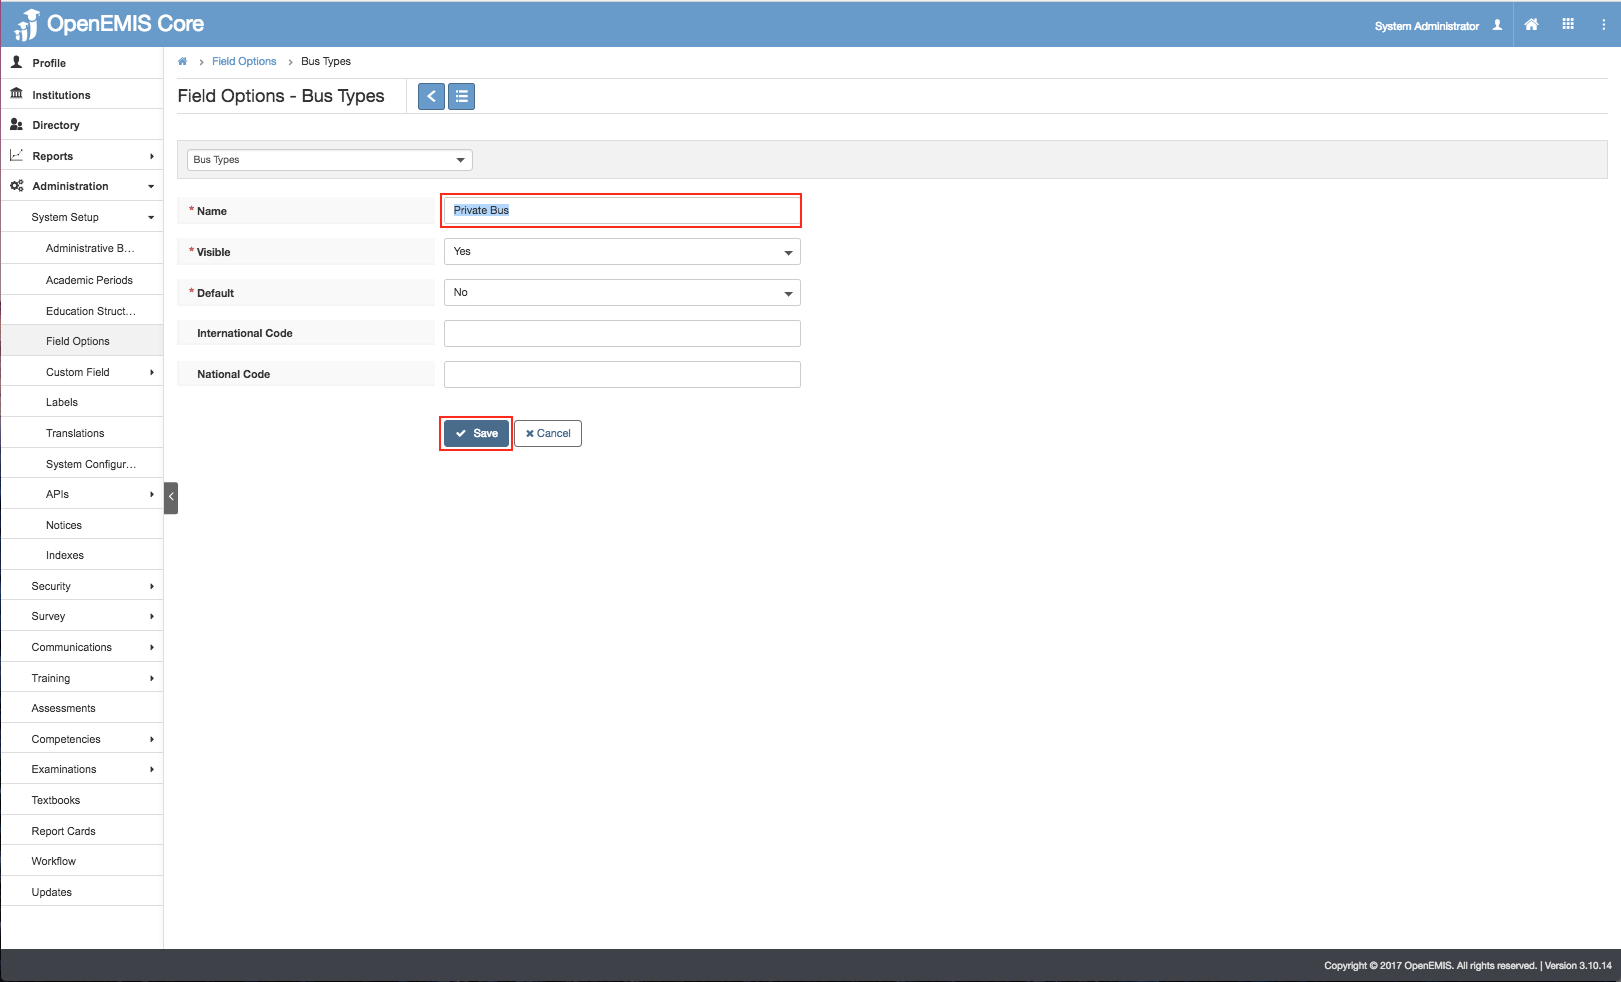
5) The message will be displayed upon updating successfully.
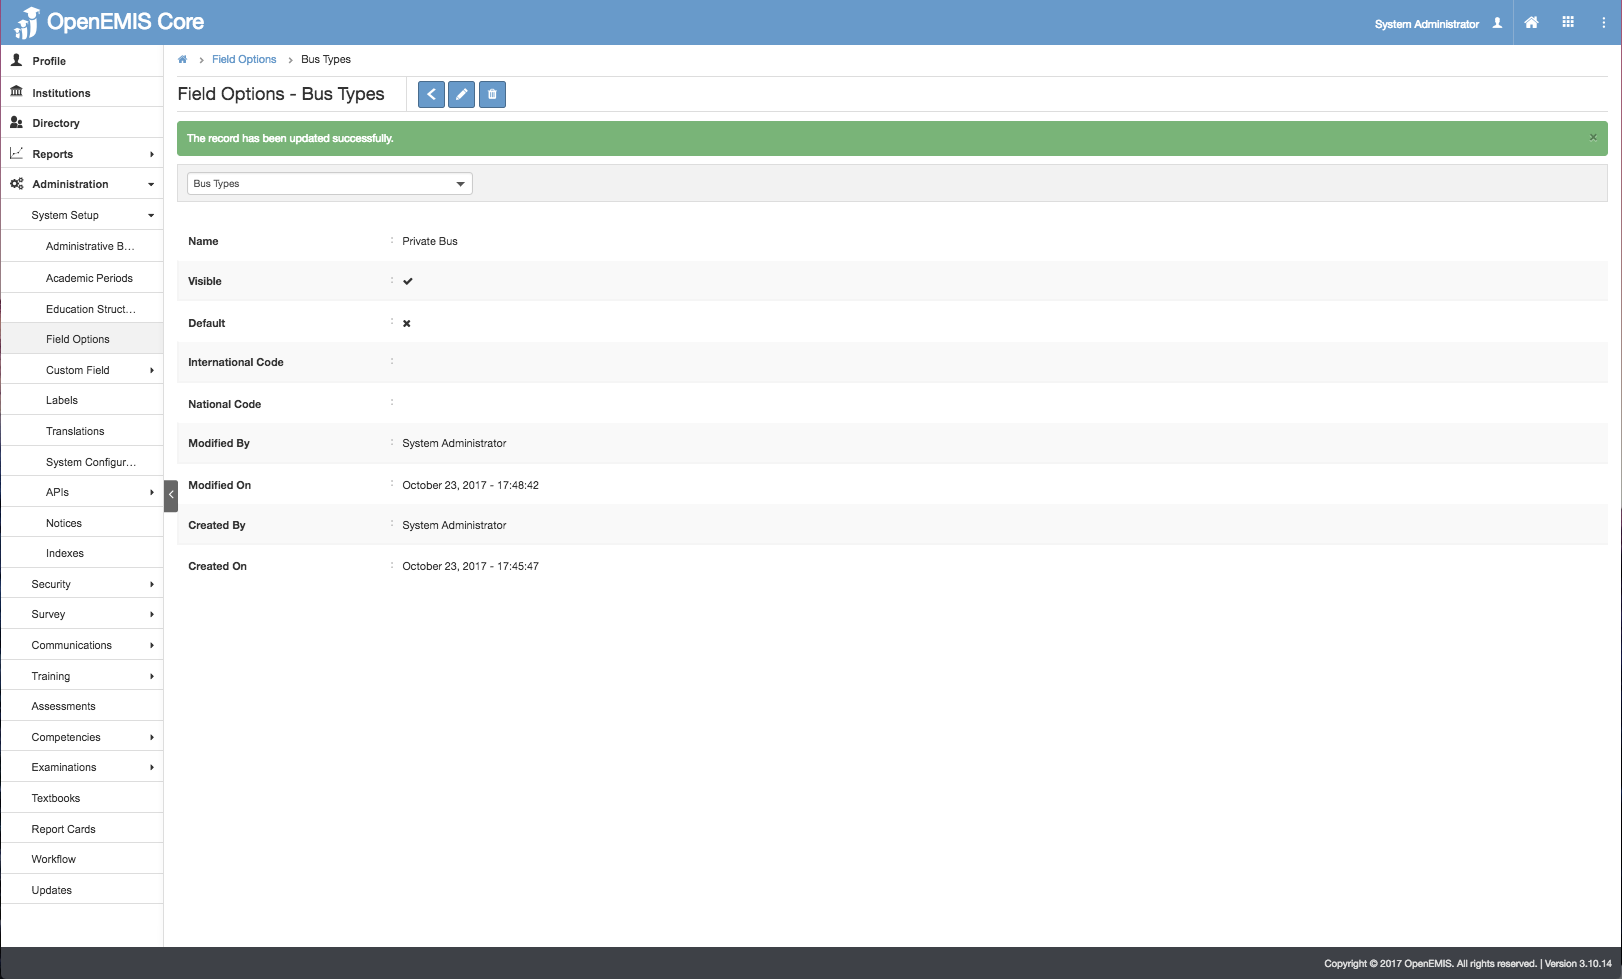
View Bus Types
1) Go to Administration > Field Options > Bus Types
2) You will be able to see all the Bus Types being created.
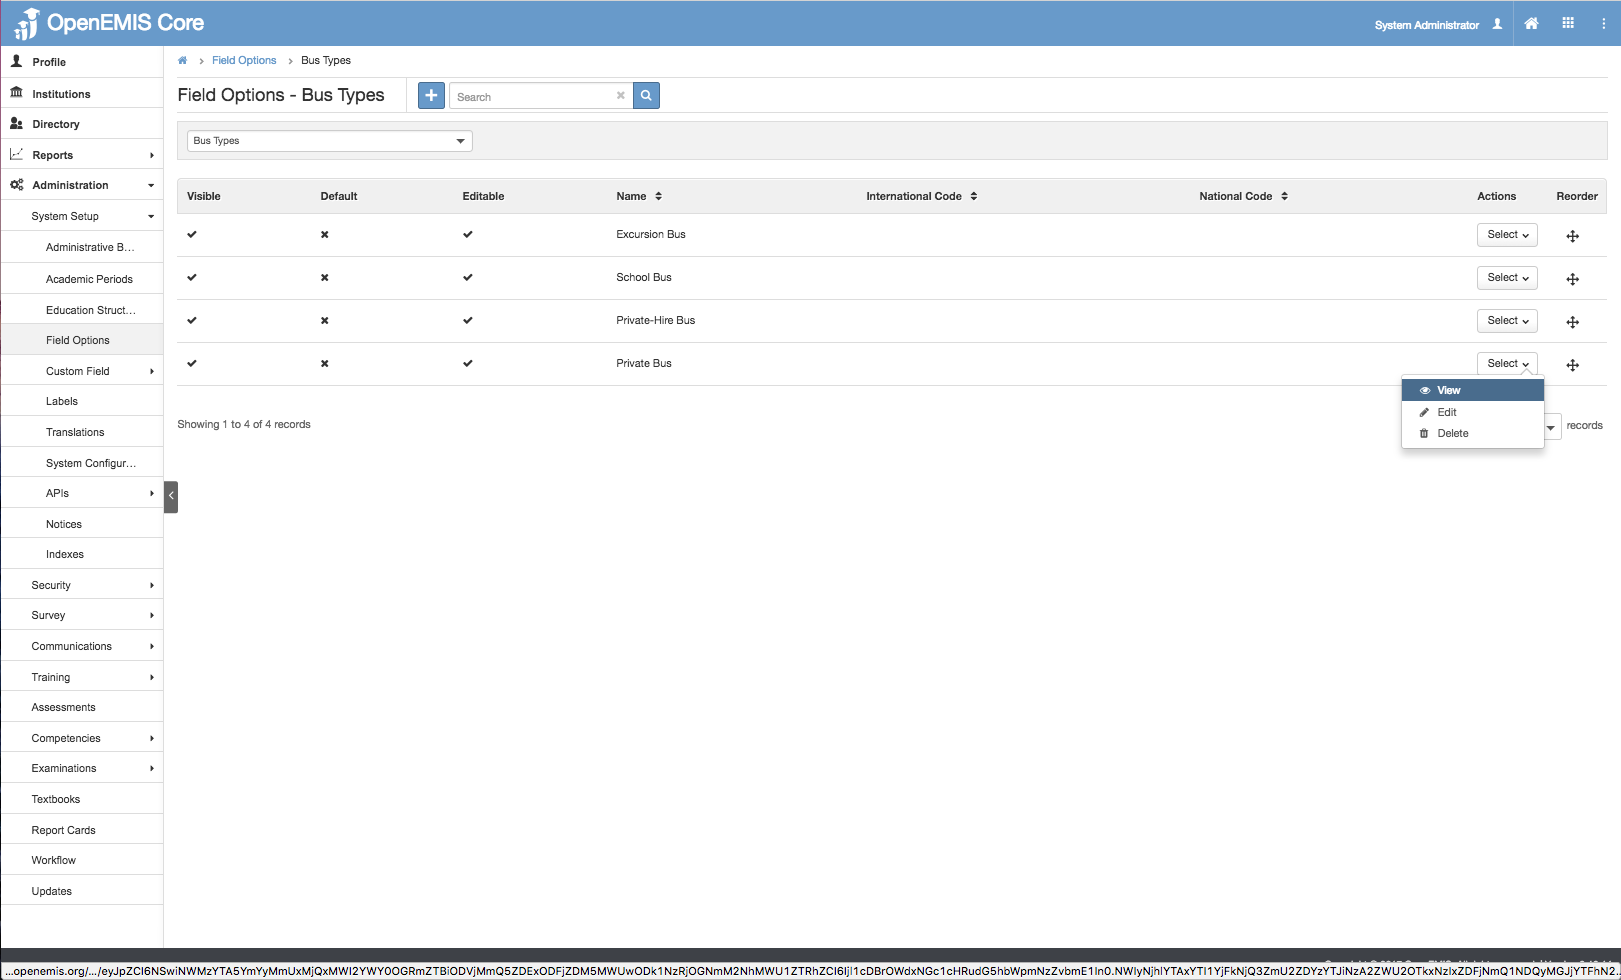
3) Select Action Bar > View.
4) You will be able to see Additional details of Bus Type record.
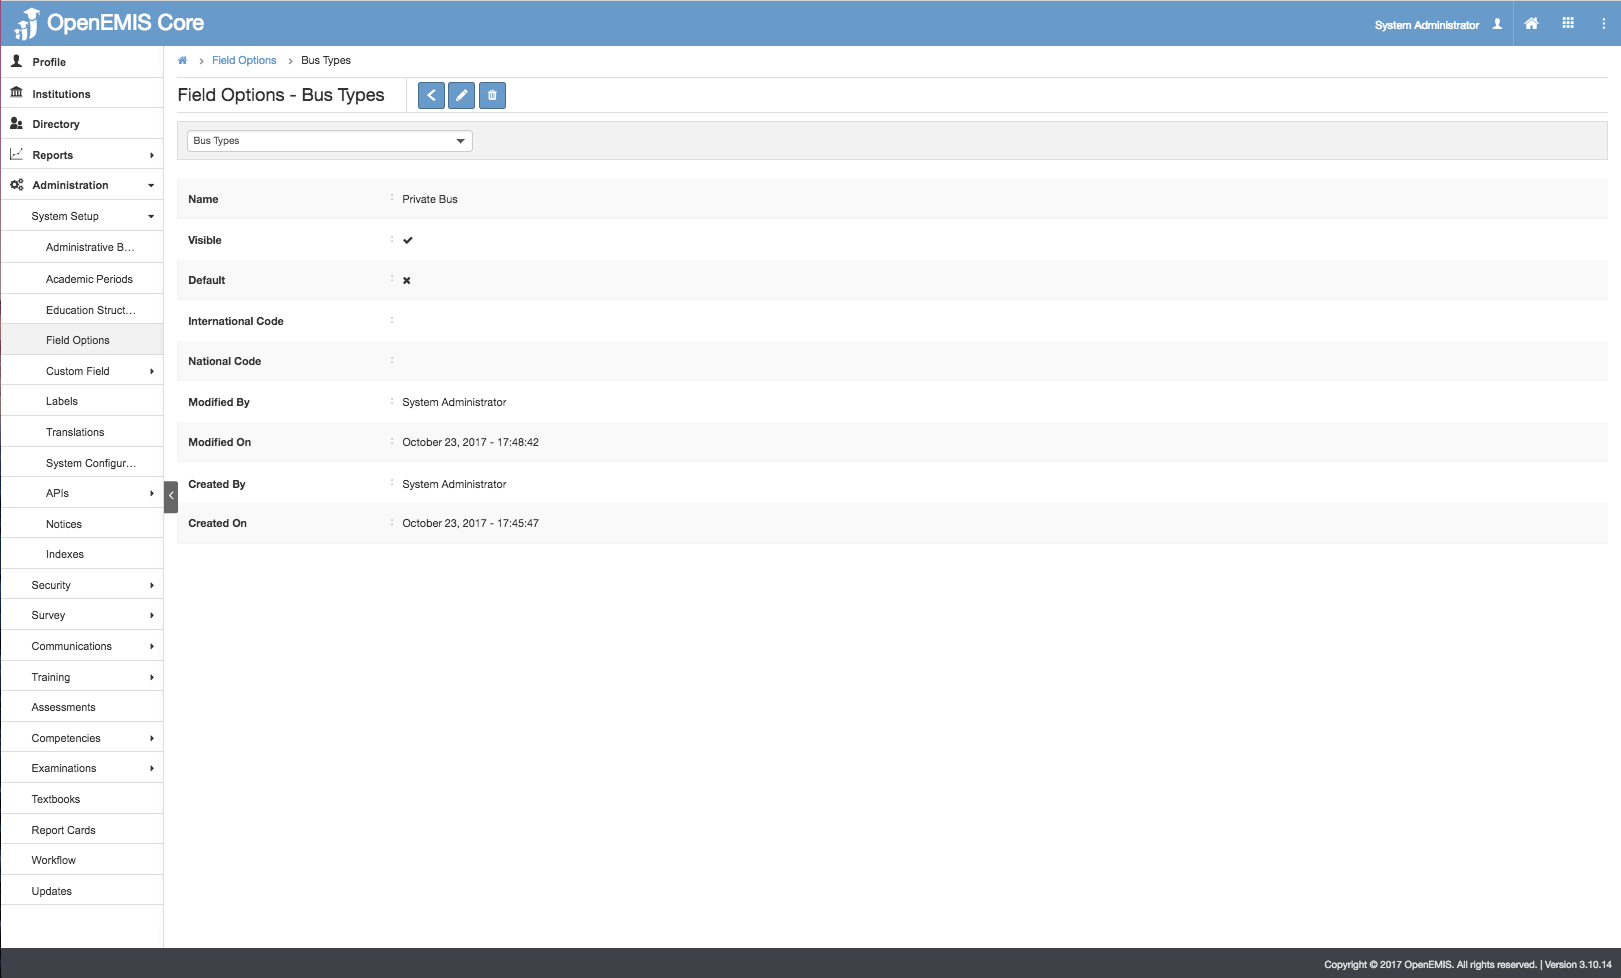
5) Similarly, you will be able to update or delete the record.
Delete Bus Types
1) Go to Administration> Field Options > Bus Types
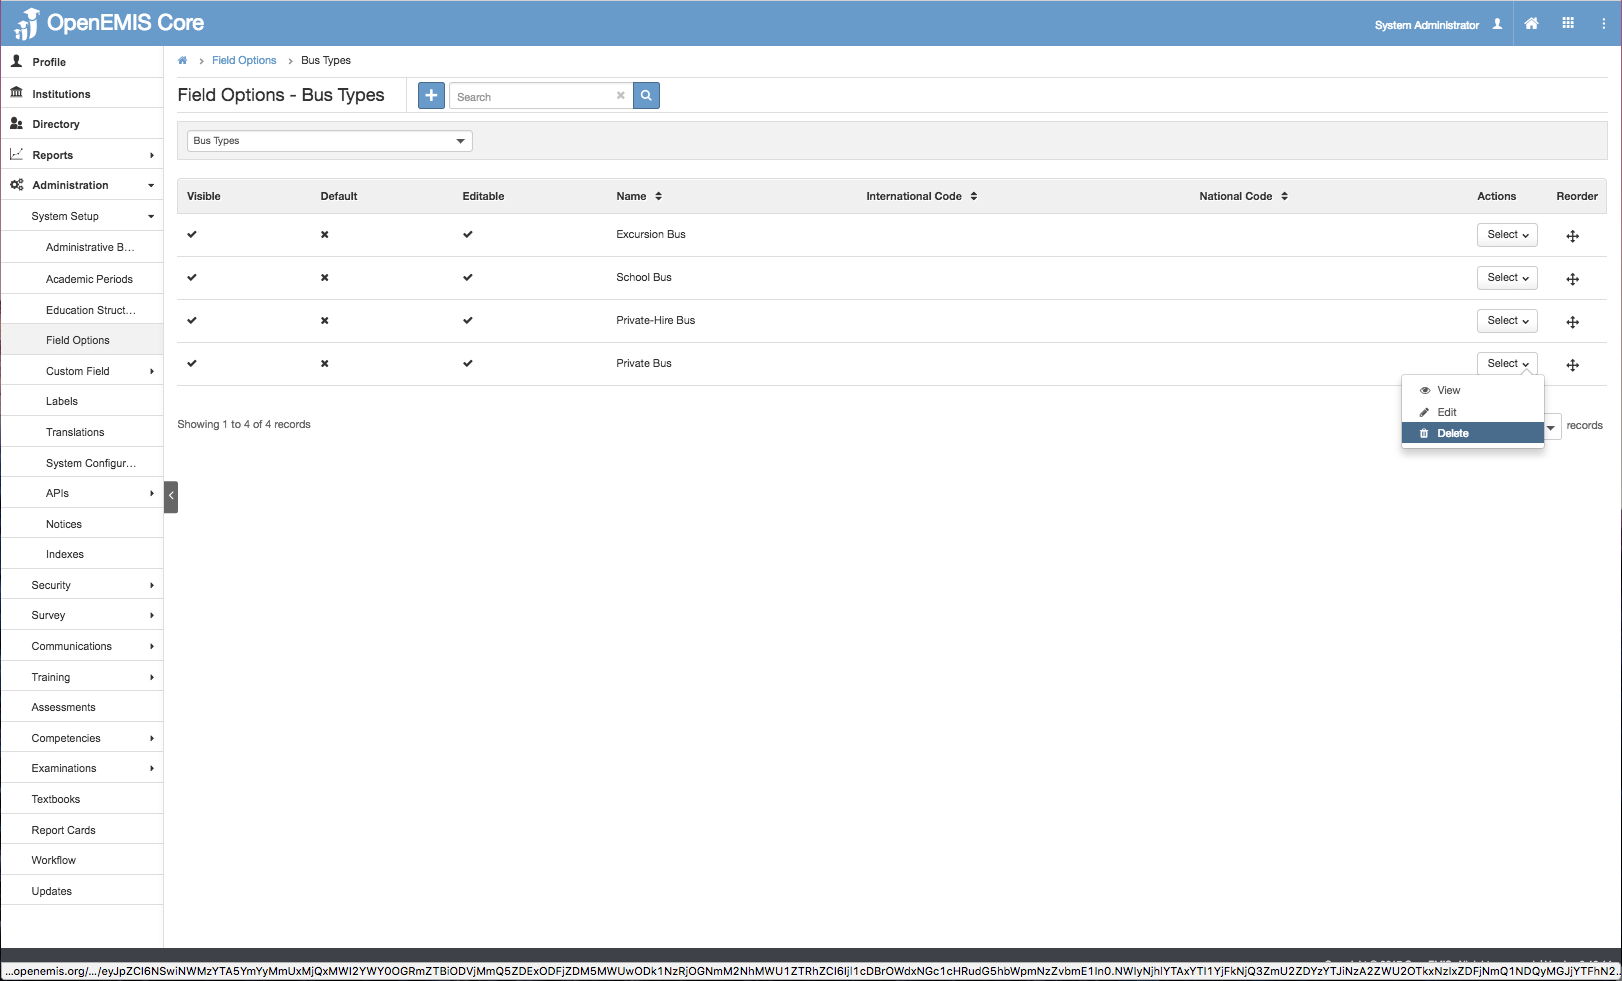
2) You will be able to see all the Bus Types being created.
3) Select Action Bar > Delete.
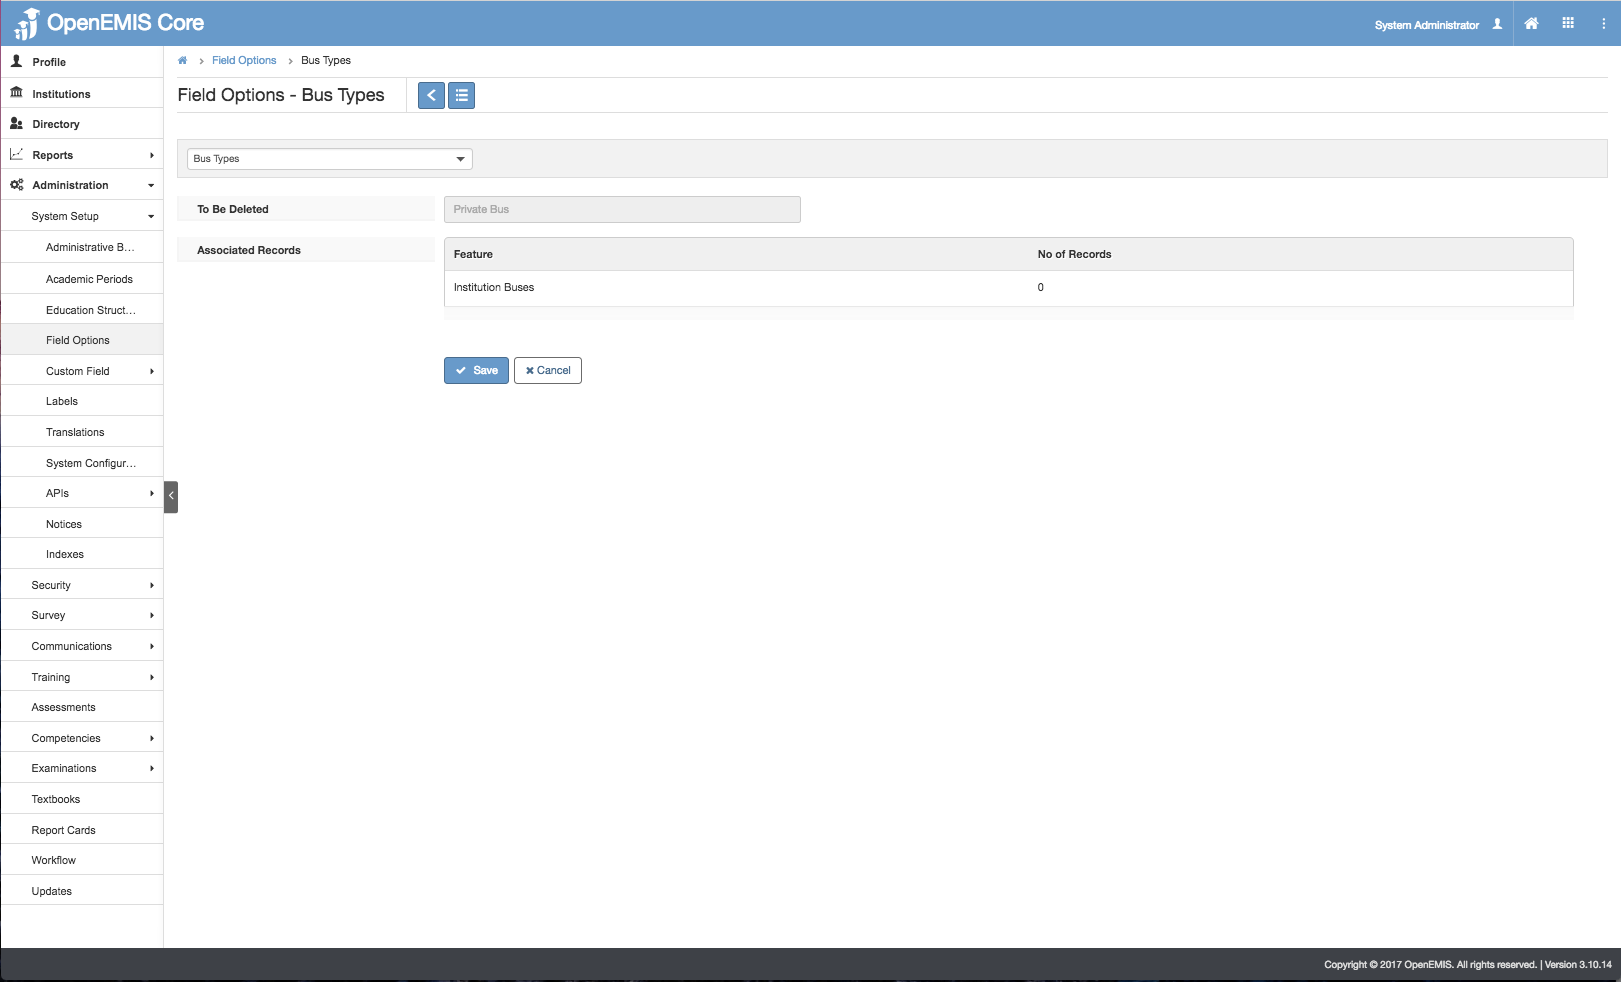
4) You will not be able to delete if the record have associated records.
5) Else, if there are no associated record > Save.

6) You will be able to delete successfully.
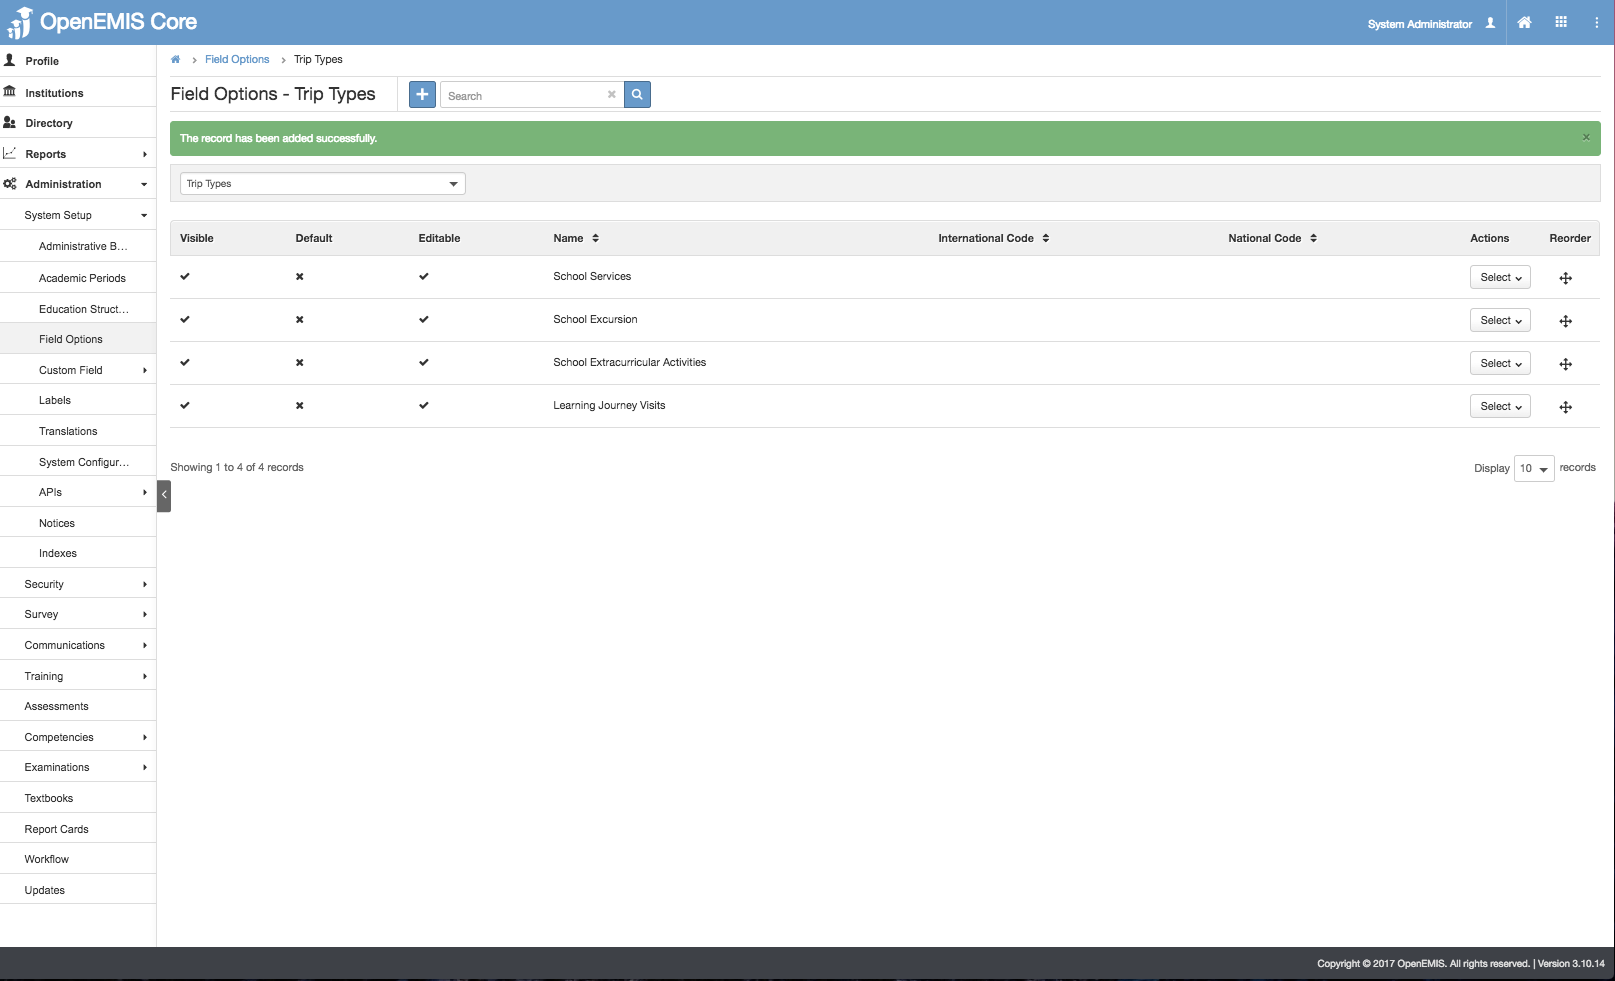
Setup Trip Types
Create Trip Types
1) Go to Administration > Field Options > Trip Types
2) Select Add.

3) Enter the Name field > Save.
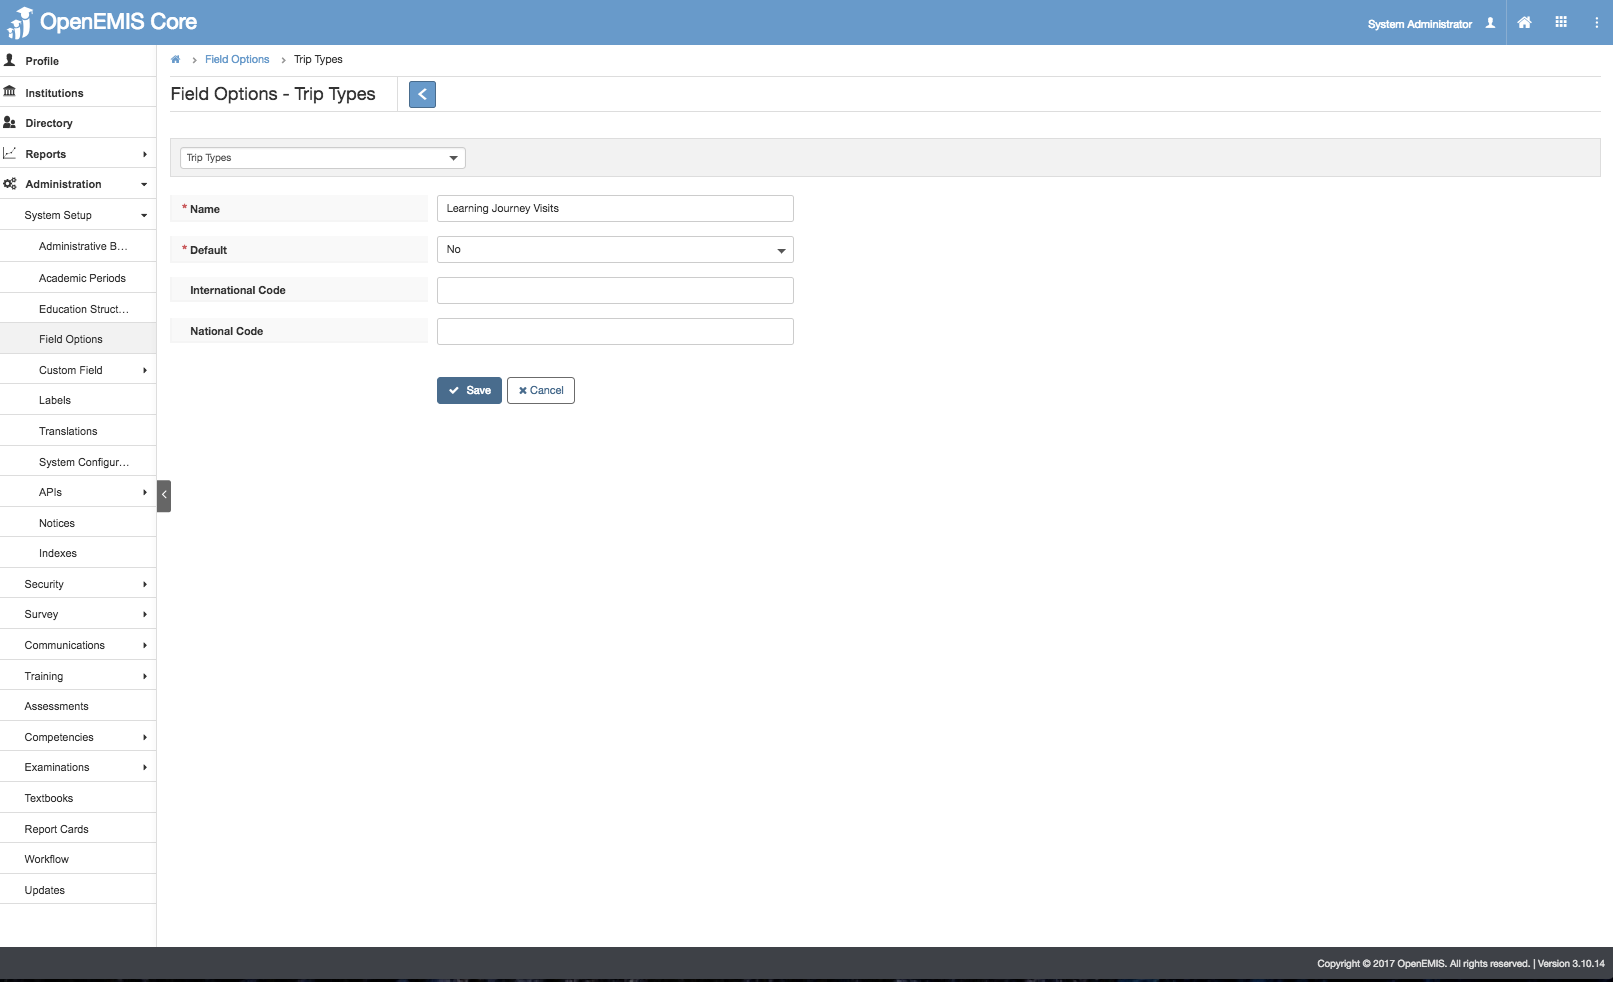
4) The message will be displayed upon adding successfully.
Edit Trip Types
1) Go to Administration > Field Options > Trip Types
2) You will be able to see all the Trip Types being created.
3) Select Action Bar > Edit.
4) Update the Name >Save.
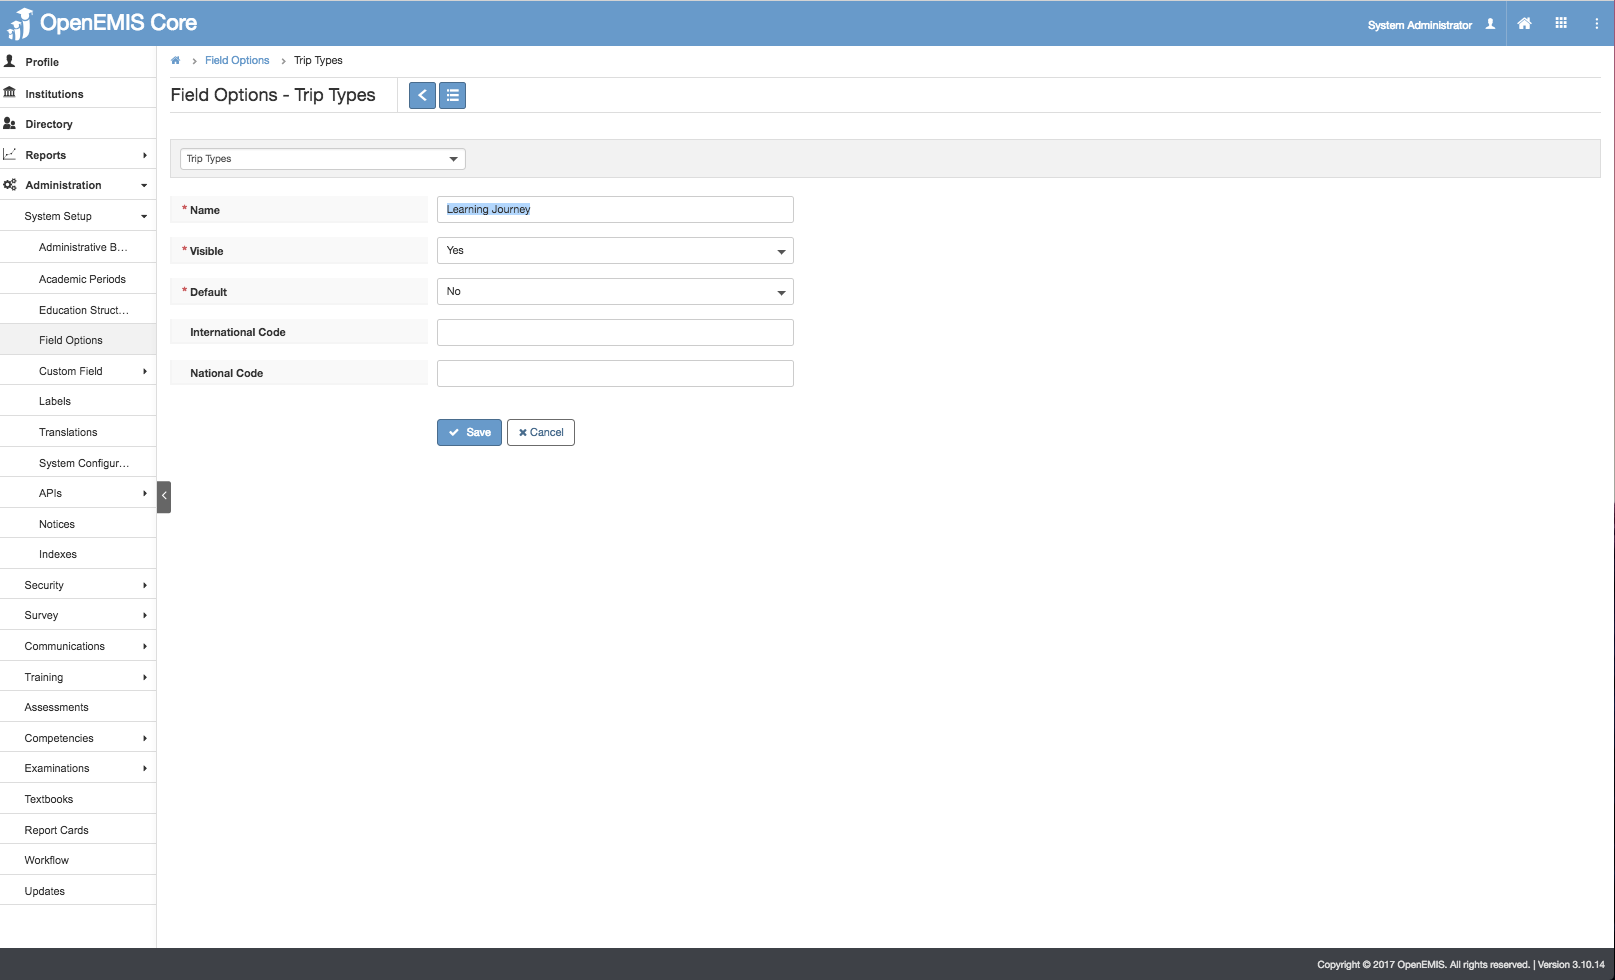
5) The message will be displayed upon updating successfully.
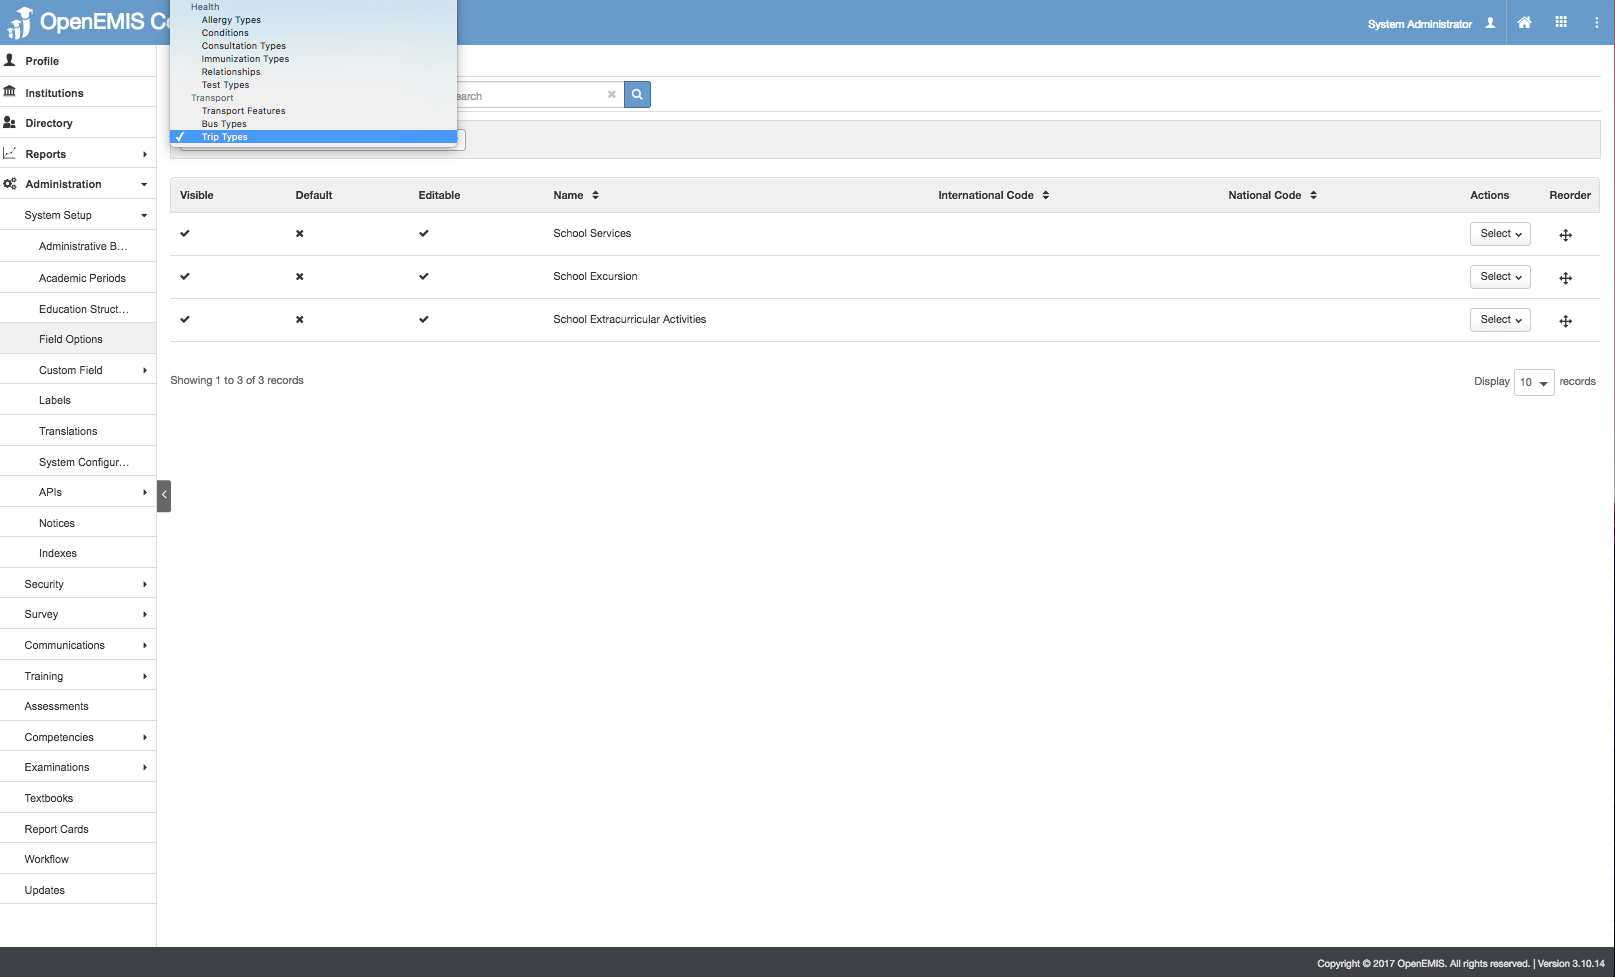
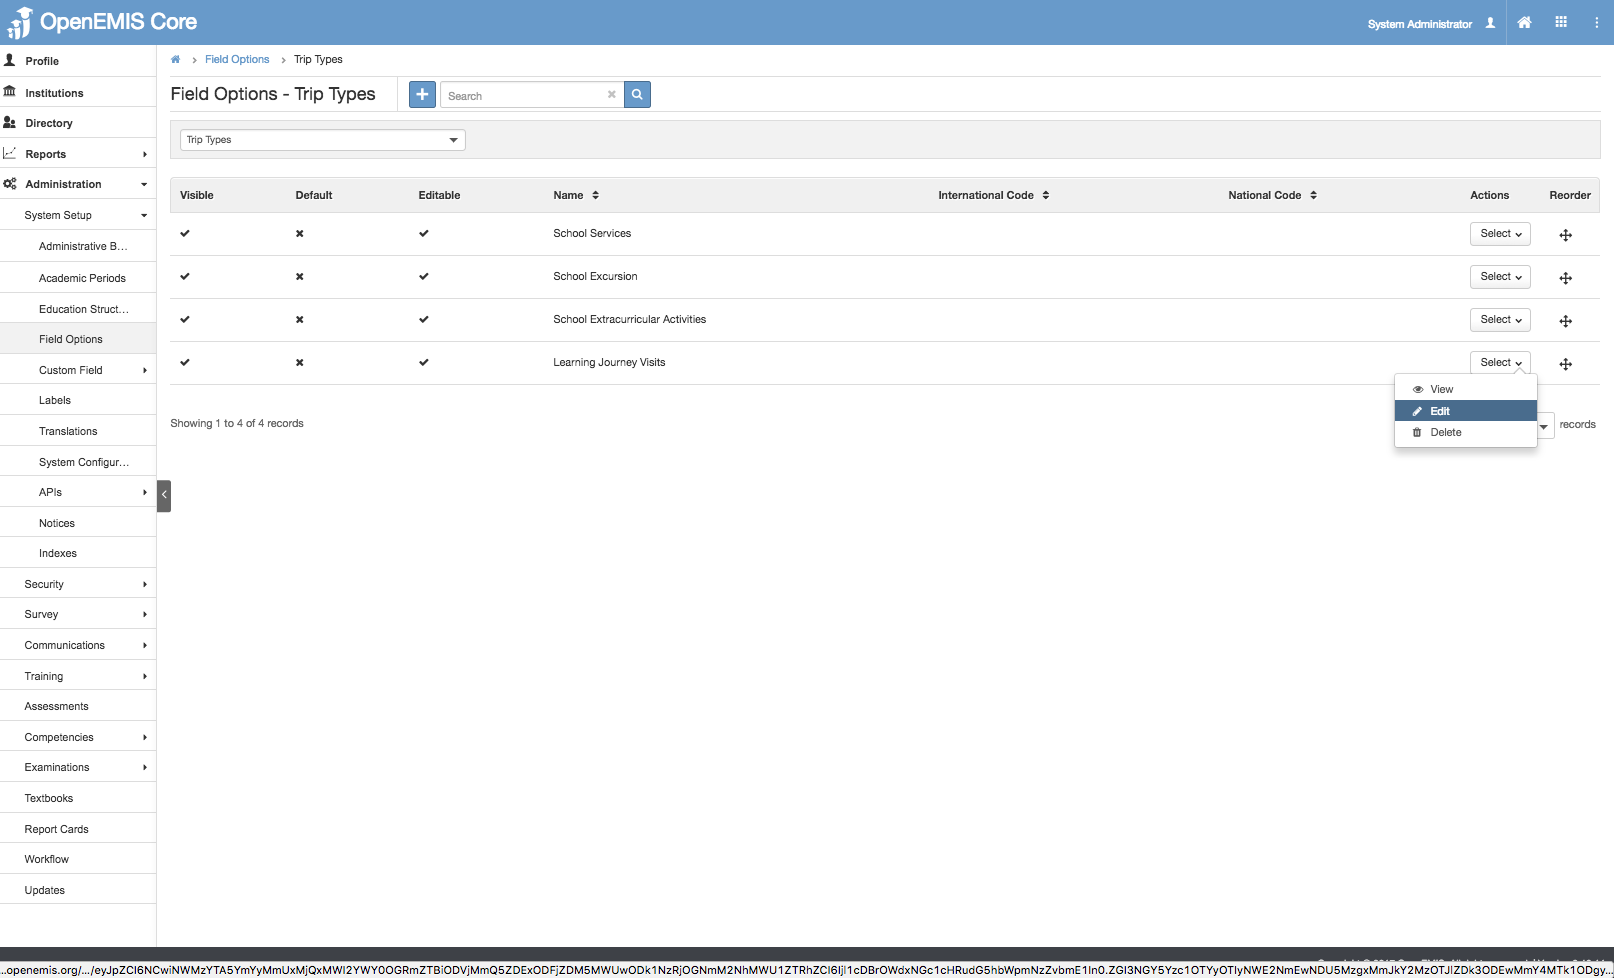
View Trip Types
1) Go to Administration > Field Options > Trip Types
2) You will be able to see all the Trip Types being created.
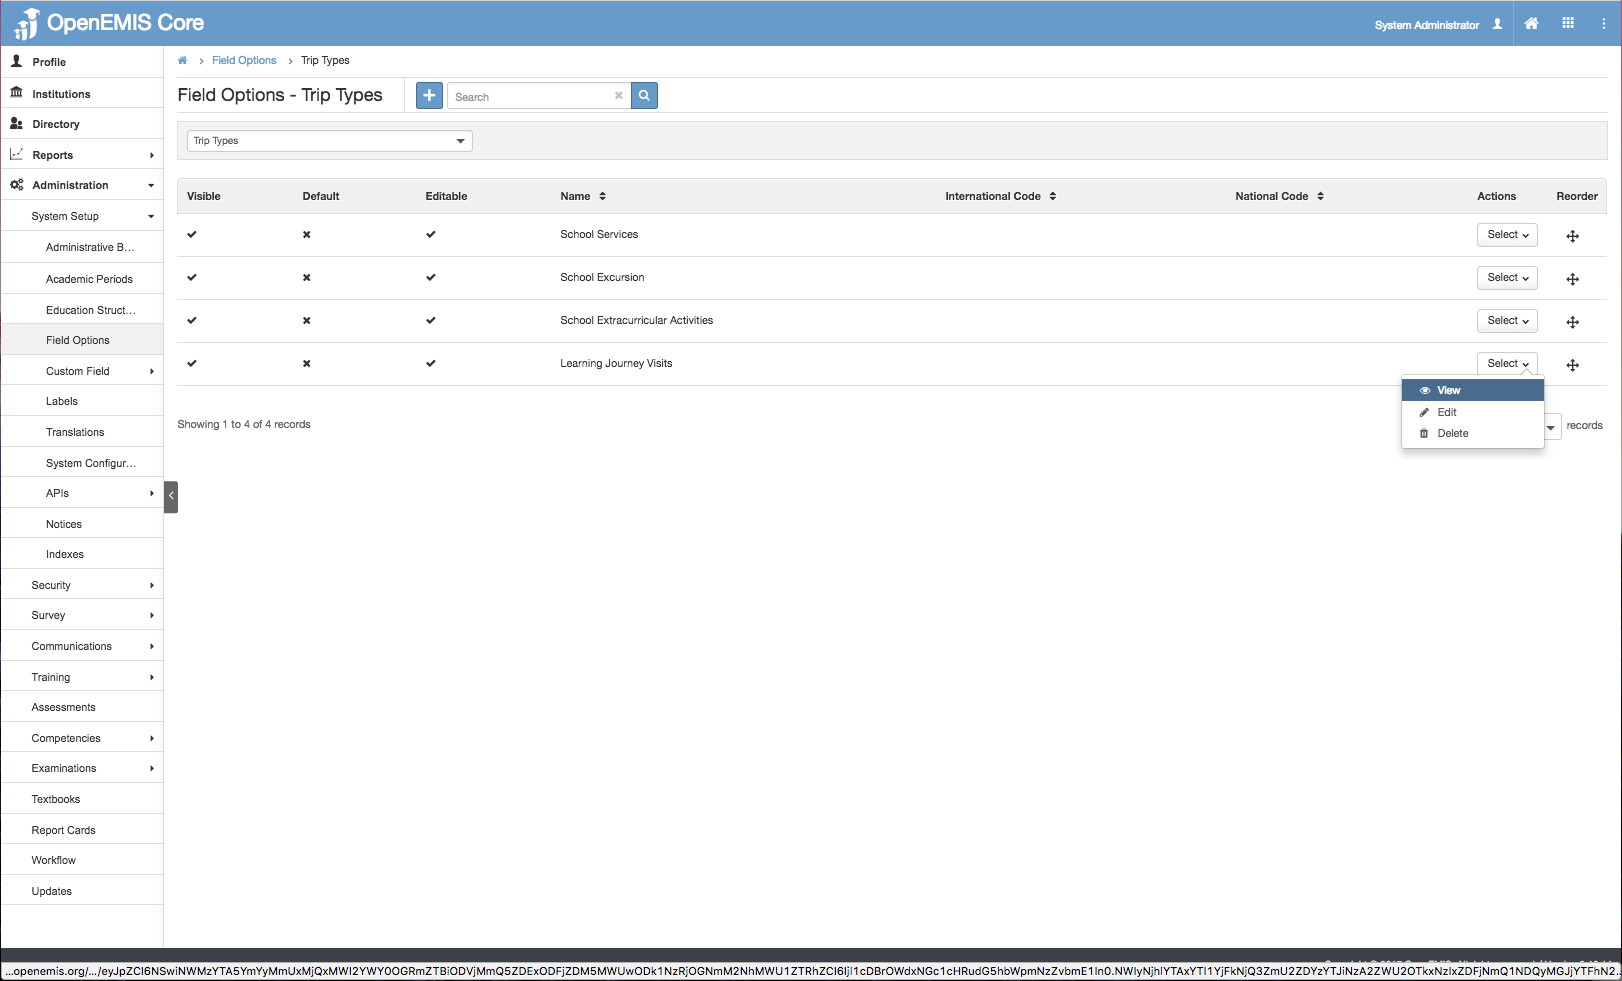
3) Select Action Bar > View.
4) You will be able to see Additional details of Trip Type record.
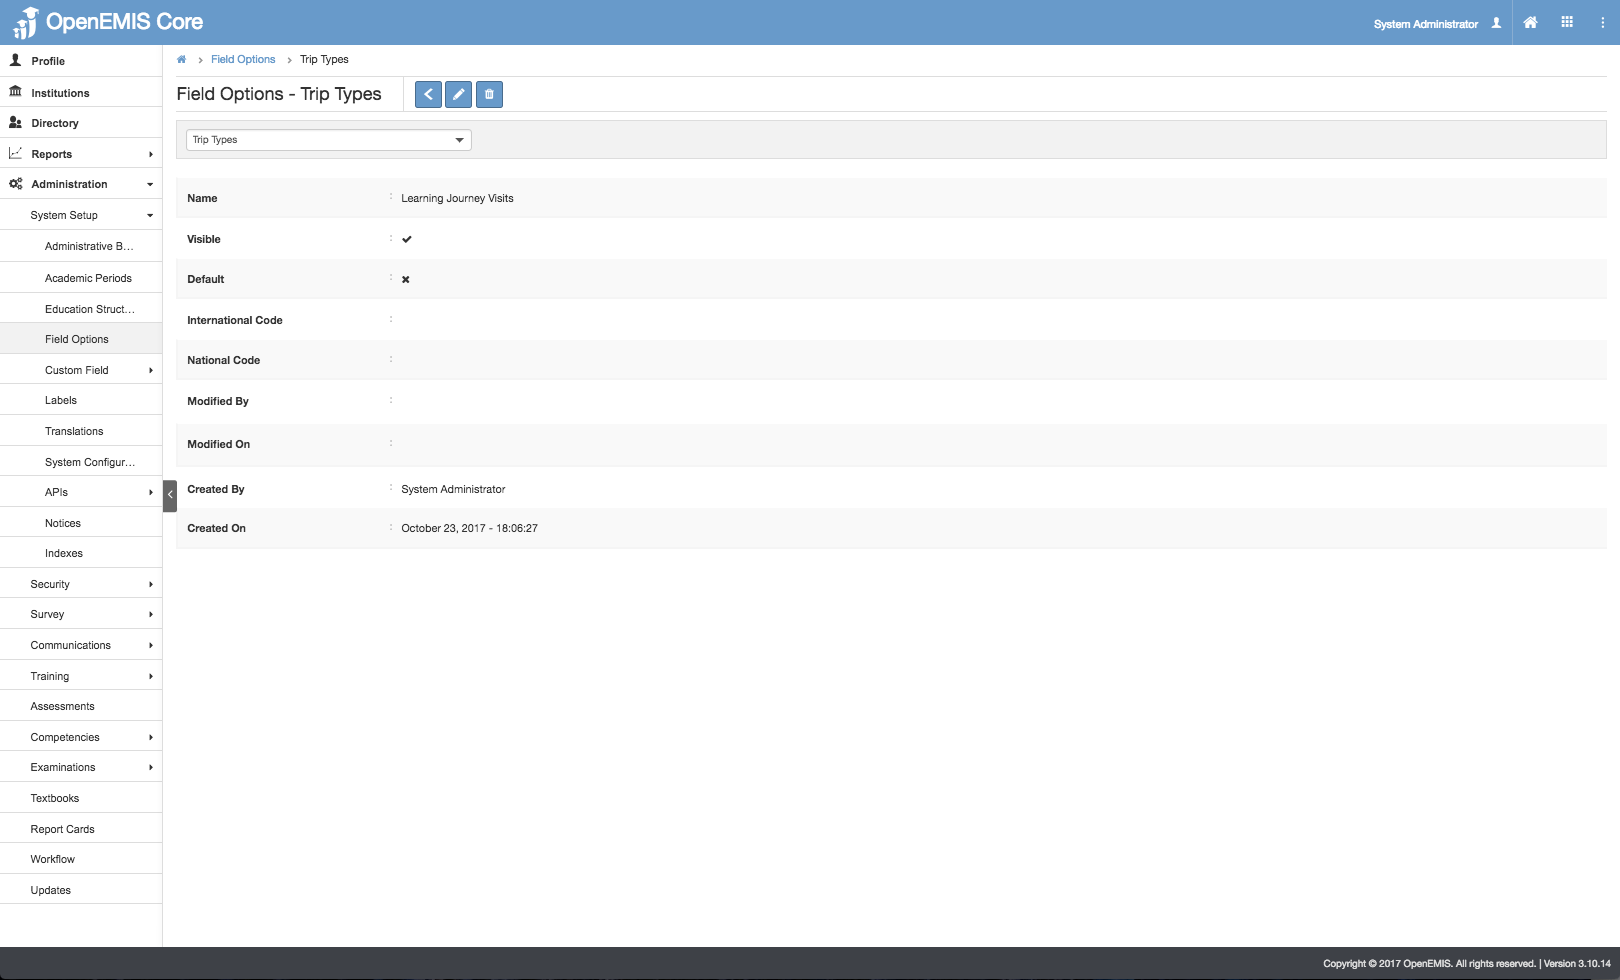
5) Similarly, you will be able to update or delete the record.
Delete Trip Types
1) Go to Administration> Field Options > Trip Types
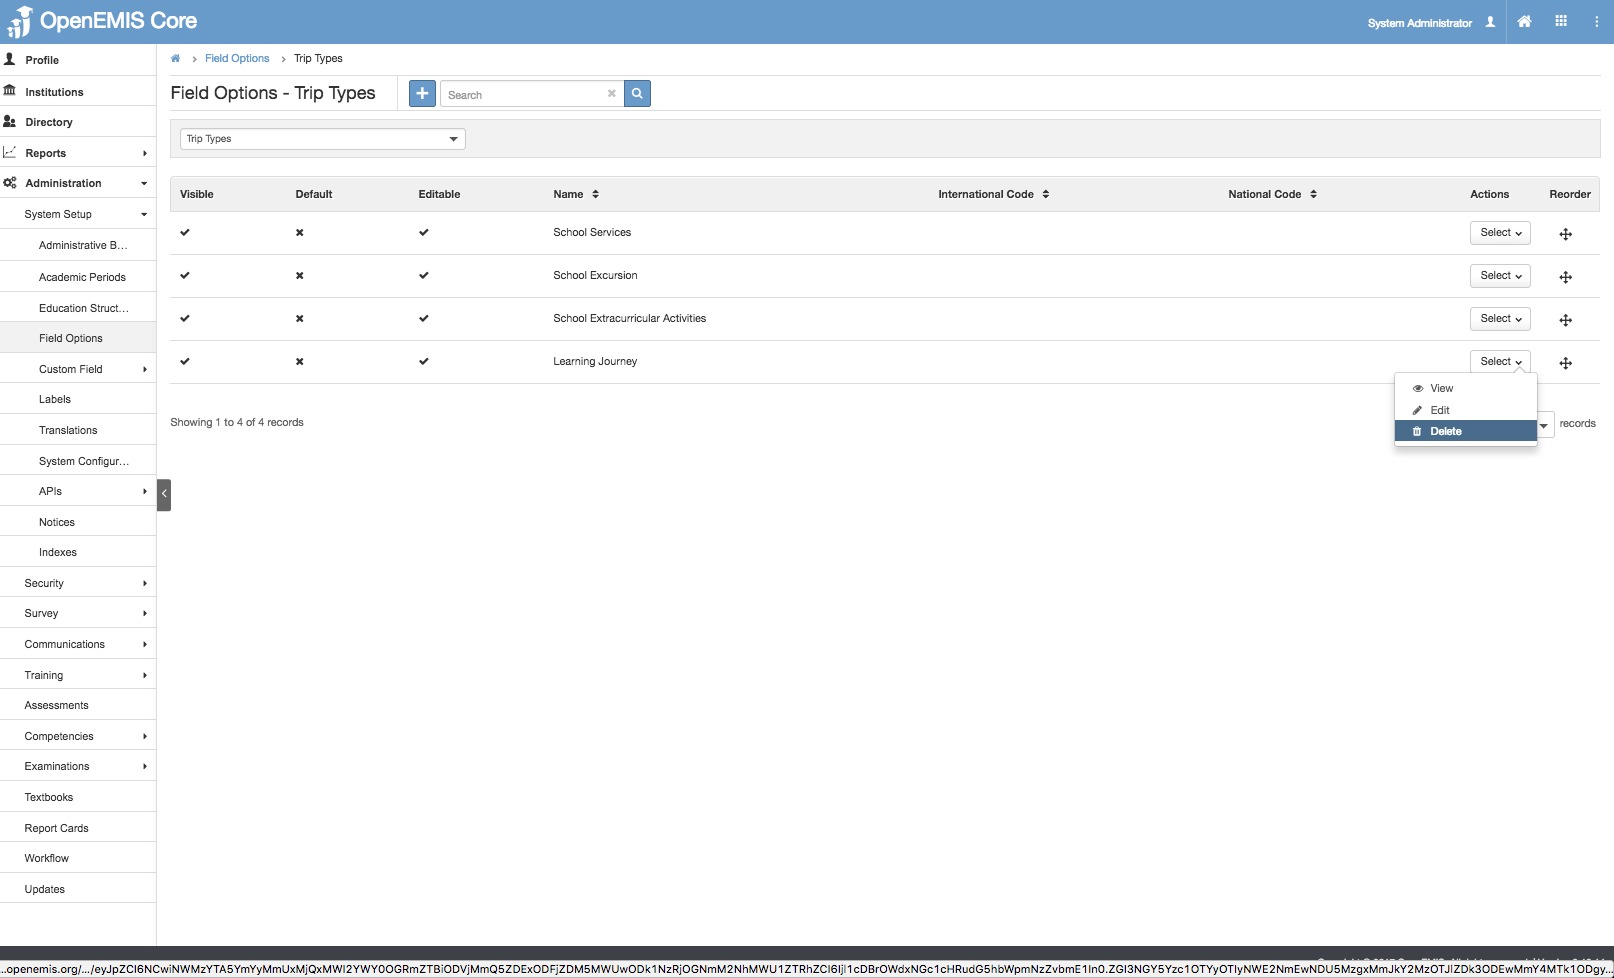
2) You will be able to see all the Trip Types being created.
3) Select Action Bar > Delete.
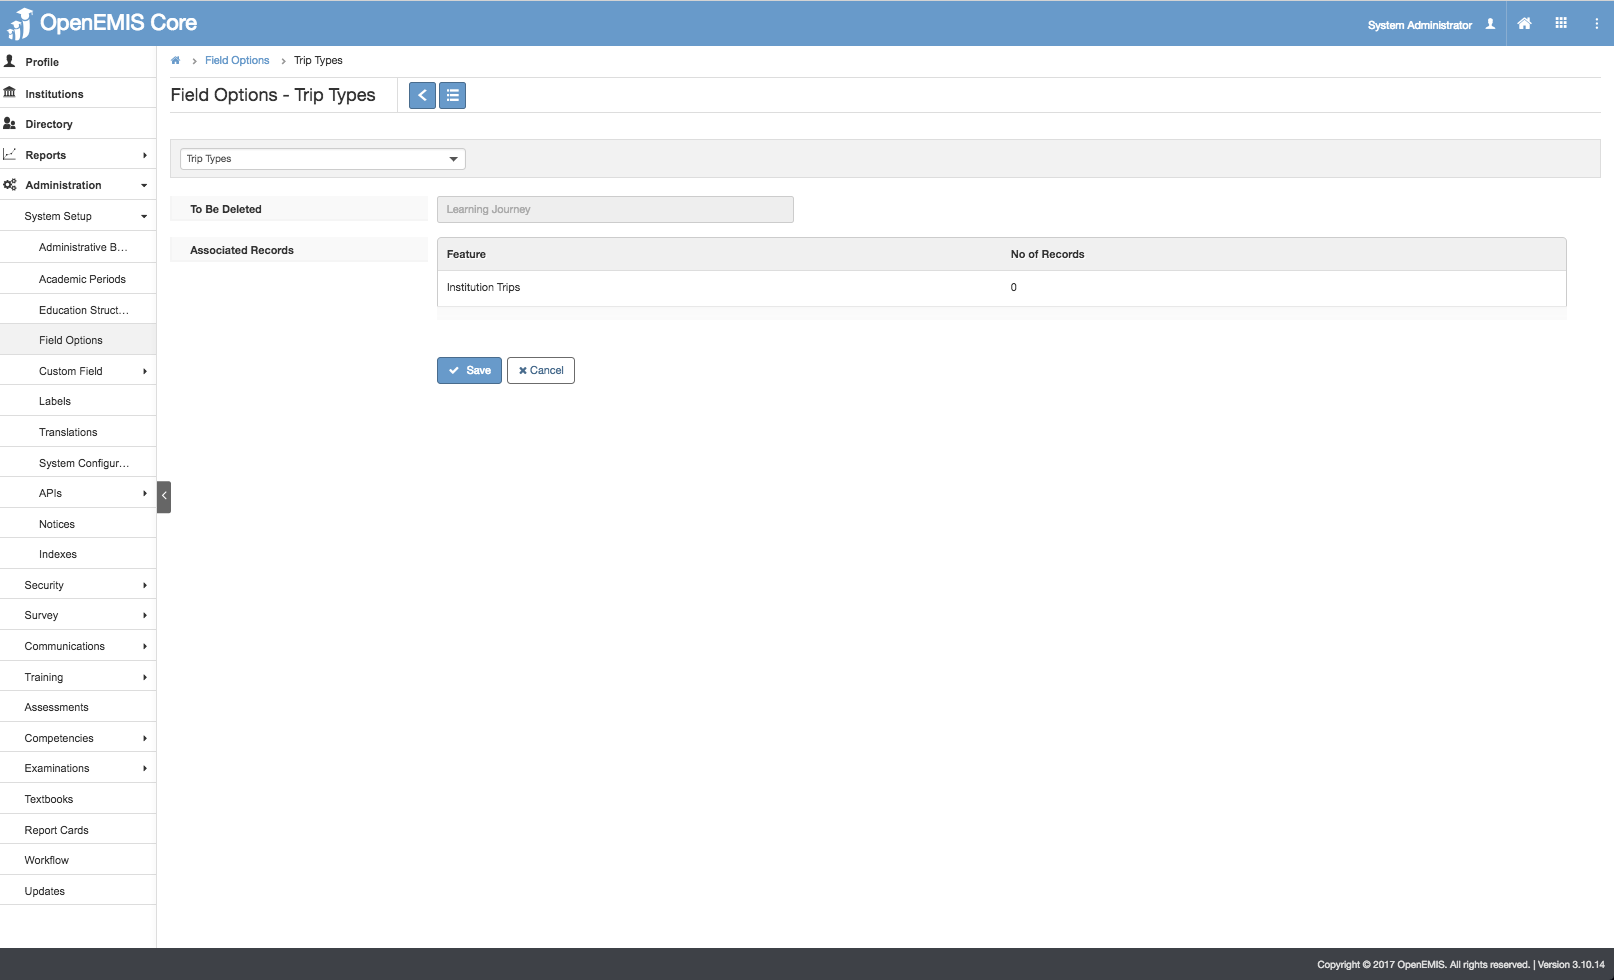
4) You will not be able to delete if the record have associated records.
5) Else, if there are no associated record > Save.
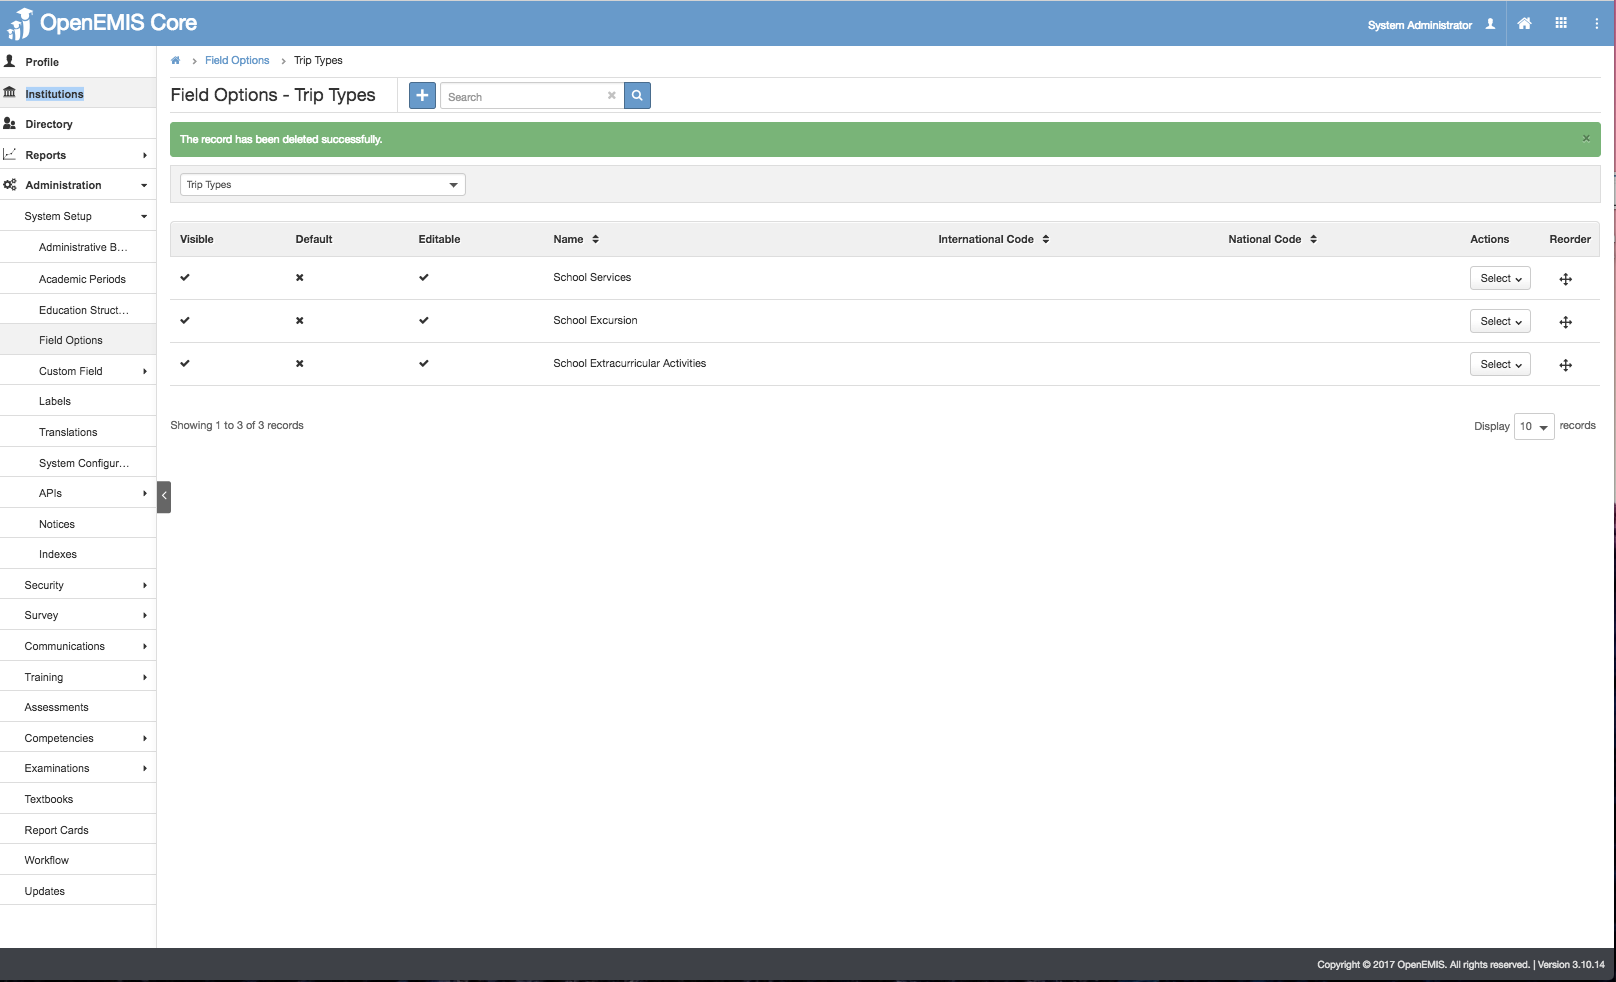
6) You will be able to delete successfully.
Enable Permission for Transport
Enable Security Role Permissions for Transport
1) Go to Administration > Security Roles
2) Select on the Security Role and Allow all the Permission for the following actions.

Manage Transport Providers
Create Transport Providers
1) Go to Institution > Transport > Providers
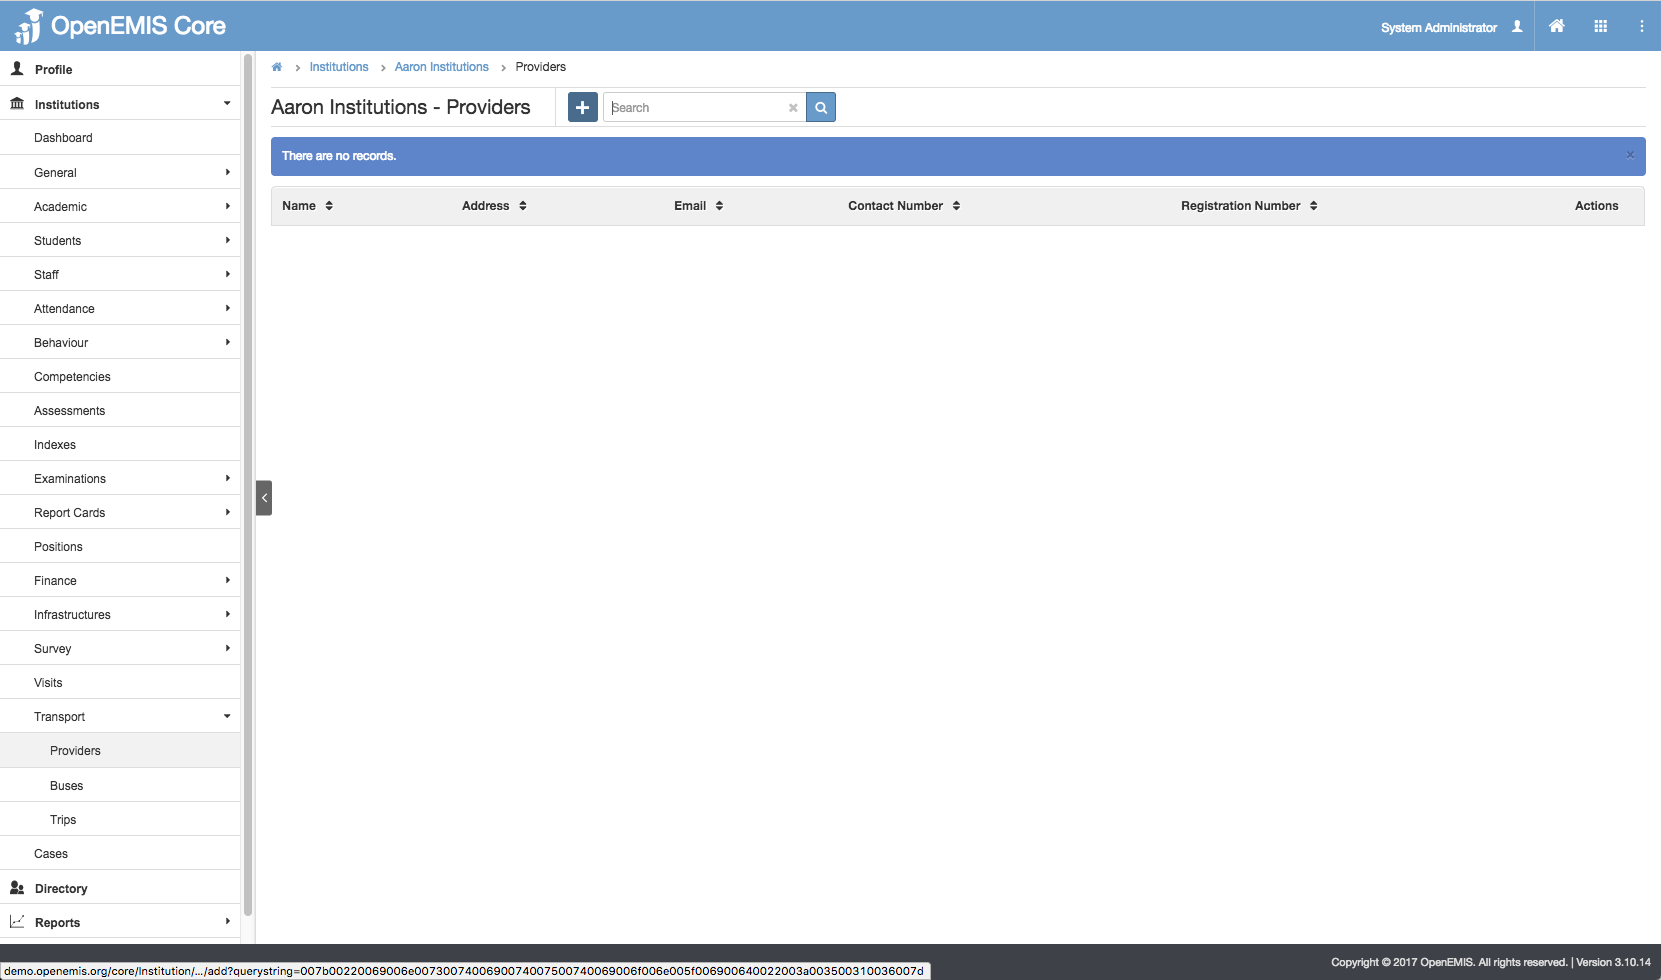
2) Select Add.
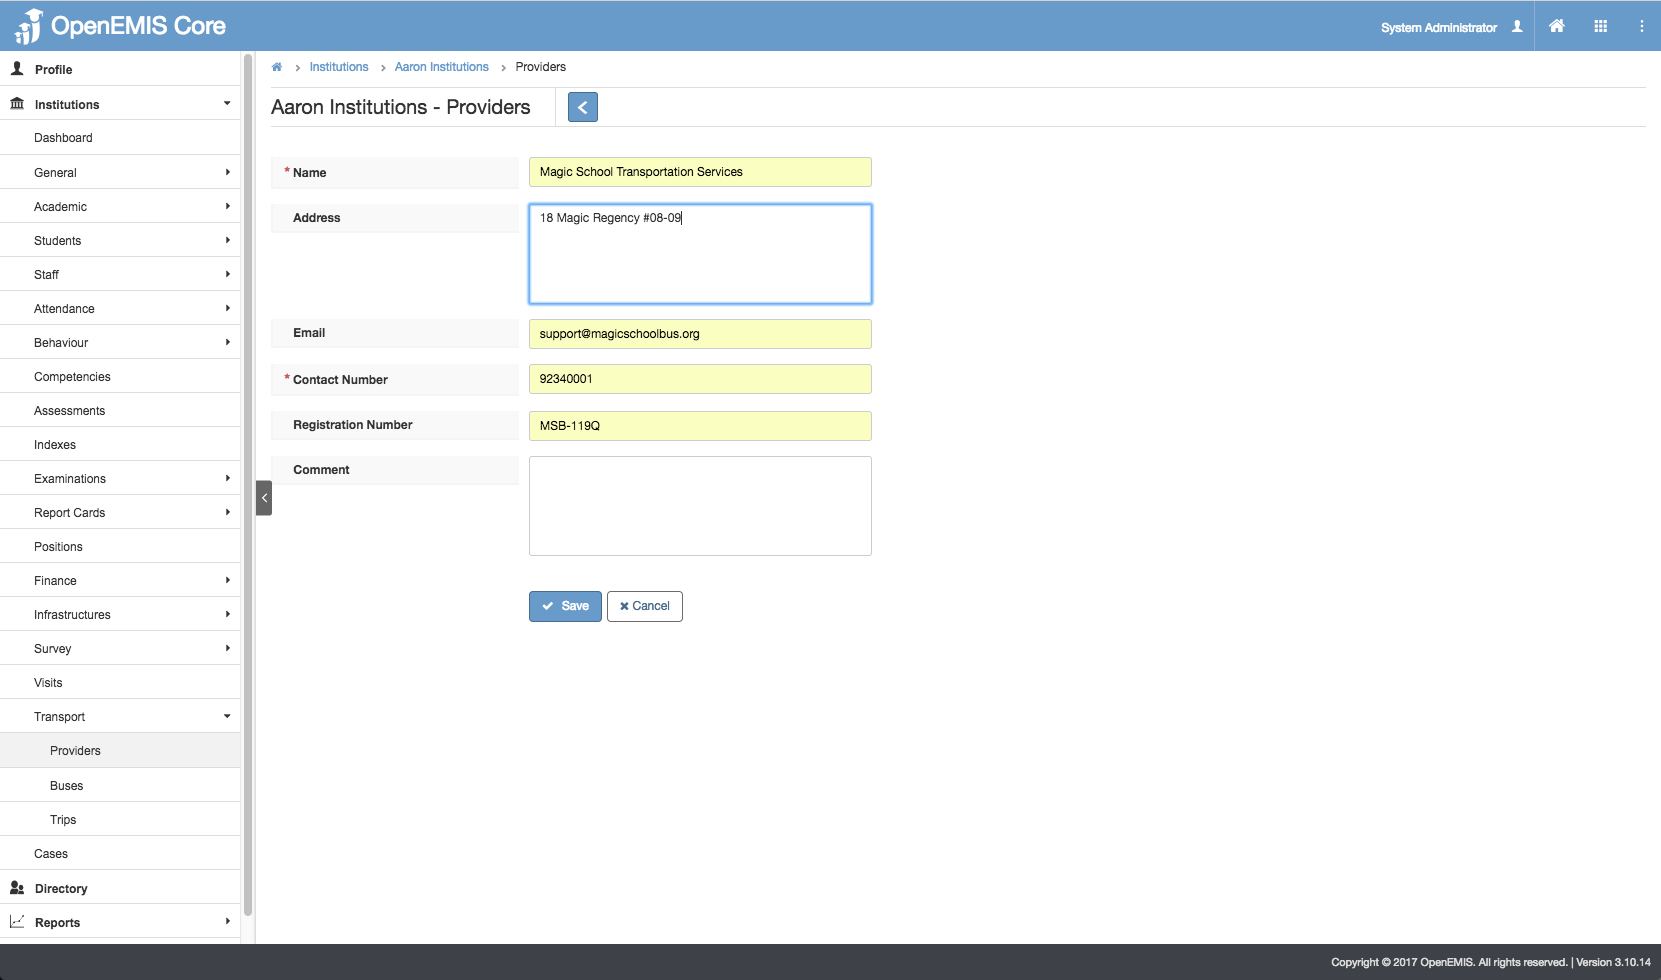
3) Enter the Mandatory (Name, Contact) fields > Save.
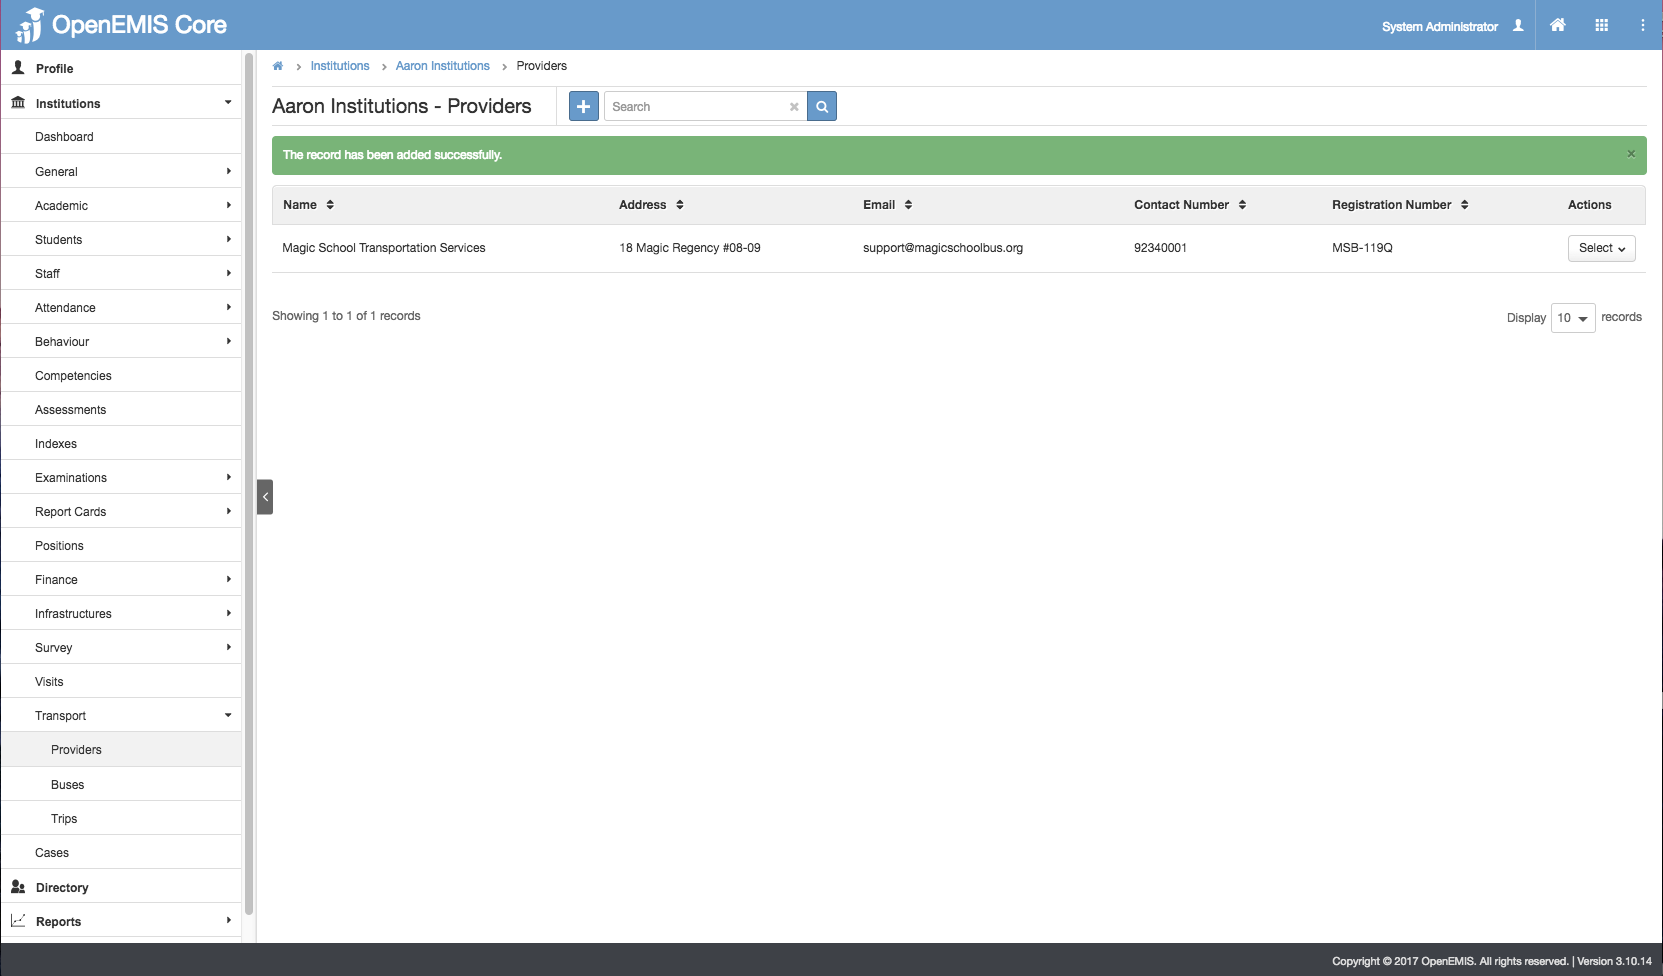
4) The message will be displayed upon adding successfully.
Edit Transport Providers
1) Go to Institution > Transport > Providers
2) You will be able to see all the Providers being created.
3) Select Action Bar > Edit.

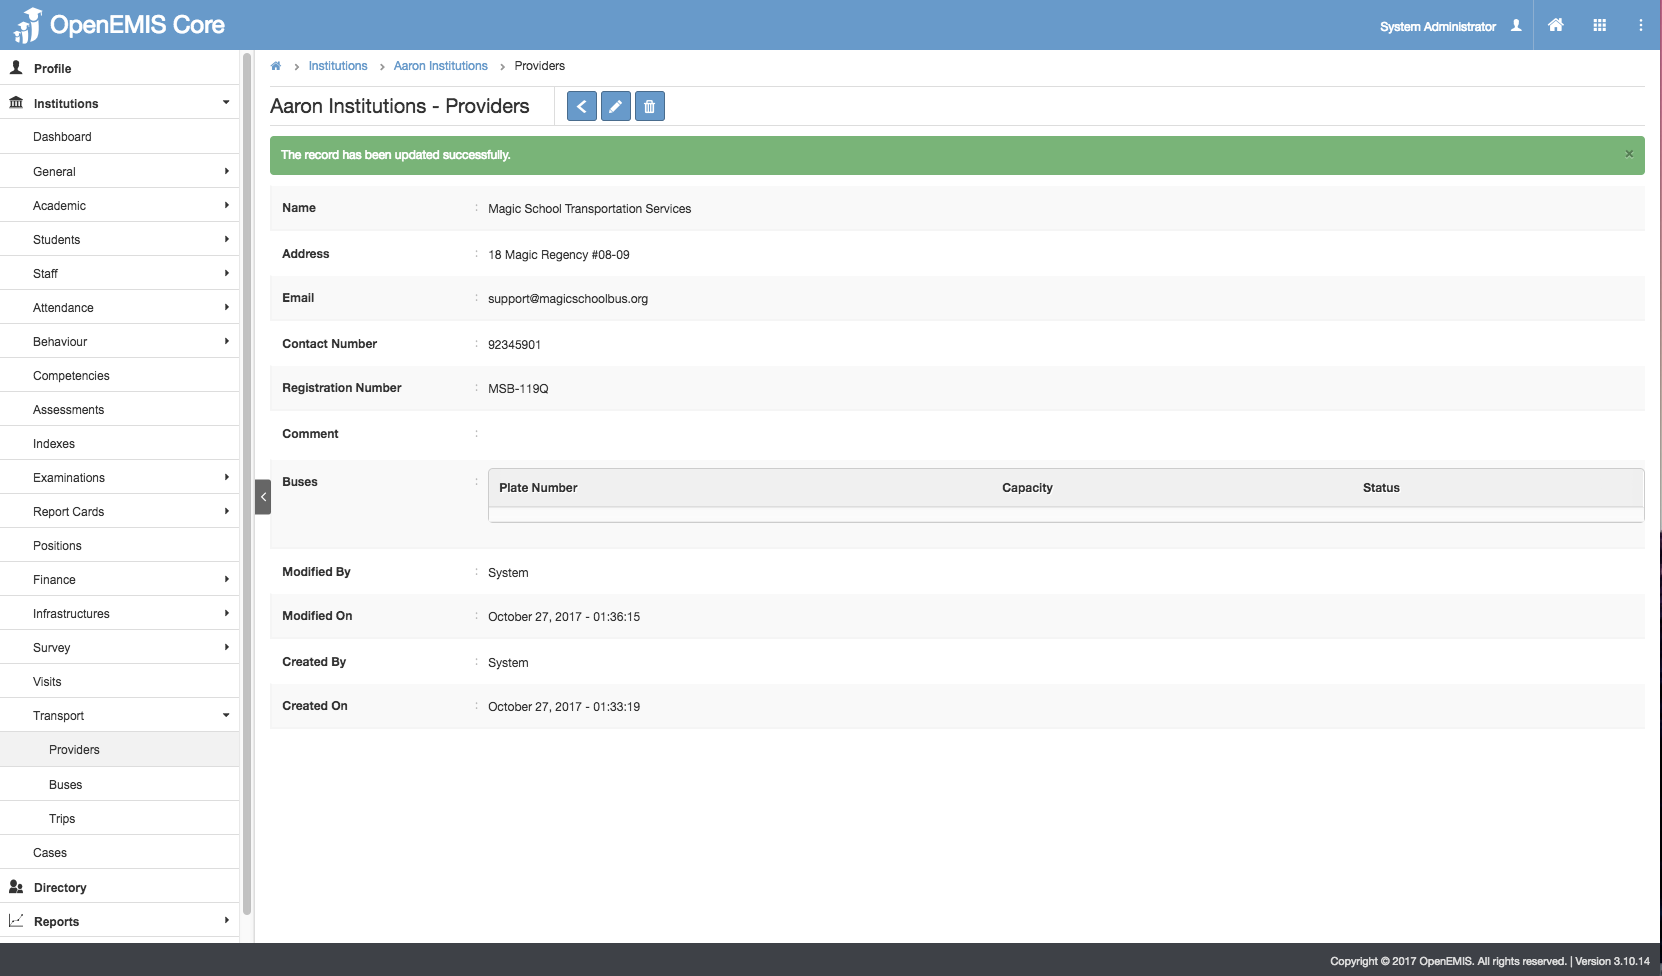
4) Update the Name >Save.
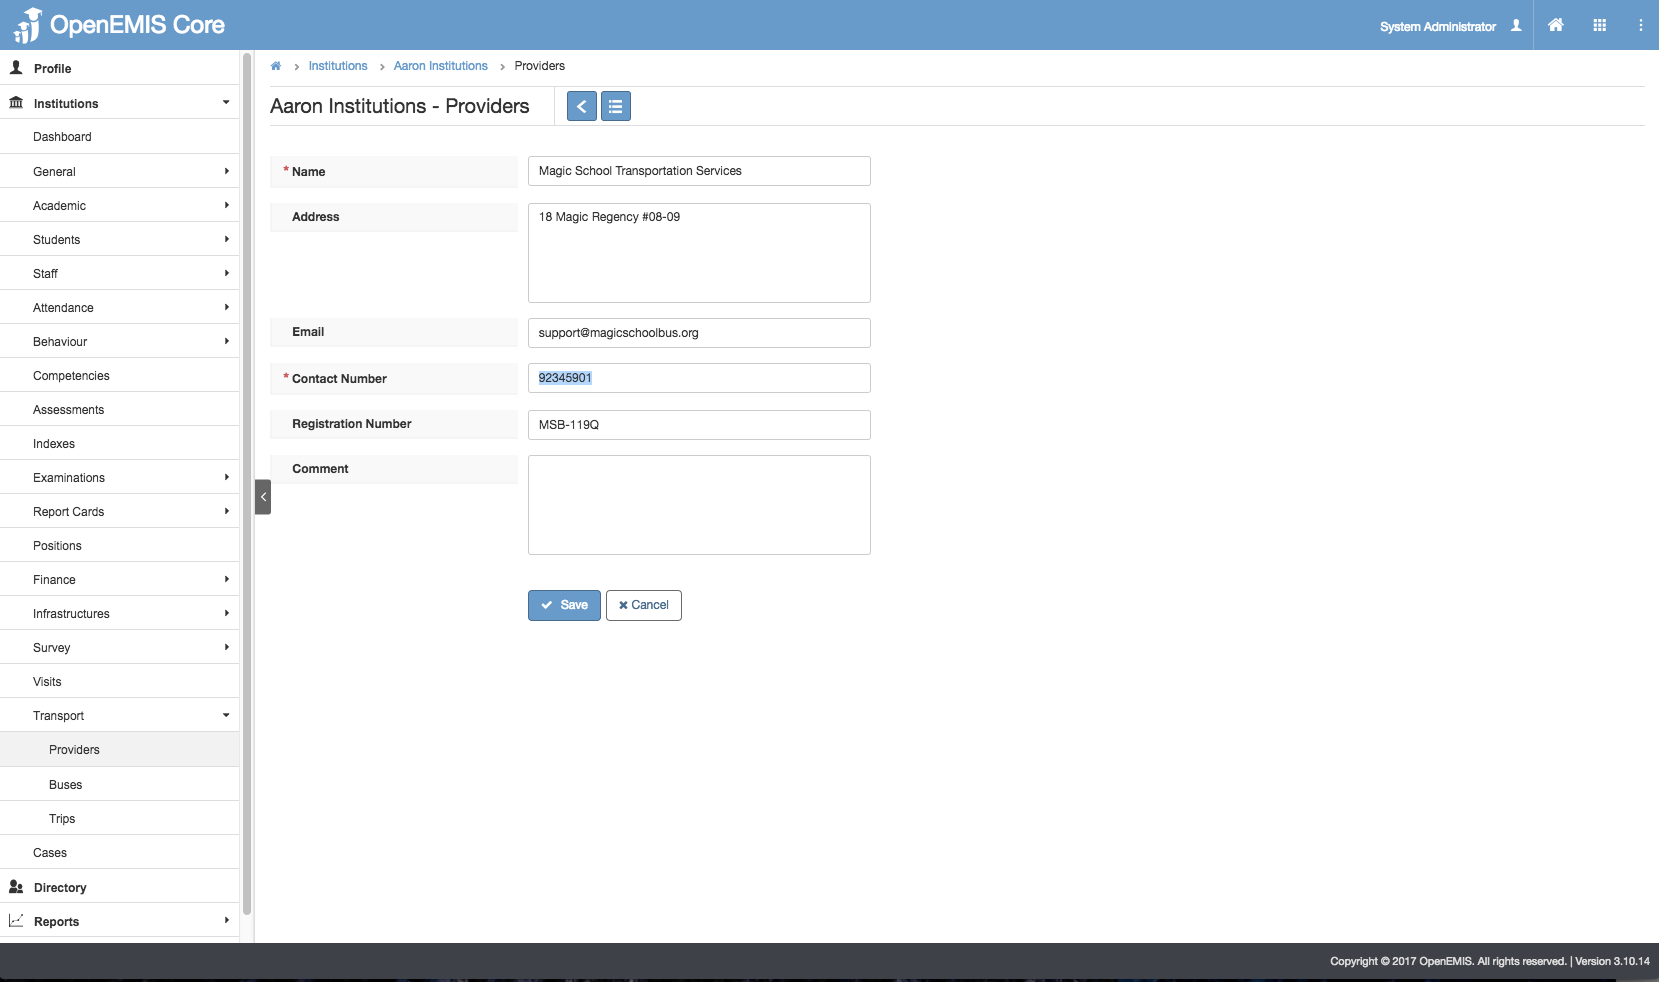
5) The message will be displayed upon updating successfully.
View Transport Providers
1) Go to Institution > Transport > Providers
2) You will be able to see all the Transport Provider being created.
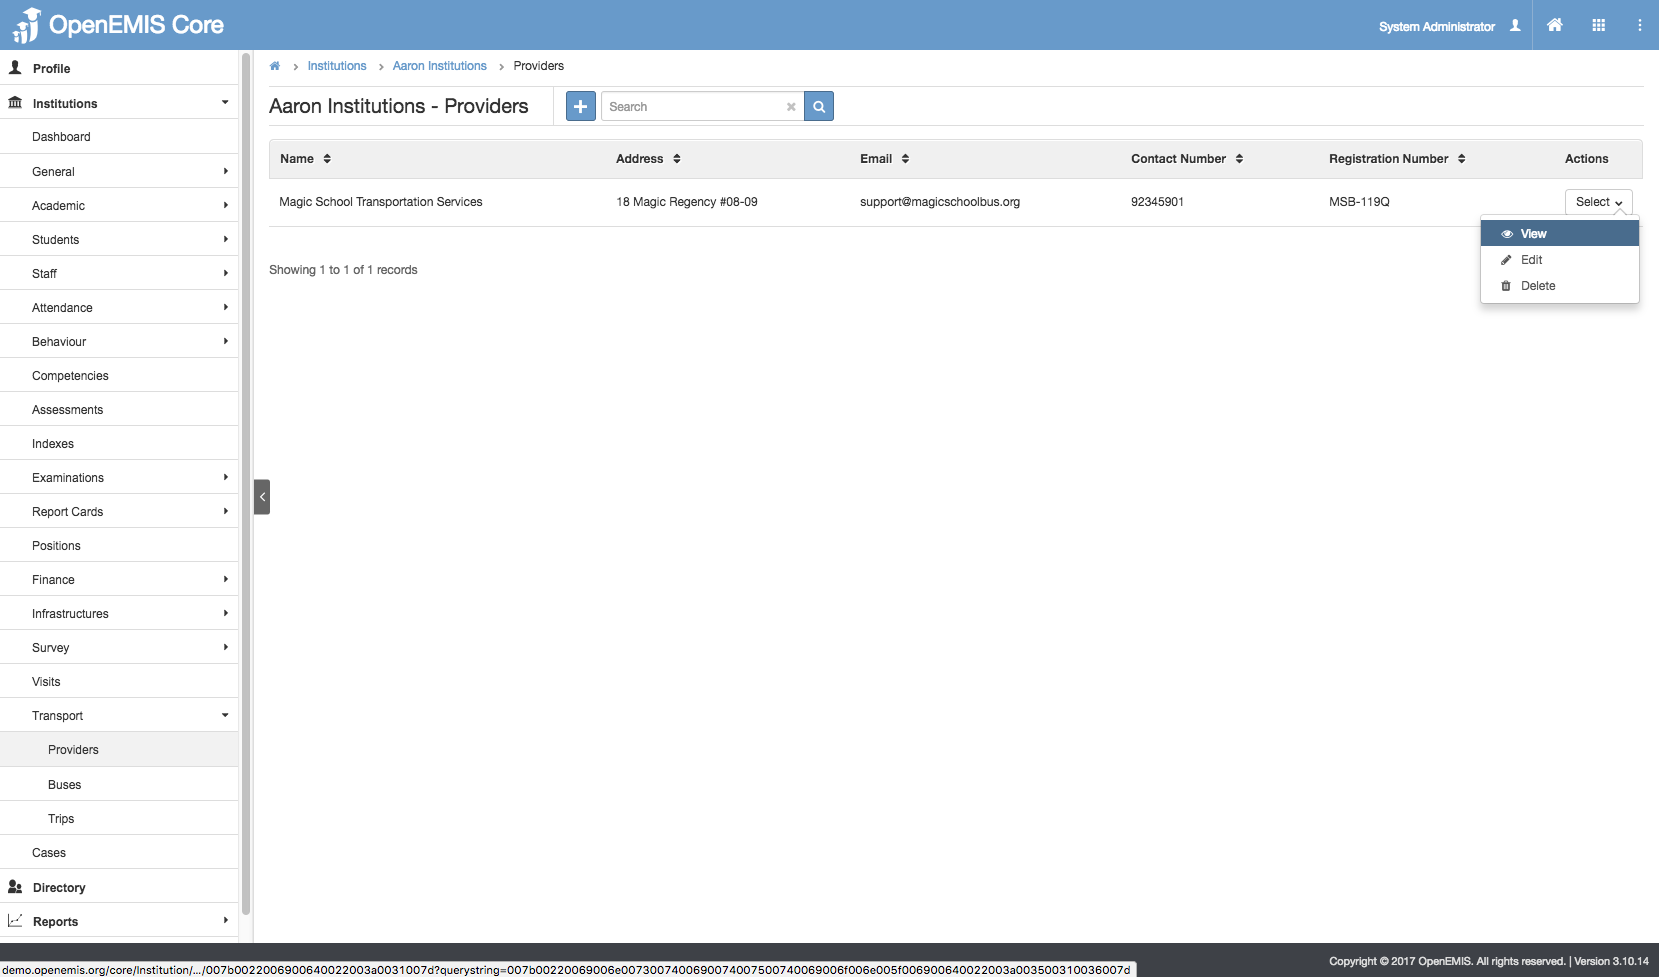
3) Select Action Bar > View.
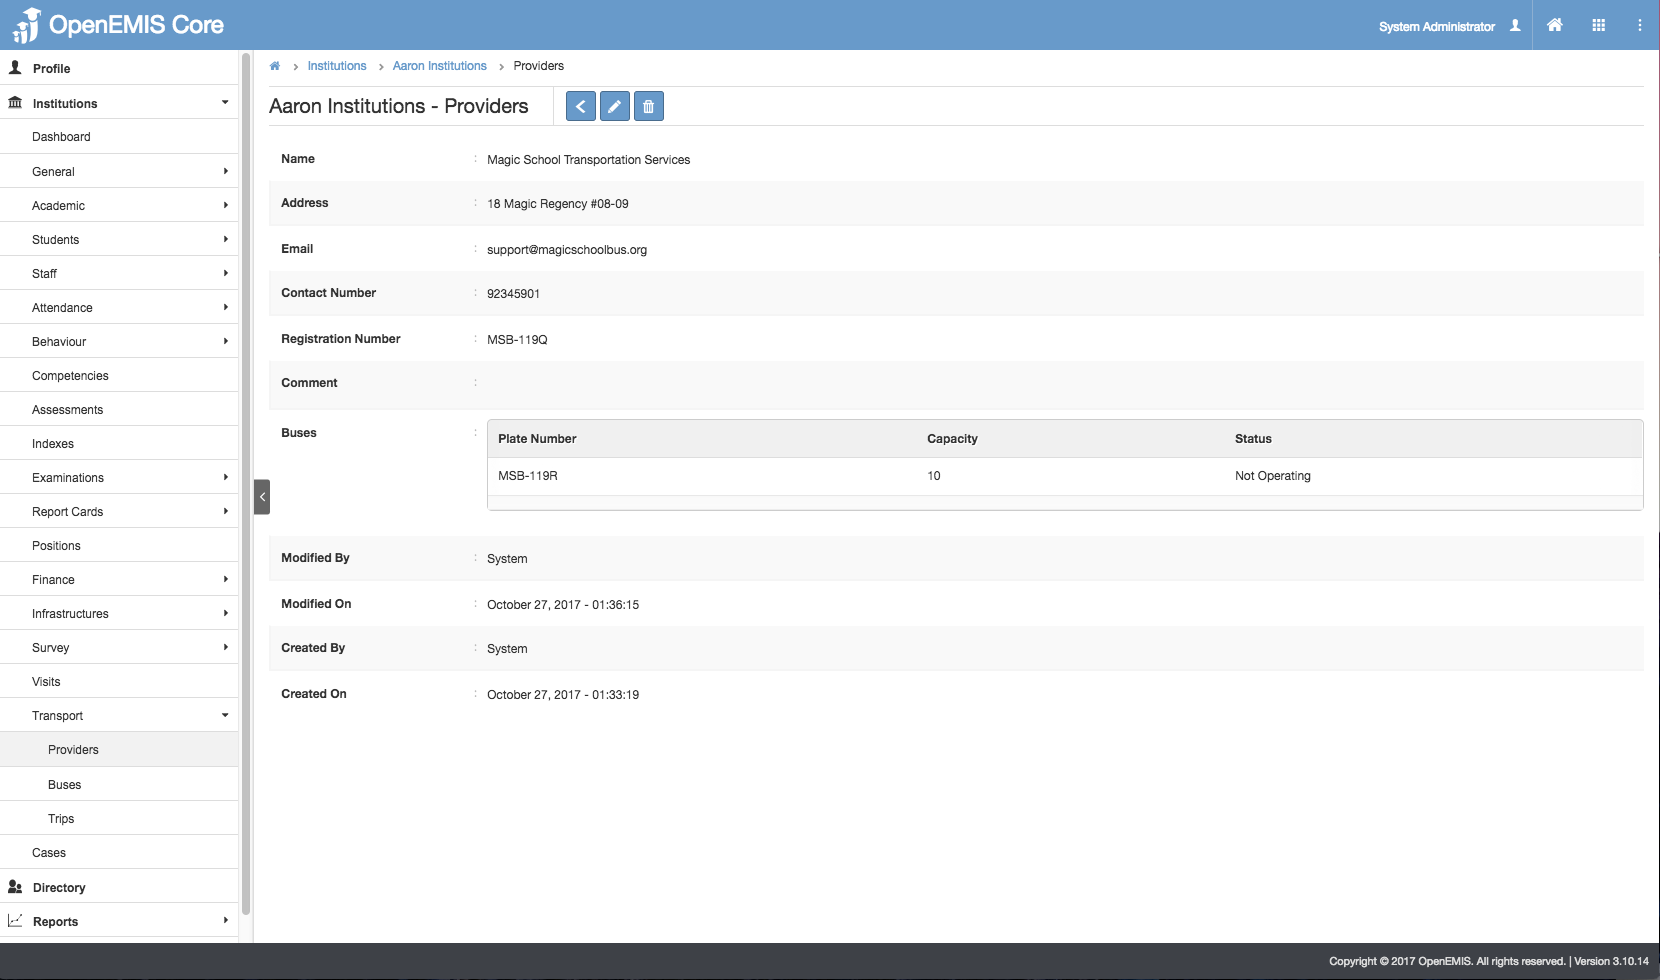
4) You will be able to see Additional details of Provider record.
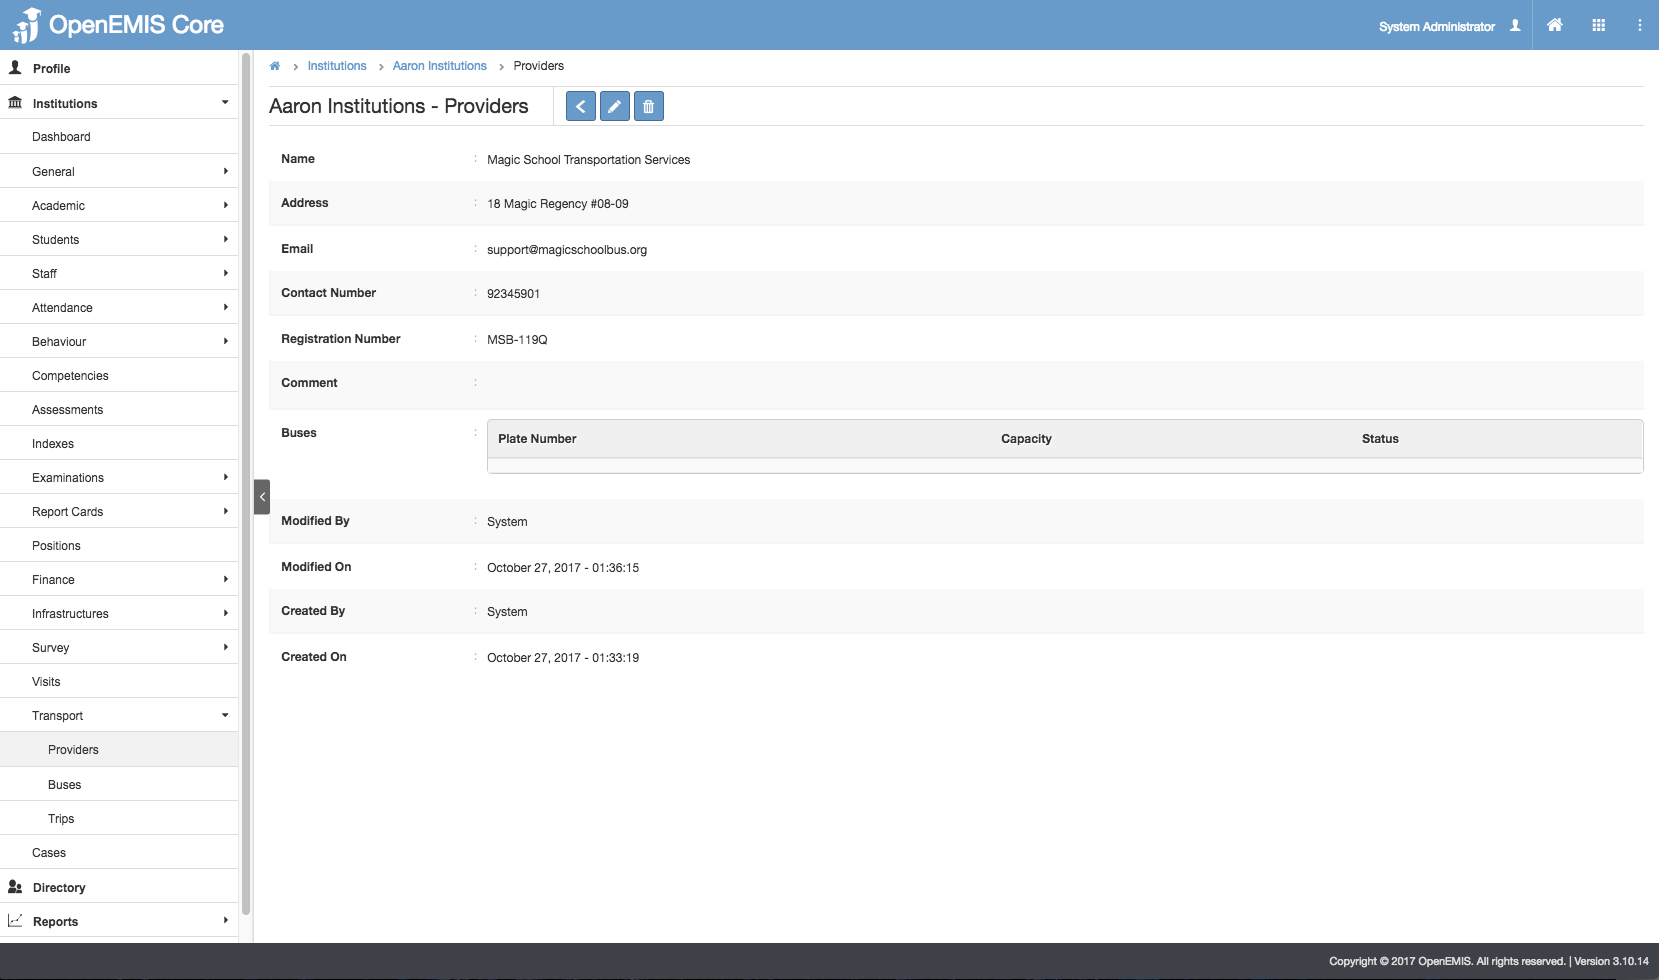
5) Similarly, you will be able to update or delete the record.
6) Moreover, you will be able to see all the Buses that are linked to the Provider.
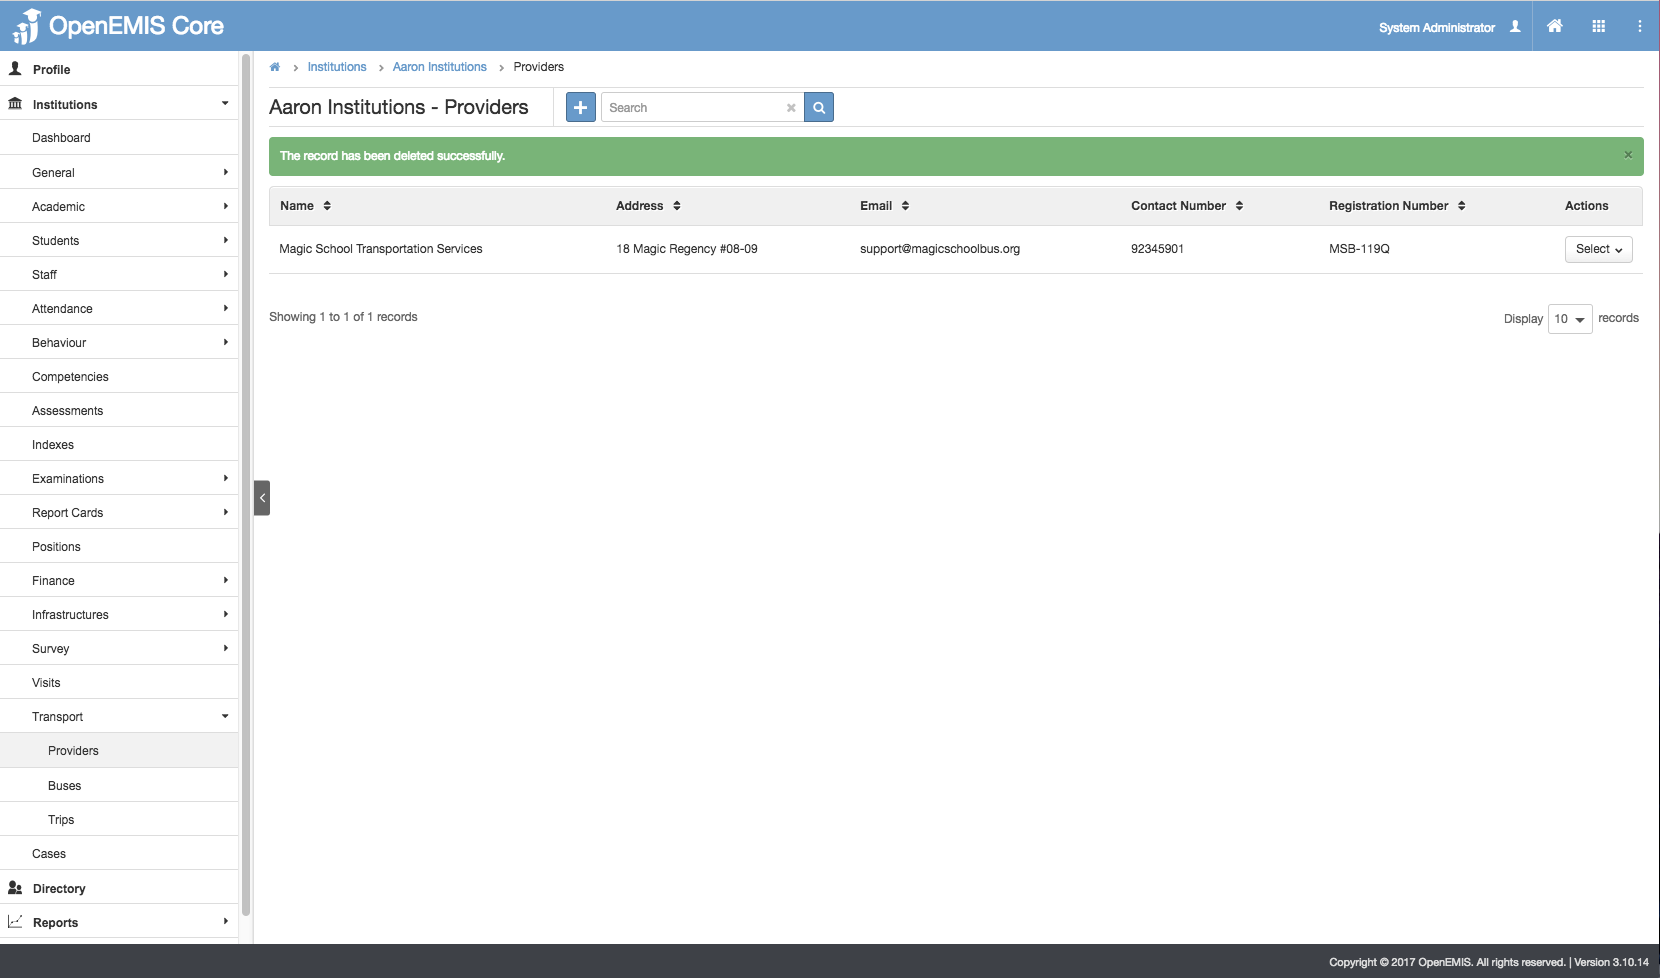
Delete Transport Providers
1) Go to Institution > Transport > Providers

2) You will be able to see all the Transport Provider being created.
3) Select Action Bar > Delete.
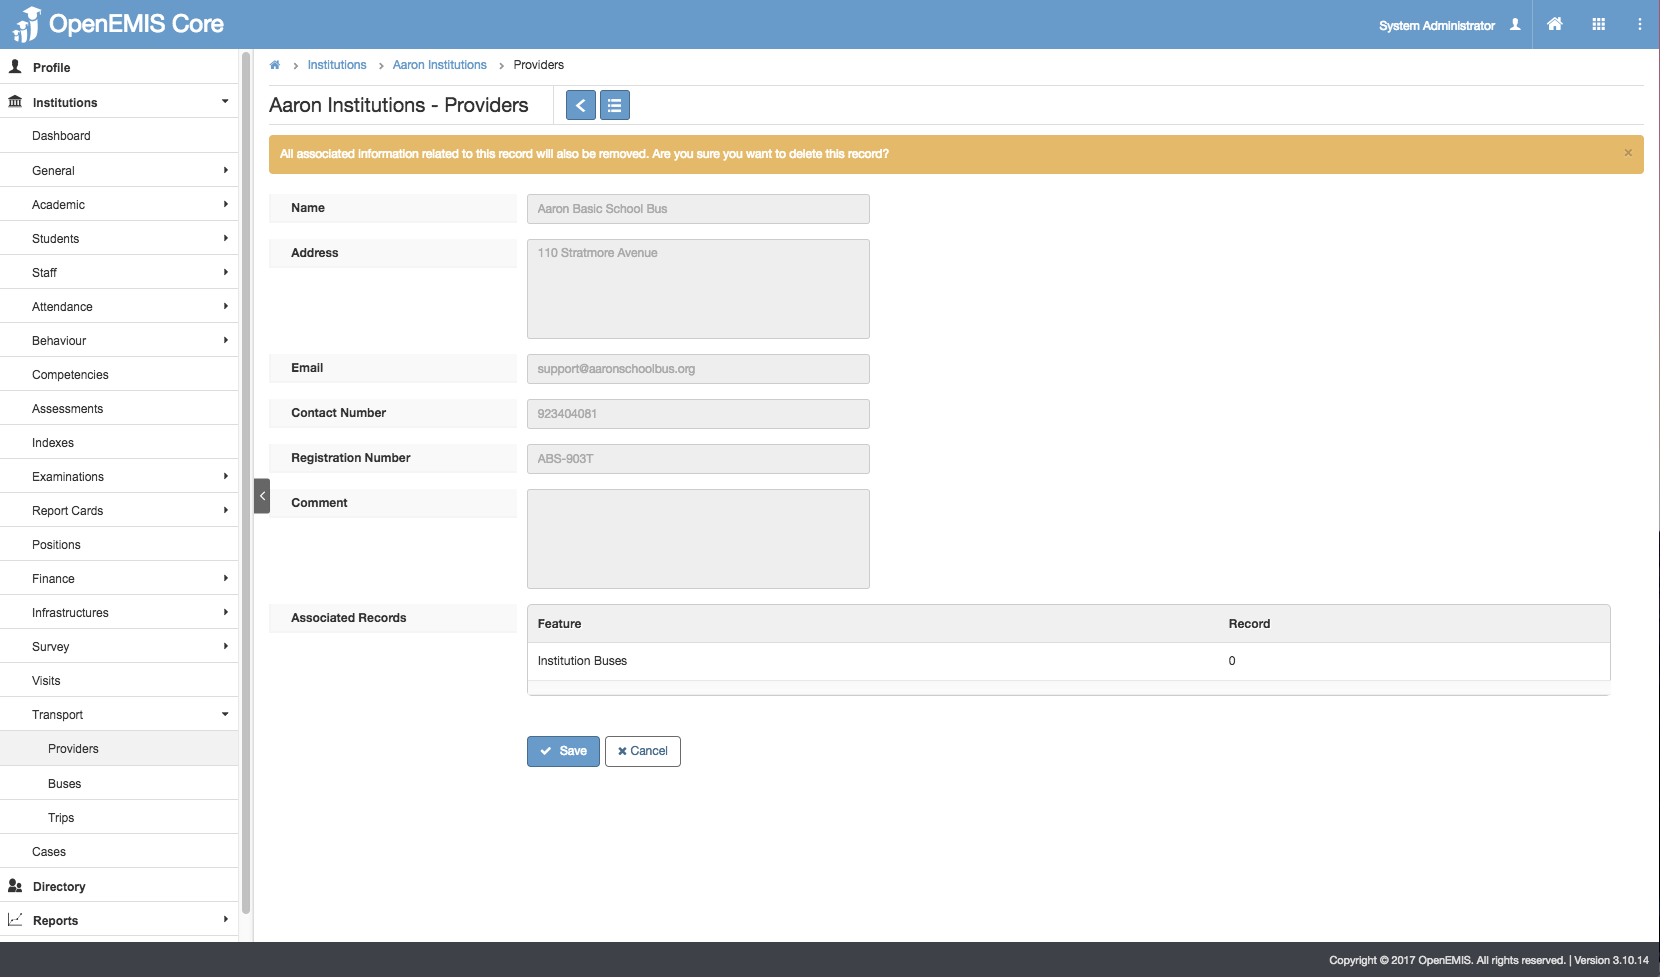
4) You will not be able to delete if the record have associated records.
5) Else, if there are no associated record > Save.
Manage Transport Buses
Create Transport Buses
1) Go to Institution > Transport > Buses

2) Select Add.
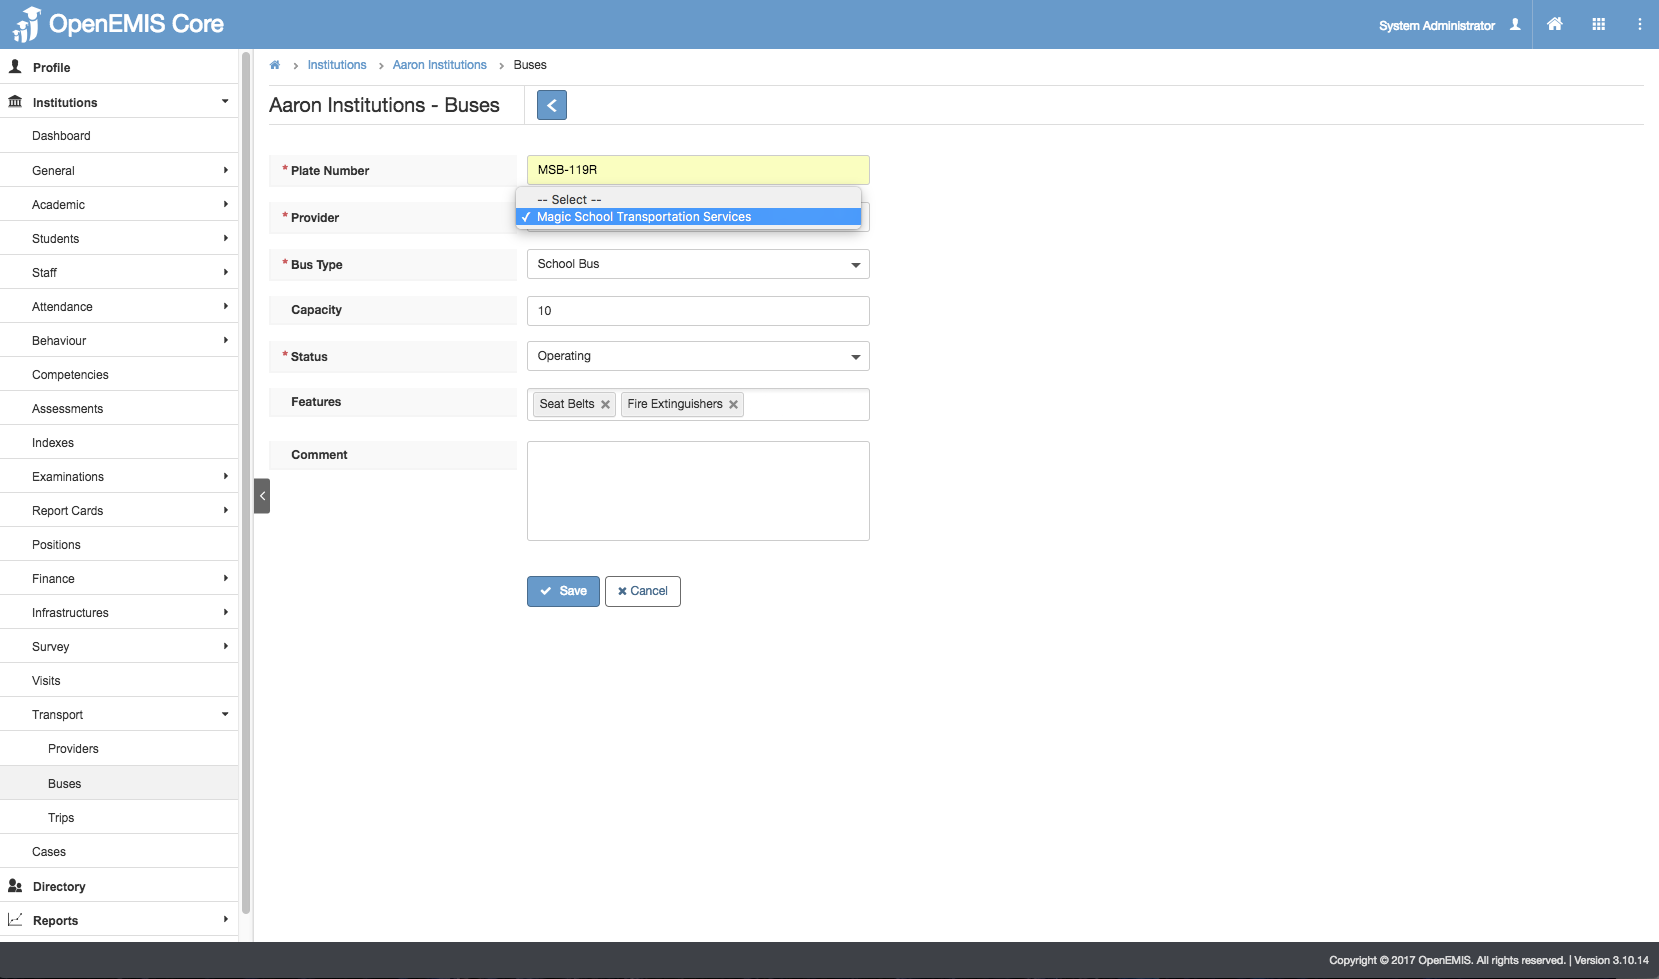
3) Enter the Mandatory (Plate Number, Bus Types) fields > Save.
-
-
- Provider: Retrieves all the Transport Provider that has been created.
- Bus Types/Features: Retrieves all the entered records in the Administration > Field Options Bus Types/Transport Features
-
4) The message will be displayed upon adding successfully.
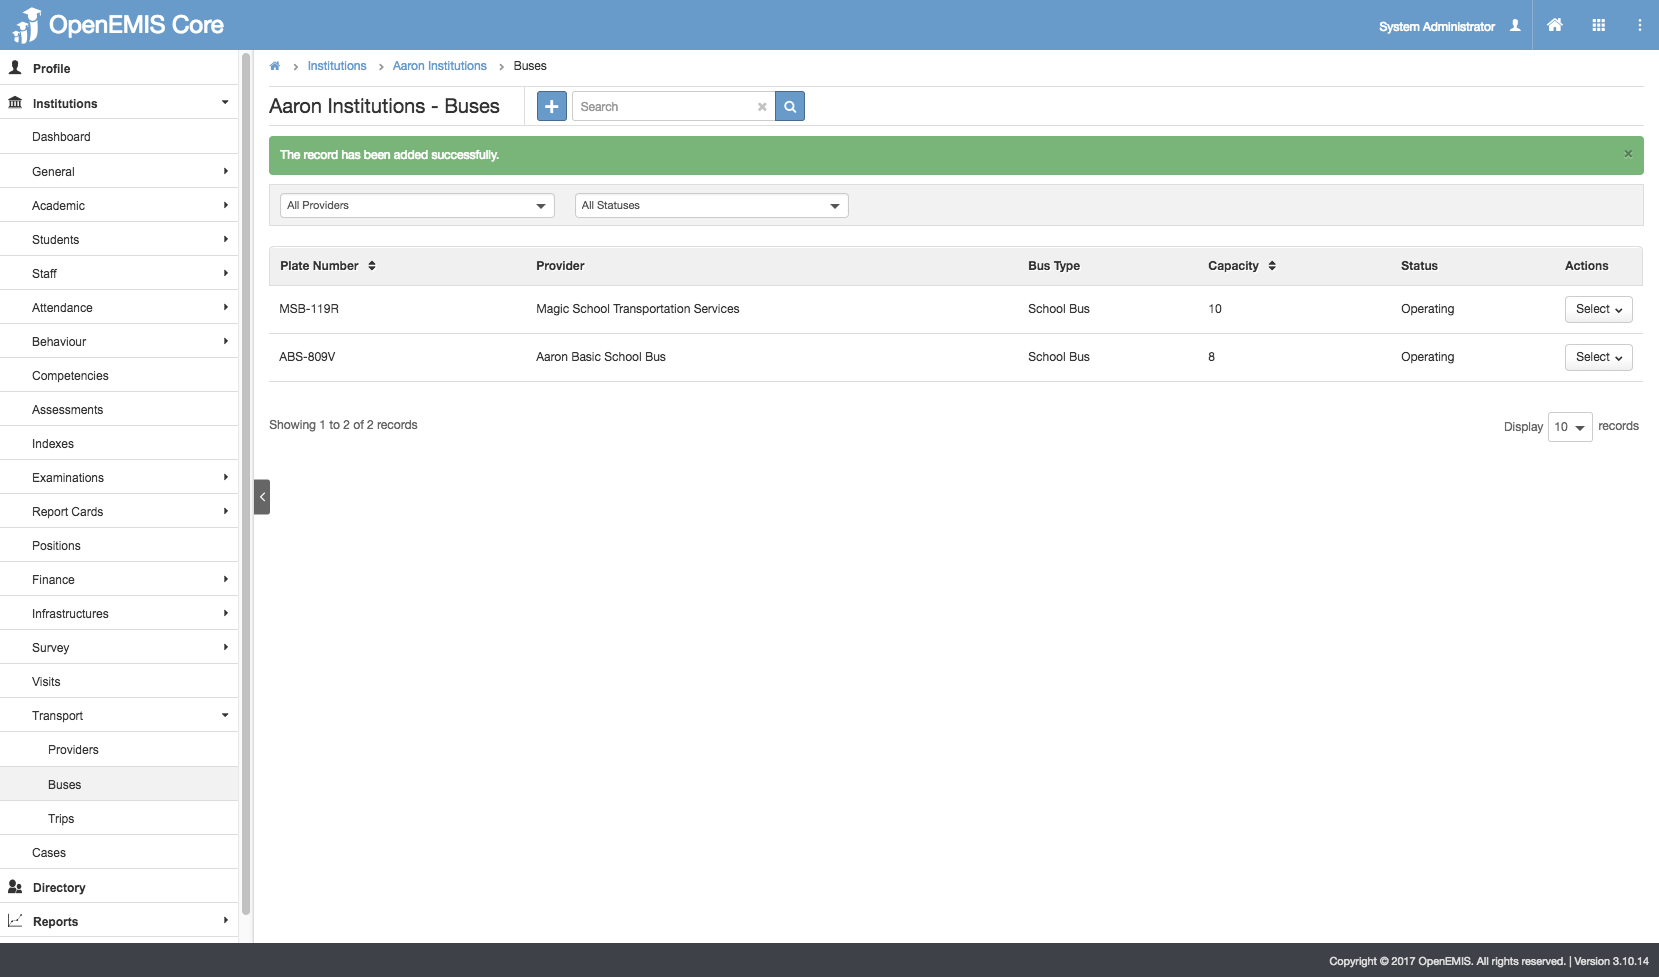
5) Similarly, in Transport Providers, you will be able to see the bus which is linked to the Provider.
Edit Transport Buses
1) Go to Institution > Transport > Buses
2) You will be able to see all the Buses being created.
3) Select Action Bar > Edit.
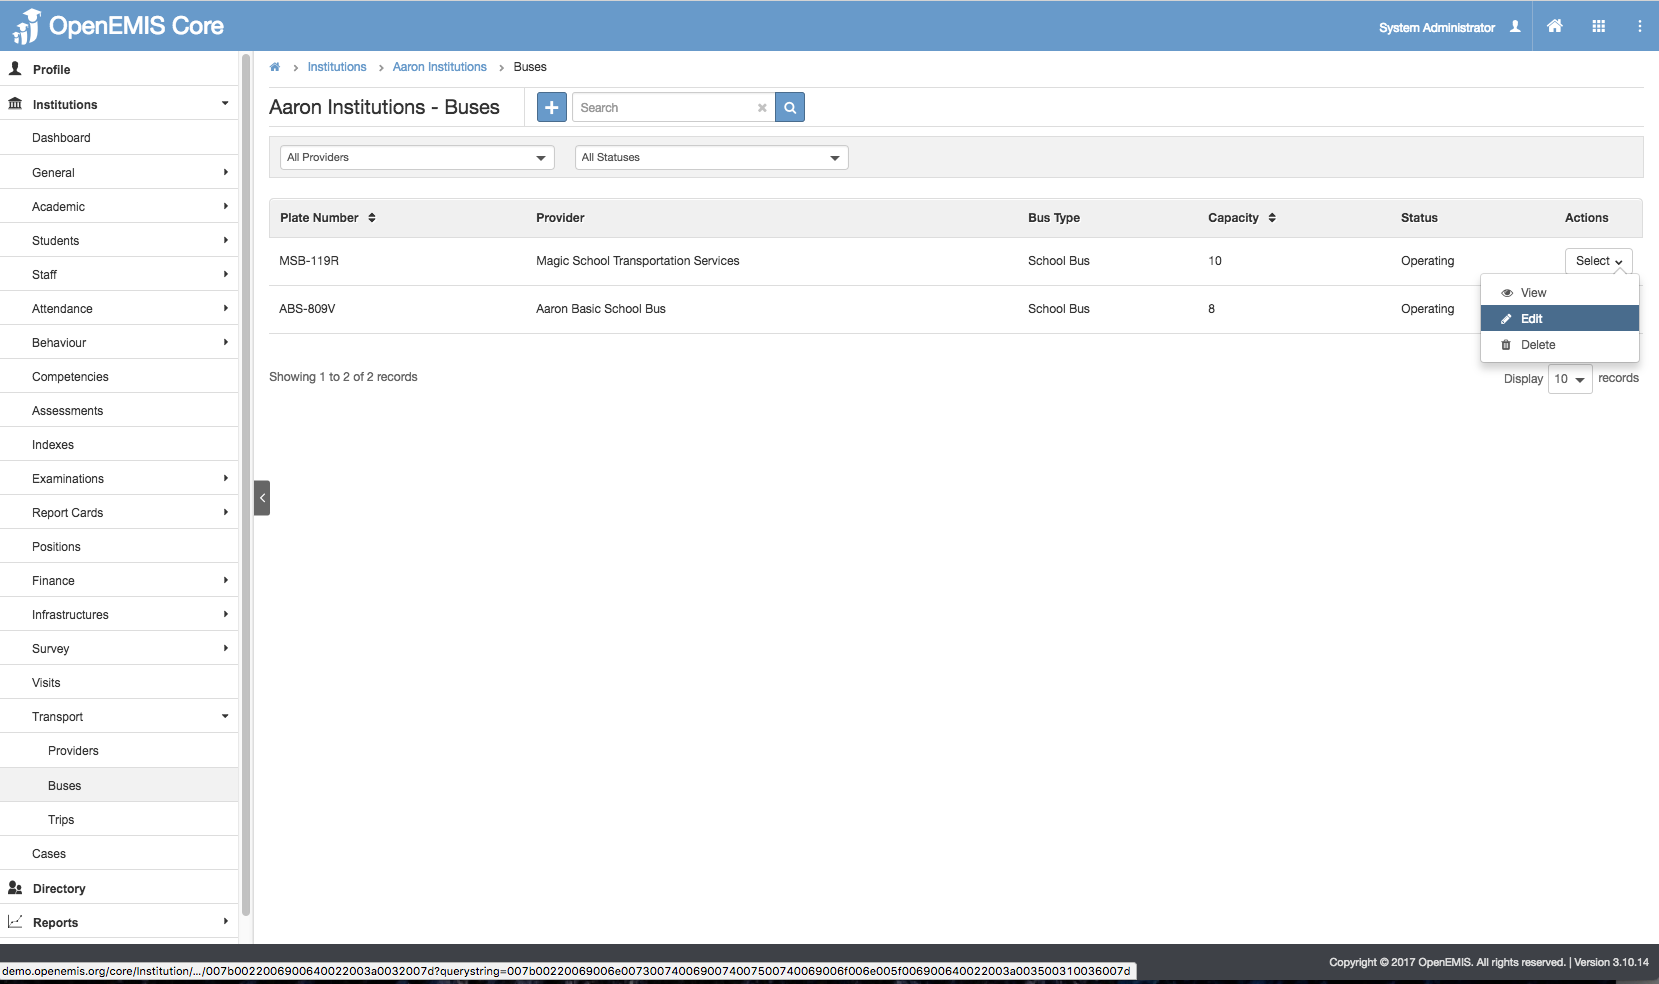
4) Update the Status/Details >Save.
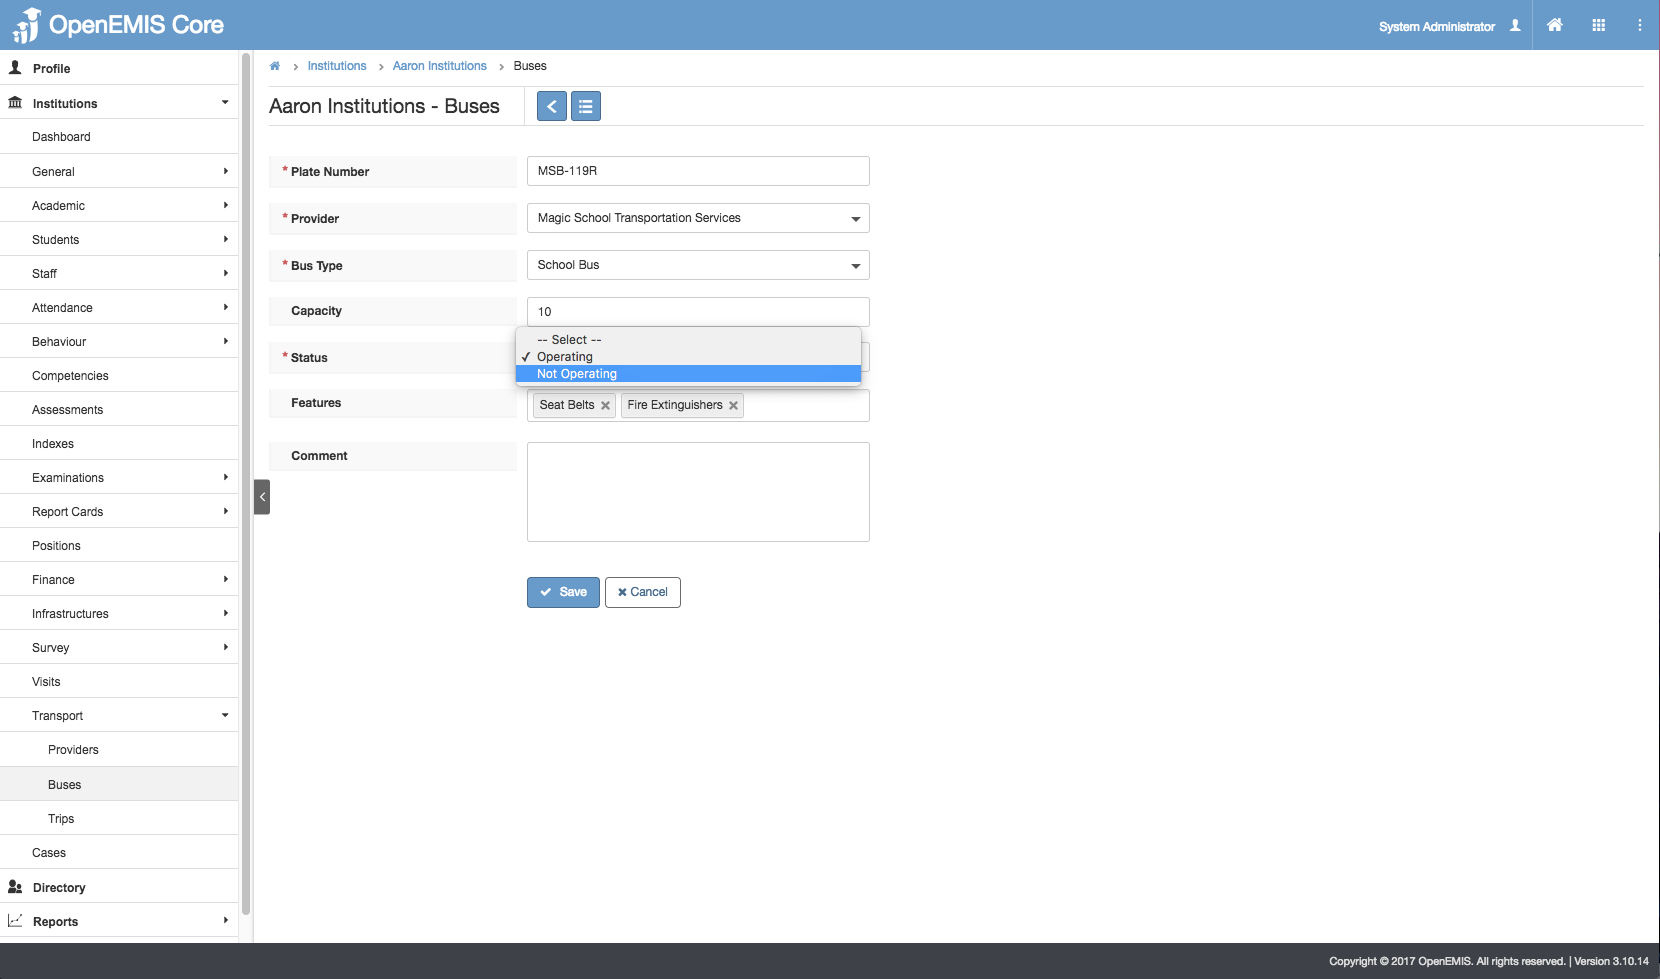
Scenario/Conditions:
-
-
- If the status of the bus is NOT OPERATING, you will not be able to see the Bus upon creating Trips.
-
5) The message will be displayed upon updating successfully.
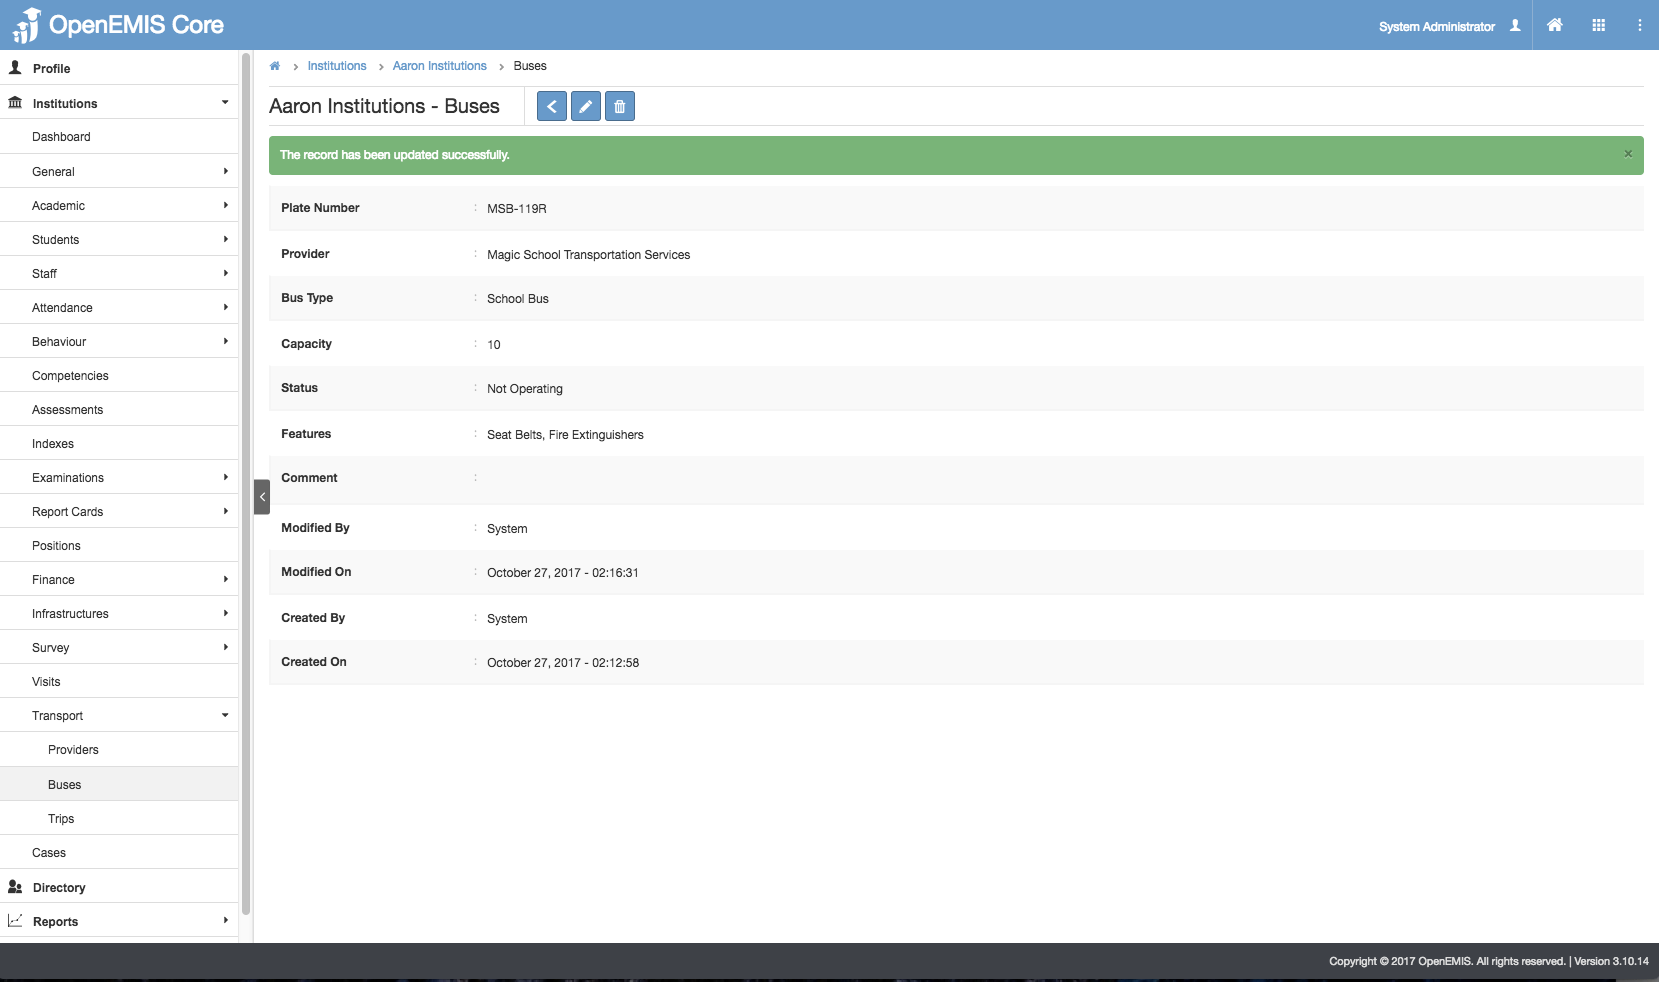
View Transport Buses
1) Go to Institution > Transport > Buses
2) You will be able to see all the Transport Buses being created.
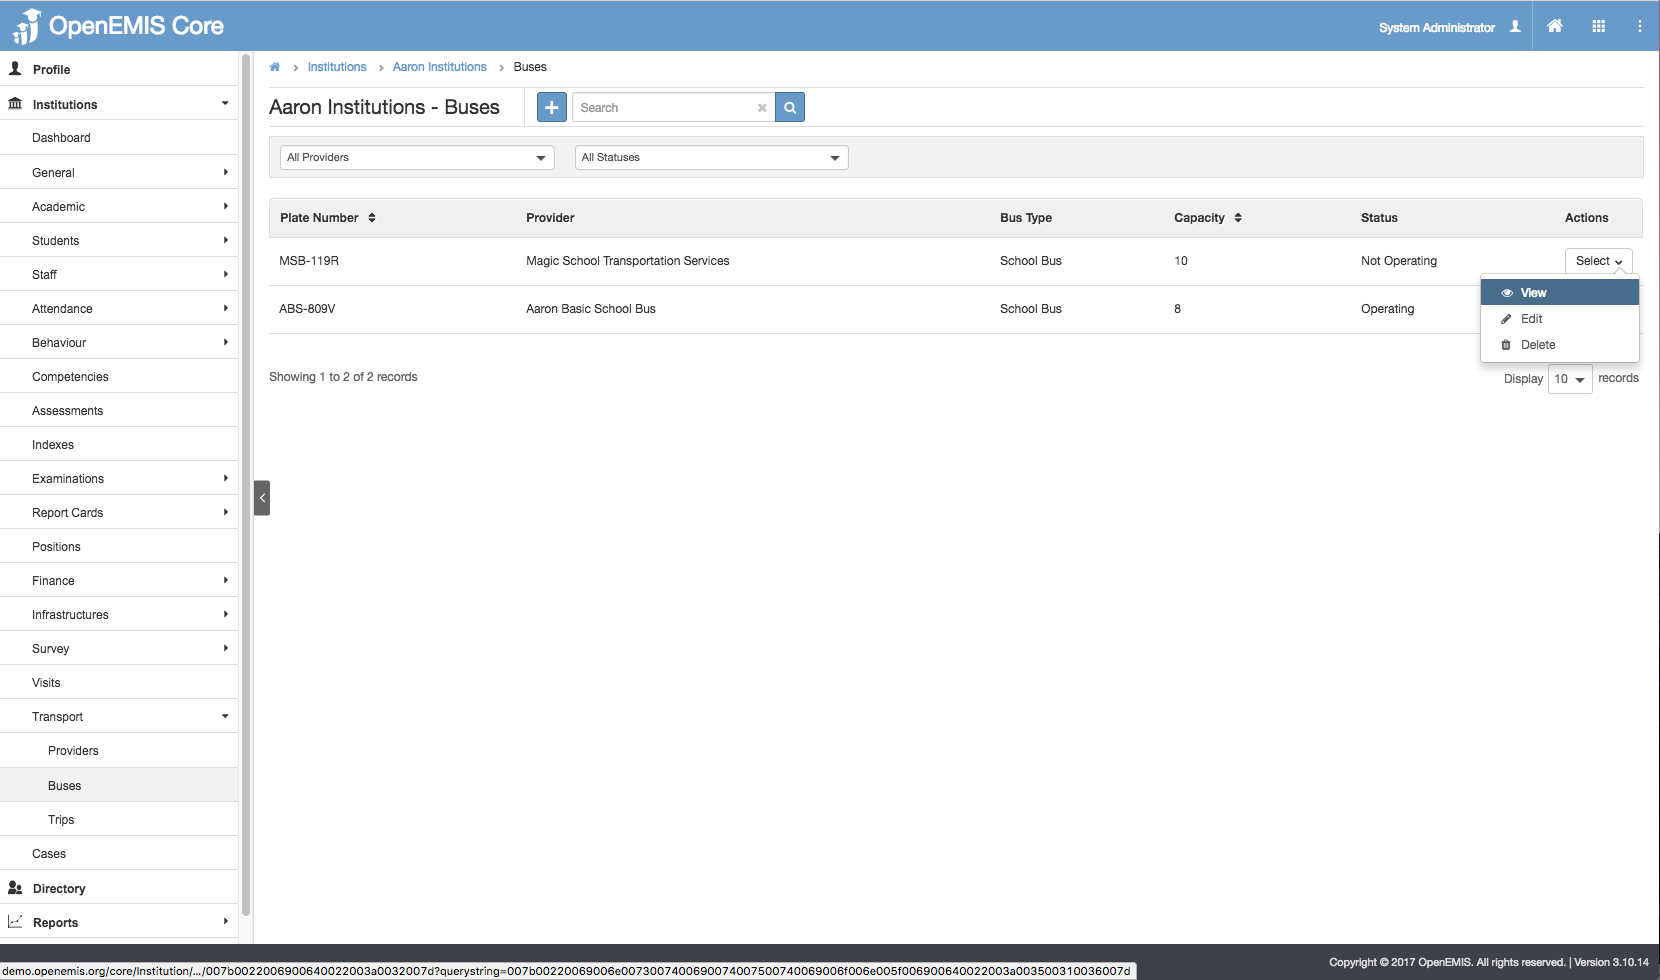
3) Select Action Bar > View.
4) You will be able to see Additional details of Buses record.
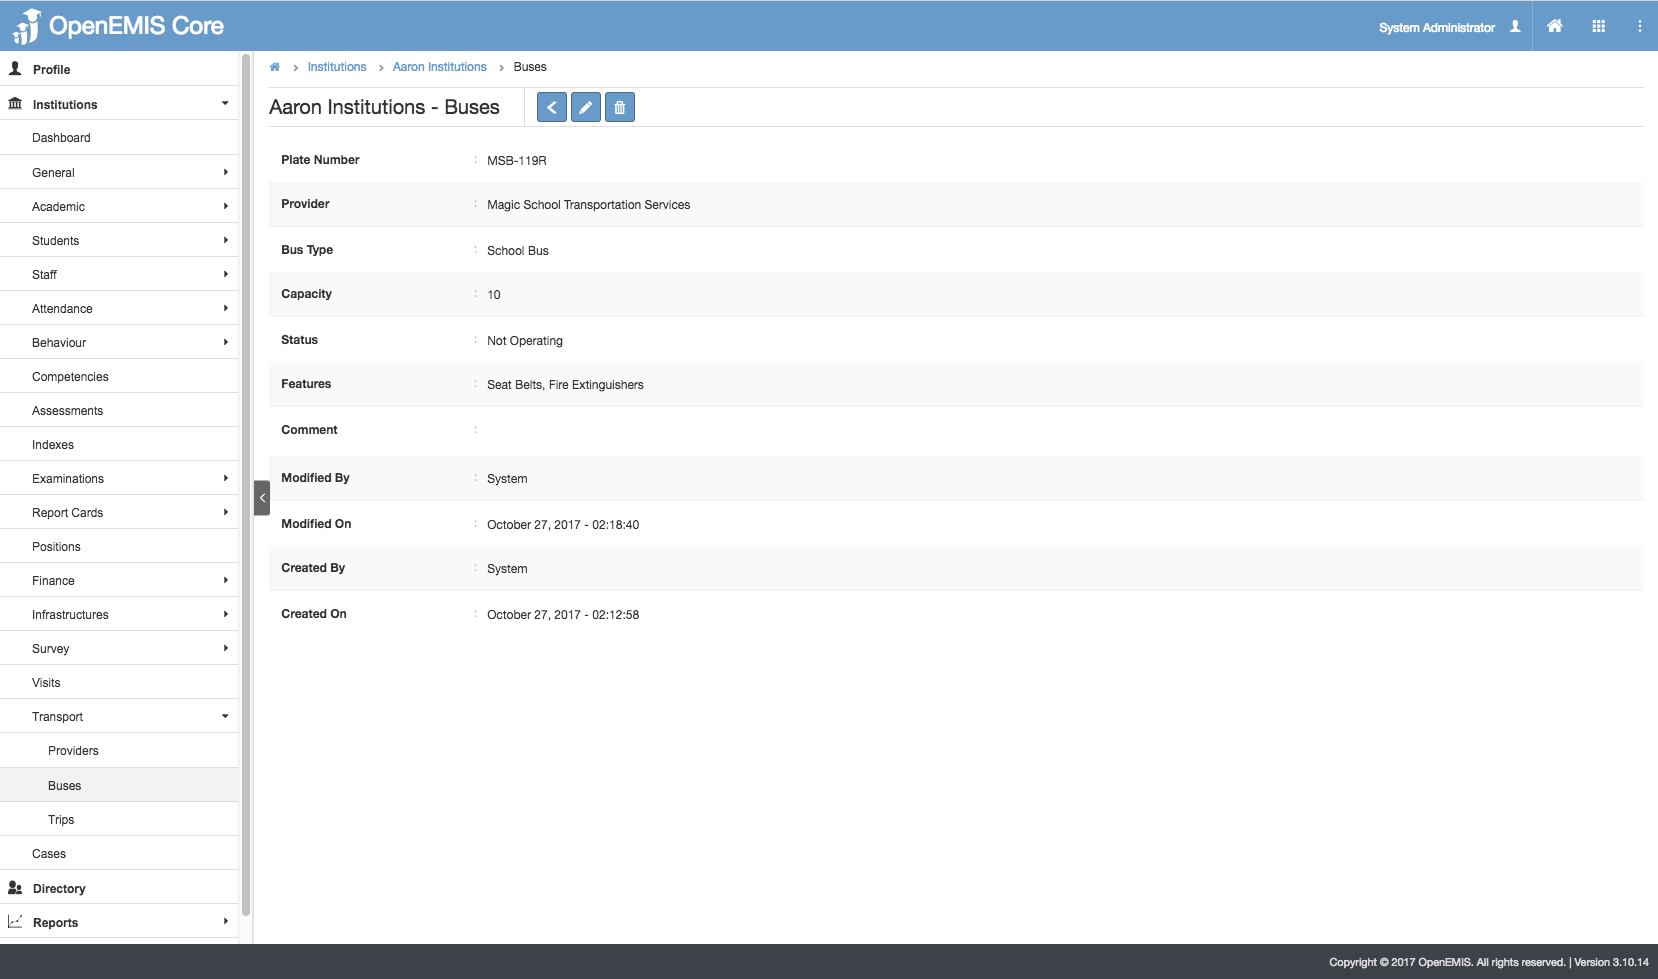
5) Similarly, you will be able to update or delete the record.
Delete Transport Buses
1) Go to Institution > Transport > Buses
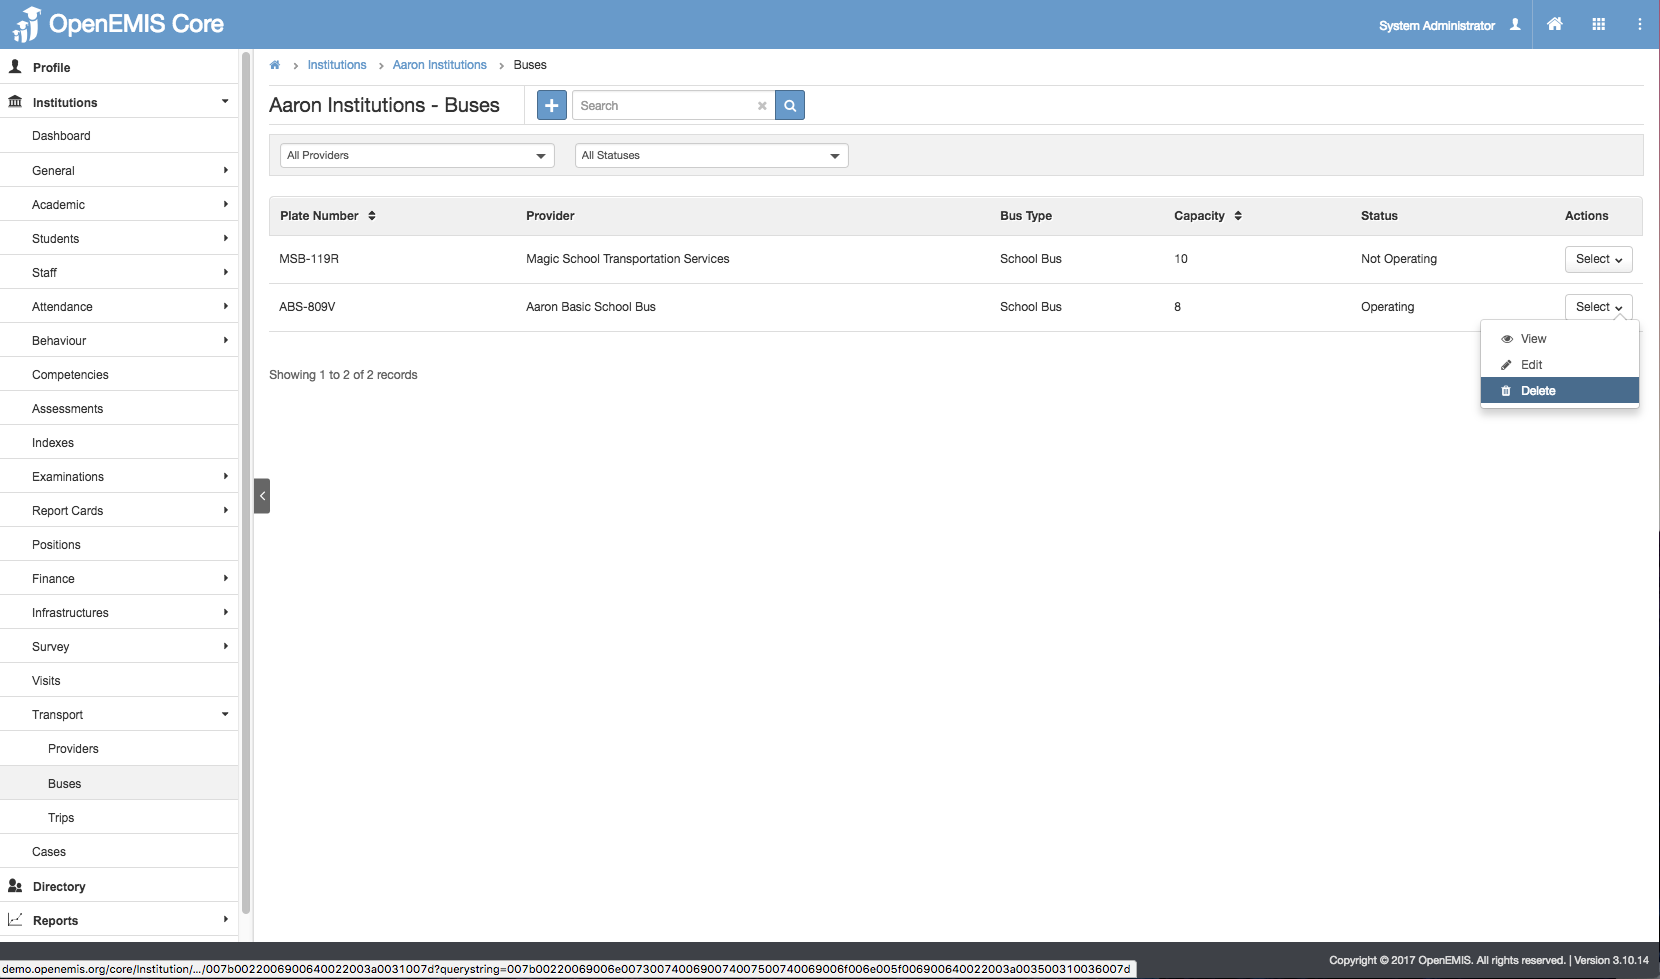
2) You will be able to see all the Transport Buses being created.
3) Select Action Bar > Delete.

4) System will display alert message that the record has associated records.
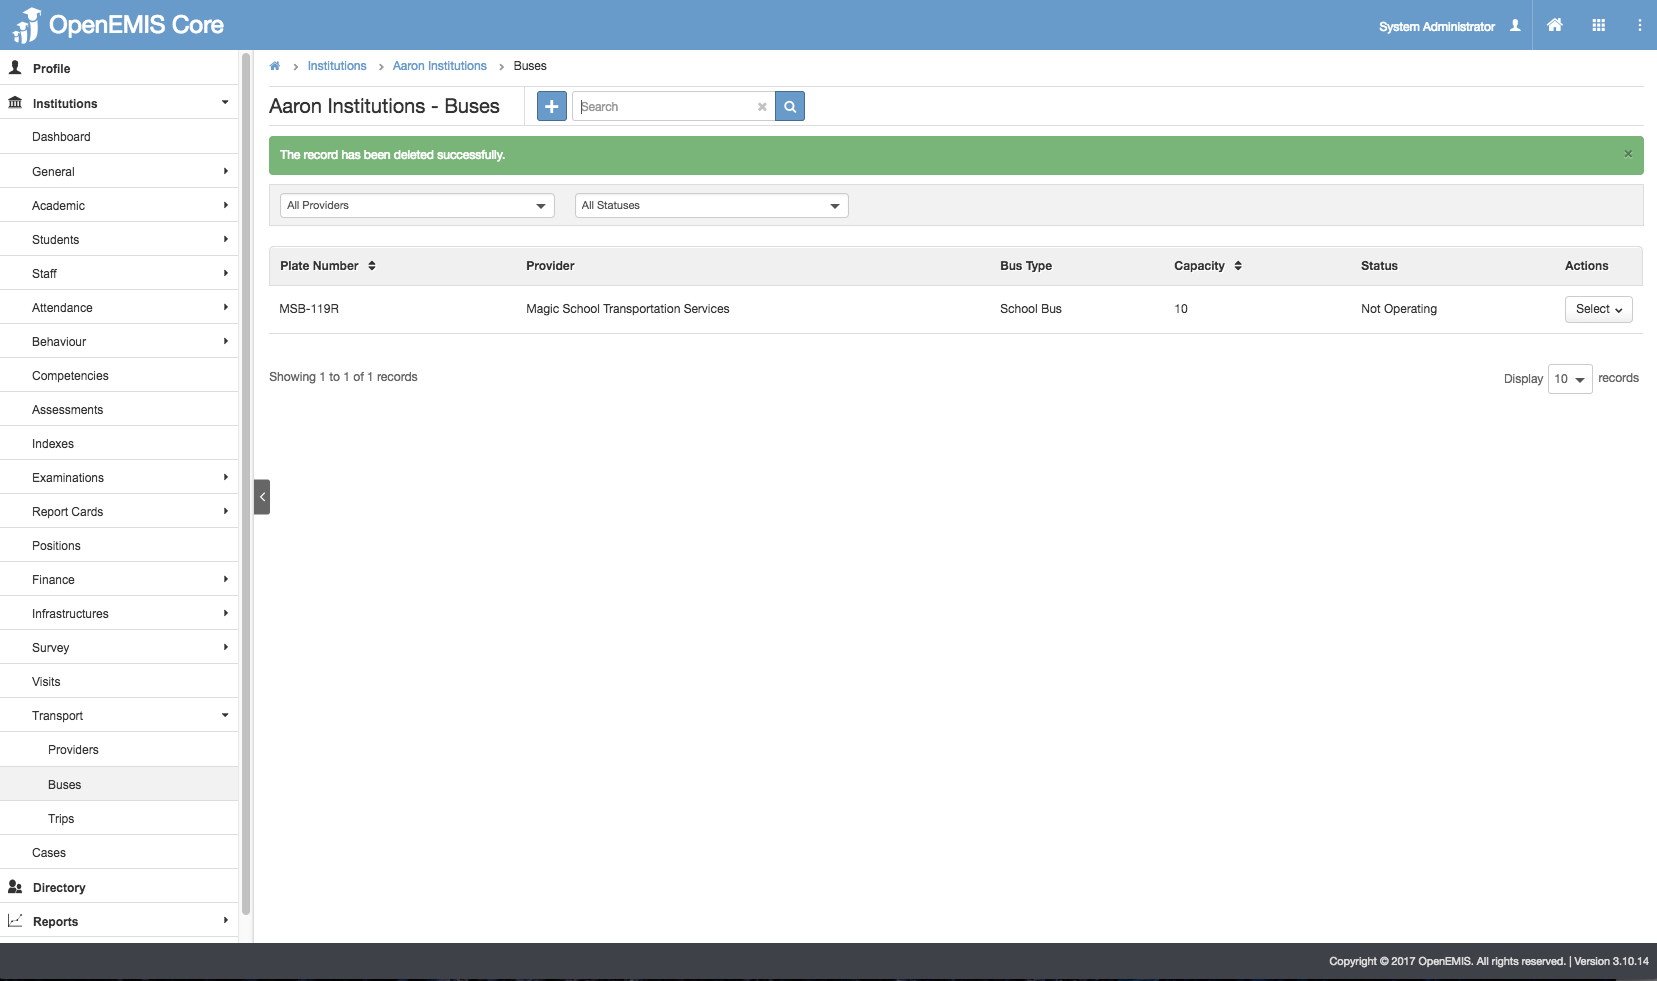
5) To confirm, select Save. Record will be deleted successfully.
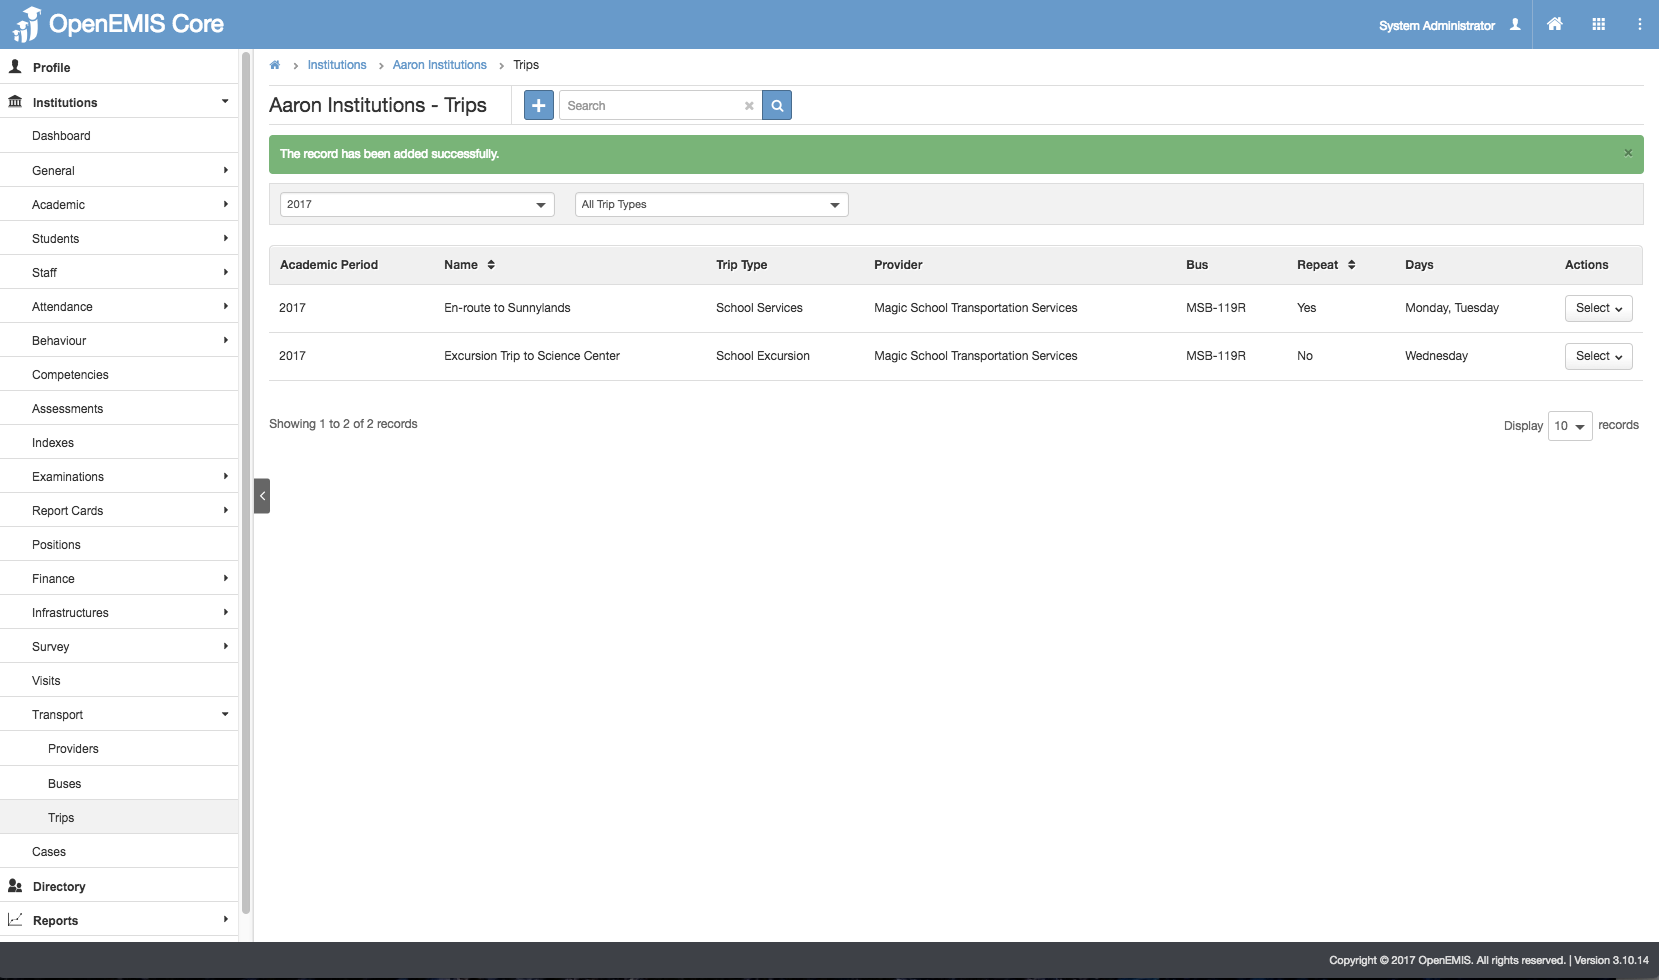
Manage Transport Trips
Create Transport Trips
1) Go to Institution > Transport > Trips
2) Select Add.
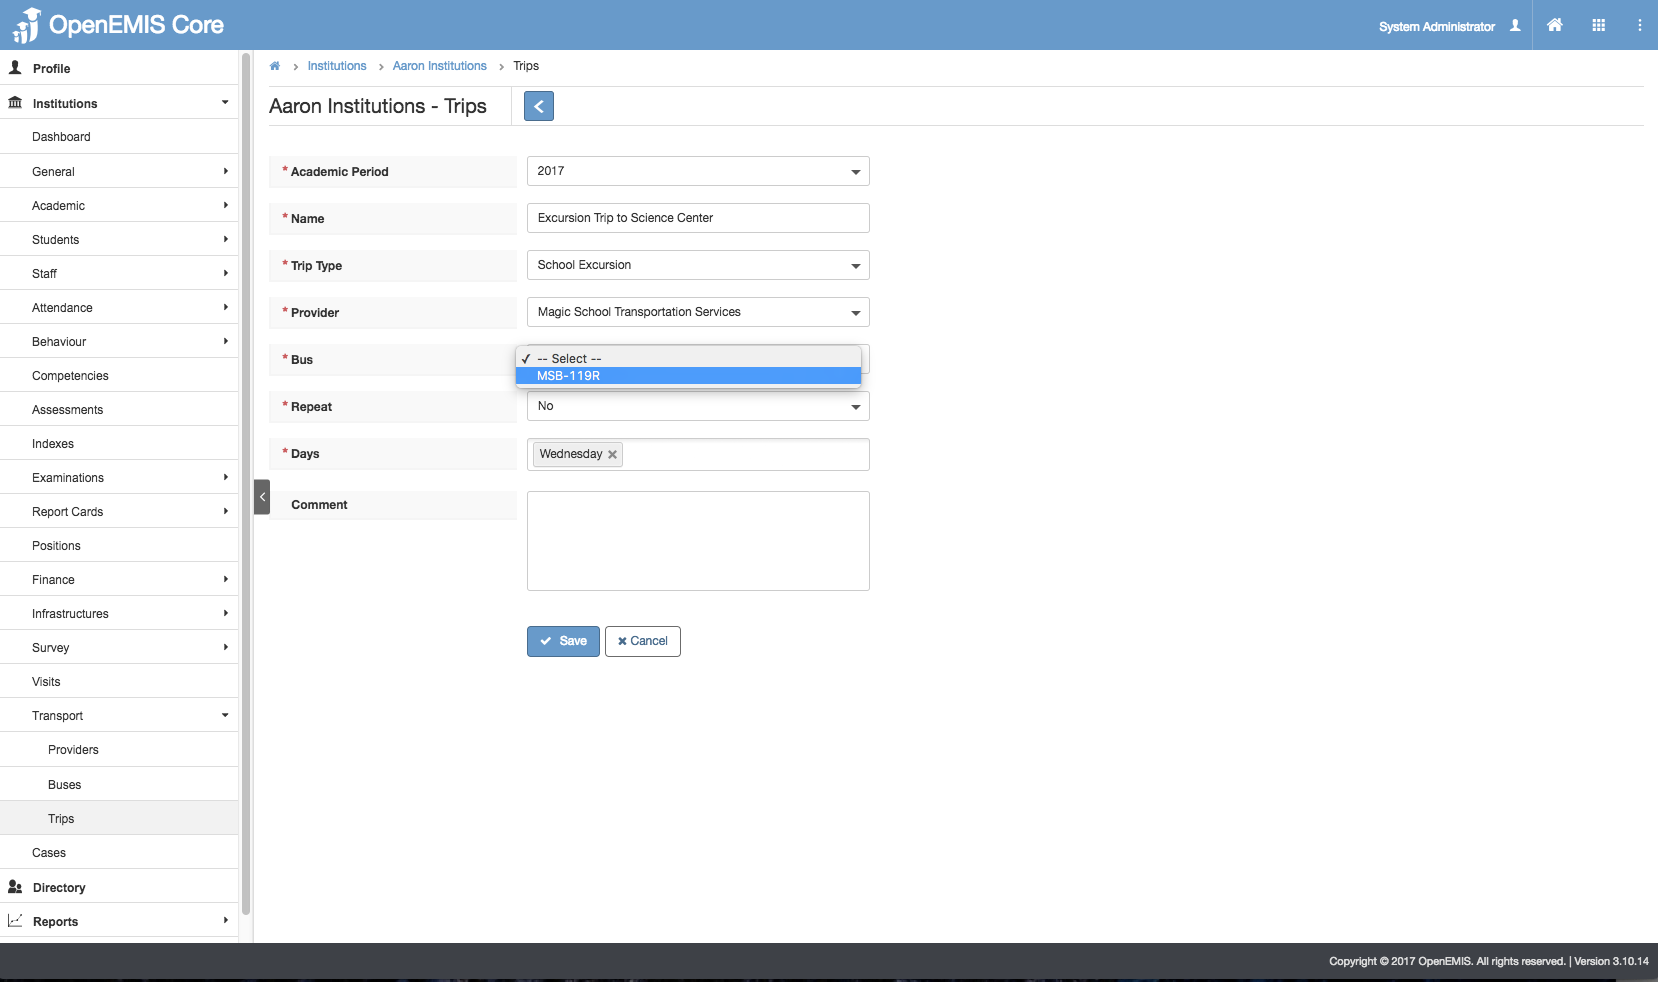
3) Enter the Mandatory fields > Save.
Scenario/Conditions:
-
-
- Trip Types: Retrieves the data entered in Administration > Field Options > Trip Types
- Bus: Displays only OPERATING Buses based on the provider selected.
-
4) The message will be displayed upon adding successfully.
Edit Transport Trips
1) Go to Institution > Transport > Trips
2) You will be able to see all the Trips being created.
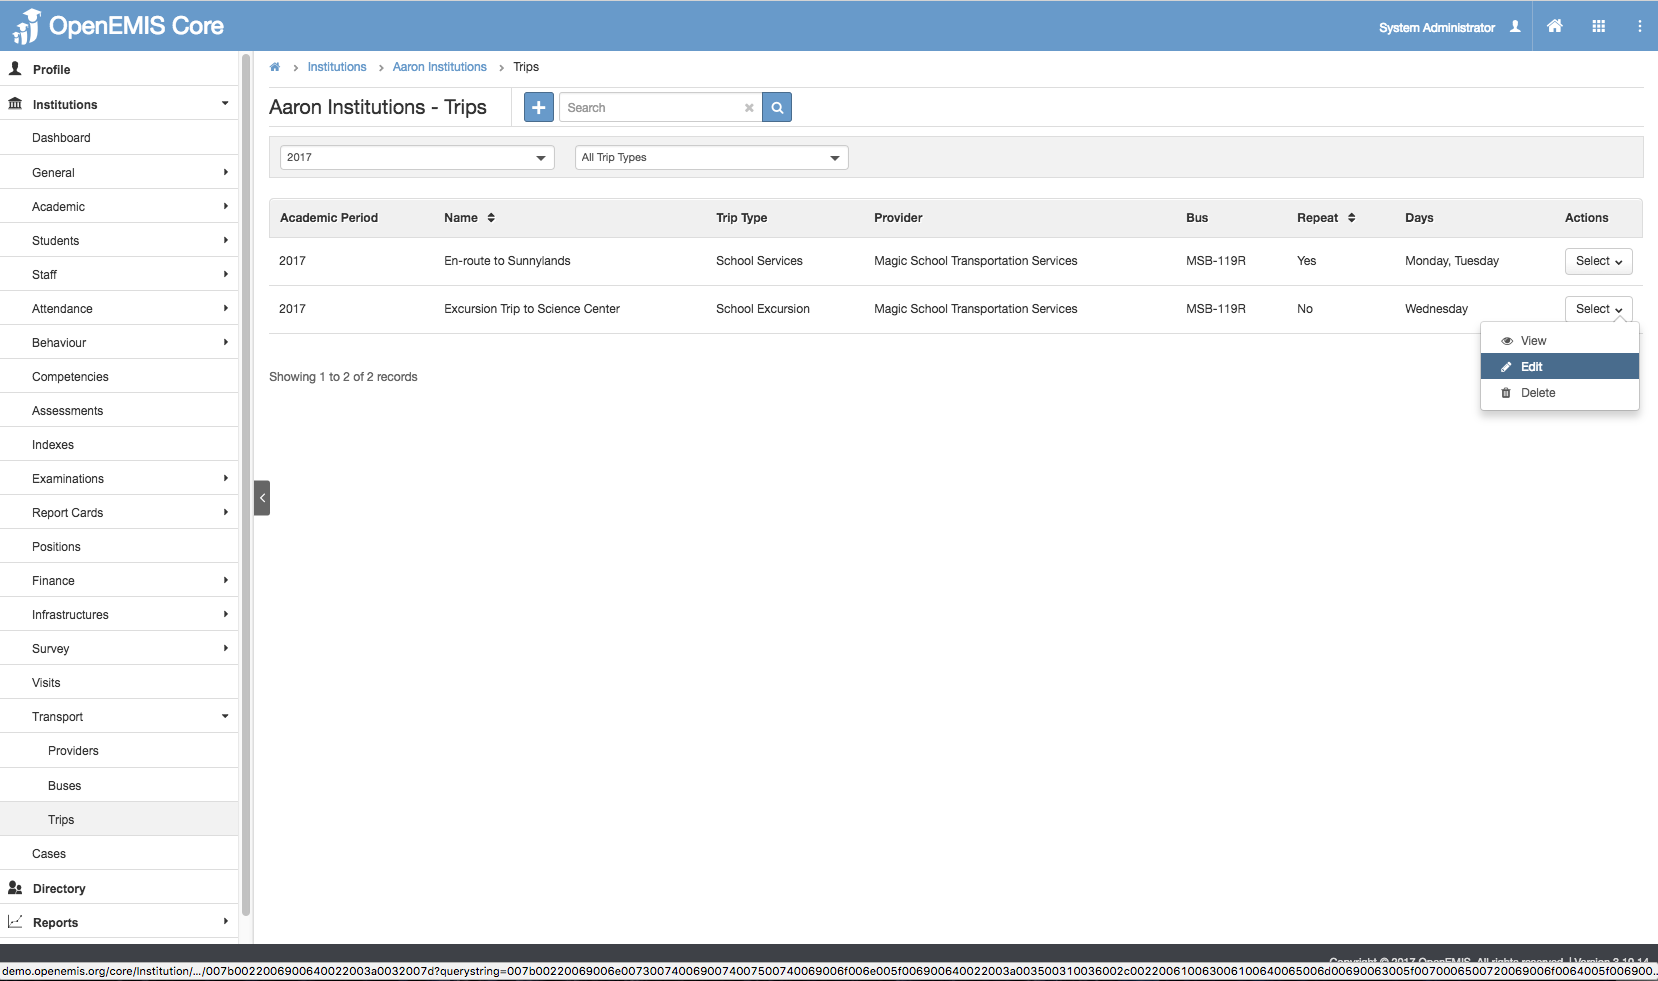
3) Select Action Bar > Edit.
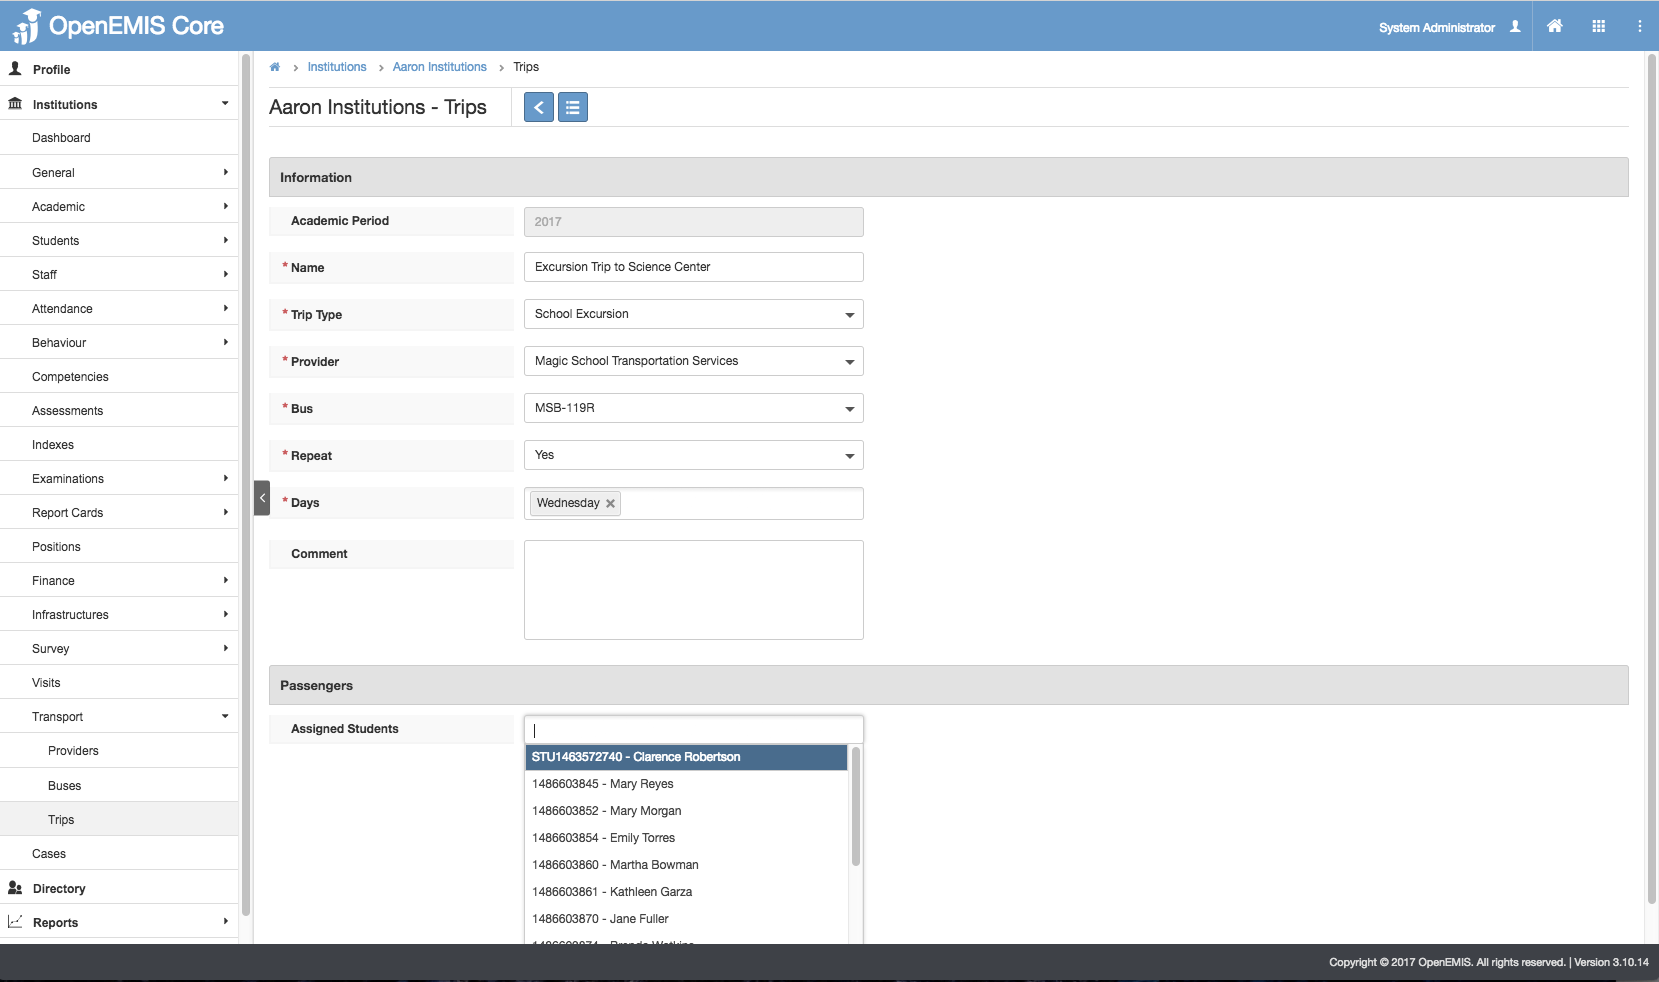
4) Update the Status/Details >Save.
-
-
- Upon editing, you will notice the Assigned Students field, user will be able to add the passengers assigned to each bus.
- Only retrieve Enrolled Students from the Institution.
- Repeat: Trip to be repeated on the selected day every week.
-
5) The message will be displayed upon updating successfully.

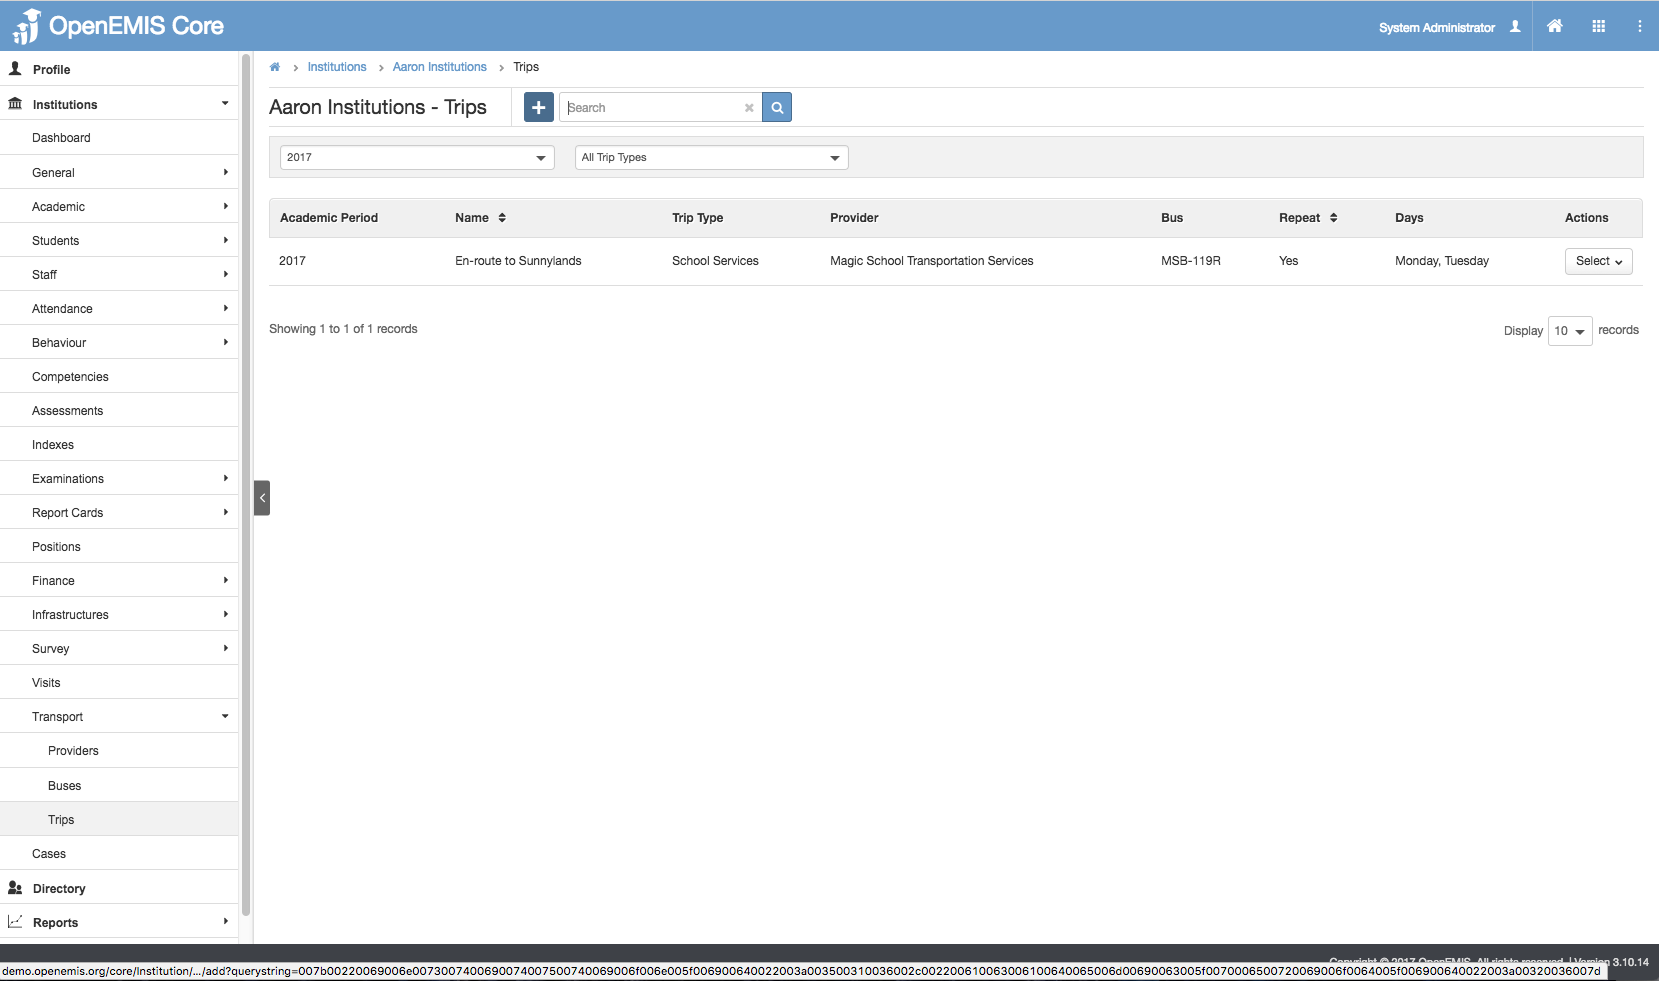
View Transport Trips
1) Go to Institution > Transport > Trips
2) You will be able to see all the Transport Trips being created.
3) Select Action Bar > View.
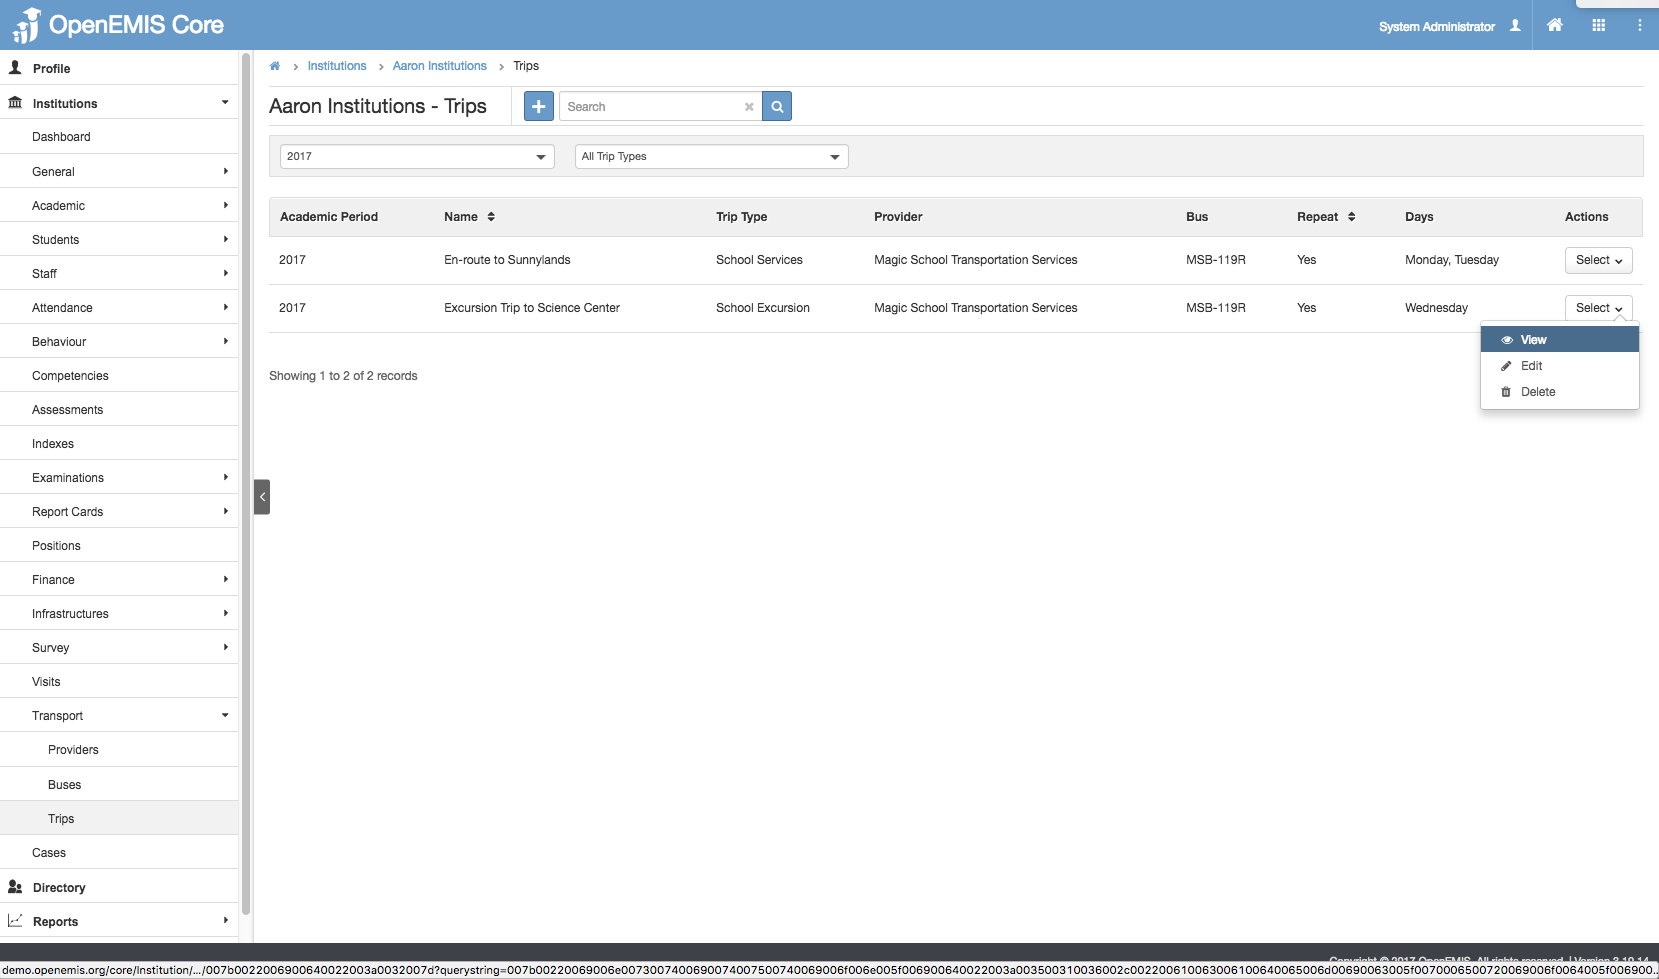
4) You will be able to see Additional details of Trips record.
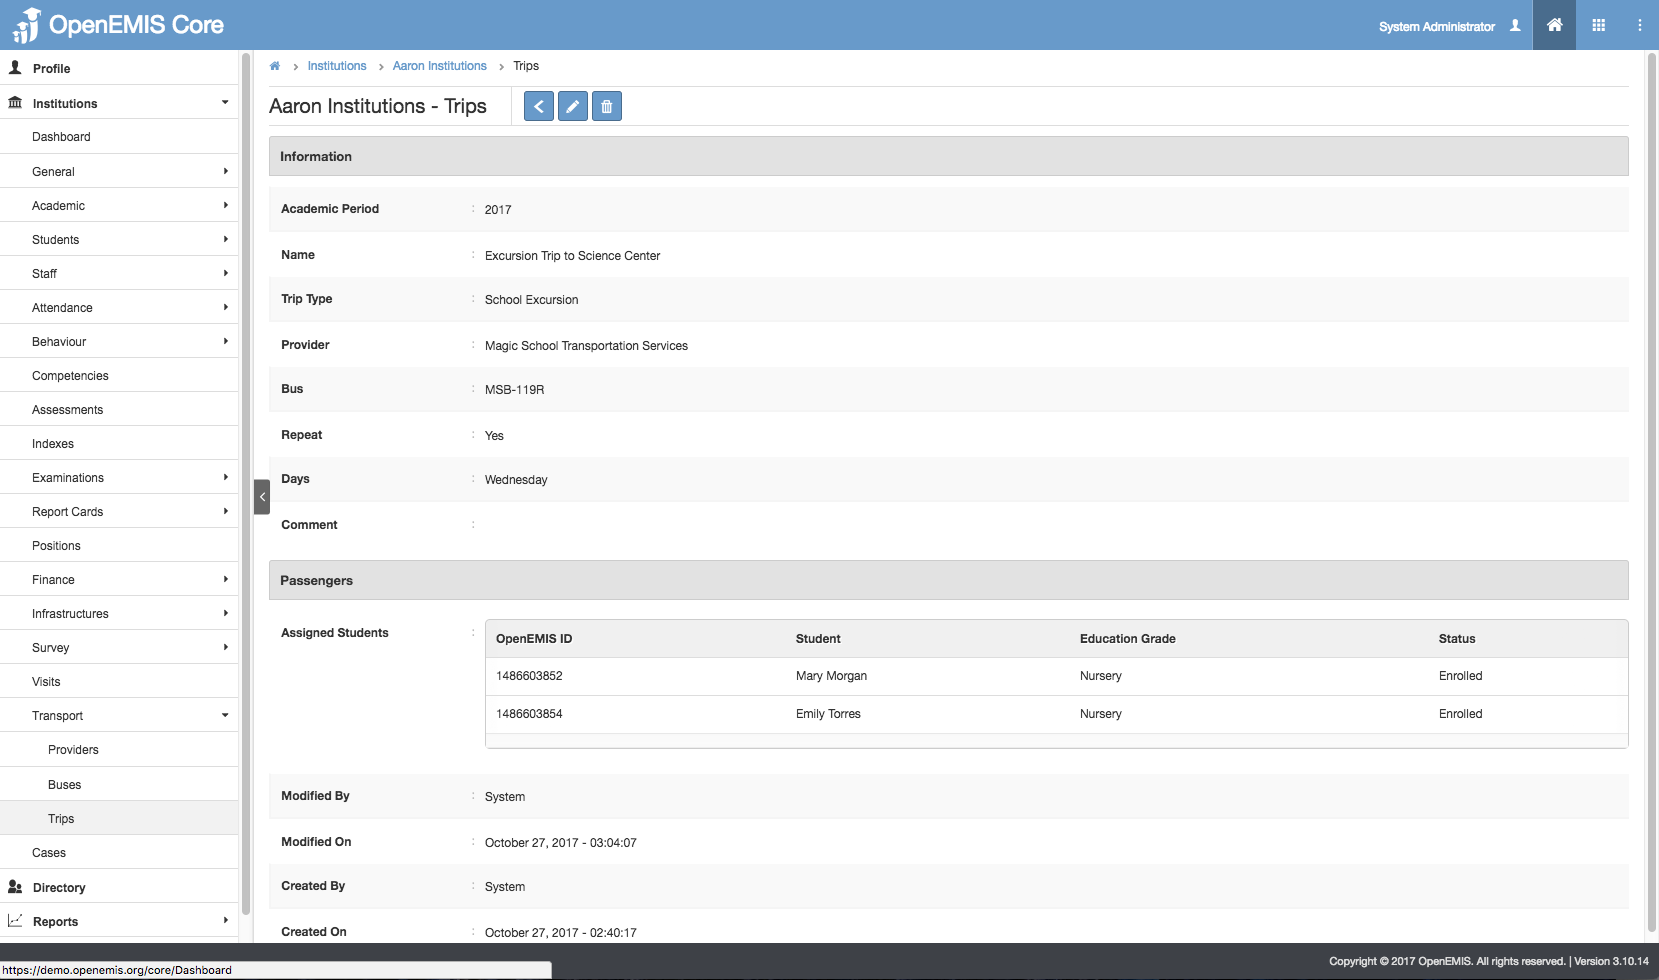
5) Similarly, you will be able to update or delete the record.
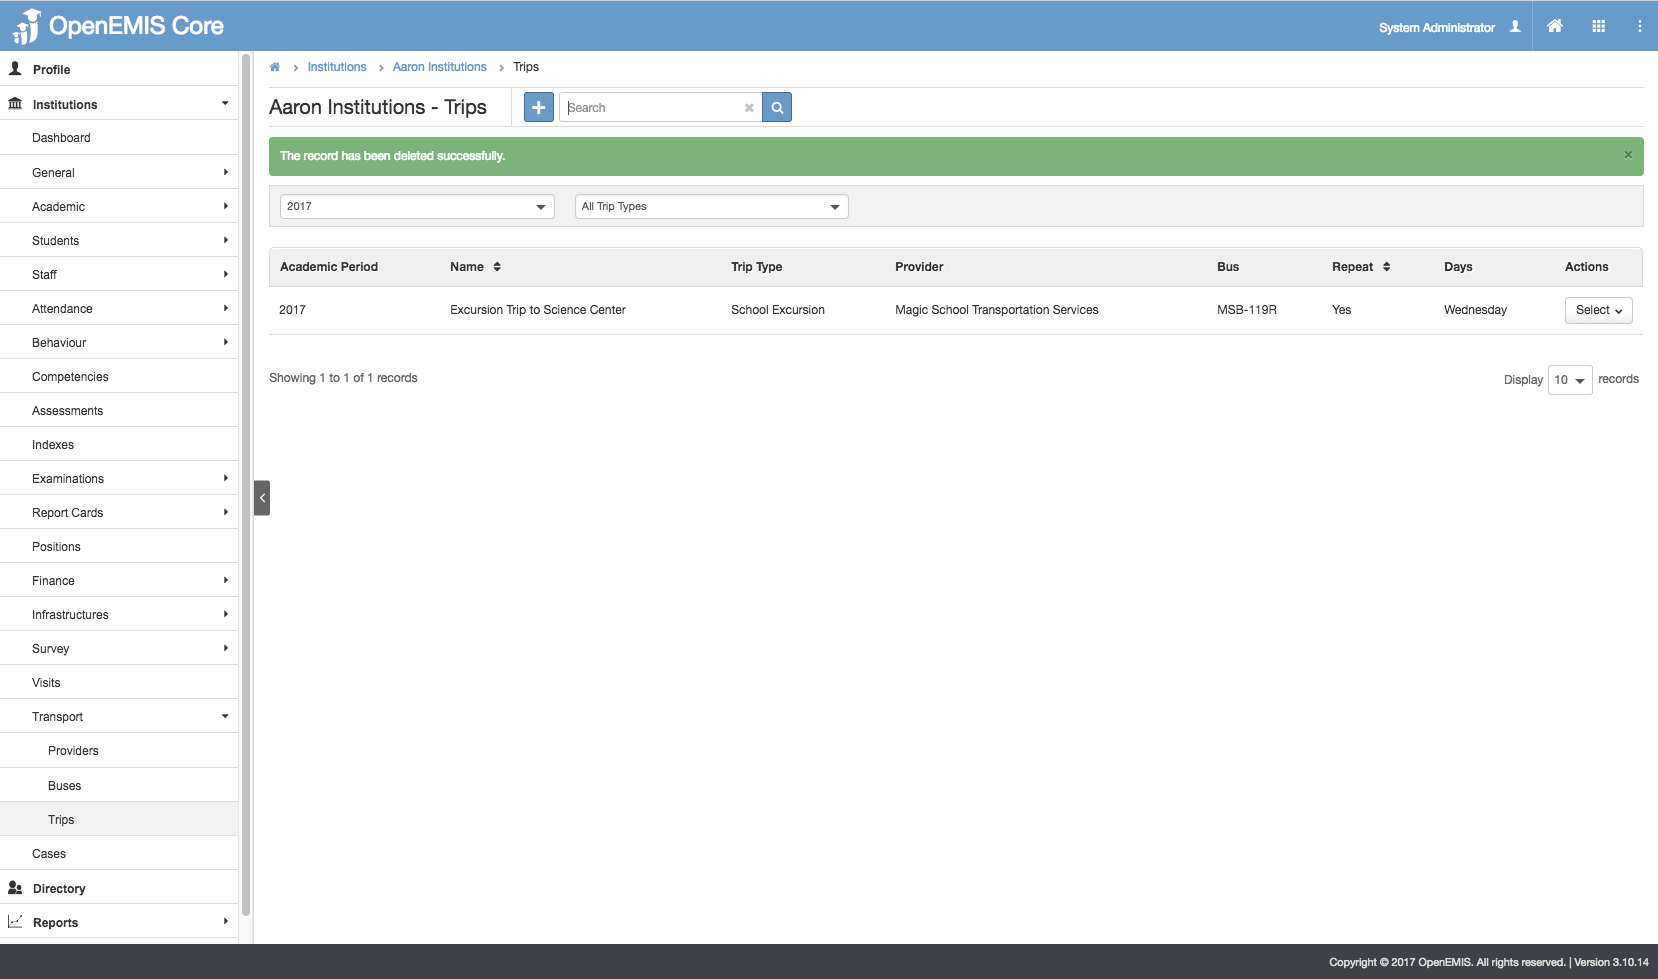
Delete Transport Trips
1) Go to Institution > Transport > Trips
2) You will be able to see all the Transport Trips being created.
3) Select Action Bar > Delete.
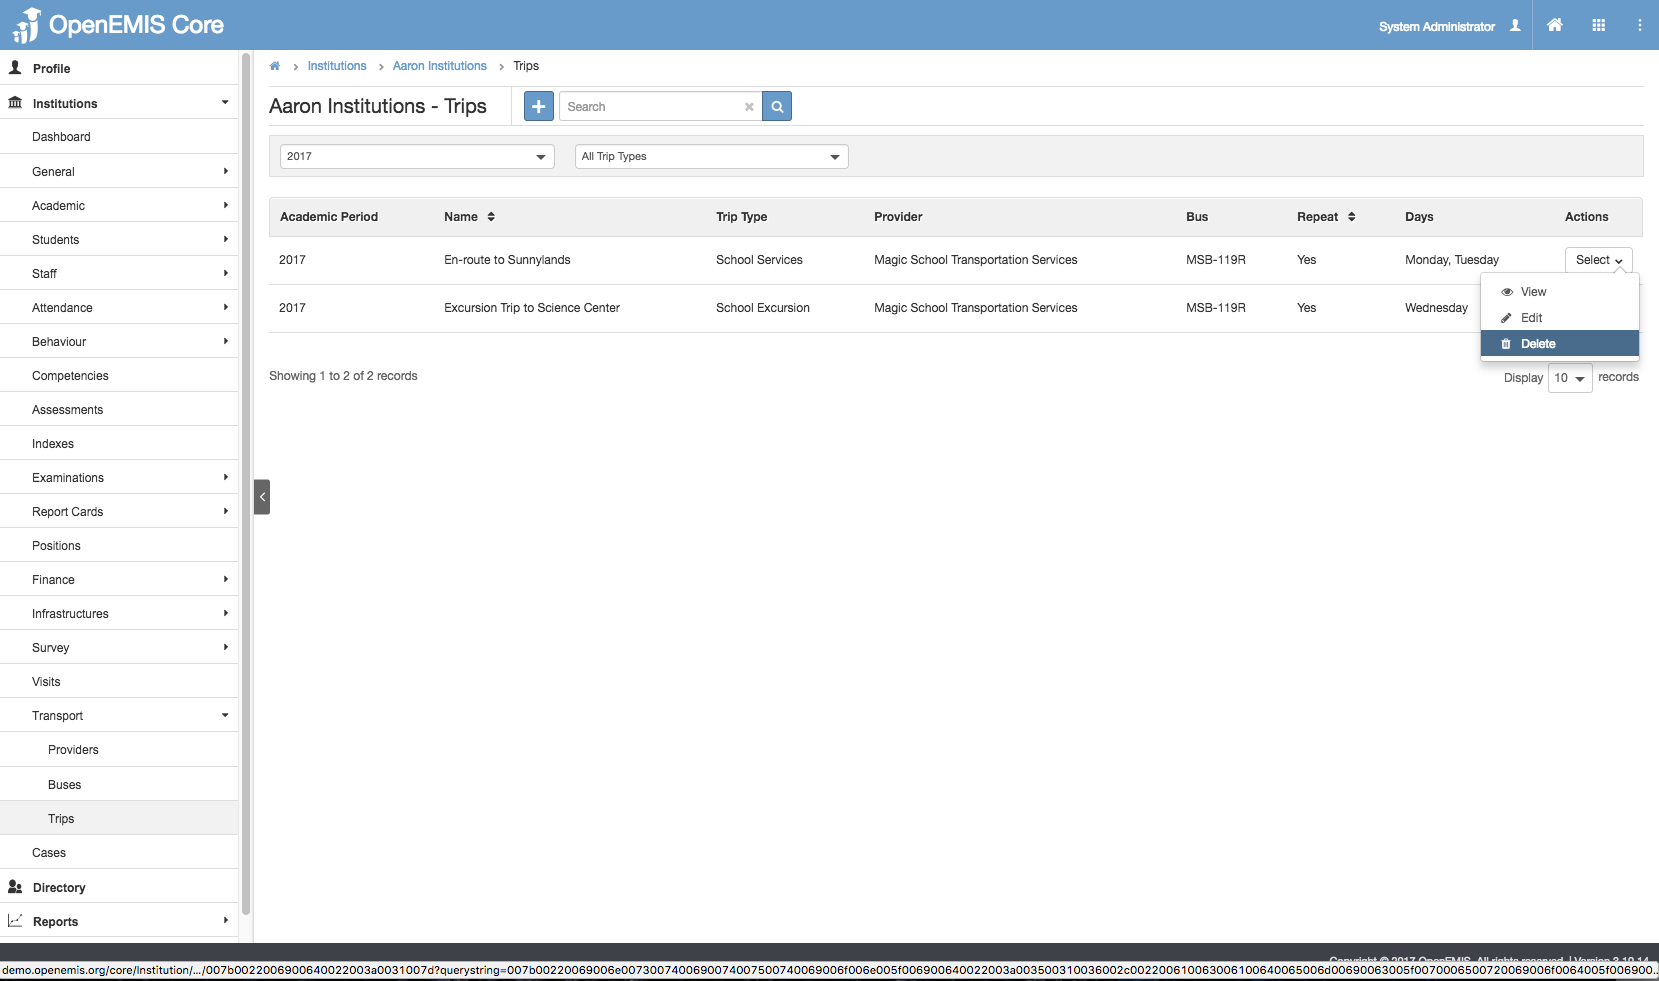
4) System will display alert message that the record has associated records.

5) To confirm, select Save. Record will be deleted successfully.