Article Name: Indexes/Out of School
Category/Module: Administration, Institutions
Tags: Indexes, Out of School
Version: 3.9.7
Date Updated: 5 Apr 2017
This Indexes/Out of School feature will allow you to monitor students at risk of dropping out of school with an early warning system to help children in need in a timely and efficient manner. User would be able to configure and customize indicators to determine dropout risk based on available student information from OpenEMIS Core. E.g. Absenteeism.
- Managing Indexes (Administration)
- Managing Behavior Classifications (Administration)
- Managing Student Behavior Categories (Administration)
- Institution Students Behaviour (Institution)
- Institution Staff Behaviour (Institution)
- Institution Students Indexes (Institution)
Managing Indexes
Indexes Categories
Create Indexes

1) Go to Administration > System Setup > Indexes
2) Select ‘Add’ button
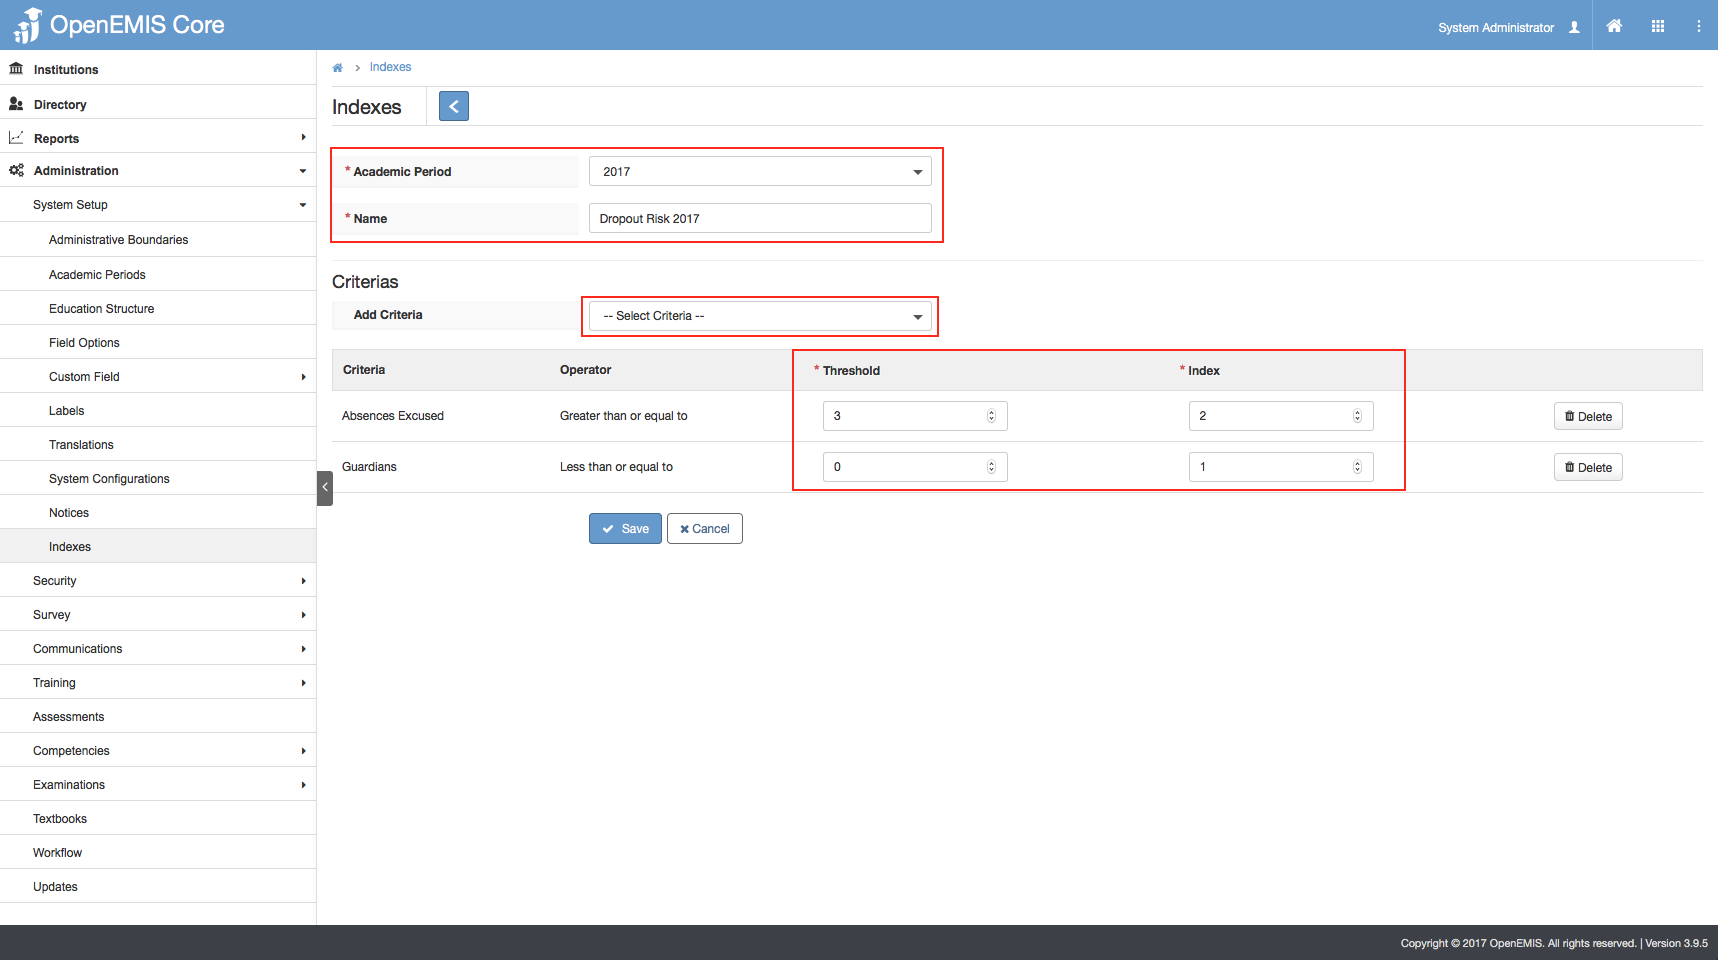
3) Enter the required fields e.g Name, Academic Period.
4) Select on the Criteria option you would like to determine for the student.
5) Enter the Threshold and Index value for the respective Criteria.
6) Select Save. (Indexes name should be unique)
7) System will display a successful message once created.
Edit Indexes

1) Go to Administration > System Setup > Indexes
2) You will see a list of records of Indexes
3) Go to Action Bar > Edit
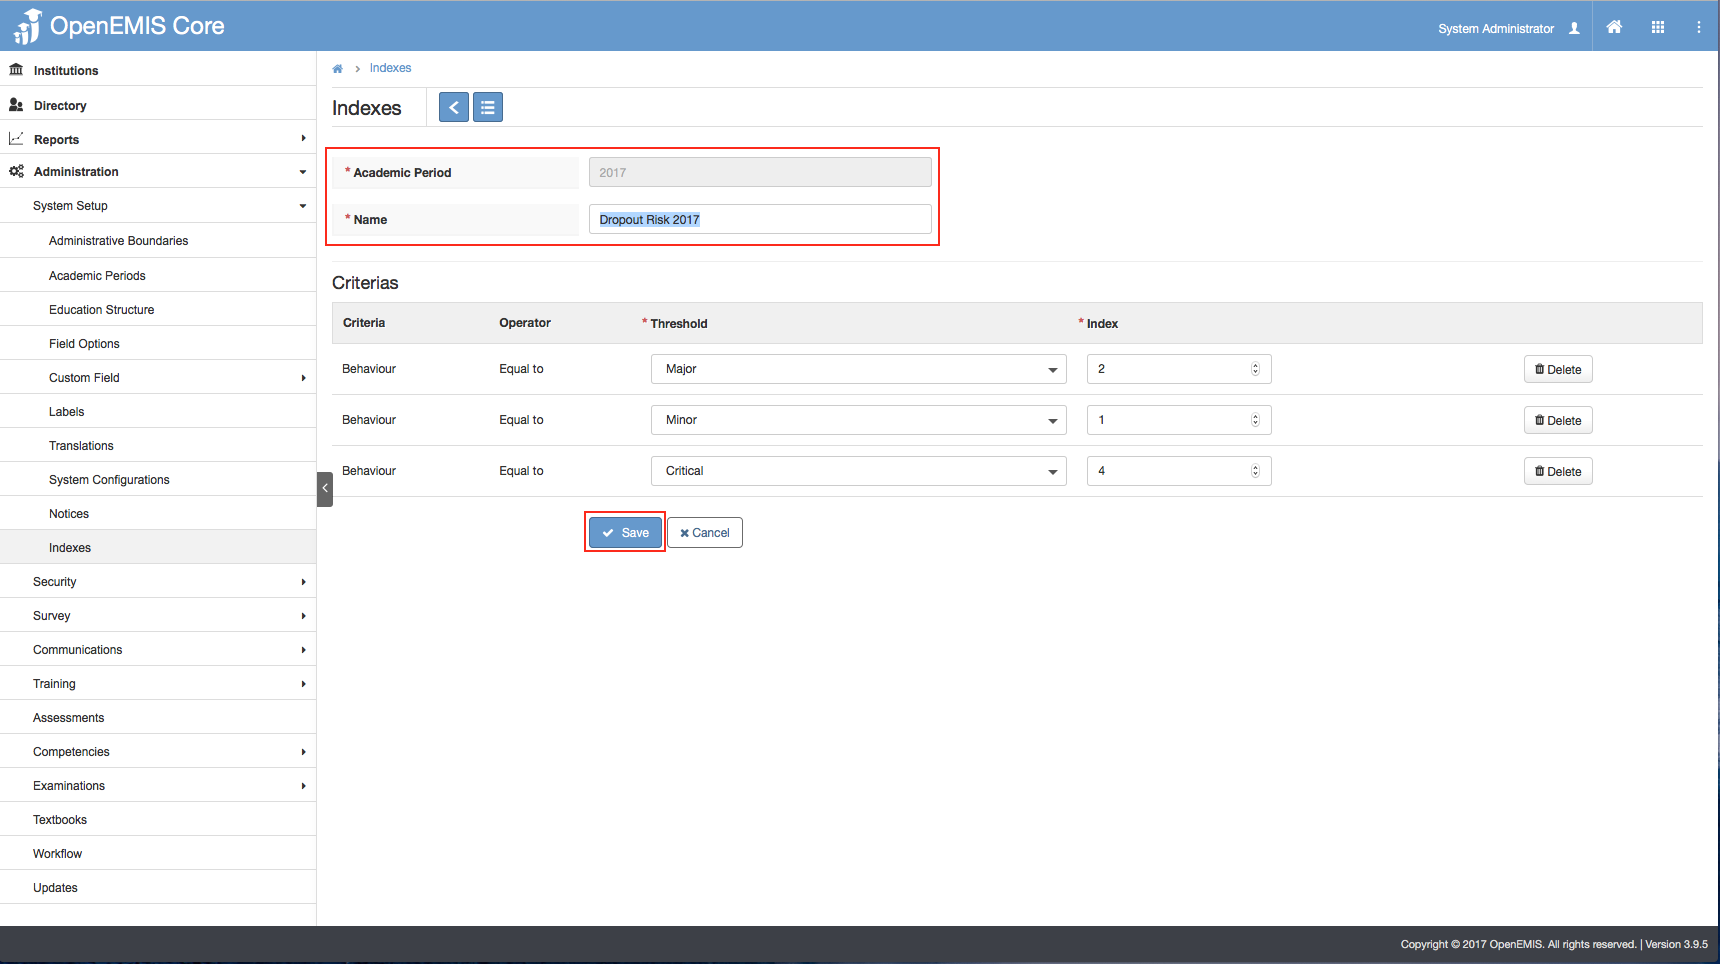
4) You will only be able to edit the Name, Threshold and Indexes. You may also choose to remove the criteria from the Index.
5) Select Save.

6) System will re-calculate the total indexes of the student and display a successful message once created.
View Indexes
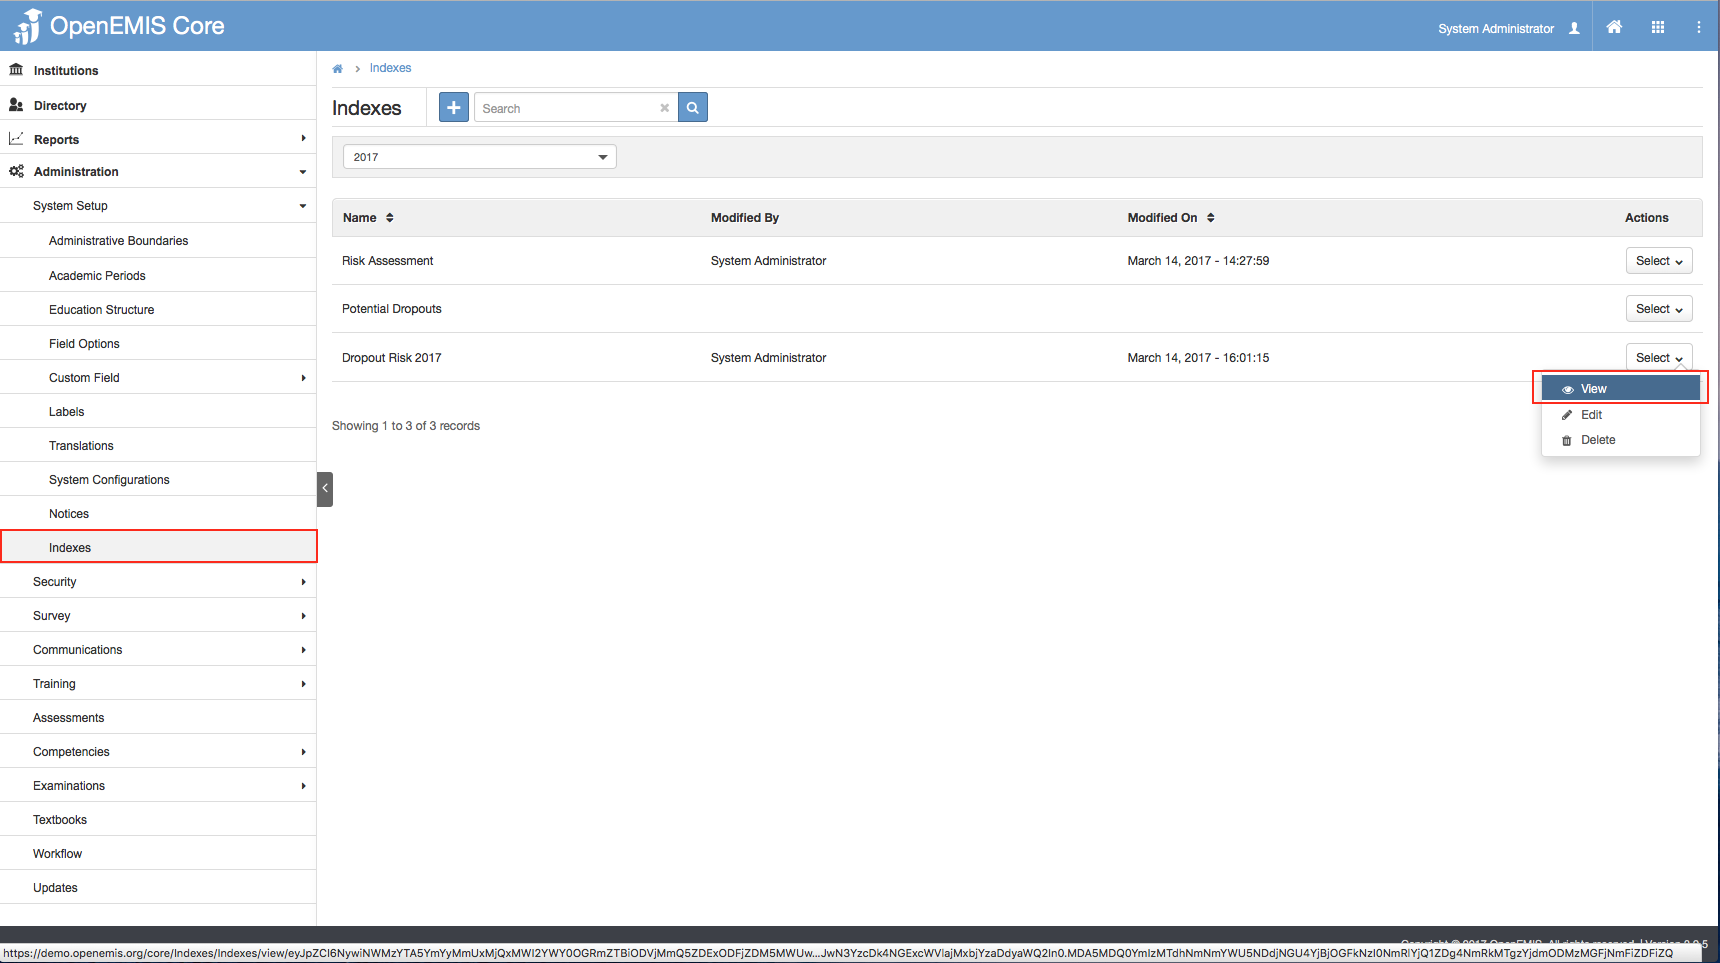
1) Go to Administration > System Setup > Indexes

2) You would be able to search/sort for the name of the Criteria based on the Academic Period.

3) You will be able to view additional details of the Indexes record.
4) Similarly, you can edit or delete the record in the page.
Delete Indexes

1) Go to Administration > System Setup > Indexes
2) Go to Action Bar > Delete

3) The system will display a confirmation prompt to delete the Indexes Record.
4) Select ‘Delete’.

5) System will show a successful message, once record has been deleted.
6) System will remove all the Indexes of the Students related to the Index Record.
Managing Behavior Classifications
Create Behavior Classifications

1) Go to Administration > System Setup > Field Options > Behavior Classifications
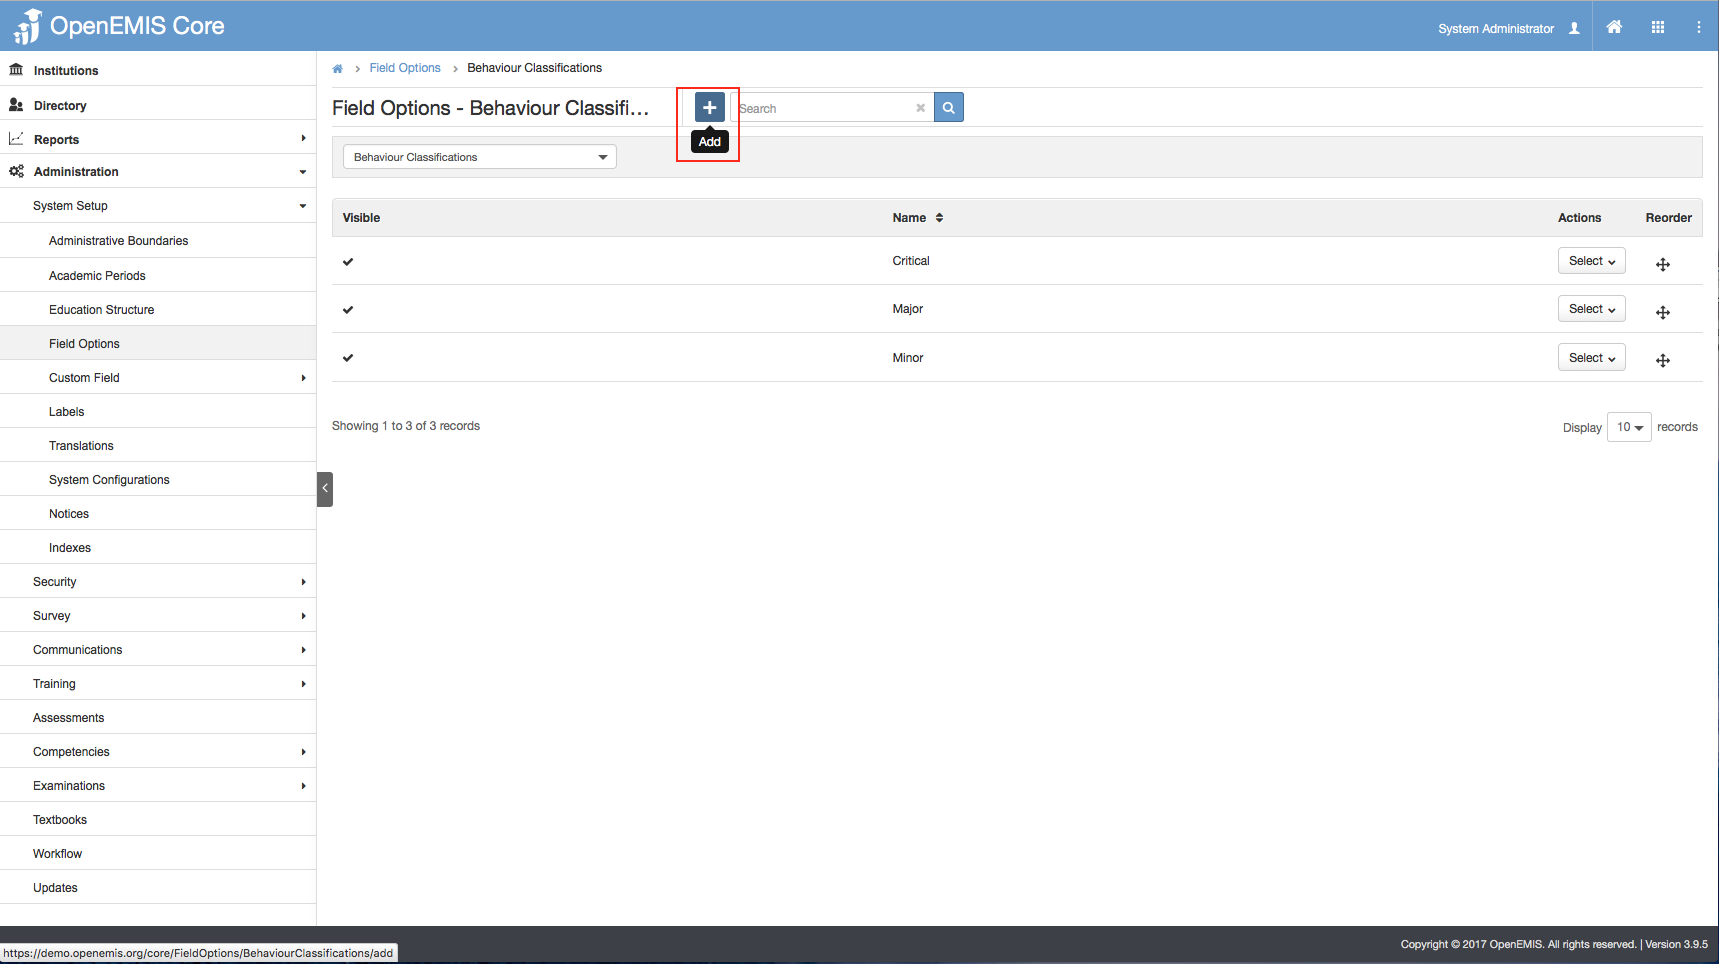
2) Select ‘Add’ button

3) Enter the Name.
4) Select Save.

5) System will display a successful message and you may choose to re-order the Behavior Classifications which will display accordingly in the drop-down list when creating a new Student Behavior Classifications.
Edit Behavior Classifications

1) Go to Administration > System Setup > Field Options > Behavior Classifications
2) Go to Action Bar > Edit
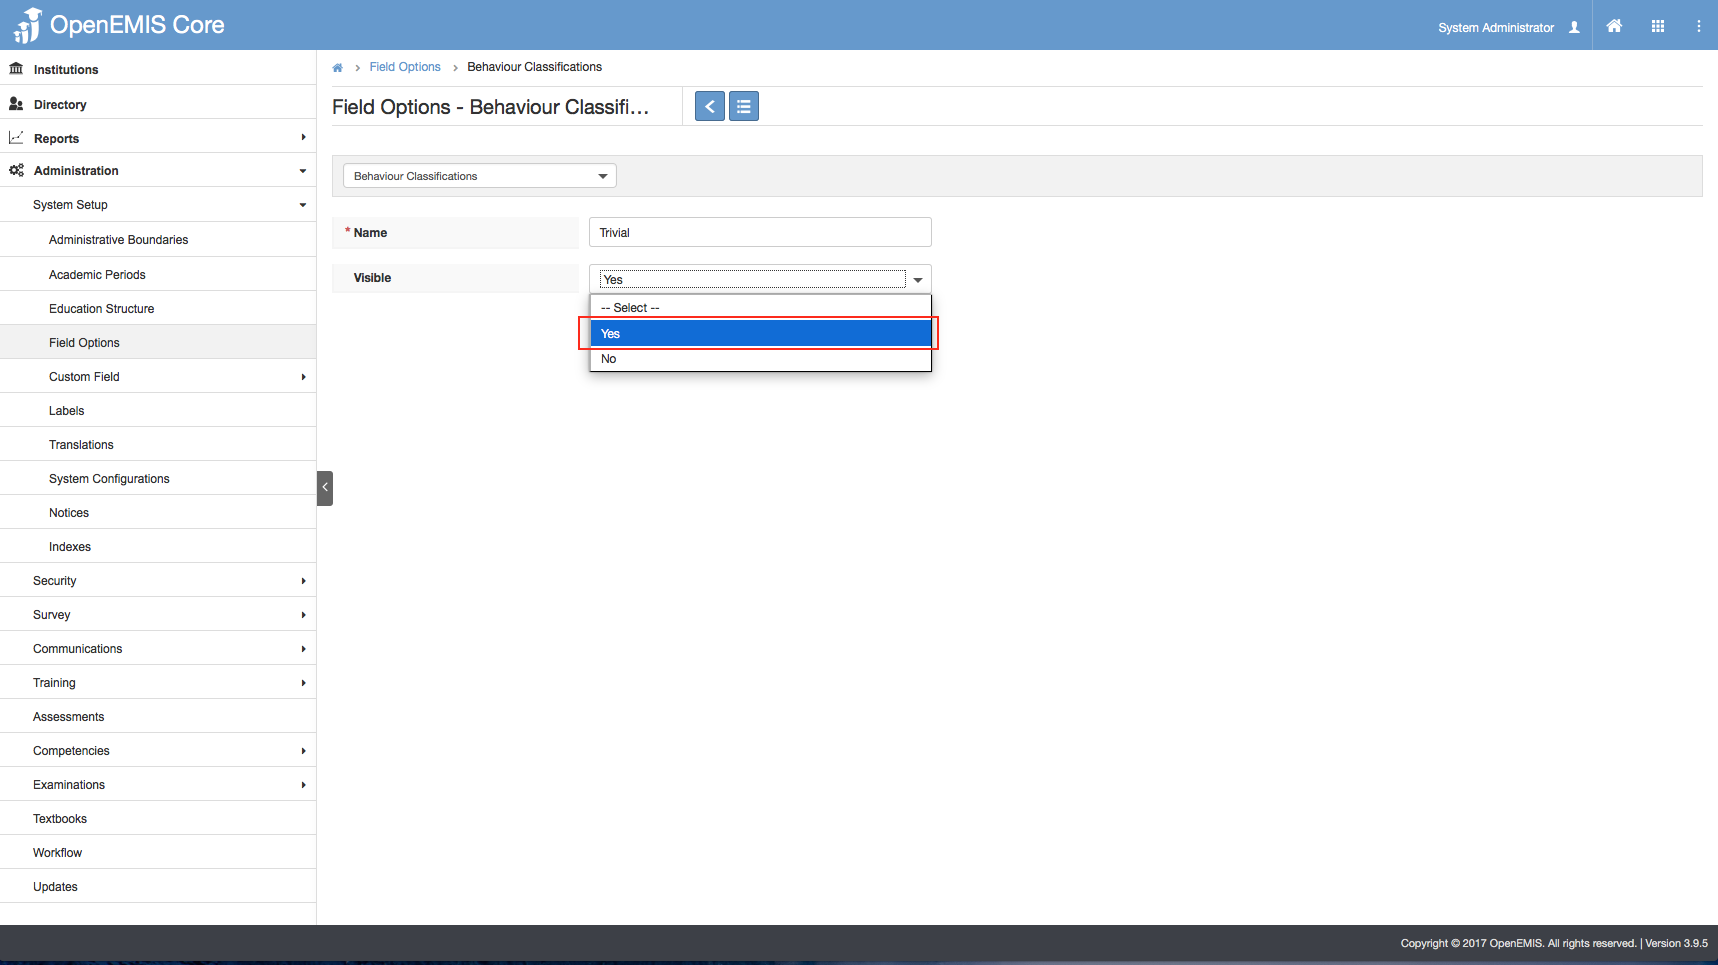
3) You will only be able to edit the Name and the Visibility of the item.
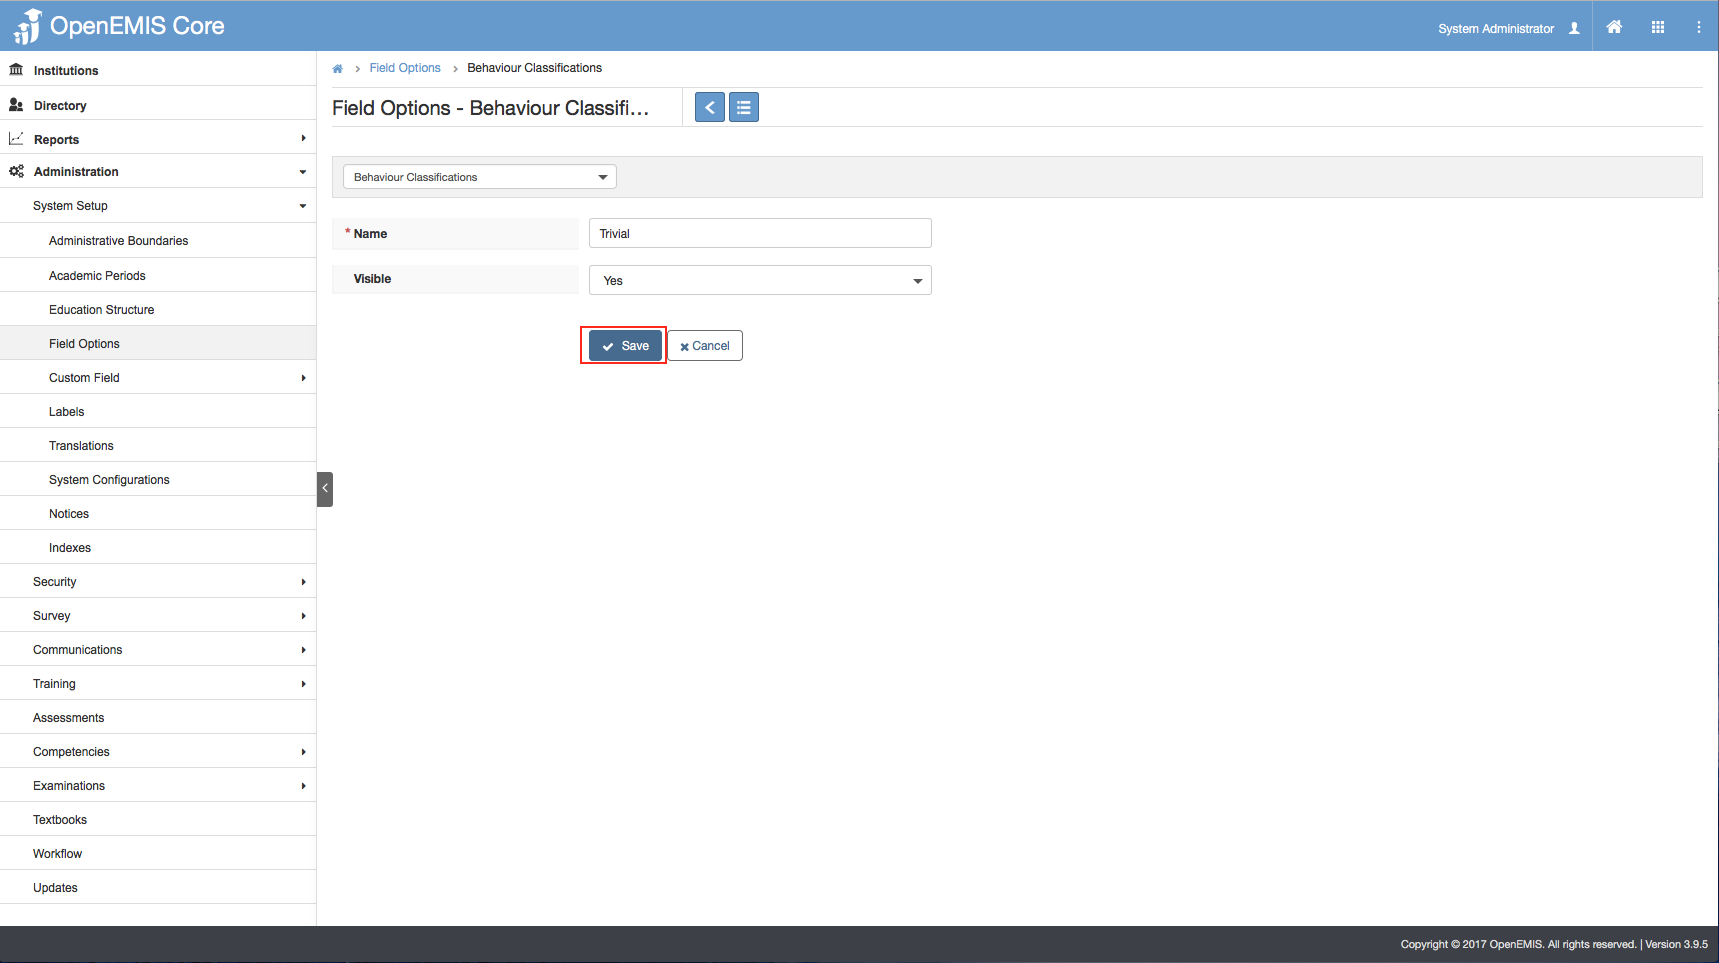
4) Select Save.

5) Upon saving, System will display a successful message.
View Behavior Classifications

1) Go to Administration > System Setup > Field Options > Behavior Classifications
2) Go to Action Bar > View

3) You will be able to view additional details of the Behavior Classifications Item.
4) Similarly, you can edit or delete the item in the page.
Delete Behavior Classifications
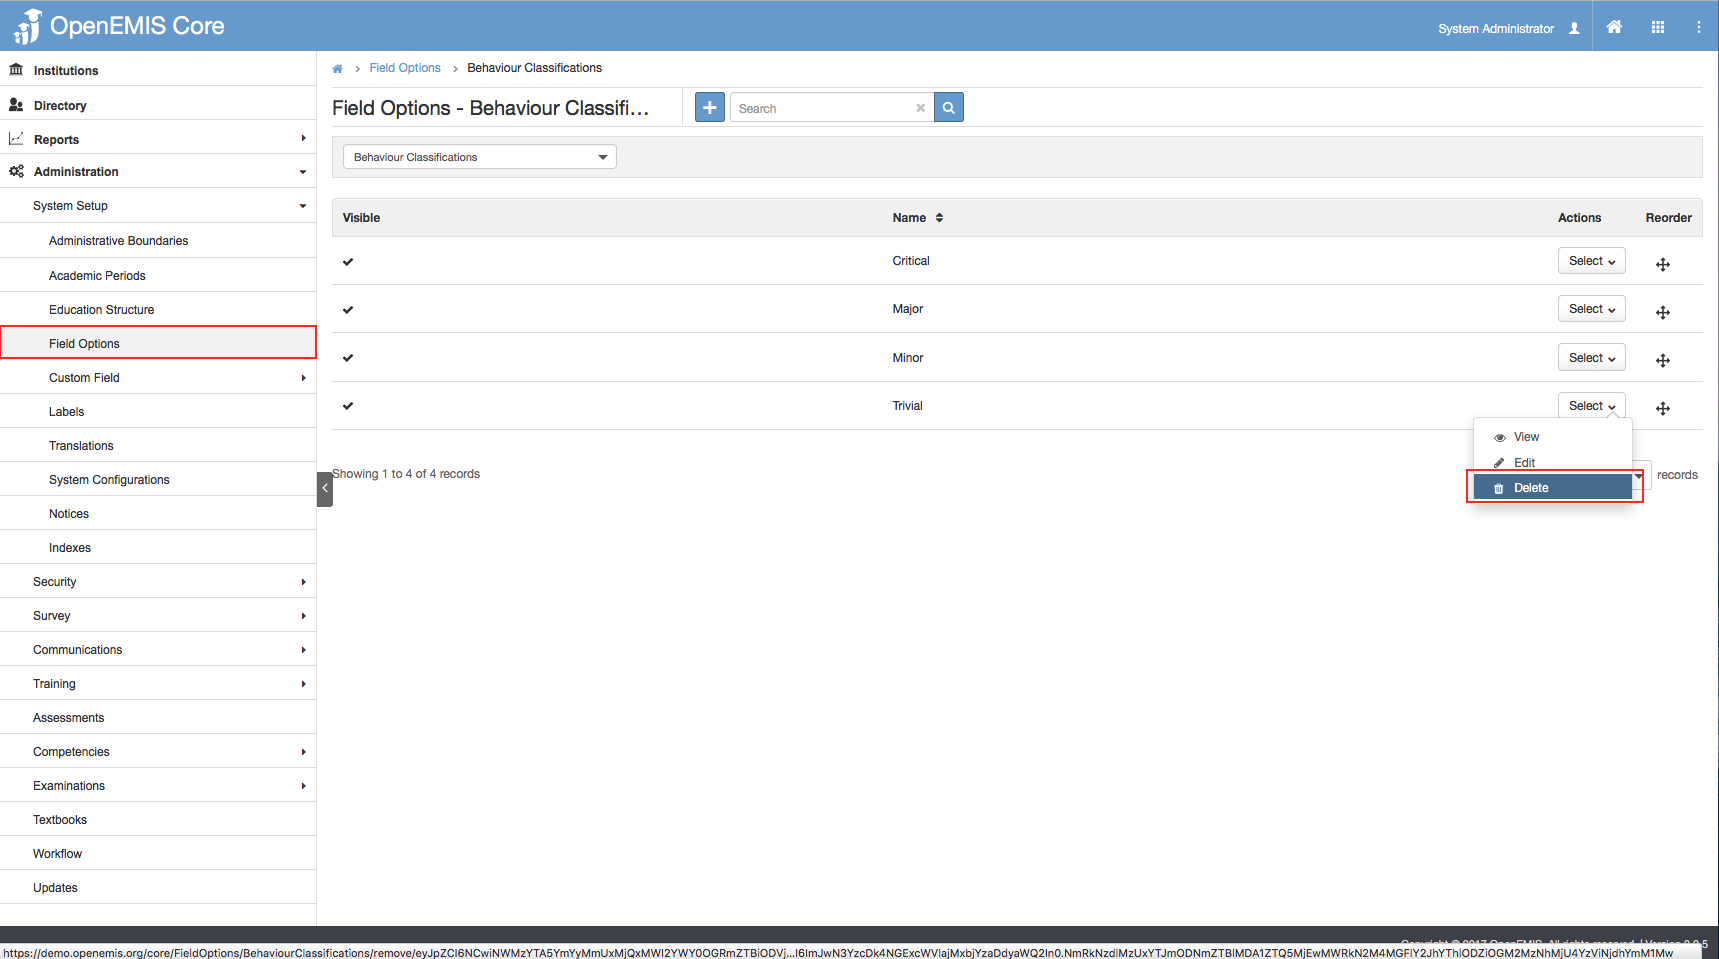
1) Go to Administration > System Setup > Field Options > Behavior Classifications
2) Go to Action Bar > Delete

3) The system will display the associated records linked to the Item.
4) Select ‘Save’.

Managing Student Behavior Categories
Create Student Behavior Categories
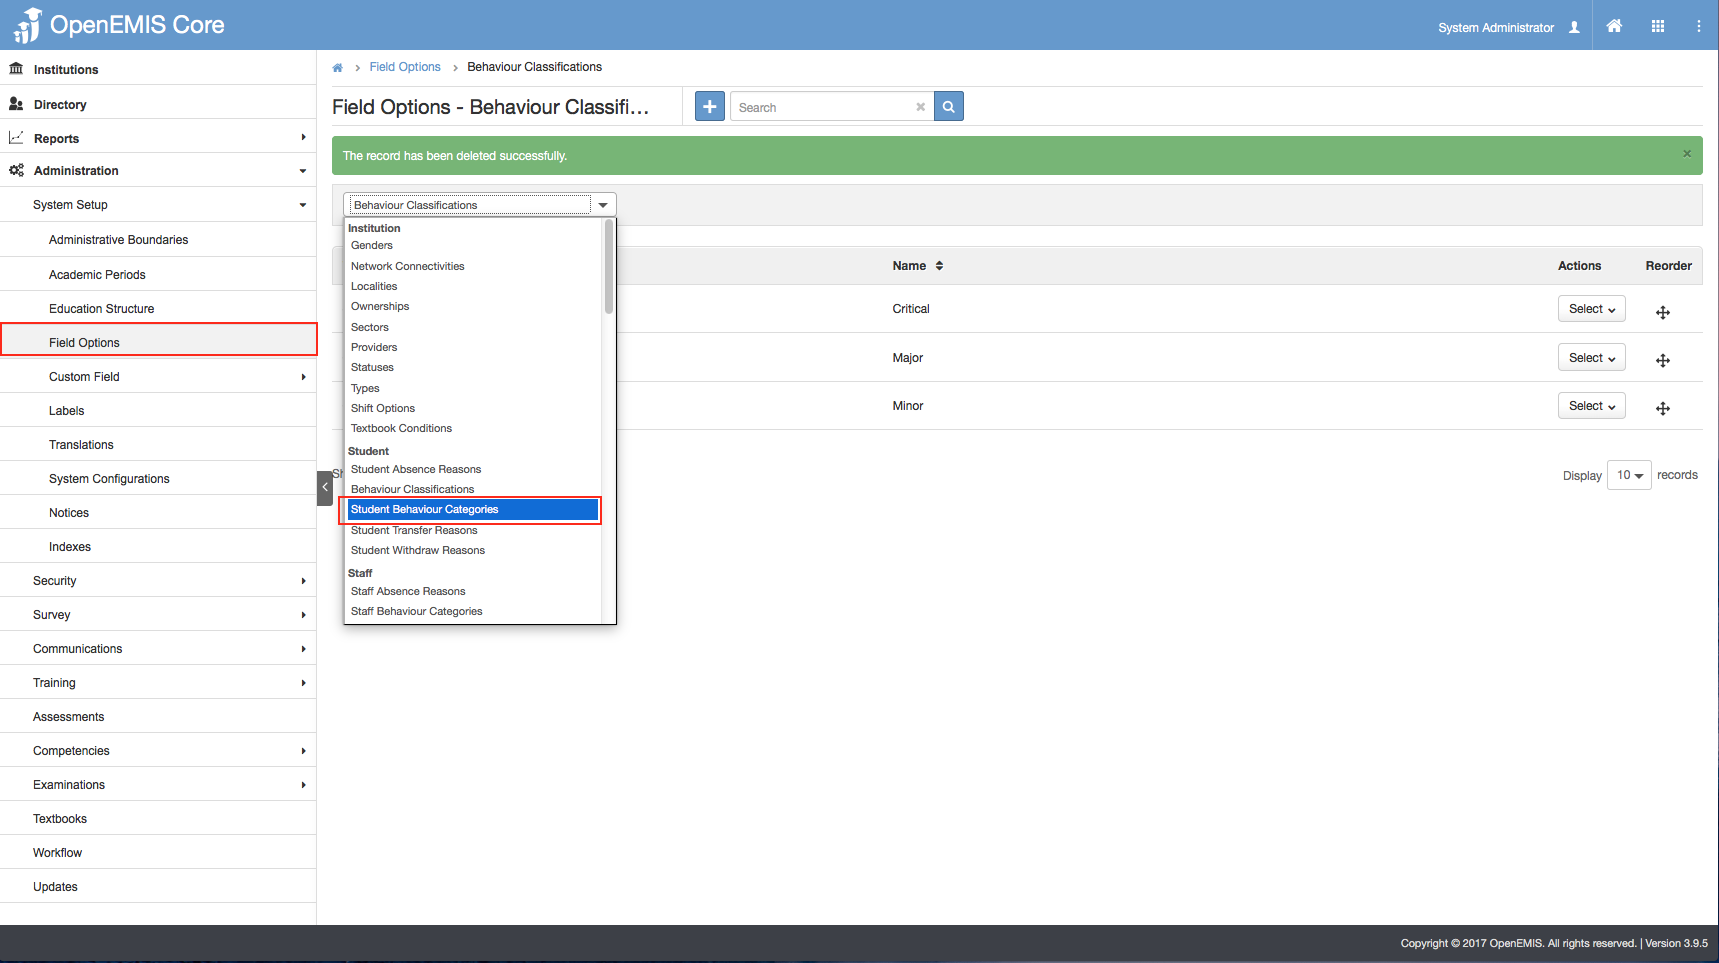
1) Go to Administration > System Setup > Field Options > Student Behavior Categories
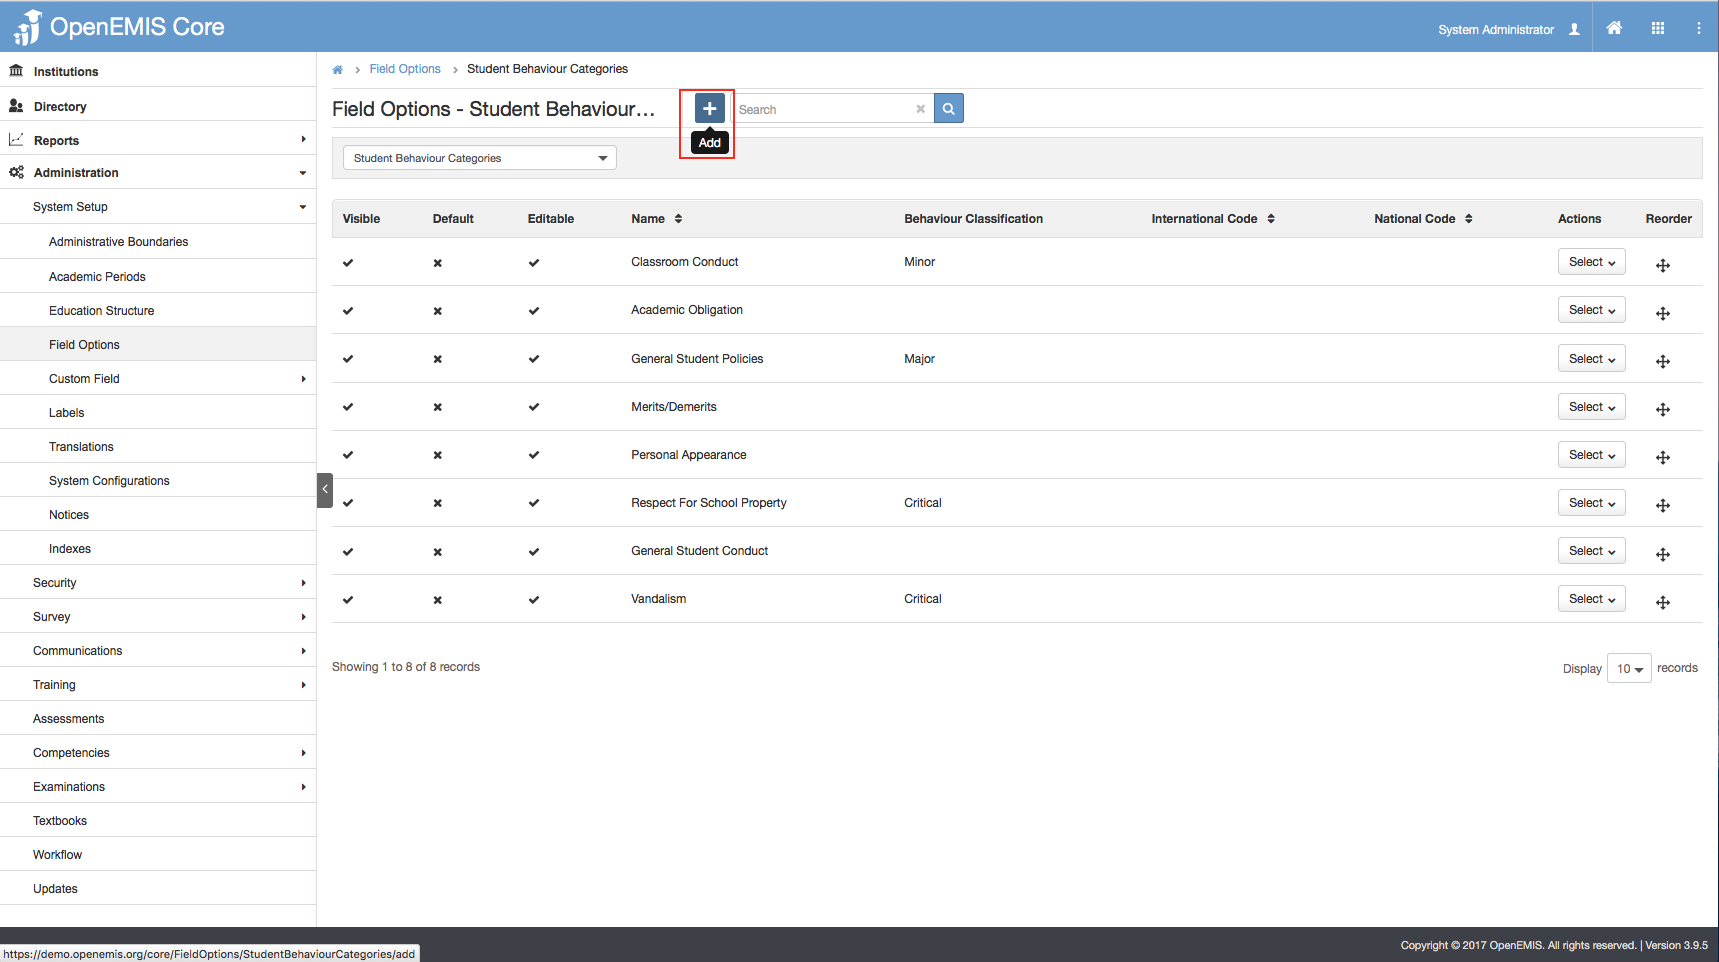
2) Select ‘Add’ button
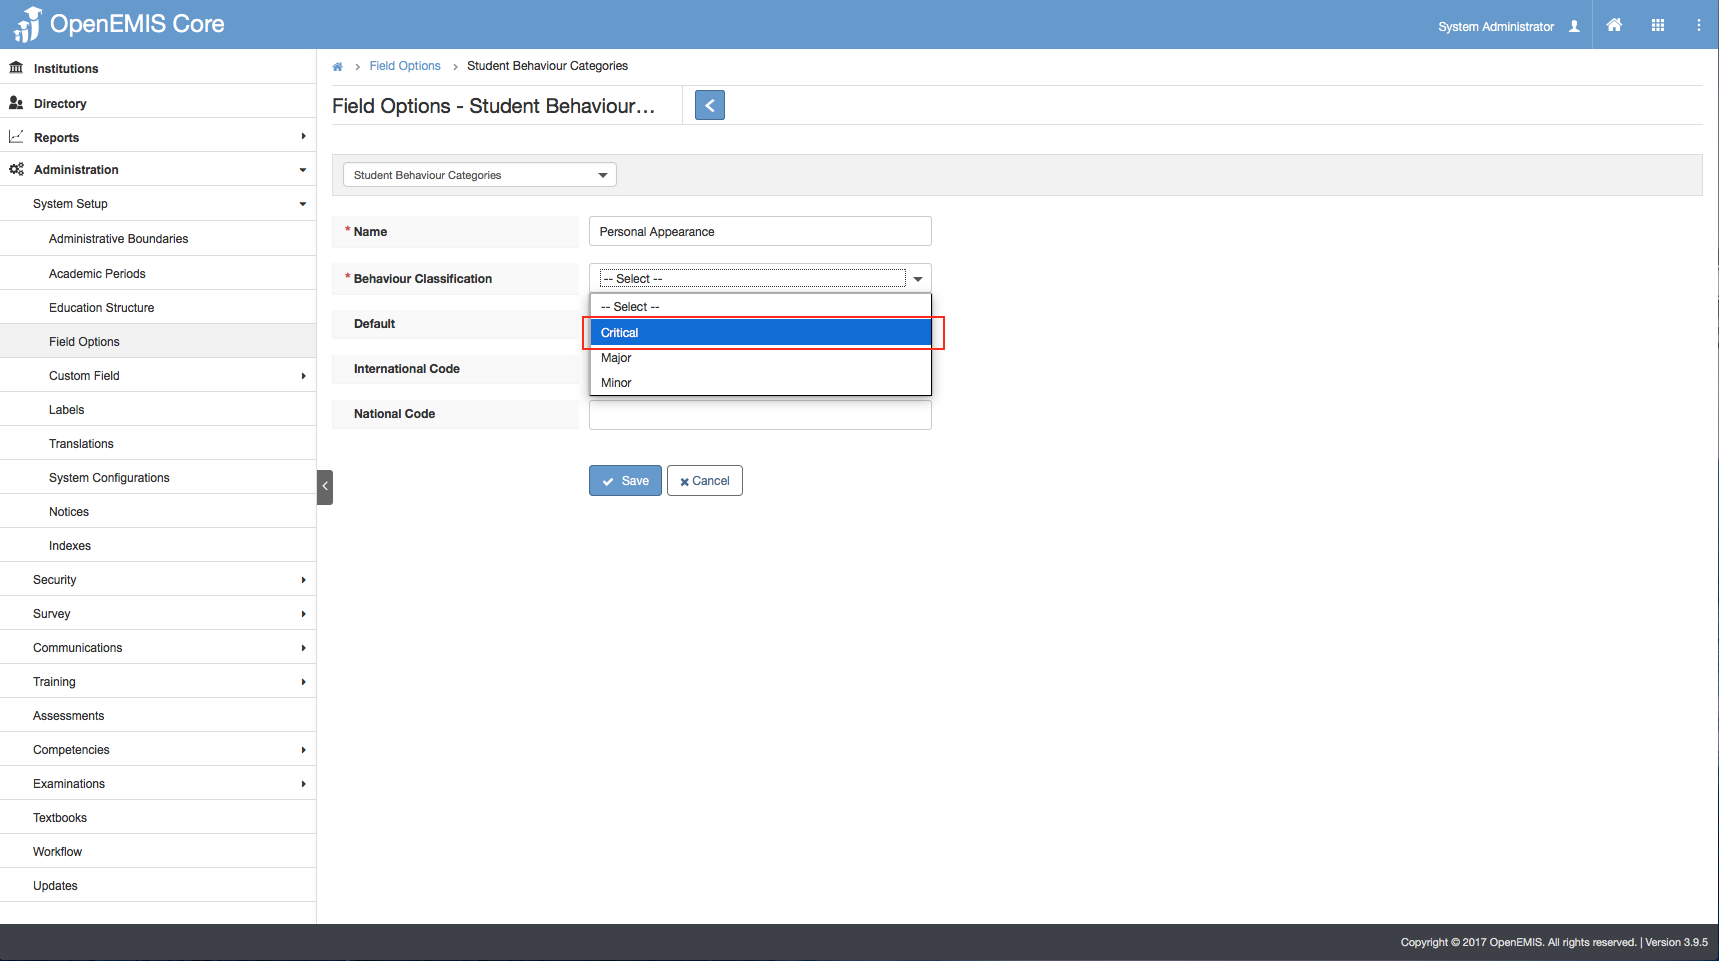
3) Enter the Required fields e.g. Name and Behavior Classifications.

4) Select Save.
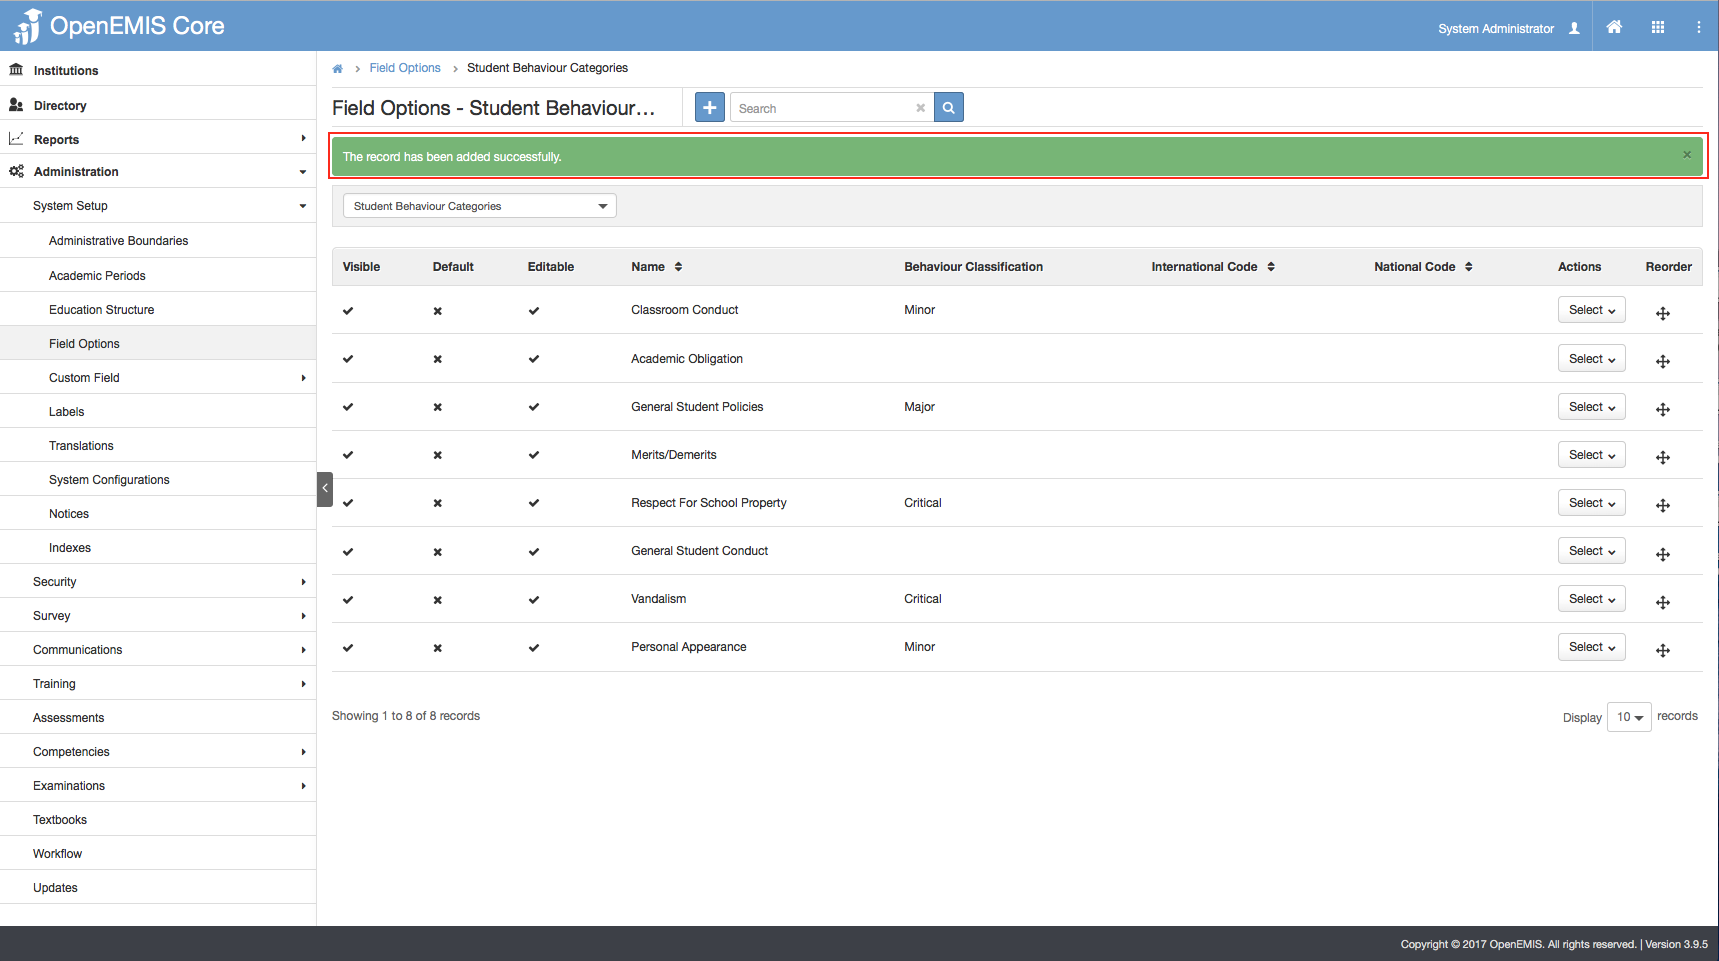
5) System will display a successful message and you may choose to re-order the Student Behavior Categories which will display accordingly in the drop-down list when creating a new Index.
Edit Student Behavior Categories

1) Go to Administration > System Setup > Field Options > Student Behavior Categories
2) Go to Action Bar > Edit

3) You will able to edit all the fields of the item.
4) Select Save.

5) Upon saving, System will display a successful message.
View Student Behavior Categories

1) Go to Administration > System Setup > Field Options > Student Behavior Categories
2) Go to Action Bar > View

3) You will be able to view additional details of the Student Behavior Categories Item.
4) Similarly, you can edit or delete the item in the page.
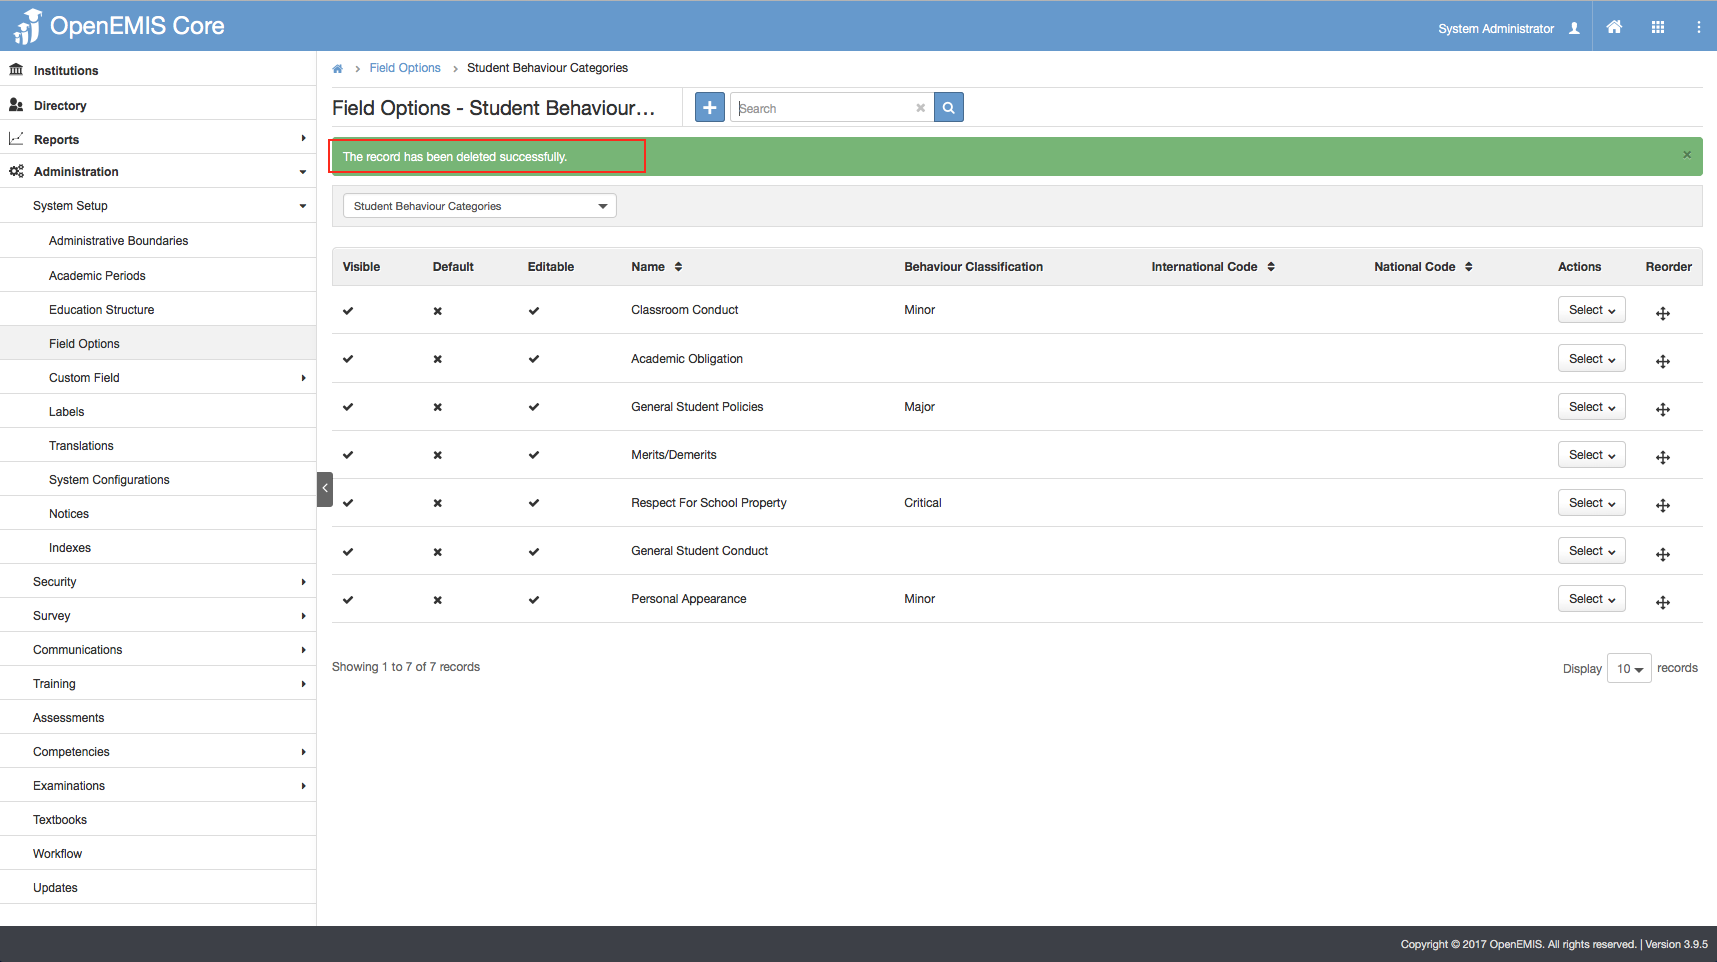
Delete Student Behavior Categories

1) Go to Administration > System Setup > Field Options > Student Behavior Categories
2) Go to Action Bar > Delete
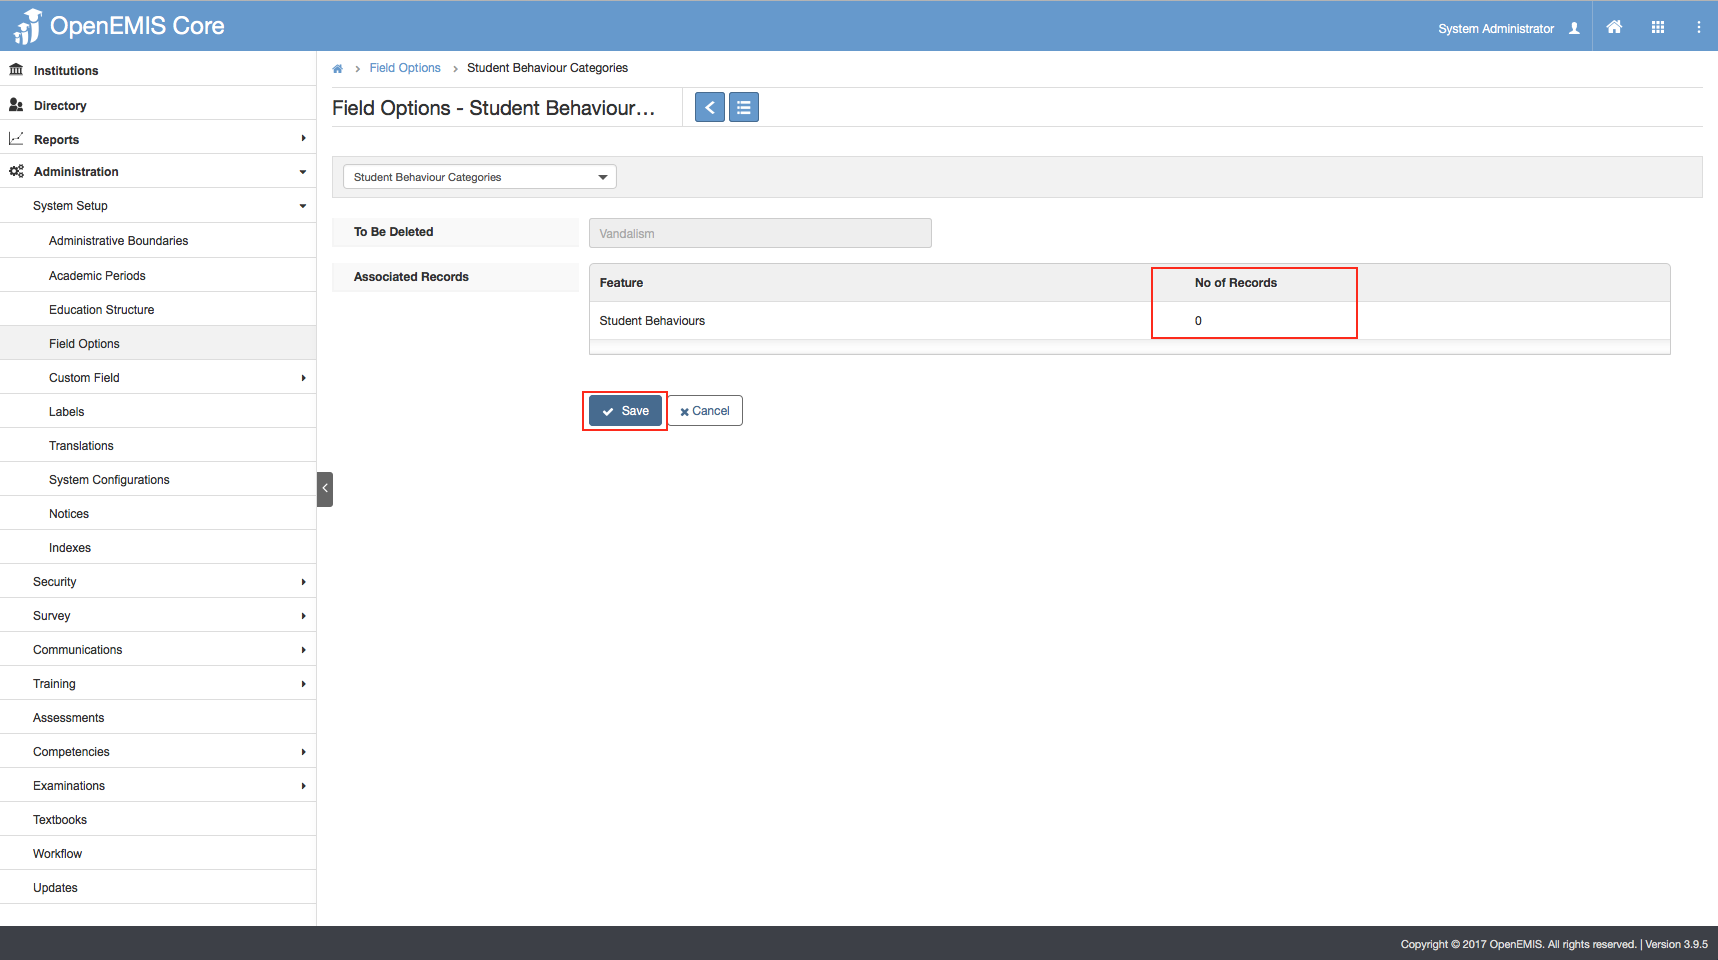
3) The system will display the associated records linked to the Item.
4) Select ‘Save’.
Student Behaviour
Add Student Behaviour

1) Go to Institution > Behaviour > Students
2) Select Add icon.
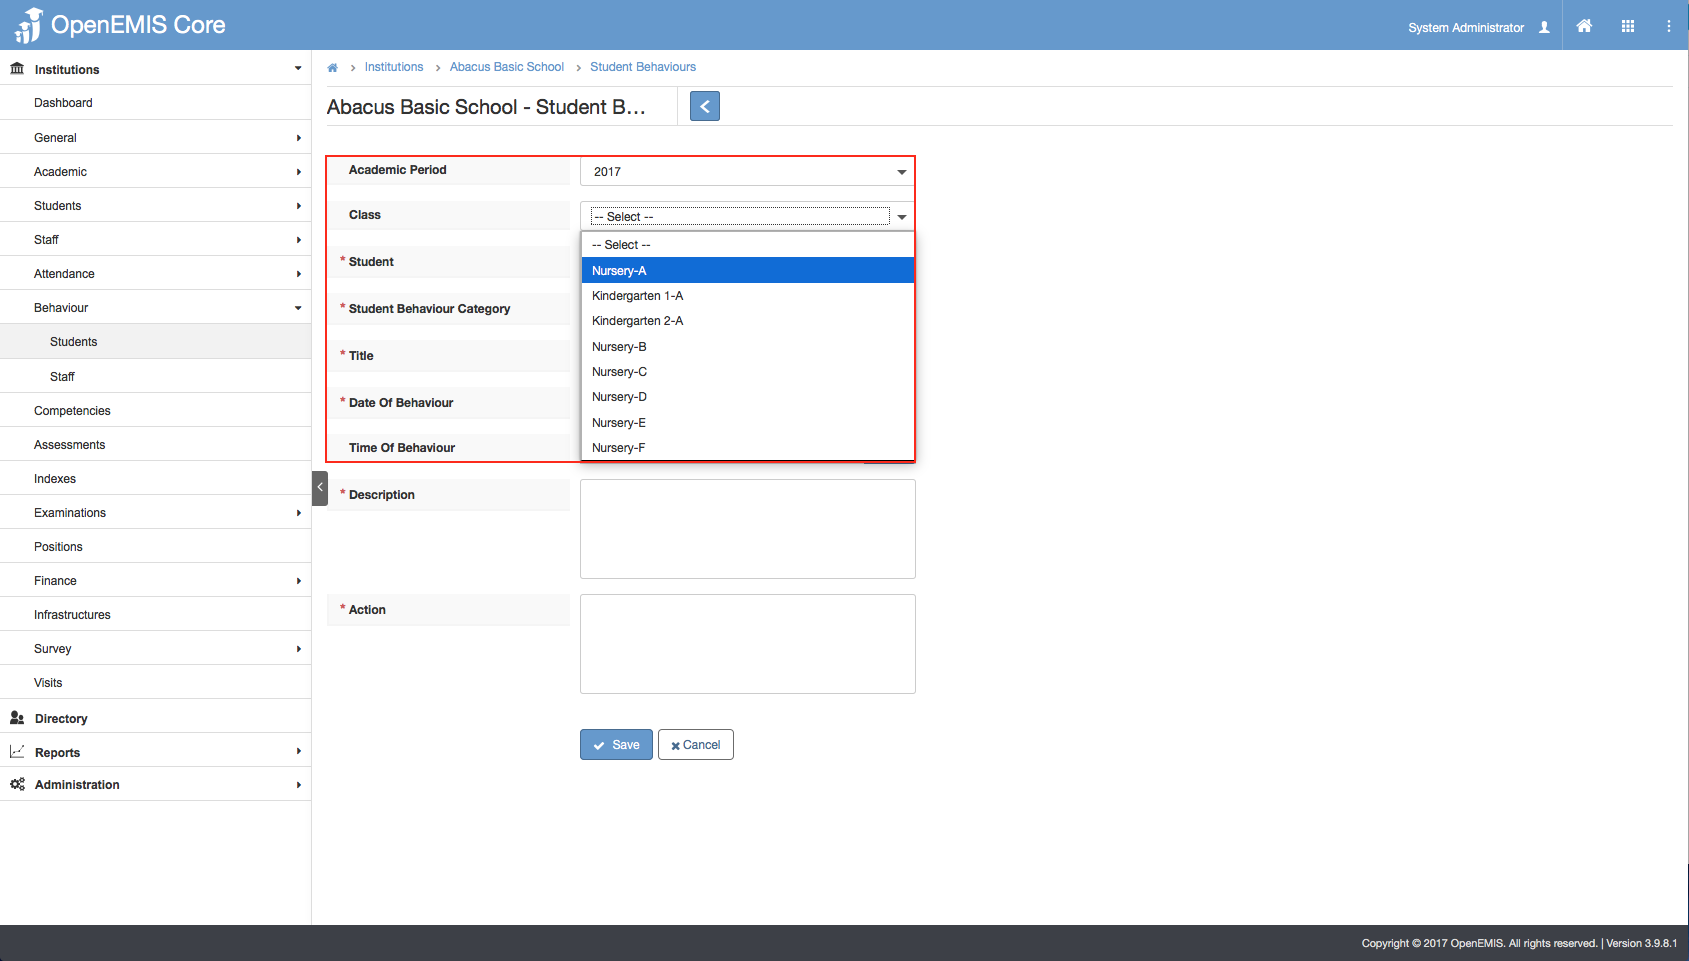
3) Select on the Academic Period, and Class.
4) The Students will be filtered according to the option selected.
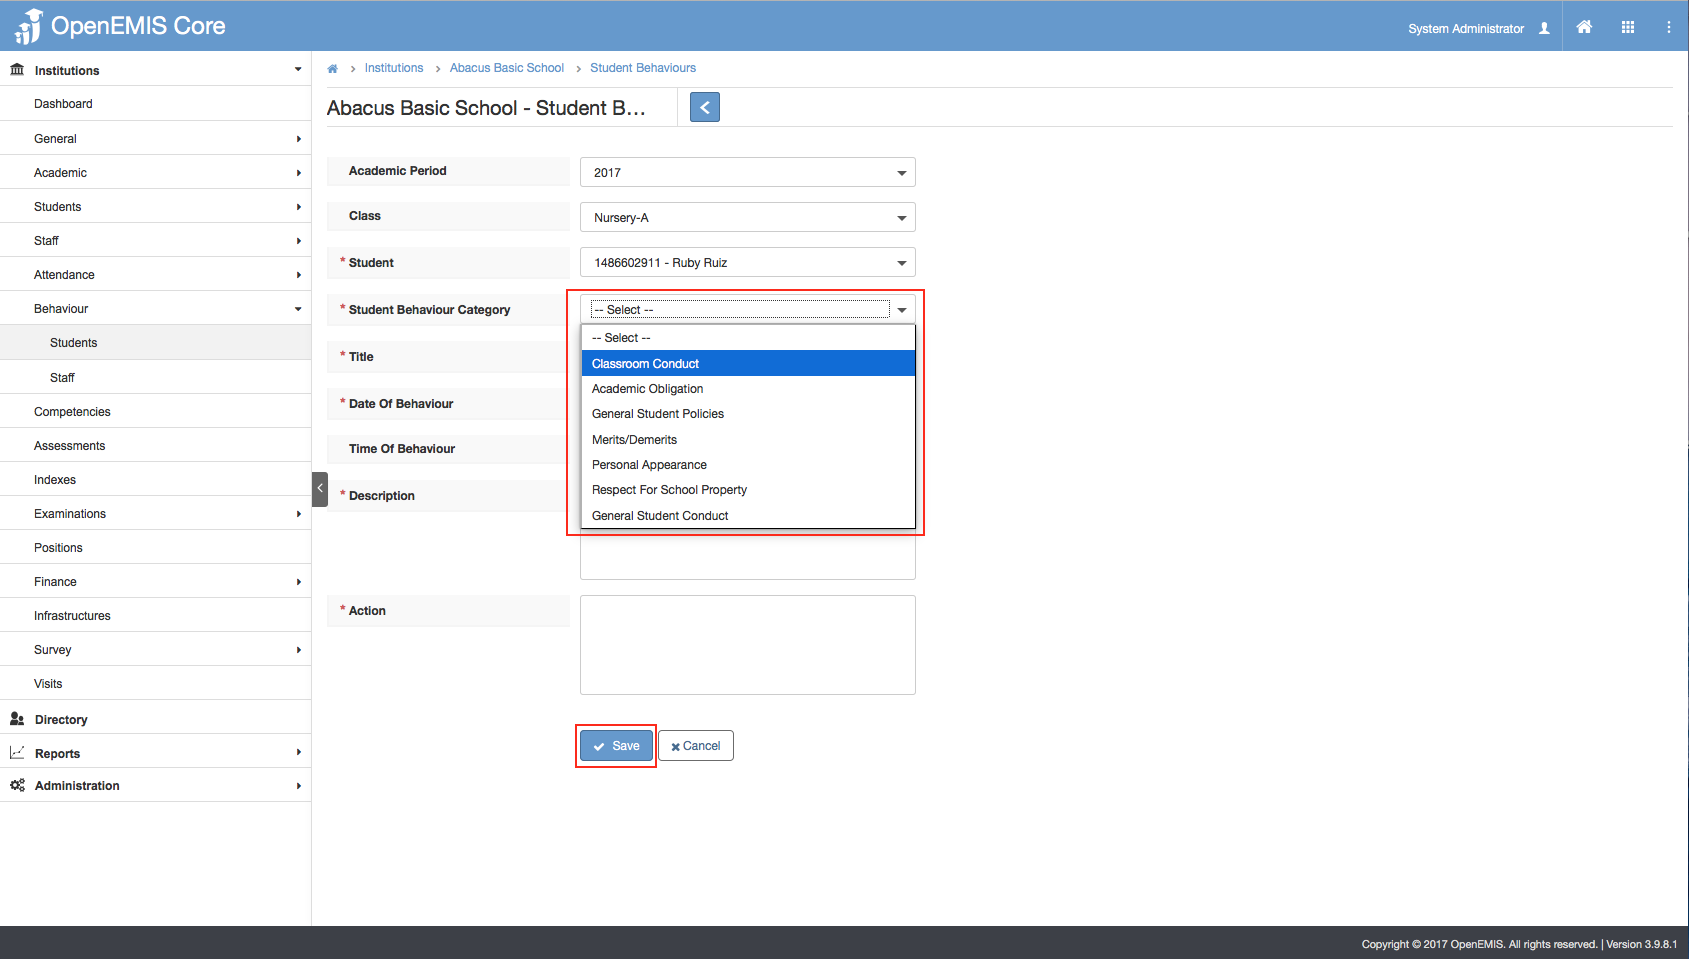
5) Select the Student Behavior Category and enter all the required fields.
6) Select Save.
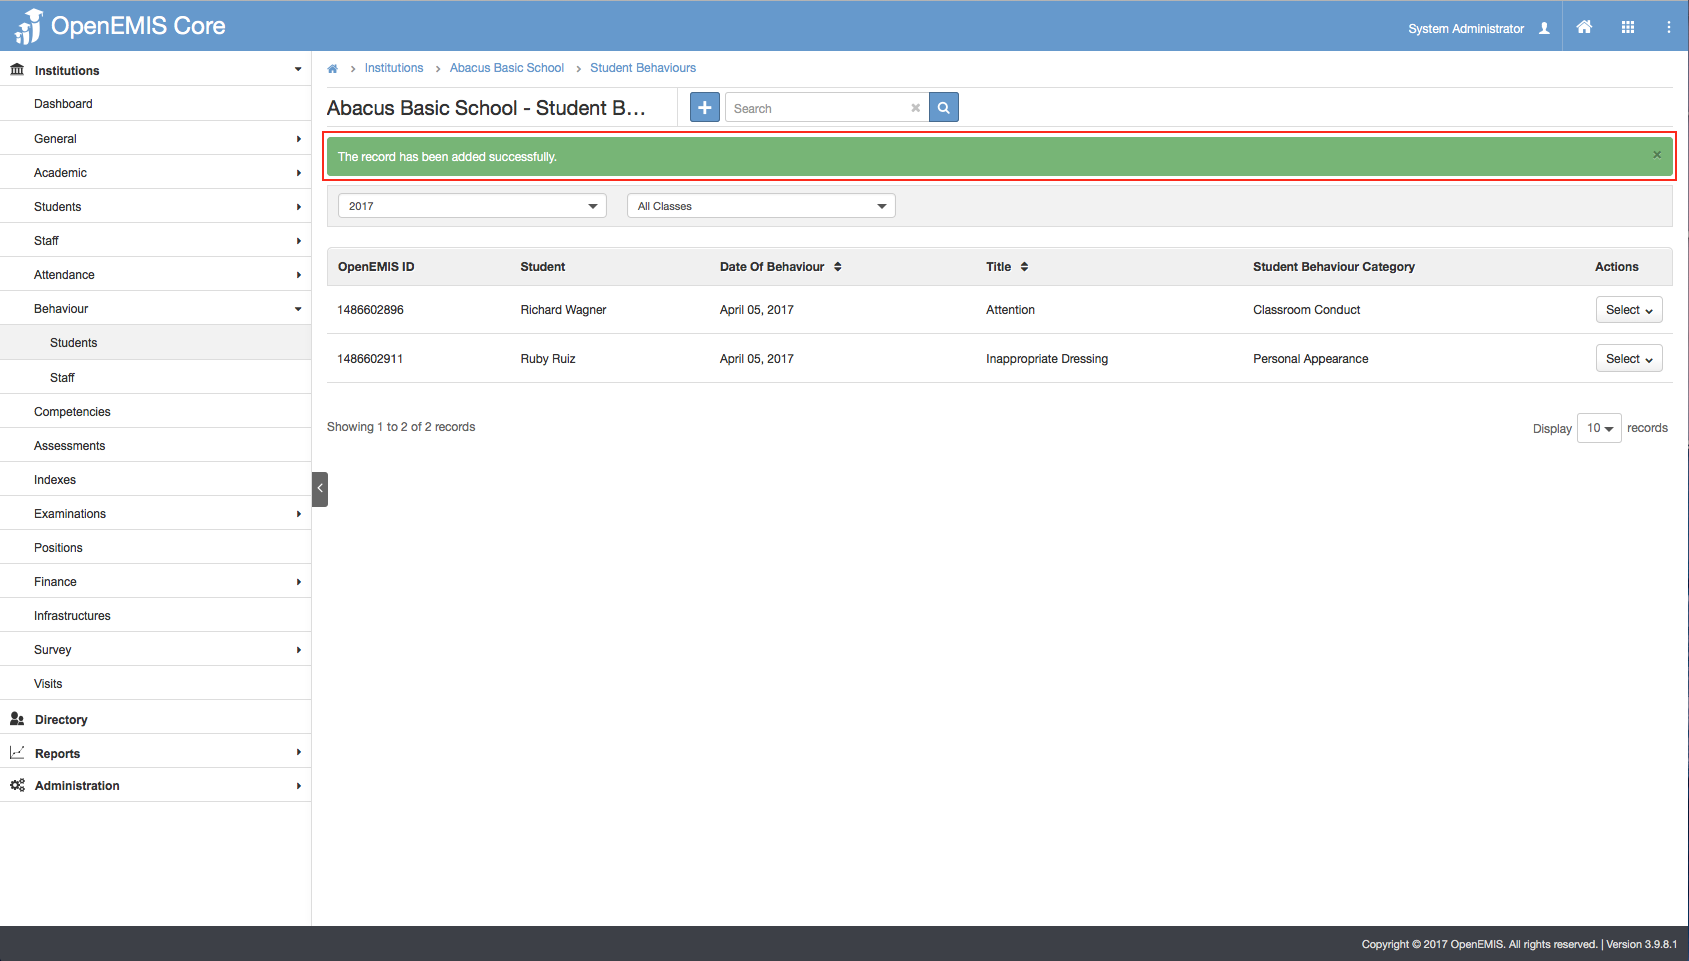
7) System will display a successful message once the record has been added successfully.
Staff Behaviour
Add Staff Behaviour

1) Go to Institution > Behaviour > Staff
2) Select Add icon.

3) Select on the Academic Period.
4) The Staff will be filtered according to the option selected.

5) Select the Staff Behavior Category and select on the Classification of the Category.
6) Select Save.

7) System will display a successful message once the record has been added successfully.
Student Indexes
Generate Student Indexes

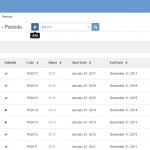
1) Go to Institution > Indexes
2) You will be able to see the list of all Indexes which contains Number of Risk Index and by default the status would be Not Generated.
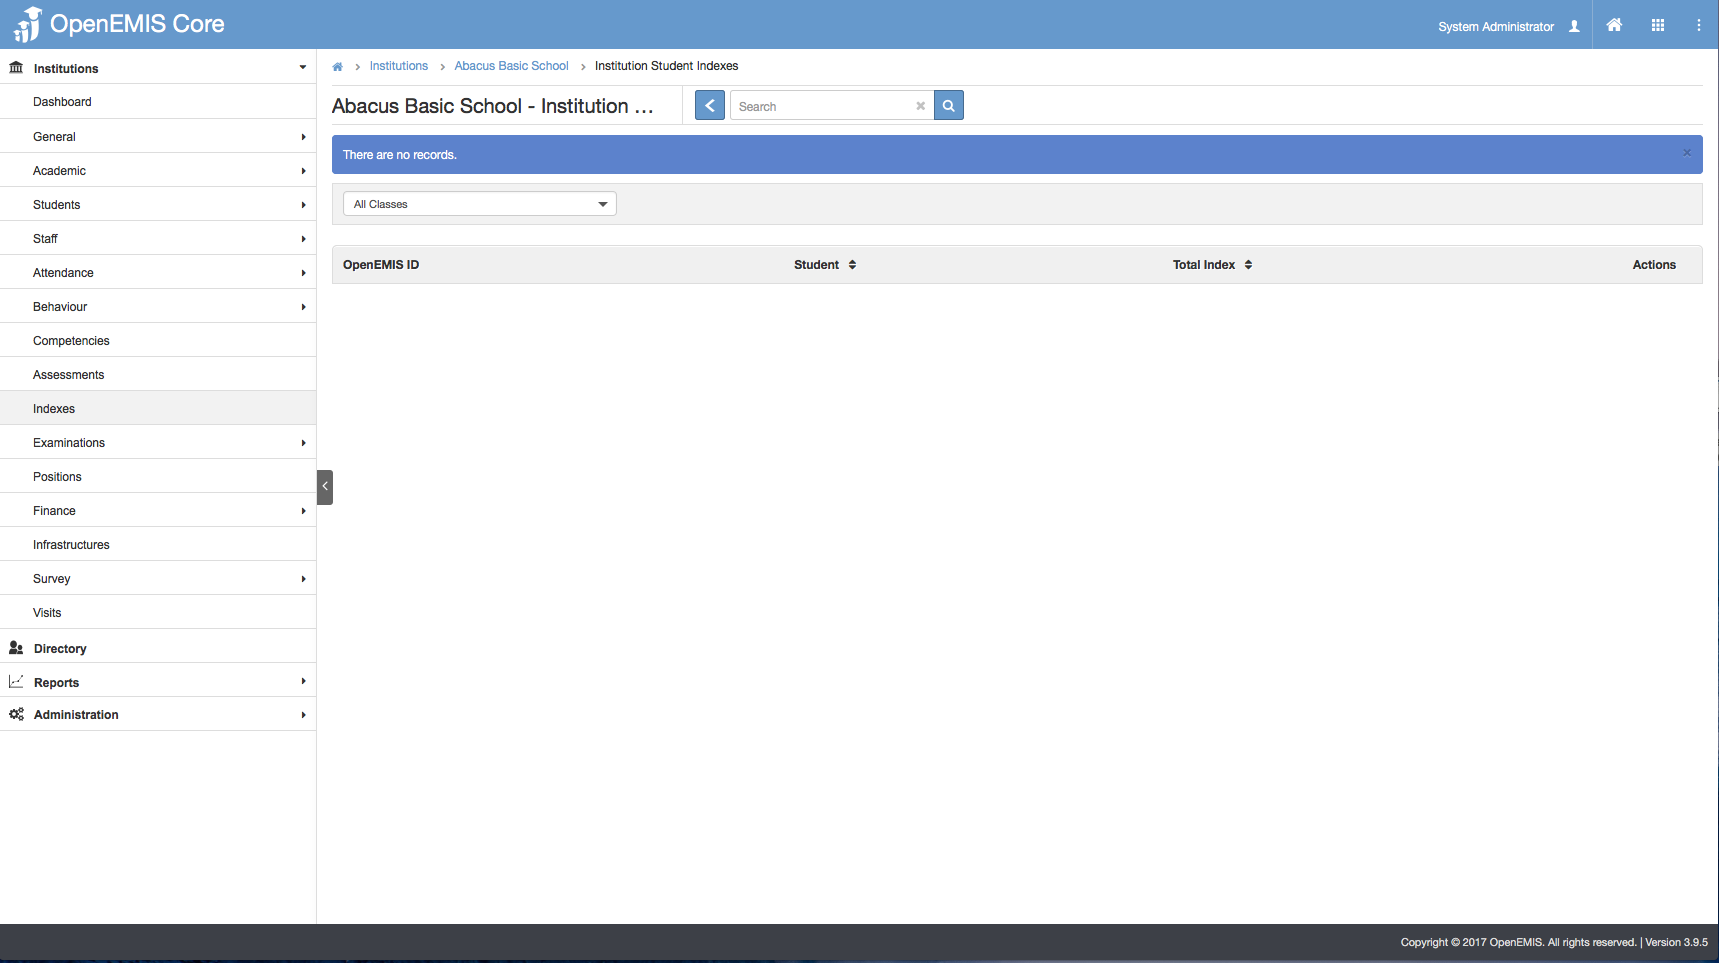
3) If you view the Index record, you will see an empty list.


4) Go to Action Bar > Generate, status will then be changed to Processing.
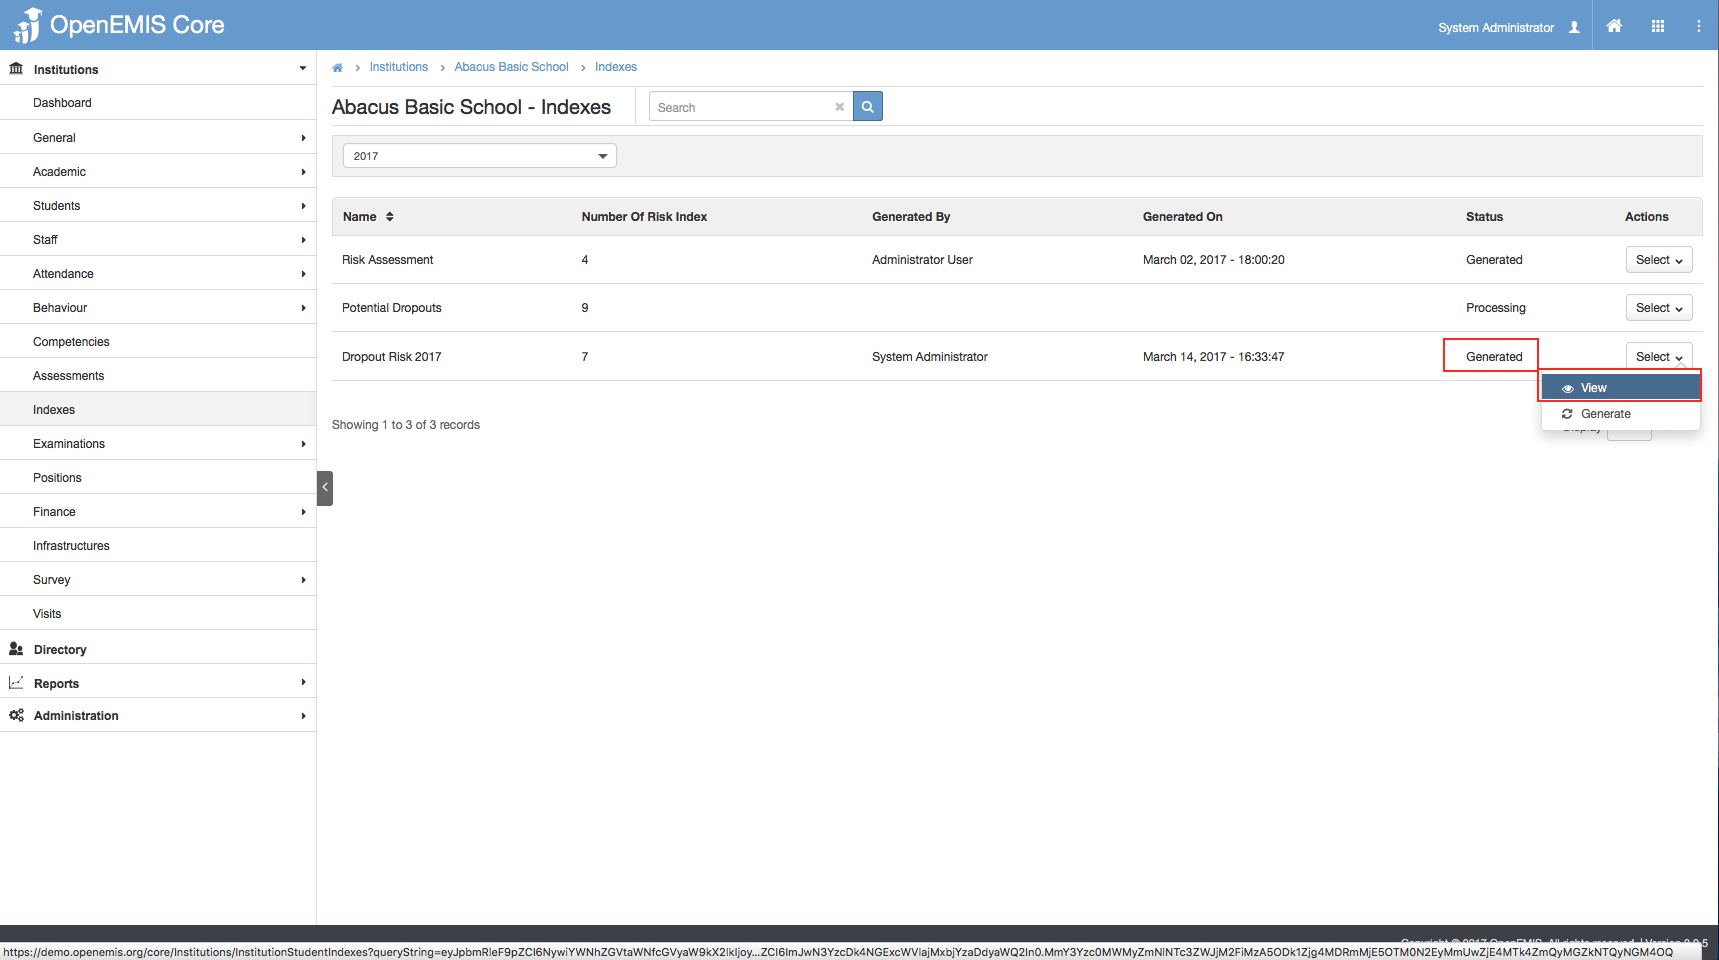

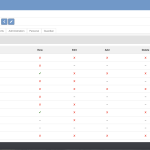
5) If you view the Index record, you will be able to see the list of students that hit the threshold value of the Criteria. User will be able to filter by the Classes, and sort by the name or Total Index.
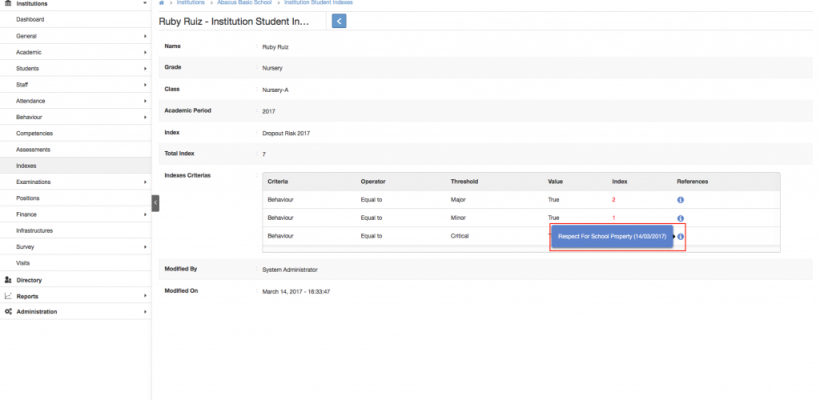
6) You will be able to view individual student index, by selecting on the student record.

7) You will be able to see a detailed information of the Student, the References will allow you to understand on the reason for the Index.
View Individual Student Indexes
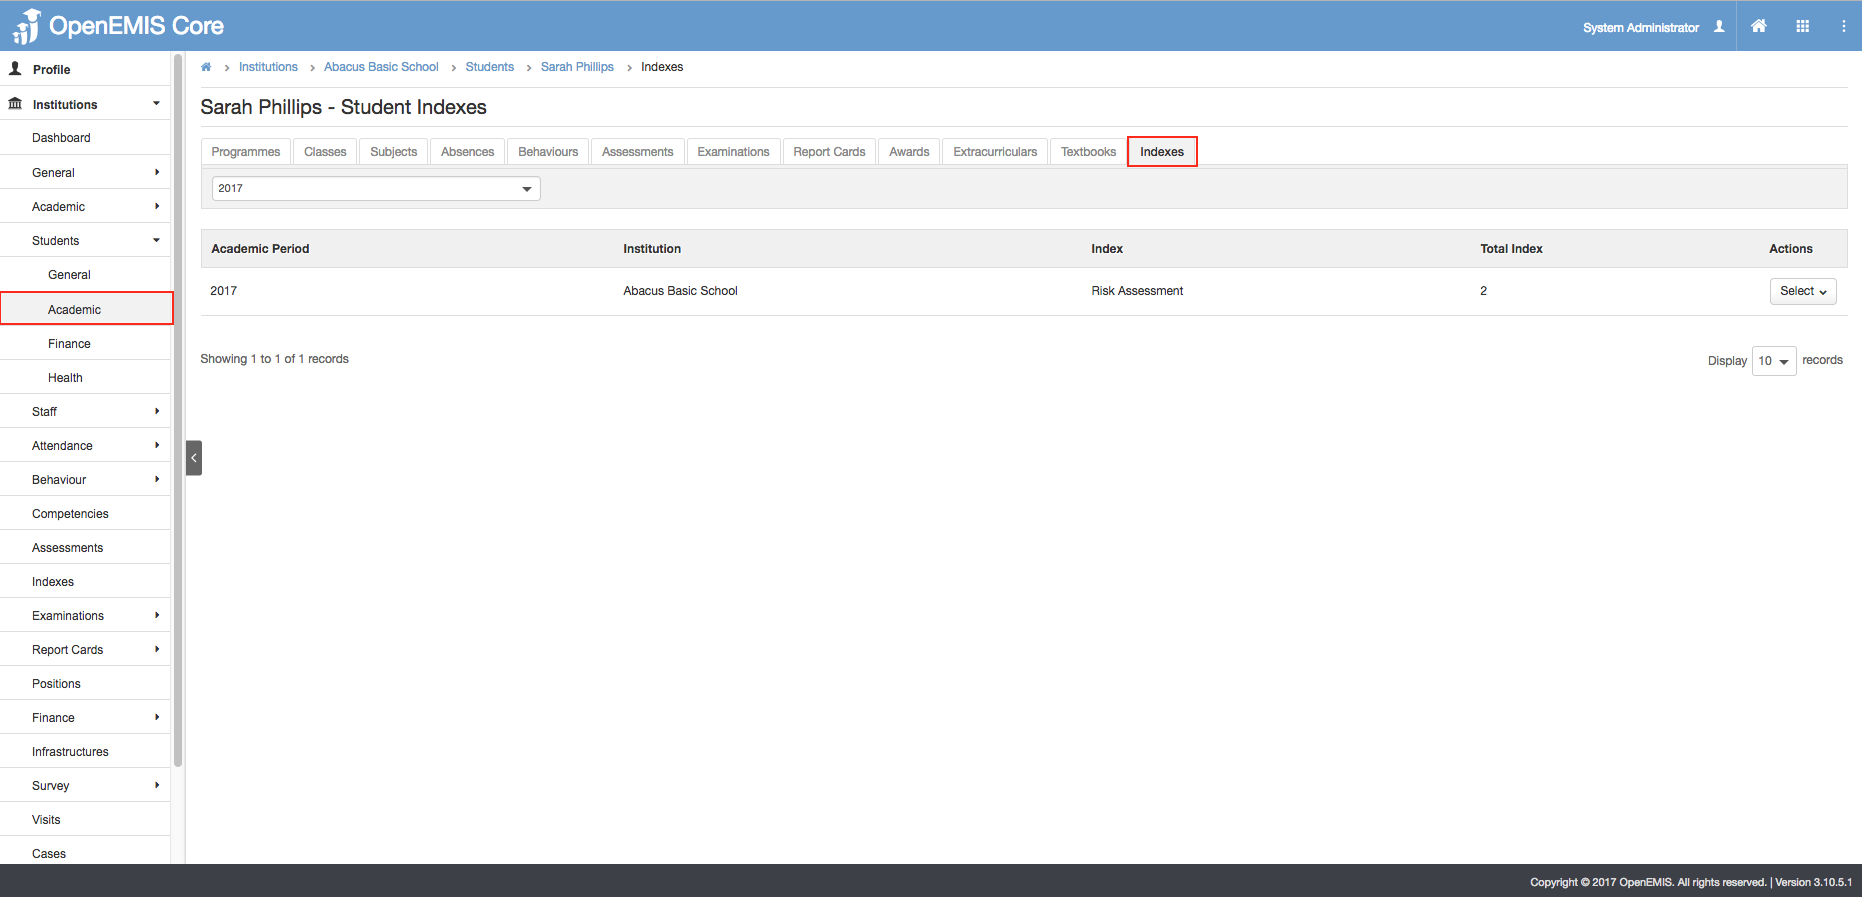
1) Go to Institution > Students
2) You will be able to see the list of all Students > select Student
3) Go to Academic > Indexes tab.
4) You will be able to view the Total Index of the Student.

5) If you select on the Record, you will be able to see additional details of the Index.
3) E.g. If you mouse over to the References Info icon, there will be a information box stating the reason of the Index.