Easily manage workflows to determine access and roles for users. The aim of workflows is to aid in the mandate of education rules and regulation. Workflows can be set or created to manage the automated activities of specified features. Some features include staff leave, training or courses, staff position, survey forms, etc.
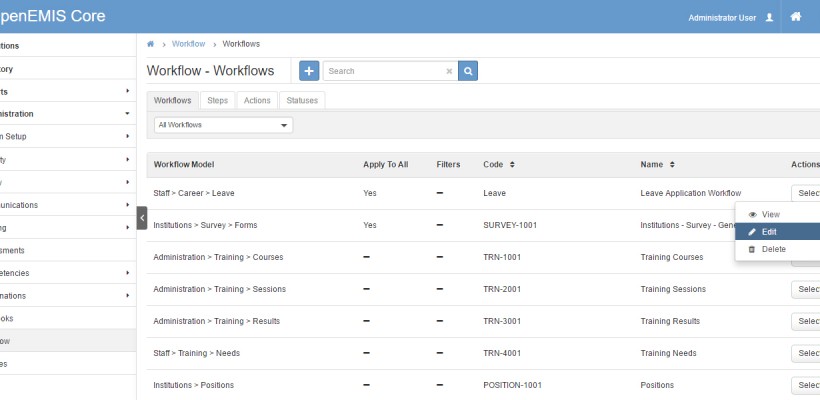
Step 1: Under administration menu, choose workflow. Click the plus (+) icon at the top to add a new workflow.

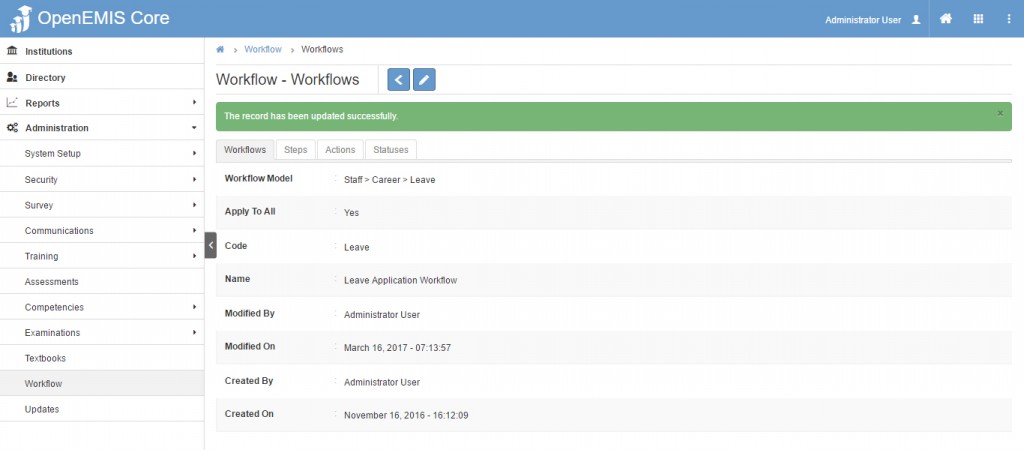
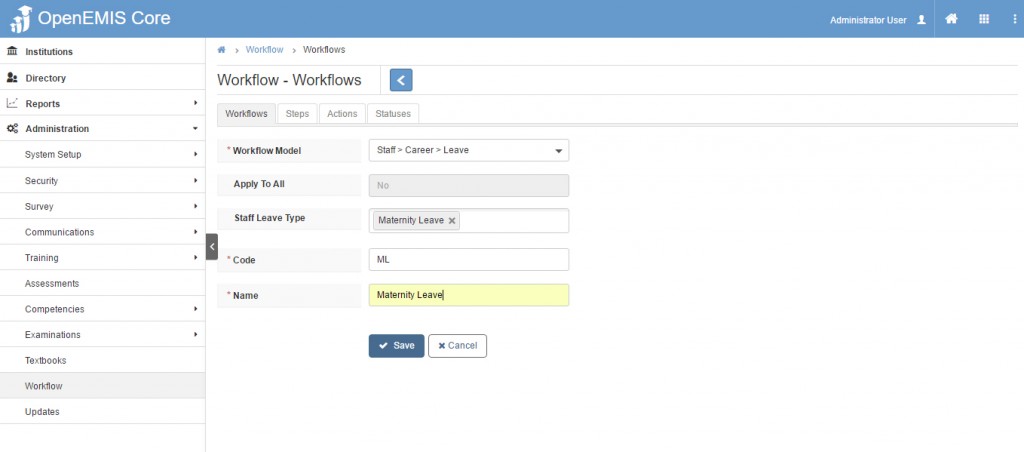
Step 2: Choose a workflow model from the list. Depending on which workflow model you choose, the type list selection may differ. In this example, the available option is staff leave type. Enter code and name for the chosen workflow, then click save.
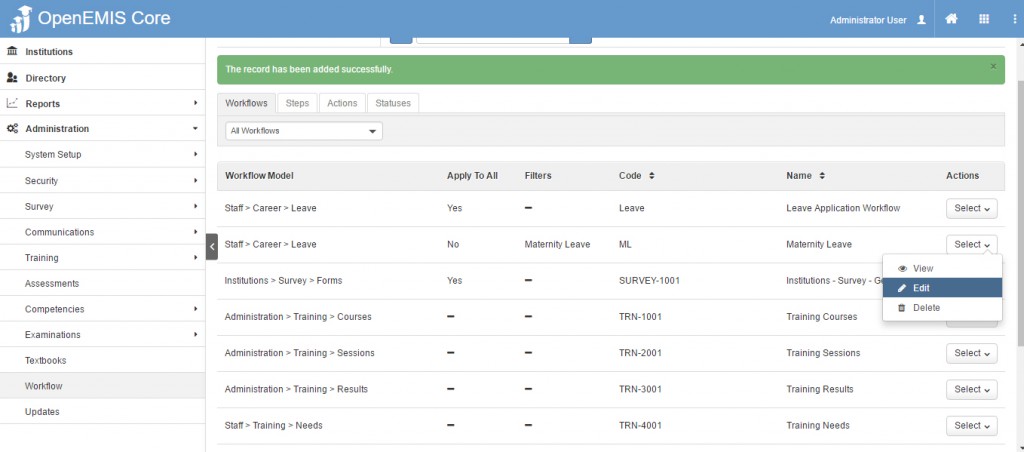
The green success screen will display. You are able to view, edit or delete the newly created workflow if needed by clicking the select button under action .
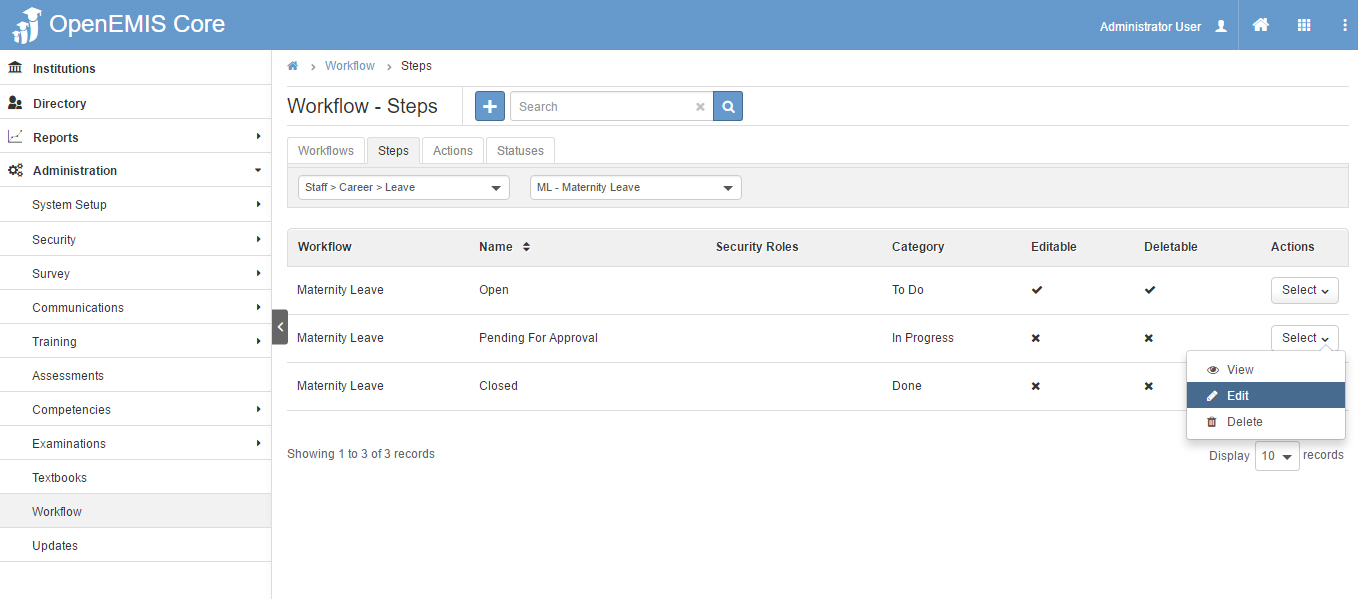
Step 3. Next click the steps tab to organize workflow steps. Choose the newly created workflow from the filtered list. The system provides three workflow steps (Open; Pending for Approval; Closed).
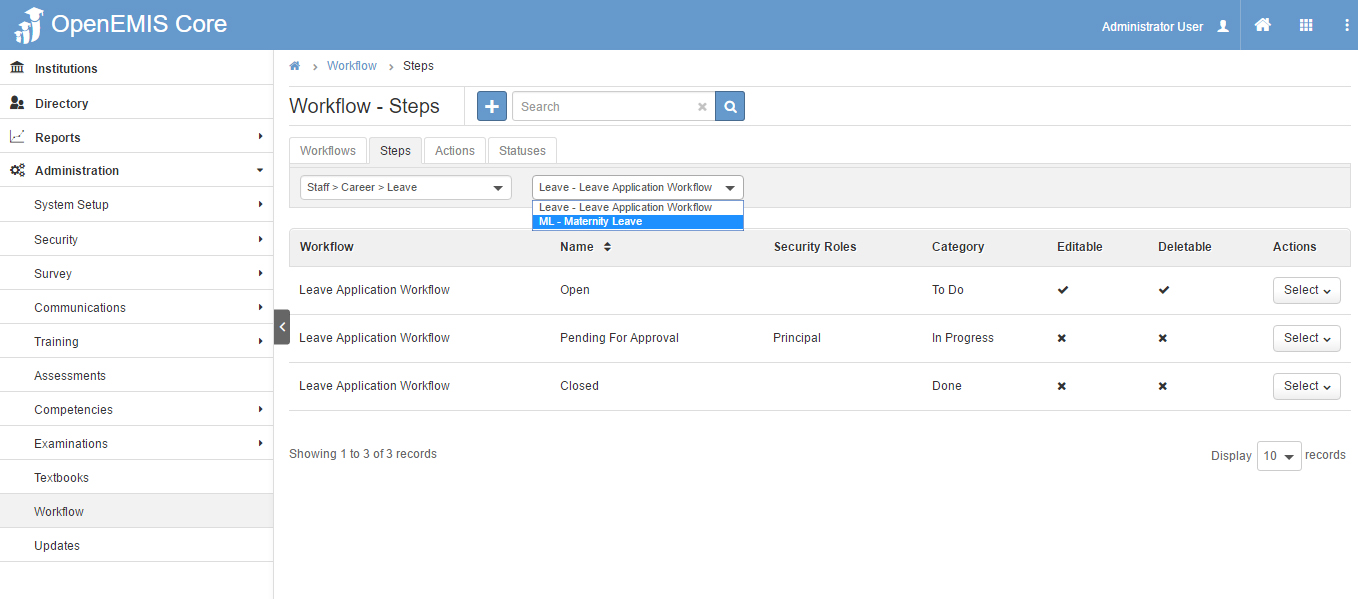
The workflow steps have three categories (To Do; In Progress; Done) that are assigned to them. Click select button under action to view or edit the available steps. These steps determine if users need to complete one or more of the available steps and which users are permitted to complete the steps.
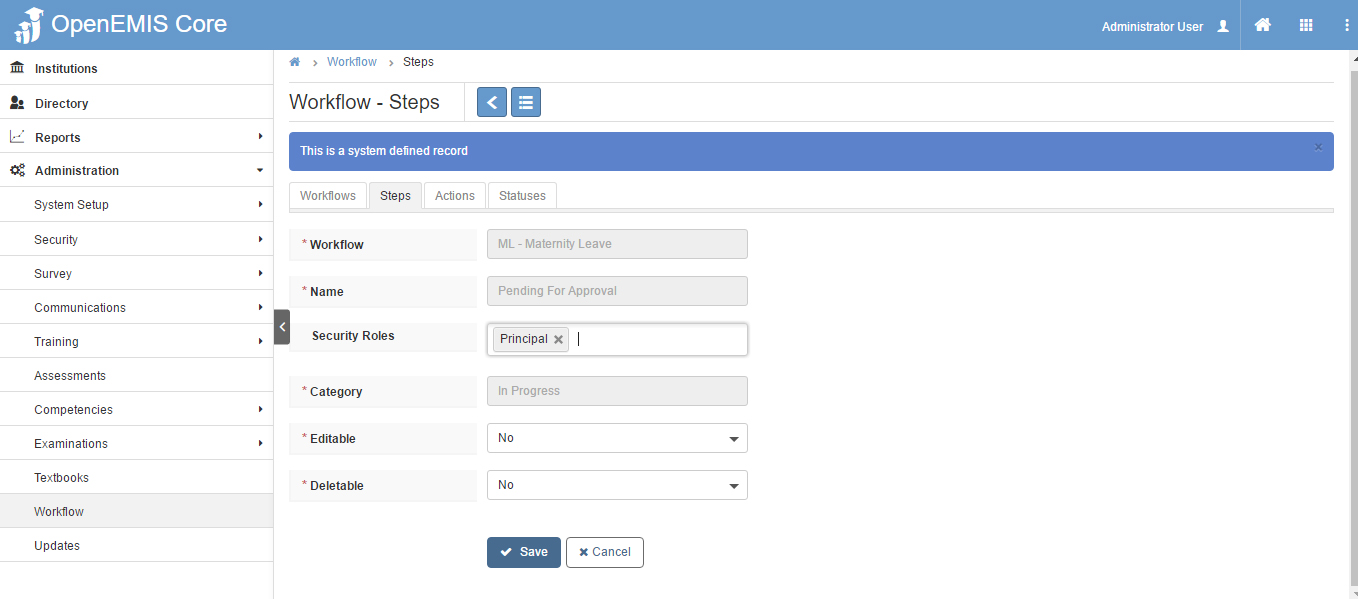
Step 4: In the edit screen, you are able to add users to the security roles. In this example principal is added for the workflow step “Pending For Approval”. This means all users with “principal” role will have security access to send staff leave (Maternity Leave) requests for approval. At this point you can decide if the request can be editable and/or deletable and click save.
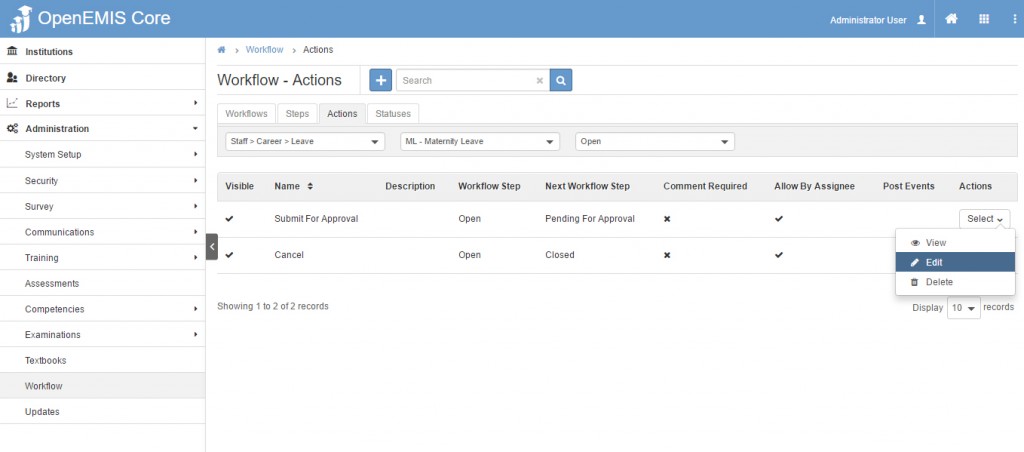
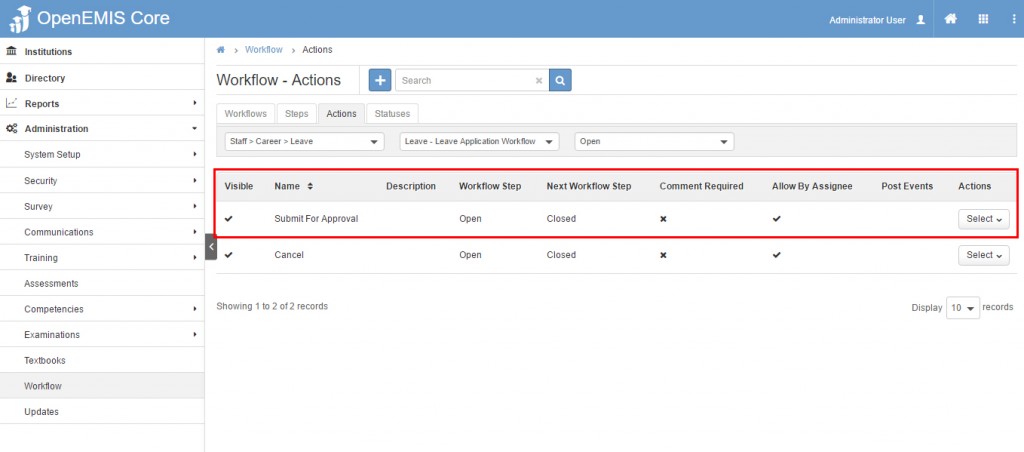
Step 5. Move to actions tab next to set the applicable actions and the order in which the workflow steps are set. By default the system provides actions for each workflow step, which you are able to edit. Click the edit option under actions header to change.
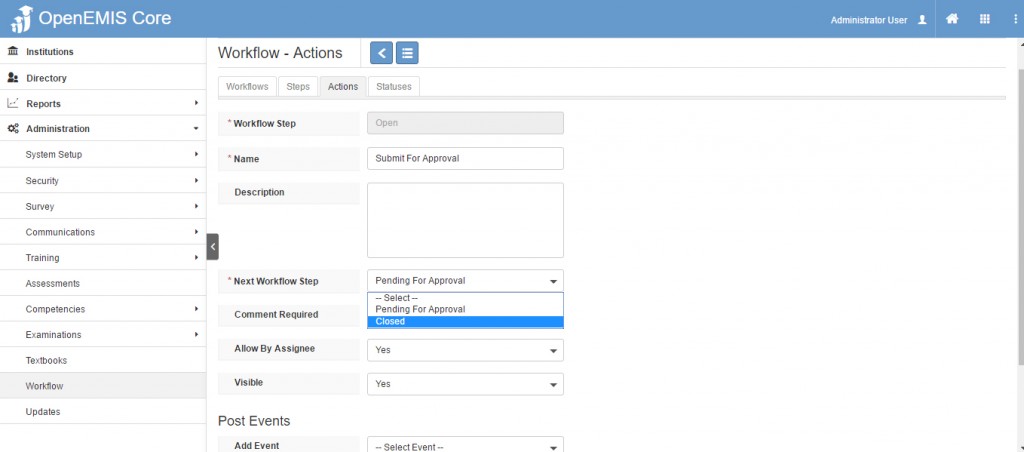
Step 6. In the edit screen, you can change the name of the action, add a description and choose the next step for your workflow. So for example if you decide after the workflow step “Open” that the next step is closed, then your workflow will have two steps “Open” then “Close” in this instance. Choose your options as needed and click save.
The green success screen will display.
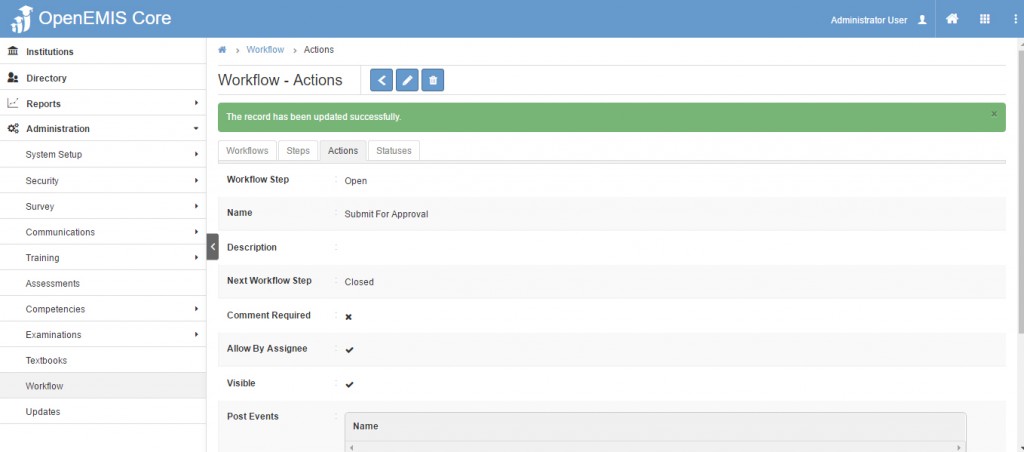
The Actions will show the changes that you set.
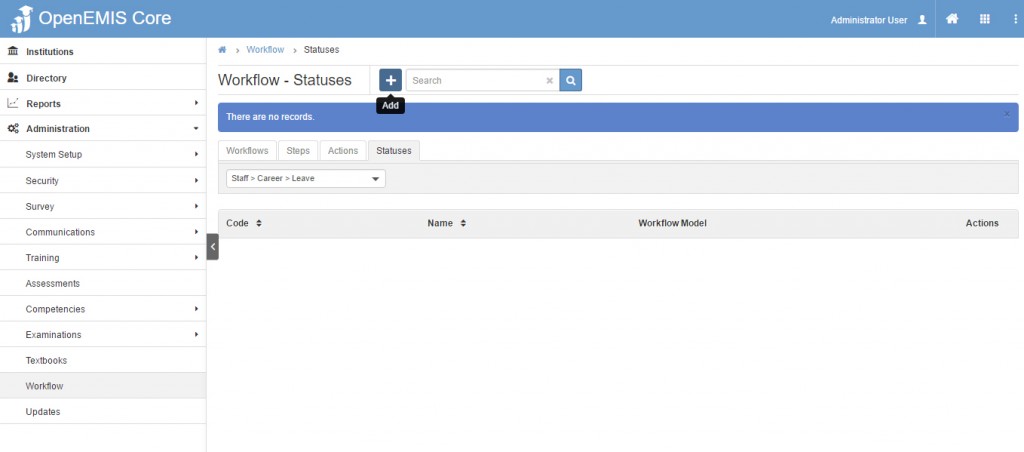
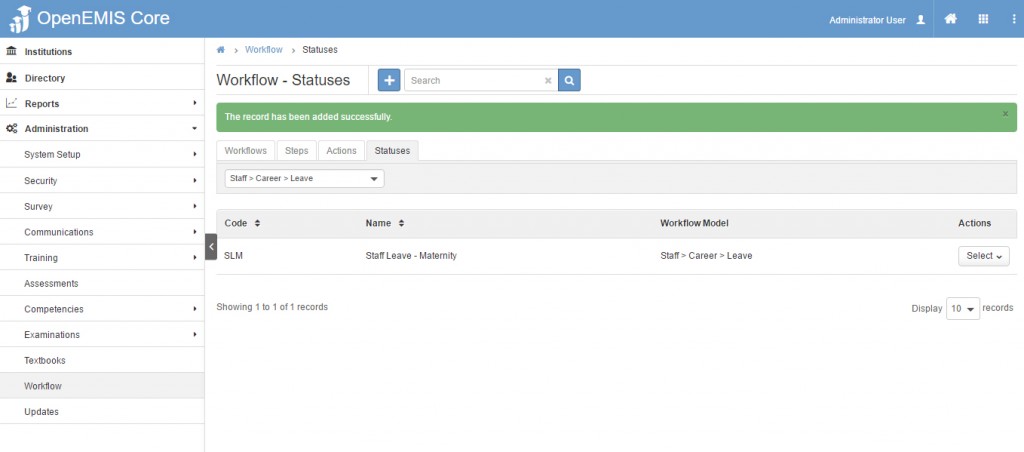
Step 7. Under status tab, you are able to add a status option for your workflow. The aim of the status option is so that users can generate reports based not only on completed status but on other statuses such as “pending for approval”. For example if users’ requests are waiting for approval, the report will still generate the information. This is optional. Click the add (+) icon.
Step 8: In the edit view, choose the workflow model, add the code and name that you set. Next add the workflow step from the list and click save. Now when a workflow status for this workflow (eg. Staff>Career>Leave: Maternity Leave) has “Pending For Approval”, the report will generate the information along with the completed ones but the status will show as pending for approval.
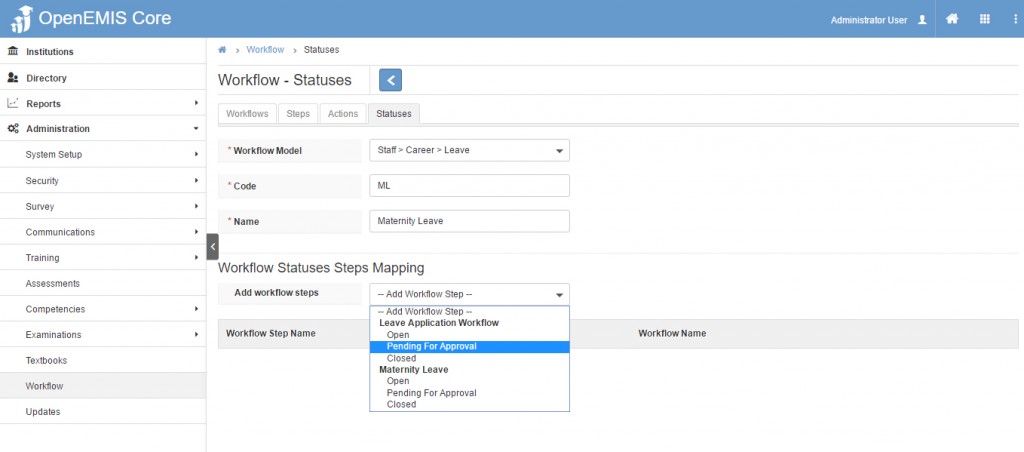
The green success screen will display and the status will be listed for that workflow.
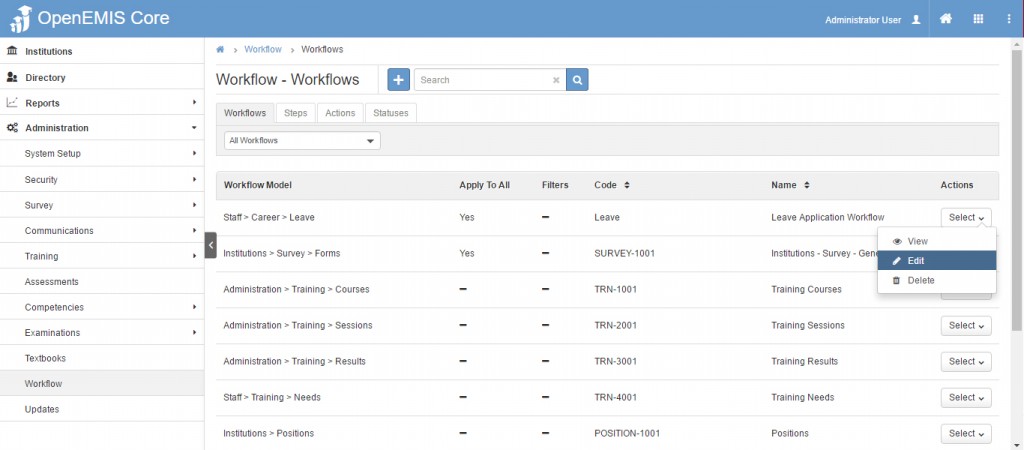
Step 1: To change/update information for an existing workflow, select edit under actions header.
You are able to edit the code and name under workflow. Click save to keep your changes.
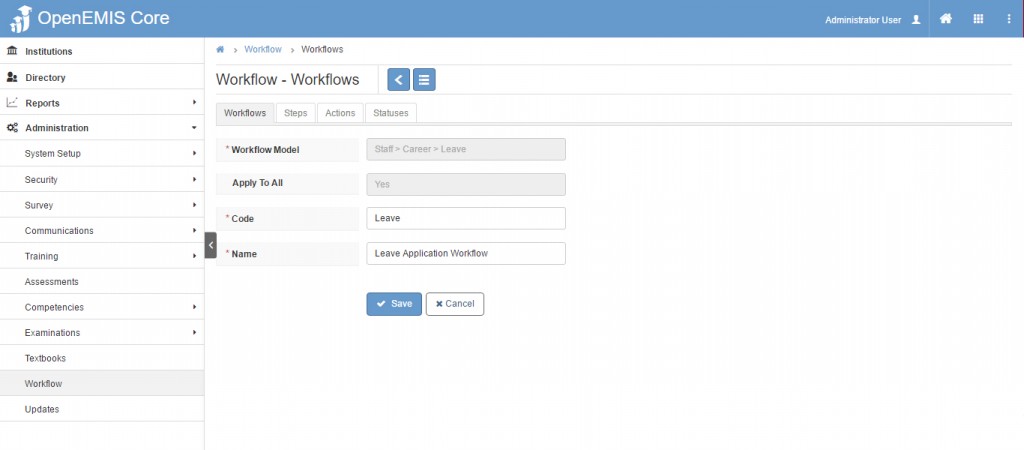
The green success screen will display.