Article Name: Creating Students
Category/Module: Institution
Tags: Institution
Version: 3.98.13
Date Updated: 9 Feb 2024
Note: Before you begin creating classes, be sure you’ve set up your school.
Purpose:
Place students in single or multi-grade education groups, typically termed as “Homeroom” or “Class”.

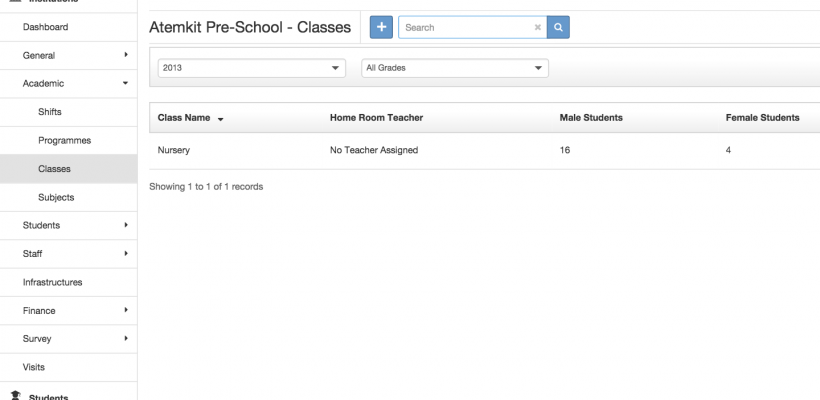
Click the Add button to create a new Class. You can also click on an existing Class to edit.

The fields are:
Academic Period – the academic year for the class.
Education Grade – the grade level for the class.
Shift – the interval time spent in school.
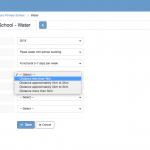
Number of Classes – create multiple classes in one instance by selecting the desired number from the Number of Classes drop down.
Single Grade Classes – the fields are:
– Class – the system will auto generate names for Classes based on the Programme selected, however you can change the name by clicking in the name box and editing the text.
– Unit and Course – a unit is a component of study focused on a particular subject or topic, while a course is a program of study. For example a course: information technology with units: networking, cloud computing, programming.
– Home Room Teacher – assign teacher to a class but if staff have not been assigned to a position then no teachers will appear in the drop down.
– Secondary Teacher – assign a second teacher to a class if available.
Capacity – number of availability for the class.
Click Save when done.

Next, you can assign students to a section. Return to the Class list and select Edit from the Actions button to the right of the Class. Make sure to select the correct academic time period you are currently working on.

The Add Students field will list the available students for the grade and class enrolled in the school. These can be searched, viewed, and assigned from the Student list in the box. If no students appear, you will need to add them.

When you see the desired students, select them from the list, choose assign. Once you have assigned the students, click Save.

The students will be assigned to the chosen class.